When you click on links to various merchants on this site and make a purchase, this can result in this site earning a commission. Affiliate programs and affiliations include, but are not limited to, the eBay Partner Network.
On a hunch I checked the Napa website..my local store has the Lemfoerder inner tie rods for $25 each...small difference vs online but instant gratification is priceless...
On a hunch I checked the Napa website..my local store has the Lemfoerder inner tie rods for $25 each...small difference vs online but instant gratification is priceless...
Fricken steering boots! I had spotted the left one ripped, and ordered it + both the left tie rods. While replacing that, found out that the right boot was also torn
Then next time I just replaced the boot (by disconnecting the outer from the inner tie rod, because the rods look pretty good still).
Wanting to do the struts soon-ish, parts on hand, time is not
According to Glyn, Febi is just repackaging parts. According to an indy in Houston, Meyle is average quality. So Corteco and Lemforder it is I guess...
I highly recommend the rack bushings if yours have never been done. This DIY is soooo easy and makes the steering solid. The old bushings may look ok but after 10+ years they are hardened up pretty good.
Overall, it was an easy job. Had to get a torque bar to loosen the two stubborn inner 18mm bolts. I ended up using the FEBI branded because they were only $3.49/ea. on eEruoparts along with two rear sway-bar for $14/ea.(did the front sway last fall).
It's like I'm driving a new car now. Steering is much tighter and there's NO roll while taking hard corners now. Thanks again for the DIY!
Old bushings were clearly shot. Febi seemed very good quality.
Rear sway bar bushings were TOTALLY shot. As I removed them, I realized the part numbers were off, turns out I bought 14mm bushings for my 16mm bar. So, what I did was once I got it around the bar, I turned the opening up towards upper bolt, put bracket over the bushing and tightened the lower bolt first almost all the way (closing the gap). Then, tightened the top last. It may not last as long, but oh well, it's a cheap and easy fix. Night and day performance.
(Edit) Added photos of the 14mm Bushings on my 16mm bar.
Last edited by Norsk_Johnson; 03-13-2016 at 03:19 PM.
BTW, it IS possible to replace these bushings with the car's wheels in the air (as opposed to using ramps). Pretty easy, and I also feel like the car goes where the steering wheel is pointing now, not drifting ever so slightly with the slant of the road.
Hello!
I had huge play in the steering and I managed to narrow it down to these steering rack bushings, which I will be changing very soon.
Thank you for this great diy guide, helps a lot.
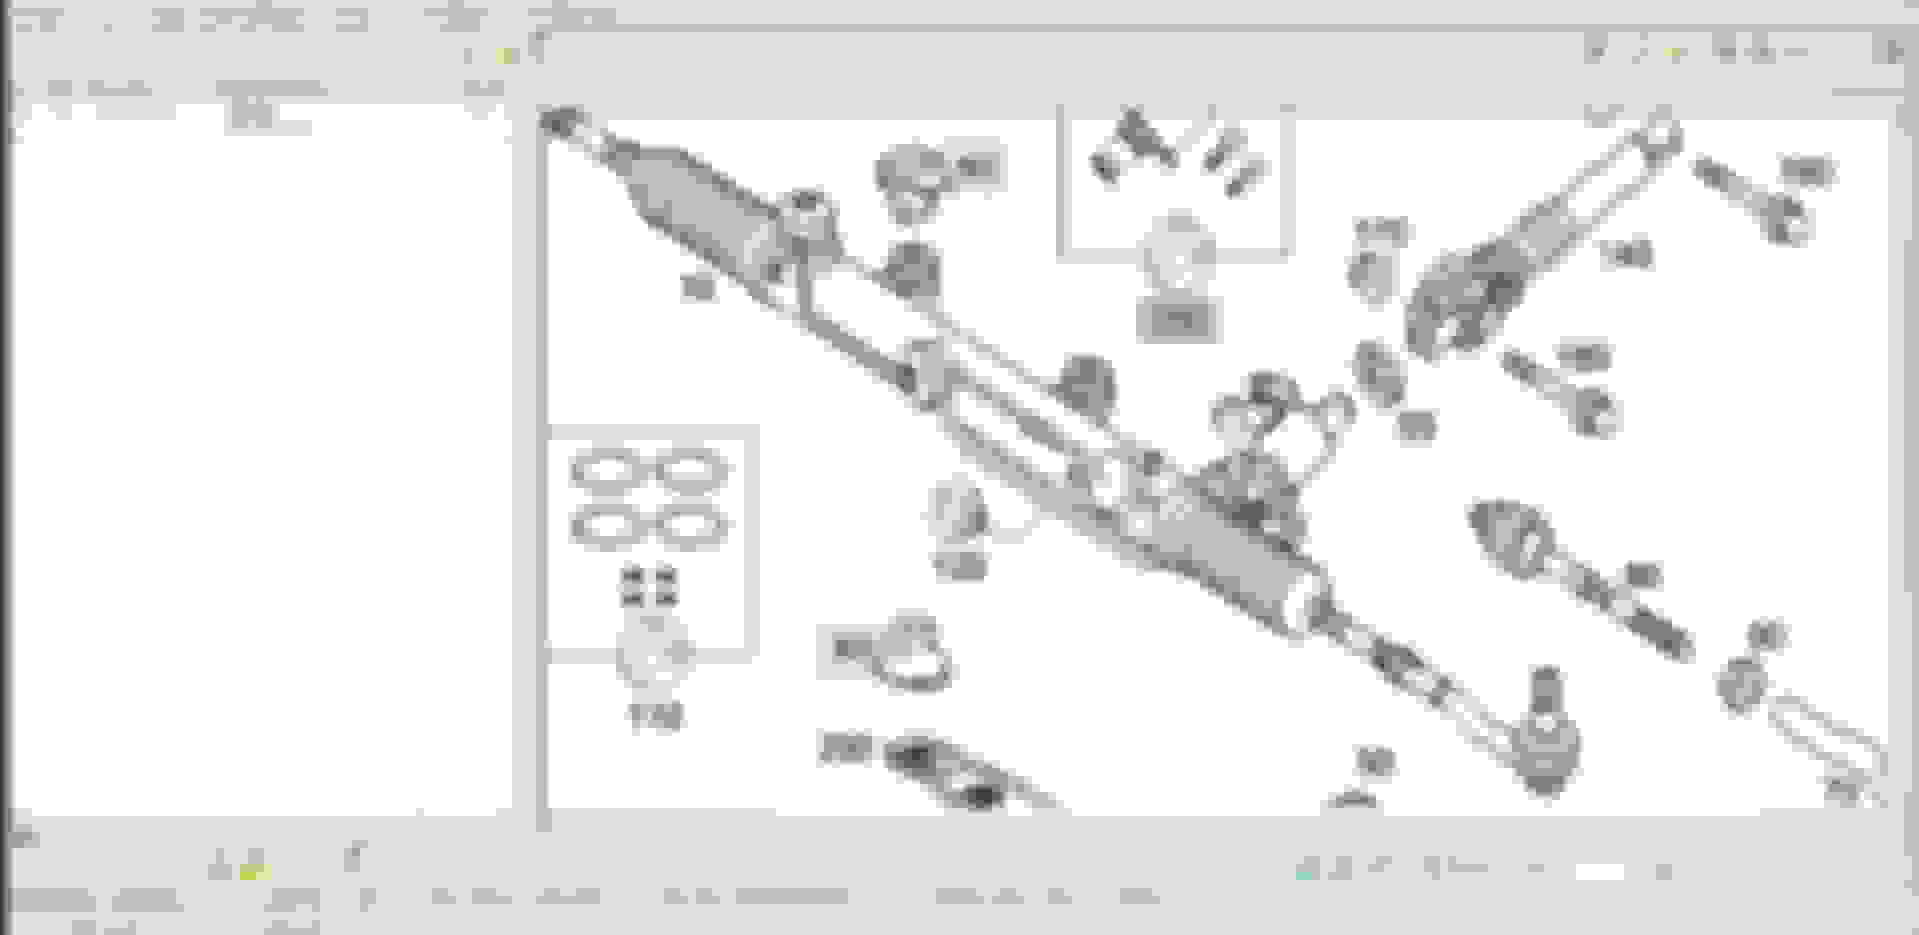
In case this helps other users, and since I invested in EPC, here is a screenshot from the steering rack page.
Changed the bushings earlier today.
The play in the steering is gone and the czr handles better than ever.
The bolts looked like they originally had blue loctite on them so I put some on.
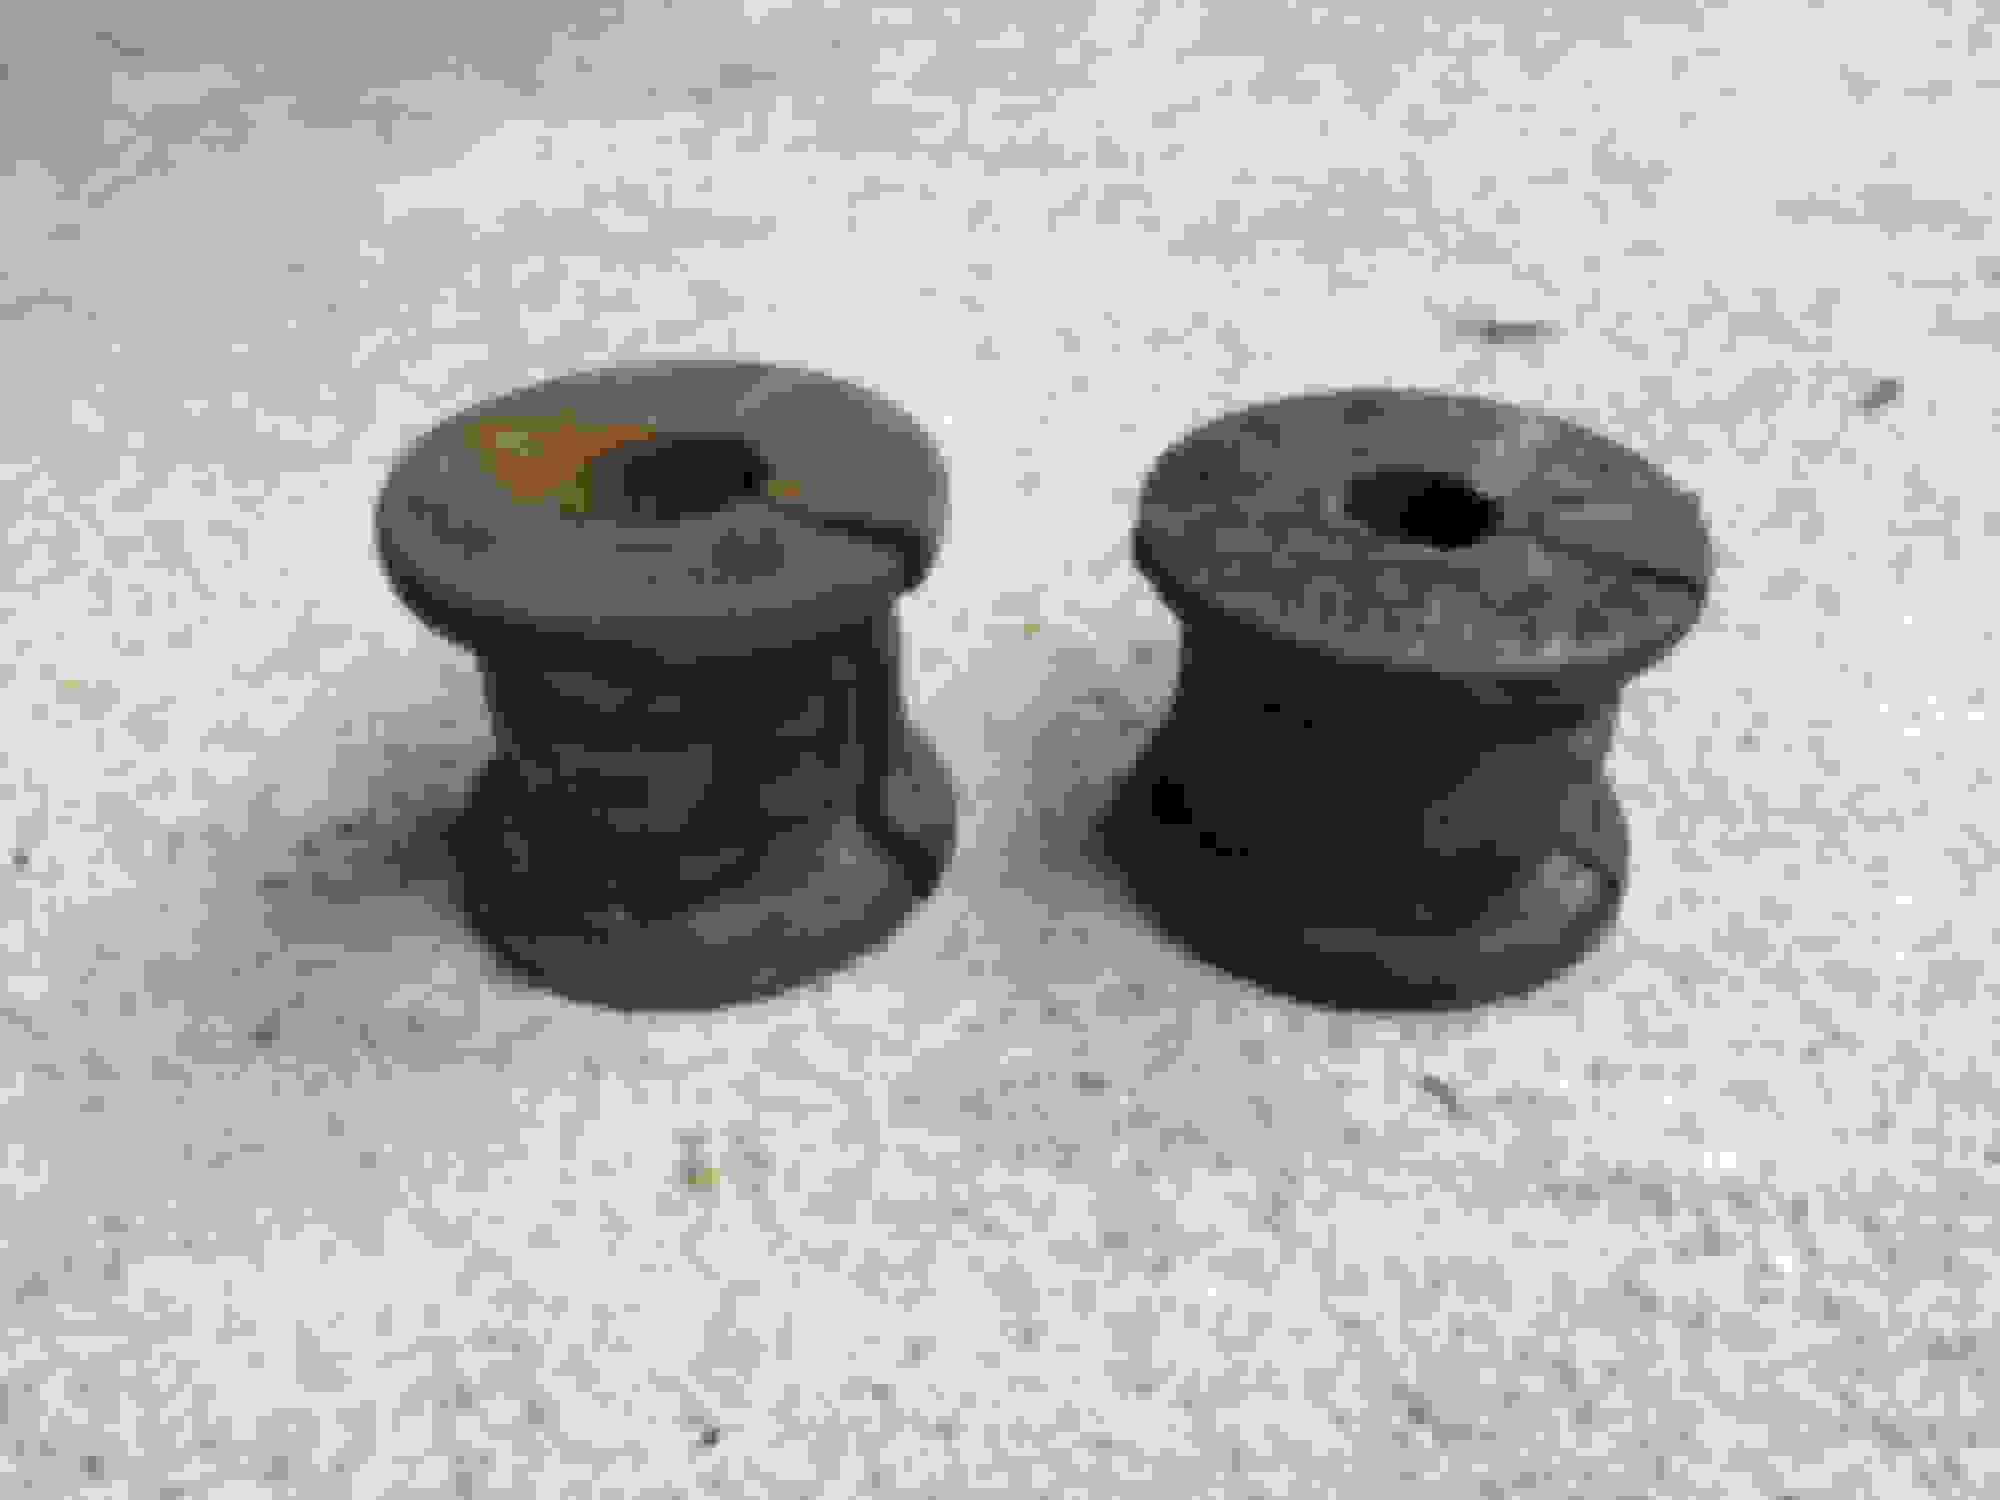
Oh and I took a picture of thz bushings, left is old and right is new, there was no more rubber on them, it really was time to change those!
Oh yes they were, there was no rubber left whatsoever.
That made them easy to remove though, bottom ones fell off by themselves and top ones were pulled off very easily by hand
Cherry on top, I had been experiencing frequent ESP visit workshop warnings, they're gone now. I guess the play in the steering was triggering them.
Btw, the dealership quoted me 330€ on replacing these, (60€ for parts and 3 hours of labour). 330€ is the equivalent of 360 dollars.
Given that this job took me 45 minutes (and I have no mechanical training whatsoever), I think I can safely say they're absolute thieves for quoting 3 hours...
The replacements are Lemf�rder bushings, sold about 7€ each, it's amazing how such inexpensive parts can radically change the way my c32 drives!
I also went back to the alignment shop after this, to nicely center everything (car had been aligned with the worn bushings).
Thanks again for your DIY guide, it sure helped a lot
After nine years and replacing virtually the entire front suspension except for the steering rack and tie rods, it was time to replace the rack bushings to see if it would help eliminate a bit of "give" I was feeling in the steering.
Turns out, even though the original bushings look new, there is a noticeable difference when you replace old rubber bushings with new. My car used to drift slightly to the left or right on a straight road depending on the slant of the road surface. And turning at low speeds used to feel a bit rubbery. There was also a squeamishness when braking to a stop on a wobbly road surface. Most if not all of this seems to be gone now. And as little as it was, no more pull to the right either.
Here's what I did:
0. Tools & supplies needed
Car ramps
8mm socket on 1/4" ratchet or screwdriver handle
T30 torx bit on 1/4" ratchet
18mm socket on breaker bar and torque wrench
small pry tool or narrow wood chisel
silicone grease
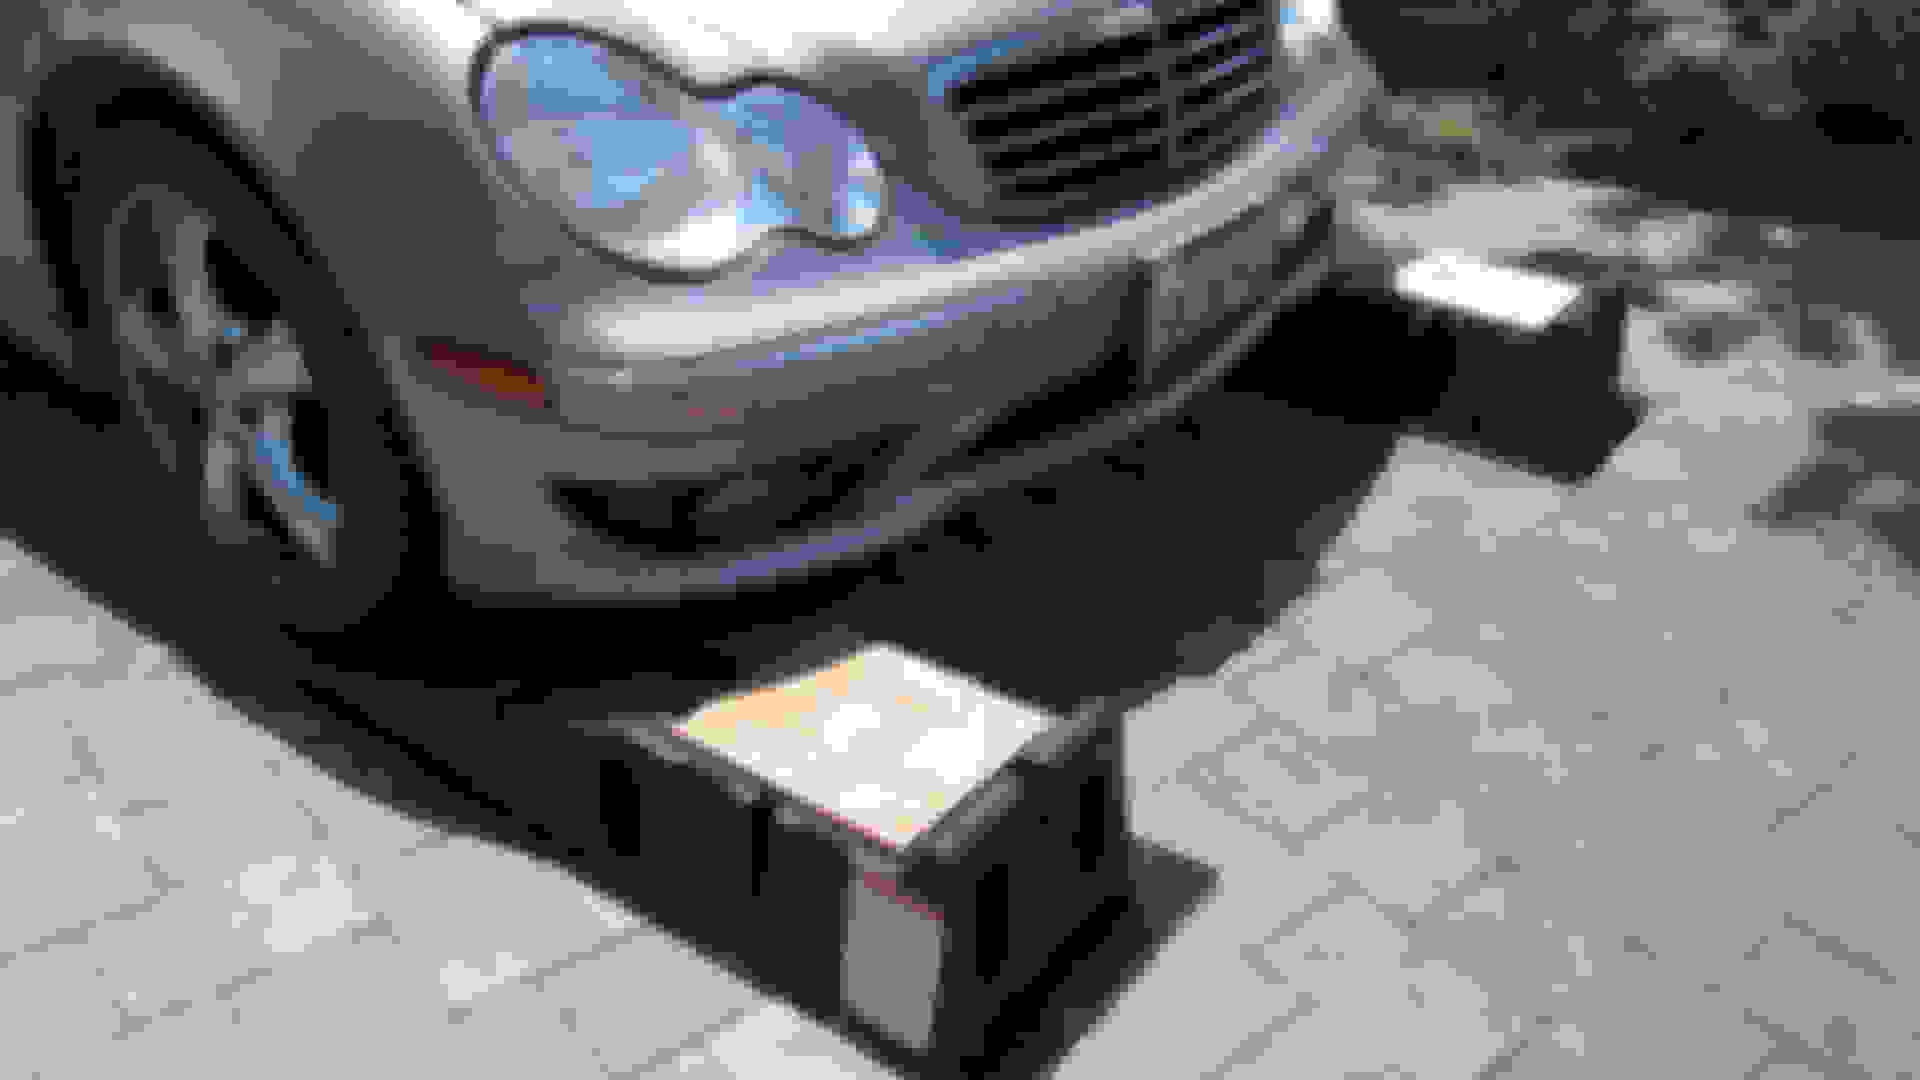
1. First, a note about using ramps. Since the Sport Sedan has such low clearance in front, I have a little trick of putting a piece of 3/4" plywood in the wheel trough area of the ramp, which gives me extra wiggle room underneath.
I removed the reference to using a lift or jackstands, because I'm not sure how easy it wil be to lift the rack up from it's mounting position if the wheels are hanging and the tie rods slanted downwards. Keeping the suspension loaded will keep the rie rods horizontal, and I believe make it much easier to lift up the rack.
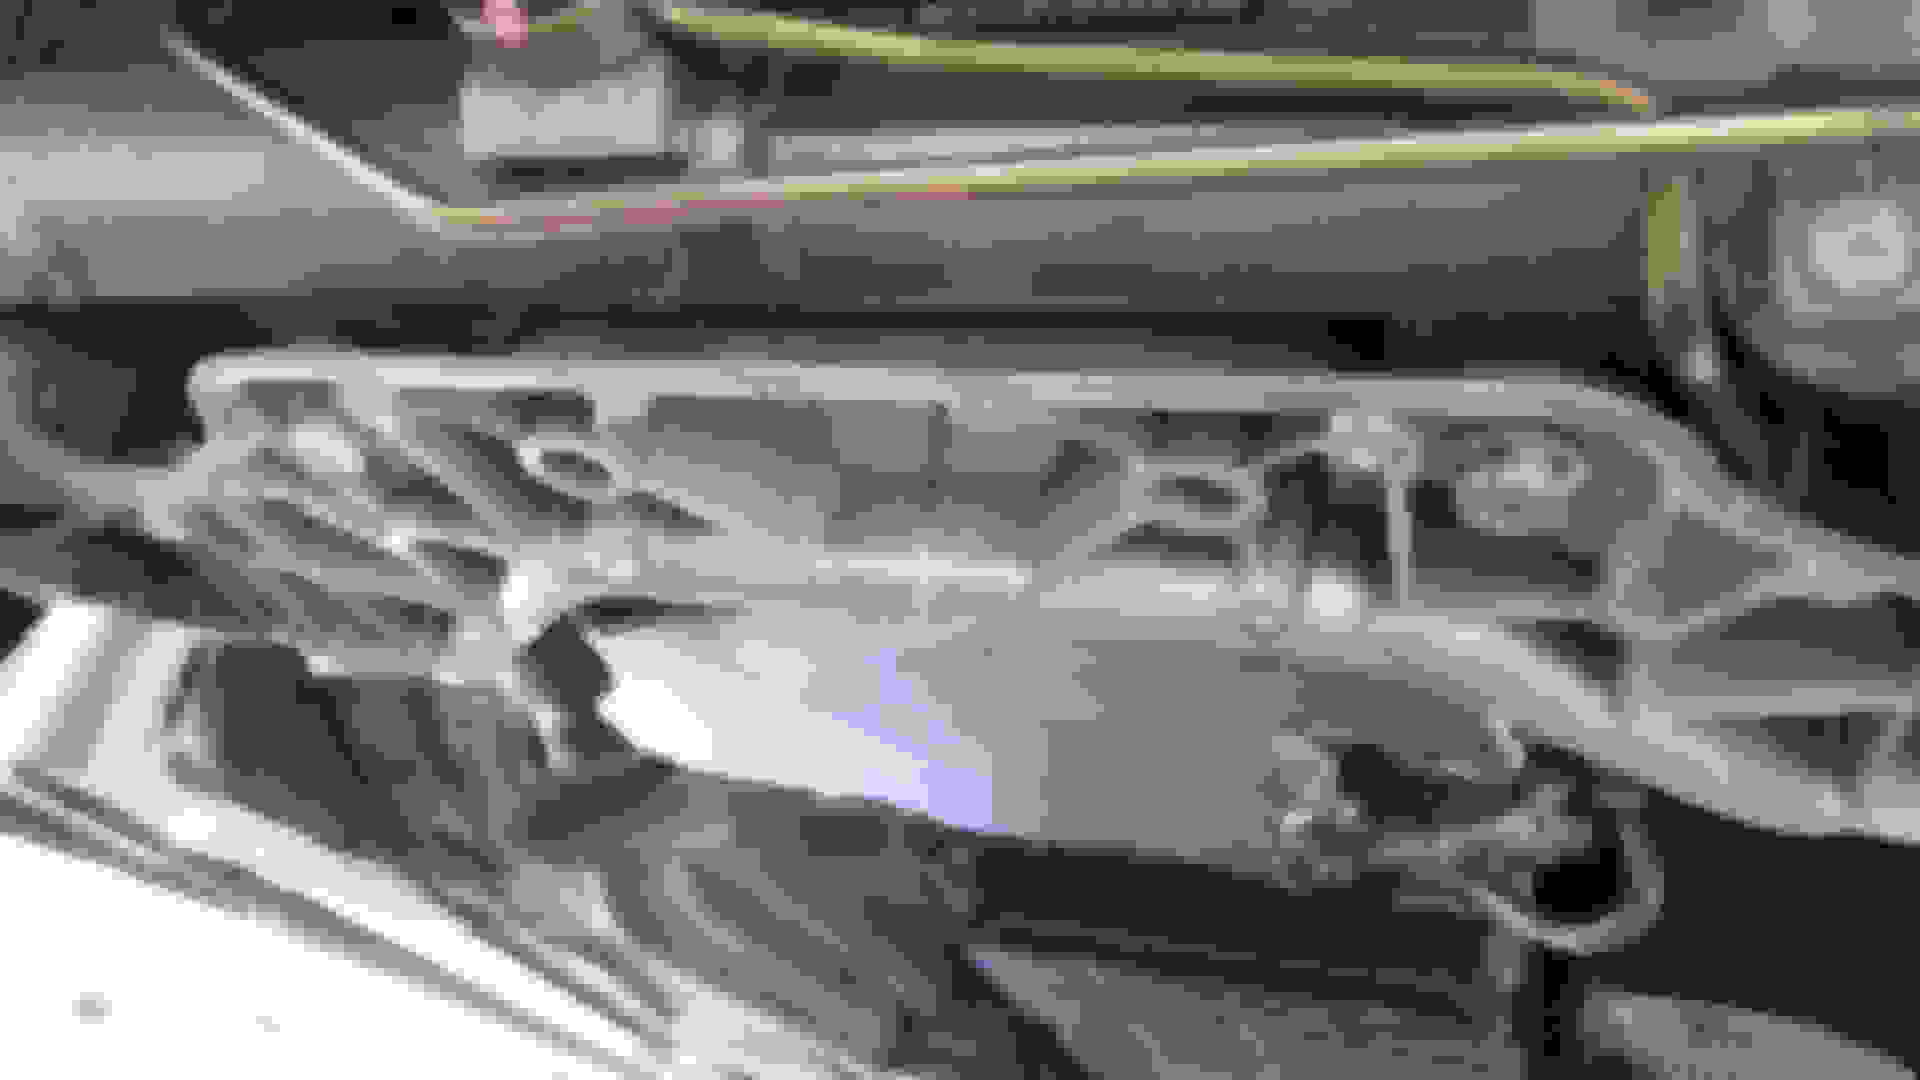
2. With the car up on ramps, this (below) is what the bottom retainer plate looks like with the front engine cover removed.
Note the small T30 torx screws ... there are eight(8) of them, two of which are located in the far rear corners that are hidden by the rear engine/tranny cover.
Note the two 18mm bolts with the heads fully visible. These hold onto bottom retainer plate and also screw into the top retainer plate to add stiffness to the assembly..
Note the other two 18mm bolt heads that are almost hidden within the holes in the bottom plate ... these are the bolts that are holding the rack. They do not touch the bottom retainer plate.
Btw, the engine/tranny covers are held on by 8mm hex head screws ... 6 for the front cover, and 4 for the rear cover.
3. With the rear engine/tranny cover removed, below is the view of the bottom retainer plate from the rear.
Note the torx screws in the far rear corners that were hidden by the rear engine/tranny cover.
(And please ignore the oil stains on the bottom of the oil sump ... that may be a rear main seal leak in the making ... ugh!)
4. Remove the 8 torx screws and the two center bolts, and the bottom retainer plate falls off. Now the front of the rack is exposed for you to get to the bushings. You can see the flange of both bottom bushings here.
5. Remove the two bolts holding the rack, and feel up above and pull out the top retainer plate. The photo below shows the top side of the retainer plate.
... and this is the bottom side of the retainer plate.
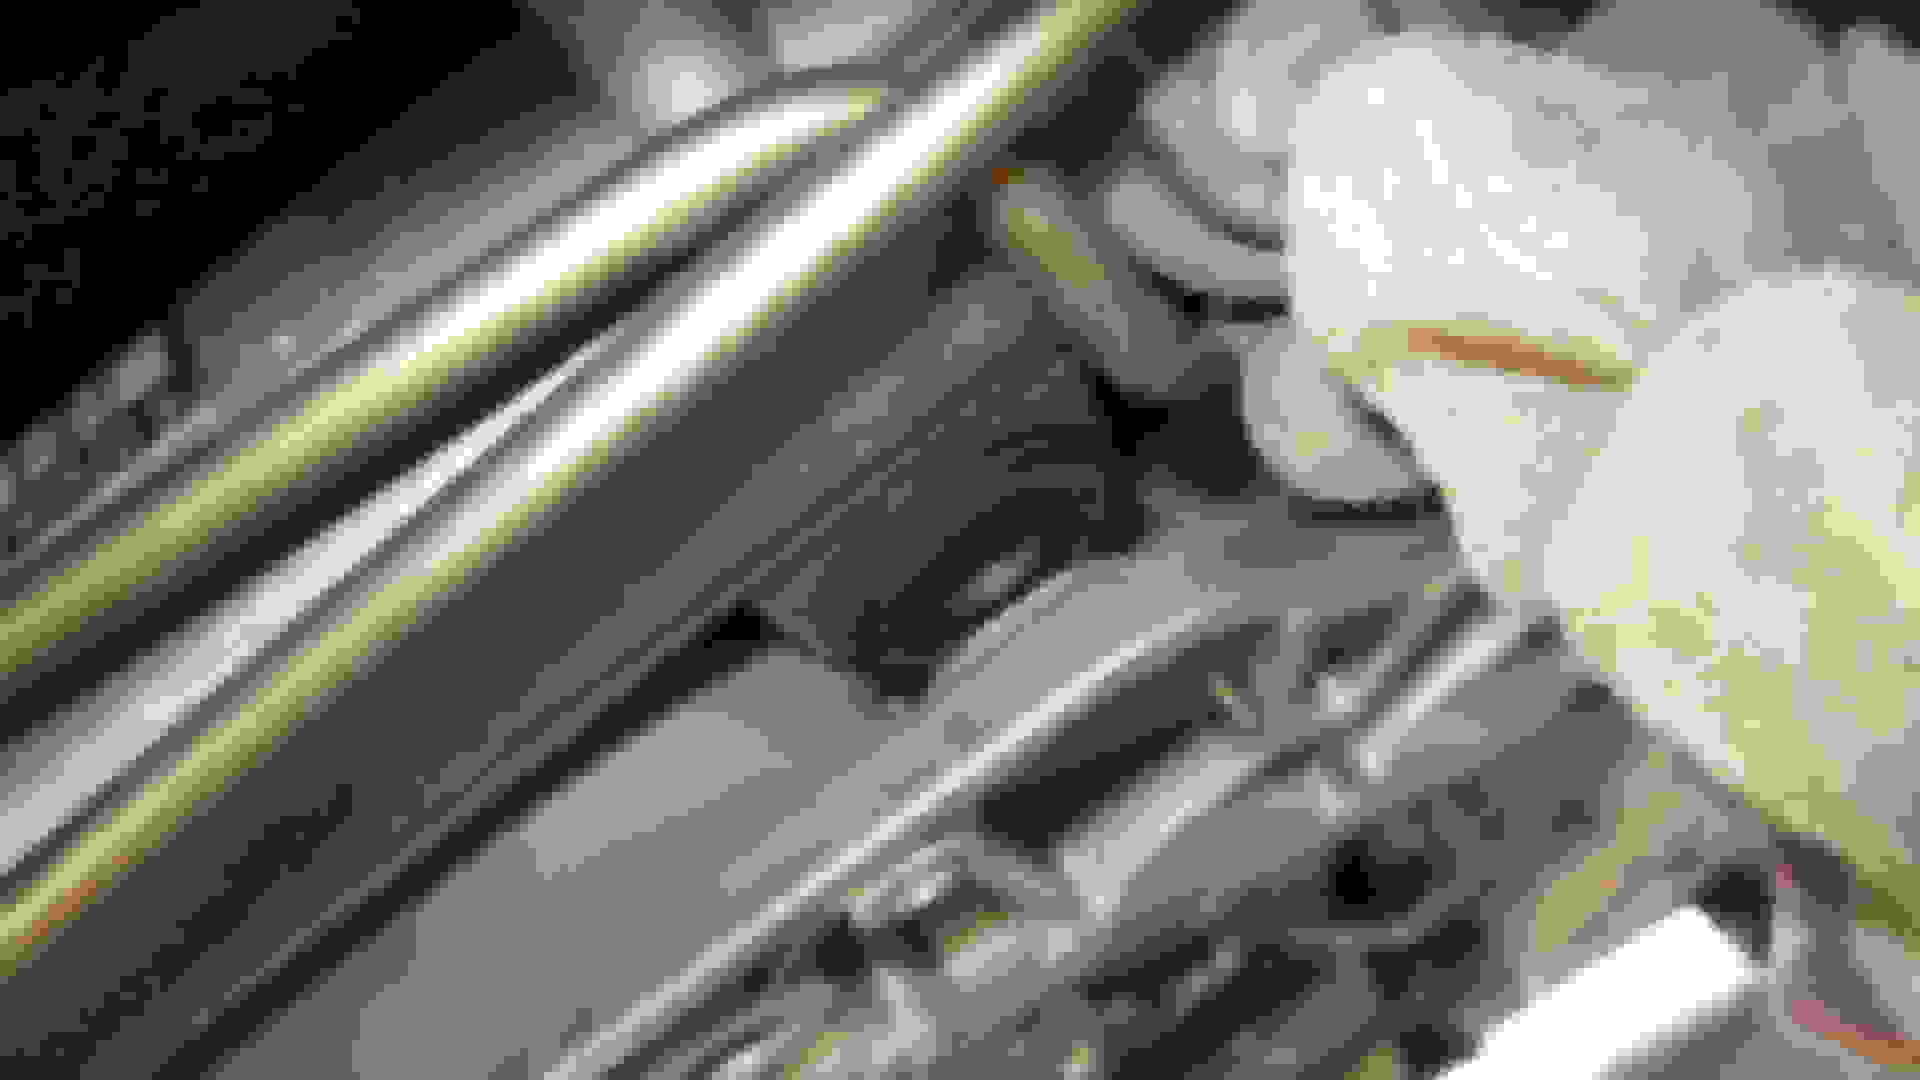
6. With the bolts out, the rack is loose and can easily be pushed up about an inch. The bushings are just wedged into the rack mounting tabs. Use your favorite pry tool (I used a narrow wood chisel) to pry the lower bushing down and out. It doesn't take much effort at all. This is the passenger side of the rack.
... and this is the driver's side of the rack.
7. A trick to remove the top bushings ... since there is a metal collar in the bushing, simply place a punch up the bolt hole and tap it a few times firmly with a hammer. The top bushing will pop right out without that much effort.
Fyi there is plenty of room to fit a medium sized hand up top of the rack to grab the bushings as they come out, and to press the new ones in.
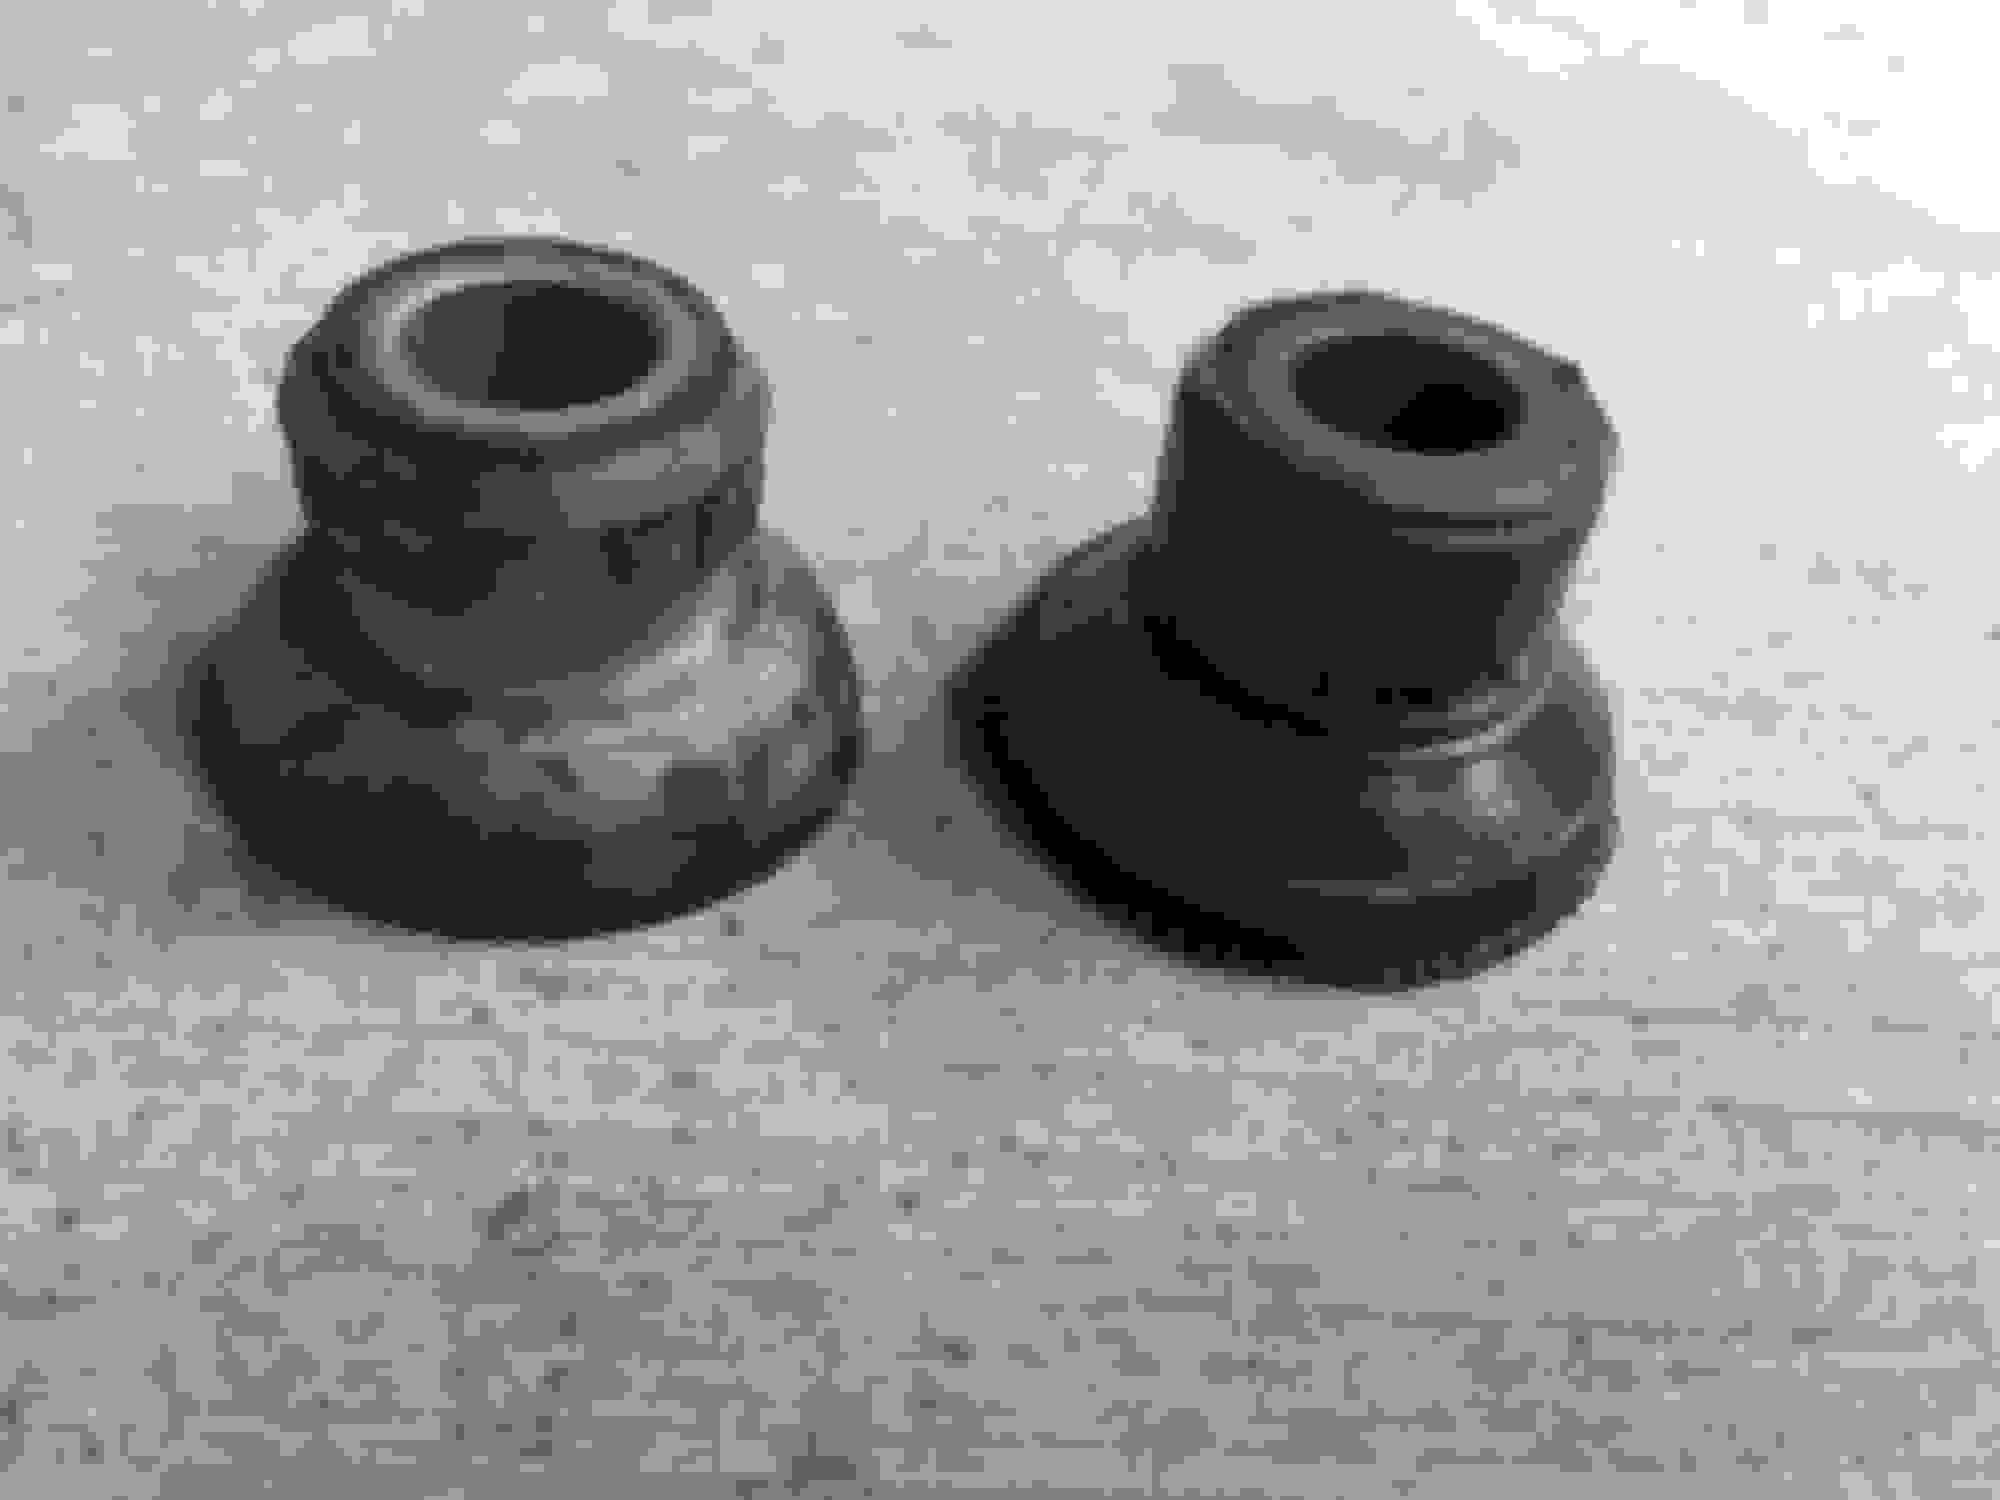
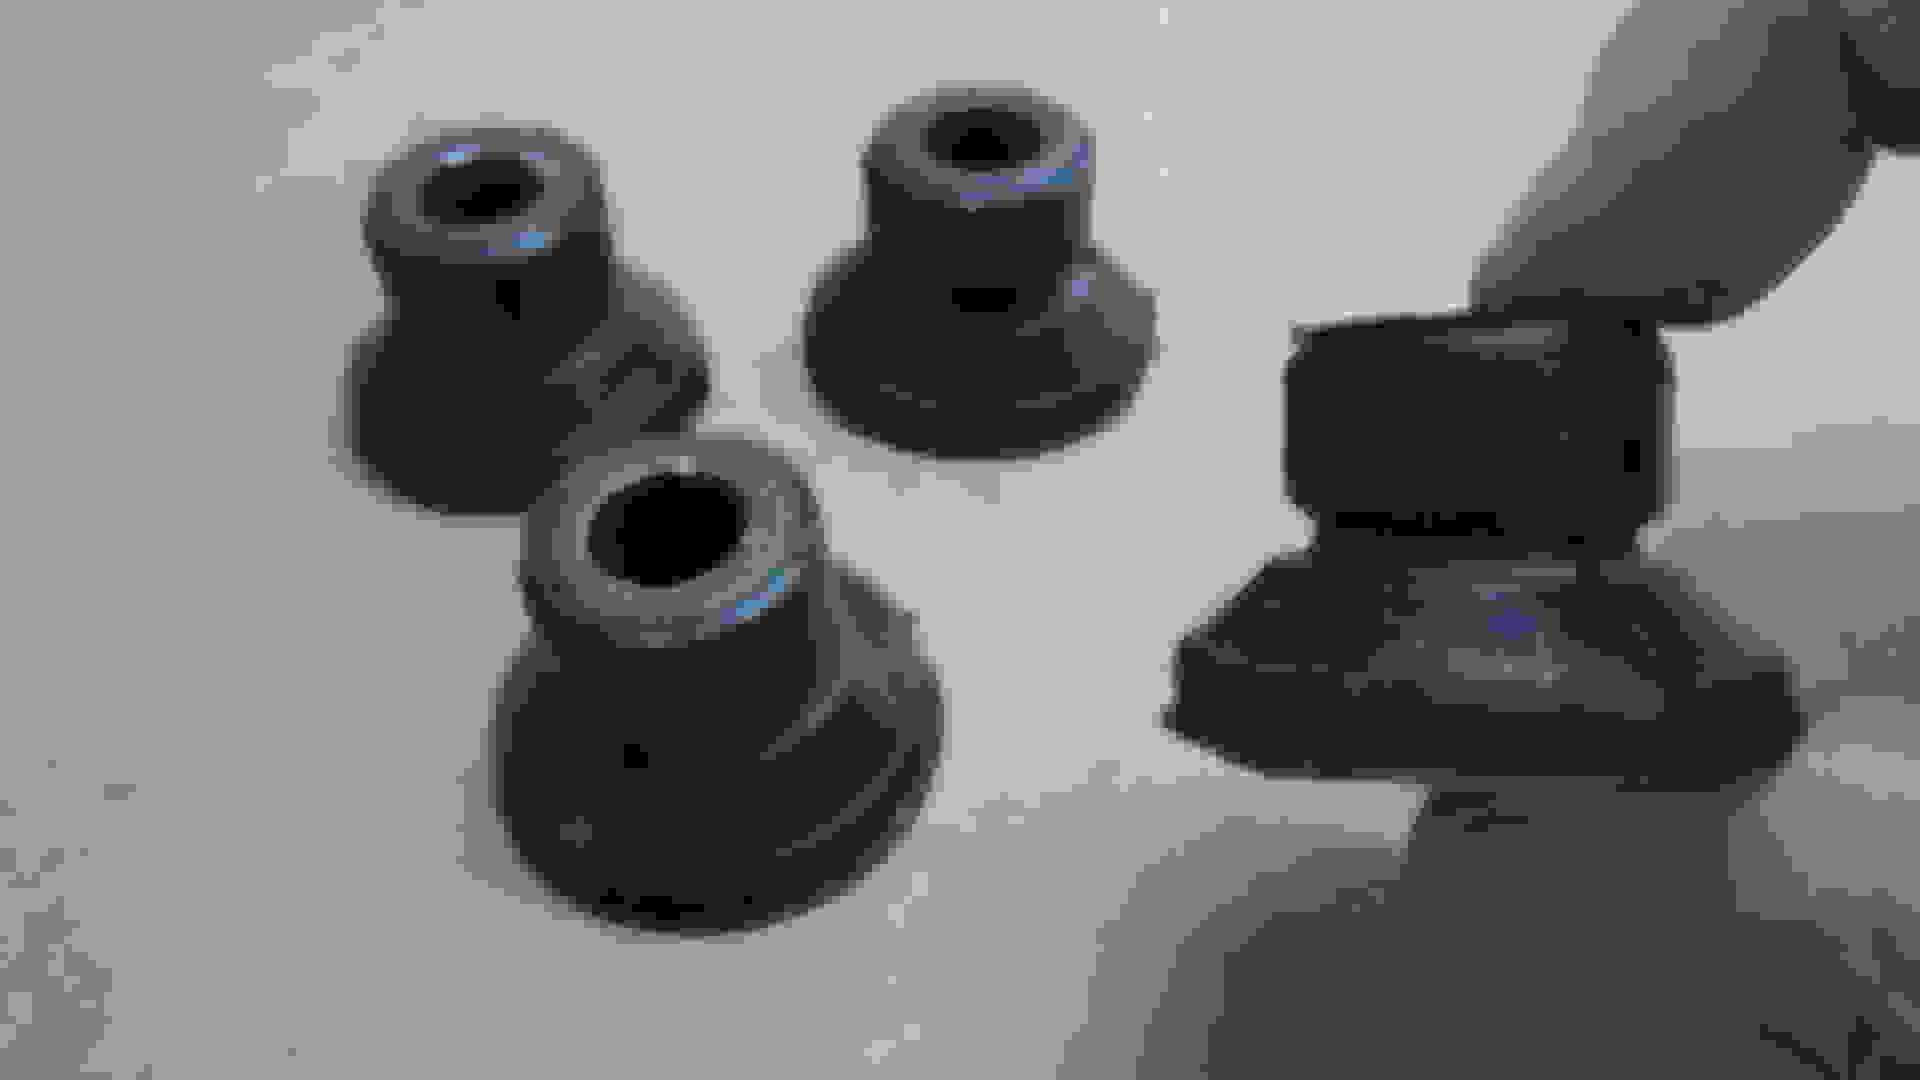
7. comparing old bushings on the left and new bushings on the right ... the old ones still look brand new, don't they? However look at the diameter of the neck. The new bushings are much fatter. The old rubber has hardened into it's shape over the years, and is now giving a bit under load. The new bushings won't do that.
8. Now, lube up the new bushings with a bit of silicone grease and push them into the rack. Again it doesn't take much effort to do this with your fingertips.
9. Insert the top retainer plate back on top of the rack, thread in all four bolts loosely so you can get the top retainer plate in place (this takes a minute or so of finageling), and then tighten the two rack mount bolts to snug for now.
10. Remove the two bolts that are not holding the rack, hold the bottom retainer plate in place, and reinstall the two bolts. Leave loose enough to shift the bottom plate around, until you get all of the torx screws in place and hand-tight.
11. Torx screws should be tightened firm but not torqued, and the bolts should all be torqued to 63 ft-lbs. Fyi the screws may be aluminum, and I snapped the head off of one when installing them last time. This time I put a touch of silicone grease on each screw before installing it so I wouldn't have that problem again. These screws don't hold a whole lot, and I doubt they will ever come loose.
12. Replace bottom engine/tranny cover(s). The 8mm hex head screws go into weak clips, so tighten these screws to snug only! If you over-tighten them you will strip the clips and have to purchase new ones.
13. done.
===
Here is another closeup of the old bushings ... again they look pretty much new, but the rubber has hardened to shape over time.
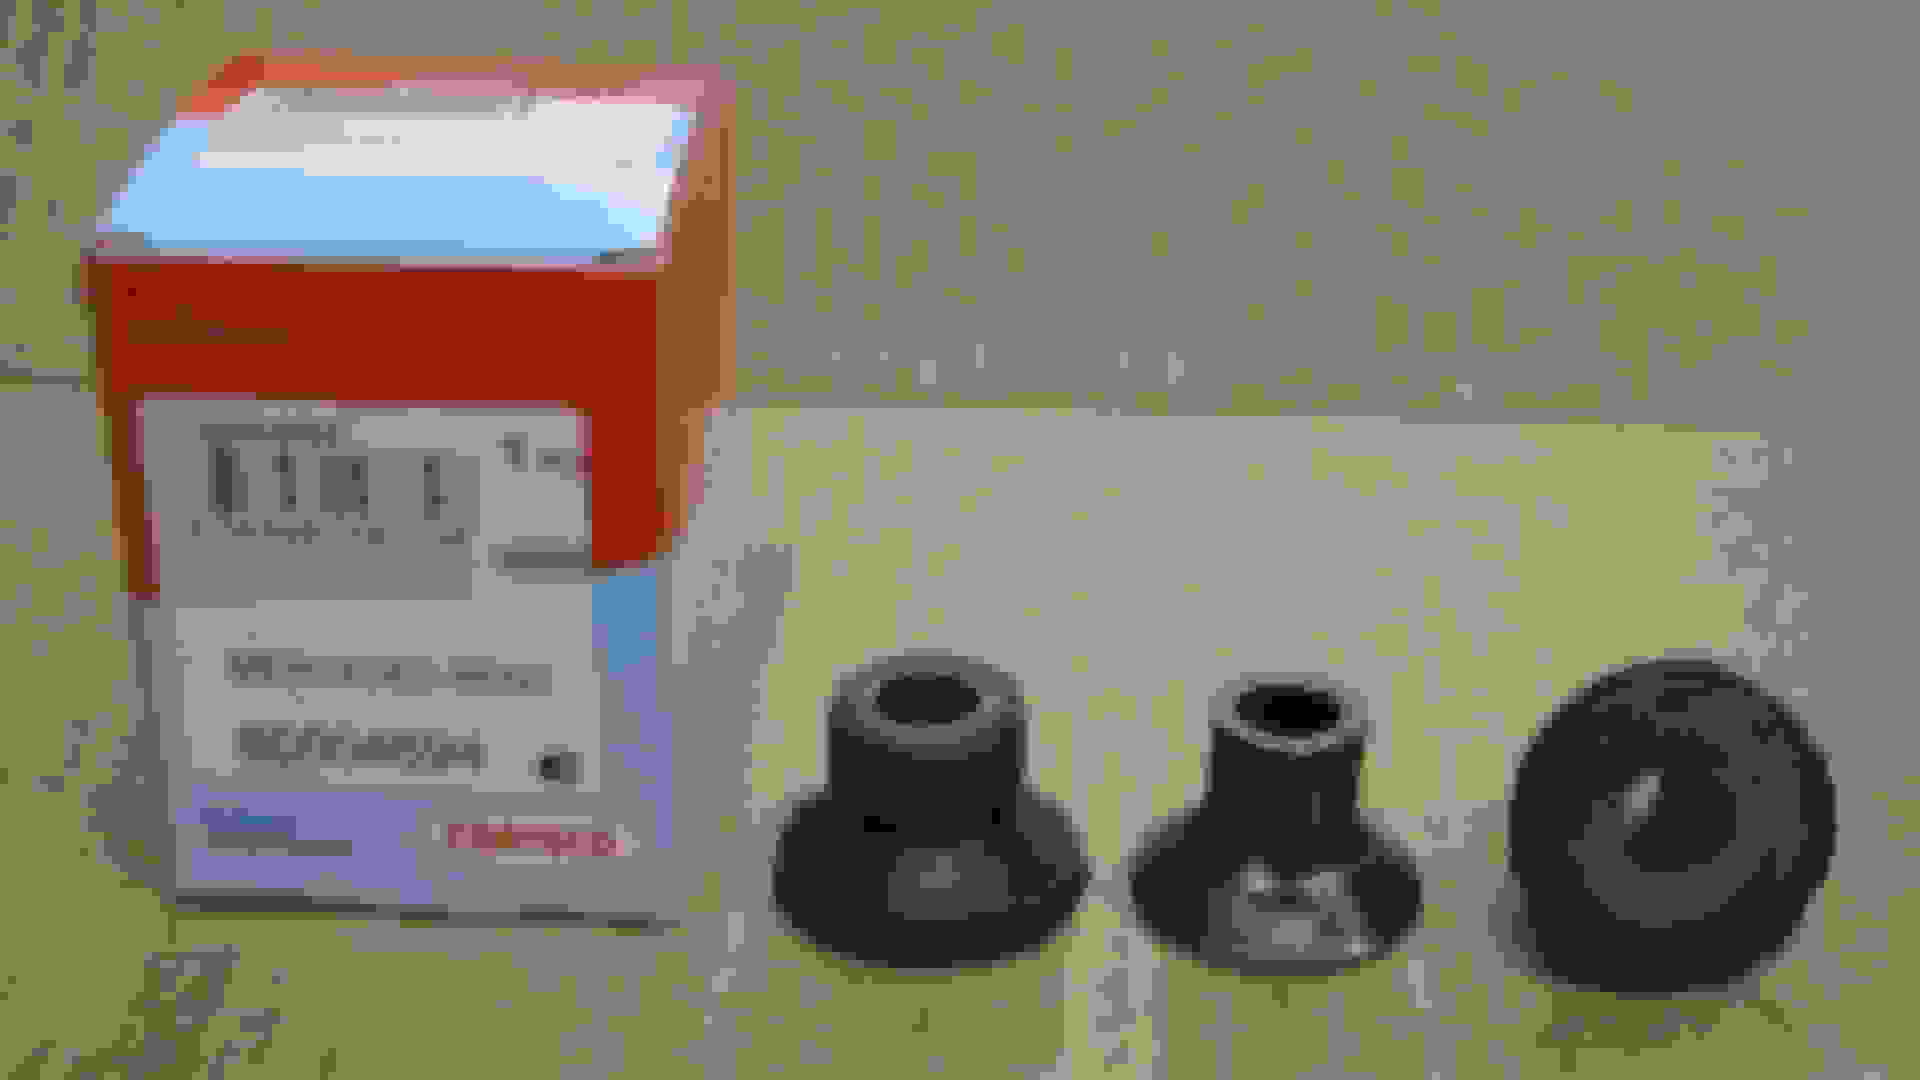
Here's the box that ONE new bushing came in. Large box, small bushing. Fyi the bushings in the photo are the old ones -- I ground away the rubber on one to see what the metal looked like underneath. Surprised to find a taper on it -- but that matches the mounting hole in the rack which also has a large taper on both ends. This should give you a really good idea what these are, how they wil fit, and how to pry them out.
That's about it. Please post any questions you have.
Thanks. John
Reviving this! i apologize in advance,
Ive been doing research regarding my car's issue and i found this based on what i was researching.
Anyhow, based on anyones experience, can worn out/failing steering rack bushing cause a CLICKING or POPPING sound whenever steering all the way to L and R?
Thats what i am experiencing right now on my C32. There is a popping/clicking sound, which sounds like its coming from the middle front end bottom of the car whenever i steer the car all the way to the L and R.
Another common symptom of a broken or failing steering rack mounting bushing is a clicking or popping sound when you turn the steering wheel to the left or right. When the bushing is worn out, it creates travel or "free play" in the steering column, which can twist or misalign the steering box and supporting components. This can cause the joints in the steering box to make a "popping" sound. You'll also notice this "pop" in the steering wheel. If this happens, it's commonly associated with bearings that have completely worn out and can lead to significant suspension component failure. You need to have your steering rack mounting bushings replaced if this occurs.
SGT,
You can try to lie down and have someone turn the wheels, and you could feel/listen for the source of popping.
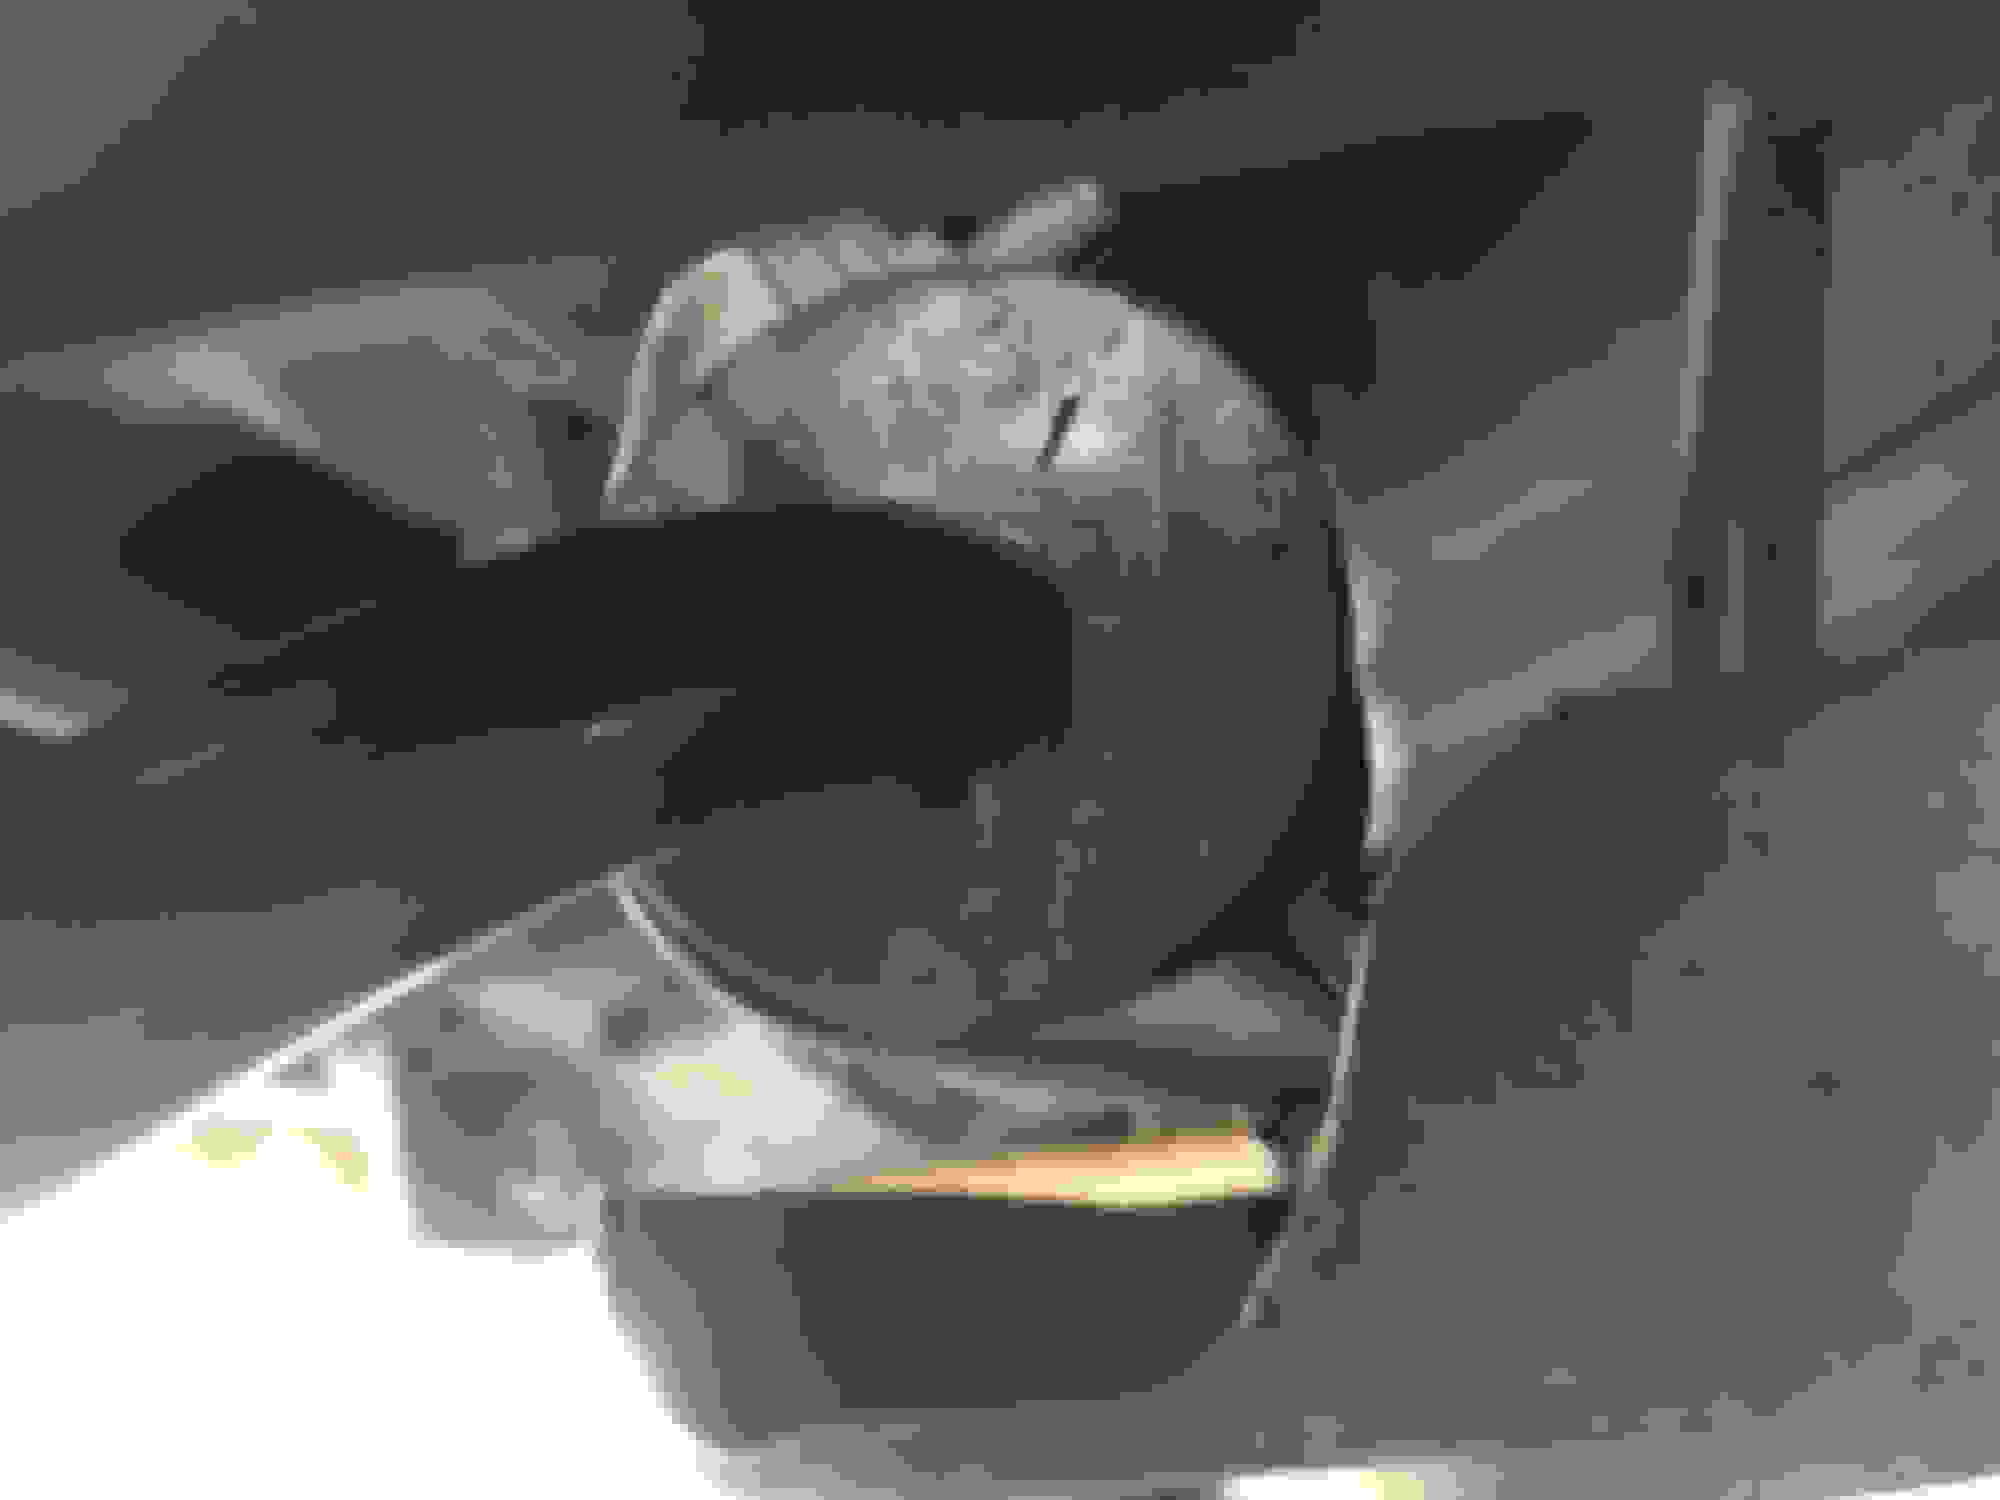
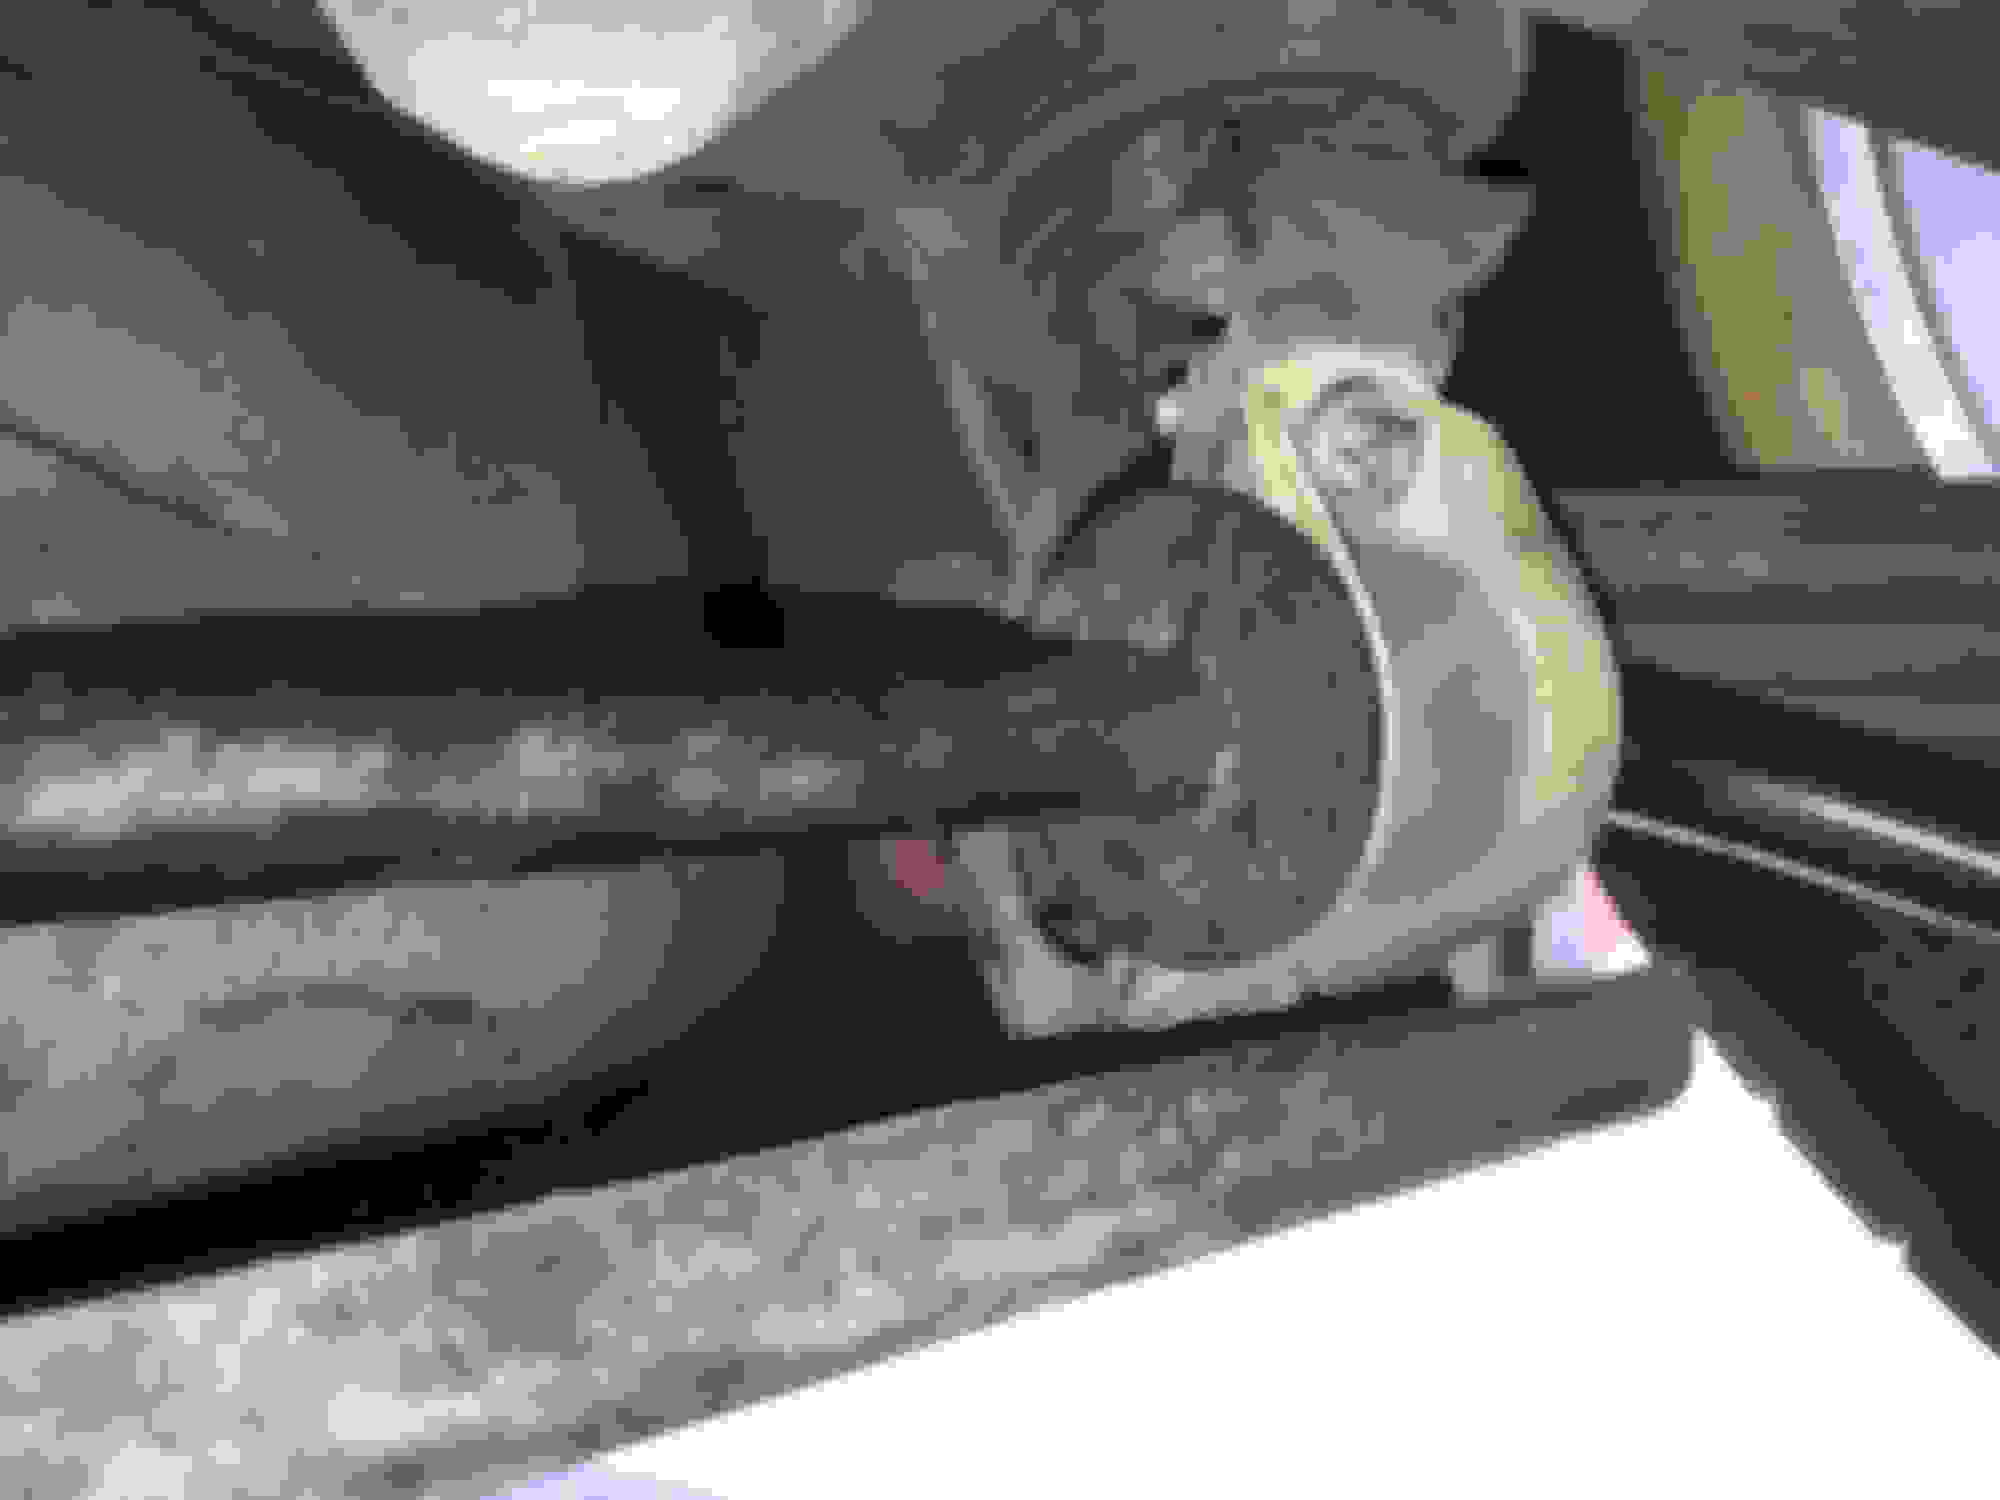
With the wheels at full lock, there also should be enough space to peek through the wheel wells and get a look at the rack, to see if it moves or not.
SGT,
You can try to lie down and have someone turn the wheels, and you could feel/listen for the source of popping.
With the wheels at full lock, there also should be enough space to peek through the wheel wells and get a look at the rack, to see if it moves or not.
Hey brother,
just finished this on my C32 and this dang steering rack bushing was the culprit! GRRR, got the bushings replaced using Febi, and they're good to go! no more popping when turning wheels all the way to the L and R.
I truly appreciate your write up, this helped a LOT!
Sorry my comparison pics didn't show all four ... but my instructions mention how to pop out the top bushings. If you only replaced the bottom ones you may have still solved the majority of your problem, but now that you know how to do the job replacing the top bushings should take half the time ...
Sorry my comparison pics didn't show all four ... but my instructions mention how to pop out the top bushings. If you only replaced the bottom ones you may have still solved the majority of your problem, but now that you know how to do the job replacing the top bushings should take half the time ...
HAHAHA! yes, i only replaced the bottom two., so the two other bushings are on the top retainer bracket? i actually didn't even remove the top bracket i just left them on, i figured it'll be easier to complete if i just left the top bracket on
Nonetheless, the popping/clicking noise whenever turning wheels L & R is gone. i may have to revisit this and order two other bushings just to be on the safe side.
Now i understand why you had to use that punch tool... i was wondering because when i was doing this, i didn't have to use the punch lol crap, now ill have to because then ill have to remove the bottom new bushing i just put on just to get to the top bushings
 01-25-2016, 04:21 PM