When you click on links to various merchants on this site and make a purchase, this can result in this site earning a commission. Affiliate programs and affiliations include, but are not limited to, the eBay Partner Network.
After nine years and replacing virtually the entire front suspension except for the steering rack and tie rods, it was time to replace the rack bushings to see if it would help eliminate a bit of "give" I was feeling in the steering.
Turns out, even though the original bushings look new, there is a noticeable difference when you replace old rubber bushings with new. My car used to drift slightly to the left or right on a straight road depending on the slant of the road surface. And turning at low speeds used to feel a bit rubbery. There was also a squeamishness when braking to a stop on a wobbly road surface. Most if not all of this seems to be gone now. And as little as it was, no more pull to the right either.
Here's what I did:
0. Tools & supplies needed
Car ramps
8mm socket on 1/4" ratchet or screwdriver handle
T30 torx bit on 1/4" ratchet
18mm socket on breaker bar and torque wrench
small pry tool or narrow wood chisel
silicone grease
1. First, a note about using ramps. Since the Sport Sedan has such low clearance in front, I have a little trick of putting a piece of 3/4" plywood in the wheel trough area of the ramp, which gives me extra wiggle room underneath.
I removed the reference to using a lift or jackstands, because I'm not sure how easy it wil be to lift the rack up from it's mounting position if the wheels are hanging and the tie rods slanted downwards. Keeping the suspension loaded will keep the rie rods horizontal, and I believe make it much easier to lift up the rack.
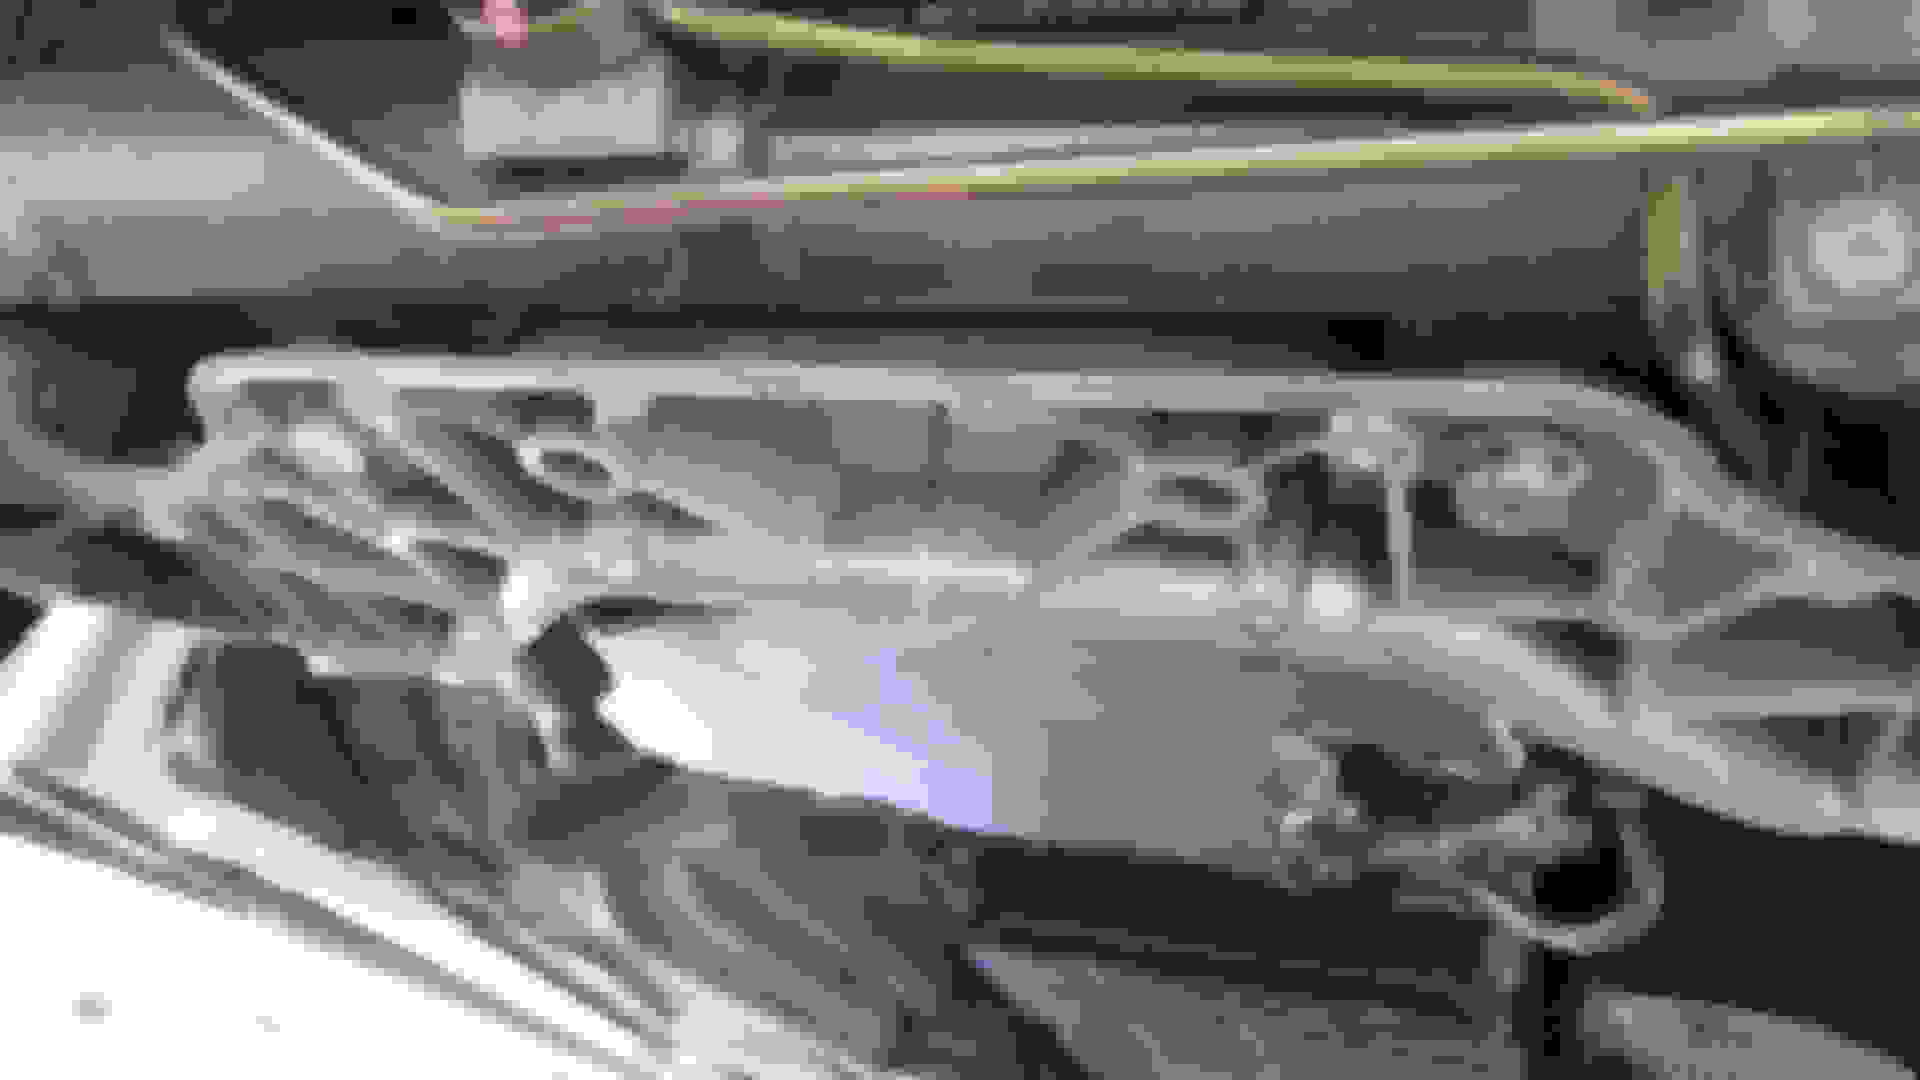
2. With the car up on ramps, this (below) is what the bottom retainer plate looks like with the front engine cover removed.
Note the small T30 torx screws ... there are eight(8) of them, two of which are located in the far rear corners that are hidden by the rear engine/tranny cover.
Note the two 18mm bolts with the heads fully visible. These hold onto bottom retainer plate and also screw into the top retainer plate to add stiffness to the assembly..
Note the other two 18mm bolt heads that are almost hidden within the holes in the bottom plate ... these are the bolts that are holding the rack. They do not touch the bottom retainer plate.
Btw, the engine/tranny covers are held on by 8mm hex head screws ... 6 for the front cover, and 4 for the rear cover.
3. With the rear engine/tranny cover removed, below is the view of the bottom retainer plate from the rear.
Note the torx screws in the far rear corners that were hidden by the rear engine/tranny cover.
(And please ignore the oil stains on the bottom of the oil sump ... that may be a rear main seal leak in the making ... ugh!)
4. Remove the 8 torx screws and the two center bolts, and the bottom retainer plate falls off. Now the front of the rack is exposed for you to get to the bushings. You can see the flange of both bottom bushings here.
5. Remove the two bolts holding the rack, and feel up above and pull out the top retainer plate. The photo below shows the top side of the retainer plate.
... and this is the bottom side of the retainer plate.
6. With the bolts out, the rack is loose and can easily be pushed up about an inch. The bushings are just wedged into the rack mounting tabs. Use your favorite pry tool (I used a narrow wood chisel) to pry the lower bushing down and out. It doesn't take much effort at all. This is the passenger side of the rack.
... and this is the driver's side of the rack.
7. A trick to remove the top bushings ... since there is a metal collar in the bushing, simply place a punch up the bolt hole and tap it a few times firmly with a hammer. The top bushing will pop right out without that much effort.
Fyi there is plenty of room to fit a medium sized hand up top of the rack to grab the bushings as they come out, and to press the new ones in.
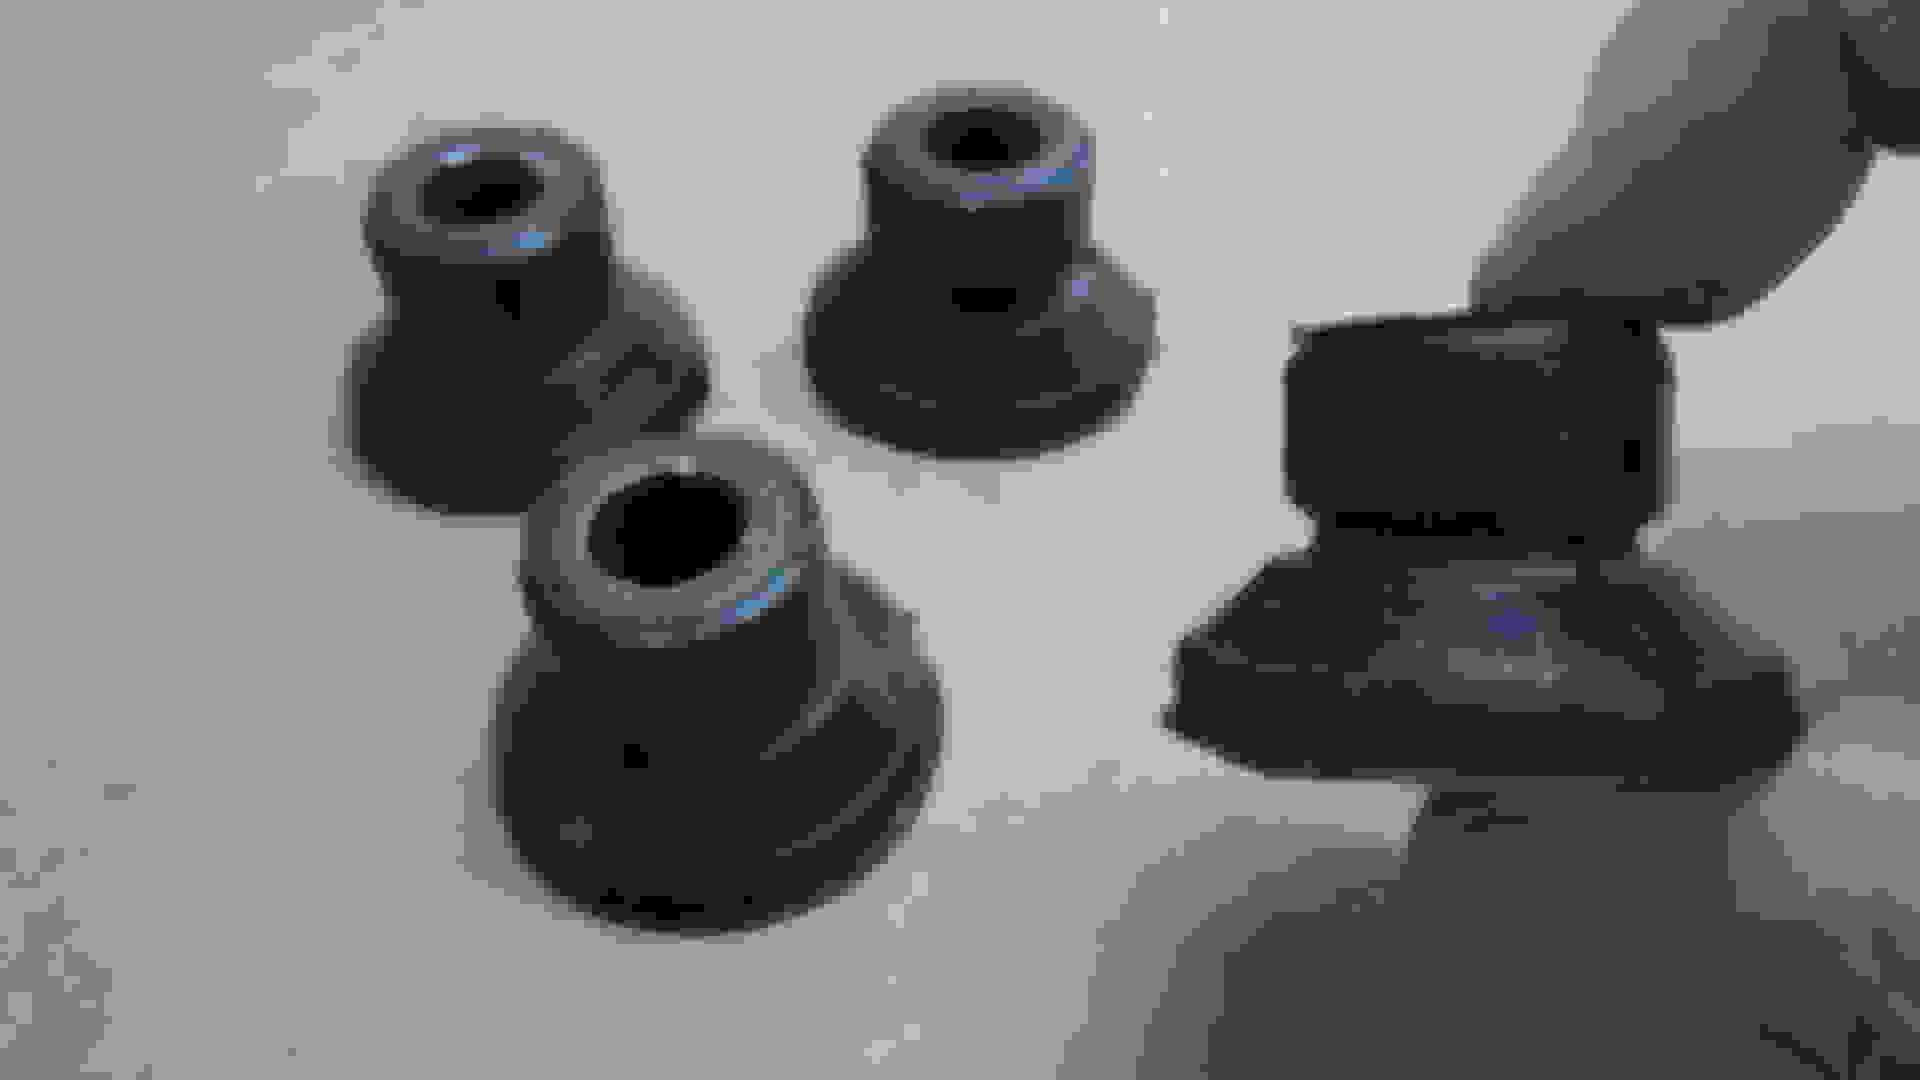
7. comparing old bushings on the left and new bushings on the right ... the old ones still look brand new, don't they? However look at the diameter of the neck. The new bushings are much fatter. The old rubber has hardened into it's shape over the years, and is now giving a bit under load. The new bushings won't do that.
8. Now, lube up the new bushings with a bit of silicone grease and push them into the rack. Again it doesn't take much effort to do this with your fingertips.
9. Insert the top retainer plate back on top of the rack, thread in all four bolts loosely so you can get the top retainer plate in place (this takes a minute or so of finageling), and then tighten the two rack mount bolts to snug for now.
10. Remove the two bolts that are not holding the rack, hold the bottom retainer plate in place, and reinstall the two bolts. Leave loose enough to shift the bottom plate around, until you get all of the torx screws in place and hand-tight.
11. Torx screws should be tightened firm but not torqued, and the bolts should all be torqued to 63 ft-lbs. Fyi the screws may be aluminum, and I snapped the head off of one when installing them last time. This time I put a touch of silicone grease on each screw before installing it so I wouldn't have that problem again. These screws don't hold a whole lot, and I doubt they will ever come loose.
12. Replace bottom engine/tranny cover(s). The 8mm hex head screws go into weak clips, so tighten these screws to snug only! If you over-tighten them you will strip the clips and have to purchase new ones.
13. done.
===
Here is another closeup of the old bushings ... again they look pretty much new, but the rubber has hardened to shape over time.
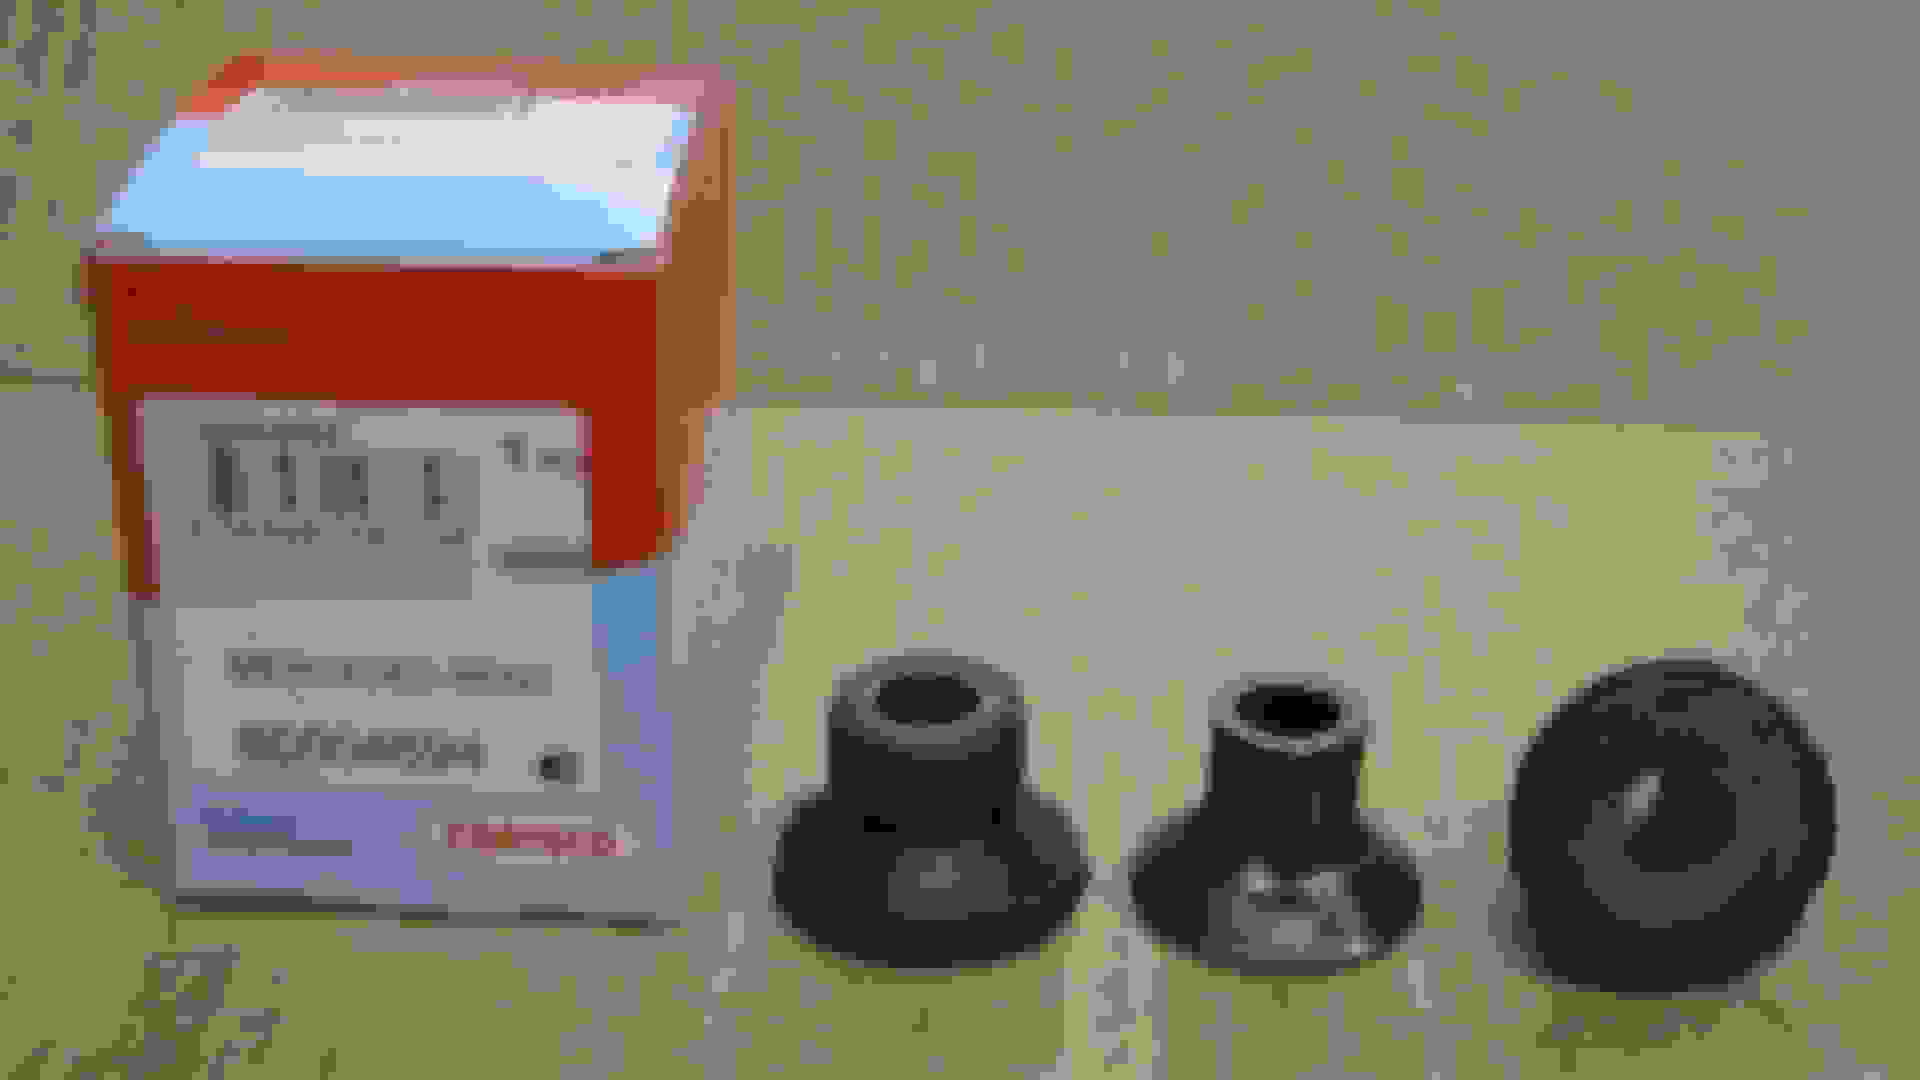
Here's the box that ONE new bushing came in. Large box, small bushing. Fyi the bushings in the photo are the old ones -- I ground away the rubber on one to see what the metal looked like underneath. Surprised to find a taper on it -- but that matches the mounting hole in the rack which also has a large taper on both ends. This should give you a really good idea what these are, how they wil fit, and how to pry them out.
That's about it. Please post any questions you have.
"With the bolts out, the rack is loose and can easily be pushed up about an inch." <== I thought that it takes some muscle to lift it up. Especailly, one hand to lift the rack up while another hand to pry out the bushing. I wonder if a lift to hold the rack would help (or complicated the task)?
And, how long and how thick the punch bit required?
"With the bolts out, the rack is loose and can easily be pushed up about an inch." <== I thought that it takes some muscle to lift it up. Especailly, one hand to lift the rack up while another hand to pry out the bushing. I wonder if a lift to hold the rack would help (or complicated the task)?
The rack weighs about two pounds. It takes zero effort to lift it. It's movement is a bit obstructed by the linkages that are still attached, but it's like moving one of those articulated desk lamps. The only thing I would say is that it's a bit awkward to hold it up in position while you get in there with the pry bar, since you have to push in on the edge of the bushing in order to catch the metal lip to pry down on. again this just takes a few tries and then you'll see how easy it is to jimmy the bushing out. This is of course in California where the weather is nice. I don't know if snow/salt regions will have sticky bushings. Mine just popped out after I pried them down a half inch or so.
Originally Posted by vr2whf
And, how long and how thick the punch bit required?
It doesn't really matter. I used a thicker one, 1/4" maybe. you want it to be small enough relative to the bolt hole in the subframe so that you can angle the punch to push on the collar. A thick blunt nail will probably work too. Like when you put the lid back on a paint can by tapping a hammer around the edges, you pop out the top bushing by tapping around on the metal collar. Check out the picture and you can see the thickness of the collar. Remember the top bushings are facing upside down.
did you notice much of a difference when you drove the car?
Yes, a very noticable difference. I made some comments at the very beginning of my post. The steering is tighter all around now. These systems are evidently extremely sensitive to movement, so even 1mm play in the steering changes the way the car feels and steers.
2019 C300 Wagon; '75 Triumph TR6; previous: 2004 C230 6spd sold after 17 years of driving
Originally Posted by jkowtko
Yes, a very noticable difference. I made some comments at the very beginning of my post. The steering is tighter all around now. These systems are evidently extremely sensitive to movement, so even 1mm play in the steering changes the way the car feels and steers.
sorry I missed that as I was in awe by all the pictures and detailed DIY. Great job in detailing the procedure
Your car looks brand new underneath, the joys of driving in a salt free environment. Obviously you never experienced the challenge of removing rusted nuts and bolts or snapping them off and having to drill out and re-tap, usually doubling the repair time!
Your car looks brand new underneath, the joys of driving in a salt free environment. Obviously you never experienced the challenge of removing rusted nuts and bolts or snapping them off and having to drill out and re-tap, usually doubling the repair time!
I went to school in Boston, had the pleasure of owning two rust buckets during my college years Loved the way those car doors open up across the bottom, and the fenders develop their own air vents. I certainly don't miss those experiencees
Great DIY, man! I really appreciate the detailed photos of the job. Will be doing this next, only difference is I bought FEBI brand; only $5.69 a pop on eeuroparts.com.
Thank you.
Cheers!
Last edited by Norsk_Johnson; 01-24-2016 at 08:17 PM.
I don't have any experience using FEBI for Suspension and/or Mounting purposes yet. I have, however, used a FEBI branded timing chain tensioner element when I did the timing chain job last last month. It was of very high quality and looked EXACTLY like the element I removed from the engine. Engine is purring like a kitten thus far.
Therefore, I put great trust in the the brands' quality. When I receive them, I'll take side-by-side photos for this thread, for comparison purposes.
With rubber (bushings, mounts) it's hard to tell by visually inspecting the rubber ... the problem with Honda aftermarket rubber parts is that they get hard and brittle and crack too soon (like 1-2 years instead of 8-10 years or longer), and that they often are too stiff to begin with, producing a harsher ride. Corteco makes a big point about their rubber composition having the right elasticity and endurance vs cheaper aftermarket rubber.
Fyi, this is a big issue with Honda ... no good aftermarket rubber parts mfgs, so you either get Honda OEM brand, or you hit-or-miss with the aftermarkets (and from what I've heard, it's "miss-or-miss"!) There are plenty of Honda owner stories of motor mounts and control arm bushings going bad after several months. And unfortunately Corteco and Lemfoerder aren't regular suppliers of Honda parts.
Taking 2 minutes to poke around ...
* Febi is a 170 year old company, so we can assume some level of quality of parts manufactured in-house if they've been around that long
* I found a forum who's poster claims that Febi does more repackaging than original manufacturing, and that some of its parts are made in China (vs Corteco which I believe whose parts are largely made in Germany)
I know Febi sells some fluids for less than the reigning brand, but again I don't know if this is repackaging.
Worst case, you have bushings made in China and the rubber isn't up to standards, you may be replacing these again within a year or two. If you are okay with that (the replacement procedure should take you only a couple of hours the first time, and probably half that the second time around. Then your feedback on how the Febi bushings last for you will be helpful to forum members
Very good to know, I did a little research myself. I'm at work now, so I don't know if I can dig as much as I want. When I receive them and install, I'll definitely make sure to provide updates and/or photos of my experiences with the product. It's the least I can do for my MBWorld family.
I'm right there with you guys....except that I'm doing a major front end refresh. I went with Meyle for the rack bushings, but the rest of the parts are a mix of Lemfoerder, Febi and MB. Doing this next week, got a bunch of days off from work...
Believe it or not that there is close to $600 in parts....robbery....
Fyi as for price, my control arms were all Lemfoerder ... $100 each. No way around that. However the labor savings for all of this is pretty significant.
I'm right there with you guys....except that I'm doing a major front end refresh. I went with Meyle for the rack bushings, but the rest of the parts are a mix of Lemfoerder, Febi and MB. Doing this next week, got a bunch of days off from work...
Believe it or not that there is close to $600 in parts....robbery....
Yeah, you've got your work cut out RWD. Those components are not cheap when purchased OEM. This'll be next on my list once it's warmer outside.
Only reason I'm doing the Steering rack bushing now is because when we removed the oil pan to find the missing metal pieces on the chain job, the guy had to remove the rack to pull out the pan. So, consequently, I think he failed to examine the bushings before reinstalling the rack; only reason I say this is my steering has a little more play in it now, I hear something bouncing when going over bumps, and when it's colder out, there's a worn-out rubber sound when turning the wheel all the way on both directions at a stand-still.
Fyi as for price, my control arms were all Lemfoerder ... $100 each. No way around that. However the labor savings for all of this is pretty significant.
Struts and shocks coming next...I checked the inner tie rods couple of months ago when I replaced a torn boot, they are still solid.
Just looked up the inner tie rods, under $20 each for Lemfoerders, now seems impractical not to change them out with the amount of dis-assembly involved...
Just looked up the inner tie rods, under $20 each for Lemfoerders, now seems impractical not to change them out with the amount of dis-assembly involved...
It bothers me that Lemfoerder is so cheap on this particular part. FMCEuro has them for $19 each. However MB Genuine is only $31 each, so I will get those when I replace my inner tie rods.
My rule of thumb -- the Mercedes is a quality car, so anything that you replace less than once every couple of years you should get MB Geniune parts if they aren't outrageously more expensive. I made the mistake of getting Corteco strut mounts for $45 each when I could have bought MB for $80 each ... the Corteco mounts did not come with the circular bearing in them so I had to reuse my original bearings. Now two years later I'm feeling that those mounts aren't completely up to snuff, and wishing I had just paid the extra 80 bucks.
Yeah, you've got your work cut out RWD. Those components are not cheap when purchased OEM. This'll be next on my list once it's warmer outside.
Only reason I'm doing the Steering rack bushing now is because when we removed the oil pan to find the missing metal pieces on the chain job, the guy had to remove the rack to pull out the pan. So, consequently, I think he failed to examine the bushings before reinstalling the rack; only reason I say this is my steering has a little more play in it now, I hear something bouncing when going over bumps, and when it's colder out, there's a worn-out rubber sound when turning the wheel all the way on both directions at a stand-still.
Again, will keep you guys posted.
We forgot about sway bar links ... replace those too!
Regarding rubber creaking sound when turning the wheel. I believe this is the top hat rubbing inside the body mount. As you turn the wheel the front suspension geometry changes, affecting the angle of the strut with respect to the car. So even though the top strut mount doesn't turn with the wheels, it does pitch and yaw some. the rubber might be moving inside the mount cavity. Fortunately you can try greasing it up by removing that top bracket, jacking up the car, and letting the strut fall down a bit out of that cavity. Then you can reach in and slather it with rubber-friendly grease.
 07-19-2014, 08:06 PM


 ,
,


 Loved the way those car doors open up across the bottom, and the fenders develop their own air vents. I certainly don't miss those experiencees


