My AUX-cable doesn't fit?
#1
Junior Member
Thread Starter
My AUX-cable doesn't fit?
I was looking forward to installing my AUX-cable that I ordered from a reputable MBZ- web shop, but it won't fit into the pre wired AUX outlet in the door sill.
This is the hidden AUX outlet in the door sill.
And this is the second cable I ordered with the connector that doesn't fit, what is the problem? My car is an -05 if that's any help. Is there maybe a way to cut the connector off and splice together the cables to the door sill connector? Or maybe connect it to the back of the head unit?
#5
MBWorld Fanatic!
IMHO it looks like that connector is for plugging into the back of the HU.
There should be no problem splicing the connectors, just need to figure out which wire is which (there are what, 3 wires in that mini-jack plug?)
#6
Junior Member
Thread Starter
You are absolutely right and I feel like an idiot right now. Of course the cable was for the back of the HU..
I'm not 100% sure, but I think there is 3 cables going into the mini-plug.. not sure about which colors though. Any idea on how to solve this or do I have to remove the HU this weekend?
#7
Junior Member
Thread Starter
Okay guys, so I removed the HU tonight but I didn't get it to work.
The picture below is the original instruction and it looks simpel enough, right?
This is the best photo of my HU I could get. Crappy iPhone..
This is how easy the install should be. Just plug and play.
So.. has anyone done this before? I got everything to work except for the sound.. it said 'AUX input active' but I couldn't listen to any music.
Radio works fine though!
Best regards.
Trending Topics
#9
Junior Member
Thread Starter
My other option is to buy a 80$ cable and go the standard route through the door sill, but that would feel like a personal defeat since I already bought two cables.
But what if I cut the white connector of the cable in the door sill, and also do the same to one of the aux-cables? Wouldn't it be possible to solder (or to be realistic - use tape and tape them together) and then connect them? There are 3 cables going into the AUX-cable, but I'm not sure how many cables there are on the one in the door sill (there is a 4-pin connector there, but I'm pretty sure there is only three cables). And if I manage to connect them it should work, right?
Here are some more pictures;
What are that purple and red cable infront of the gear selector? It looks like some sort of homemade connection..
#11
MBWorld Fanatic!
Wait... You had the AUX pre-wired in the passenger sill, right?
I thought it's either the one cable or the other though?
The original one is connected to the HU somewhere.
Conceptually I don't see a problem with cutting and splicing. You just need to try to connect them to figure out where is ground, left and right channels. So, say, connect to the music source and try two of the wires from the cable you bought to match with 3 wires in the aux pre-wire socket in the door. Then once you've found the ground, play with left-right balance and match which of the three wires is left/right.
Usually a simple test works to confirm it is even operational: switch to AUX input, volume to max,
And touch with your finger all the contacts on the pre-wire plug at the same time etc. you should hear static on the speakers.
Also that first picture it's probably a fancy fm transmitter. You should be able to connect using the 3.5 jack, but since you already have the aux cables and the console in pieces, might as well go for a better sound.
BTW, are the flaps in the back side of the top air vents looking like gum? I wonder if mine were like that from the heat or just the age..
Last edited by VVF; 06-29-2016 at 10:18 AM.
#12
Junior Member
Thread Starter
Wait... You had the AUX pre-wired in the passenger sill, right?
I thought it's either the one cable or the other though?
The original one is connected to the HU somewhere.
Conceptually I don't see a problem with cutting and splicing. You just need to try to connect them to figure out where is ground, left and right channels. So, say, connect to the music source and try two of the wires from the cable you bought to match with 3 wires in the aux pre-wire socket in the door. Then once you've found the ground, play with left-right balance and match which of the three wires is left/right.
Usually a simple test works to confirm it is even operational: switch to AUX input, volume to max,
And touch with your finger all the contacts on the pre-wire plug at the same time etc. you should hear static on the speakers.
Also that first picture it's probably a fancy fm transmitter. You should be able to connect using the 3.5 jack, but since you already have the aux cables and the console in pieces, might as well go for a better sound.
BTW, are the flaps in the back side of the top air vents looking like gum? I wonder if mine were like that from the heat or just the age..
I thought it's either the one cable or the other though?
The original one is connected to the HU somewhere.
Conceptually I don't see a problem with cutting and splicing. You just need to try to connect them to figure out where is ground, left and right channels. So, say, connect to the music source and try two of the wires from the cable you bought to match with 3 wires in the aux pre-wire socket in the door. Then once you've found the ground, play with left-right balance and match which of the three wires is left/right.
Usually a simple test works to confirm it is even operational: switch to AUX input, volume to max,
And touch with your finger all the contacts on the pre-wire plug at the same time etc. you should hear static on the speakers.
Also that first picture it's probably a fancy fm transmitter. You should be able to connect using the 3.5 jack, but since you already have the aux cables and the console in pieces, might as well go for a better sound.
BTW, are the flaps in the back side of the top air vents looking like gum? I wonder if mine were like that from the heat or just the age..
Honestly I put it back together again before I left the garage, so if I wanna do another try and find out where the door sill connector connects to the HU I have to dismantle it again. But it's ok, took about an hour the first time doing it and you only need a thin flathead screwdriver, a T15 torx and a LED light!
About you last question - sorry buddy but I didn't think about it at all. Could be my crappy iPhone who can't focus to save it's own life.. ^^
Anyway, thank you for the answer.. I will try your method, but what is the worst case scenario? Mercs don't like humans toying with their electricity..
Okay, a remote cable for the Dension FM reciever that the original owner mounted?
#13
MBWorld Fanatic!
Imo worst-case is aux burns out. But audio signals are pretty weak and you won't sit there for hours with incorrectly attached wires anyway.
You might find some "diy aux" threads where people fabricated their own harnesses, maybe there is some pinout info there.
Yeah, I thought it was pretty fun disassembling the console.
Had to do it twice because of a defective HU I got.
You might find some "diy aux" threads where people fabricated their own harnesses, maybe there is some pinout info there.
Yeah, I thought it was pretty fun disassembling the console.
Had to do it twice because of a defective HU I got.
#14
Junior Member
Thread Starter
Imo worst-case is aux burns out. But audio signals are pretty weak and you won't sit there for hours with incorrectly attached wires anyway.
You might find some "diy aux" threads where people fabricated their own harnesses, maybe there is some pinout info there.
Yeah, I thought it was pretty fun disassembling the console.
Had to do it twice because of a defective HU I got.
You might find some "diy aux" threads where people fabricated their own harnesses, maybe there is some pinout info there.
Yeah, I thought it was pretty fun disassembling the console.
Had to do it twice because of a defective HU I got.
Good idea man, I'm gonna google and see if I find any 'DIY AUX-cable' threads! There should be a few out there one would think!
#15
Junior Member
Thread Starter
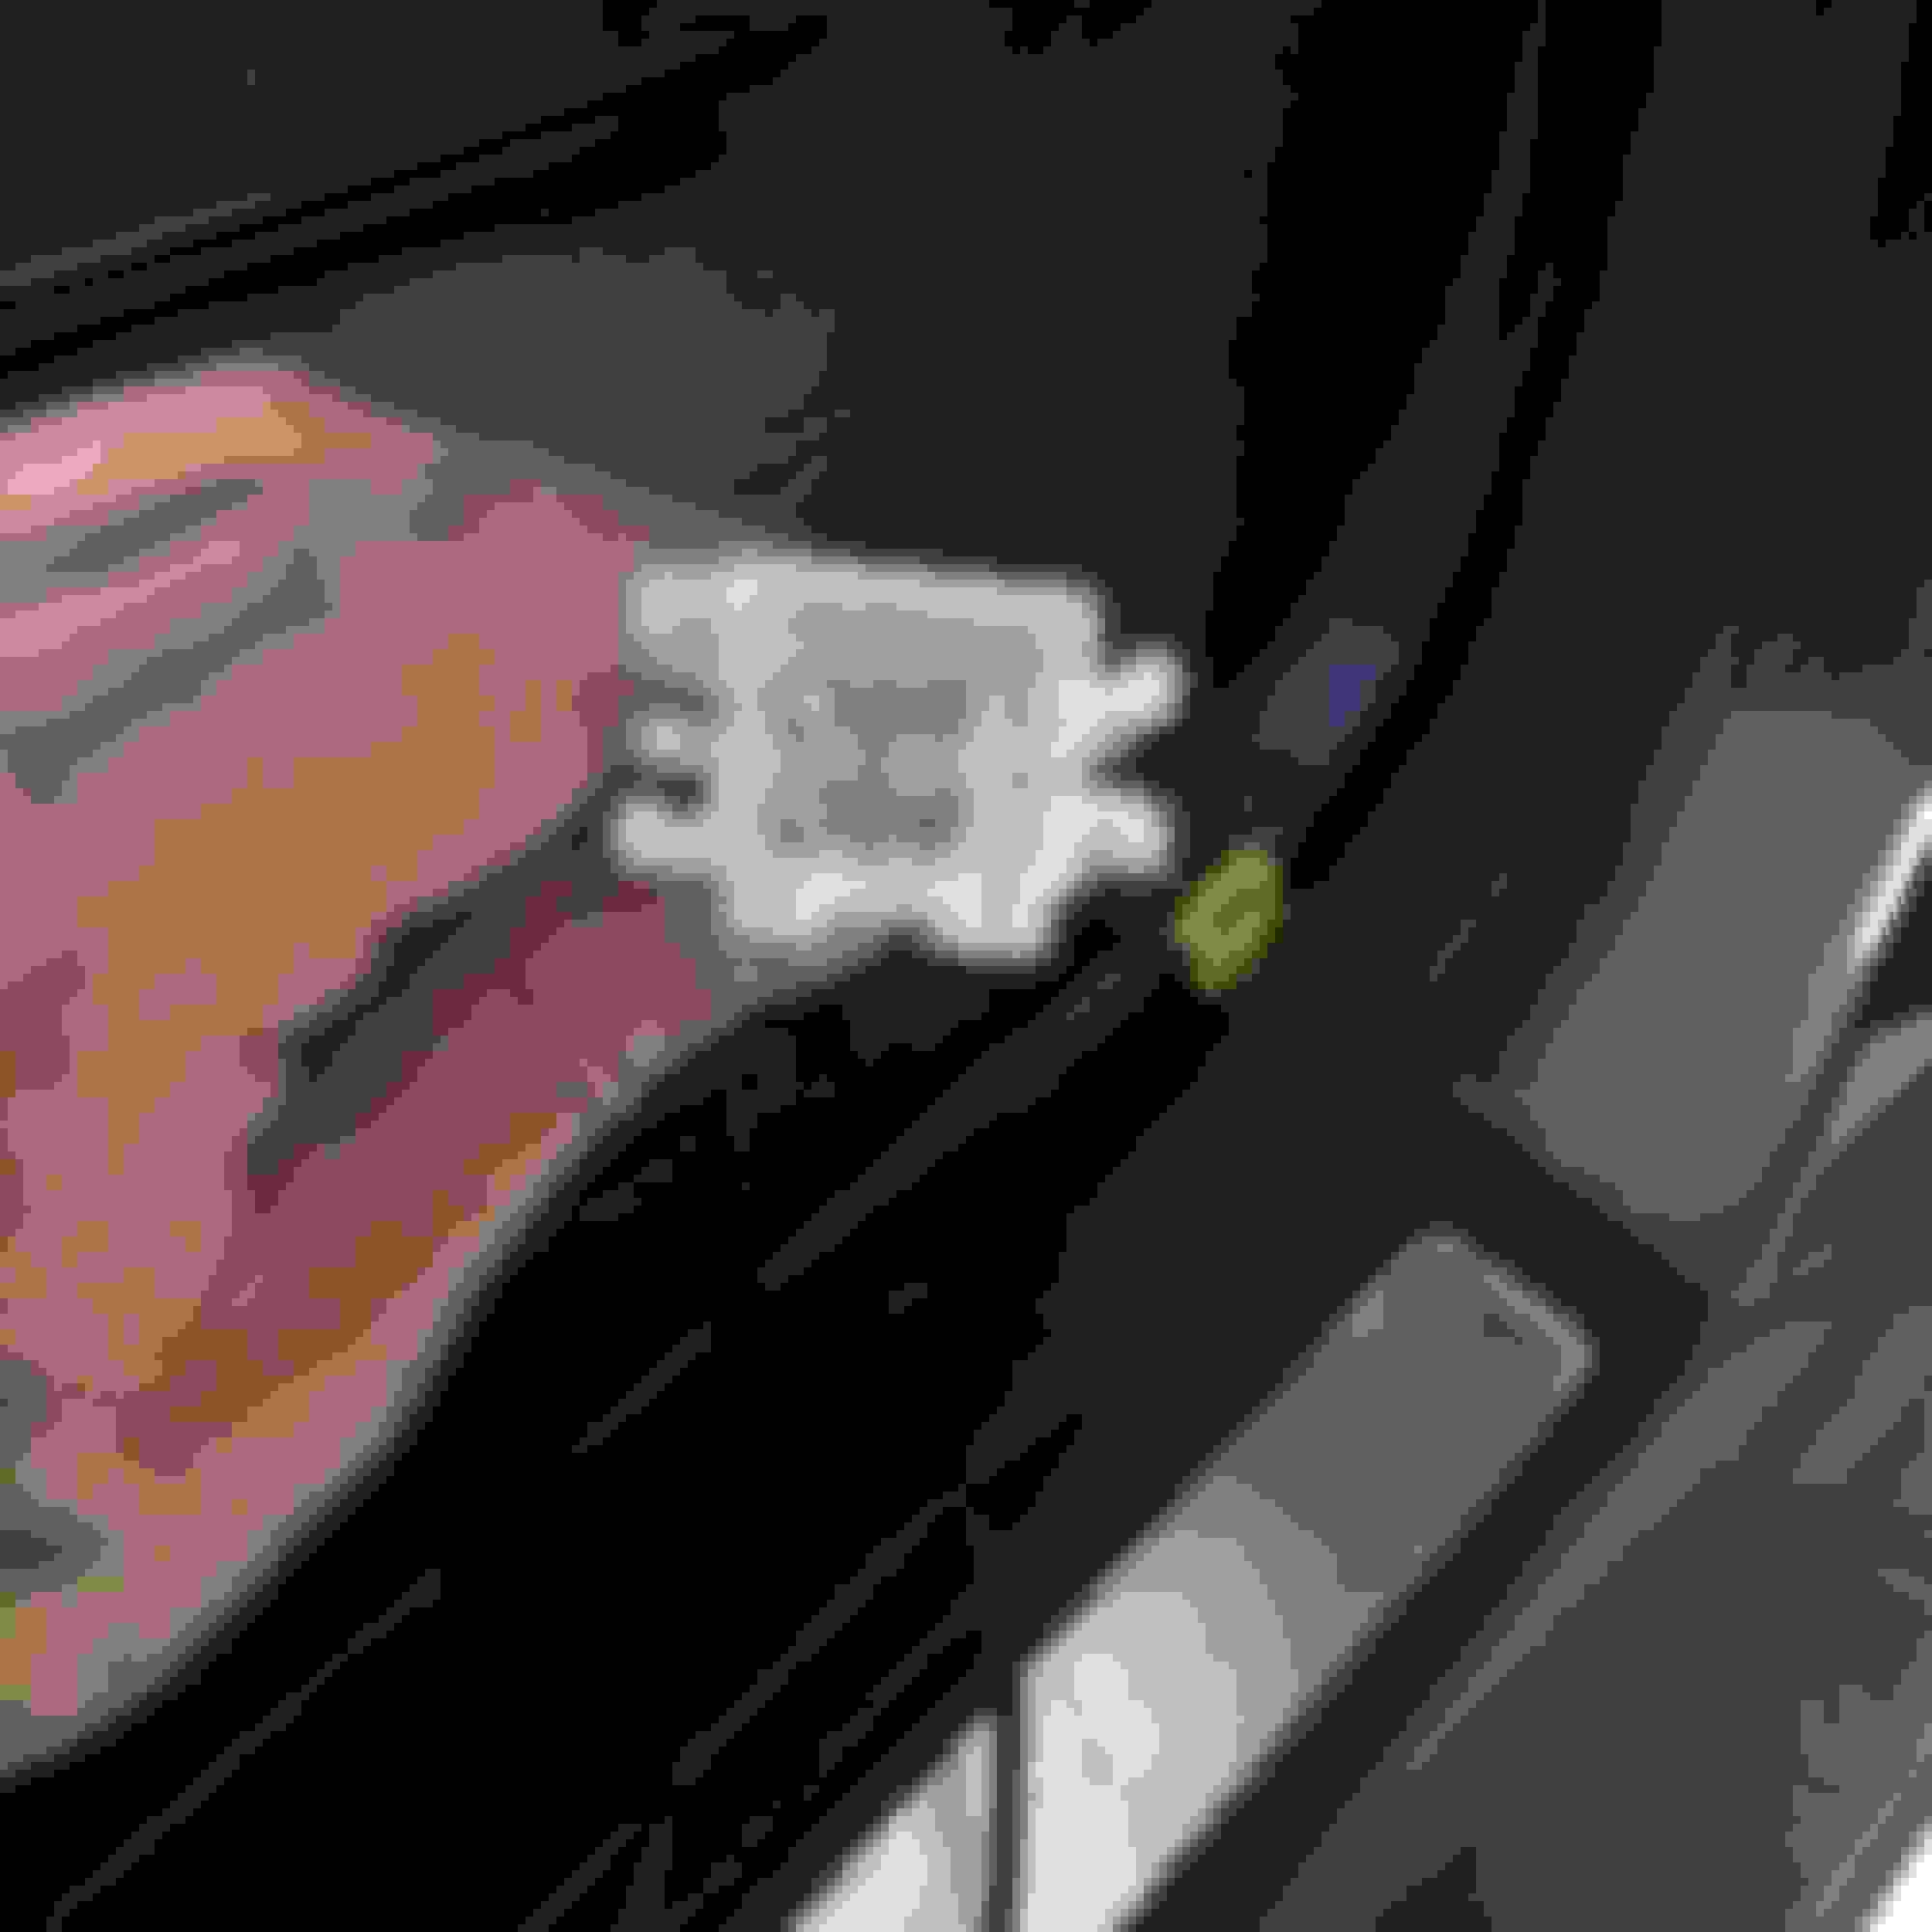
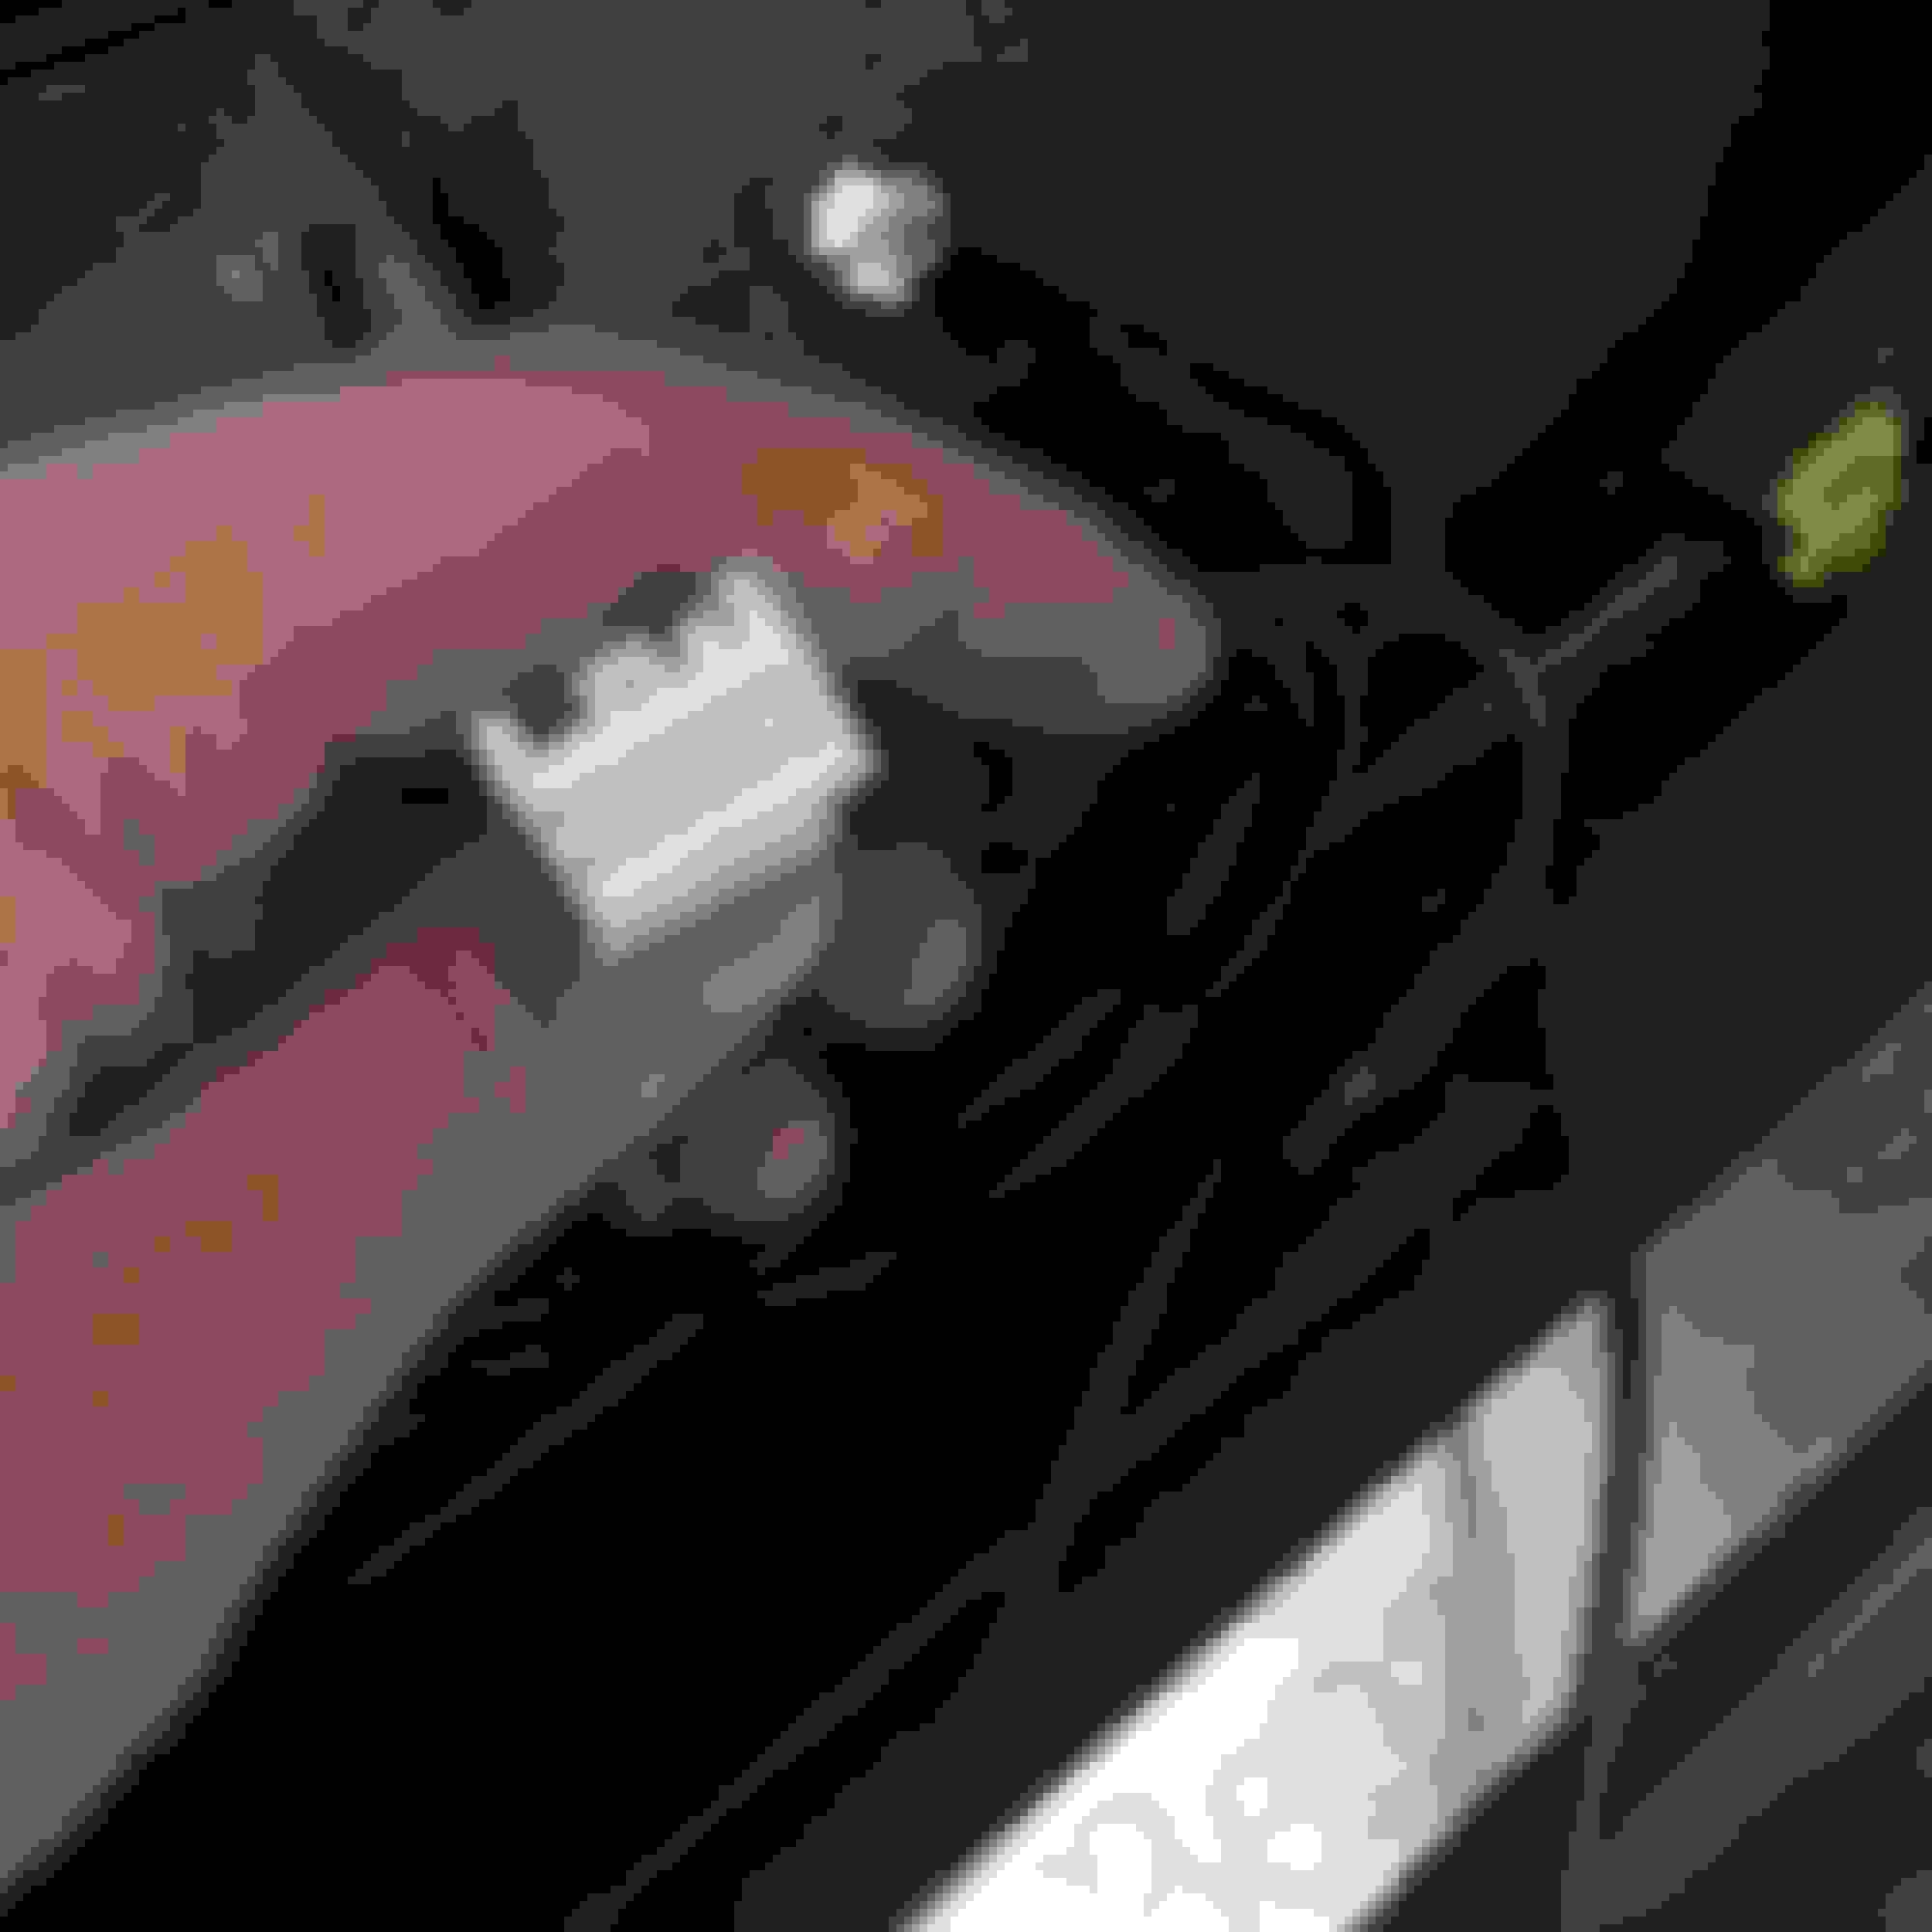
Today I found this picture of what seem to be the door sill AUX-cable, and this weekend I'm gonna cut of the white connector and see if I can wire it together with the HU-cable I managed to buy two times. The door sill cable on the picture has two black cables, one brown and one yellow.. so one of them will be of no use, right?
The problem is that the HU cable only has three cables (white, black and red if I remember it correctly), so there will be one cable over from the door sill cable (most likely a black one since there are two of them) and what should I do with that?
Last edited by Erik270CDI; 07-01-2016 at 09:52 AM.
#16
MBWorld Fanatic!
http://www.carstereo.com/help/carwires.cfm
https://mbworld.org/forums/c-class-w...e-warning.html
According to the thread, brown is ground (fig 3).
So it looks easy to check which are left/right. Connect the grounds (hu cable to door sill cable)and try the remaining wires to see which play(left/rgt), and which one is "bare".
Or you can try the touching two wires with a finger trick to be safer
Last edited by VVF; 07-01-2016 at 10:24 AM.
#17
Junior Member
Thread Starter
http://www.carstereo.com/help/carwires.cfm
https://mbworld.org/forums/c-class-w...e-warning.html
According to the thread, brown is ground (fig 3).
So it looks easy to check which are left/right. Connect the grounds (hu cable to door sill cable)and try the remaining wires to see which play(left/rgt), and which one is "bare".
Or you can try the touching two wires with a finger trick to be safer
https://mbworld.org/forums/c-class-w...e-warning.html
According to the thread, brown is ground (fig 3).
So it looks easy to check which are left/right. Connect the grounds (hu cable to door sill cable)and try the remaining wires to see which play(left/rgt), and which one is "bare".
Or you can try the touching two wires with a finger trick to be safer
Thank you for the reply! I will try it next time I'm in the garage!