When you click on links to various merchants on this site and make a purchase, this can result in this site earning a commission. Affiliate programs and affiliations include, but are not limited to, the eBay Partner Network.
I know there have been many threads about this topic, but through out my entire research, I never found a good description on how to pull the internals apart. I only have a few pictures, but I will do my best to describe how I actually pulled the parts from each other. This info may be very helpful to those who would like to paint the individual parts for that oem look and not have to mask or risk ruining the chrome finish on the parts that are not going to be painted.
Disclaimer: I am not responsible for any damage that may happen to your parts if you choose to follow these instructions. Use this guide at your own risk.
First off, you are going to want to wear surgical gloves. You can get a box from auto parts stores. This is to help prevent the oil from our hands from getting on the parts.
Once you have removed the headlight from the car, do the following:
- Remove blinker bulb with harness
- Remove high beam bulb
- Remove low beam bulb
- Remove eye lid bulbs
- Use masking tape to cover all bulb openings
- Preheat oven to 220 degrees Fahrenheit
- Line a medium to large flat oven pan with aluminum foil
- Place headlight on center of pan on the lowest shelf of the oven with lense facing the rear of the oven
- Let bake for 10 minutes
- Pull the headlight out with oven mitts so you don't burn yourself.
- Using a flat head screwdriver, start at the outside corner of the lense and slowly pry the lense away from the housing
- Once you have enough of the lense pull away, work the lense slowly away with your hands
- Be careful not to get any of the butyl (sealant) on the lense
- If need be, you can heat again for another 8 minutes...but in my experience, once is enough
Now for the fun part...This is how you part the "Lighting Fixture" out of the housing and apart. It is important you follow these steps in this order.
TIP: Good lighting is valuable during this process!
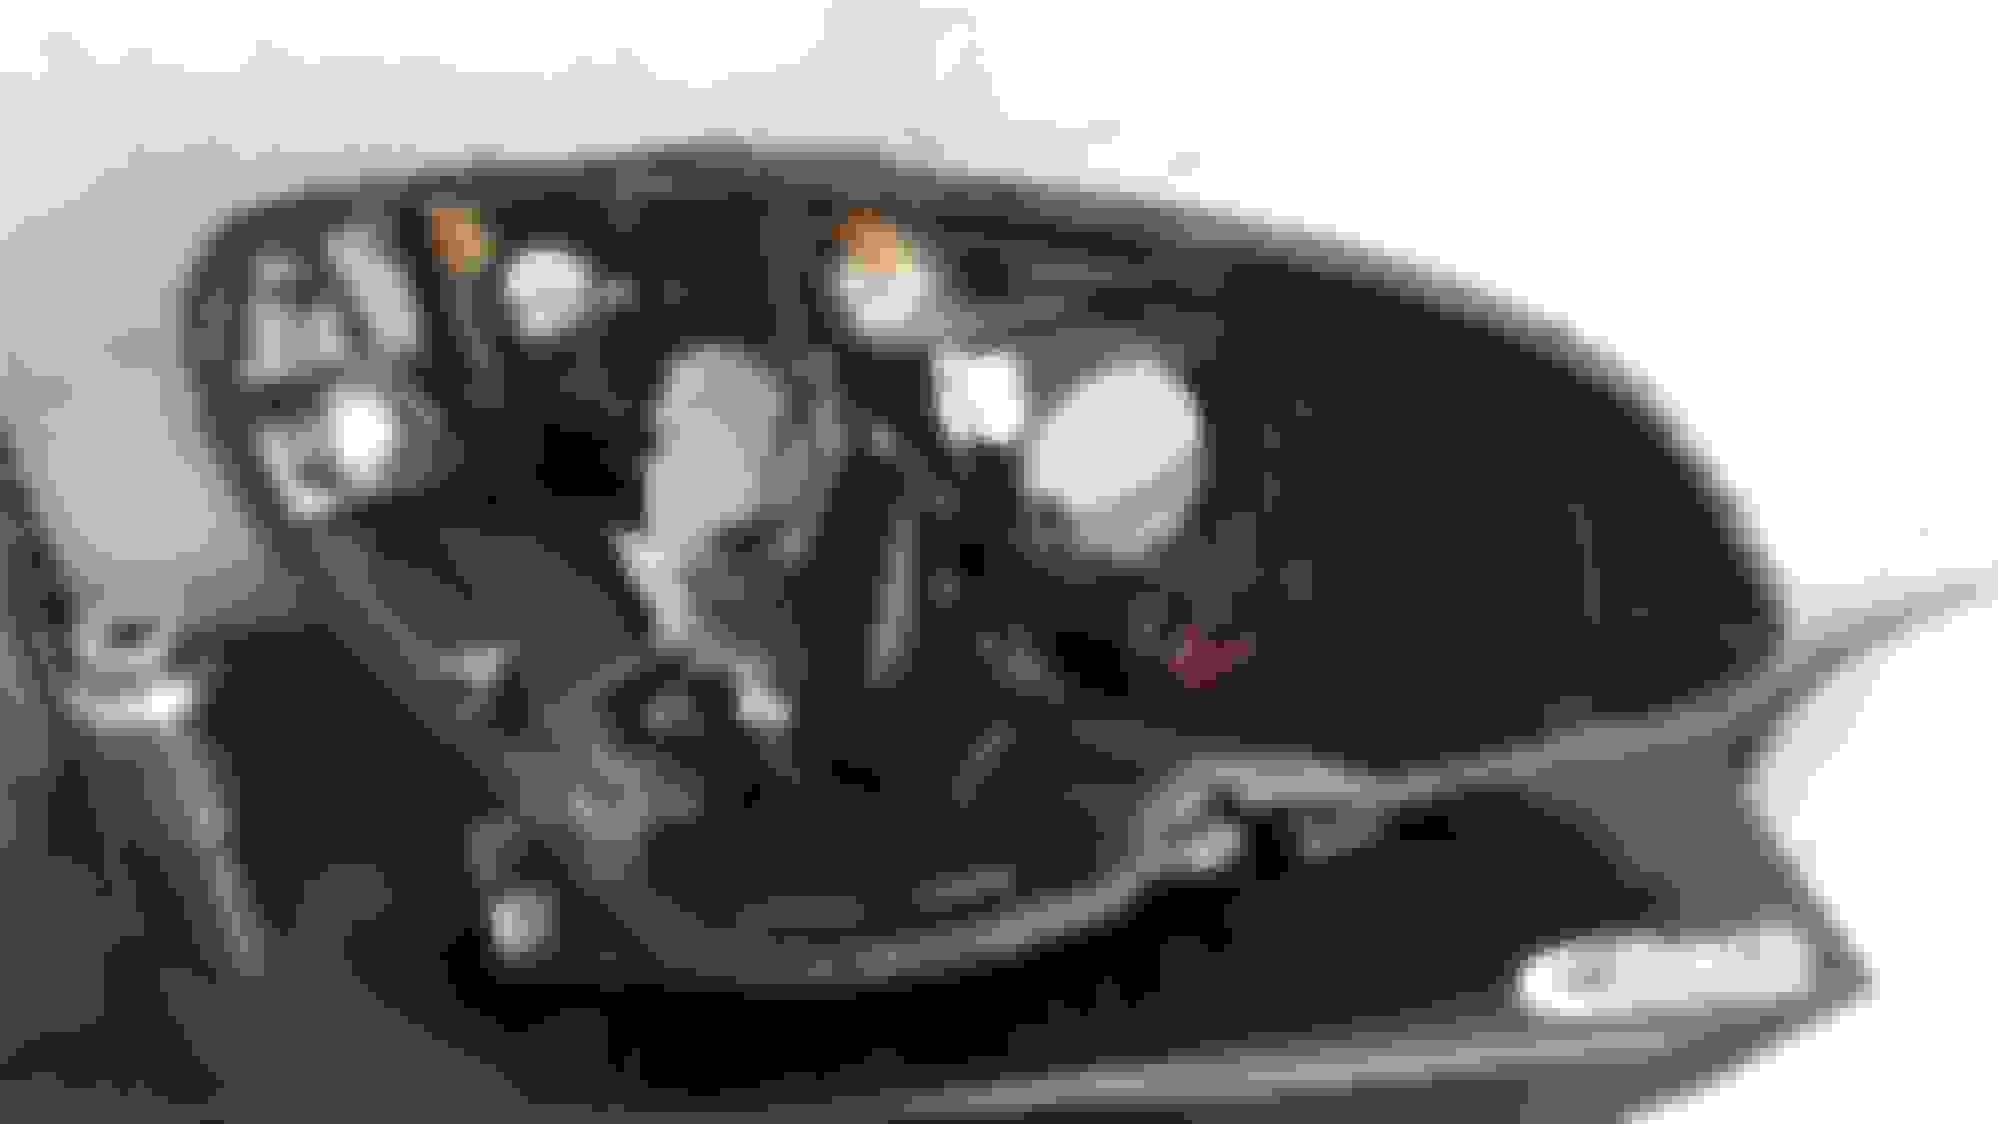
There are three connection points holding this fixture in there. A ball joint at the bottom, a rotating ball joint in the back center and a vertical sliding ball and sleeve in the back near the rotating ball joint.
- With a flat head screwdriver, place the tip in between the sleeve and the base of the ball joint and slowly rotate so the sleeve starts to slide off of the ball joint....it is the ball joint located at the bottom of the housing. Once you have the sleeve slid about half way from the ball, you should be able to carefully pull away from it. TAKE YOUR TIME!
- The second will be the back center ball joint. With the lower joint free, you can move the fixture in a such a way to where you can reach the screw that holds the sleeve onto the back of the fixture through the large bulb opening in the back. Remove this screw.
- The last thing to do is carefully slide the rear of the fixture upward to release the vertical sleeve from the ball peg in the rear.
I know this all sounds confusing, but once you are in there and looking around, you will see exactly what I am referring to.
Here are a few pics...
Lower rear vertical sliding post, 3rd thing to be disconnected
Lower ball joint post, 1st thing to be disconnected
Upper center ball joint, 2nd thing to be disconnect (unscrewed from fixture)
This will be continued on the next post...just need to take a quick break and to ensure this doesn't disappear from my computer haha
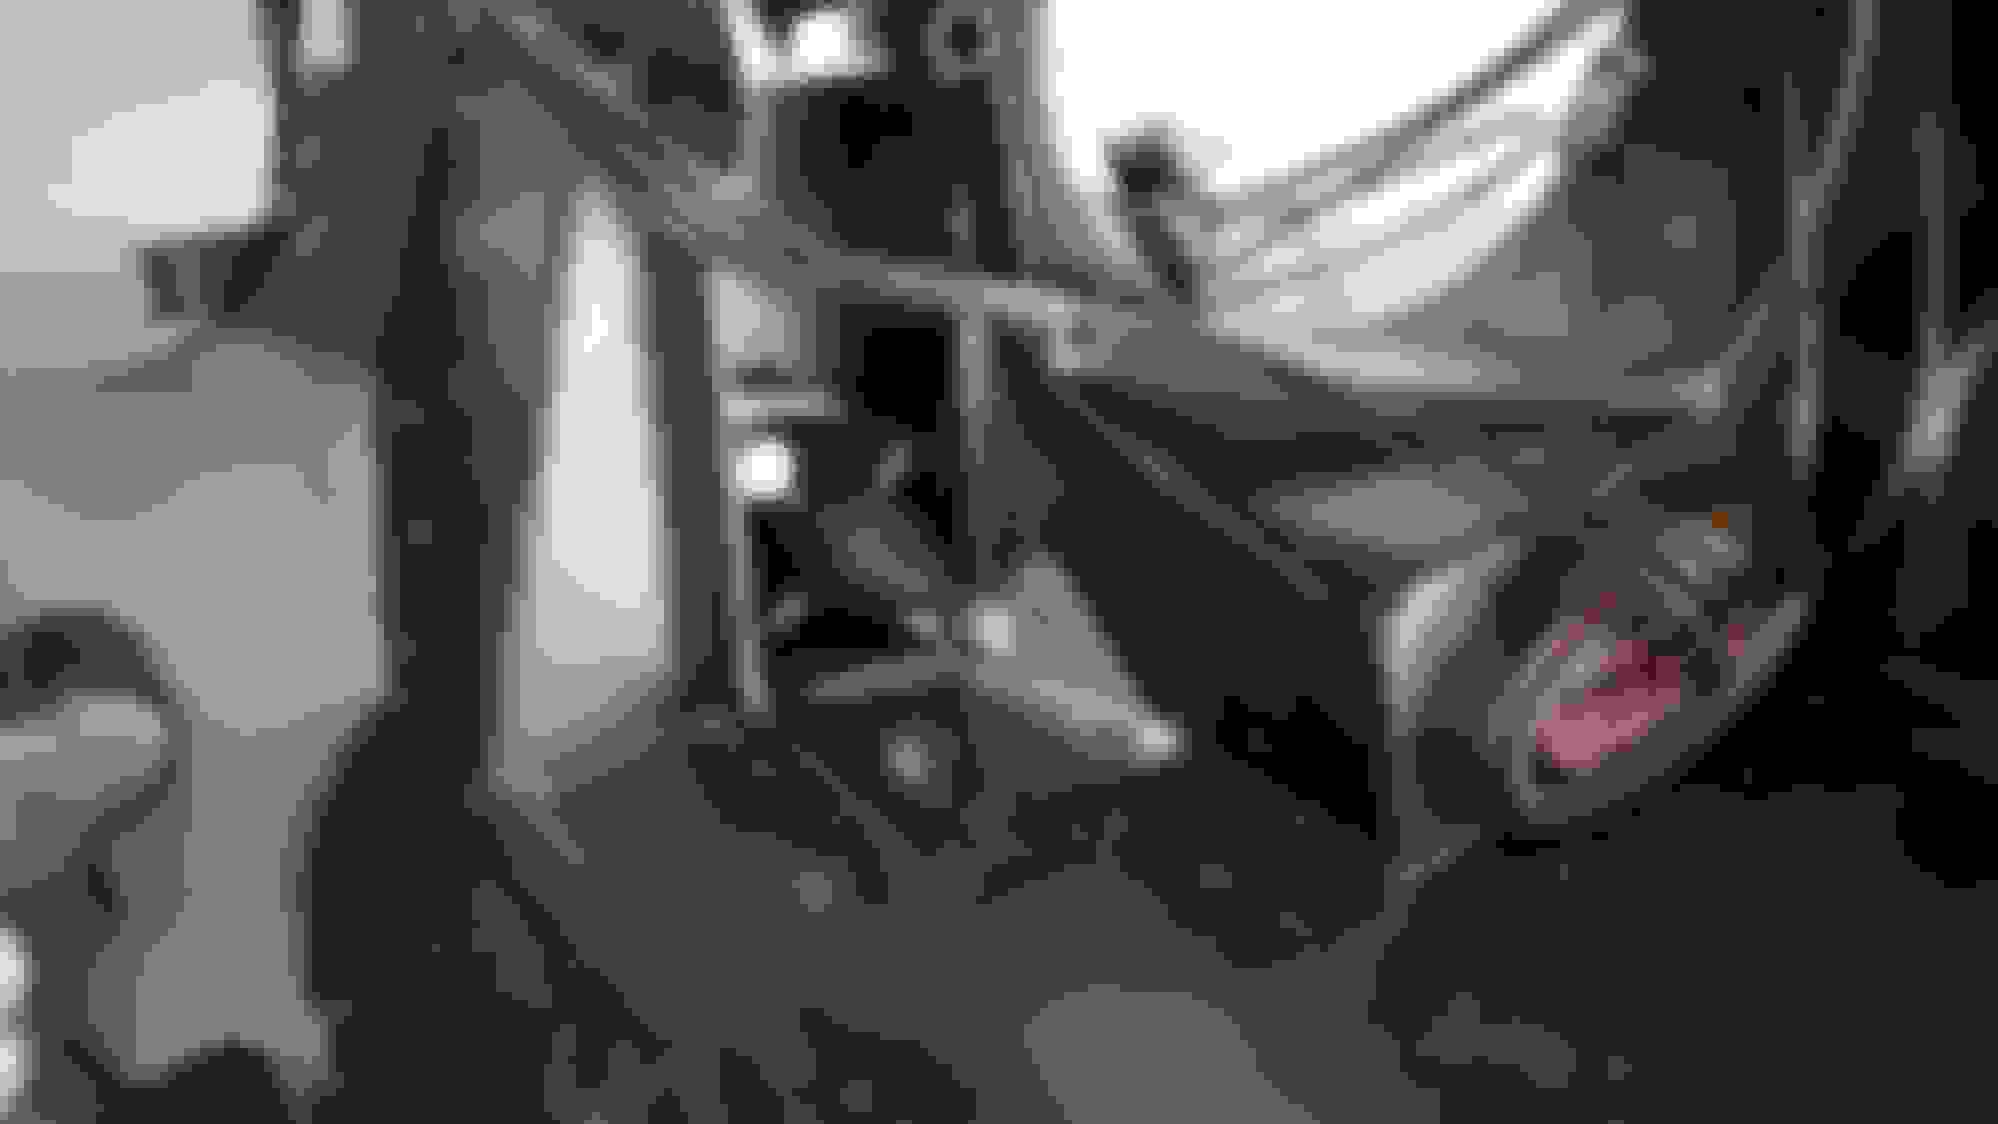
Once the fixture is removed, you will begin to see a series of screws...it is important to disassemble in this EXACT order.
- Remove projector unit from fixture...should be 3 or 4 screws holding it in place.
- Remove spider chrome trim that sits around the projector lense...some of the "arms" of this piece simply slide out, but some must be released. Inspect this trim piece from the inside to see which ones I am speaking of, should only be three, maybe four. All you need to do is use a small flat tip screw driver or similar tool and press in on release levers while carefully pulling that particular arm outward. TAKE YOUR TIME!
- Remove clear bracelet looking ring
- Remove three screws that sit behind projector...These are the ones that hold that front trim bezel to the rear trim bezel.
- Remove smaller lower trim piece. It is held on by four small screws.
At this point, everything should be apart.
Now, I am going to give you what I did to prep and paint my parts....but, feel free to use any painting technique you would like.
- Wet sand part with 400 grit wet sand paper
- Clean with microfiber cloth and use alcohol wipes to fully clean surface
- Wipe down again with a different microfiber cloth
- Apply 2 light sprits coats
- Apply 1 or 2 full coats (Depending on need)
- Be sure to wait at least 5 minutes between light coats and 10 to 15 between full coats
- Let the parts dry for at least 24 to 48 hours before attempting to reassemble
- Wait an additional 24 hours before baking the lense back on
Once the lense is baked back on, let the headlight sit lense facing down on a microfiber towel to allow fumes and gases to escape over night
At this point, you may or may not need extra sealant...apply as necessary.
You should now have a customer headlight ready for bulb installs and placement back on our car!
If I have left anything out or you have any questions...feel free to reply to this thread!
- Masking Tape (to cover bulb openings)
- Baking pan
- Aluminum foil wrap
- Silicone Sealant
- 5000 grit sanding pad
- Krylon plastic paint
- Surgical Gloves
- Flat Head Screwdriver
- Auto Glass Cleaner
- Microfiber Cloths
- Torx Bits - Should be a T15 and T25, maybe a T20 (Just have all of them just in case)
- Ratchet and extension (Preferably a quarter inch ratchet)
That should be about it. If I think of anything else, I will add it in.
No, just wet sanded with the 5000 grit, dried and cleaned with rubbing alcohol.
I would suggest using a scuff pad like ScotchBrite to scuff up the surface. It would ensure uniform pressure distribution and you would be able to get into every little nook and crevice.
With sandpaper you have the issue of applying more pressure at your finger tips and could leave deeper marks there. Also the problem with not scuffing every corner.
Good job though. I'm planning on doing this myself soon. I'm thinking of using plastidip to make it reversible.
I didn't use actual sandpaper, it was more of a 5000 grit pad...very similar to scotch bright, but let abrasive. It too allowed for me to get into the smaller areas. It can be purchased at Autozone. Plastidip is a good idea, although...the chrome on these parts comes off very easily...so if you ever decide to peel that plastidip off, you may end up flaking the chrome off as well. So if you may end up compromising the chrome anyway, then you may want to just go with the paint, because you will see a noticeable difference in finish between the plastidip and the paint finishes. Just something to think about.
 10-15-2015, 03:14 PM