When you click on links to various merchants on this site and make a purchase, this can result in this site earning a commission. Affiliate programs and affiliations include, but are not limited to, the eBay Partner Network.
Refreshing the B and C Pillars With Some Carbon Fiber
My 'B' pillars were looking rather worn. In fact, when I bought the car (Feb. 2011) I didn't even know the B pillars were supposed to be carbon fiber until I saw pictures.
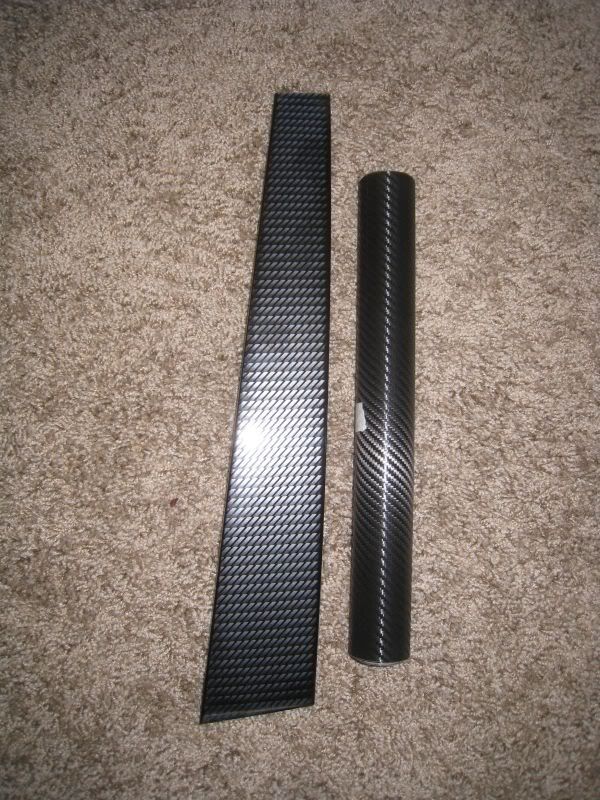
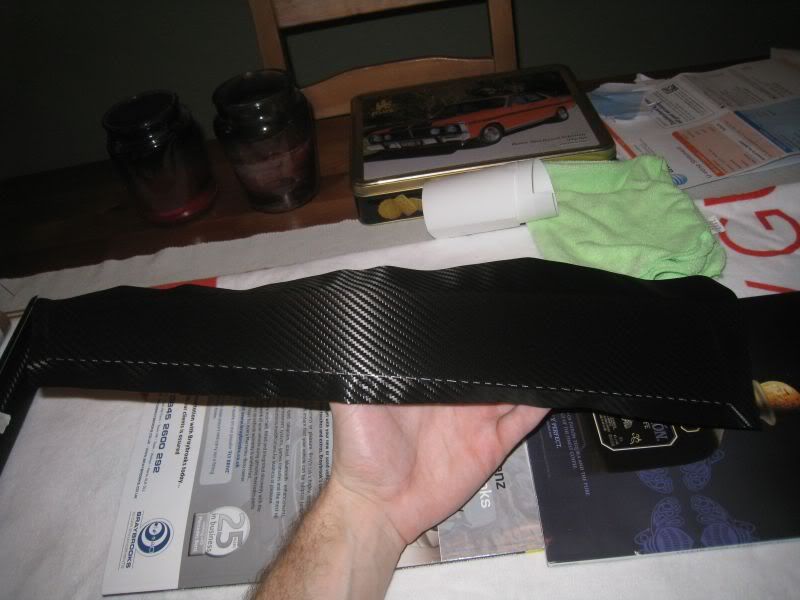
The item shipped superfast from CA. It arrived 2-days after I hit the BIN button. Anyhow, the product is exactly as advertised. It says '3M' on the back of all my pieces. It even comes with instructions and disposable cleaning packets. I'm really impressed with the quality of this product, it has a great, matte finish (gloss is also available) and a real, high-quality 'feel' to it.
Make no mistake, this IS NOT some cheap vinyl print w/adhesive backing, it's got some depth to it. Here's how it looks when you take it out of the packaging (sorry for the crappy cell phone pic):
Anyhow, I began by cleaning and prepping the surface of each pillar. I used Windex and followed with the aforementioned alcohol-infused cleaning pads. My last step was using a micro-fiber cloth with isopropyl alcohol (91%). You cannot clean the surface enough! Proper prep is key. Here are some pics:
Think it's clean? Use the alcohol pads:
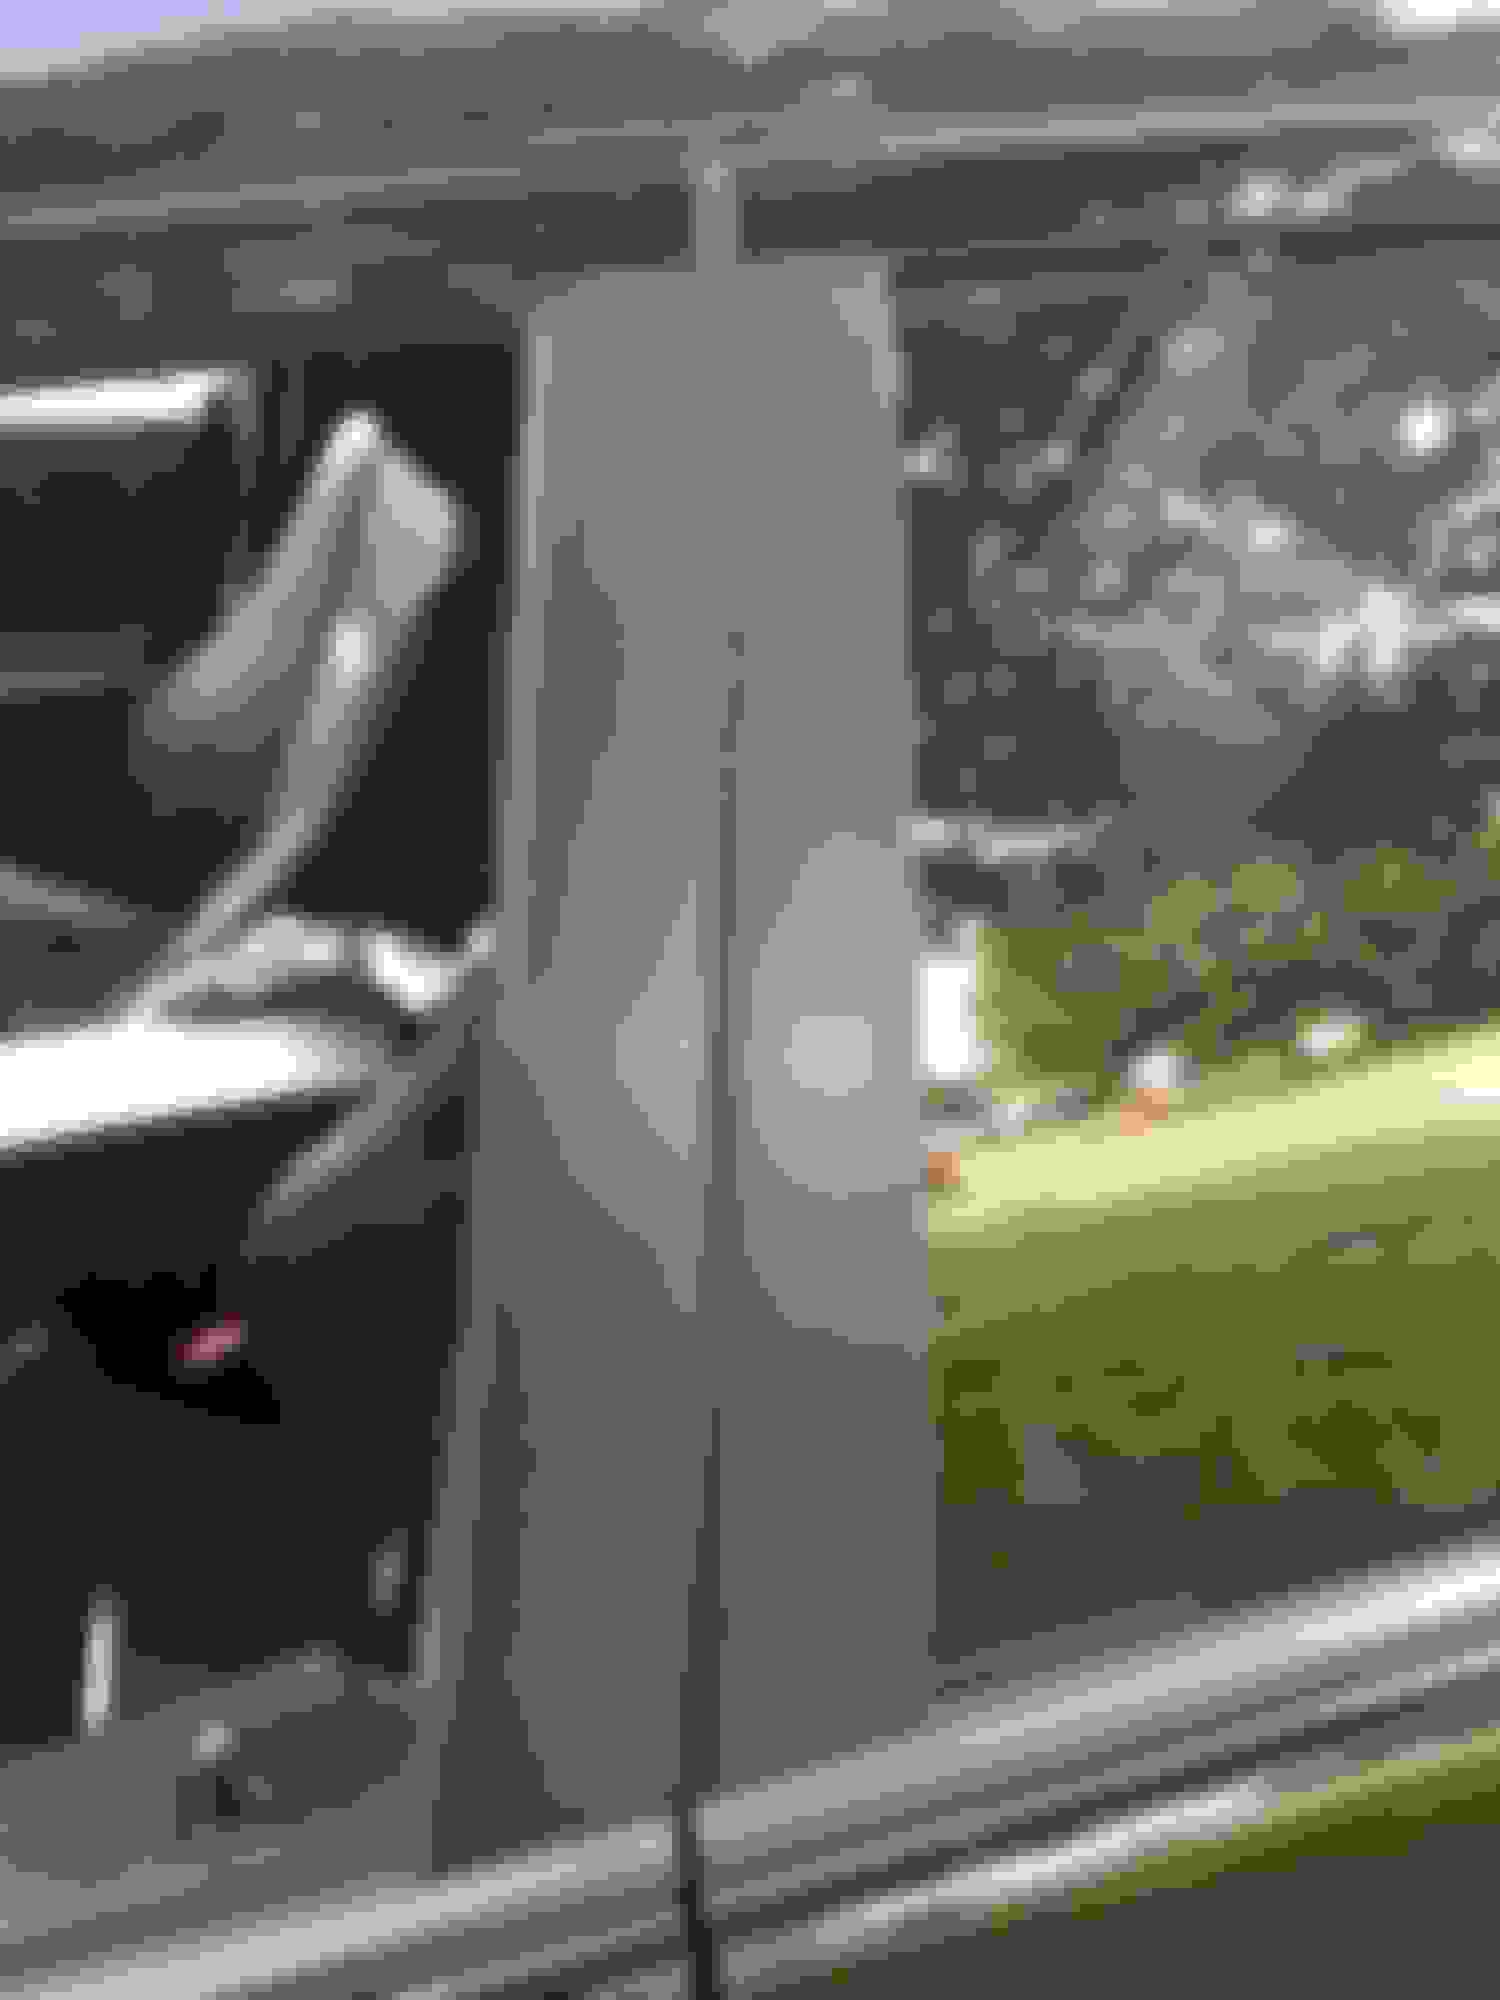
The "before" shot of my pillars:
Installation is pretty straightforward. Peel and stick. But make sure you trial fit a few times to give yourself an idea of how this works. I also used an old credit card to help 'squeegee' out some air pockets. This stuff was designed with 'channels' so that trapped air can easily be smoothed out. (*NOTE: If possible, use a body-filler spreader, which has a slightly stiffer blade than a cc. Like I said, this isn't some flimsy film you'll be attaching, it's got some real thickness to it.)
I started at the top and worked my way down. I find it easier to align the top and then the leading edge next to the glass. Also, do this in sunlight and/or have a heat gun handy. It makes it easier to mold to the pillars. Check it out:
Old vs new:
And the driver side all done:
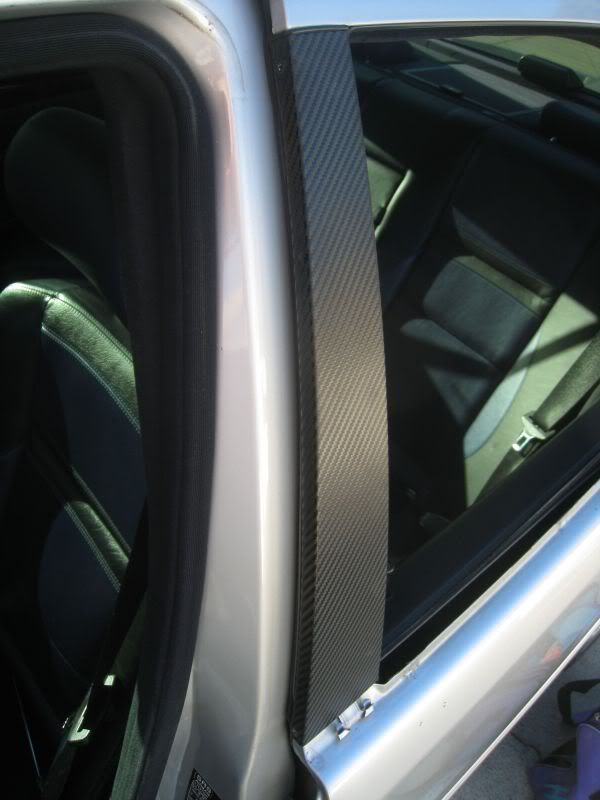
'C' Pillar:
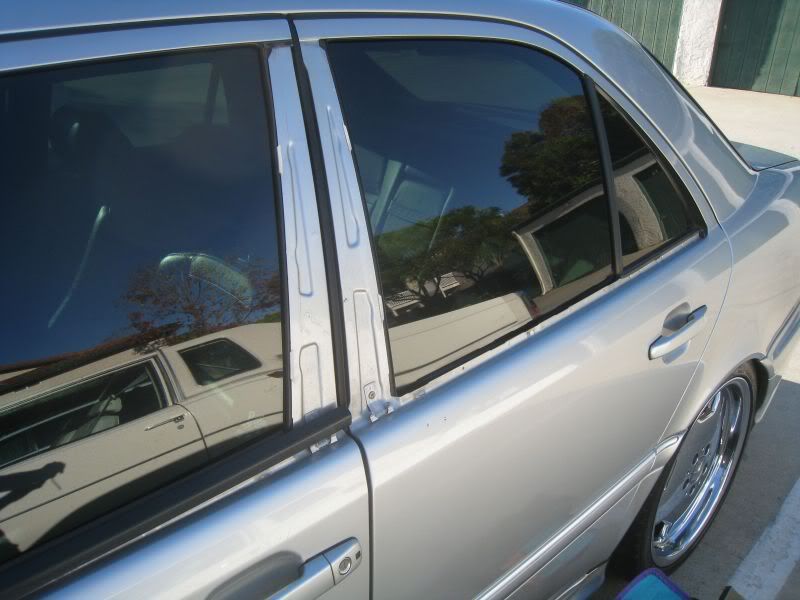
Overall look:
Close-up:
Last edited by JohnnyRock; 11-01-2012 at 03:23 AM.
Overall, I'm very impressed with this product and will be ordering some additional sheets to cover the interior trim pieces like the center console. This seller shipped fast, the pieces are cut exactly to fit (I need to trim a little bit off the bottom to make everything straight) and it appears to be high-quality material. I'll post pics of the drivers side when I'm all done.
those fake b-pillar covers on your doors can be removed with a screwdriver iirc.
fold the rubber seal on door sides
after that it will be much easier to stick the 3M stuff on
Dang, Kowalski, I forgot about that! Thanks for reminding me after I'm 75% done! Hahaha...Yes, you are right, this would make the job easier and faster!
For those with fading pillars, I would highly recommend this product.
Dang, Kowalski, I forgot about that! Thanks for reminding me after I'm 75% done! Hahaha...Yes, you are right, this would make the job easier and faster!
For those with fading pillars, I would highly recommend this product.
sorry i didn't respond earlier, it would have saved you some time and maybe getting a better fit?
red your post on Thursday, you must have had this posted on Wednesday night?
let me make it up to you next time.
Last edited by KJI3jflarryfe93; 11-01-2012 at 07:05 PM.
I nearly bought that kit but went a different route.
I bought the 3M di-Noc Carbon Fiber adhesive - a roll about 4 foot by 16" and applied by hand to each panel after removing them, wrapped around the edges, I think the sheet was $20 for the carbon fiber and is enough to do maybe 2-3 cars
Last edited by ChampagneC; 11-02-2012 at 02:09 PM.
Champagne, your job looks fantastic! If I had to do it again, I would probably go about taking off the pillars just like you did (and Kowalski suggested!). It really makes the pillar look like a piece of CF.
I'm very happy with the results, this stuff has thickness and texture to it. I'm not saying it's "Di-Noc", but it is 3M material, which is still a quality material. **UPDATE: 11.27.2012 - Have traded several emails with the seller of this product. It IS 3M Di-Noc! It is holding up great so far. The car has spent several weeks outside in the cold and so far, so good. **
I started taking off my last pillar and it looks a little more involved then what I was willing to do at that point. Is there a DIY somewhere for removing the pillar trim?
Last edited by JohnnyRock; 11-27-2012 at 05:57 PM.
Champagne, your job looks fantastic! If I had to do it again, I would probably go about taking off the pillars just like you did (and Kowalski suggested!). It really makes the pillar look like a piece of CF.
I'm very happy with the results, this stuff has thickness and texture to it. I'm not saying it's "Di-Noc", but it is 3M material, which is still a quality material.
I started taking off my last pillar and it looks a little more involved then what I was willing to do at that point. Is there a DIY somewhere for removing the pillar trim?
Thanks! yours look like the exact same material I used.
Basic step by step
Grab a thin flathead screwdriver with a rag around it, gently insert under plastic trim that runs along lower edge of window across top of door, you can see in the gap metal clips you just need to pry up.
Pop those pieces off
Pull back rubber on door weather stripping up near pillar with door open to reveal 2 screws - undo them
Slide pillar metal cover piece gently away from the pillar (do not pull away from car but slide 'along' same pane as glass - it "hooks" onto the edge of the pillar
Note there is some white plastic spacers that should remain in place on metal of pillar on door so you can re-attach in same place
also note the small rubber piece up top that will want to fall out of place - that's fine but make sure you put it back when re-installing pieces.
Cover with 3M
Insert metal hook edge of pillar cover back onto 'edge' of metal pillar on door and slide on, then tap the other edge so it 'click's' back into place
sounds hard, but it's not - i have some more pics in my photobucket account but im going to re-do my drivers one on the weekend, if you want more pics i will take them
@Champagne - your post and description was perfect. I suppose if I had removed the pillars it would have made it easier to apply the CF panels, but this kit is precision cut, so they fit pretty damn good! As you can see in a couple of my pics, I do need to trim the bottom portion so it looks straight. If I get a wild hair up my ***, I may re-wrap them using your method. This stuff is excellent! I plan on doing my interior pieces in it!
@cm60k - Zayad, give this a whirl, I cannot tell you how much the look of the car is improved. It's subtle, but freshens up the overall look. The CF wrap material itself is amazing, it actually feels like real carbon fiber weave.
My car stays (unfortunately) on the streets and I've had this for a while, close to 6 months now, and wash after wash it does not move, I really like it. Definitely freshened up the look of the car. Snow, salt, rain did not affect it as of today.
Cheers
Last edited by FrenchBenz; 11-04-2012 at 09:41 AM.
I'll be doing the same on mine during the winter months, but I will be using newer stuff made by 3M called: 3M 1080 CF12 (Black Carbon) It is designed for more rugged use so that should fit the bill perfectly.
Last edited by DRBC43AMG; 11-04-2012 at 12:59 PM.
Reason: Added SM reference
My car stays (unfortunately) on the streets and I've had this for a while, close to 6 months now, and wash after wash it does not move, I really like it. Definitely freshened up the look of the car. Snow, salt, rain did not affect it as of today.
Cheers
stoked you did that! nice to know my threads get read its a great mod. even "non-car" ppl comment on my pillars its interesting.
Haha, yes I have to agree. "Non-car" people tend to see the small cosmetic details and pay attention to that. Got some nice comments about the wrapped pillars as well.
I'd just need to take care of the C-pillar as well to have an even look but not sure if they can be pulled out easily...
Haha, yes I have to agree. "Non-car" people tend to see the small cosmetic details and pay attention to that. Got some nice comments about the wrapped pillars as well.
I'd just need to take care of the C-pillar as well to have an even look but not sure if they can be pulled out easily...
ive never attempted, but ive also never really noticed them in comparison to the B +C... maybe best to just apply while on the car and trim with a blade?
I'd just need to take care of the C-pillar as well to have an even look but not sure if they can be pulled out easily...
Not sure if it would be worth the effort (but I've never removed them, so what do I know?! ) I would suggest applying a sheet of the 3M CF and use a heat gun to make the material nice and pliable. Then I would work it into the corners and seams of the 'C' pillar using a thin, flexible spreader like a credit card. Razor or X-Acto off the excess and you'll be good to go!
Here's some more shots of mine and I included some of the 'C' pillars. I think I'm going to re-wrap the 'B' pillars since they are coming up a bit short for my tastes.
I was going to do mine, but last weekend the junk yard was 50% off so I bought all the outside moldings for $20. I'm planning on powder coating them flat black and do the b/c pillars with di noc to match my center console.
hey man Mr. Johnnyrock.
you did a helluva nice job with those CF-vinyl wrap.
Don't wanna critisize you but.
After almost 40 years of wear n tear vision seeing all kinds of bullcrap around me my hawkeyes noticed that you did a mismatch on one side of your B-pillars placing the vinyls in opposite direction.
That's the passengers front door vinyl being mismatched
Check your passengers side B-pillar, you placed the vinyl so you are getting a V type pattern.
Drivers side, looks much better.
Also rear right door, vinyl pattern seems to facing wrong direction compared to left side?
Have fun rewrapping if you're up to it?
God speed
Last edited by KJI3jflarryfe93; 11-27-2012 at 04:04 PM.
 11-01-2012, 03:17 AM


 ) I would suggest applying a sheet of the 3M CF and use a heat gun to make the material nice and pliable. Then I would work it into the corners and seams of the 'C' pillar using a thin, flexible spreader like a credit card. Razor or X-Acto off the excess and you'll be good to go!