When you click on links to various merchants on this site and make a purchase, this can result in this site earning a commission. Affiliate programs and affiliations include, but are not limited to, the eBay Partner Network.
After a full service with oils, filters and a general check at the MB dealer, the source of the oil leak remains unsolved. The engine and chassis was steam washed prior to the technical inspection (done every two years), but no leak was found. I'll do some checking form time to time.
I passed my MOT test with top grades today.
MOT lady did not find any issues with my car.
Well done, but I guess that's normal and totally expected when you see how you pamper your baby with a personal technician ready to intervene any time day and night
Mine passed last week with a minor remark. I have to disconnect the fog lights as the inspector measured the distance between the ground and the bottom of the fog lights and came with less than 25cm. This needs to be at 25 or above. Nobody has measured this distance nor seen this issue in prior inspections. Guess that's the result of lowering with a KW suspension kit. Never mind, I don't use them in any case and during the winter season T-Rex is in hibernation in a warm and dry nest...
Prior to the test, I did need to change the 18" Monos back to the OE 17" as the 18" are not a Factory approved fitment on the w202 chassis. Needless to say the 18" went back on the next day
I left the secondary cats and resonator delete pipe installed for the test. Normally this would also be a test refusal as this is not a modification with minimum TUV approval. The inspector just checked the ID# on the rear muffler with the model approval papers, but didn't look further forward. I guess he must have liked the modified AMG V8 growl
Next step will be the back to back dyno test and measurement between the OE and Speed43 modified air box This will be done using the Dynapack system. The system hooks up solid directly on the rear wheel hubs. This way you get zero power loss with wheel spin found on a regular roller dyno. http://www.dynapack.com/
Last edited by DRBC43AMG; 06-15-2016 at 03:15 AM.
Reason: Completed
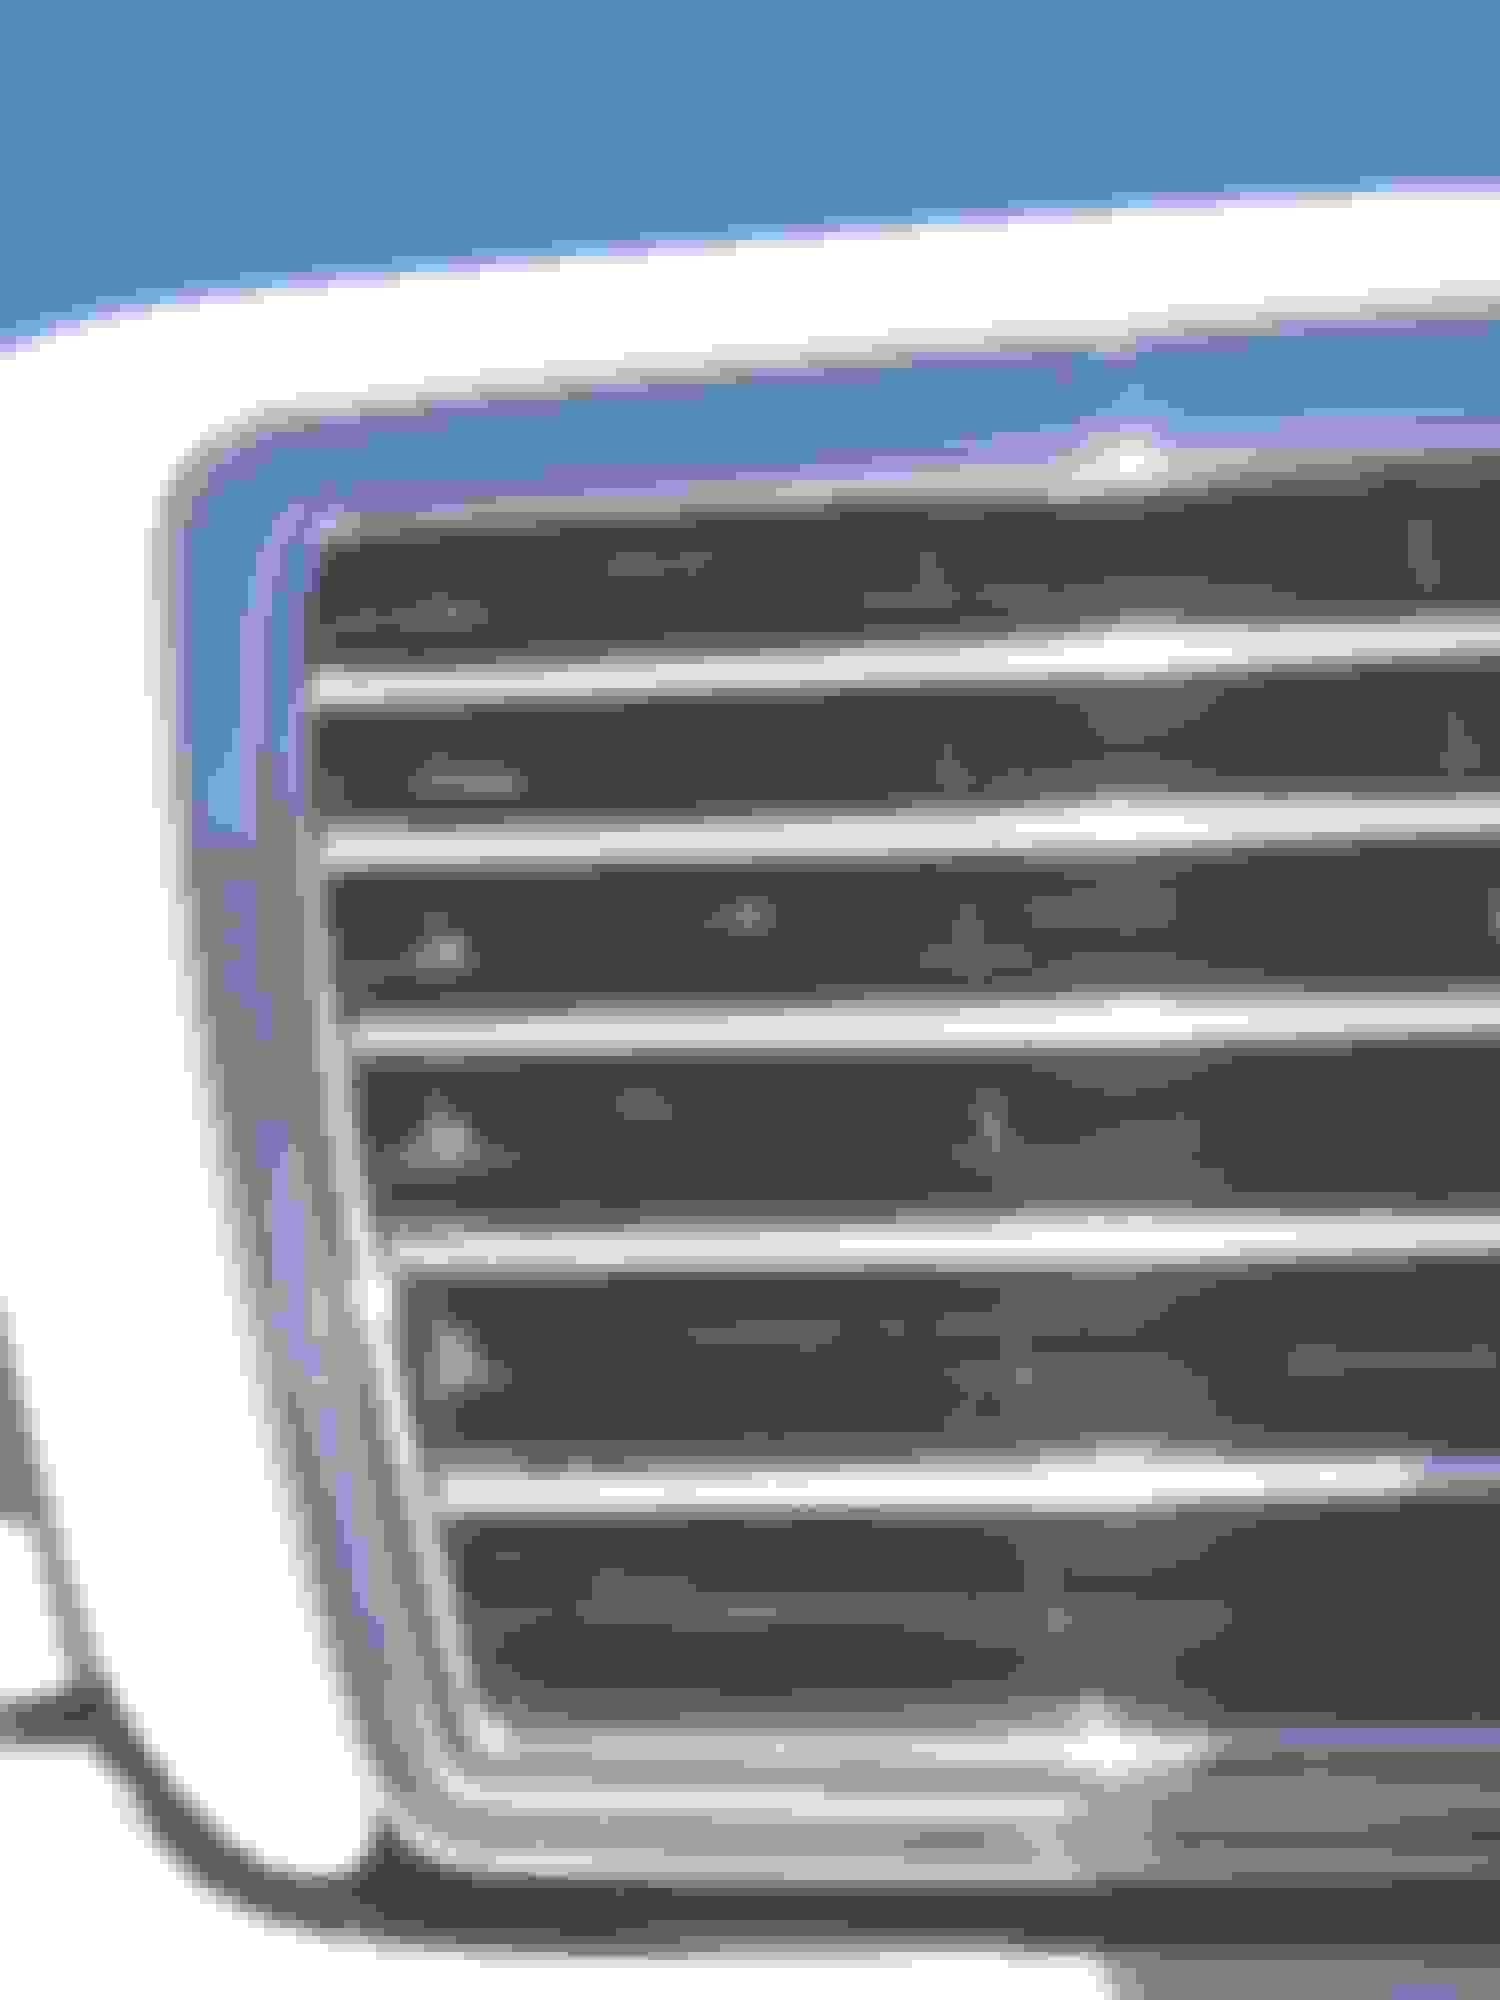
I want to talk about a collision I had at around 110kmh with a... pigeon. Needless to say the bird did not survive, nor did the slats on my CF look Avantgarde grille (first photo was before the pigeon landed). Sorry I don't have any photos of the result, but I assure that the pressure cleaner was necessary to remove the bloody remains
Not having a new grille hanging around, I pulled out the OE I had sitting around in a box and decided to modify and use this as a replacement.
You may have noticed that on the left side looking at the grille from the front, there is a screen which is just in front of the passenger side air intake. I decided that this needed removing to improve ram air into the intake. OK you get extra bugs and other small flying objects, but the filters will take care and protect anything getting inside the engine. The only drawback is a need for more regular cleaning of the filters. I assume most have some kind of "sport" filters, so you are aware of the procedure. Funnily the right side doesn't have a similar screen...
After drilling holes in the blocked part between the slats, the Dremel came in handy to cut out the surrounding plastic. Finished the job with a small fine metal file.
I then applied 5-6 coats of satin black paint with a couple of hours drying between each coat and finished with two coats of satin clear varnish. Hopefully this should protect somewhat against chipping and small damages.
I was thinking of using a dark grey anthracite colored satin paint instead, but my wife convinced me in using black. I'm not sure this is the right color tone with the metal grey bodywork.
feel sorry for pidgeoooooooooon having to crush it's head into an Avantgarde grille.
At least birdie nam nam died stylish
your swiss MOT inspectors must be very **** when it comes to styling and tuning cars in Toblerone country.
yesterday when I had my car MOT tested, MOT lady asked me if everything was factory supplied on my car, I replied of course they are.
no arguements about using Brabus 18" wheels or removing mid silencer.
I told MOT lady please be gentle with my car as she is very psychotic and has a bad temper, she might bite back if handled incorrectly!
put back chrome strips, chrome on black will look better i think
I cant believe how strict the inspetors are in your country.
Here in chicago its plug into the port under the dash and a few minutes later your on your way home. Daniel, looking forward to another dyno run for sure.
Sorry to hear about the grille! I'm always super anxious when the crazy birds dart in front of my car. That's funny you modded your grille to allow more airflow; I did this back when I was modding my airbox. I didn't perforate them, but cut them out-even the small inner pieces.
Last edited by eFifty5AMG; 06-15-2016 at 11:50 AM.
I have a billet grille, it's much heavier than OEM, but I like it. Found it on ebay used and snatched it up as these were very popular many years ago. Not sure if you could get a new one today. It may even be a one off.
Yesterday afternoon I got around changing the active charcoal filter (ACF). I could smell fuel vapors each time I filled the tank or the temperature started to climb like now in summer.
After lifting the rear on the driver's side (LWD), I removed the wheel and unscrewed the plastic nuts and screws (x6) which cover the inside of the wheel well. Expect to have plenty of dust, mud and other crud falling down when you remove the cover so don't keep your face just under when doing it.
With the cover removed, you will see the ACF screwed up right at the top of the wheel well. It is held in place by two plastic nuts at the rear and one at the front (a bit fiddly to get to) up to the top of the ACF. Gently pull off the two rubber pipes which slide on the inlet and outlet tubes of the ACF. If those look dry and cracked, it may be a good idea to change them also. This done the filter just drops right down. With the ACF removed temporarily bung the two pipes and pressure clean all the crud up there before installing the new ACF after the wheel well had dried.
The ACF has a clear plastic type bung which pushes on the thickest of the three pipes protruding from the ACF. Clean and reinstall on the new unit.
Reinstallation is a simple reverse procedure of the dismantle process.
After a quick clean of the old ACF to remove 17 years of dust and crud, I noticed that it was manufactured in February 99', so I guess it has been in there from the vehicle build date. I then decided to cut the unit open to see the condition of the charcoal particles. Apart from a strong smell of gas/petrol, the charcoal was in seemingly good condition.
Some photos of the operation. Overall it is simple and should not take you more than 1/2h to do it providing you can work with a lift, which is not my case and my creaking joints...
Next on my "to do" list will be the headlight rubber protection strips
I have code P0455, I think it is this evap fuel filter. Symptoms are that she wont gas up as some pumps and also I get fuel tank warning light if I fill more than 3/4 tank.
I have code P0455, I think it is this evap fuel filter. Symptoms are that she wont gas up as some pumps and also I get fuel tank warning light if I fill more than 3/4 tank.
Yup look's like it. If I recall someone on here had a similar problem filing his tank. Guess you need to search around here for the thread and solution. I'm going back to the workshop to the 722.6 repair and maintenance issue http://www.engine-codes.com/P0455.html
This morning's work was a brake flush and bleed (last time was in June 2014). I use the syringe (without needle of course ) to pull out the old fluid from the reservoir. You use less new fluid if it doesn't mix with the old stuff and you just need to run through the new stuff in the pipes.
I have code P0455, I think it is this evap fuel filter. Symptoms are that she wont gas up as some pumps and also I get fuel tank warning light if I fill more than 3/4 tank.
Aside from getting clogged, the canister can crack. This may be a fix. It cost me very little, took 30 minutes, is a one-time fix, and has worked for several years: https://mbworld.org/forums/clk-class...ml#post5931639
Aside from getting clogged, the canister can crack. This may be a fix. It cost me very little, took 30 minutes, is a one-time fix, and has worked for several years: https://mbworld.org/forums/clk-class...ml#post5931639
 06-14-2016, 03:33 PM


 Definitely not just a flash.