When you click on links to various merchants on this site and make a purchase, this can result in this site earning a commission. Affiliate programs and affiliations include, but are not limited to, the eBay Partner Network.
As some may know I recently swapped out my oem paddles for carbon fiber ones.
I figured I would post up some pics of the install along with a brief tutorial as this "mod" literally takes 10 minutes to accomplish.
Tools:
Torx 20
Torx 30
Jewelry style (very small diameter) screw driver - or equivalent
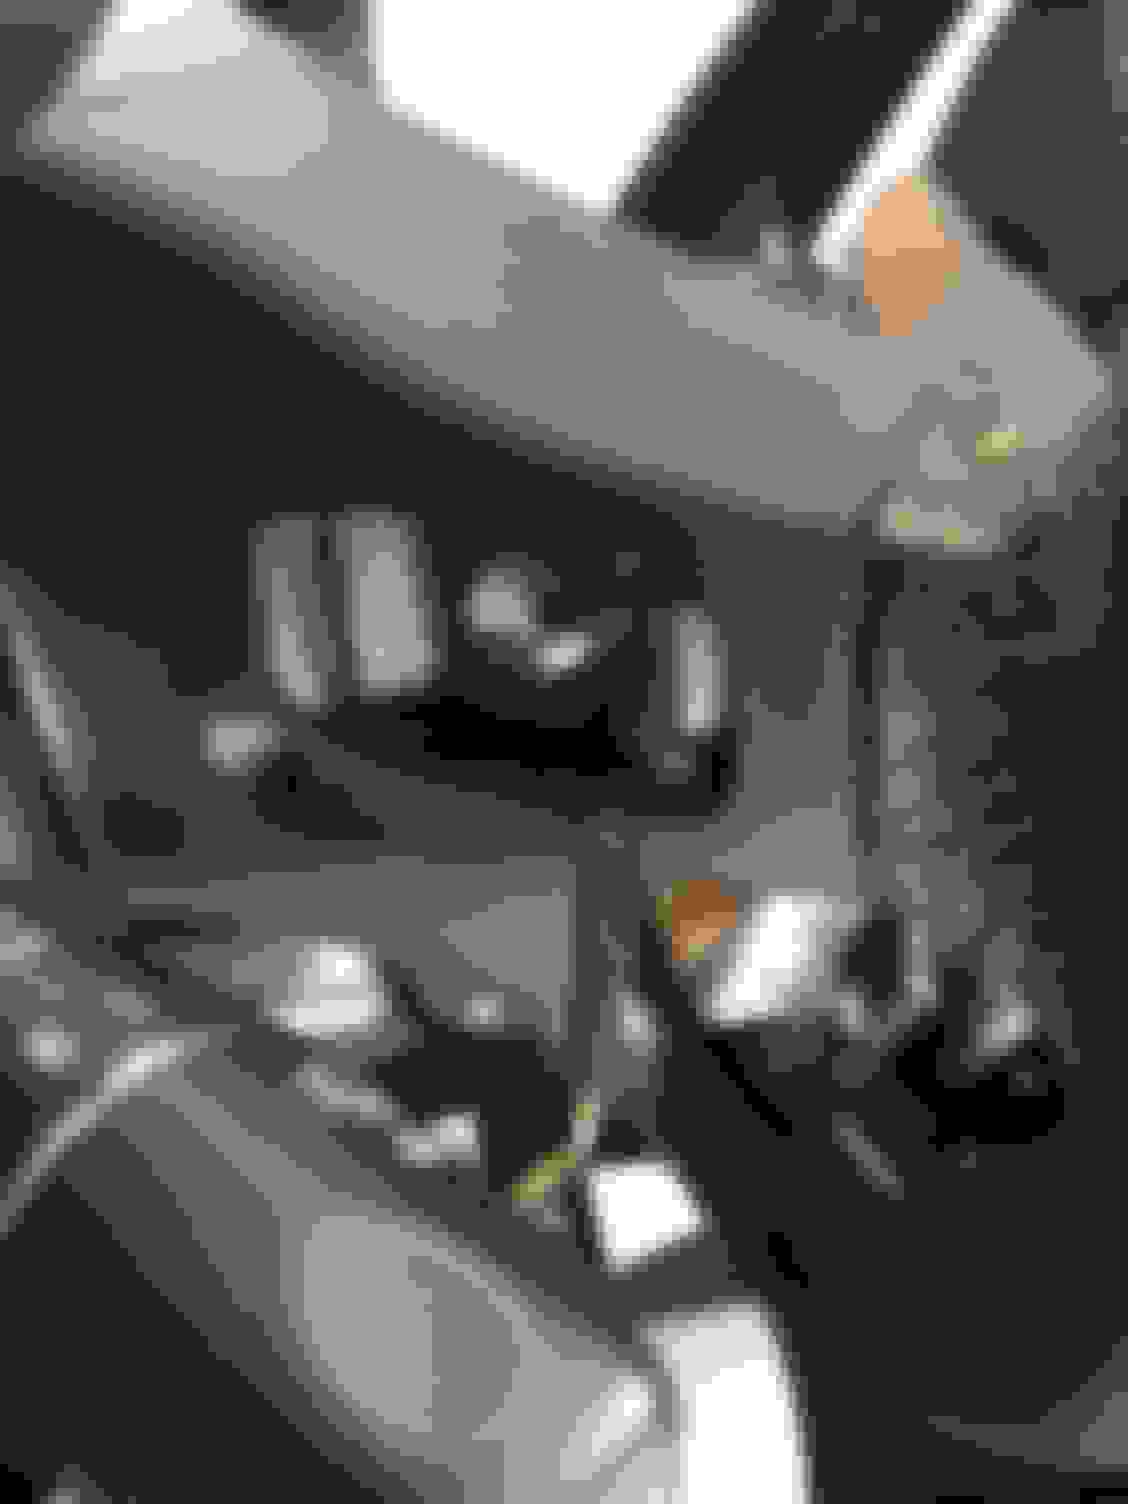
First disconnect negative battery terminal, then remove your airbag and cover (Torx 30) by removing (pre facelift model) the 2 screws in the back of the steering wheel and remove the air bag cover.
Sorry no pics, didn't think about a DIY-er until after I removed it.
Then you unscrew the (one per side) screws that hold the paddle housing to the steering wheel (Torx 20). This allows you to remove the paddle shifter and housing as a whole.
(I did not utilize the housings supplied with my paddles, but opted to just utilize my oem housings, therefore I did not have to unplug the housings. If you do, it is simple, they just pull straight out.)
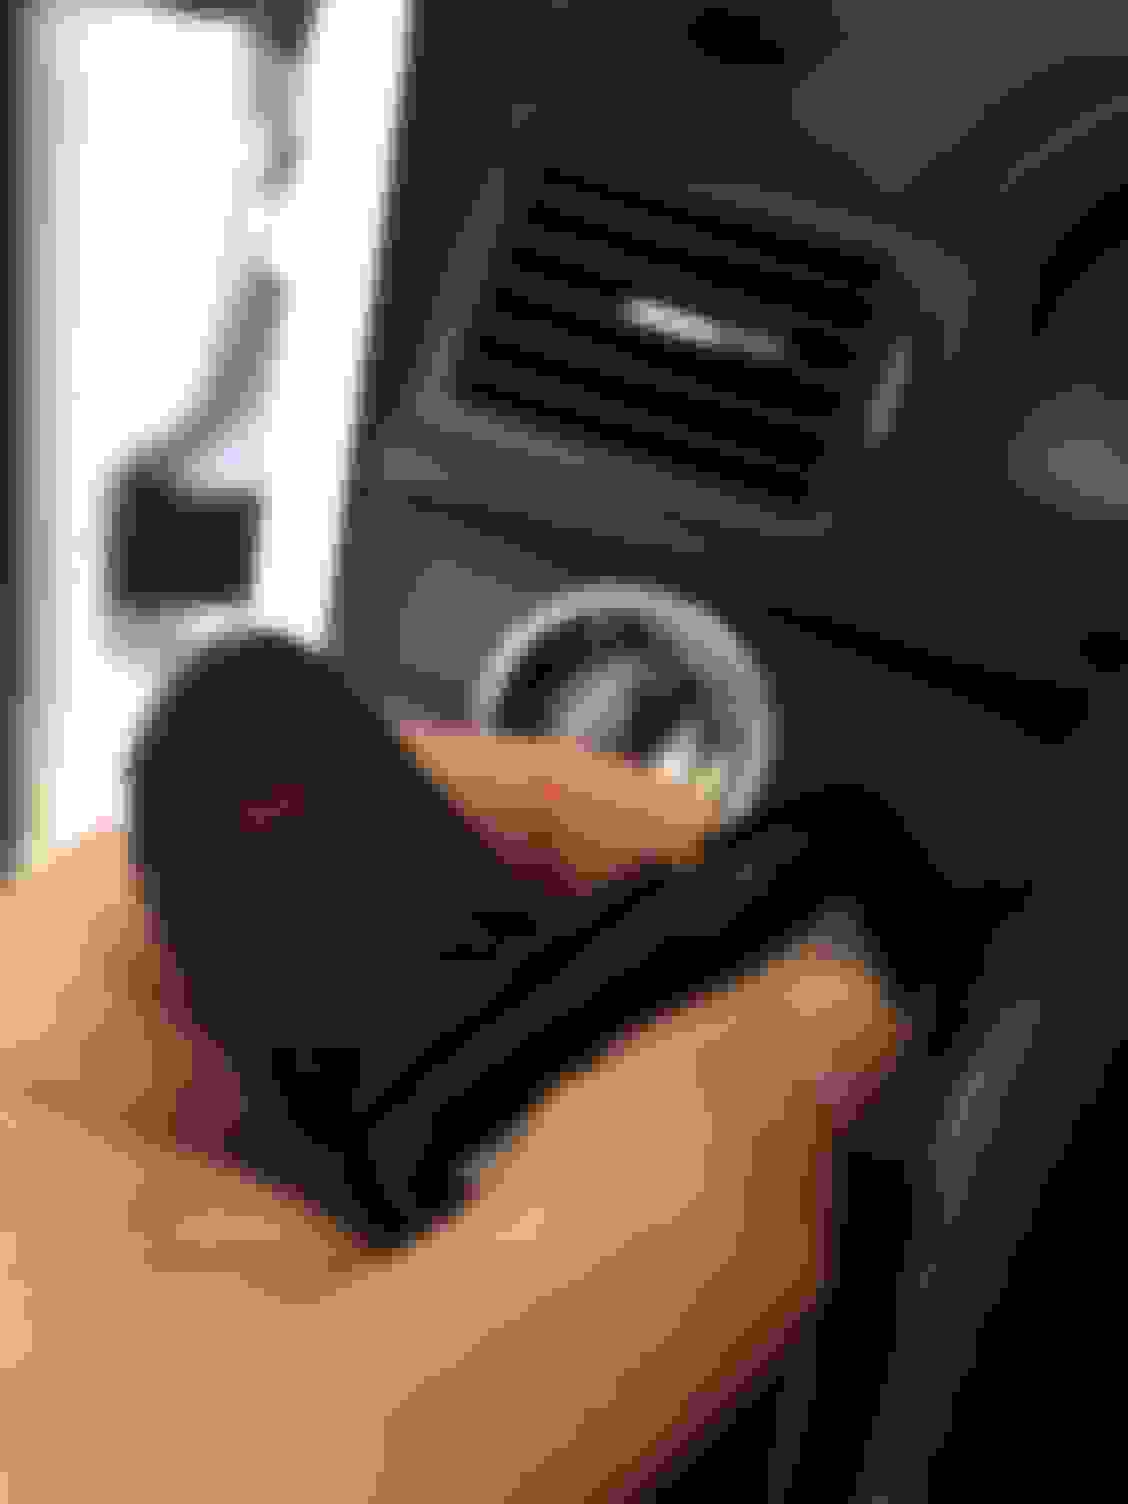
Once the housings are separated from the steering wheel, you simply take the narrow dia (Jewelry style) screwdriver and press the gold colored pins out that hold the paddle and the housing together. Pull the two apart and it is that simple. Make sure the black plastic piece is placed back over the grey rubber buttons if it falls off.
FYI - the pic does not illustrate the pin being pushed all the way back in at this point.
Take the new paddle and insert it back into the housing making sure the holes line back up to reinstall the gold colored pins.
Press the pins back in and reinstall the housings back onto the steering wheel.
Reverse the directions and you are complete.
Literally took me 10-15 minutes.
Happy Modding!
Last edited by Autosport7; 09-25-2014 at 01:50 PM.
I would prefer not to touch my airbags.. U think the eBay paddle shifter add-on can be installed w/O removing the oem shifter?
Why would you not want to handle your airbags?
Why is everyone so afraid of airbags? lol
The detonation is instigated by an electrical charge, I have never seen one go off by accident.
Thanks Roswell.
You would not have to remove the oem housing to install the add-ons from what I can tell.
How do the feel compared to the aluminium shifter? Do they have a bit of weight to them like the aluminium ones?
Thanks Kriston.
Yeah they are pretty heavy actually.
I am pretty sure these are just oem paddles overlaid with cf cloth and coated. The housings were oem, stickers were inside the housing still.
The detonation is instigated by an electrical charge, I have never seen one go off by accident.
I hope they would only go off by accident ...
But we know what you meant, and yes ... they do go off when handling them. I saw an Audi unit deploy while a tech was preparing to remove the steering wheel. Luckily, the screwdriver in his hand was embedded into the roof & not his face.
yeah, airbag deploy if you're not in the appropriate position (i.e. seated in driver's seat, back to seat, etc.) can kill you. FYI it's also a good reason to keep hands at 10 & 2 as they always teach/taught in driving school - with your arm at 12 o'clock, bag deploys, arm deploys into face at 200 mph. Ouch
yeah, airbag deploy if you're not in the appropriate position (i.e. seated in driver's seat, back to seat, etc.) can kill you. FYI it's also a good reason to keep hands at 10 & 2 as they always teach/taught in driving school - with your arm at 12 o'clock, bag deploys, arm deploys into face at 200 mph. Ouch
I think I read somewhere recently that now they recommend 9 and 3 due to the airbag. With 10 and 2, there is a greater chance the airbag could force your hands/arms toward and out the window and possibly seriously injure you if you impact something with the side of your car. 9 and 3 had more of a tendancy to bring your arms down and keep them inside the car. Either way, our paddles are at 9 and 3 and I feel like that position gives me more control than 10 and 2.
I think I read somewhere recently that now they recommend 9 and 3 due to the airbag. With 10 and 2, there is a greater chance the airbag could force your hands/arms toward and out the window and possibly seriously injure you if you impact something with the side of your car. 9 and 3 had more of a tendancy to bring your arms down and keep them inside the car. Either way, our paddles are at 9 and 3 and I feel like that position gives me more control than 10 and 2.
Yup, sounds right to me. I think the 10 & 2 bit predated 9 & 3, which I'd clearly forgotten. Funny thing I still can't resist driving around most of the time with my single hand at 12 o'clock. Guess I'll just have to keep my fingers crossed
2017 Mini Cooper S Clubman ALL4 - British Racing Green
Originally Posted by Autosport7
Why would you not want to handle your airbags?
Why is everyone so afraid of airbags? lol
The detonation is instigated by an electrical charge, I have never seen one go off by accident.
Static discharge is enough to trigger an airbag to deploy. How many techs do you know that actually ground themselves before working on sensitive electronics. Ideally, I would hope all do, but you do hear about techs destroying electronics, and accidental airbag discharges every now and then (rare, but does happen).
I guess I consider myself lucky then....
Man, I'm not sure if I am glad to hear this after the fact or if I wish I had heard about it before hand to take proper precautions.....
2017 Mini Cooper S Clubman ALL4 - British Racing Green
Originally Posted by Autosport7
I guess I consider myself lucky then....
Man, I'm not sure if I am glad to hear this after the fact or if I wish I had heard about it before hand to take proper precautions.....
Usually when working on a car, you are continuously grounded (as long as you are touching metal).
Static builds up (remember dragging your feet on carpet and zapping your siblings ears.. and then possibly getting beaten up by said sibling)... While not really an issue in cars with leather interiors, cloth is a bigger issue. Even after grounding yourself, if you are sitting in cloth, wearing say wool or jeans, or hard plastic soled shoes and moving around, a charge will build up till till you are grounded... if you happen to be working on an airbag, and that becomes the point of grounding, that is more then enough to cause an airbag to deploy.
I used to have to hold on to my car door after opening it, before stepping out of the car (my old camry with cloth), otherwise when I touched the door to close it, I would shock the crap out of myself.
2012 P31 C63 Coupe Trackrat, 2019 GLE63S Coupe Beast
Originally Posted by Autosport7
Once the housings are separated from the steering wheel, you simply take the narrow dia (Jewelry style) screwdriver and press the gold colored pins out that hold the paddle and the housing together. Pull the two apart and it is that simple. Make sure the black plastic piece is placed back over the grey rubber buttons if it falls off.
2012 P31 C63 Coupe Trackrat, 2019 GLE63S Coupe Beast
Maybe you shouldn't do this by yourself. YOU PRESS THE PINS OUT WITH THE LITTLE SCREWDRIVER.
I don't know what more someone can tell you. It's obvious what you have to do. PRESS OUT THE PINS WITH THE SMALL SCREWDRIVER. As in, YOU PUSH THE PINS OUT OF WHERE THEY ARE AT WITH THE SCREWDRIVER.
You don't get it. You can't press something out with a screwdriver think about it. You can't put enough force on the little screw driver without slipping off the head of the pin. If you haven't even tried this you shouldn't be posting like you KNOW from experience. Reiterating an already stated fact is pointless when I'm asking for more clarification from the OP.
2012 P31 C63 Coupe Trackrat, 2019 GLE63S Coupe Beast
Originally Posted by Mag1c Carp3t
You don't get it. You can't press something out with a screwdriver think about it. You can't put enough force on the little screw driver without slipping off the head of the pin. If you haven't even tried this you shouldn't be posting like you KNOW from experience. Reiterating an already stated fact is pointless when I'm asking for more clarification from the OP.
I've done it. Many times. It's blindingly obvious if you look at it. The side you press from, the pin is recessed a bit. Even if it weren't, you could press with enough force on the tip to get it out. It's not that hard.


 09-25-2014, 10:17 AM


")


