D1S xenon bulb replacement...DIY or How-To?
#1
Super Member
Thread Starter
D1S xenon bulb replacement...DIY or How-To?
EDIT: I found an earlier thread that stated ti access the lights from within the front wheel wells. I will investigate during Thanksgiving and report my findings.
I have been searching for the past couple days on these forums, Google, as well as YouTube for instructions or pdf documents on how to replace the D1S bulbs on a 2008 W216. I didn't find anything.
I popped open the hood and at first glance, it is not instantly accessible. Would I have to remove the front bumper or remove plastic cladding in order to access the bulbs?
Last edited by ghaffar23; 11-14-2016 at 12:55 PM.
#2
Super Member
Thread Starter
Very tight to remove and replace, but done!
EDIT: I found an earlier thread that stated ti access the lights from within the front wheel wells. I will investigate during Thanksgiving and report my findings.
I have been searching for the past couple days on these forums, Google, as well as YouTube for instructions or pdf documents on how to replace the D1S bulbs on a 2008 W216. I didn't find anything.
I popped open the hood and at first glance, it is not instantly accessible. Would I have to remove the front bumper or remove plastic cladding in order to access the bulbs?
I have been searching for the past couple days on these forums, Google, as well as YouTube for instructions or pdf documents on how to replace the D1S bulbs on a 2008 W216. I didn't find anything.
I popped open the hood and at first glance, it is not instantly accessible. Would I have to remove the front bumper or remove plastic cladding in order to access the bulbs?
First, let me say that the replacement was very much needed. The bulbs were replaced since the car was new 8 years ago. I replaced with a set of Osram Night Breaker Unlimited with a color temperature of 4100K, i.e. warm white.
Second, let's get to the nitty-gritty...the process.
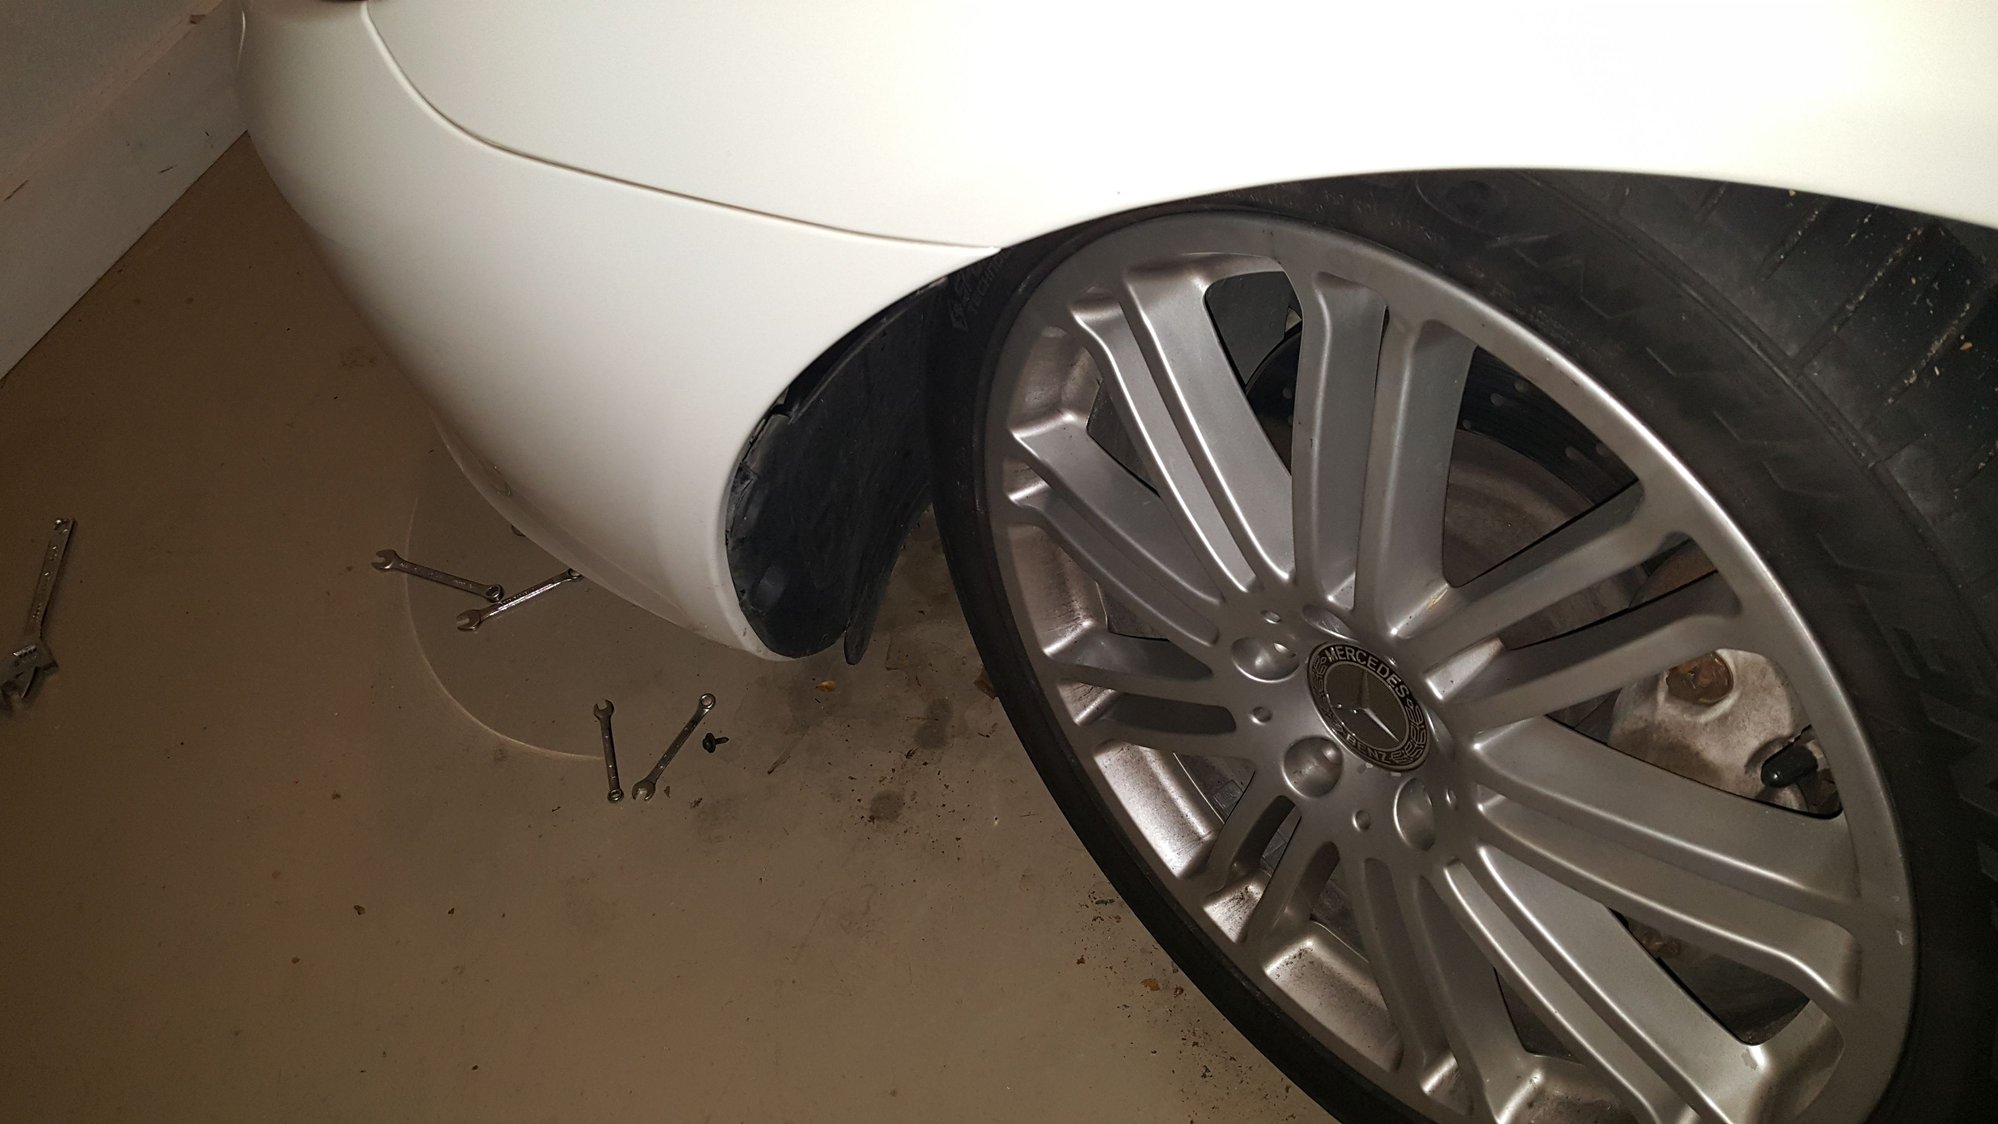
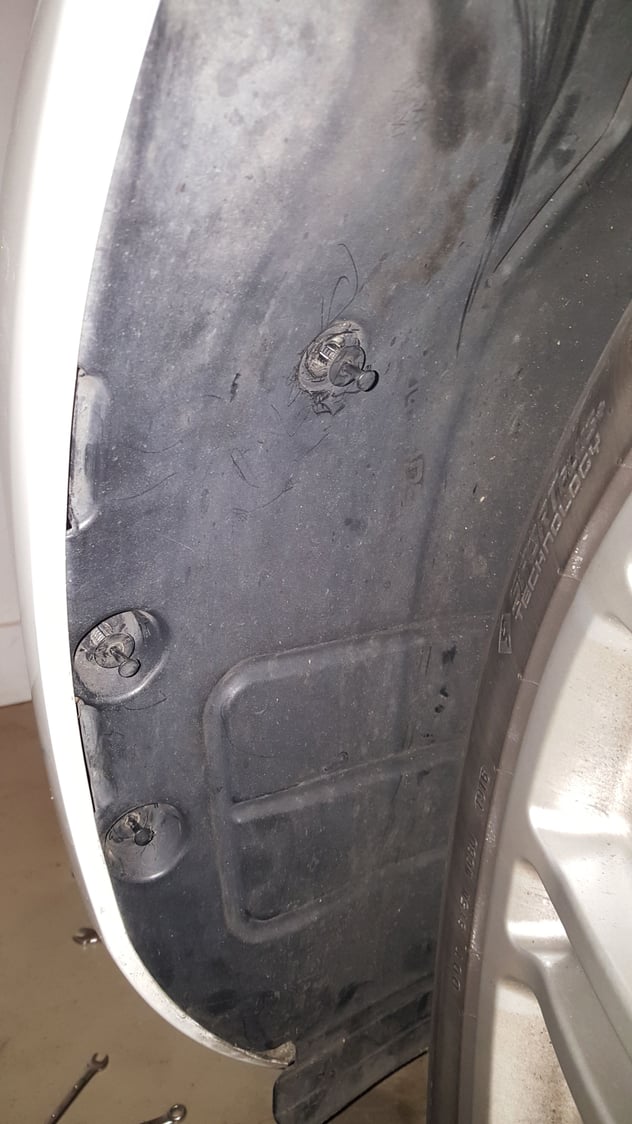
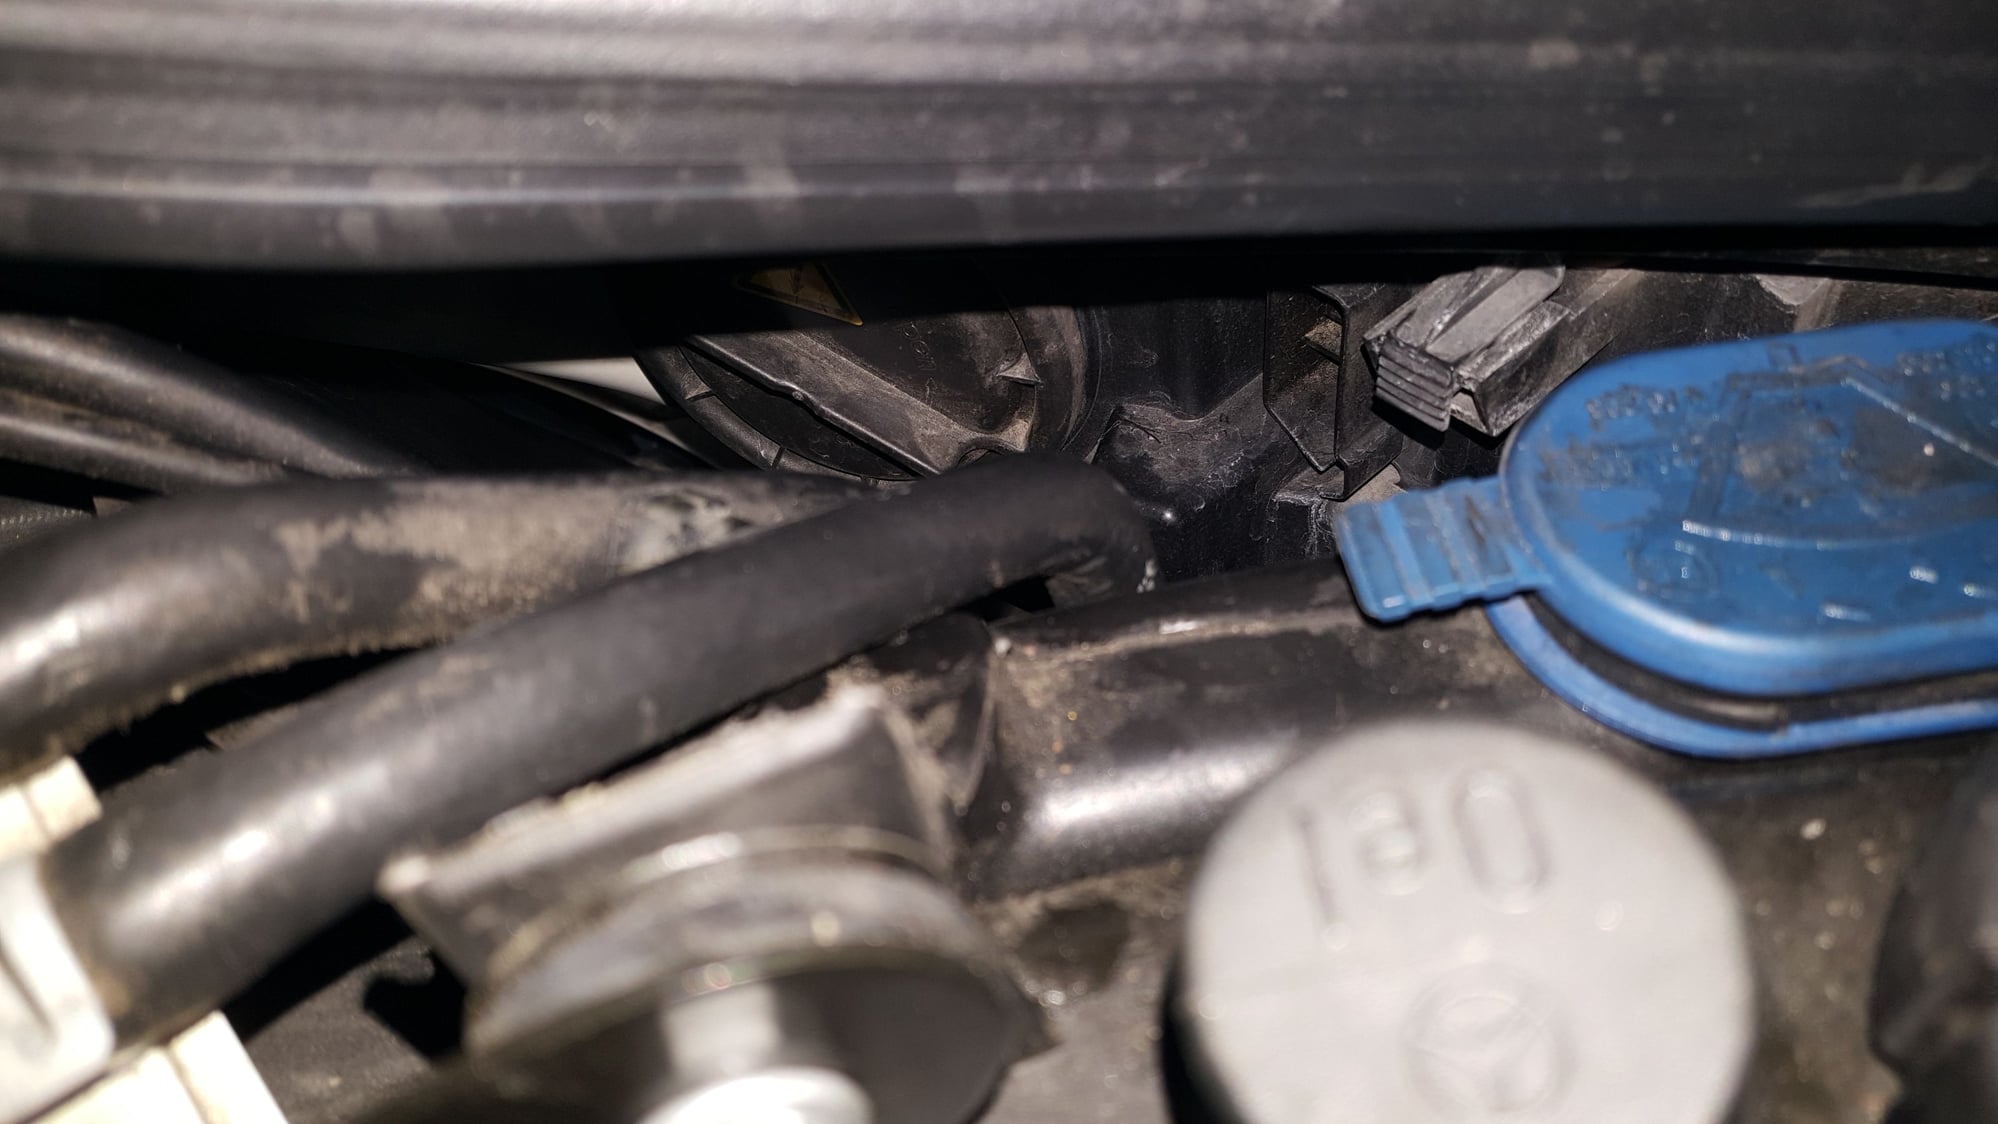
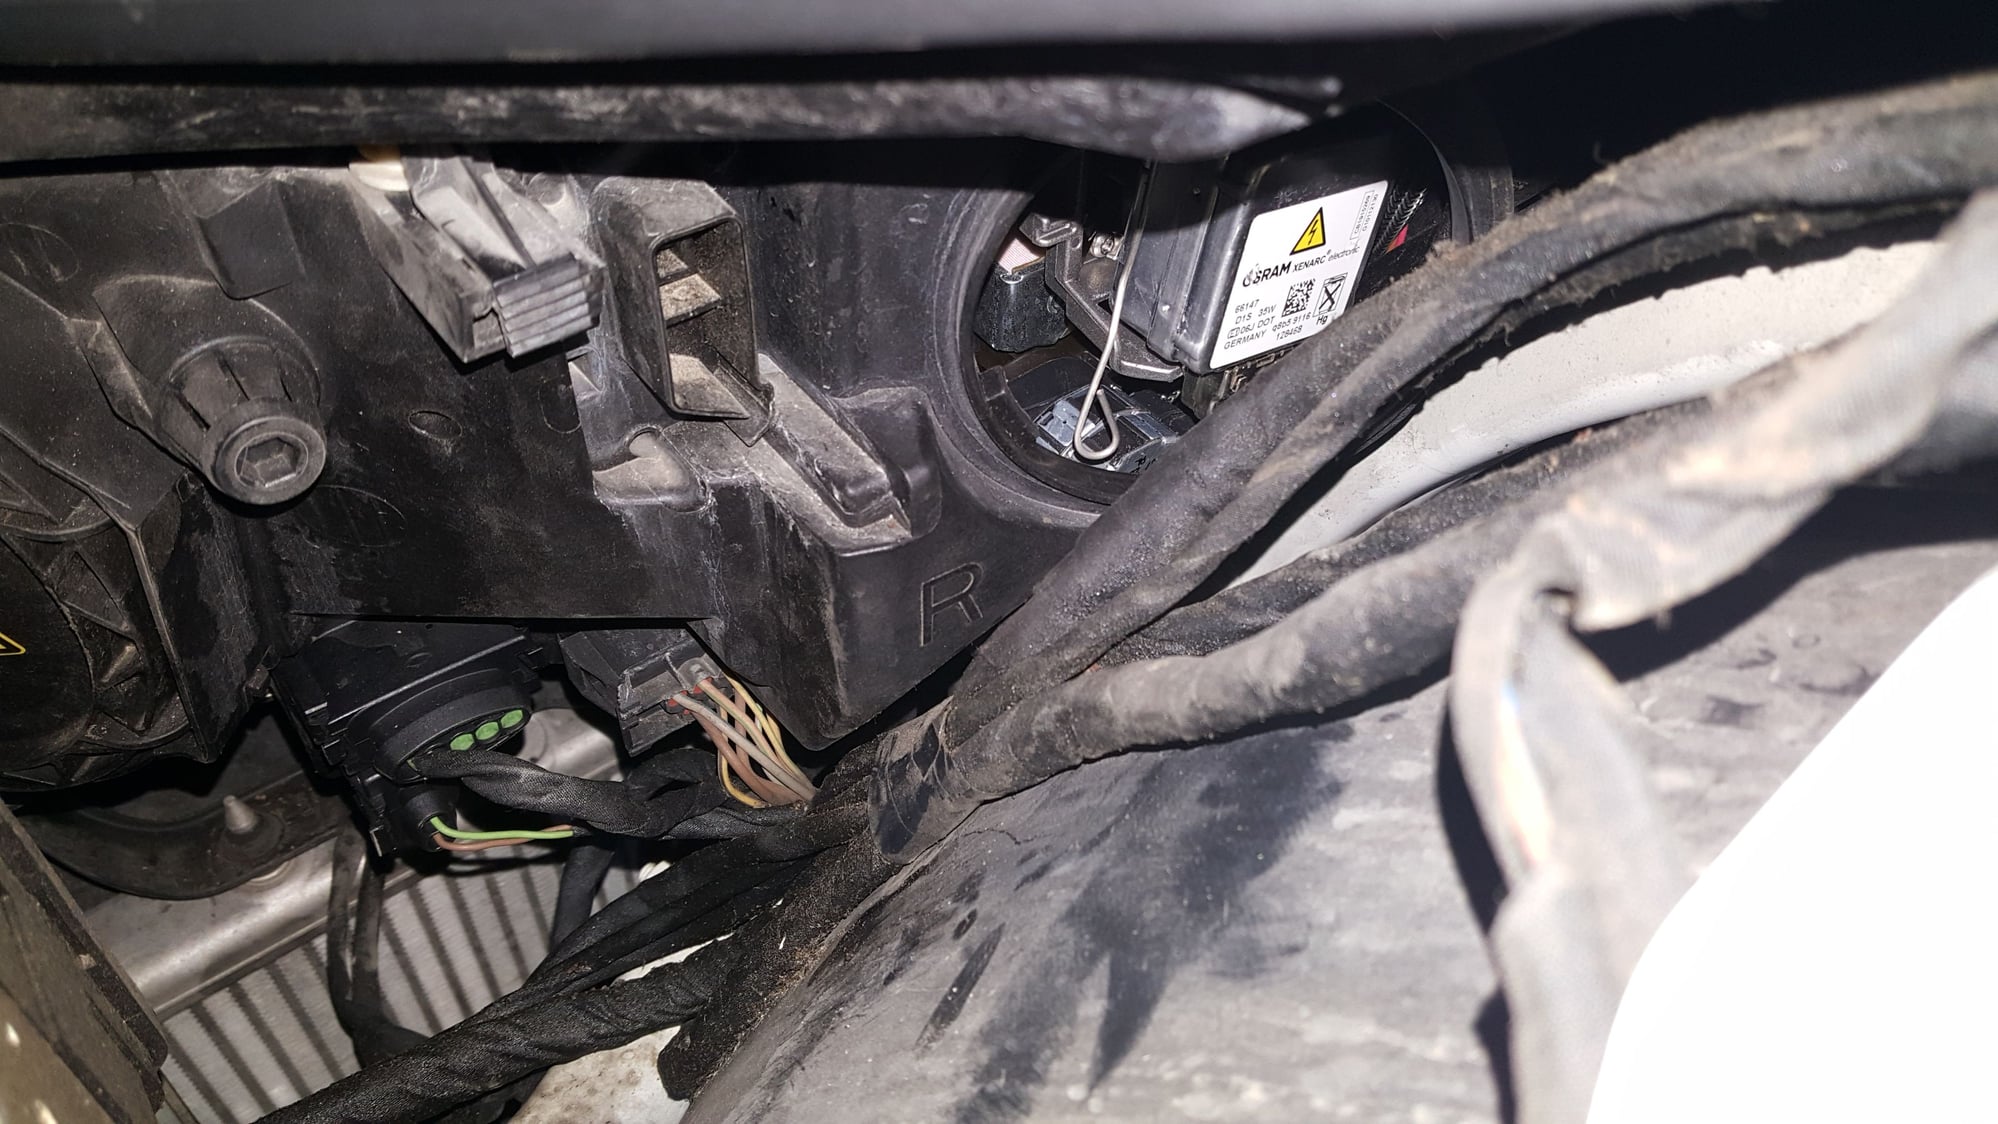
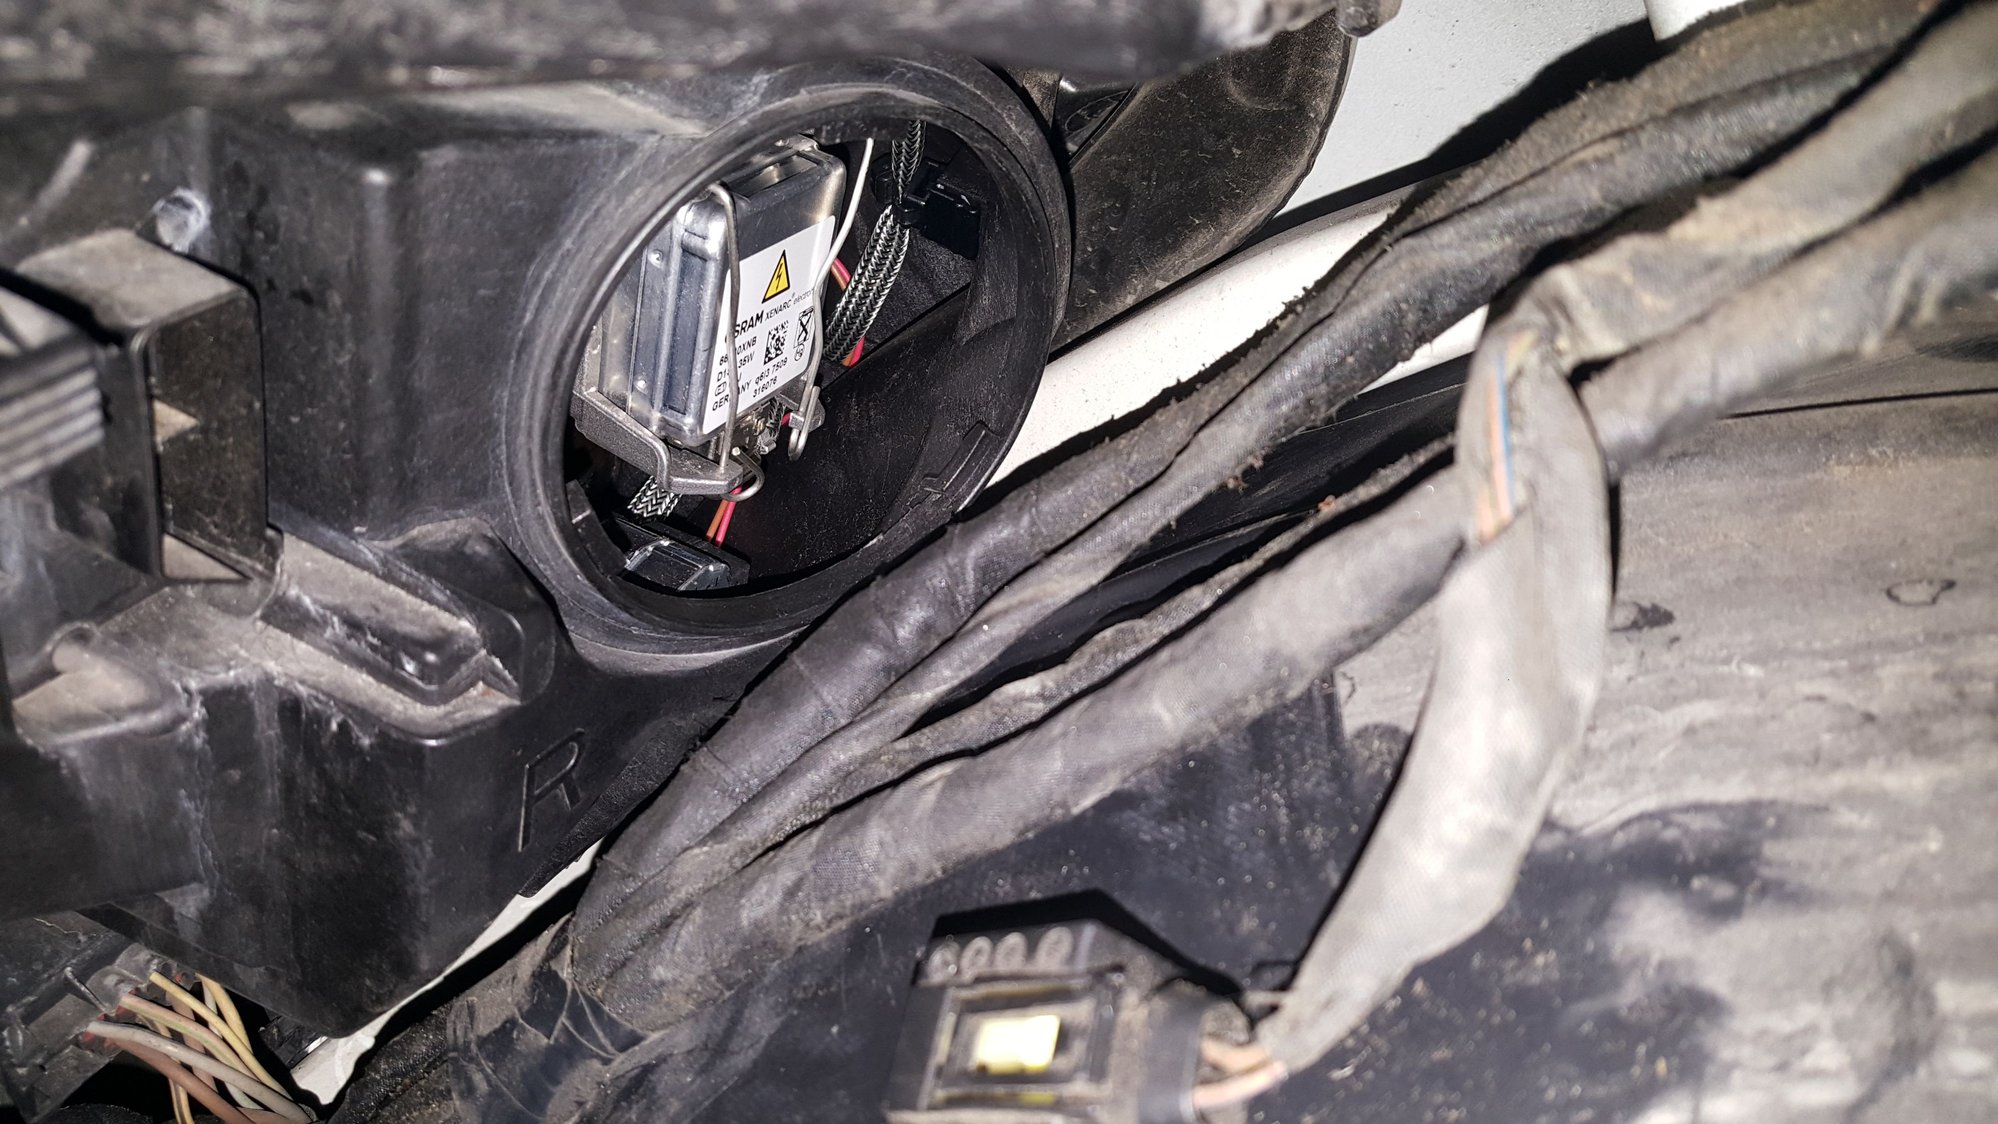
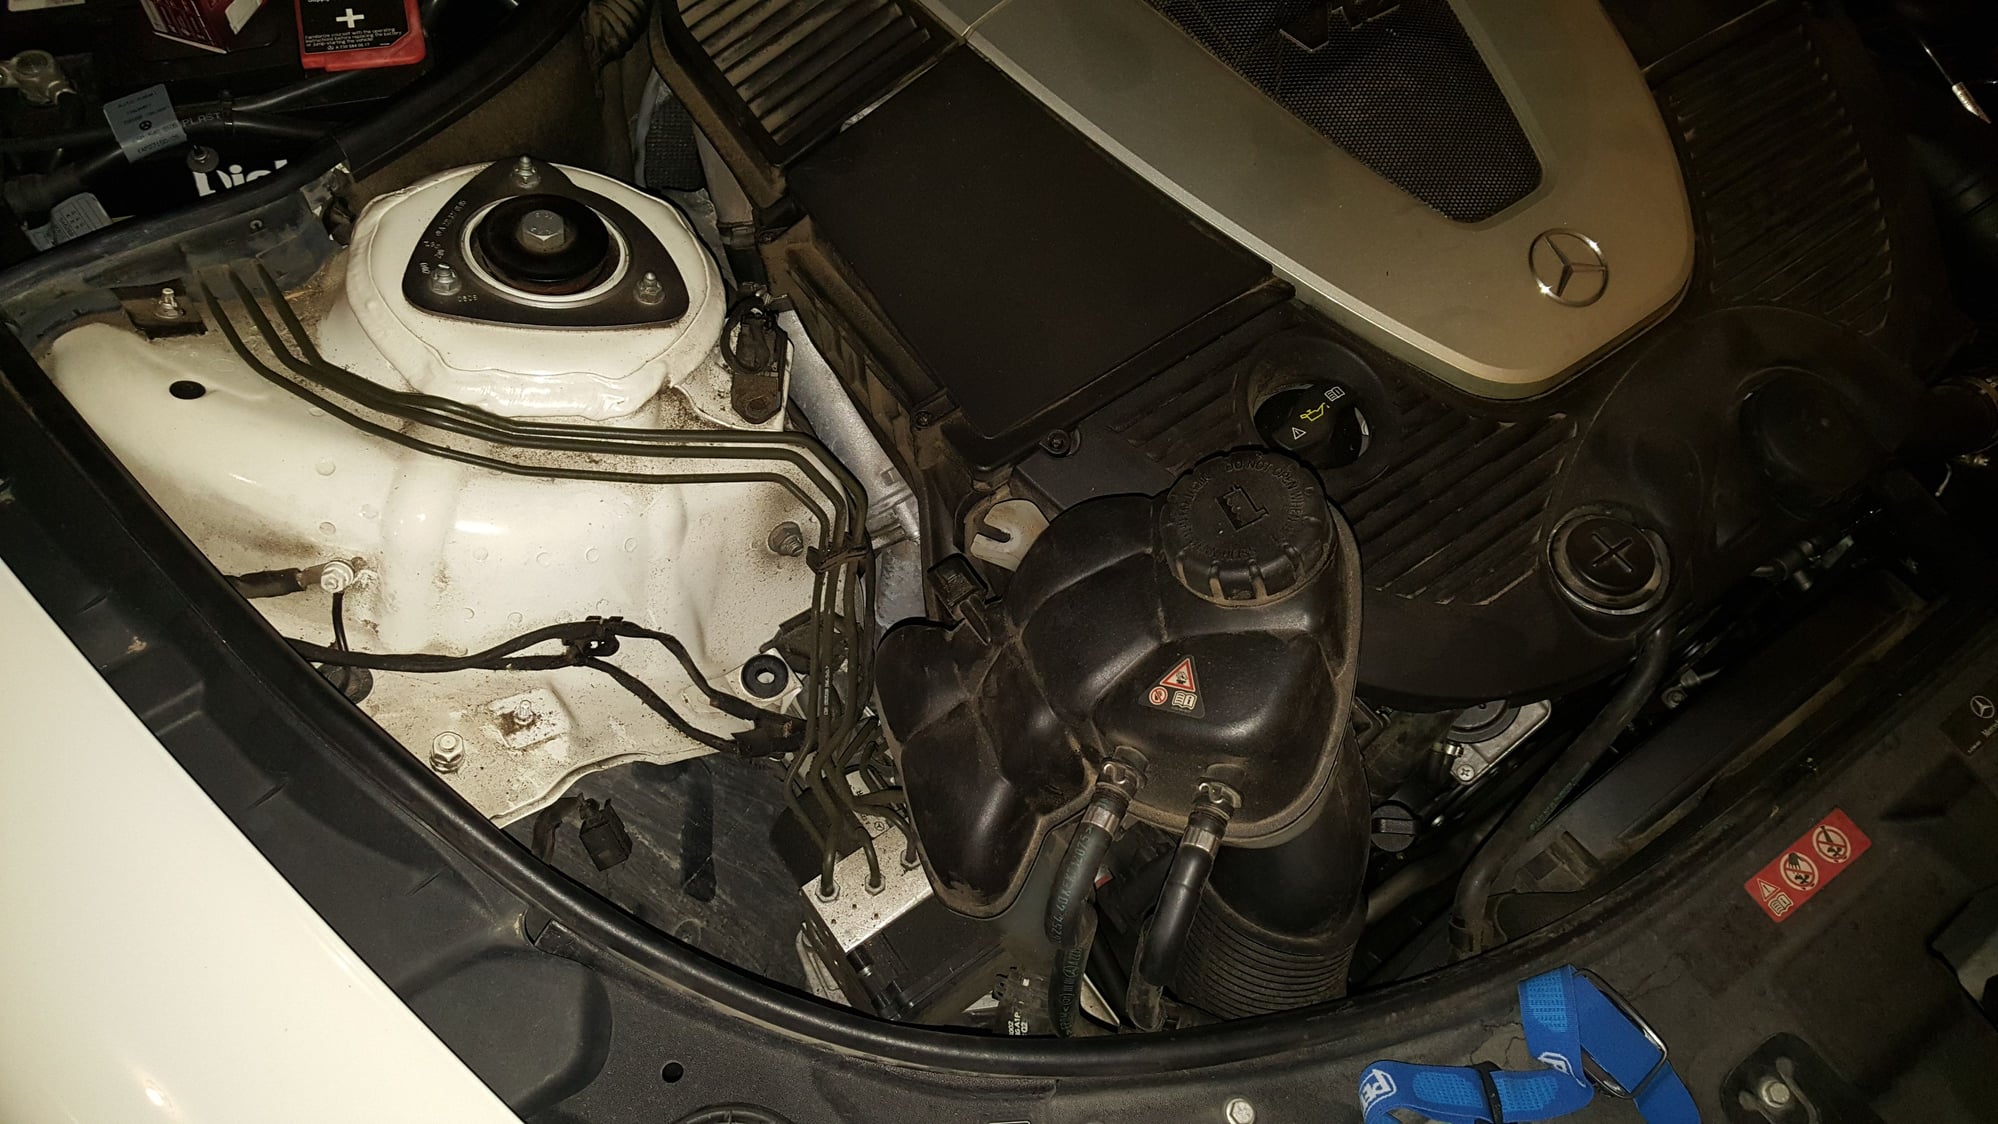
The entire process took a good four hours with breaks and mental notes. At least I paid nothing for labor and the D1S bulbs were $200 for the pair at theretrofitsource.com. They're an authorized seller of Osram and Philips , so they're authentic and cheaper than the dealer for sure! Be prepared to cough up a few hundred for labor if you're not willing to go through this process .
4100K is great for all around visibility and has the highest lumens at 3500.
Last edited by ghaffar23; 11-30-2016 at 03:30 PM.


