DIY Chrome Trim AC Vents Repair
 05-25-2015, 02:52 AM
#1
MBWorld Fanatic!
Thread Starter
DIY Chrome Trim AC Vents Repair
Hello everyone,
The peeled chrome trim for the AC vents has been on my list of meticulous repairs for quite some time and I found time to do it this past weekend. I wanted to attempt a repair first rather than opting to buy a brand new part from the stealership.
Here is a step-by-step guide:
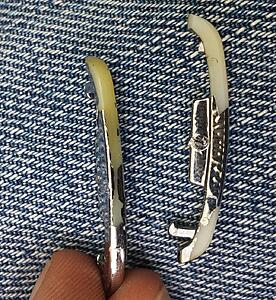
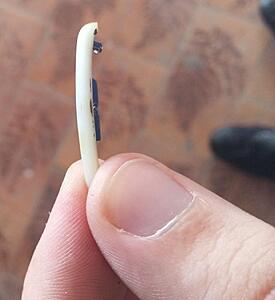
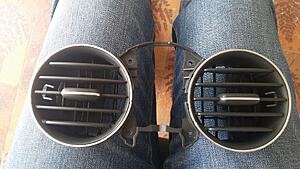
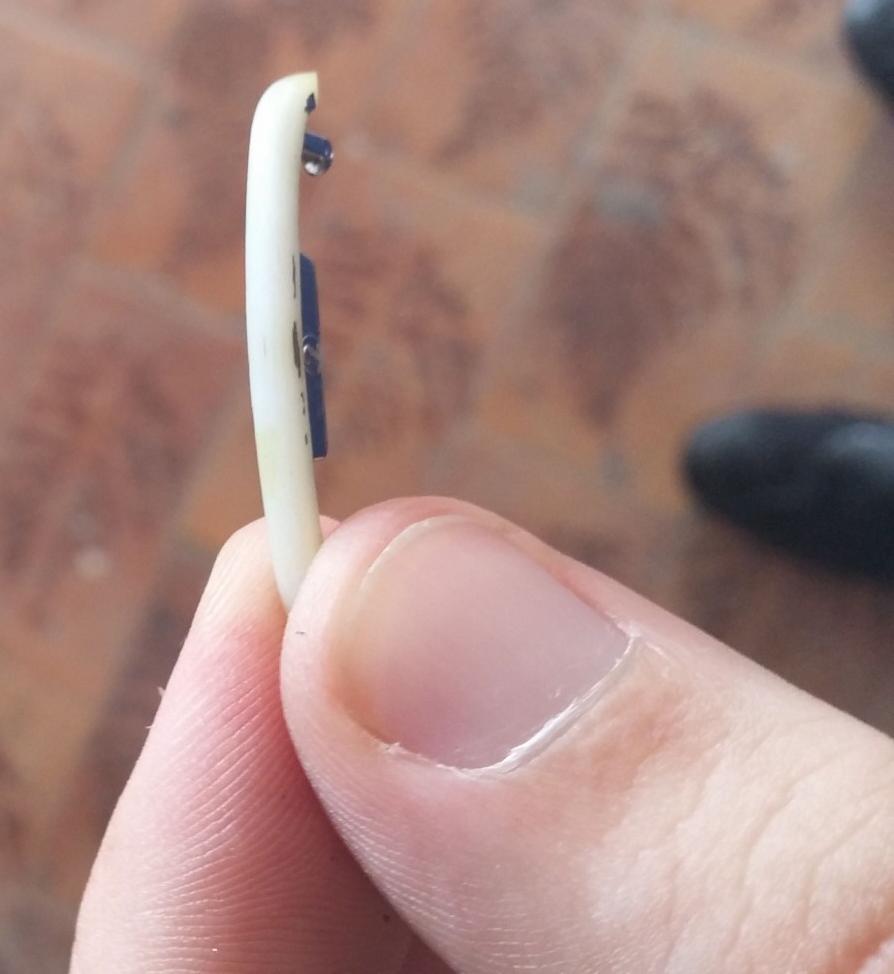
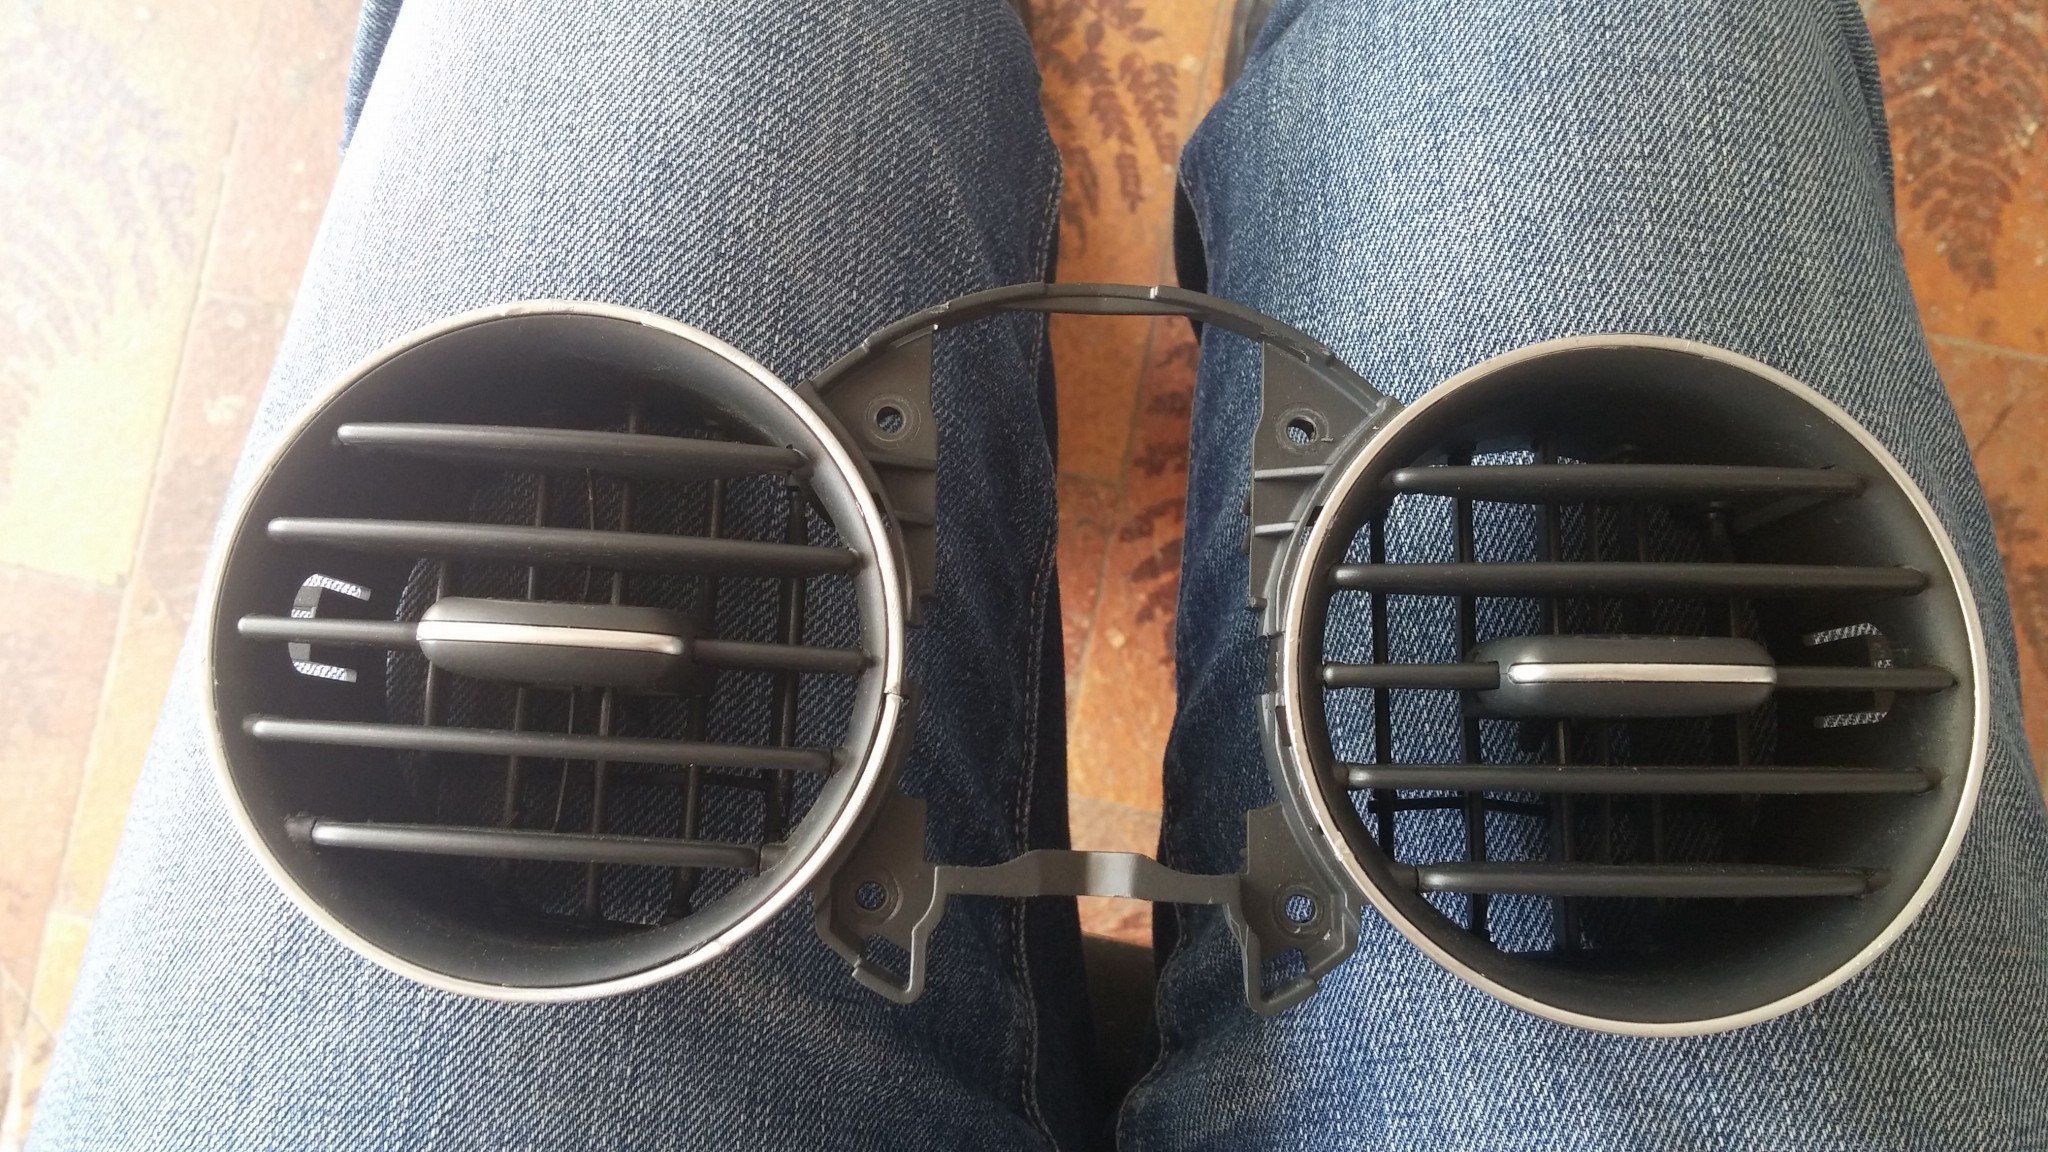
1. Remove the chrome trim off the tabs by using a pointy tool on both edges of the tabs. Be careful and gentle not to break the tabs' clips. Each tab has 2 clips as shown.
2. Use your nails first to easily-remove the flaking chrome then use an exacto knife and/or a very soft sand paper to remove the remaining chrome.

3. Use masking tape in order to tape the tabs to a piece of paper in a standing-up position.
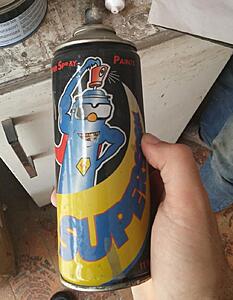
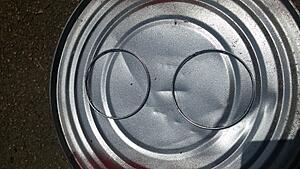
4. The chrome spray paint used

5. Spray the tabs 2 or 3 layers of paint and let them dry in the sun
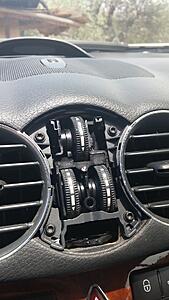
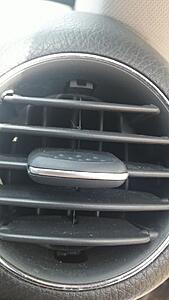
6. Remove the center piece by using a plastic wedge tool to pop off the plastic clips starting from the bottom, the sides, and then the top
7. VERY GENTLY remove the chrome outer rings. Mine had a couple of broken spots and they break very easily. I used super glue to put them back together then, repeat step 2 from above to clean them as much as possible but without breaking them. I did not use sand paper here because that would have broken them. Then repeat step 5 with the spray and let them dry.
8. Once they dry up, put them and the chrome tabs back into the center vent assembly
9. Put everything back into the car very gently in reverse order
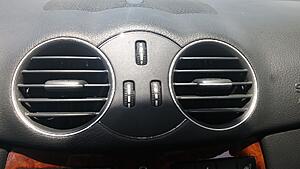
10. Final Results
I am very happy with the results and the ease of doing it. I hope this helps out all forum members who suffer from this problem in their cars.
I would like to thank forum member DanielFD for helping out with this job.
Godspeed.
The peeled chrome trim for the AC vents has been on my list of meticulous repairs for quite some time and I found time to do it this past weekend. I wanted to attempt a repair first rather than opting to buy a brand new part from the stealership.
Here is a step-by-step guide:
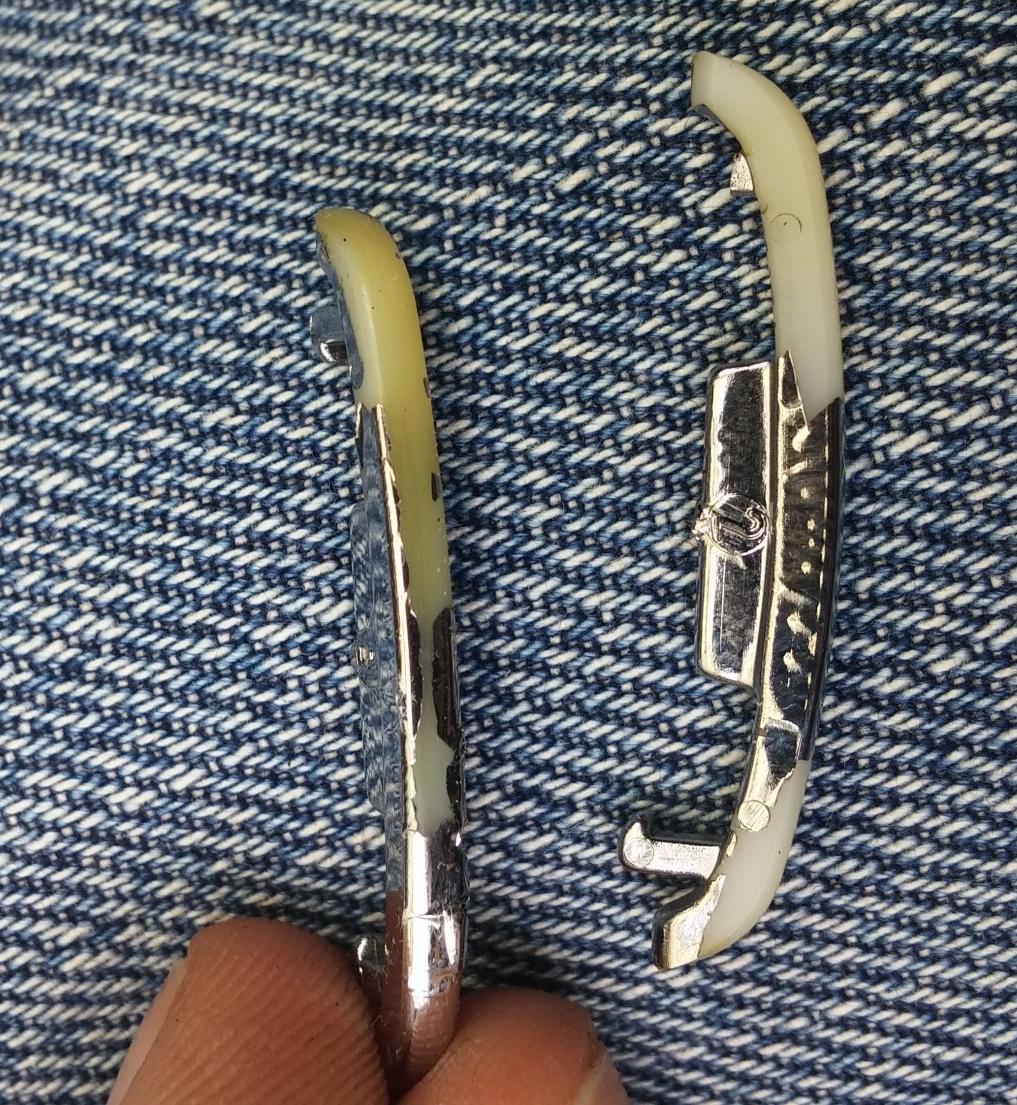
1. Remove the chrome trim off the tabs by using a pointy tool on both edges of the tabs. Be careful and gentle not to break the tabs' clips. Each tab has 2 clips as shown.
2. Use your nails first to easily-remove the flaking chrome then use an exacto knife and/or a very soft sand paper to remove the remaining chrome.
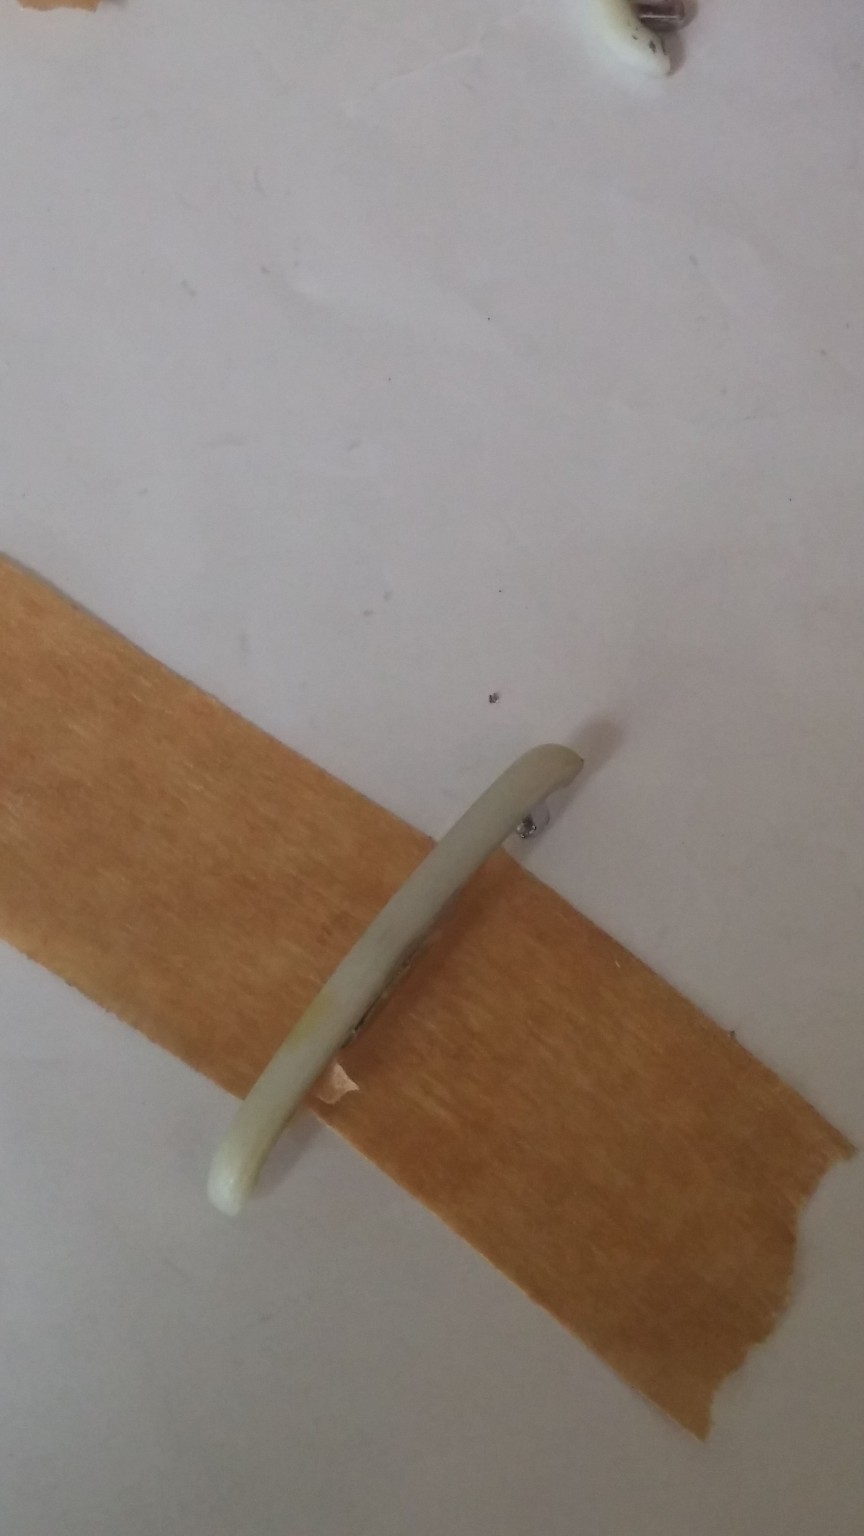
3. Use masking tape in order to tape the tabs to a piece of paper in a standing-up position.

4. The chrome spray paint used
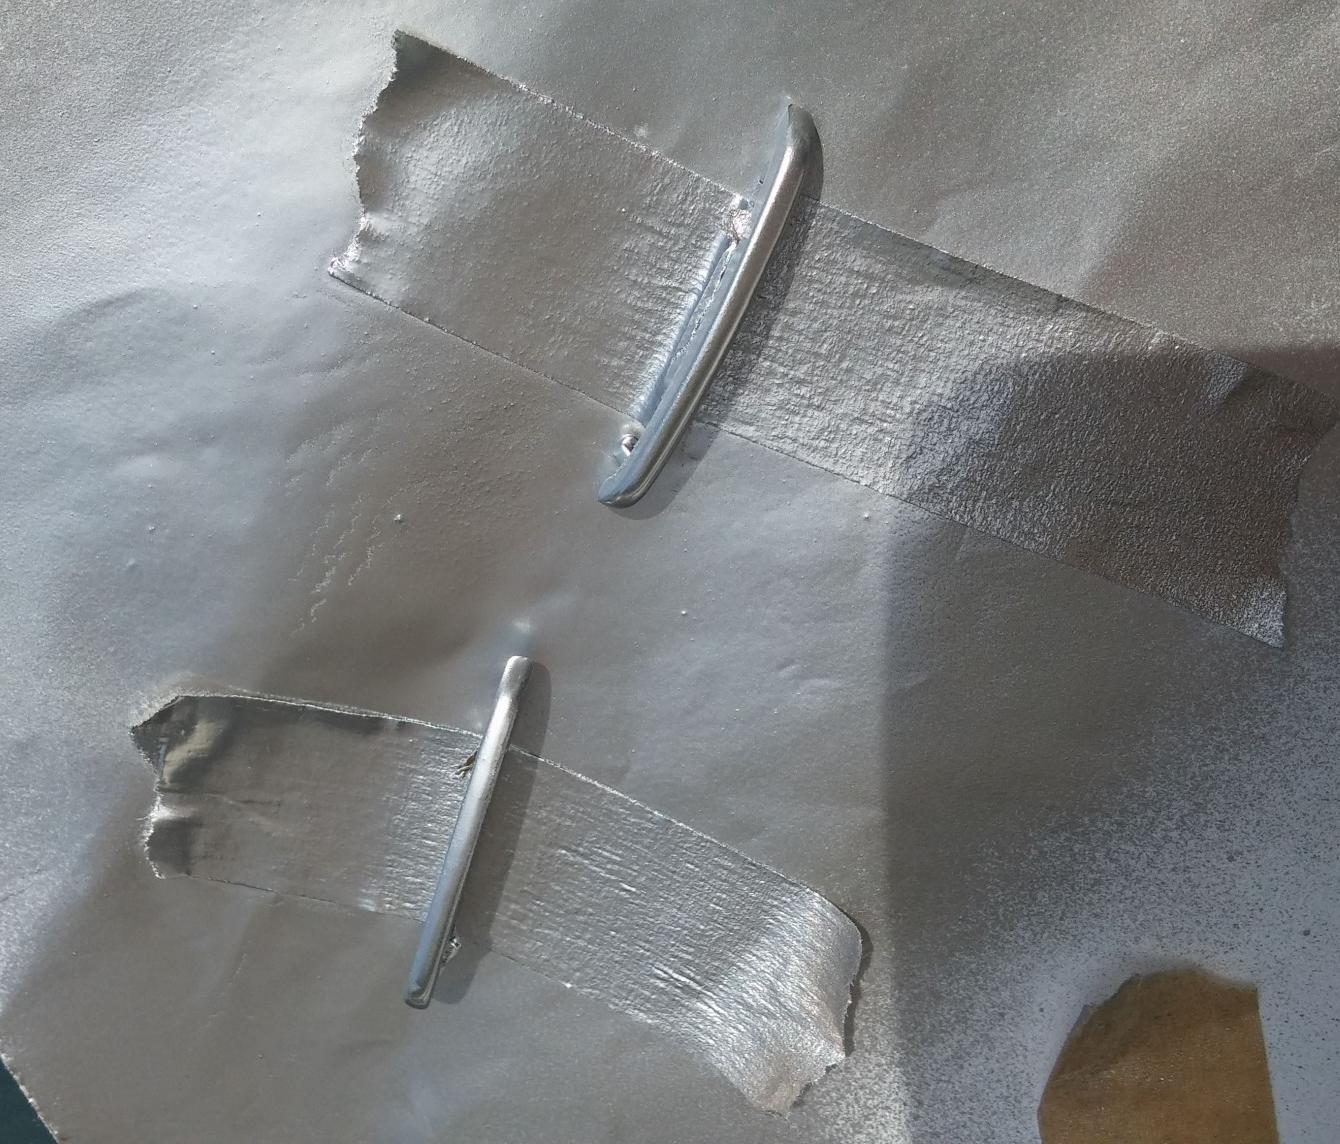
5. Spray the tabs 2 or 3 layers of paint and let them dry in the sun
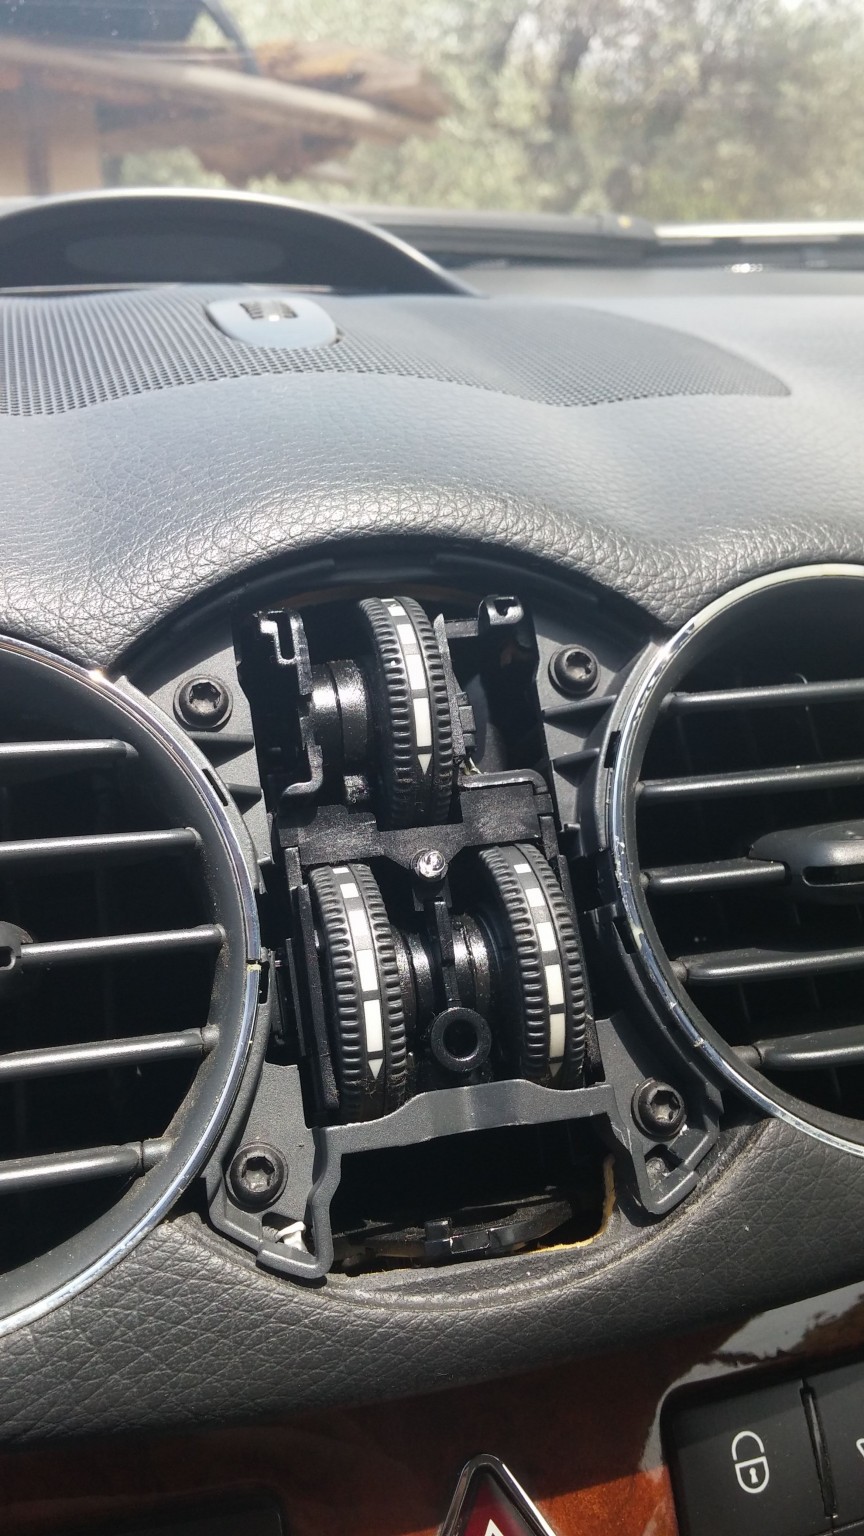
6. Remove the center piece by using a plastic wedge tool to pop off the plastic clips starting from the bottom, the sides, and then the top

7. VERY GENTLY remove the chrome outer rings. Mine had a couple of broken spots and they break very easily. I used super glue to put them back together then, repeat step 2 from above to clean them as much as possible but without breaking them. I did not use sand paper here because that would have broken them. Then repeat step 5 with the spray and let them dry.
8. Once they dry up, put them and the chrome tabs back into the center vent assembly
9. Put everything back into the car very gently in reverse order


10. Final Results
I am very happy with the results and the ease of doing it. I hope this helps out all forum members who suffer from this problem in their cars.
I would like to thank forum member DanielFD for helping out with this job.
Godspeed.
Last edited by xsever; 08-18-2016 at 12:58 AM.
 08-17-2016, 05:23 AM
#4
Senior Member
I've got a chip on one of mine... I came across a tin of aluminium paint, that I used to cover a new exhaust hanger weld. But seeing this thread has made me aware of another use for this paint! It's highly 'shiny' stuff.
08-18-2016, 01:00 AM
#6
MBWorld Fanatic!
Thread Starter

Trending Topics
 08-18-2016, 05:43 PM
#9
Senior Member
My chip is really only 2-3mm long so it never really bothered me. But now the idea has popped into my head I, just going to put a blob on it and see how that works. Will take me seconds 

 08-19-2016, 04:11 AM
#11
Senior Member
The first job looks more like aluminum than chrome so does not match the other chrome in the car...I could not live with it moot being actual chrome....Just not shiney enough. Also, on previous experience it will wear off quick. The one immediately above looks better but difficult to see because of glare in pic.
08-19-2016, 09:35 PM
#12
MBworld Guru

Yeah, sorry about all that glare. Honestly, that Testor's "tire" paint was a perfect match for the matte black finish of the surrounding plastic parts of the vent. It looked very much normal. If you did not know the vents should have a chrome accent, you's not have given it a second thought.
08-21-2016, 12:05 PM
#14
Super Member
I tried putting gloss vinyl on mine but wast happy with the results. Might give this a shot since I already fixed the gummy texture on the interior plastics after seeing another DIY. Thanks for the write up!


