teamSPB's New Project...Mercedes CLS...time to be PIMP
 03-18-2013, 05:57 PM
#1

teamSPB's New Project...Mercedes CLS...time to be PIMP
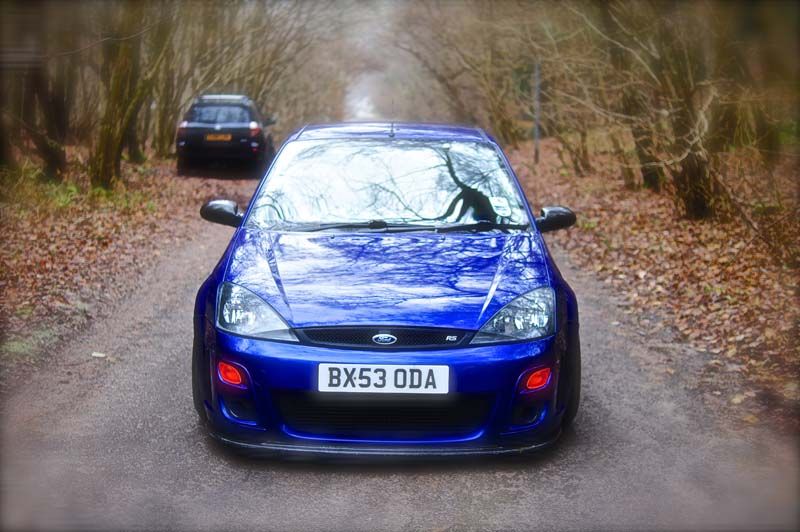
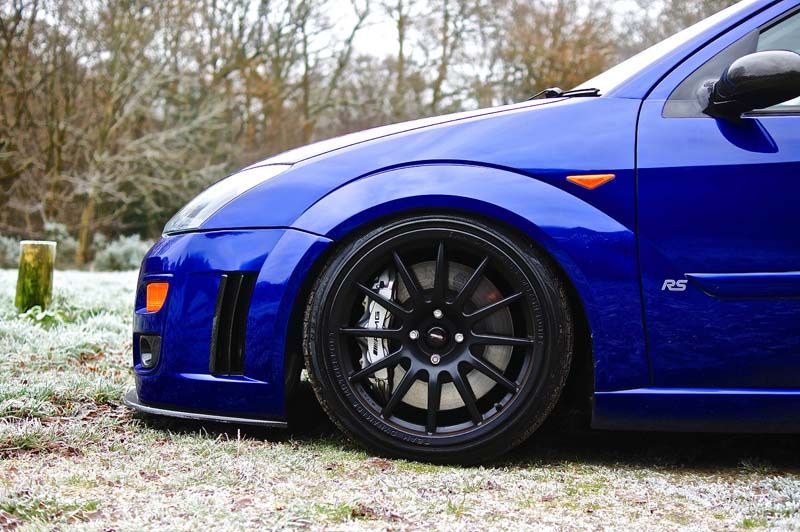
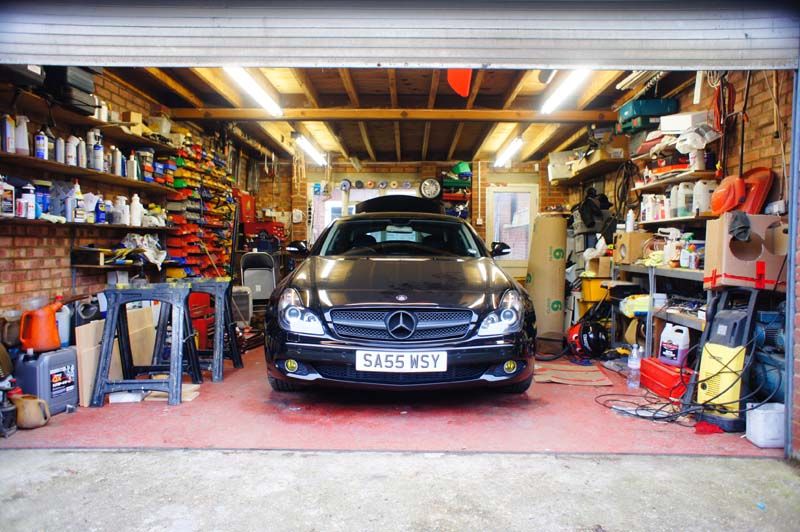
Hi everyone, thought we would introduce our new demo car...the Focus' replacement!
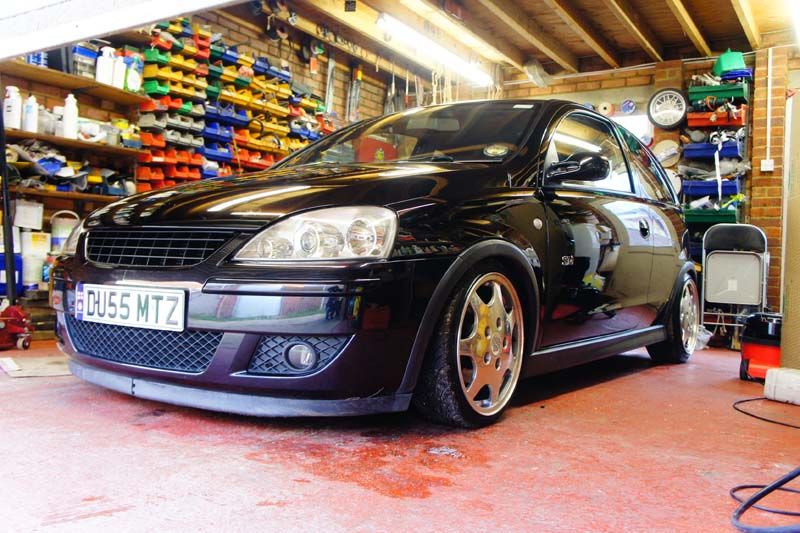
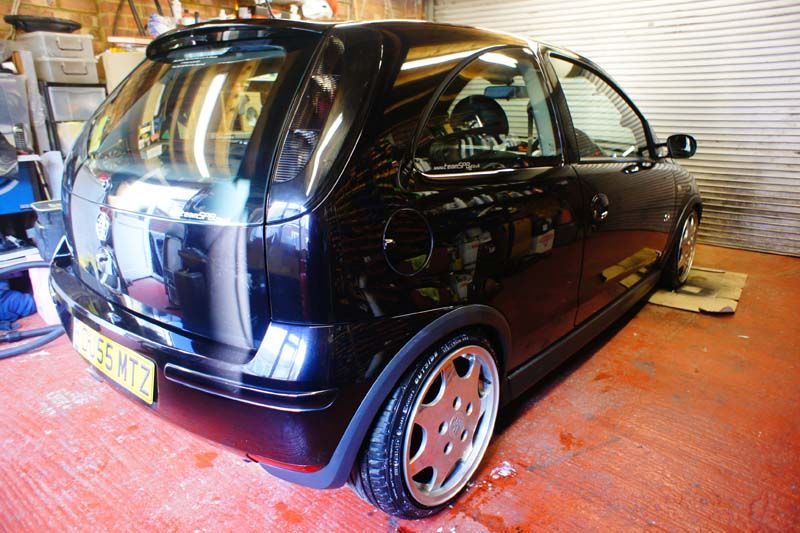
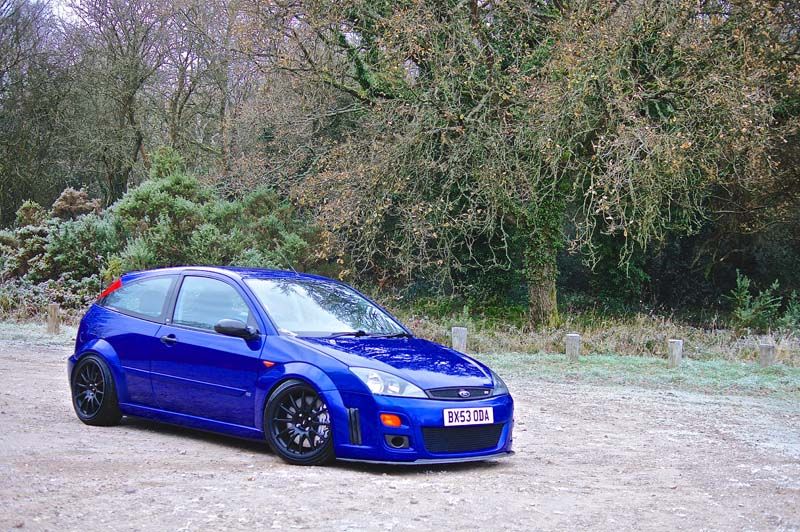
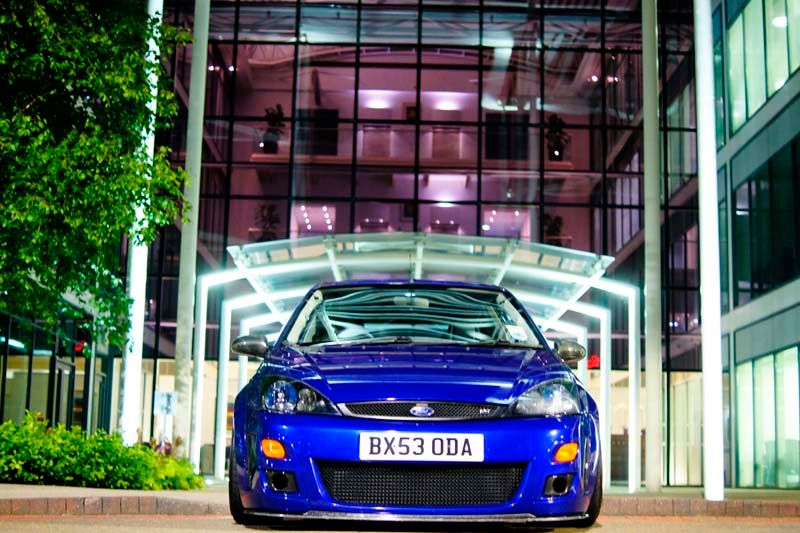
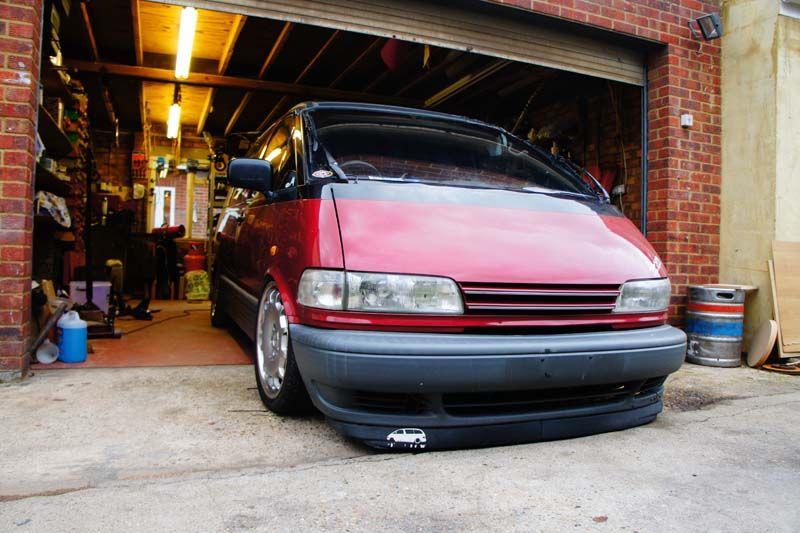
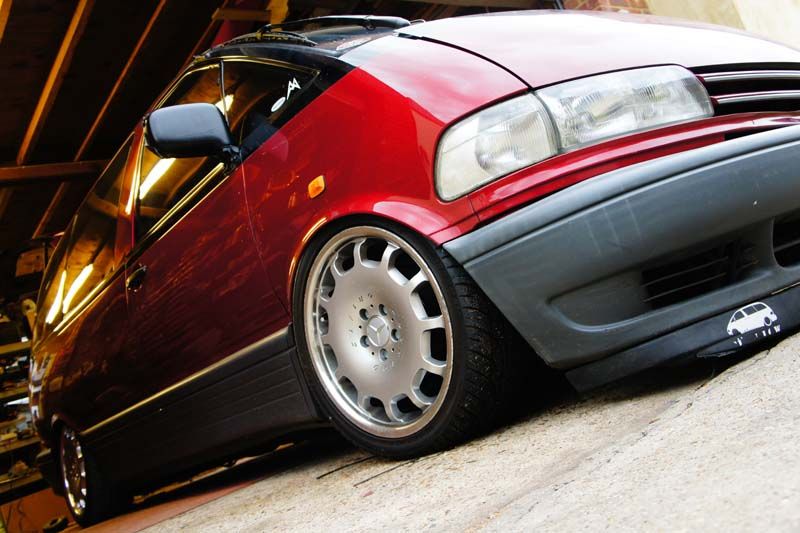
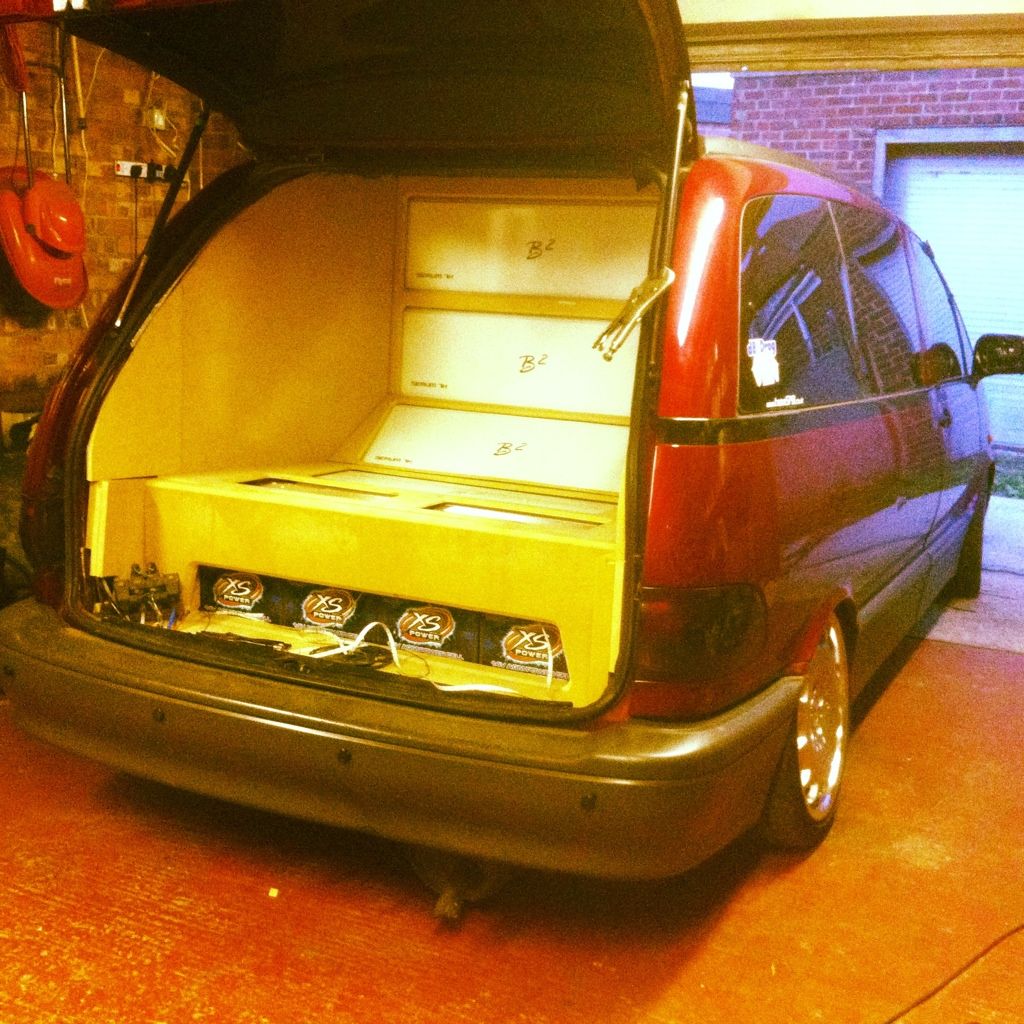
Having had a VW Scirocco, Escort RS Turbo, Focus RS, Toyota Previa (still got), Vauxhall Corsa C (still got), it was time to buy something a bit more pimp and something I wouldnt mind adding miles to without worrying about depreciation...but the main thing was, it had to be more of a cruiser/pimpmobile lol!
The main criteria for this car was;
We can get 4 people in without any issue
It is a fairly rare car in comparison to most big prestigious cars - i.e. not a BMW 3 or 5 series that everyone already has or have seen heavily modified already
Had to have a big boot
Had to have that 'pimp' status
Had to be nippy for a big car
Had to have plenty of scope for some BIG plans I have in my mind!
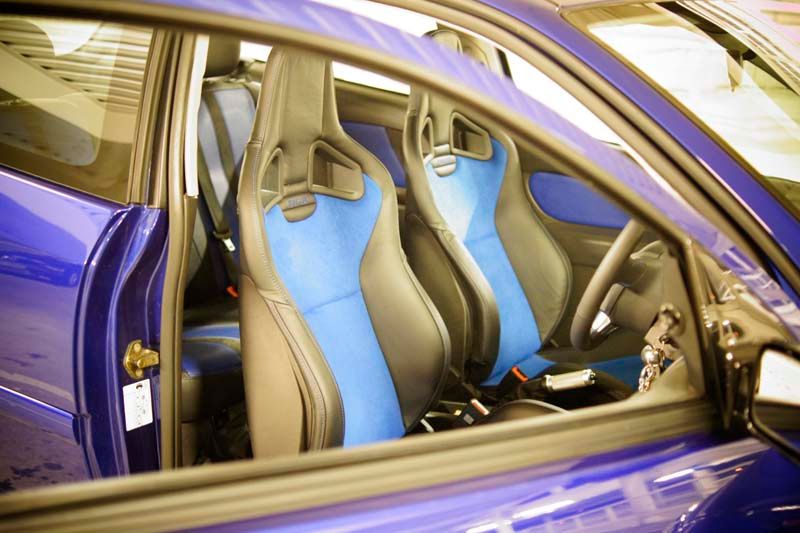
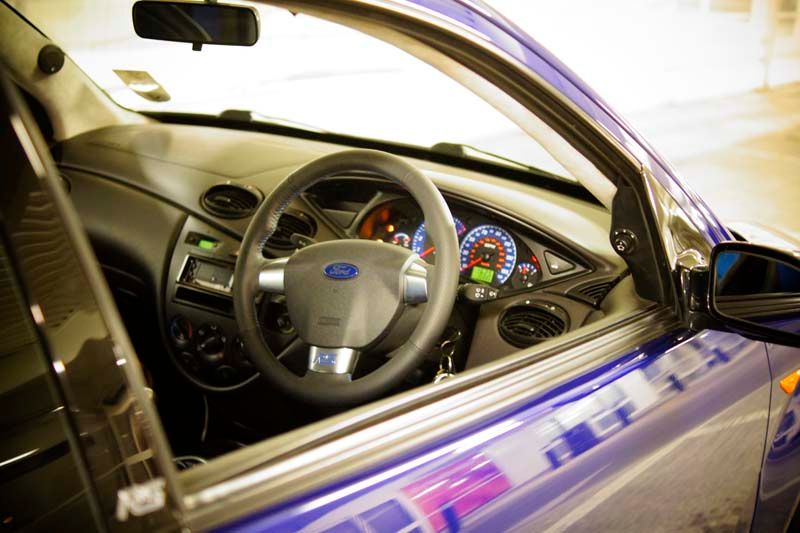
Had to be a decent colour with decent interior
After looking at endless cars including BMW 1-3-5 series which were ruled out straight away due to them being so popular and often looked at as 'mum and dads car' especially where I live! I started looking at Mercs and instantly took a liking to them...looked at the new A class, C class, S class, CLS, etc etc the A class looks SMART on the advert, but I specc'd one up and it was totalling to over 30k with the spec I wanted! The C class took my liking instantly, but again, they are far too popular....The S class was a good contender, but the CLS seemed to have ticked all the boxes for what we wanted and had that extra 'rare' appeal as most people opt for the S class...
Dont get me wrong, its not a rare car like my Focus RS was etc, but in my local area, there are probably only a handful of these cars and I like to try to be different if I can....besides, everyone I know who has a CLS is old lol!
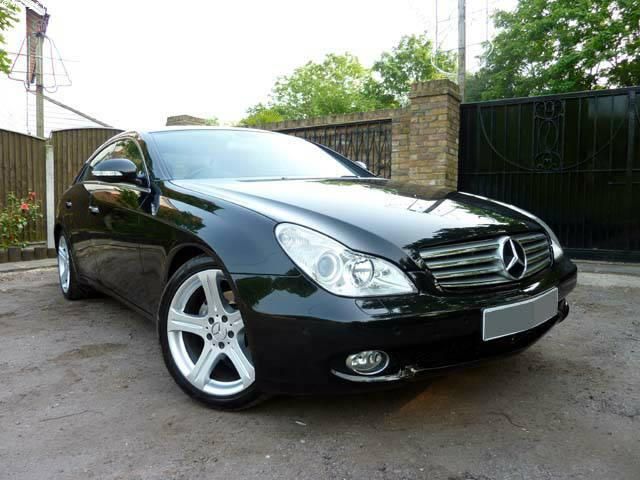
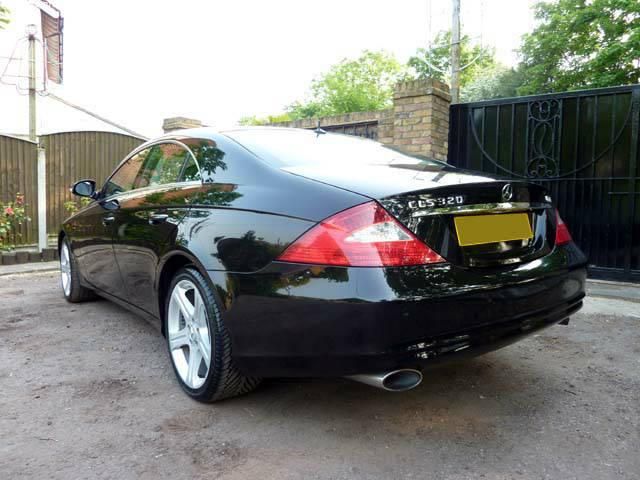
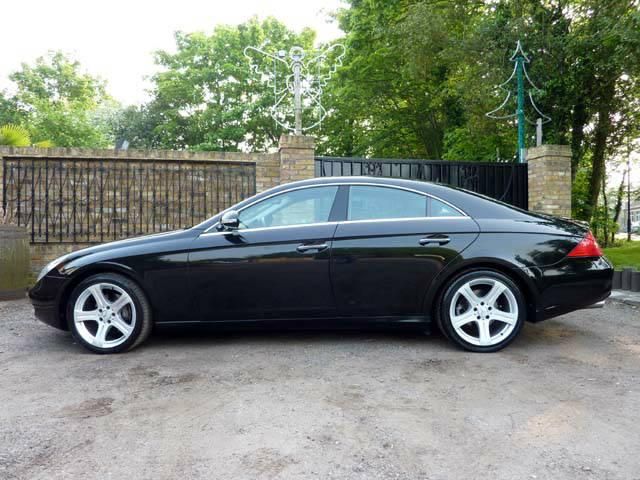
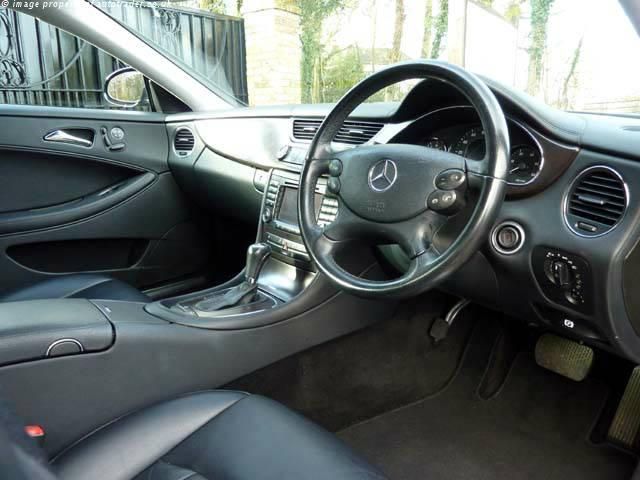
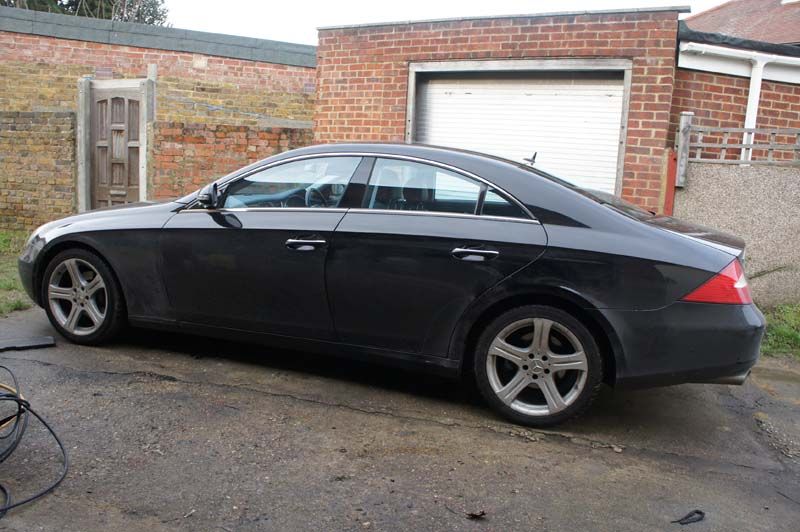
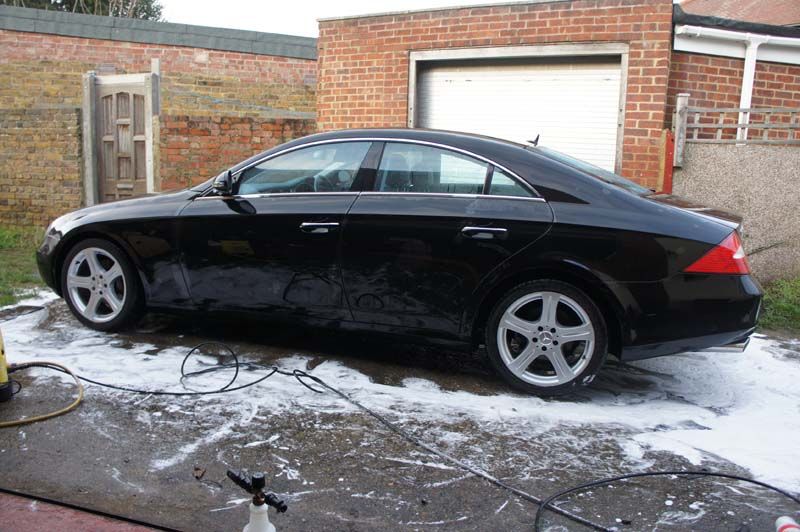
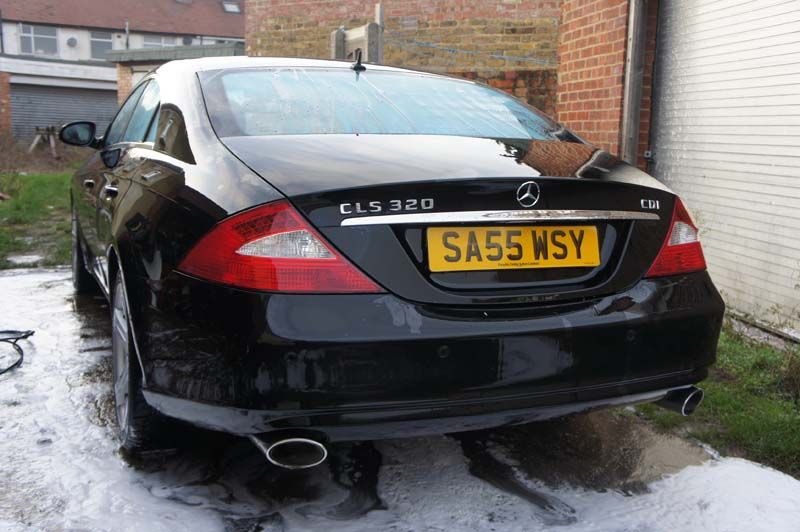
Finally after looking at a few CLS', I found one I really liked, 320cdi, 78k on the clock, FSH, Black, Black leather interior, Airmatic suspension, really clean inside and out, Sat Nav, Bluetooth, DVD player, and didnt have the light walnut brown dash (instead it was dark brown lol)...a deal was struck and it was snapped up!!
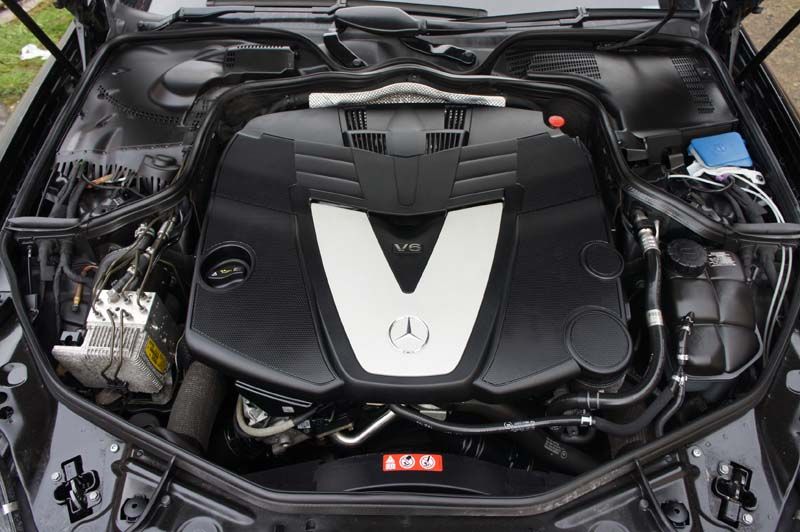
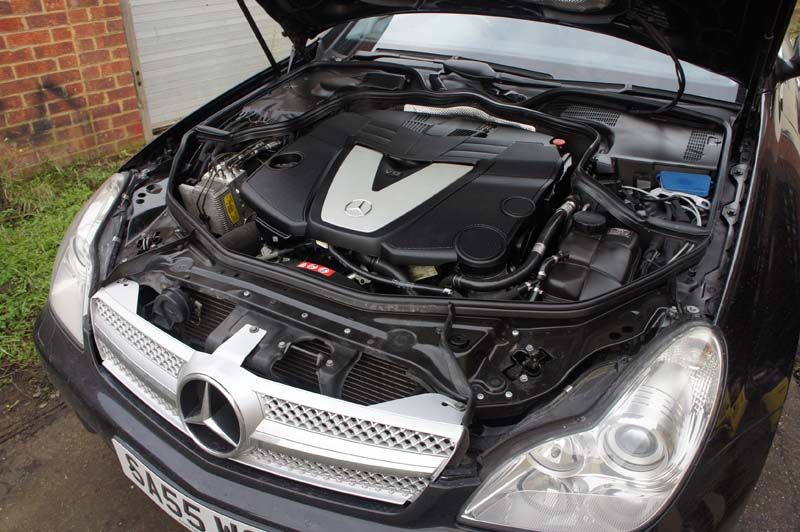
Some pics of the car from the advert...
We have some nice plans for the car...including...
20inch wheels
Full Rayvern Hydraulics installation with twin (or single, not decided yet) pumps
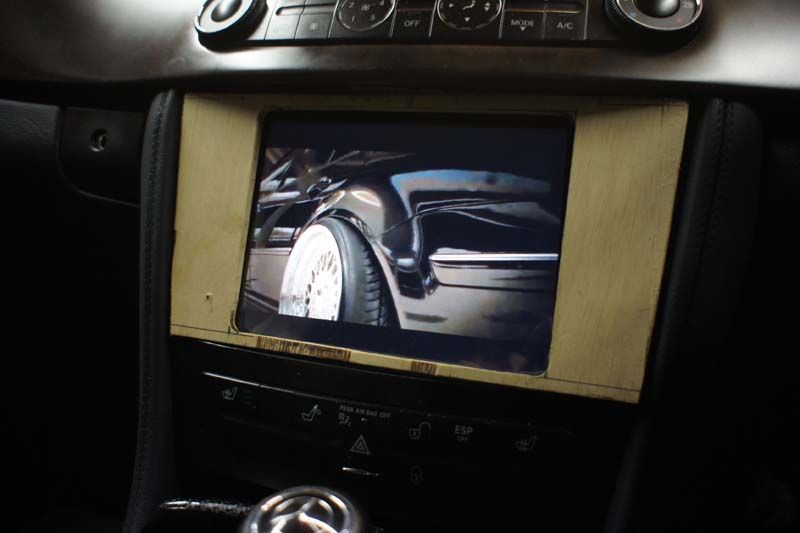
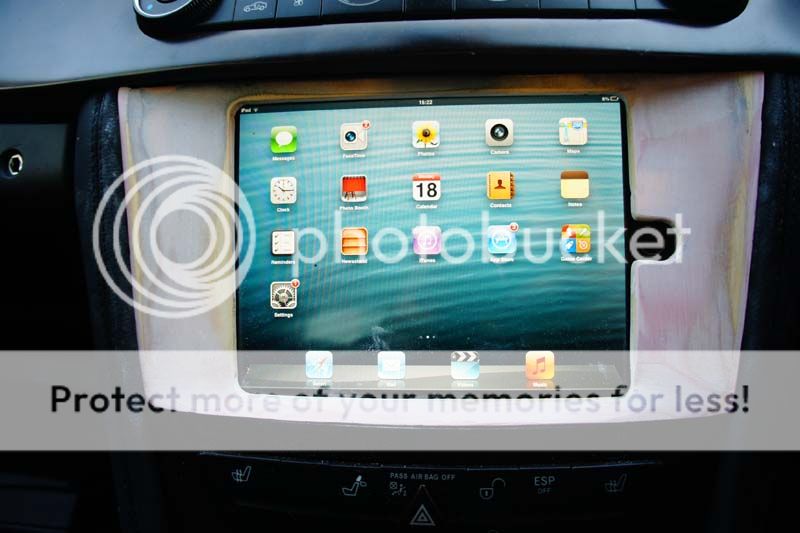
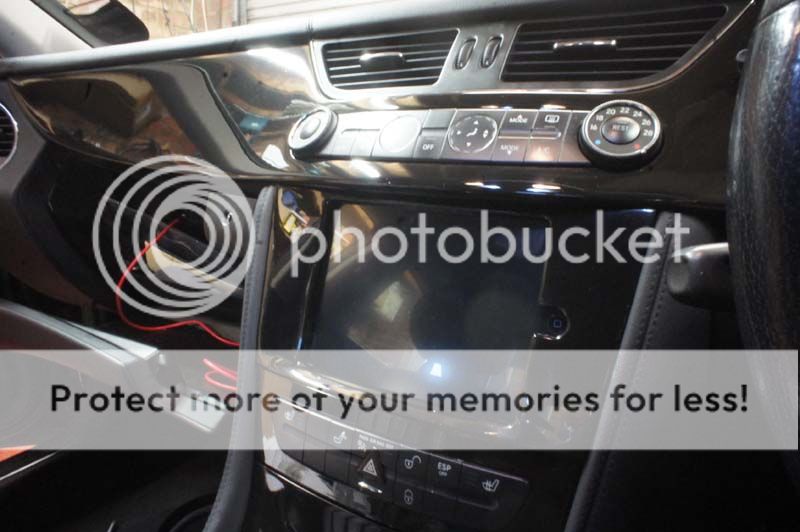
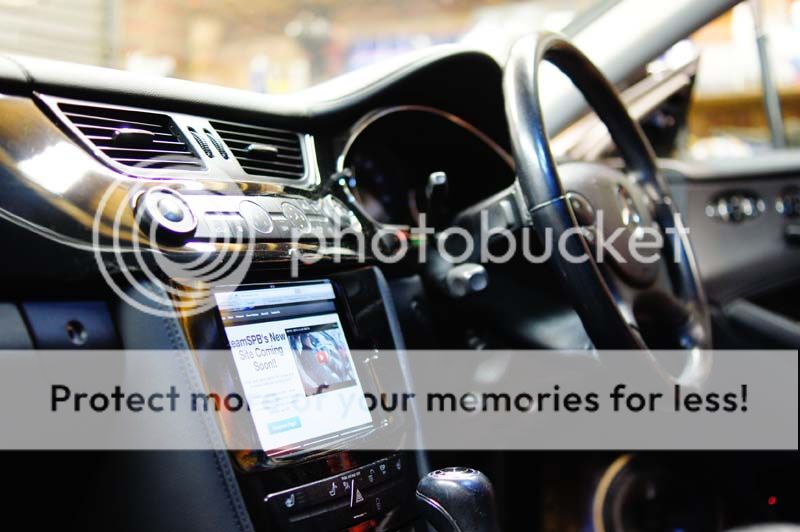
iPad mini installation
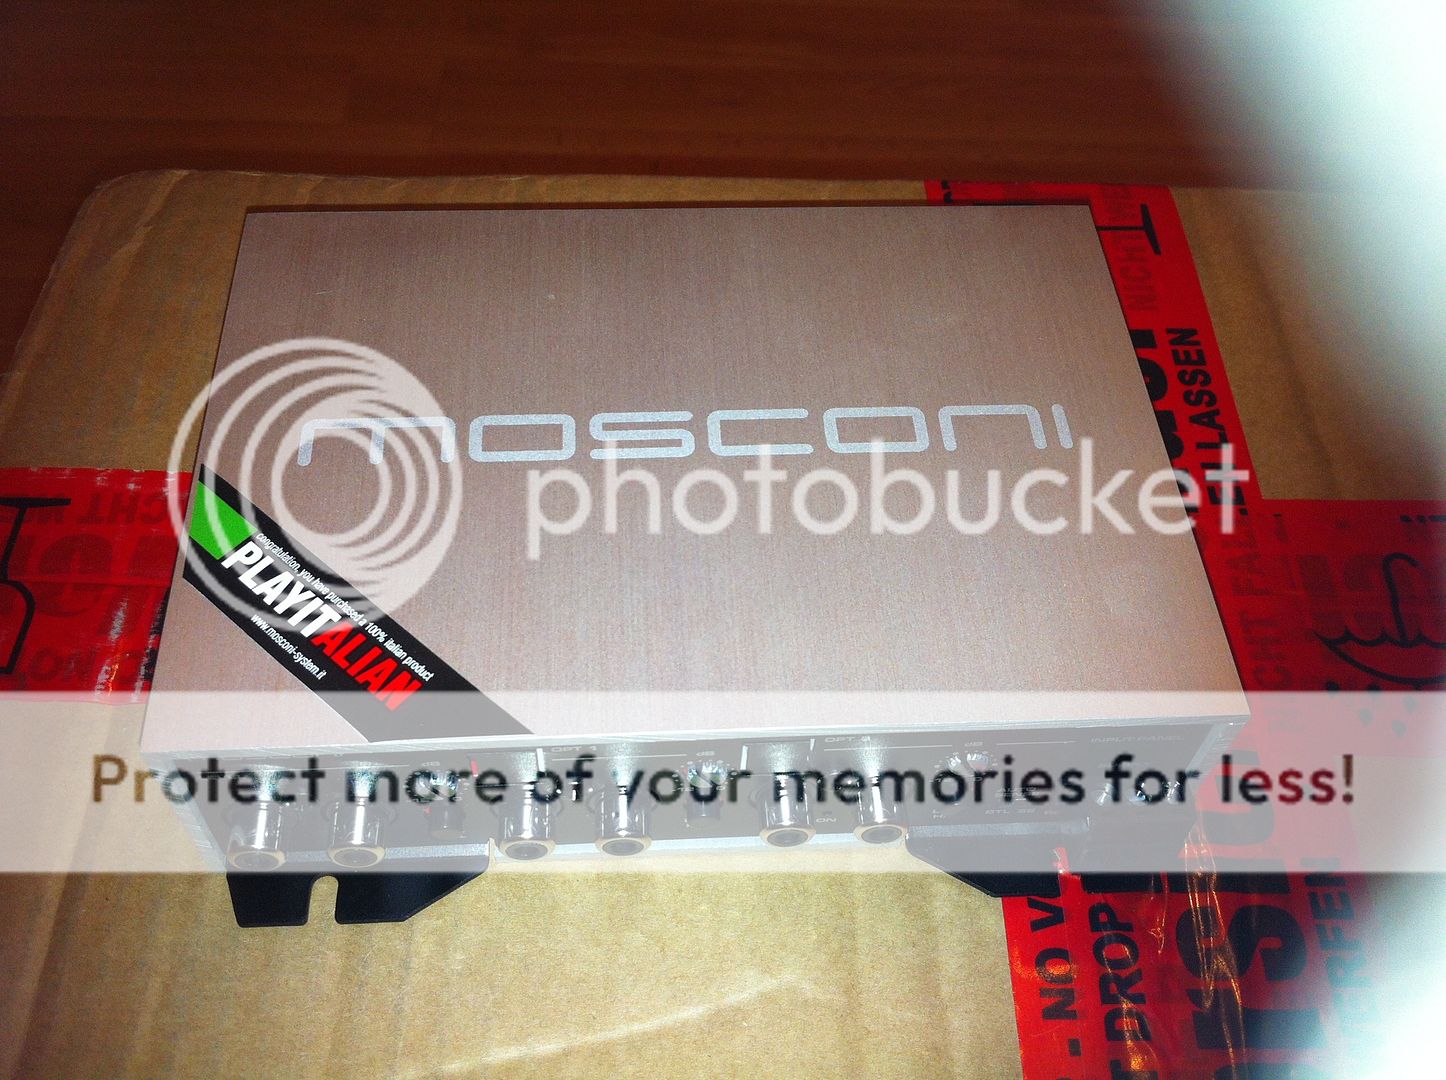
Mosconi 6to8 processor with bluetooth streaming from iPad mini or any phone
2 Ascendant Audio Havoc 18" subs custom built for infinite baffle applications
Mosconi amplifiers
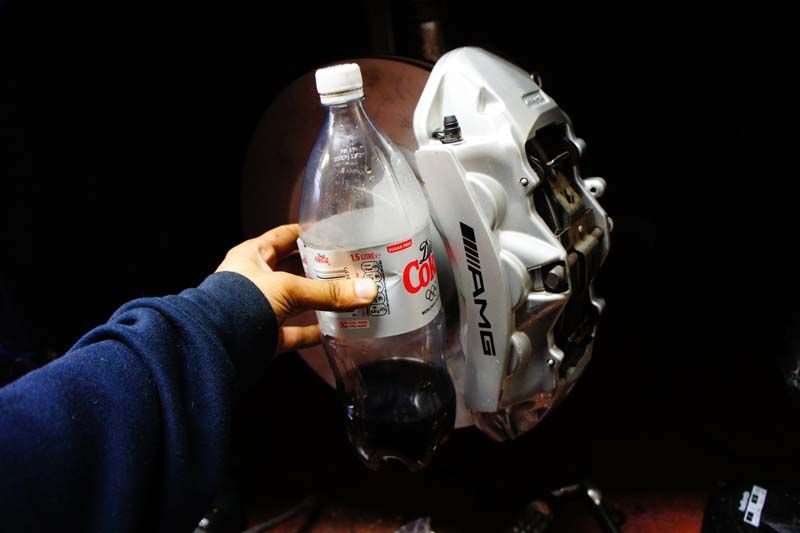
8 pot (yes we had to go bigger than the Focus which was on 6 pot lol!!) AMG calipers on the front and 4pot AMG calipers on the rear
360mm disc conversion (next discs may possibly be 390-400mm) on the front and 330mm on the rear
An after market body kit or bumpers
etc etc
Welcome to the build thread!!!
teamSPB
Having had a VW Scirocco, Escort RS Turbo, Focus RS, Toyota Previa (still got), Vauxhall Corsa C (still got), it was time to buy something a bit more pimp and something I wouldnt mind adding miles to without worrying about depreciation...but the main thing was, it had to be more of a cruiser/pimpmobile lol!
The main criteria for this car was;
We can get 4 people in without any issue
It is a fairly rare car in comparison to most big prestigious cars - i.e. not a BMW 3 or 5 series that everyone already has or have seen heavily modified already
Had to have a big boot
Had to have that 'pimp' status
Had to be nippy for a big car
Had to have plenty of scope for some BIG plans I have in my mind!
Had to be a decent colour with decent interior
After looking at endless cars including BMW 1-3-5 series which were ruled out straight away due to them being so popular and often looked at as 'mum and dads car' especially where I live! I started looking at Mercs and instantly took a liking to them...looked at the new A class, C class, S class, CLS, etc etc the A class looks SMART on the advert, but I specc'd one up and it was totalling to over 30k with the spec I wanted! The C class took my liking instantly, but again, they are far too popular....The S class was a good contender, but the CLS seemed to have ticked all the boxes for what we wanted and had that extra 'rare' appeal as most people opt for the S class...
Dont get me wrong, its not a rare car like my Focus RS was etc, but in my local area, there are probably only a handful of these cars and I like to try to be different if I can....besides, everyone I know who has a CLS is old lol!
Finally after looking at a few CLS', I found one I really liked, 320cdi, 78k on the clock, FSH, Black, Black leather interior, Airmatic suspension, really clean inside and out, Sat Nav, Bluetooth, DVD player, and didnt have the light walnut brown dash (instead it was dark brown lol)...a deal was struck and it was snapped up!!
Some pics of the car from the advert...
We have some nice plans for the car...including...
20inch wheels
Full Rayvern Hydraulics installation with twin (or single, not decided yet) pumps
iPad mini installation
Mosconi 6to8 processor with bluetooth streaming from iPad mini or any phone
2 Ascendant Audio Havoc 18" subs custom built for infinite baffle applications
Mosconi amplifiers
8 pot (yes we had to go bigger than the Focus which was on 6 pot lol!!) AMG calipers on the front and 4pot AMG calipers on the rear
360mm disc conversion (next discs may possibly be 390-400mm) on the front and 330mm on the rear
An after market body kit or bumpers
etc etc
Welcome to the build thread!!!
teamSPB

 03-19-2013, 03:10 PM
#3
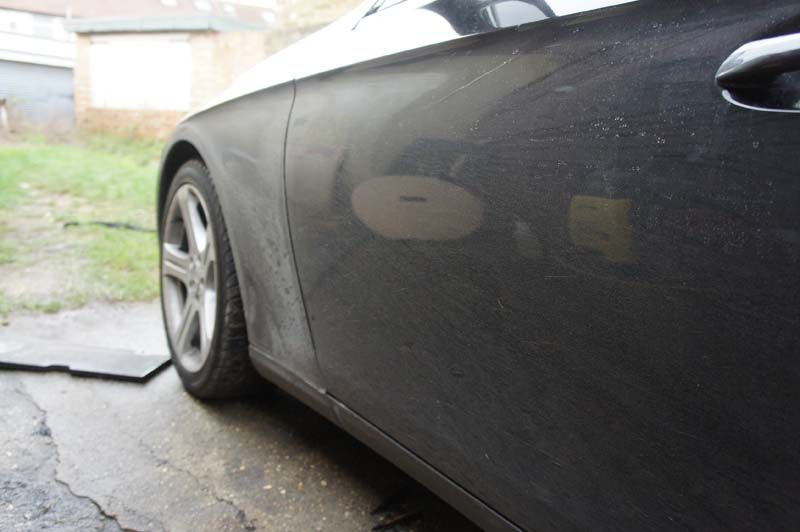
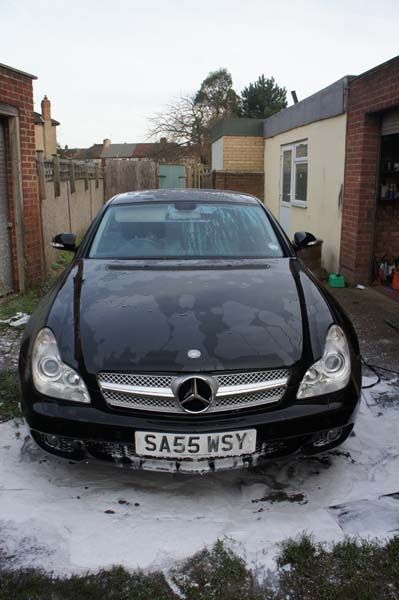
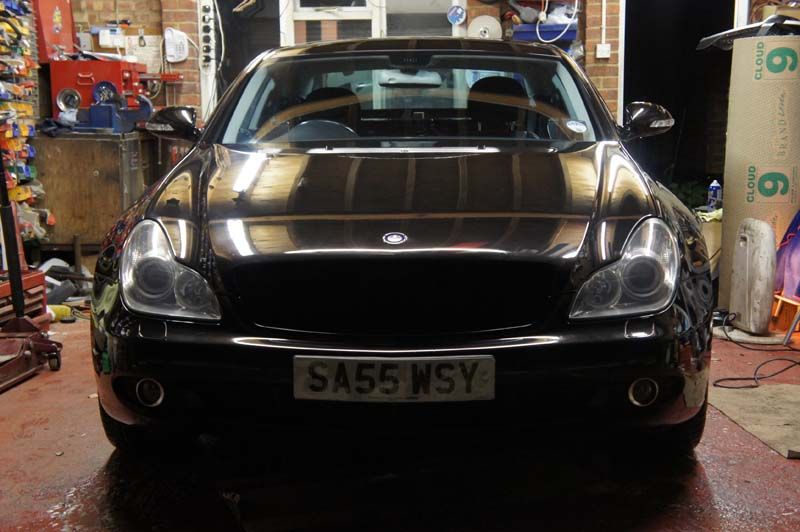
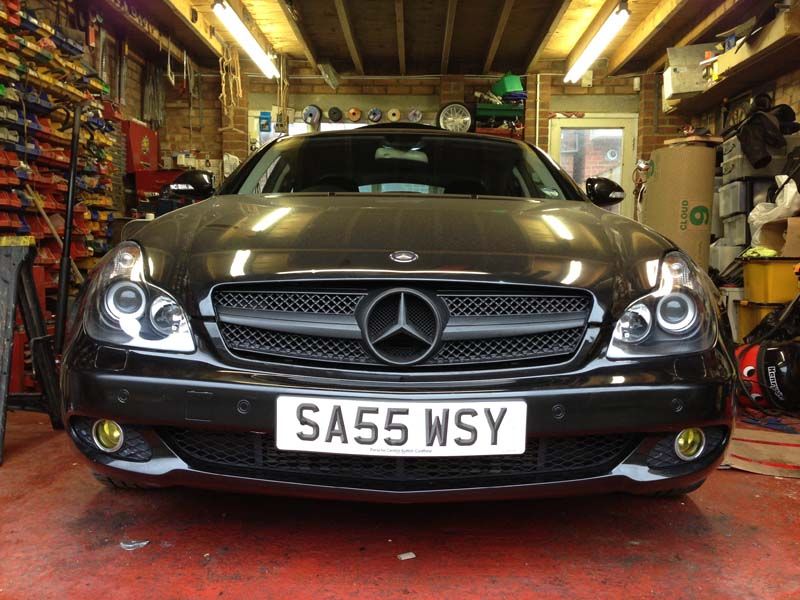
First off was to give the car a clean...the car was in good condition when I bought it....but as usual, the more you look at things, the more you pick up!
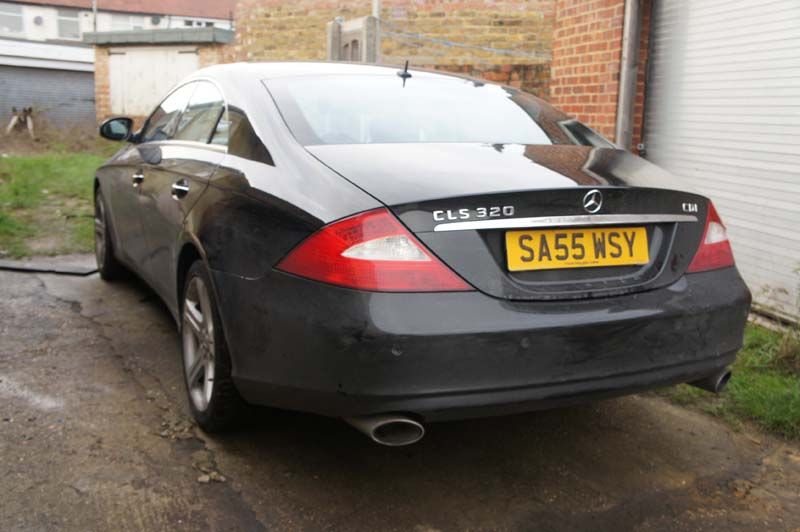
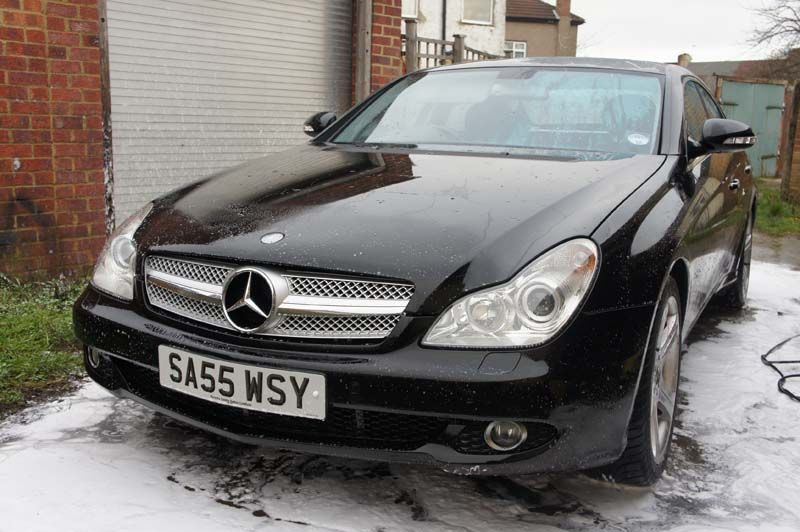
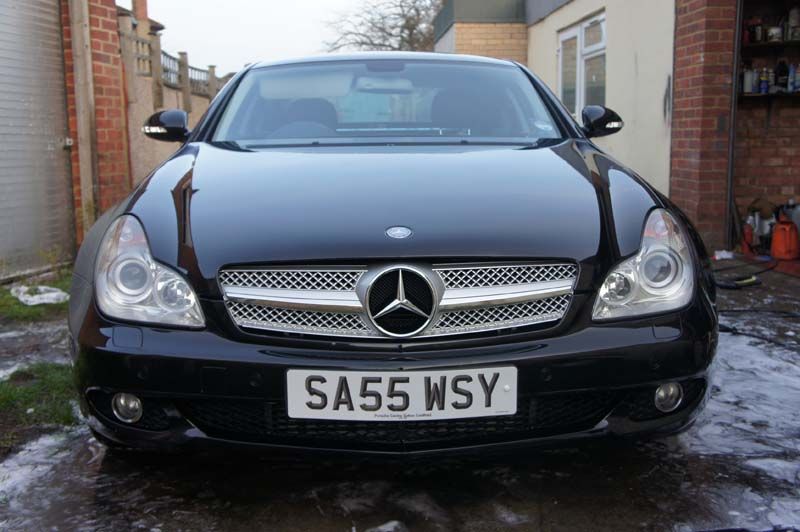
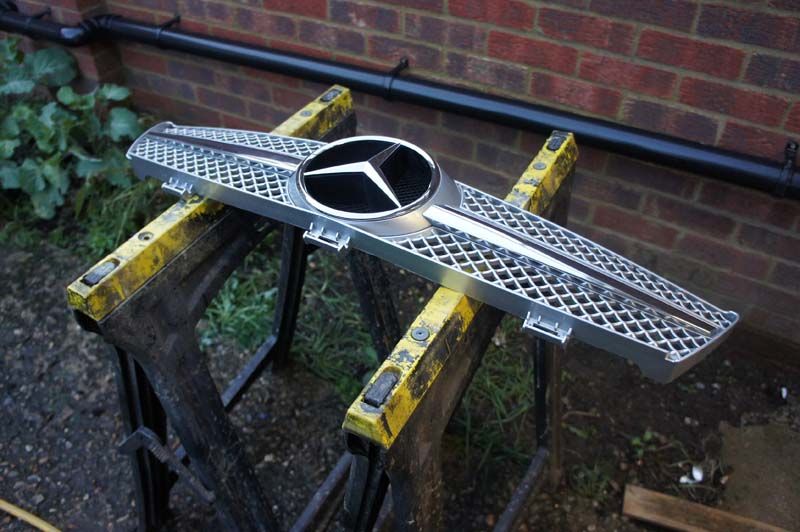
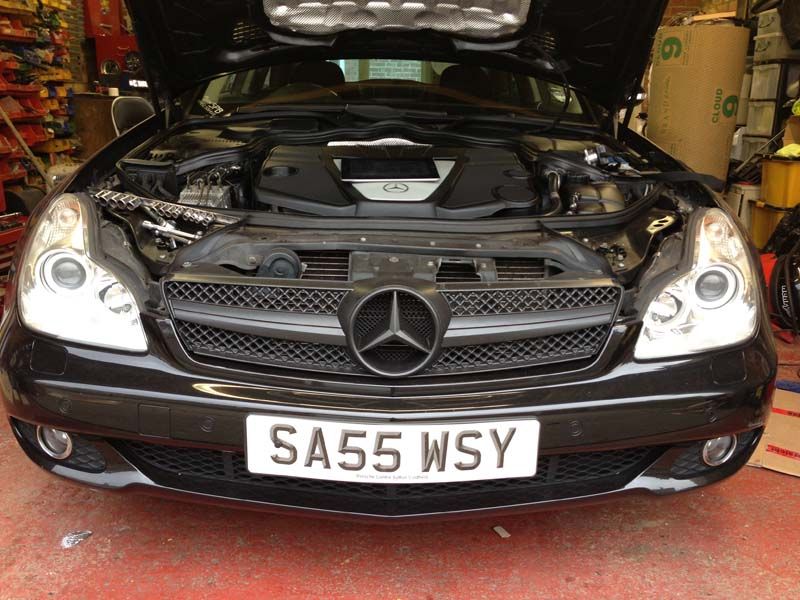
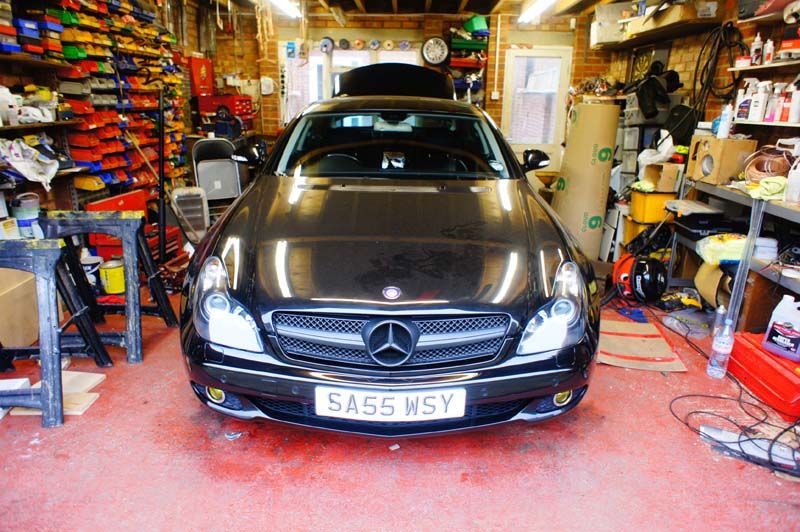
Eagle eyed of you will notice the single fin grill This was purchased off ebay VERY cheap!

First up...Magifoam snowfoam
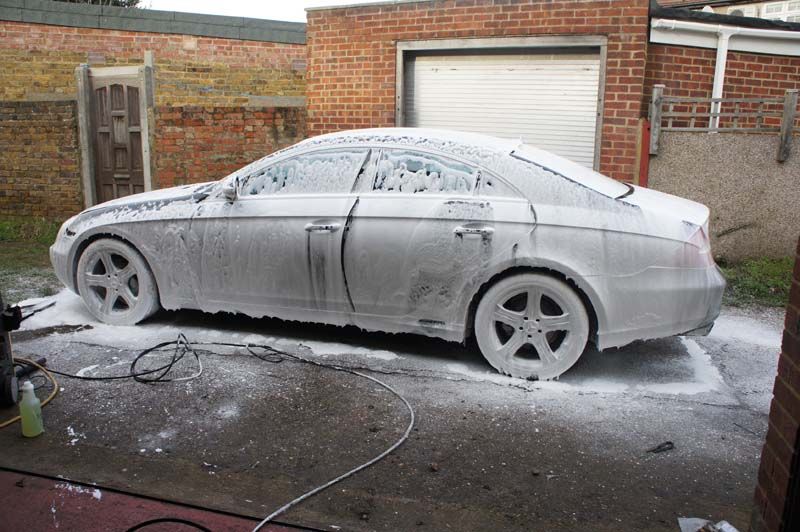
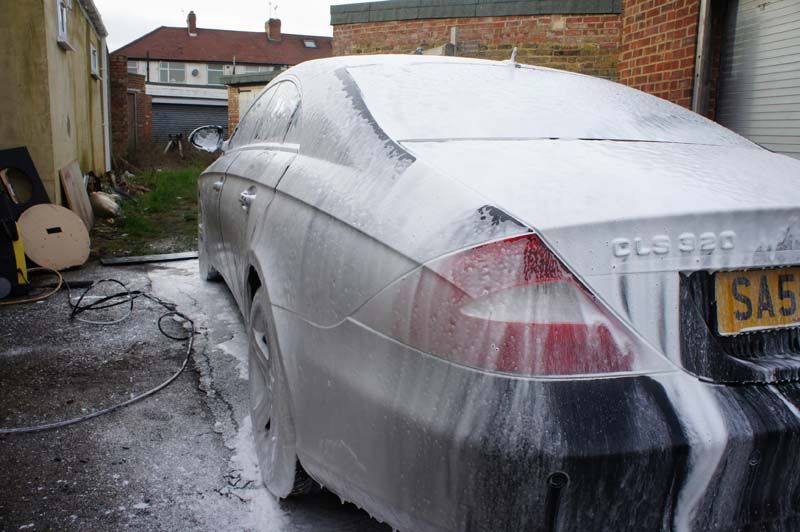
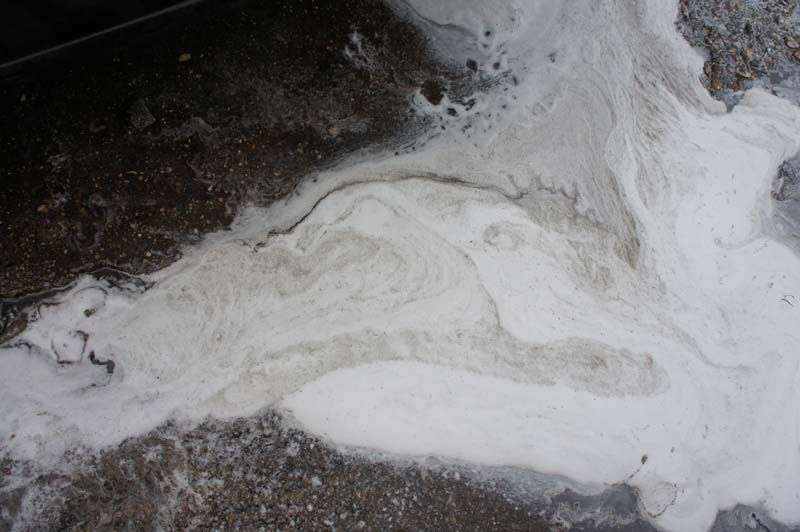
You can see the dirt coming off on the floor
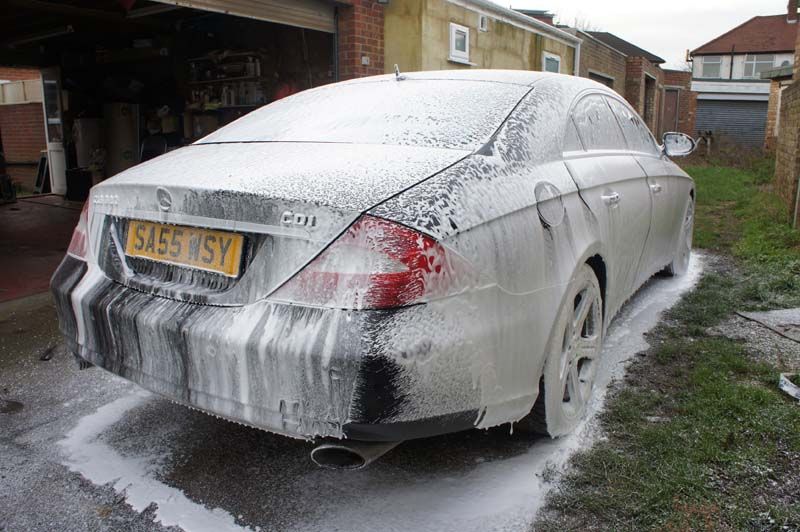
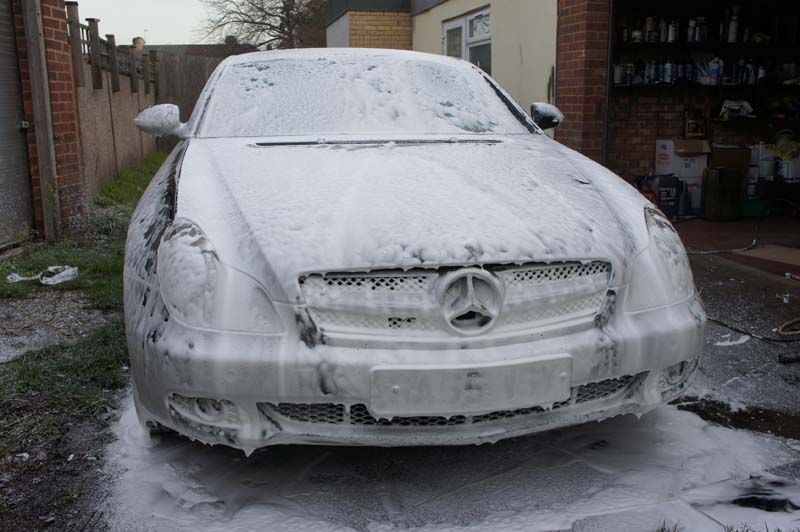
Allowed to dwell for around 10mins and then jet washed off

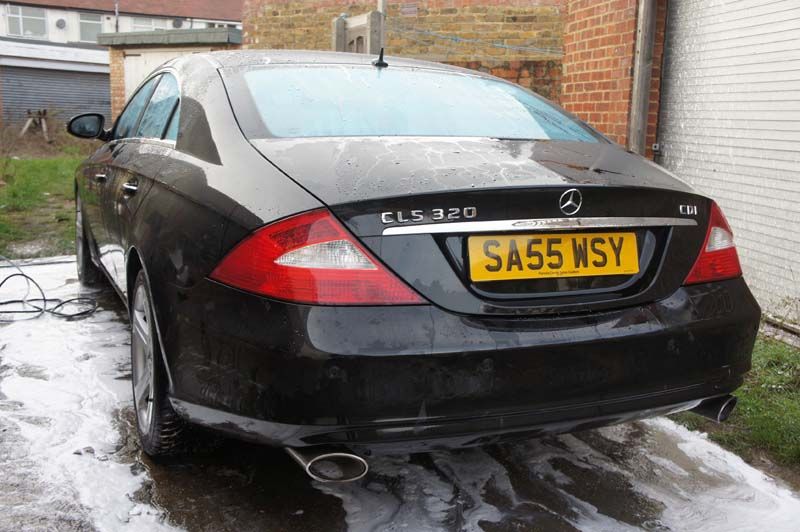
The wheels were covered in Wolf's chemicals de-ironizer...this is used to remove all tar and iron off the wheels and body...you can see where its working where its turning purple
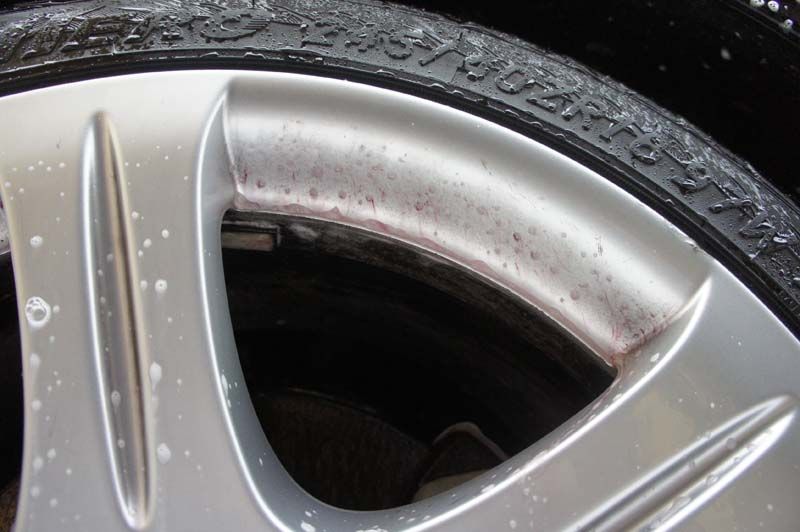
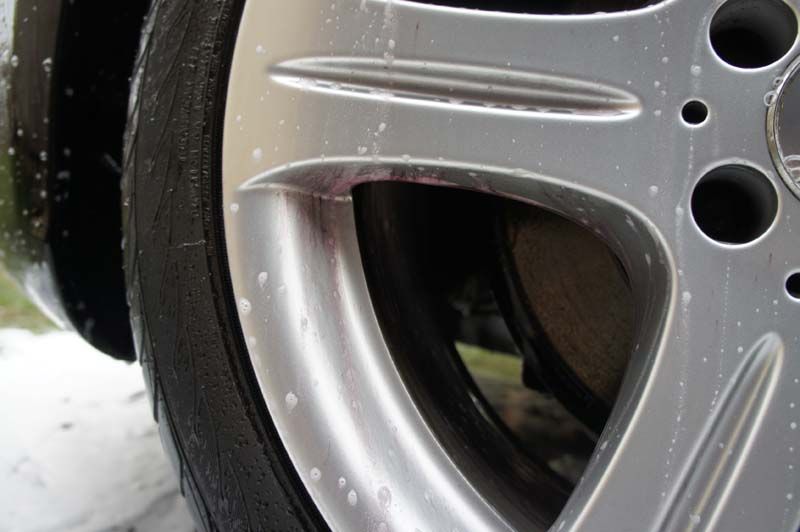
Then rinsed off with the jet wash
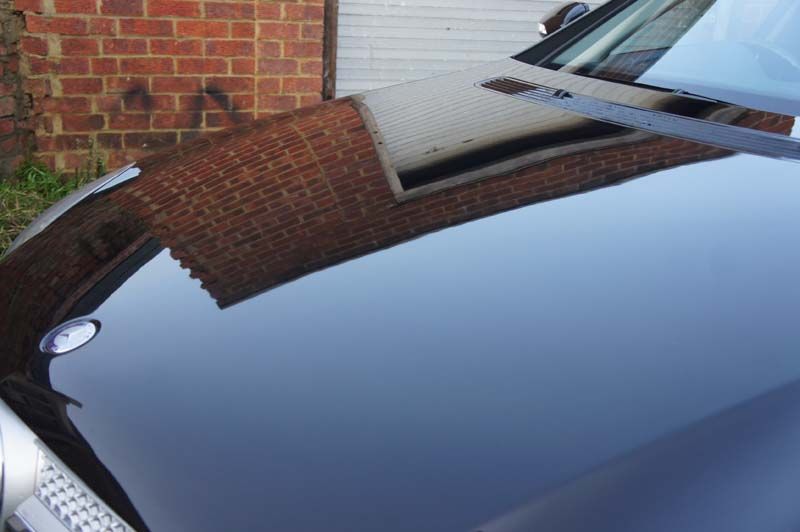
The car was then clayed using a Megs clay bar - this was as dirty as it got

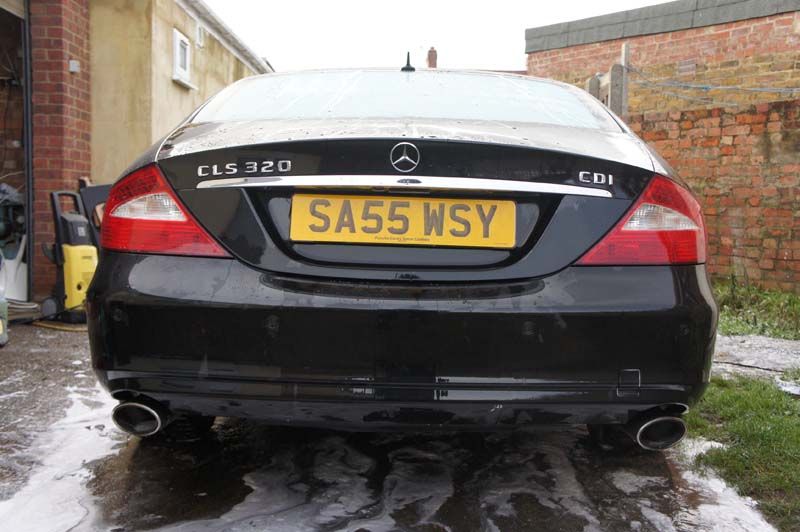
But the I did the underside of the sills

All done

This was all we done to it...I didnt detail it as it was freezing! I also am waiting for my rotary to turn up so I can give it a proper detail!
teamSPB
Eagle eyed of you will notice the single fin grill
This was purchased off ebay VERY cheap!First up...Magifoam snowfoam
You can see the dirt coming off on the floor
Allowed to dwell for around 10mins and then jet washed off
The wheels were covered in Wolf's chemicals de-ironizer...this is used to remove all tar and iron off the wheels and body...you can see where its working where its turning purple
Then rinsed off with the jet wash
The car was then clayed using a Megs clay bar - this was as dirty as it got
But the I did the underside of the sills
All done
This was all we done to it...I didnt detail it as it was freezing! I also am waiting for my rotary to turn up so I can give it a proper detail!
teamSPB
 03-20-2013, 02:28 PM
#5
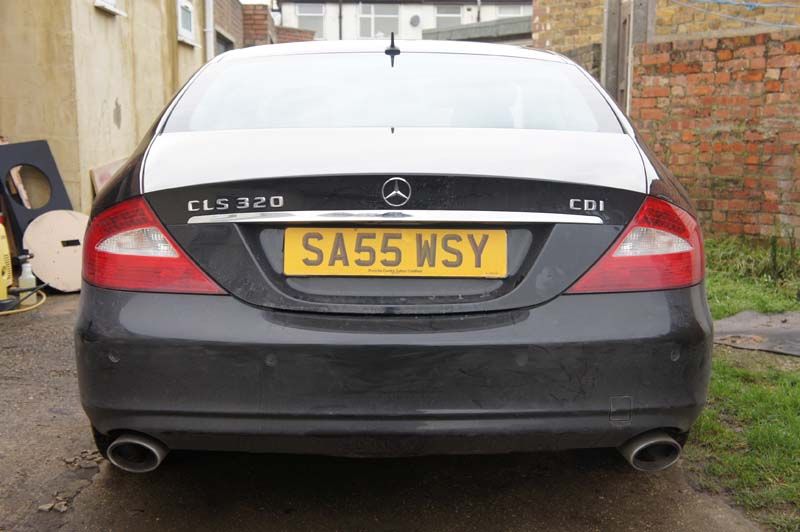
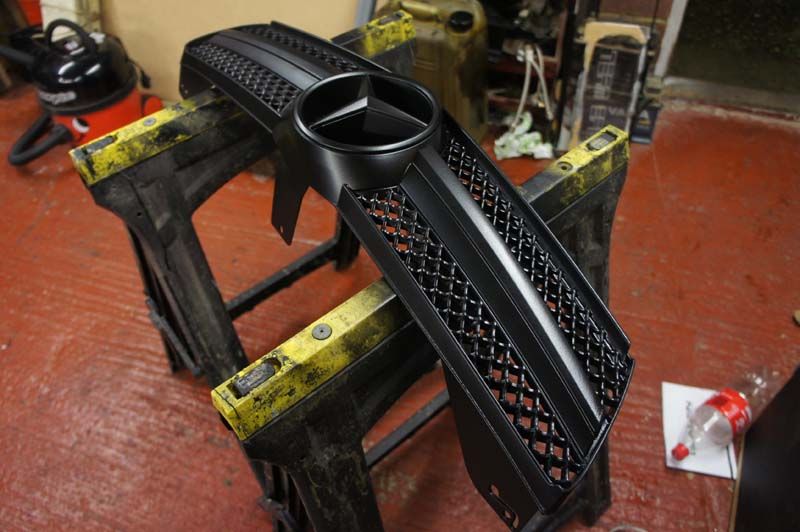
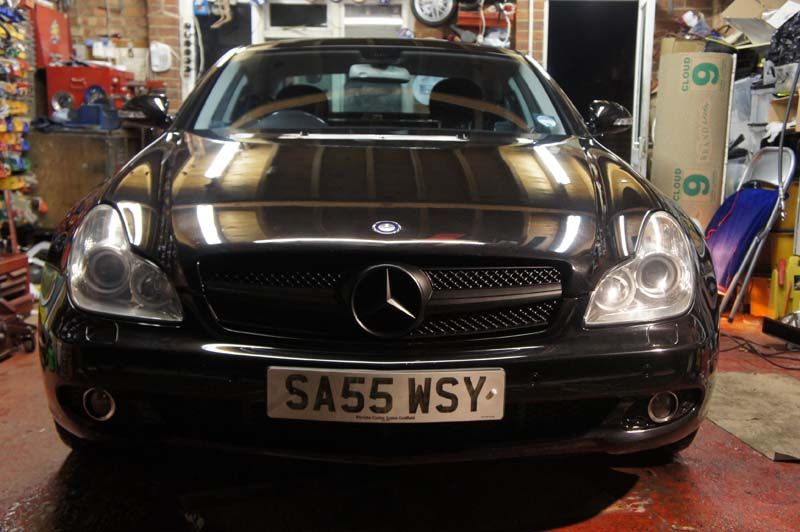
Next up was to spray the grill black...I wasnt overly keen on the silver grill so I bought some plastidip
This is a great spray which allows you to paint over any surface (no keying etc needed), and if you change your mind and want to remove it or change colour etc, it simply peels off like it was never there!
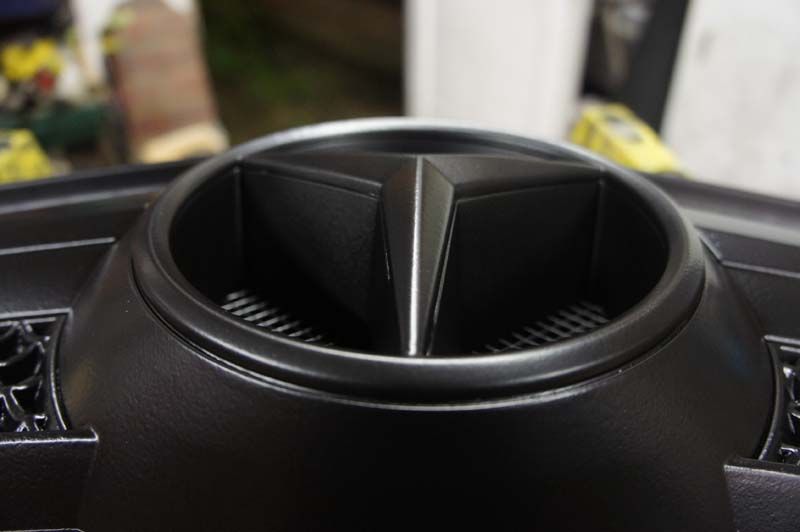
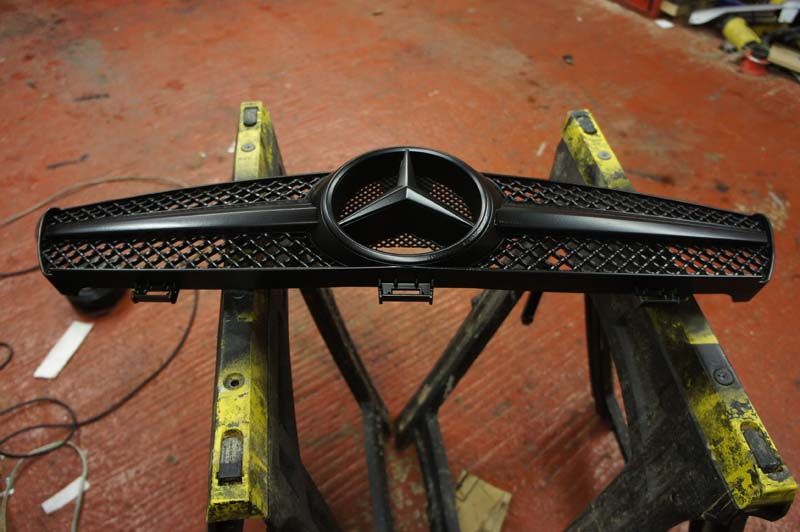
I painted the whole grill black but im not sure if I will peel back the logo itself just to add some colour to the front...I will decide on that later

This is a great spray which allows you to paint over any surface (no keying etc needed), and if you change your mind and want to remove it or change colour etc, it simply peels off like it was never there!
I painted the whole grill black but im not sure if I will peel back the logo itself just to add some colour to the front...I will decide on that later
03-21-2013, 02:41 PM
#6
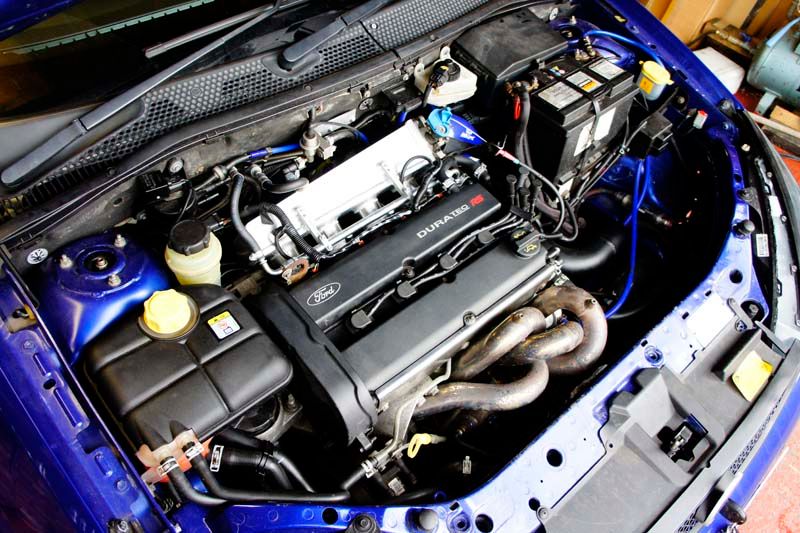
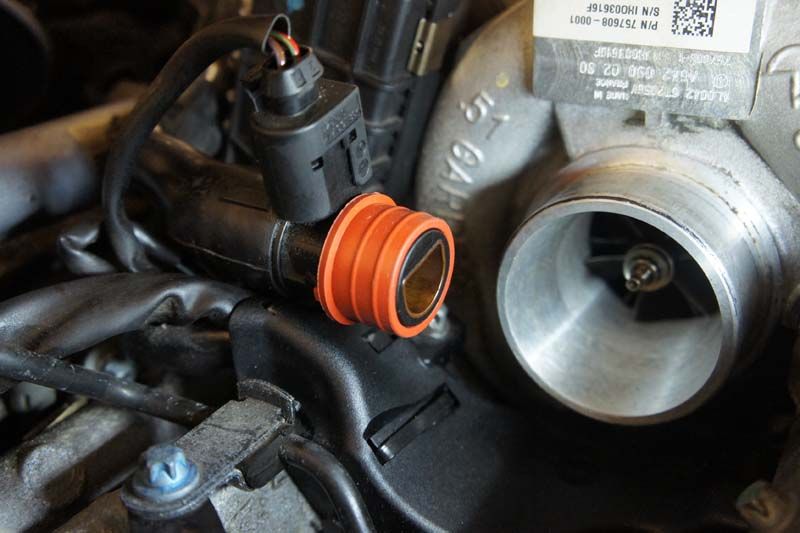
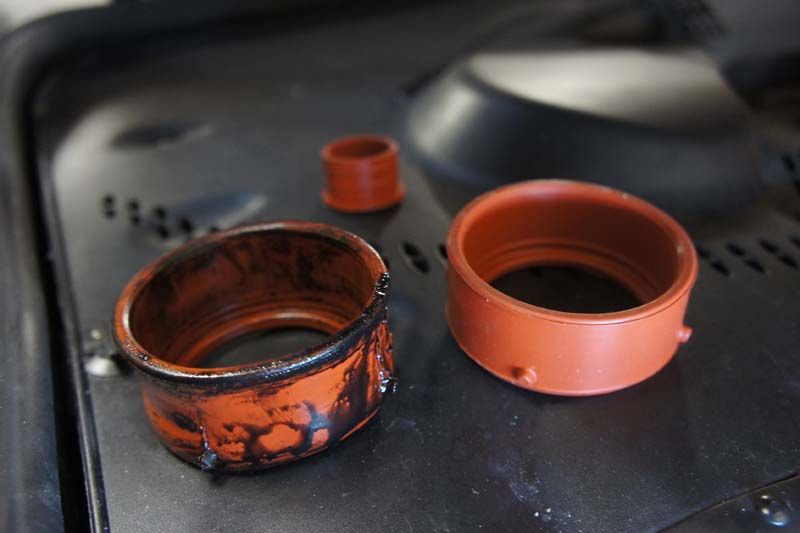
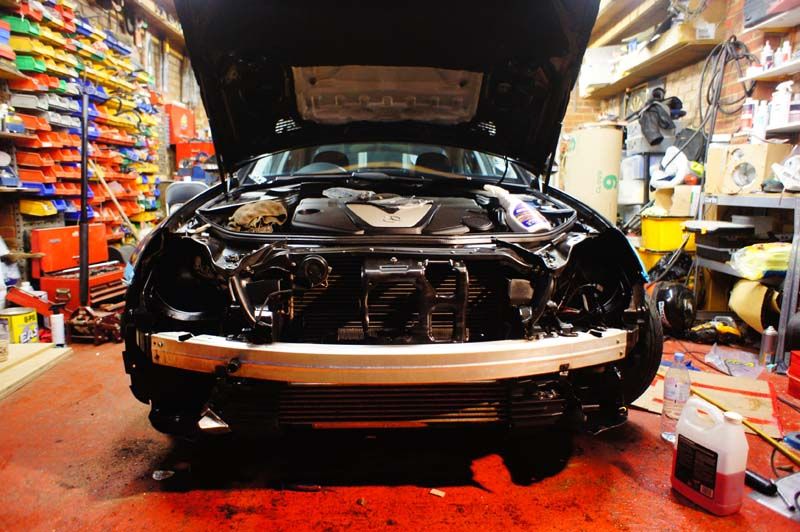
Shortly after this, I decided to change some parts on the engine...not for power or anything, just the troublesome seals that go onto the intake pipe for the turbo. There are 2 orange seals on this that are prone to leak over time, I knew about these well before buying the car and always used to check their condition when I used to look at CLS's. As a precautionary measure, I decided to change the seals...which was a bit of a blessing in disguise I guess!
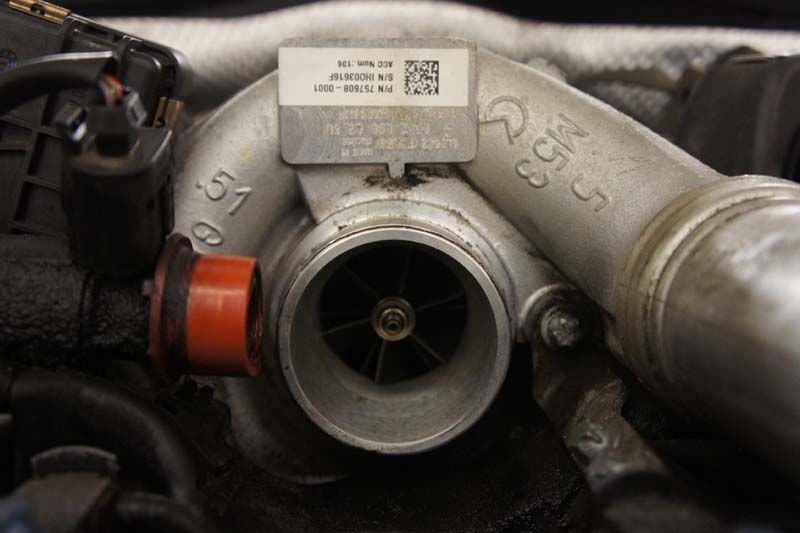
I dont the seal change, but noticed the plastic intake pipe had a crack in it...someone previously had over tightened this jubilee clip and cracked it! I thought to myself if it tights and doesnt get any worse then happy days as the car didnt have any issues before. So I went to tighten it, and CRACK! The plastic pipe cracked all the way through and in such a way, that you could see the turbine when looking at the pipe! NOT GOOD!
I tried to repair it by plastic welding it and glueing it for extra strength, but as my luck would have it...it crack again!
On the phone to Mercedes...Found out that part isnt available on its own and comes with 2 brand new MAF sensors at the lovely sum of �292+VAT!!! Oh the joys of owning a Merc!! Luckily I bought it at trade but still cost big money! But the car now runs new MAF's and intake pipe!
Next up, came some interior mods! Well not mods so to speak...but interior tidy up!

Trending Topics
 03-27-2013, 07:30 PM
#11
Absolutely hated the original interior bulbs! The yellow light is horrid IMO!

New Interior bulbs ready to go
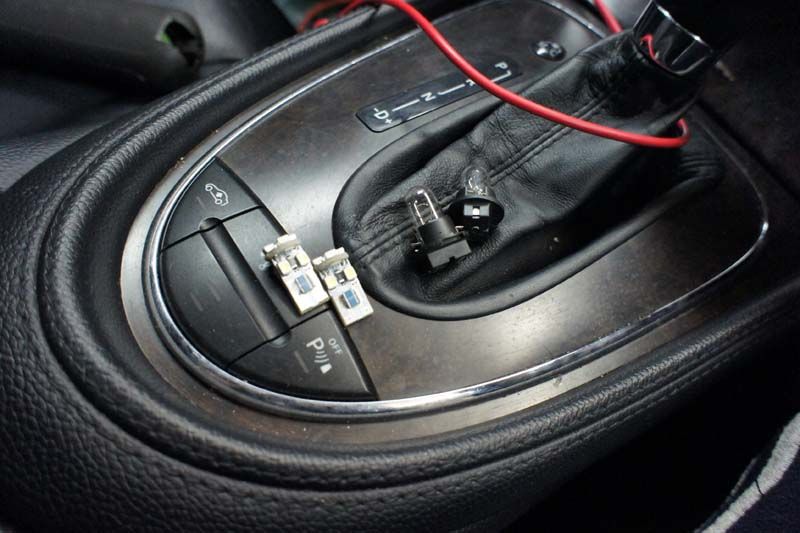
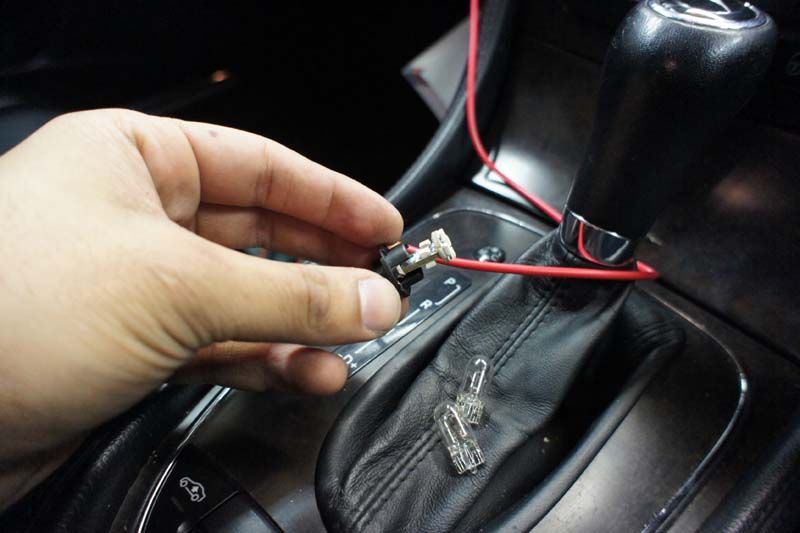
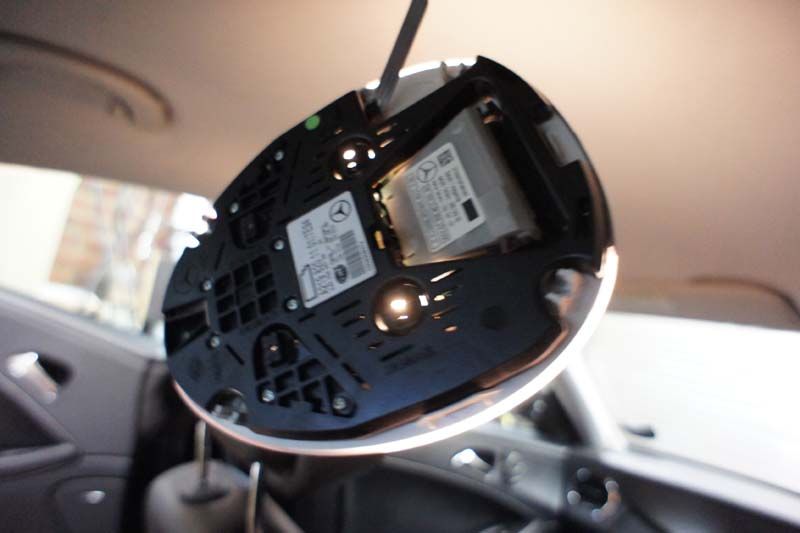
Missions getting the interior lights down
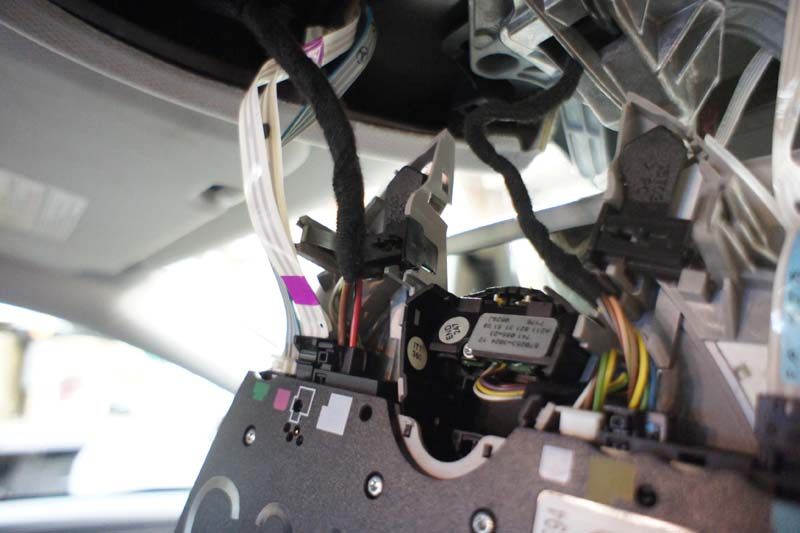
Fitted!
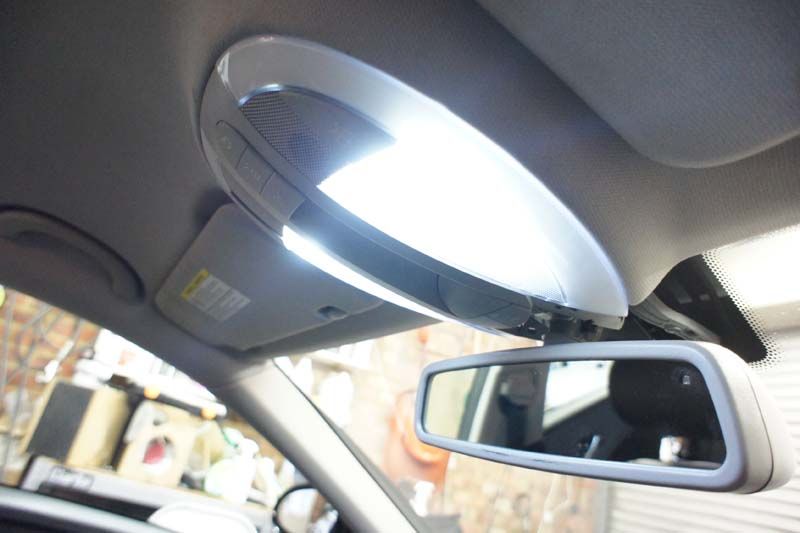

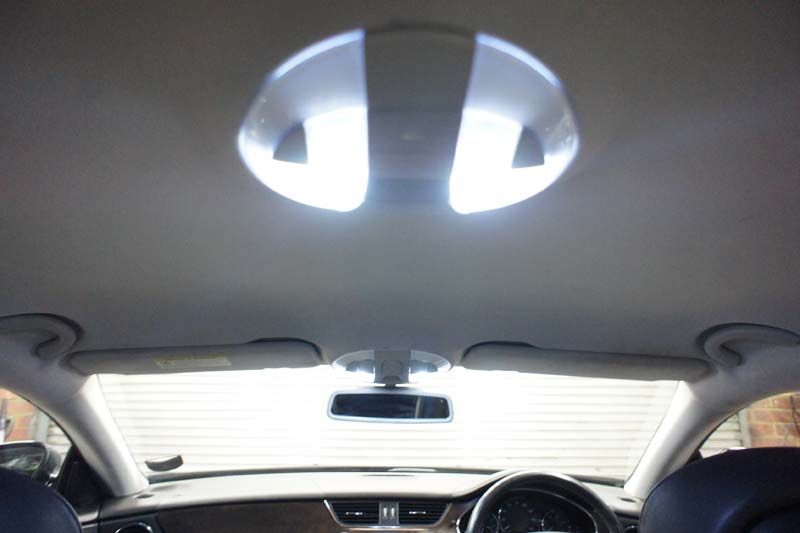
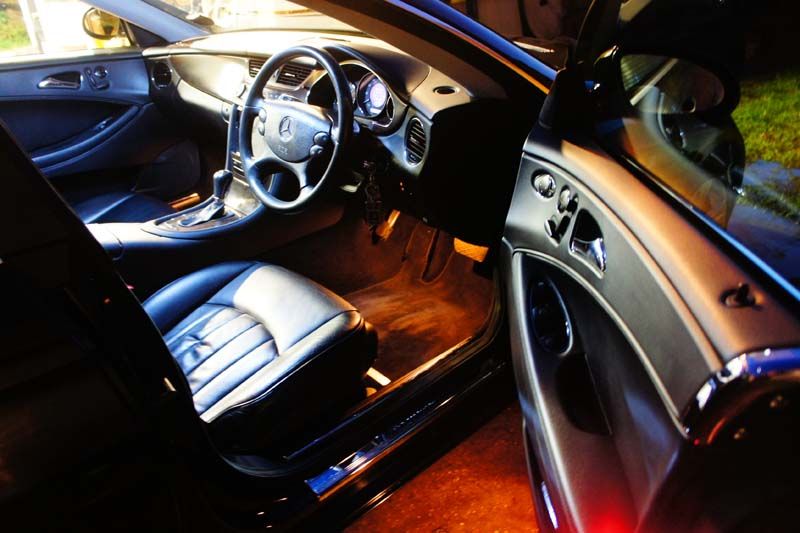
At this point, the floor lights and under door lights still havent been changed hence the yellow light under the dash
I was bored one night so I ordered this...
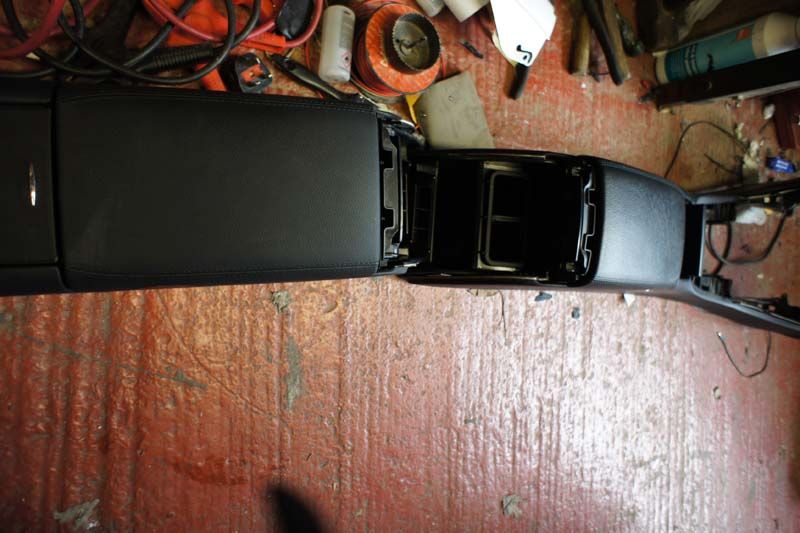
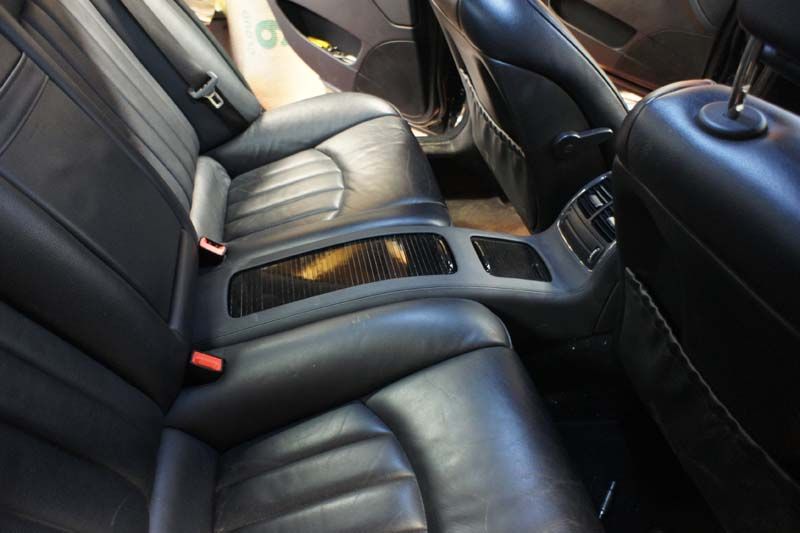
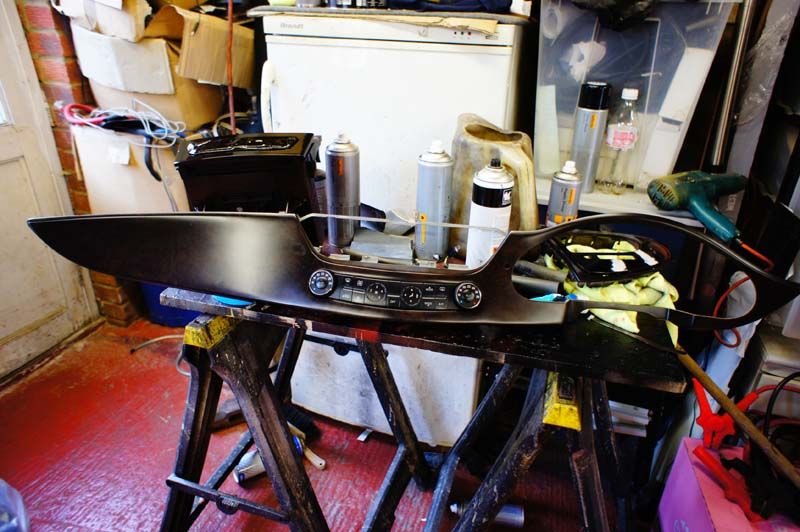
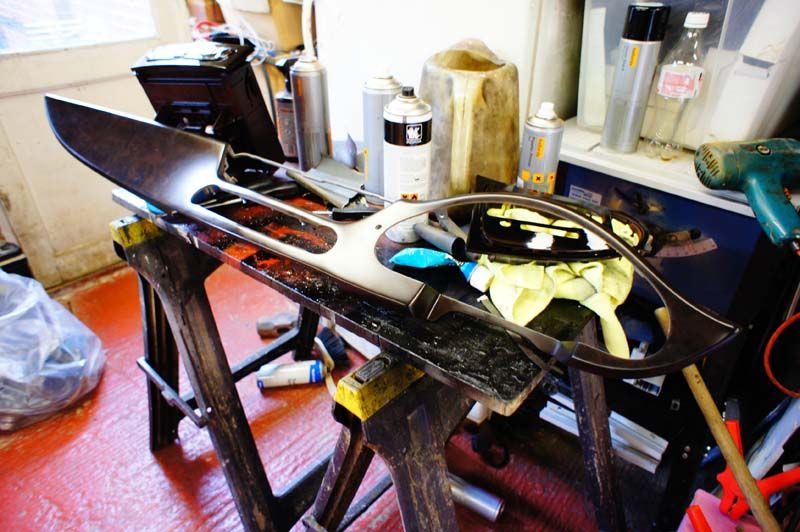
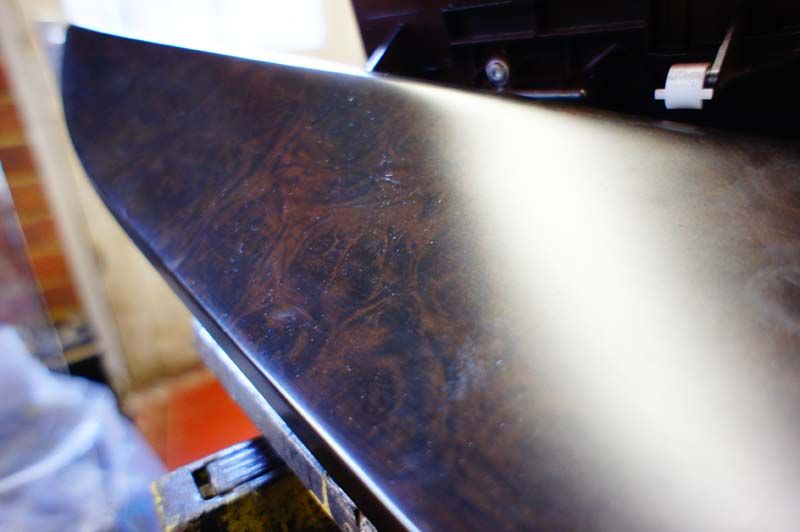
I wasnt overly keen on the centre console on the car for some reason...it had worn down a little and I really didnt like the matt brown finish on the panels! Perfect excuse to replace with a fresh one! Luckily I found one out of a 2009/2010 CLS which fit the bill perfectly! Unfortunately it had even worse brown coloured finishing lol!
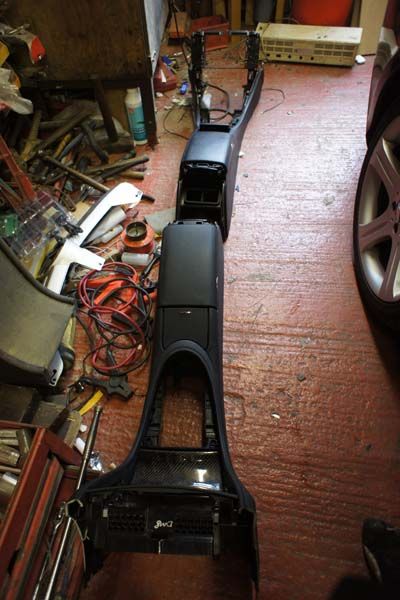
Stripped down the new rear console
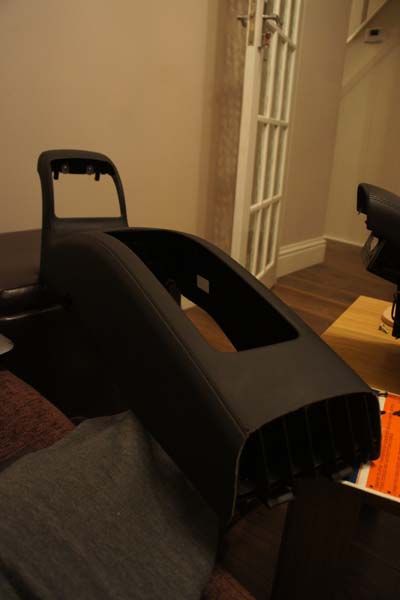

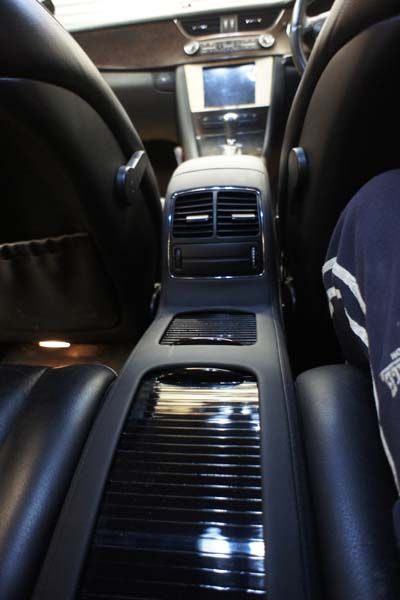
I then sprayed all the panels black
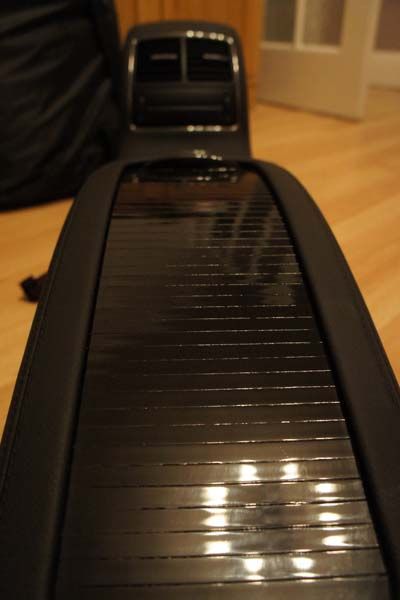
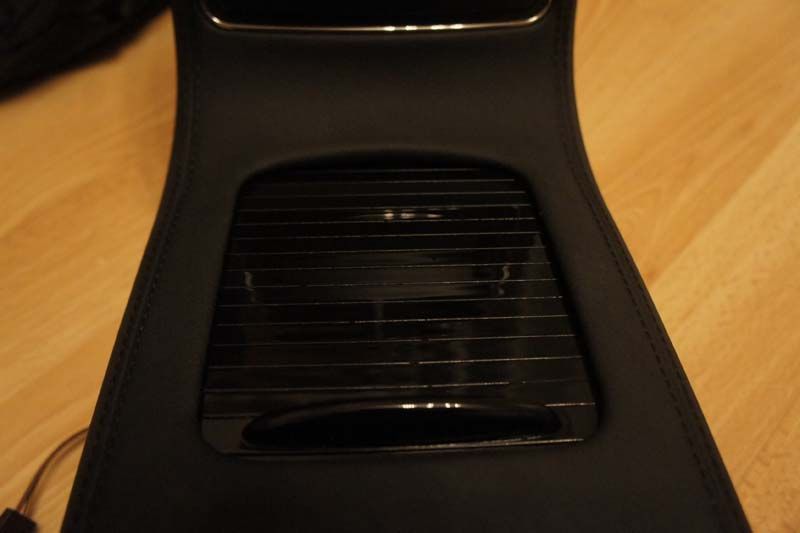
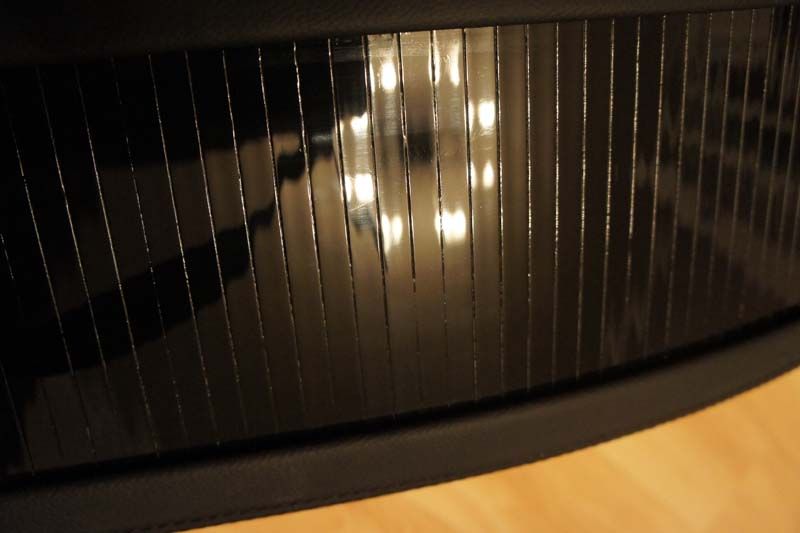
For those interested...this was the original colour of the trim panels in the car (look past the LEDs lol)
New Interior bulbs ready to go
Missions getting the interior lights down
Fitted!
At this point, the floor lights and under door lights still havent been changed hence the yellow light under the dash
I was bored one night so I ordered this...
I wasnt overly keen on the centre console on the car for some reason...it had worn down a little and I really didnt like the matt brown finish on the panels! Perfect excuse to replace with a fresh one! Luckily I found one out of a 2009/2010 CLS which fit the bill perfectly! Unfortunately it had even worse brown coloured finishing lol!
Stripped down the new rear console
I then sprayed all the panels black
For those interested...this was the original colour of the trim panels in the car (look past the LEDs lol)
04-01-2013, 03:17 PM
#12
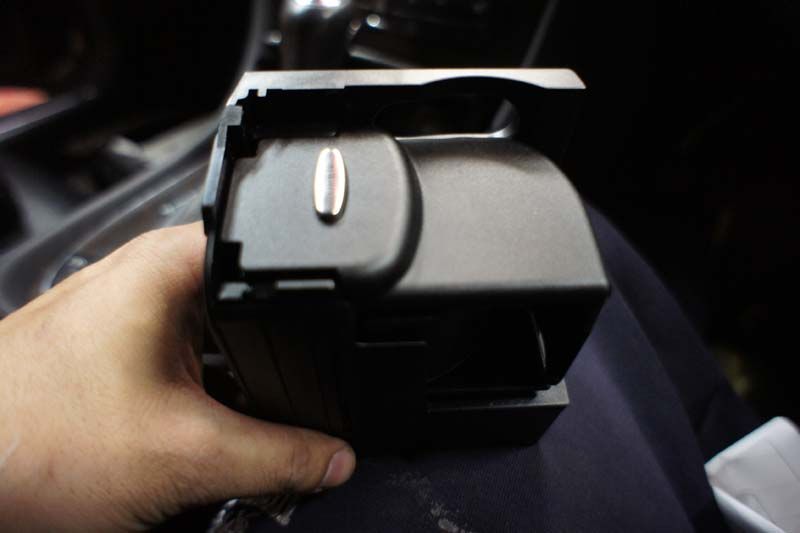
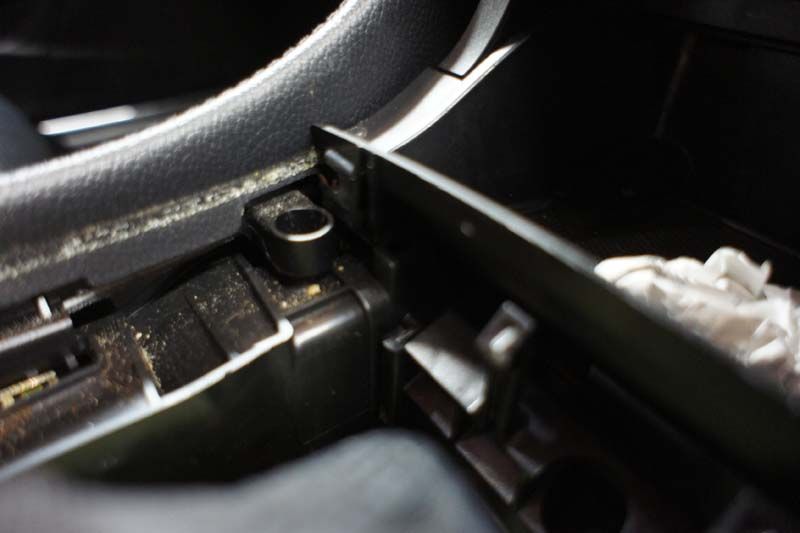
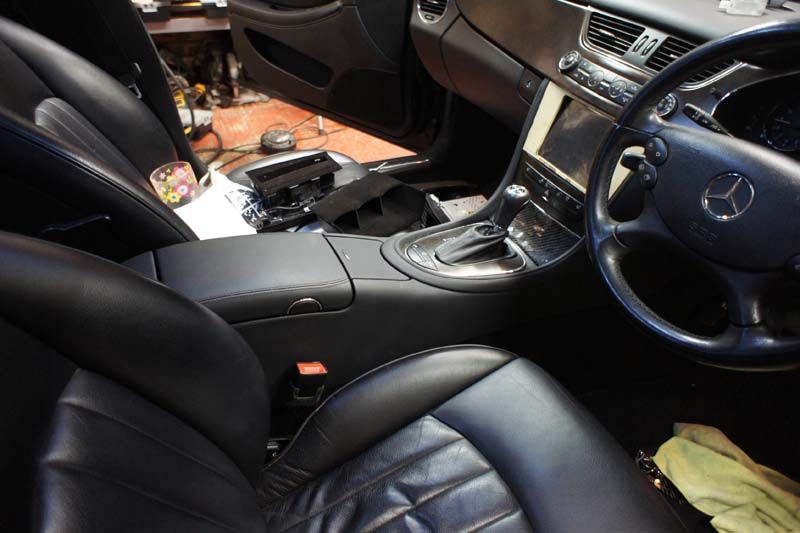
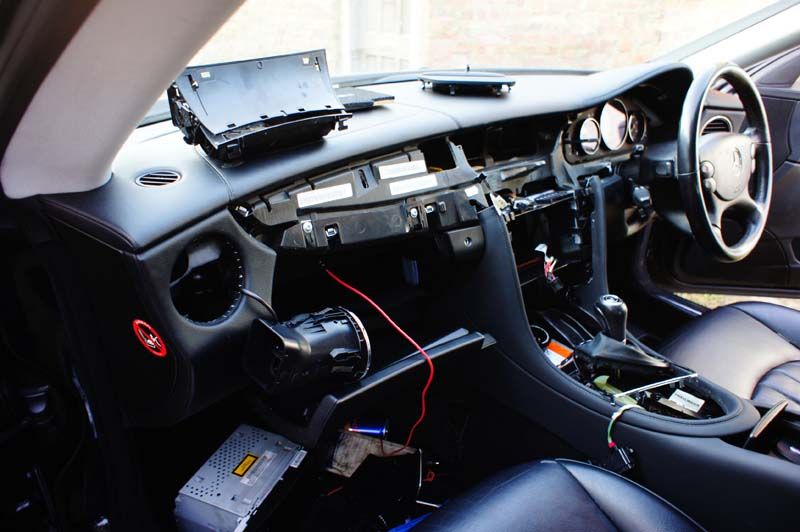
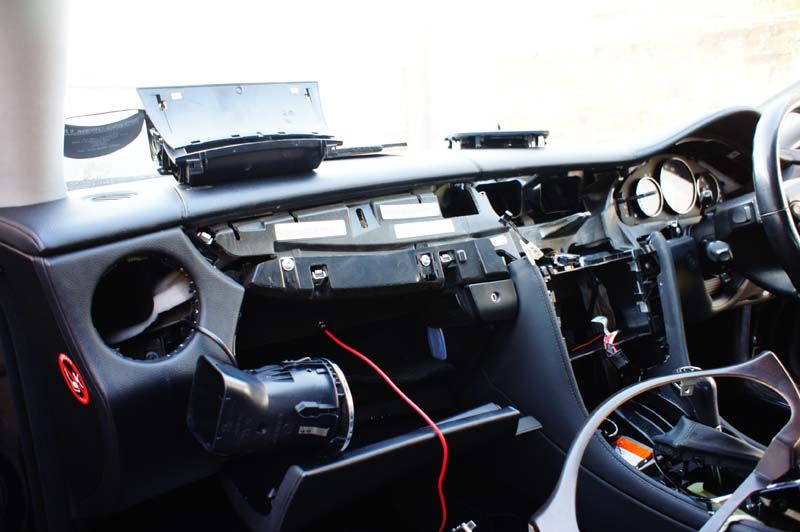
Next up was a centre console swap...there wasnt anything fundamentally wrong with the original one in the car, it just had too much 'sheen' on it and was a bit dirty...yes I could have cleaned it and been job done, but I dont do things by halves!...A new console was on the cards to be put in alongside my freshly painted black panels - slide covers, dash panels, gear surround etc etc
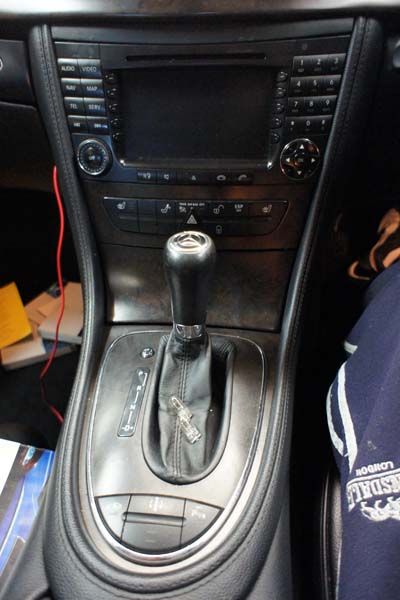
You can already see the dirt
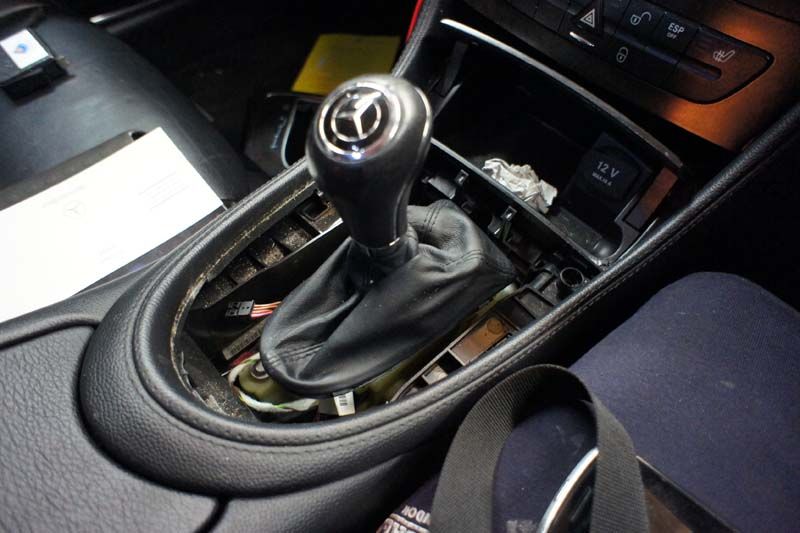
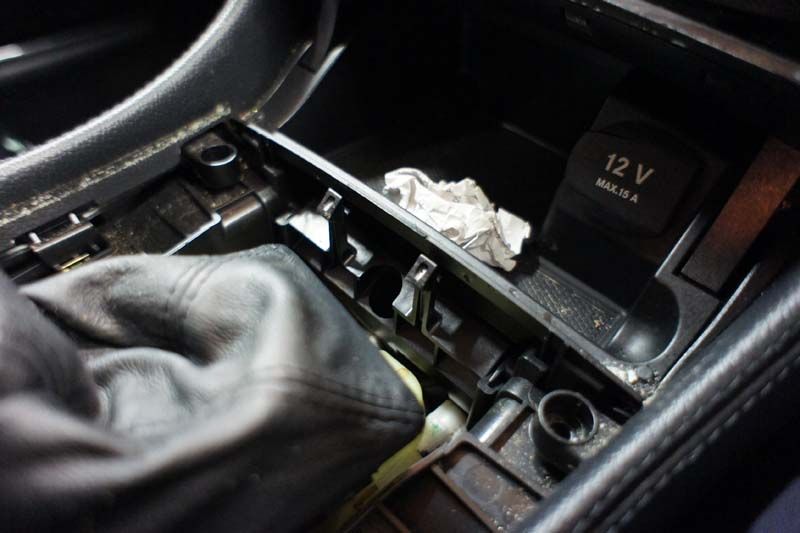
Old vs New...you can see the difference
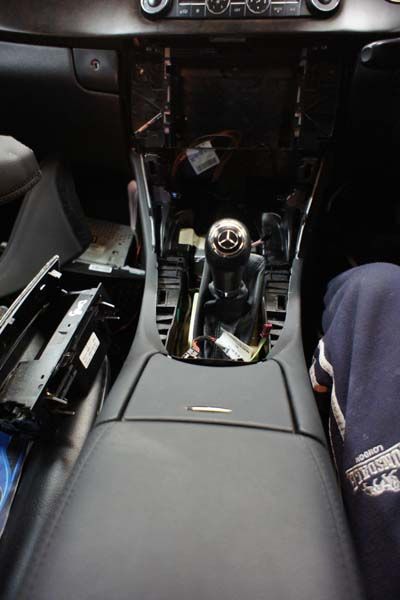
Cup holder installed

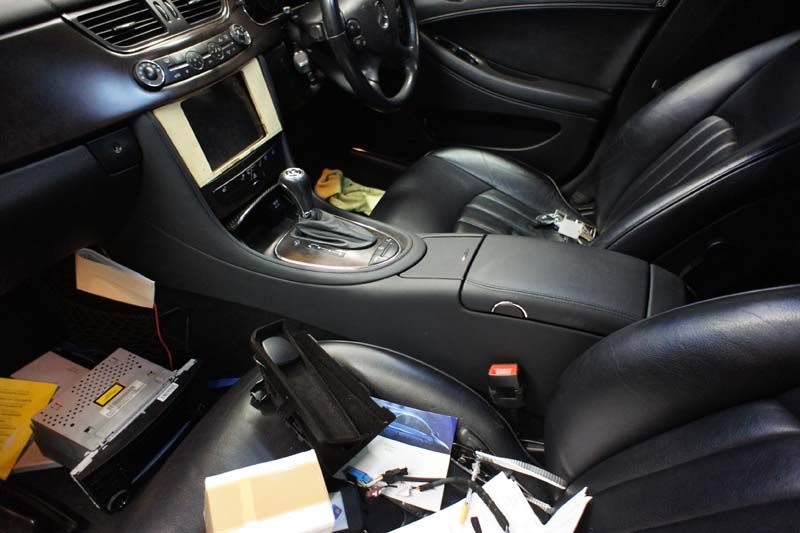
See a Porsche GT3 lurking in the background which was in for some work

You can already see the dirt
Old vs New...you can see the difference
Cup holder installed
See a Porsche GT3 lurking in the background which was in for some work
 04-03-2013, 02:17 PM
#15
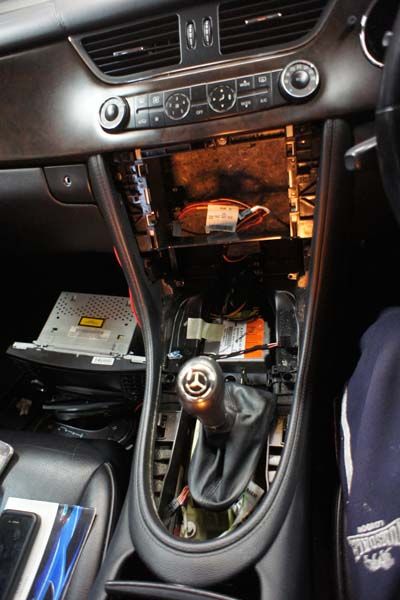
I will post pictures of the dash complete soon...
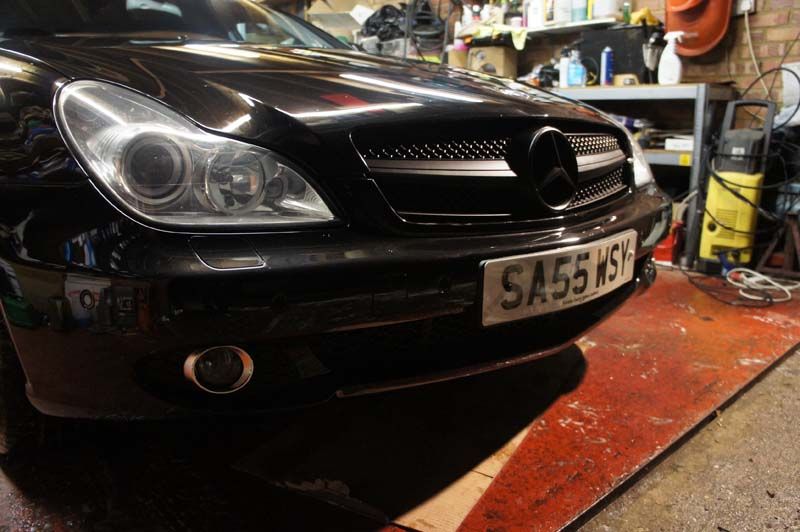
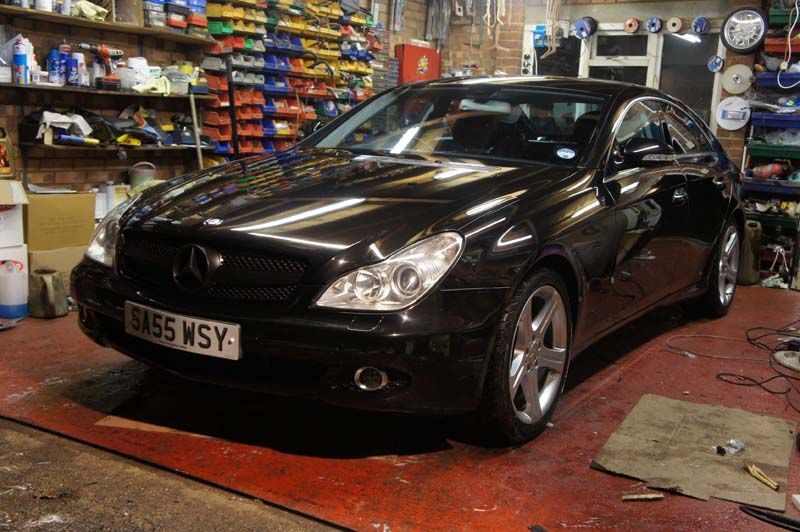
But moving on, it was time to address the front end some more...I wasnt keen on the silver headlights...they had to change!
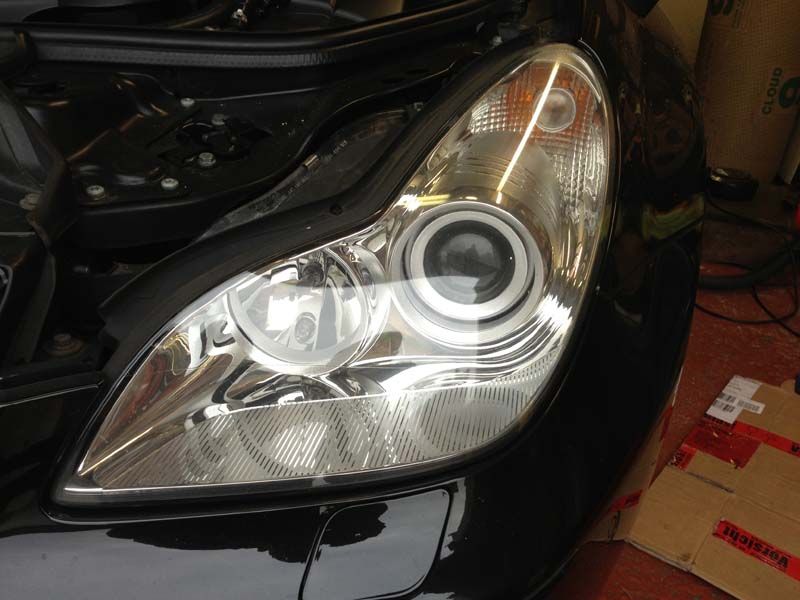

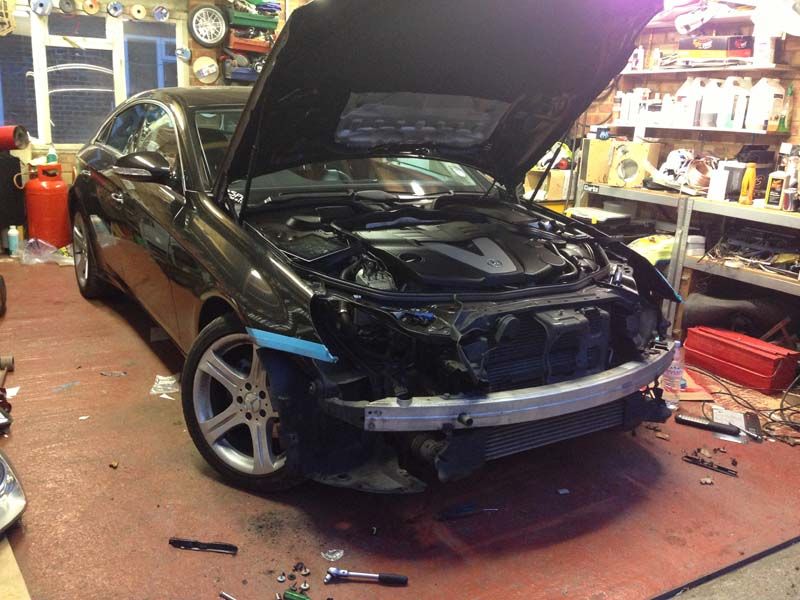
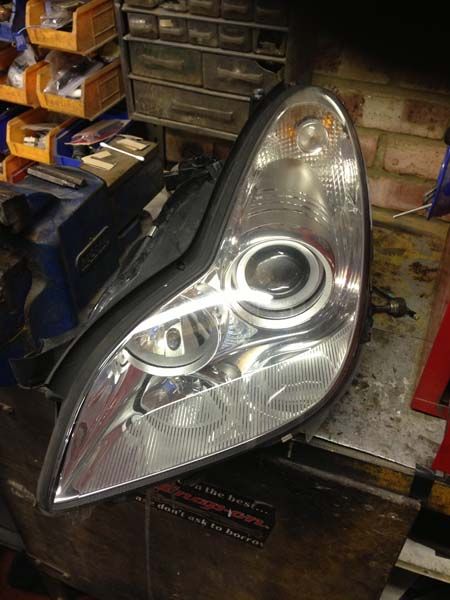
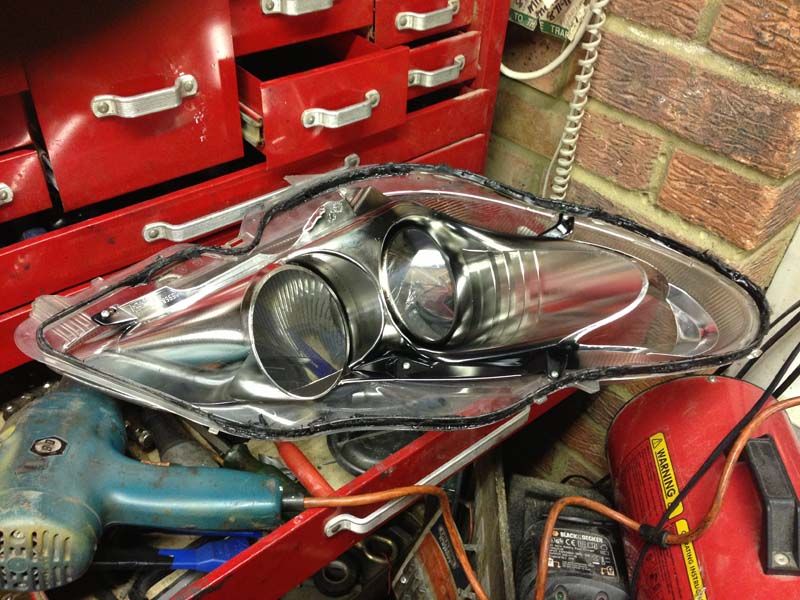
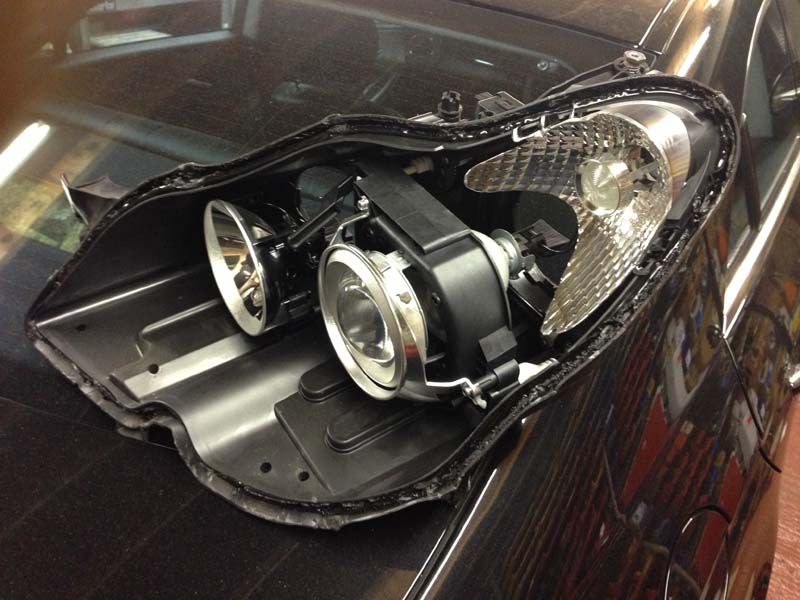
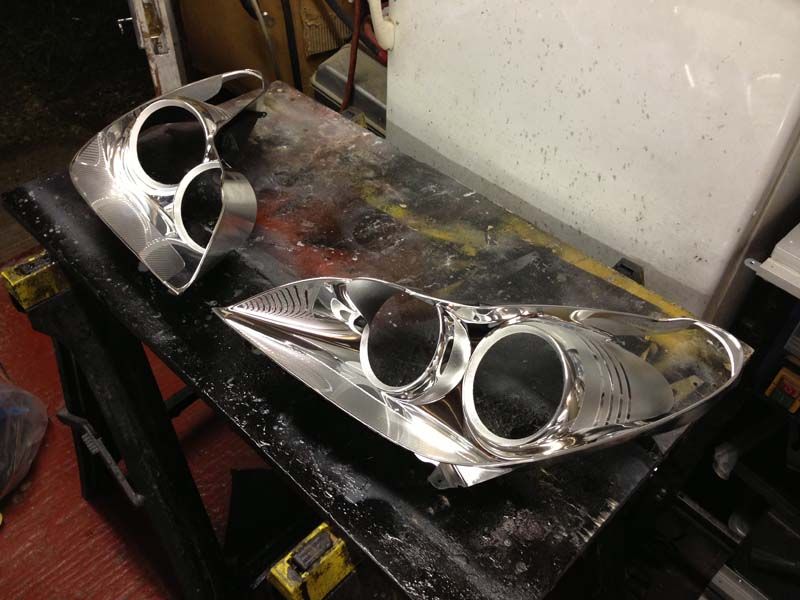
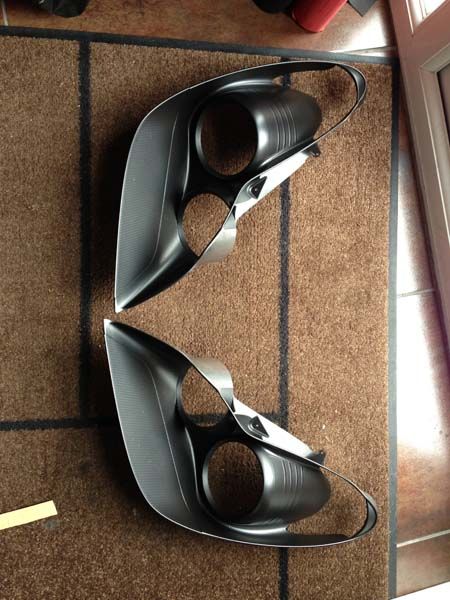
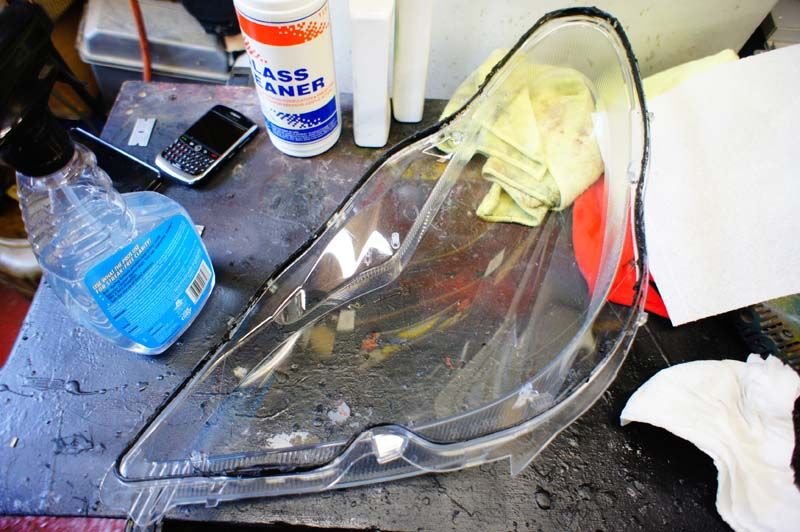

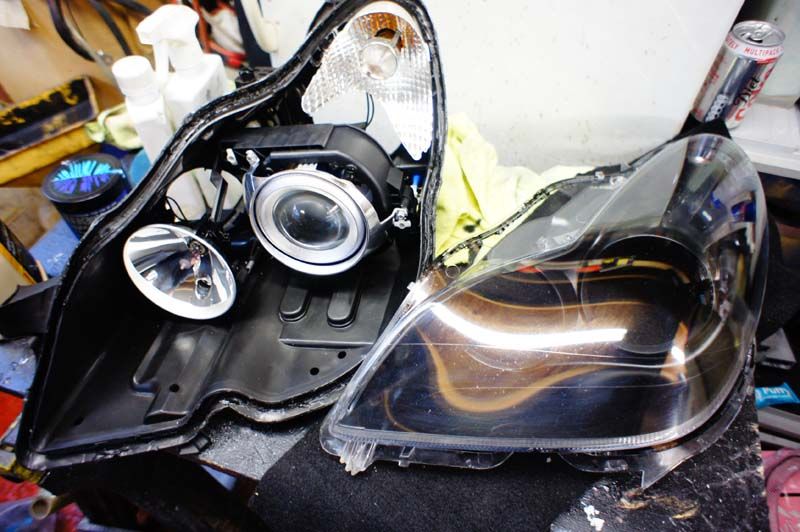
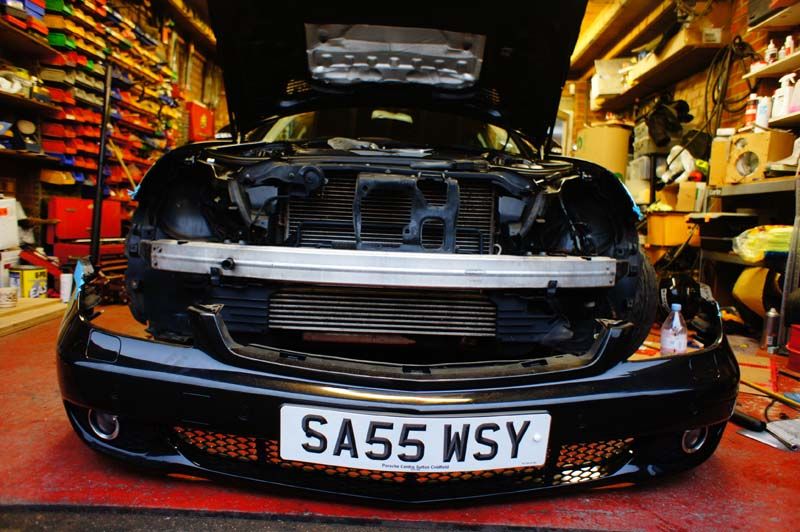
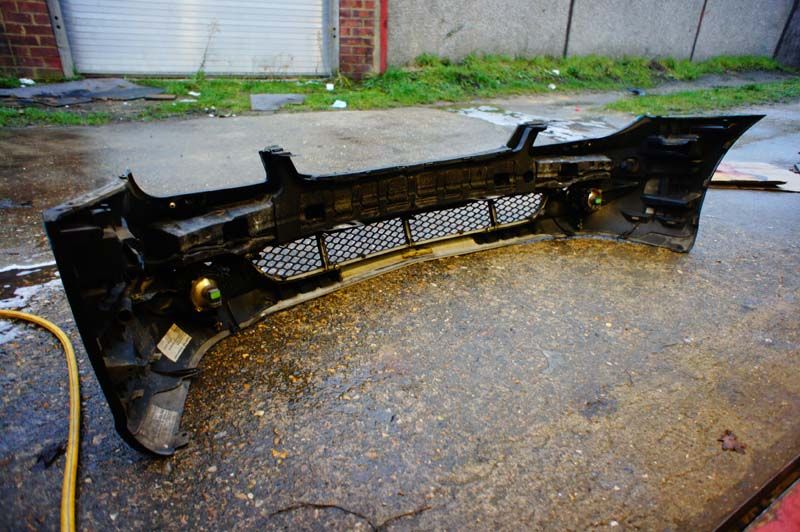


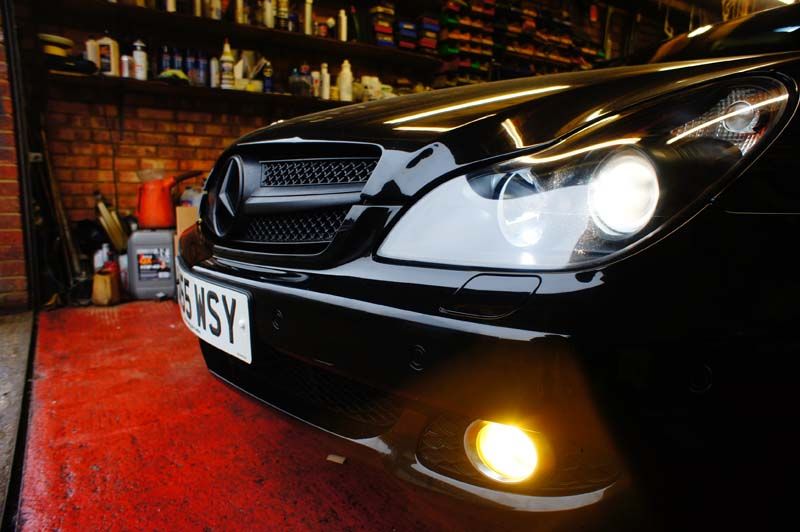
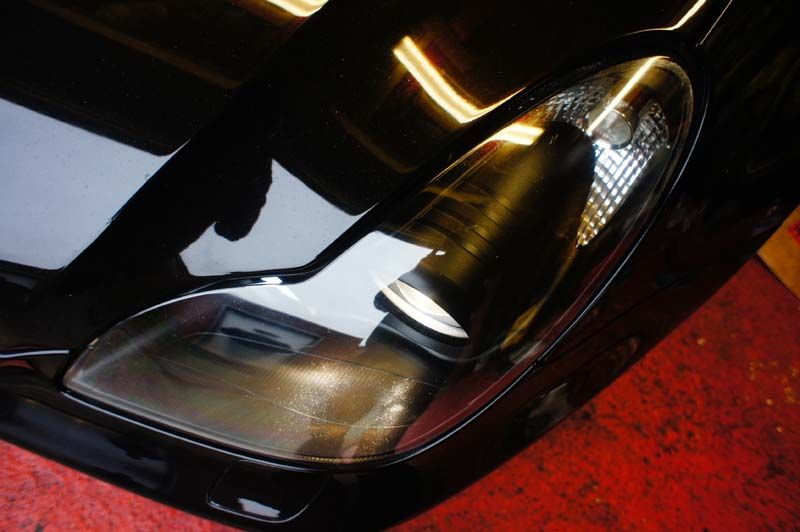

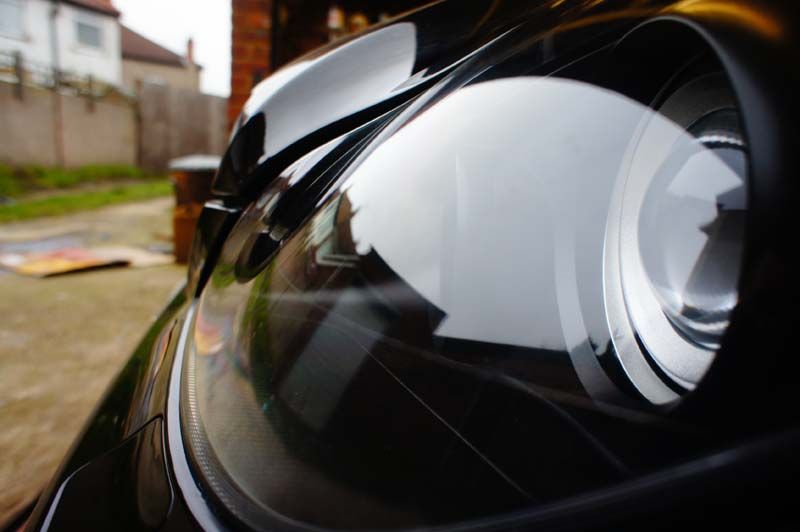
But moving on, it was time to address the front end some more...I wasnt keen on the silver headlights...they had to change!
04-07-2013, 03:00 PM
#16
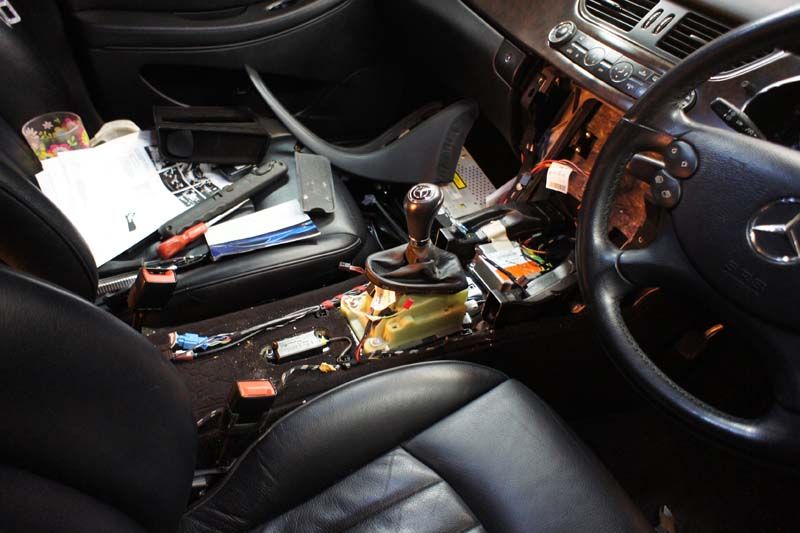
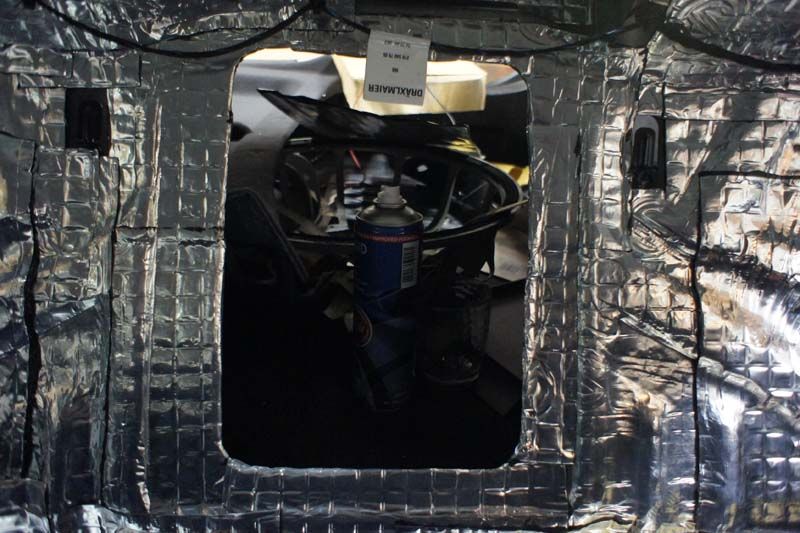
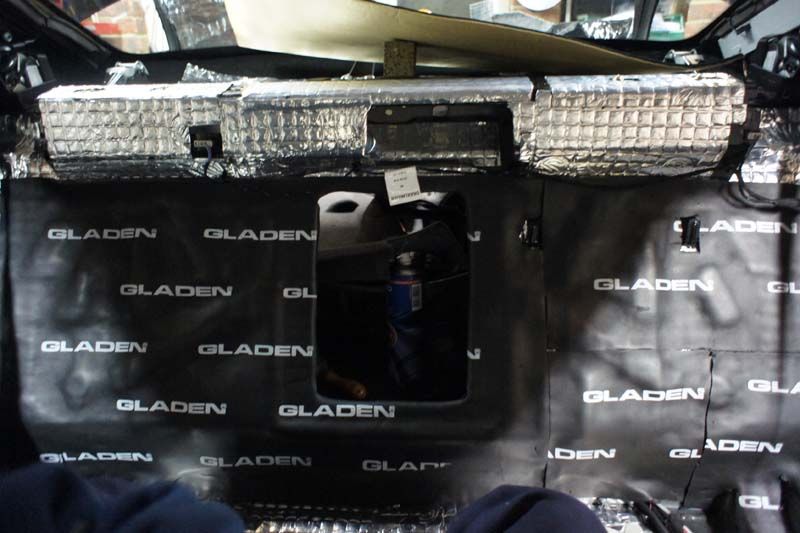
Considering the console was being changed, I stripped out the back of the car completely...this was for two reasons;
- To clean the seats and carpet thoroughly
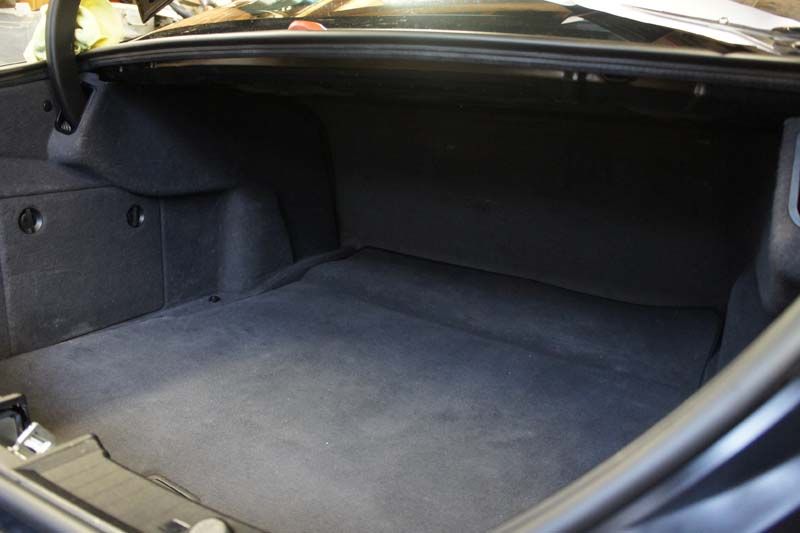
- To sound deaden the rear bulk head properly as I will be installed subwoofers which will be mounted to it and ran as infinite baffle. This means they will not technically have a box and will use the boot space as the enclosure...however, I will try something a little different to see if it works
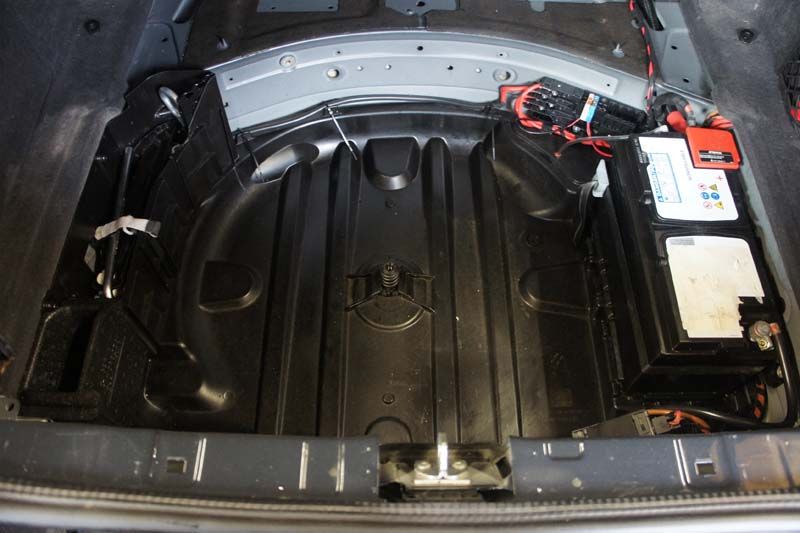
Stock boot
Checking the battery/spare wheel area
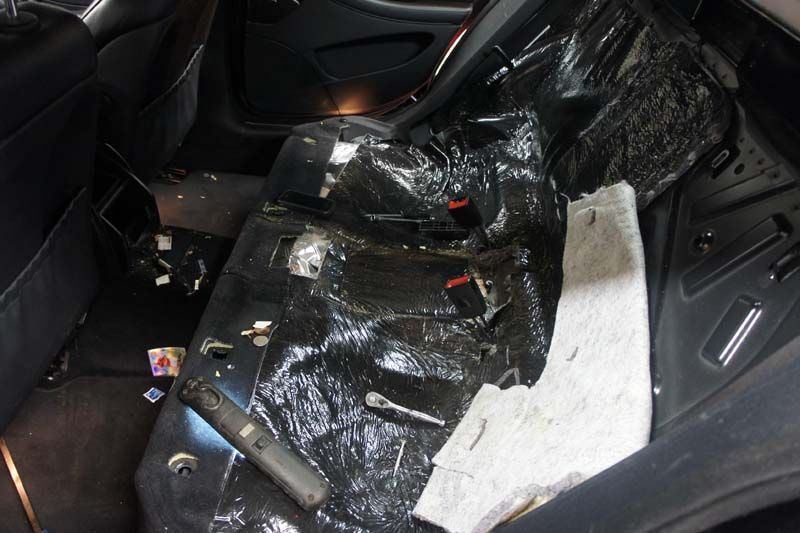
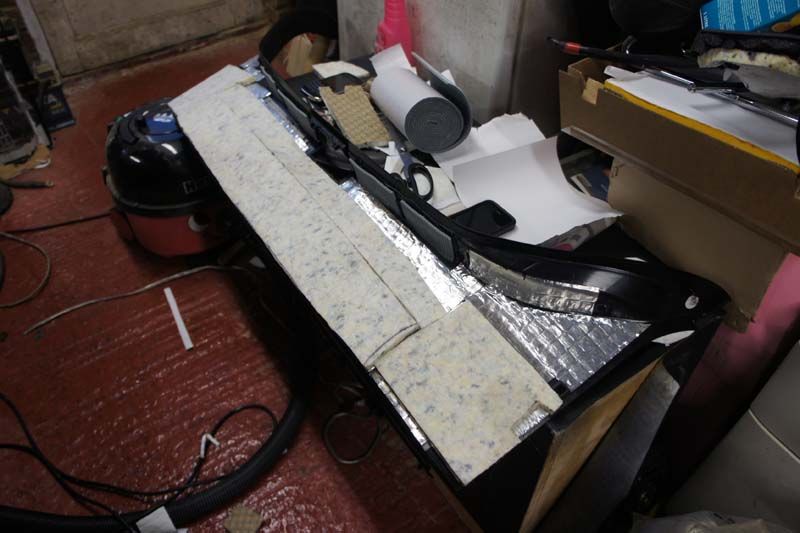
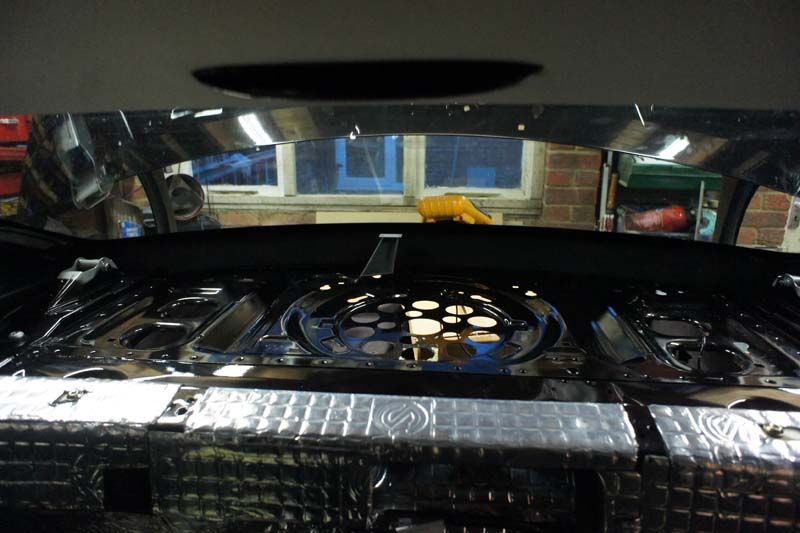
Rear panel about to be sound deadened and insulated
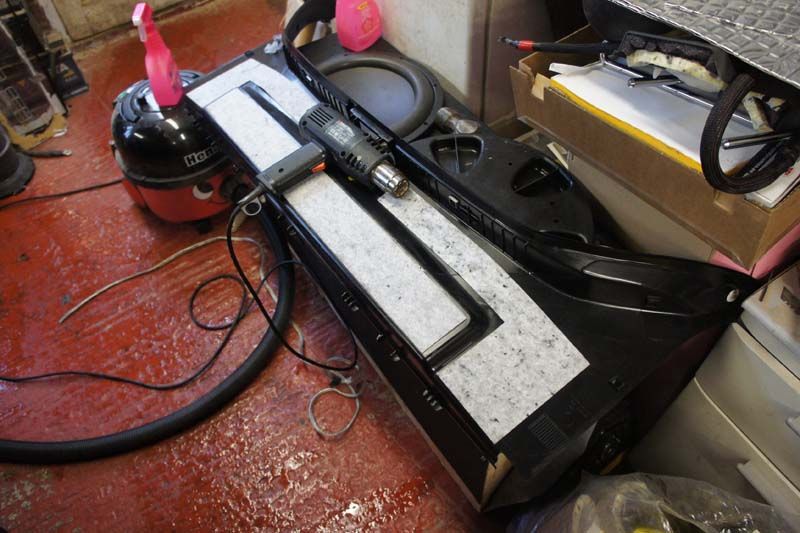
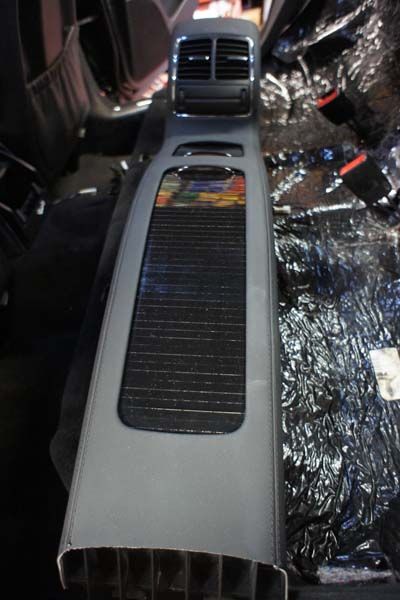
Stock rear shelf area
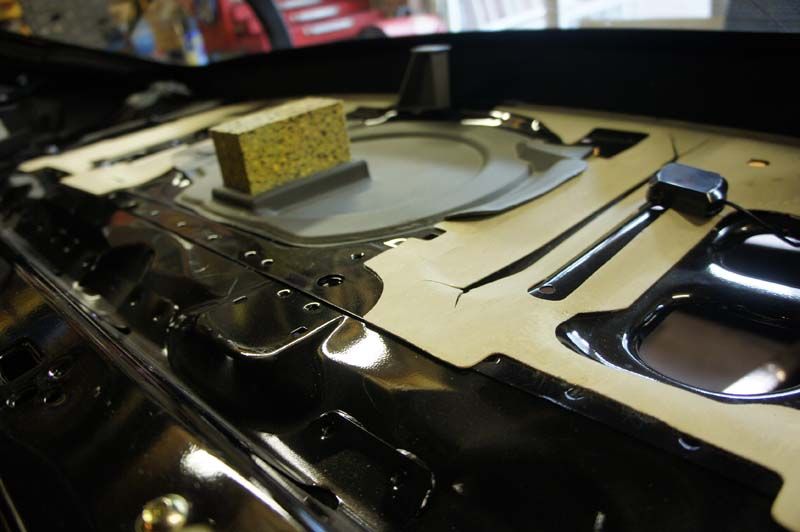

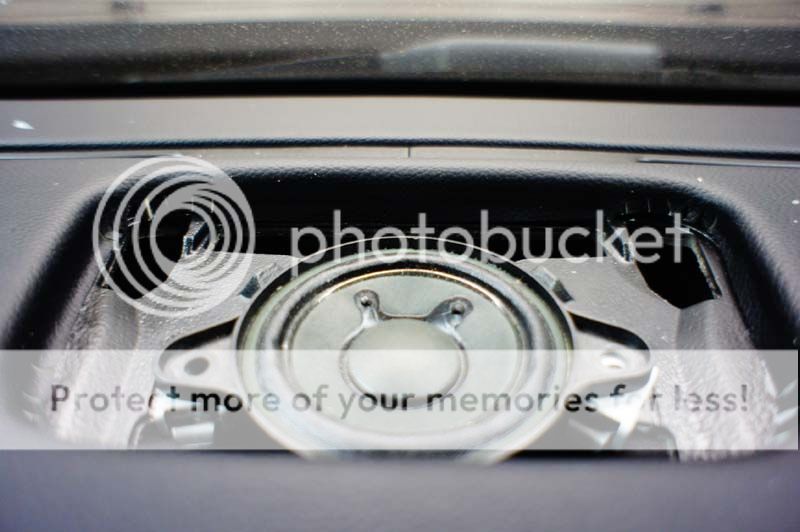
Im guessing the big foam bit is where the OEM subwoofer would have gone if it was specced from factory...neat idea!
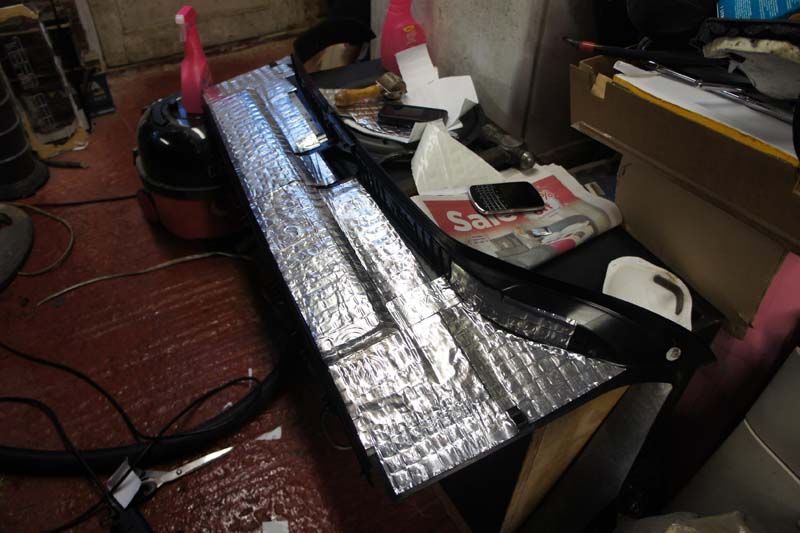
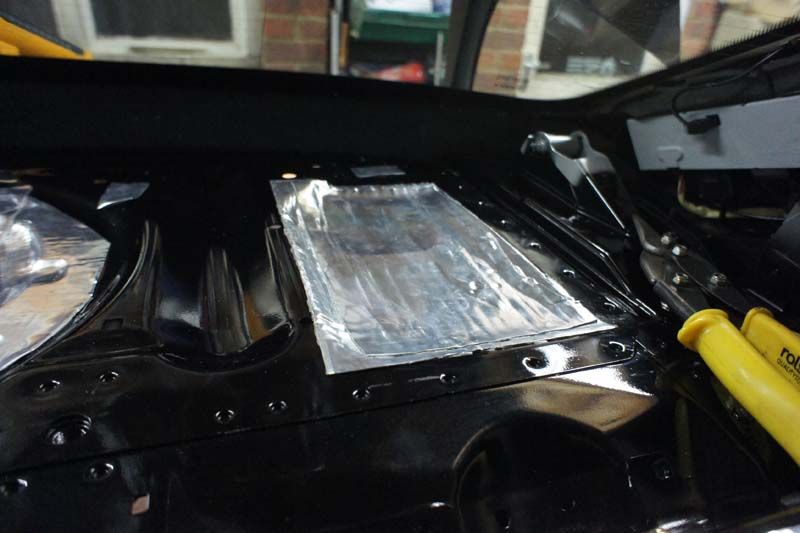
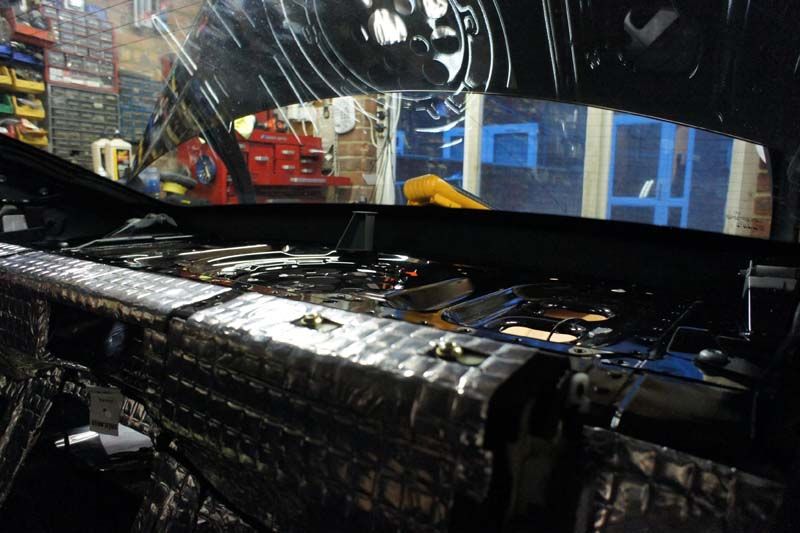
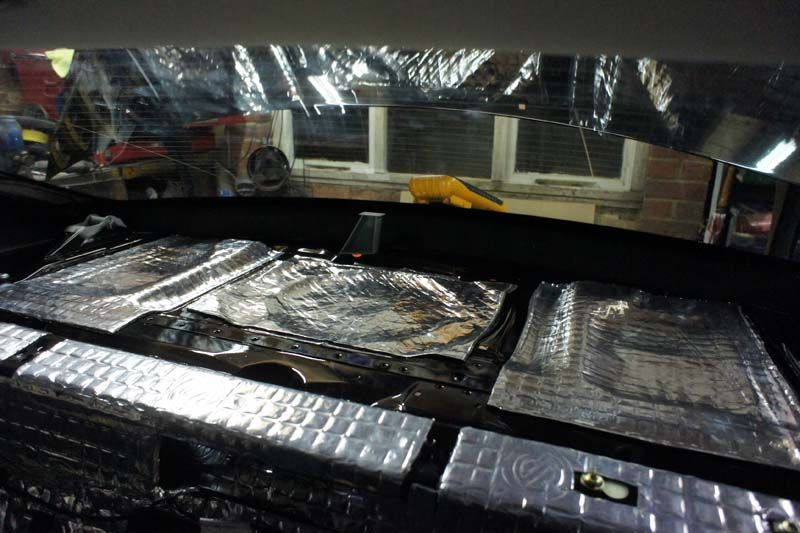
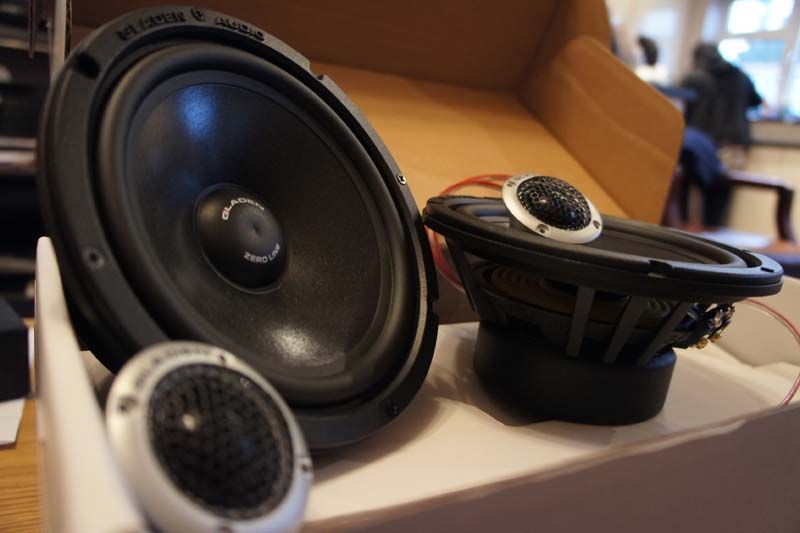
All big holes covered in Gladen Audio Aero Extreme - this is a VERY stiff sheet with an adhesive backing to cover big holes and give NO flex!
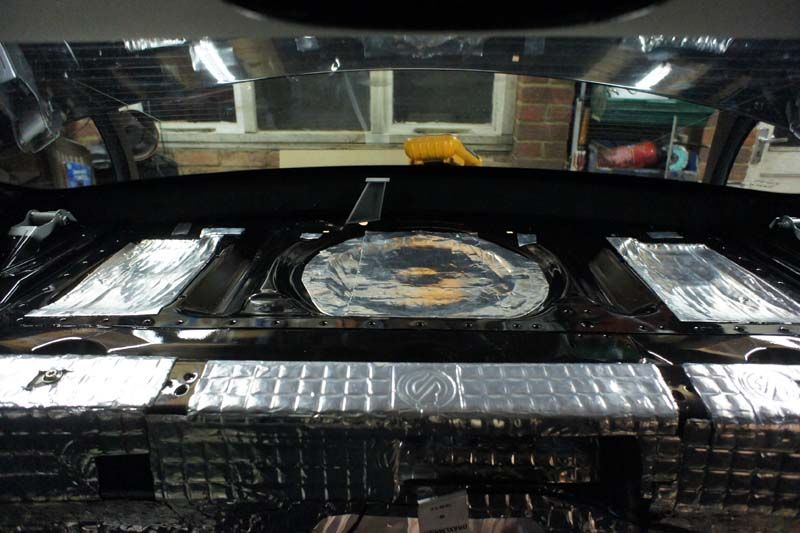
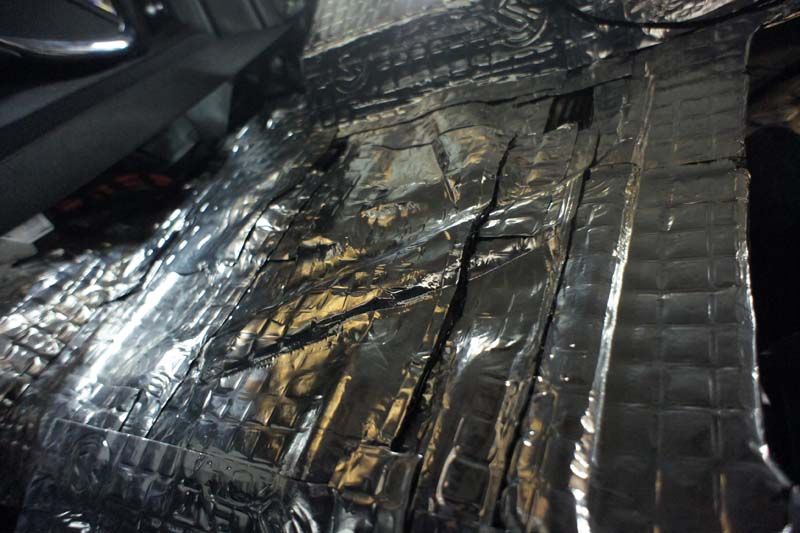
Stripping and deadening in Silent Coat 2mm and 4mm deadener
- To clean the seats and carpet thoroughly
- To sound deaden the rear bulk head properly as I will be installed subwoofers which will be mounted to it and ran as infinite baffle. This means they will not technically have a box and will use the boot space as the enclosure...however, I will try something a little different to see if it works
Stock boot
Checking the battery/spare wheel area
Rear panel about to be sound deadened and insulated
Stock rear shelf area
Im guessing the big foam bit is where the OEM subwoofer would have gone if it was specced from factory...neat idea!
All big holes covered in Gladen Audio Aero Extreme - this is a VERY stiff sheet with an adhesive backing to cover big holes and give NO flex!
Stripping and deadening in Silent Coat 2mm and 4mm deadener
04-09-2013, 12:13 AM
#17
Senior Member
Join Date: Oct 2008
Location: Trinidad & Tobago / Canada
Posts: 429
Likes: 0
Received 12 Likes
on
6 Posts
CLS550 AMG Pkg.
great progress!
some questions;
-how difficult was it to remove the rear deck i.e. above where the OEM sub and 3rd brake light sits? I need to get that thing off so I can dynamat further.
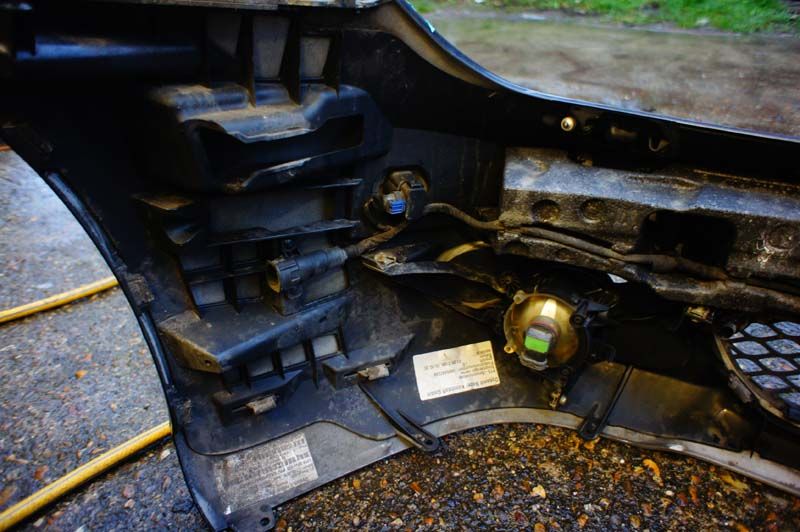
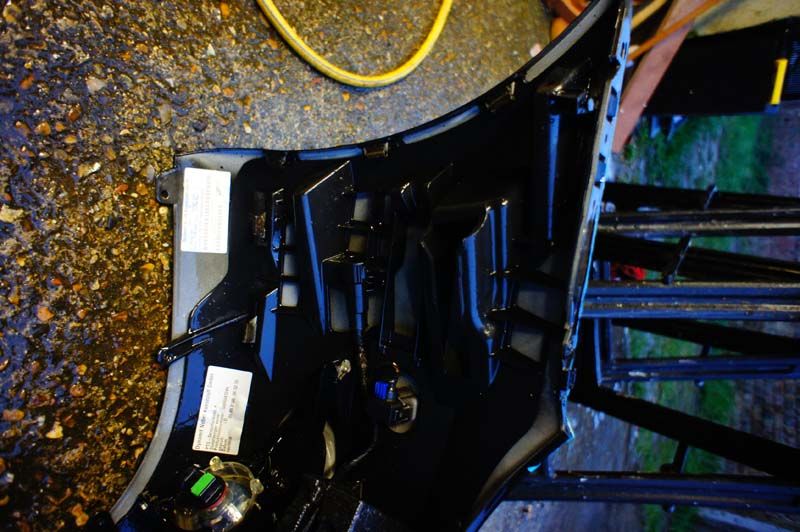
-are those HID fogs? are you running a resistor to avoid errors? do you have any flickering (seems like a lot of people on these boards comment about a flickering problem)?
-the blacked out headlights look great; my CLS is going to the shop this week to have them done....what color temp. HIDs are you running in your projectors, they look great
some questions;
-how difficult was it to remove the rear deck i.e. above where the OEM sub and 3rd brake light sits? I need to get that thing off so I can dynamat further.
-are those HID fogs? are you running a resistor to avoid errors? do you have any flickering (seems like a lot of people on these boards comment about a flickering problem)?
-the blacked out headlights look great; my CLS is going to the shop this week to have them done....what color temp. HIDs are you running in your projectors, they look great
04-09-2013, 03:55 PM
#18
great progress!
some questions;
-how difficult was it to remove the rear deck i.e. above where the OEM sub and 3rd brake light sits? I need to get that thing off so I can dynamat further.
-are those HID fogs? are you running a resistor to avoid errors? do you have any flickering (seems like a lot of people on these boards comment about a flickering problem)?
-the blacked out headlights look great; my CLS is going to the shop this week to have them done....what color temp. HIDs are you running in your projectors, they look great
The fogs are normal fogs with the normal H11 (I think) bulbs...But yes, if you want HID's or LED side lights, you need canbus error free versions. Or you can make your own in-line power resistors easily enough. The projectors again are just bulbs, they are Ring Automotive Sportz Blue bulbs, 80/100w. They are blue in colour and light up white/blue...pics are above
The flickering problem people will have are due to the HID's drawing less current, so they will flicker...there are two things you have to do, firstly, you need canbus error free HID kits. These come with inline resistors that make up the current different between the HID kits and normal bulbs. Secondly, I would NEVER install a HID kit without wiring in a relay kit. This will ensure the HID's get sufficient current and voltage especially on initial power up...they suck alot of power on warm up then their current draw goes down.
In regards to colour temp, I would go for either 4.3k or 6k, would never go higher or lower than that. 4.3k is OEM spec for all manufacturers, 6k has a slight blue tint to it, but nothing thats overly bad or blue, the difference is subtle, but noticable if you know what you are looking at
Any other info you need just ask

The following users liked this post:
kbanks45 (09-11-2017)
04-09-2013, 05:12 PM
#19
Senior Member
Join Date: Oct 2008
Location: Trinidad & Tobago / Canada
Posts: 429
Likes: 0
Received 12 Likes
on
6 Posts
CLS550 AMG Pkg.
thanks for the input!...I also have a powered rear window sunshade...that is probably going to further complicate getting out that rear deck lid
04-10-2013, 05:34 AM
#20
I could see where the mounts were for the sunblind, I dont think it will over complicate it too much...
One thing I forgot to mention was you also need to remove the C panels and everything around that area to.
One thing I forgot to mention was you also need to remove the C panels and everything around that area to.


 04-20-2013, 06:43 PM
#24
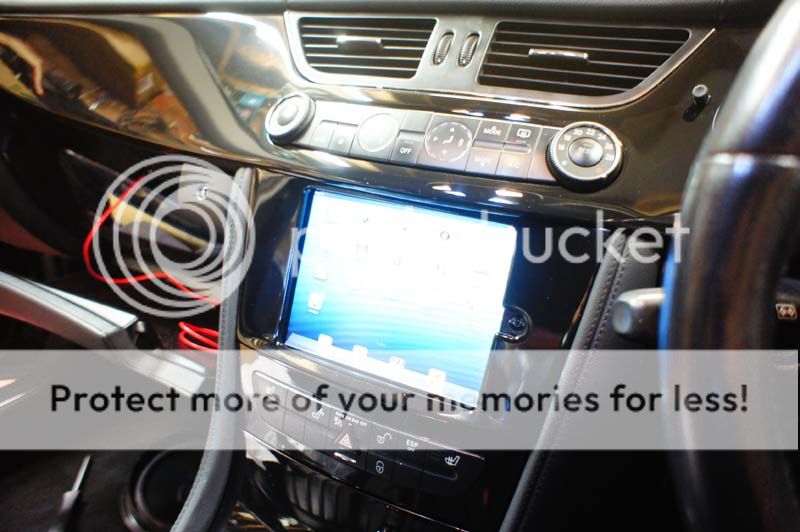
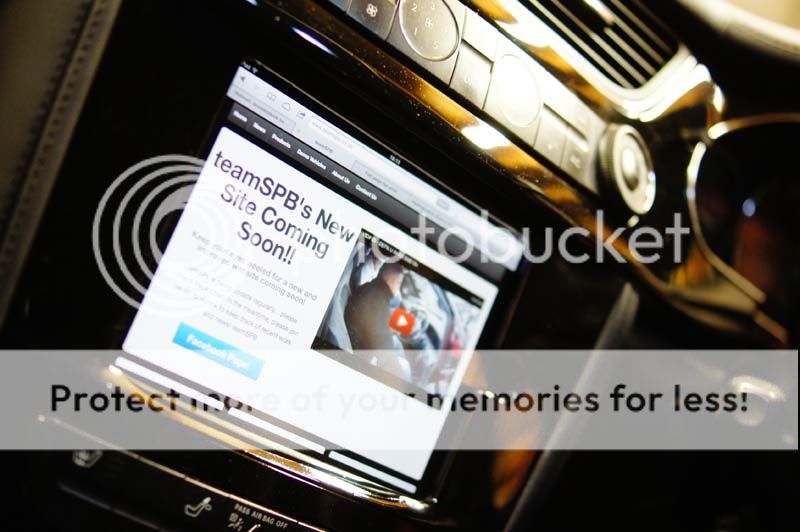
I have been asked a good few times now how I am getting the audio to the speakers...I am using the iPad's built in speaker...sounds great!! LOL...im doing it as below;
iPad mini bluetooth streaming audio at full resolution
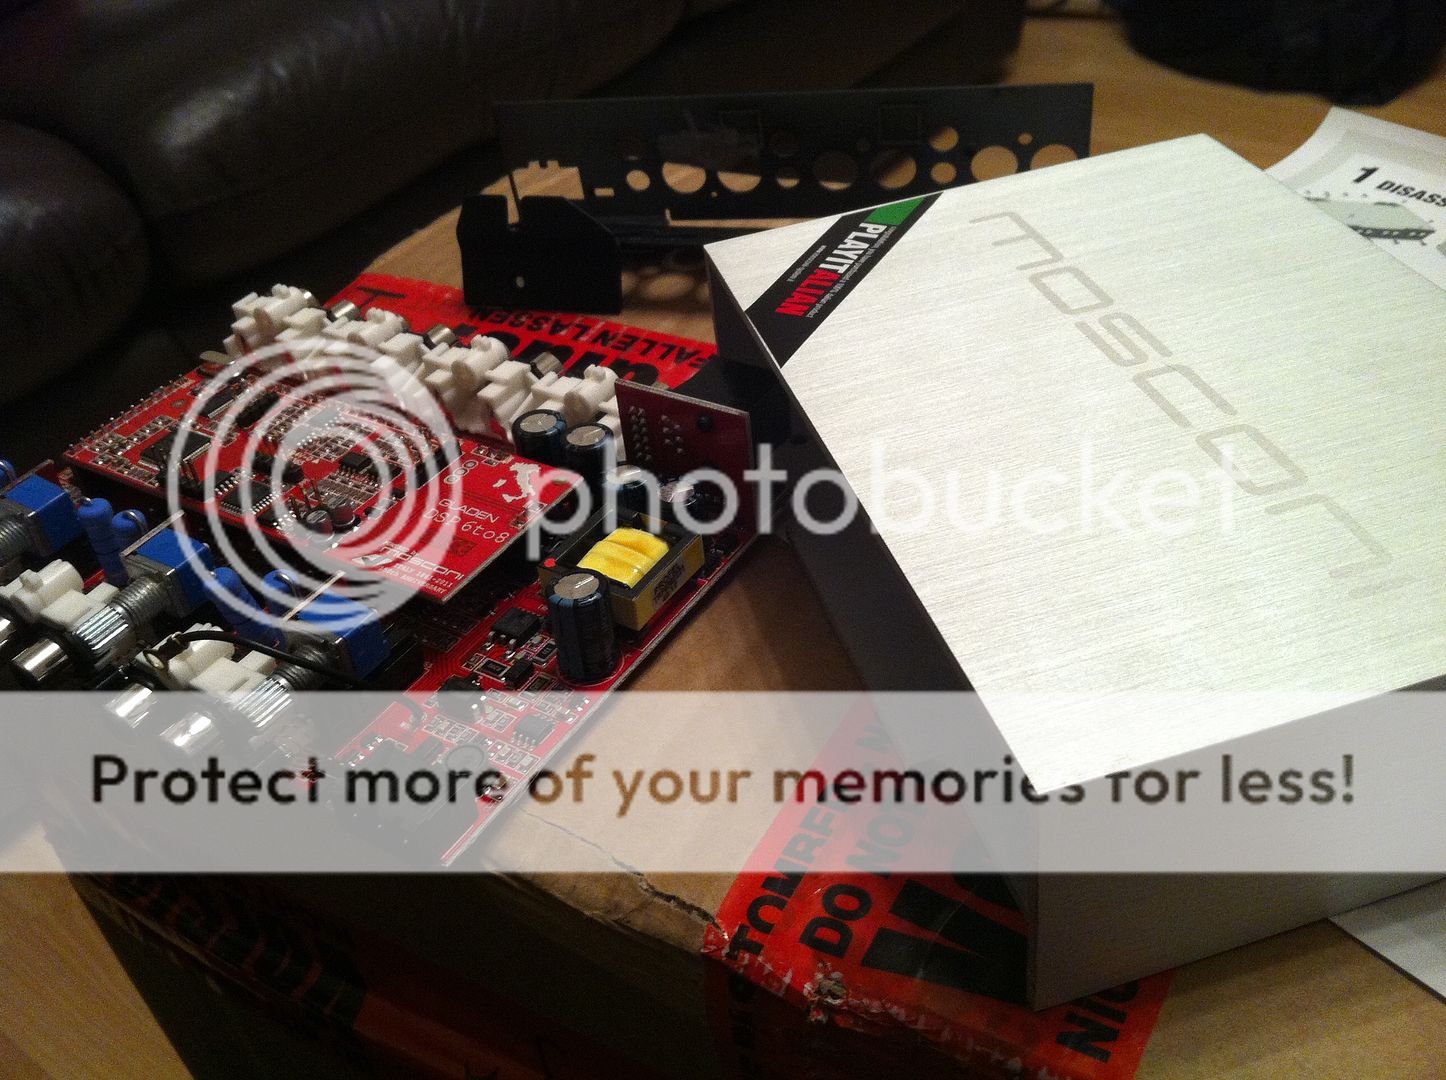
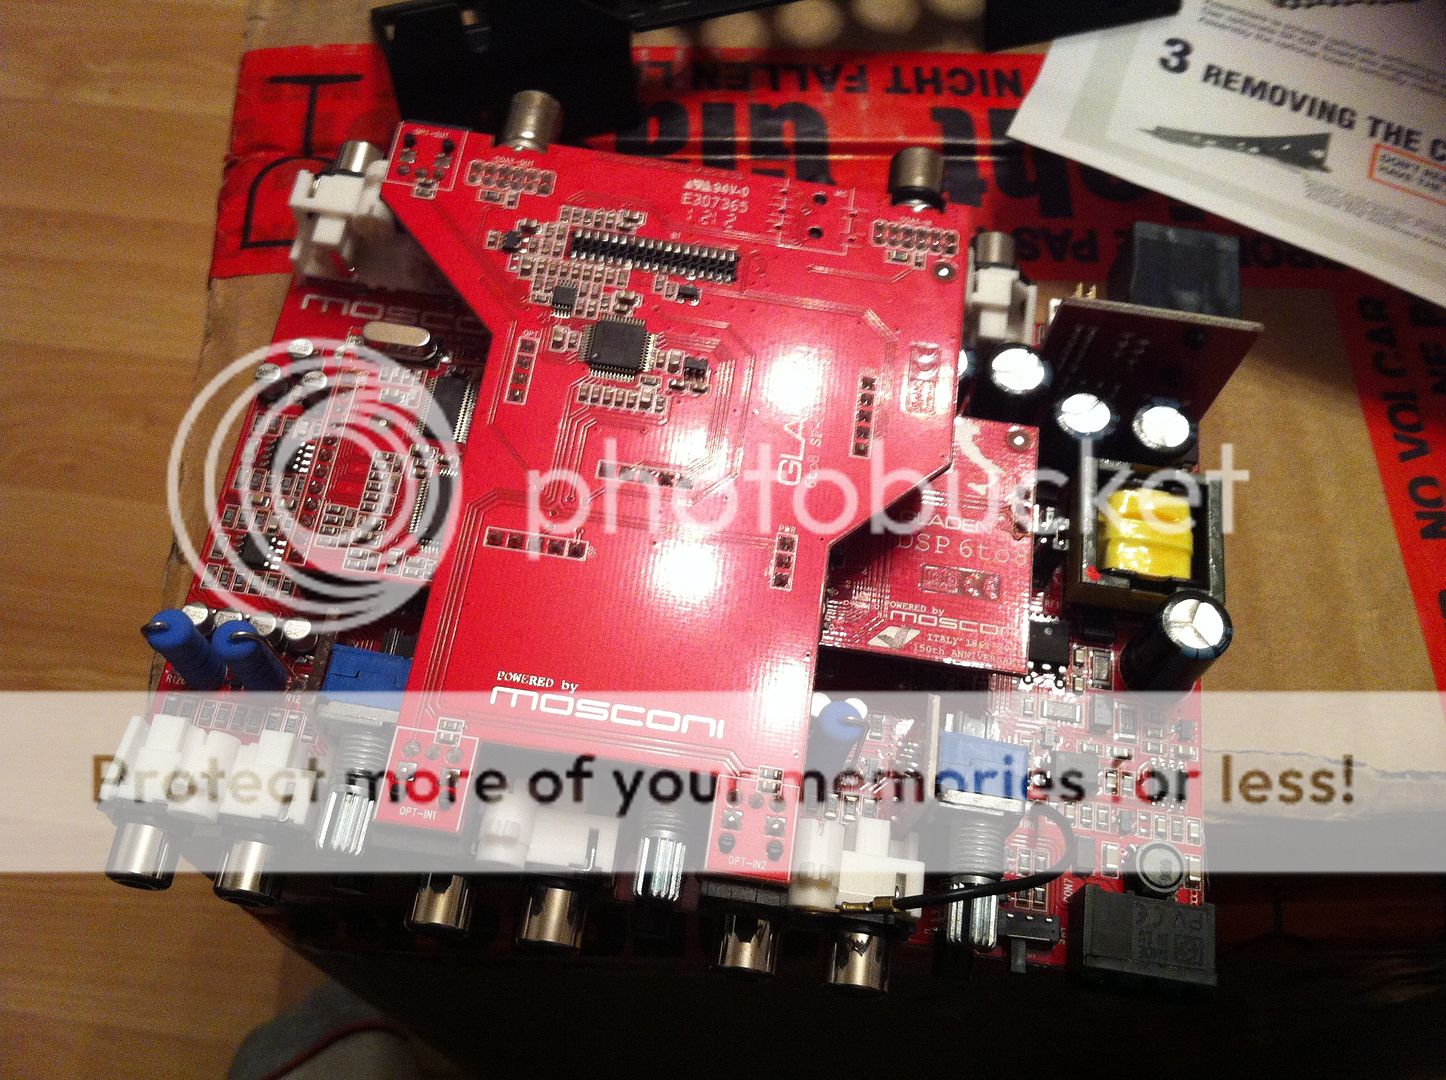
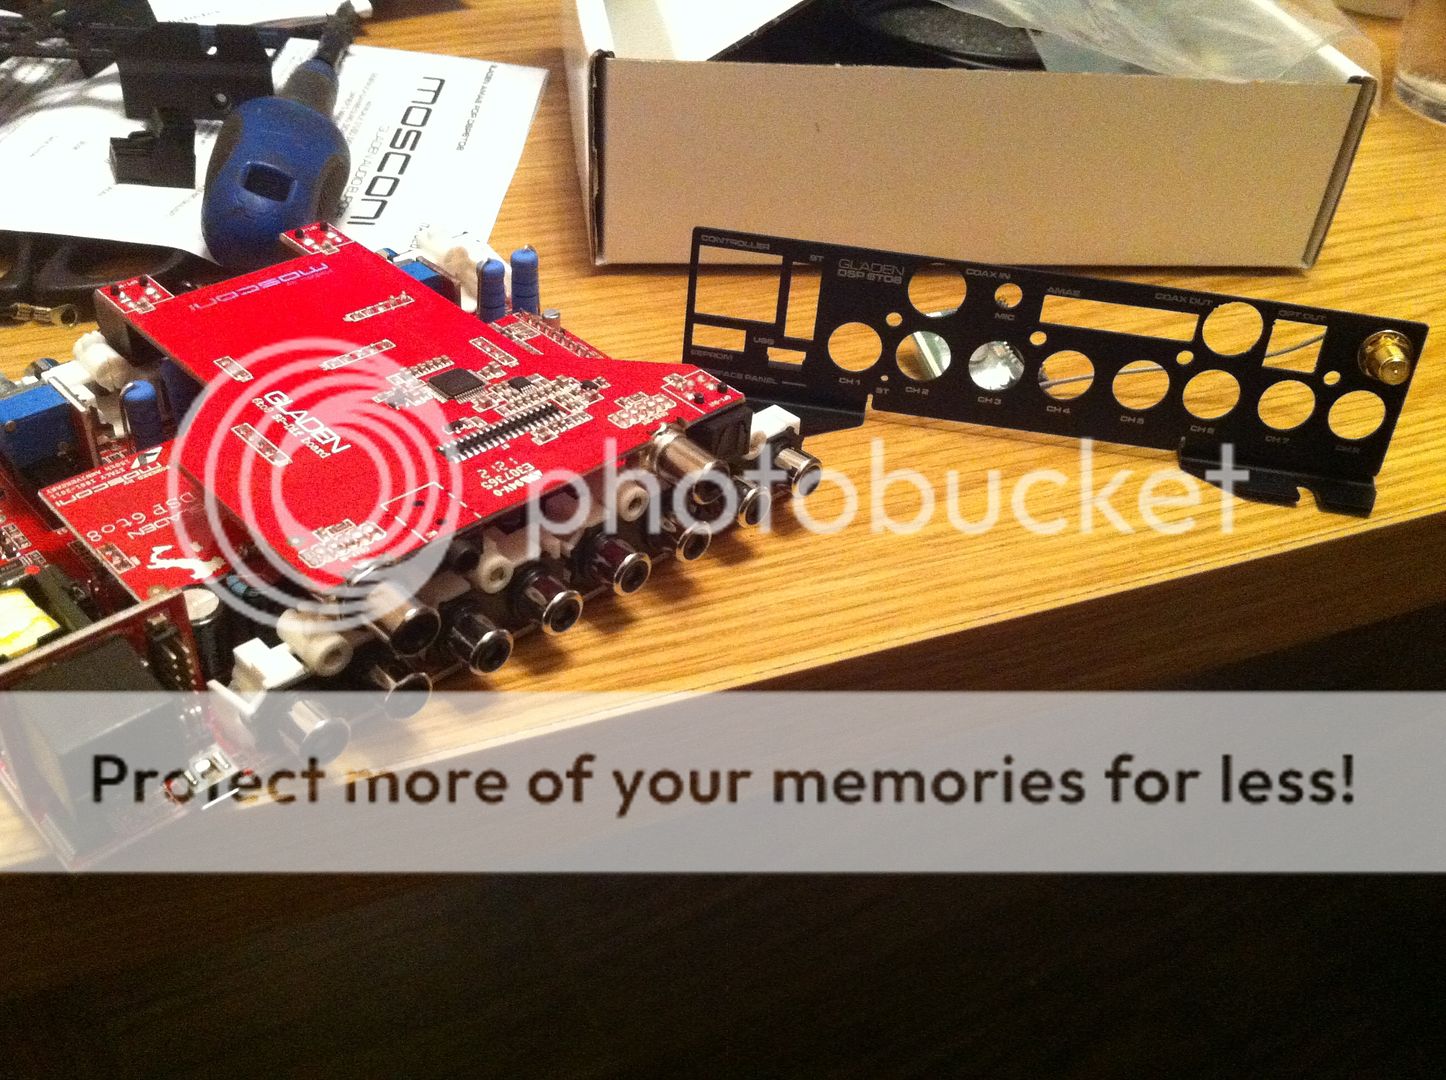
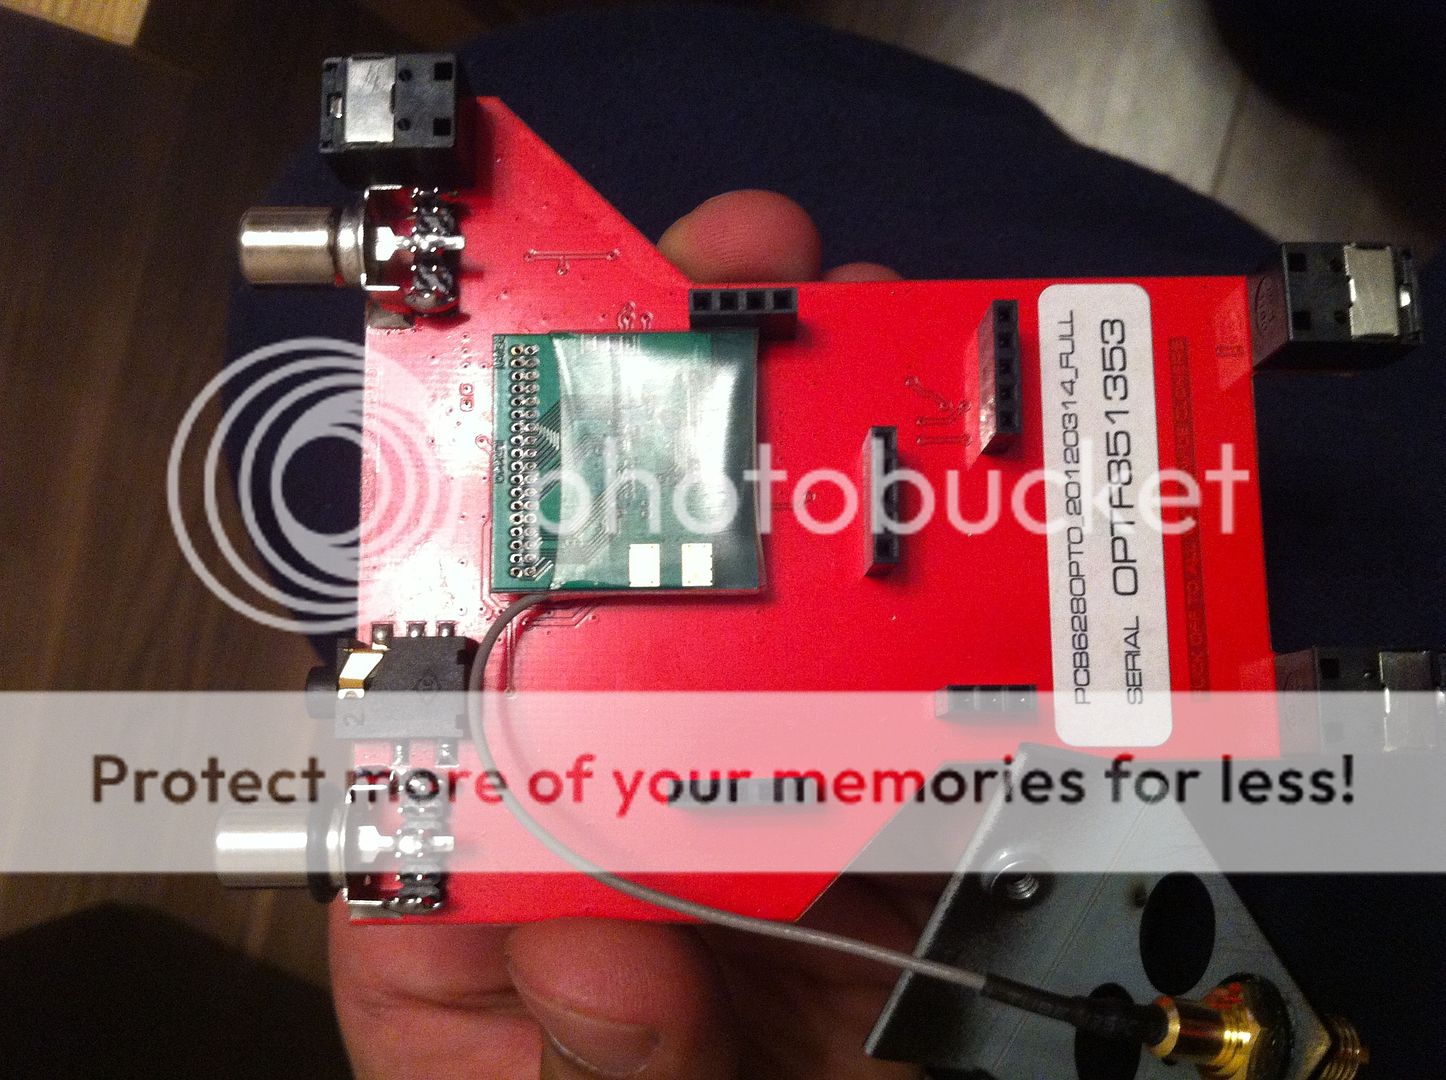
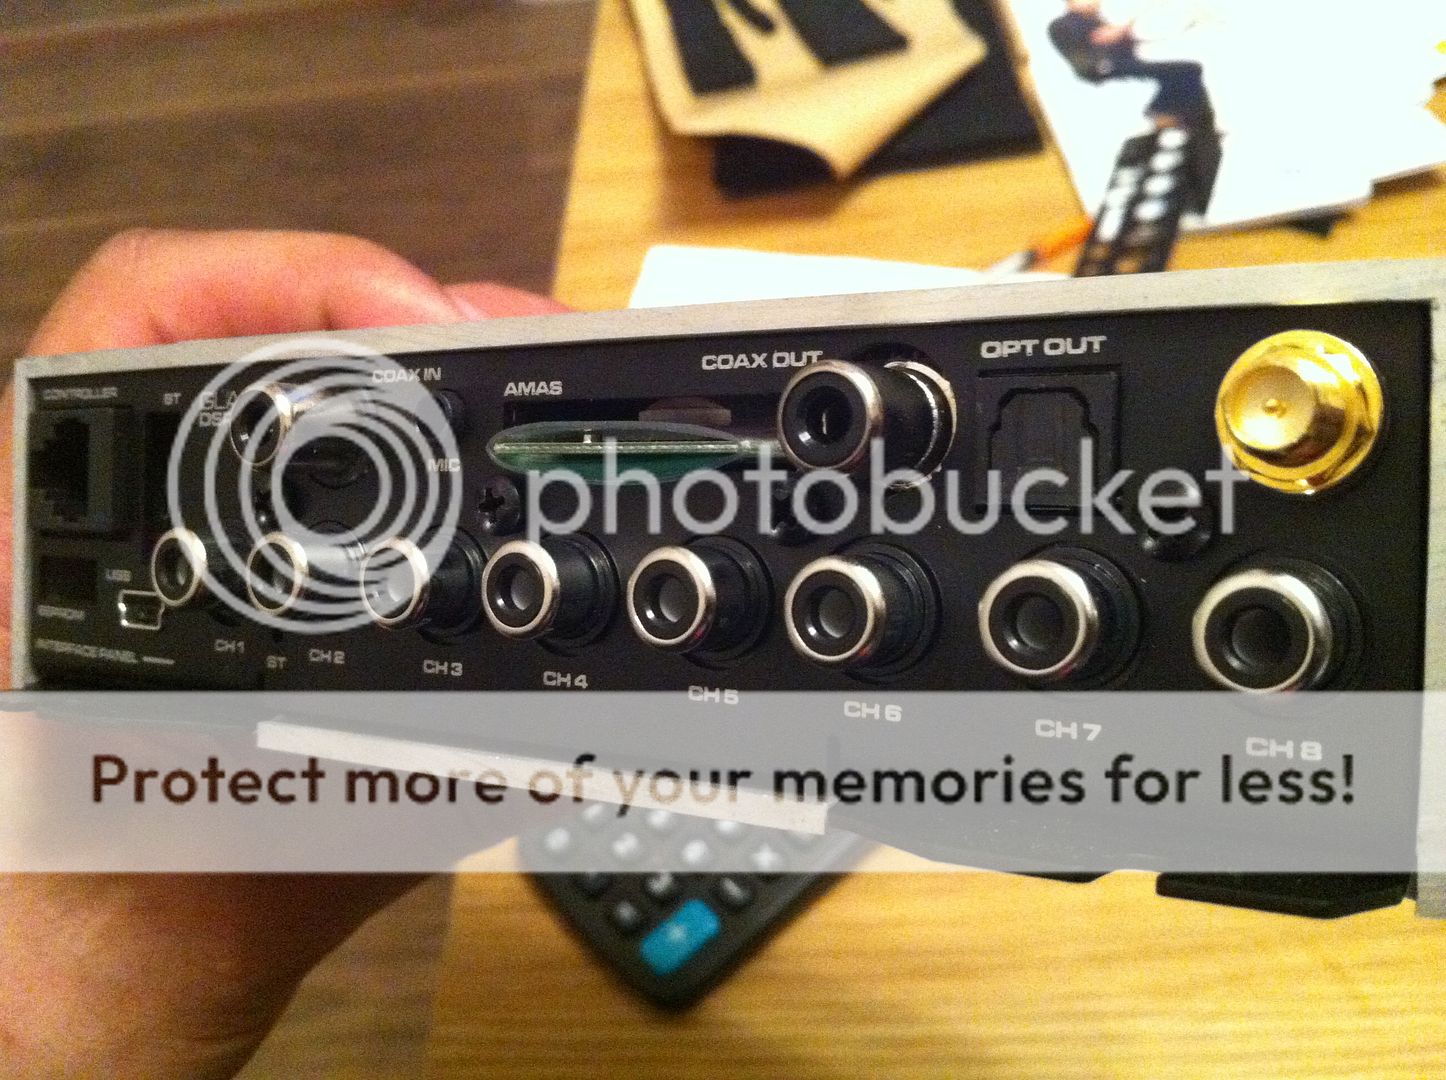
Mosconi 6to8 DSP processor with SP-DIF multi and AMAS modules added on to allow for bluetooth streaming
Mosconi amps
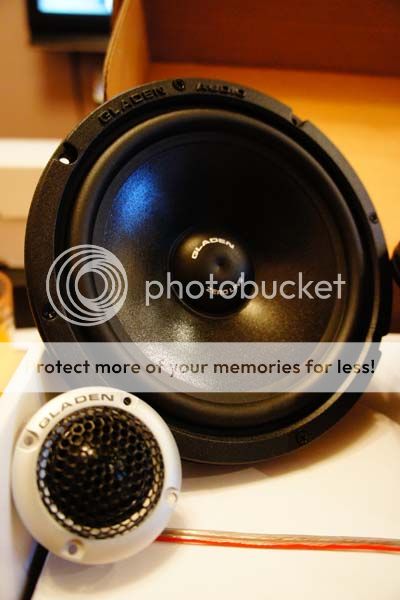
Gladen audio speakers
So the iPad mini sends through all audio signals via bluetooth to the Mosconi 6to8 DSP. The DSP then processes the sounds, splits up the signals and sends them to the amps via RCA's as per normal.
The amps then send signals as per normal into the speakers via speaker cables.
The Mosconi 6to8 had to be opened up to accept the extra modules

Hope this helps
iPad mini bluetooth streaming audio at full resolution
Mosconi 6to8 DSP processor with SP-DIF multi and AMAS modules added on to allow for bluetooth streaming
Mosconi amps
Gladen audio speakers
So the iPad mini sends through all audio signals via bluetooth to the Mosconi 6to8 DSP. The DSP then processes the sounds, splits up the signals and sends them to the amps via RCA's as per normal.
The amps then send signals as per normal into the speakers via speaker cables.
The Mosconi 6to8 had to be opened up to accept the extra modules
Hope this helps
The following users liked this post:
kbanks45 (09-11-2017)
04-22-2013, 04:50 PM
#25
Some more pics for you;

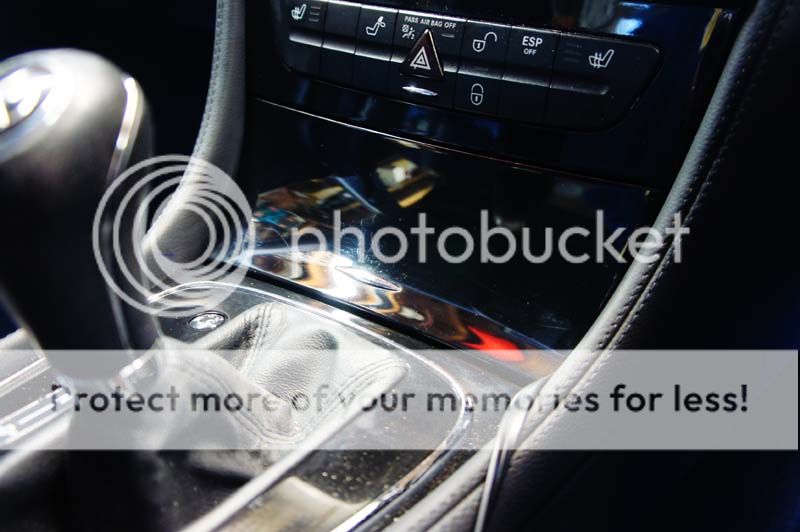
My RCD controller for my Mosconi DSP is also here now...this will control the volume, presets, subwoofer level etc...It will be fitted into my ash tray area with some modifications...


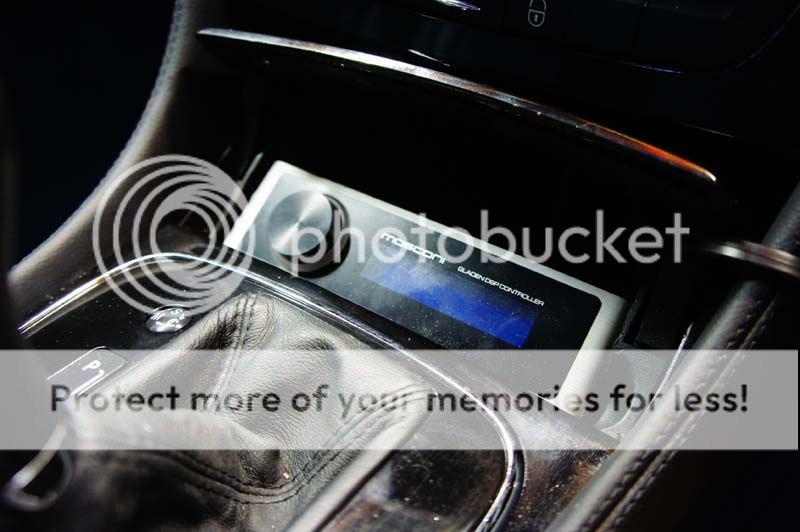
Ash tray cover still closes fine (ignore the cable, its just to test fit the RCD)
Also changed my orange front indicator bulbs


My RCD controller for my Mosconi DSP is also here now...this will control the volume, presets, subwoofer level etc...It will be fitted into my ash tray area with some modifications...
Ash tray cover still closes fine (ignore the cable, its just to test fit the RCD)
Also changed my orange front indicator bulbs


