When you click on links to various merchants on this site and make a purchase, this can result in this site earning a commission. Affiliate programs and affiliations include, but are not limited to, the eBay Partner Network.
Hello everyone once again.
I have had a few hours again to wrench on my car and continue the cleaning process. I am still waiting for the arrival of my water pump parcel so I unmounted the air filter housing and the inlet and outlet collectors.
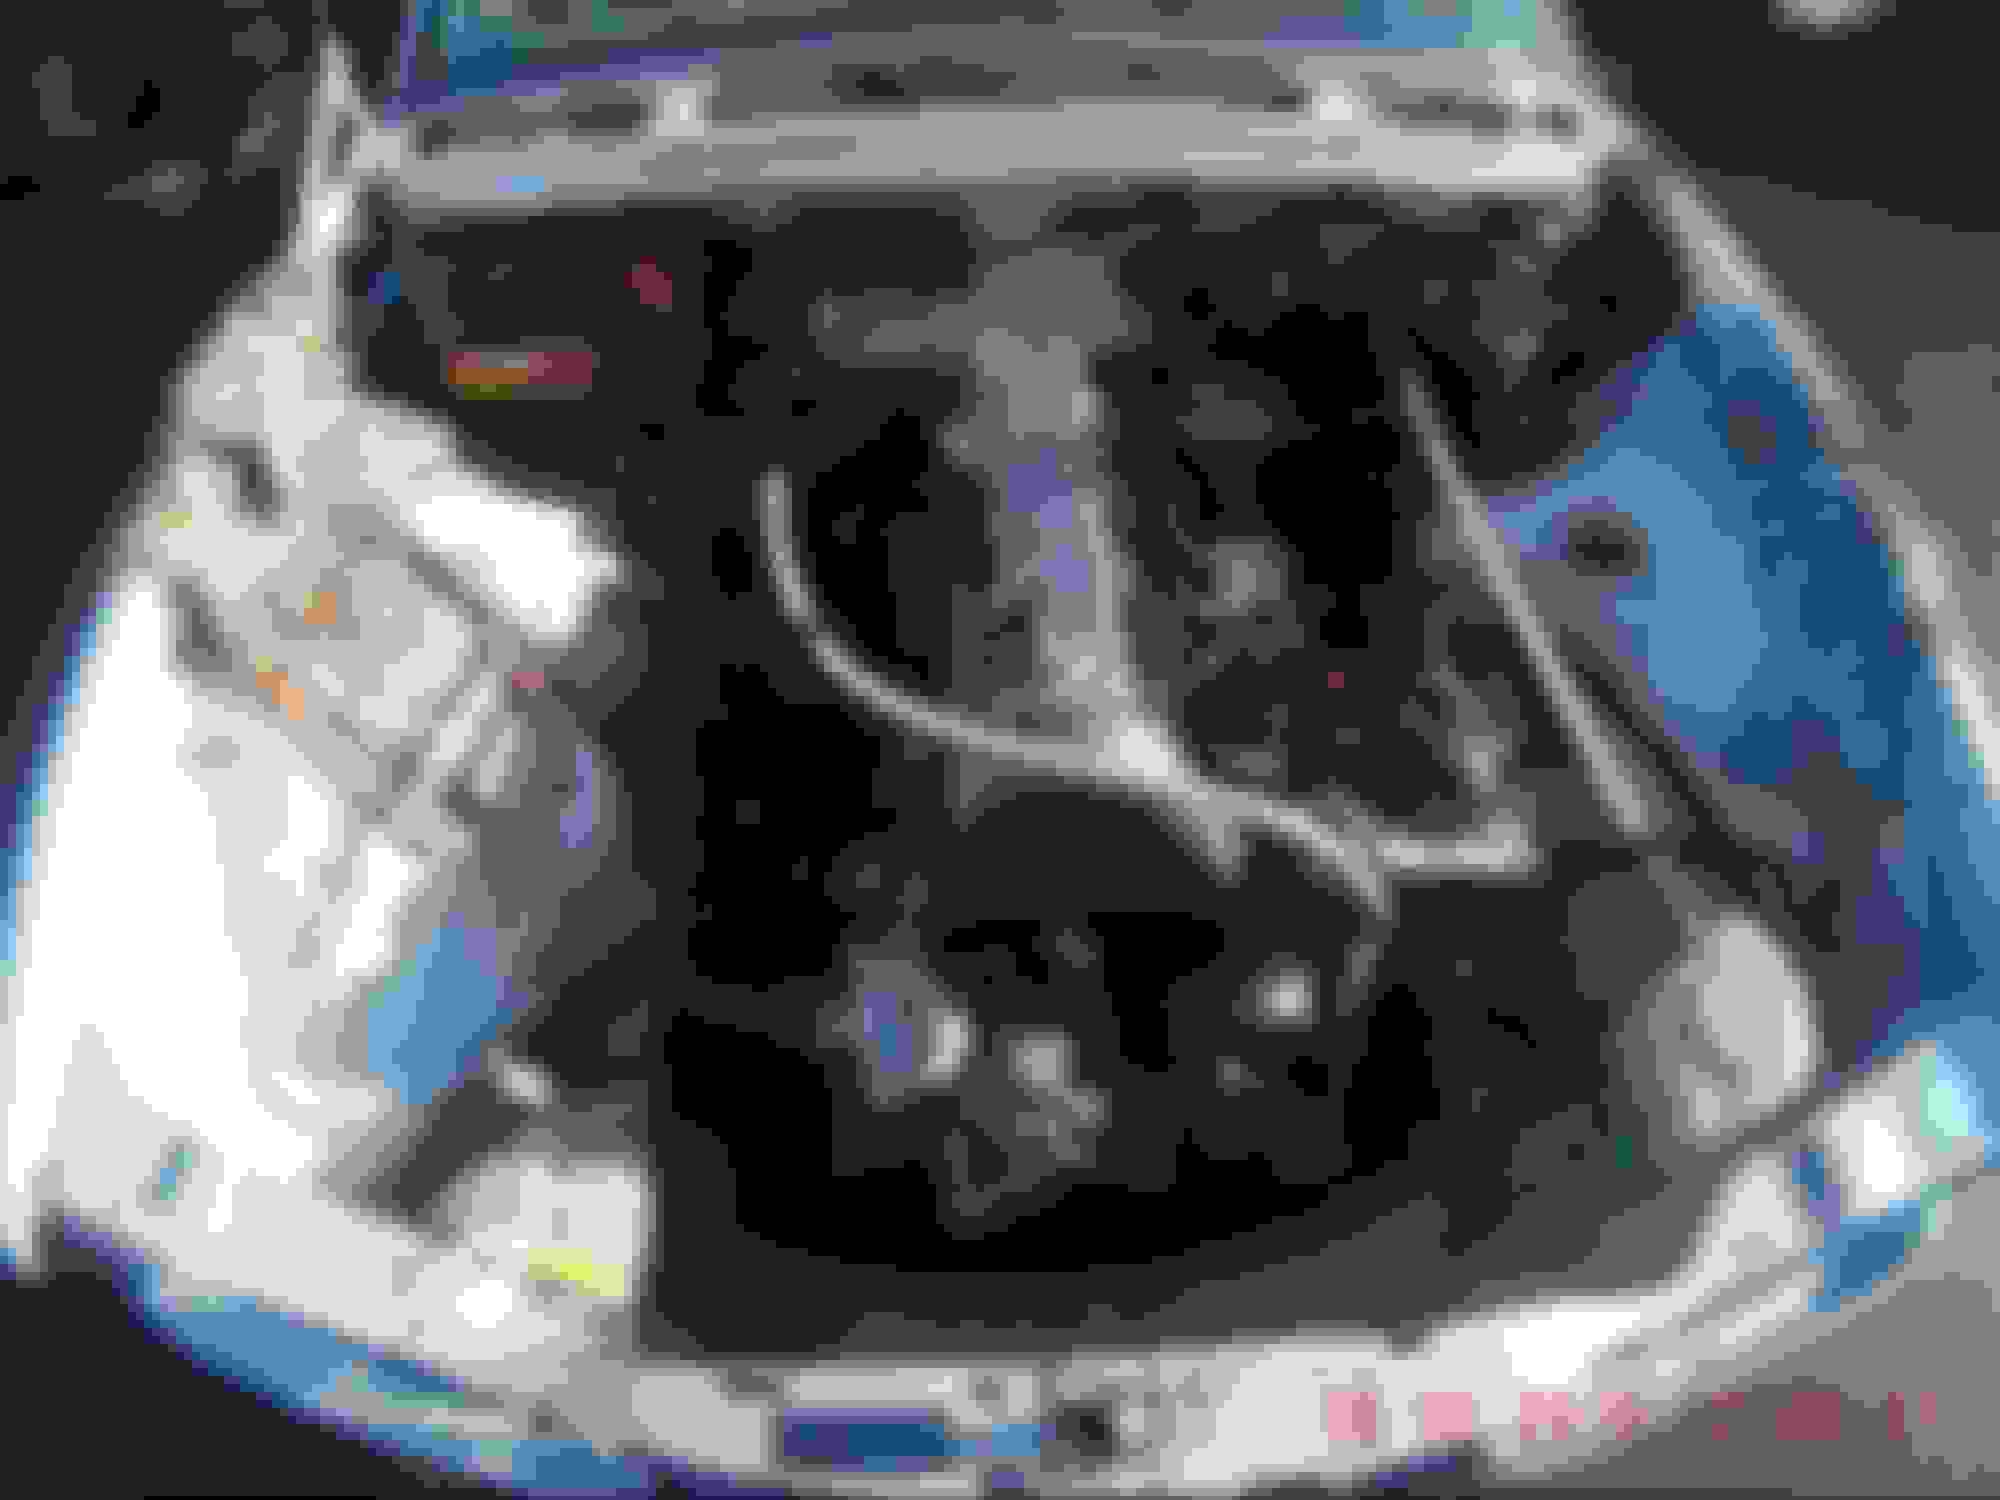
Here you can see a picture after removing the air filter housing which is held on by 3 nuts.
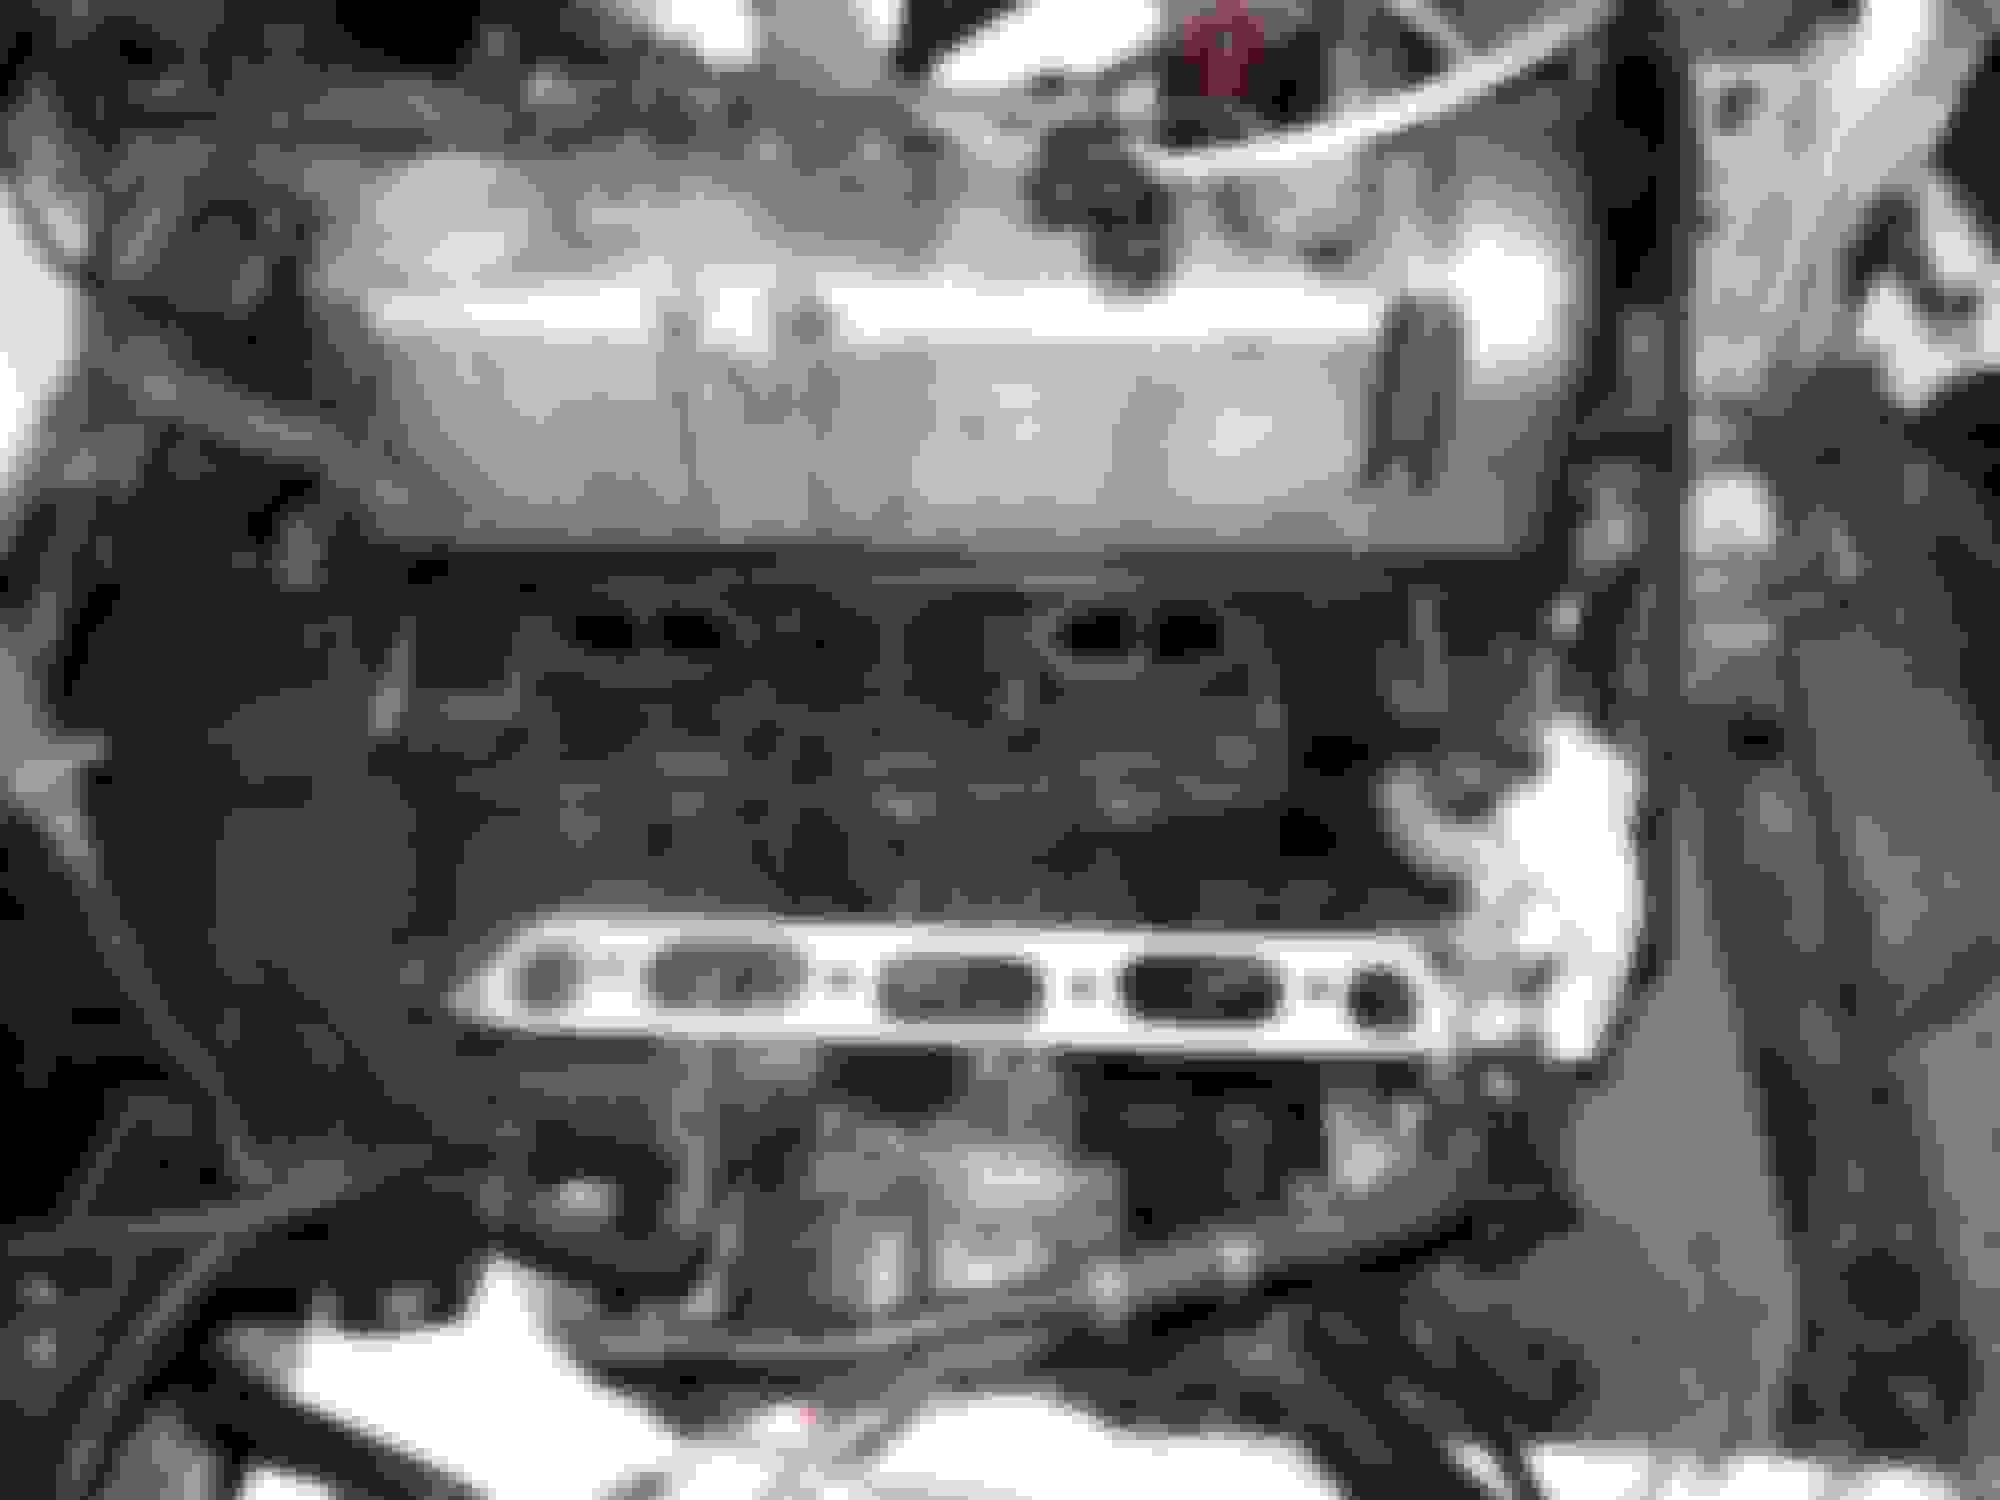
as you can see it is very dirty underneath there and so i continued unmounting the collectors since I plan to paint the outlet collector black (with heat-resistant paint) and clean up the inlet collector since its obviously dirty.
To give you a vieuw on how dirty everyting realy is here is a picture with before cleaning and after cleaning comparison.
Now after removing the collectors I spotted something that worried me a bit so I would like anyones advice on this little bit of trouble.
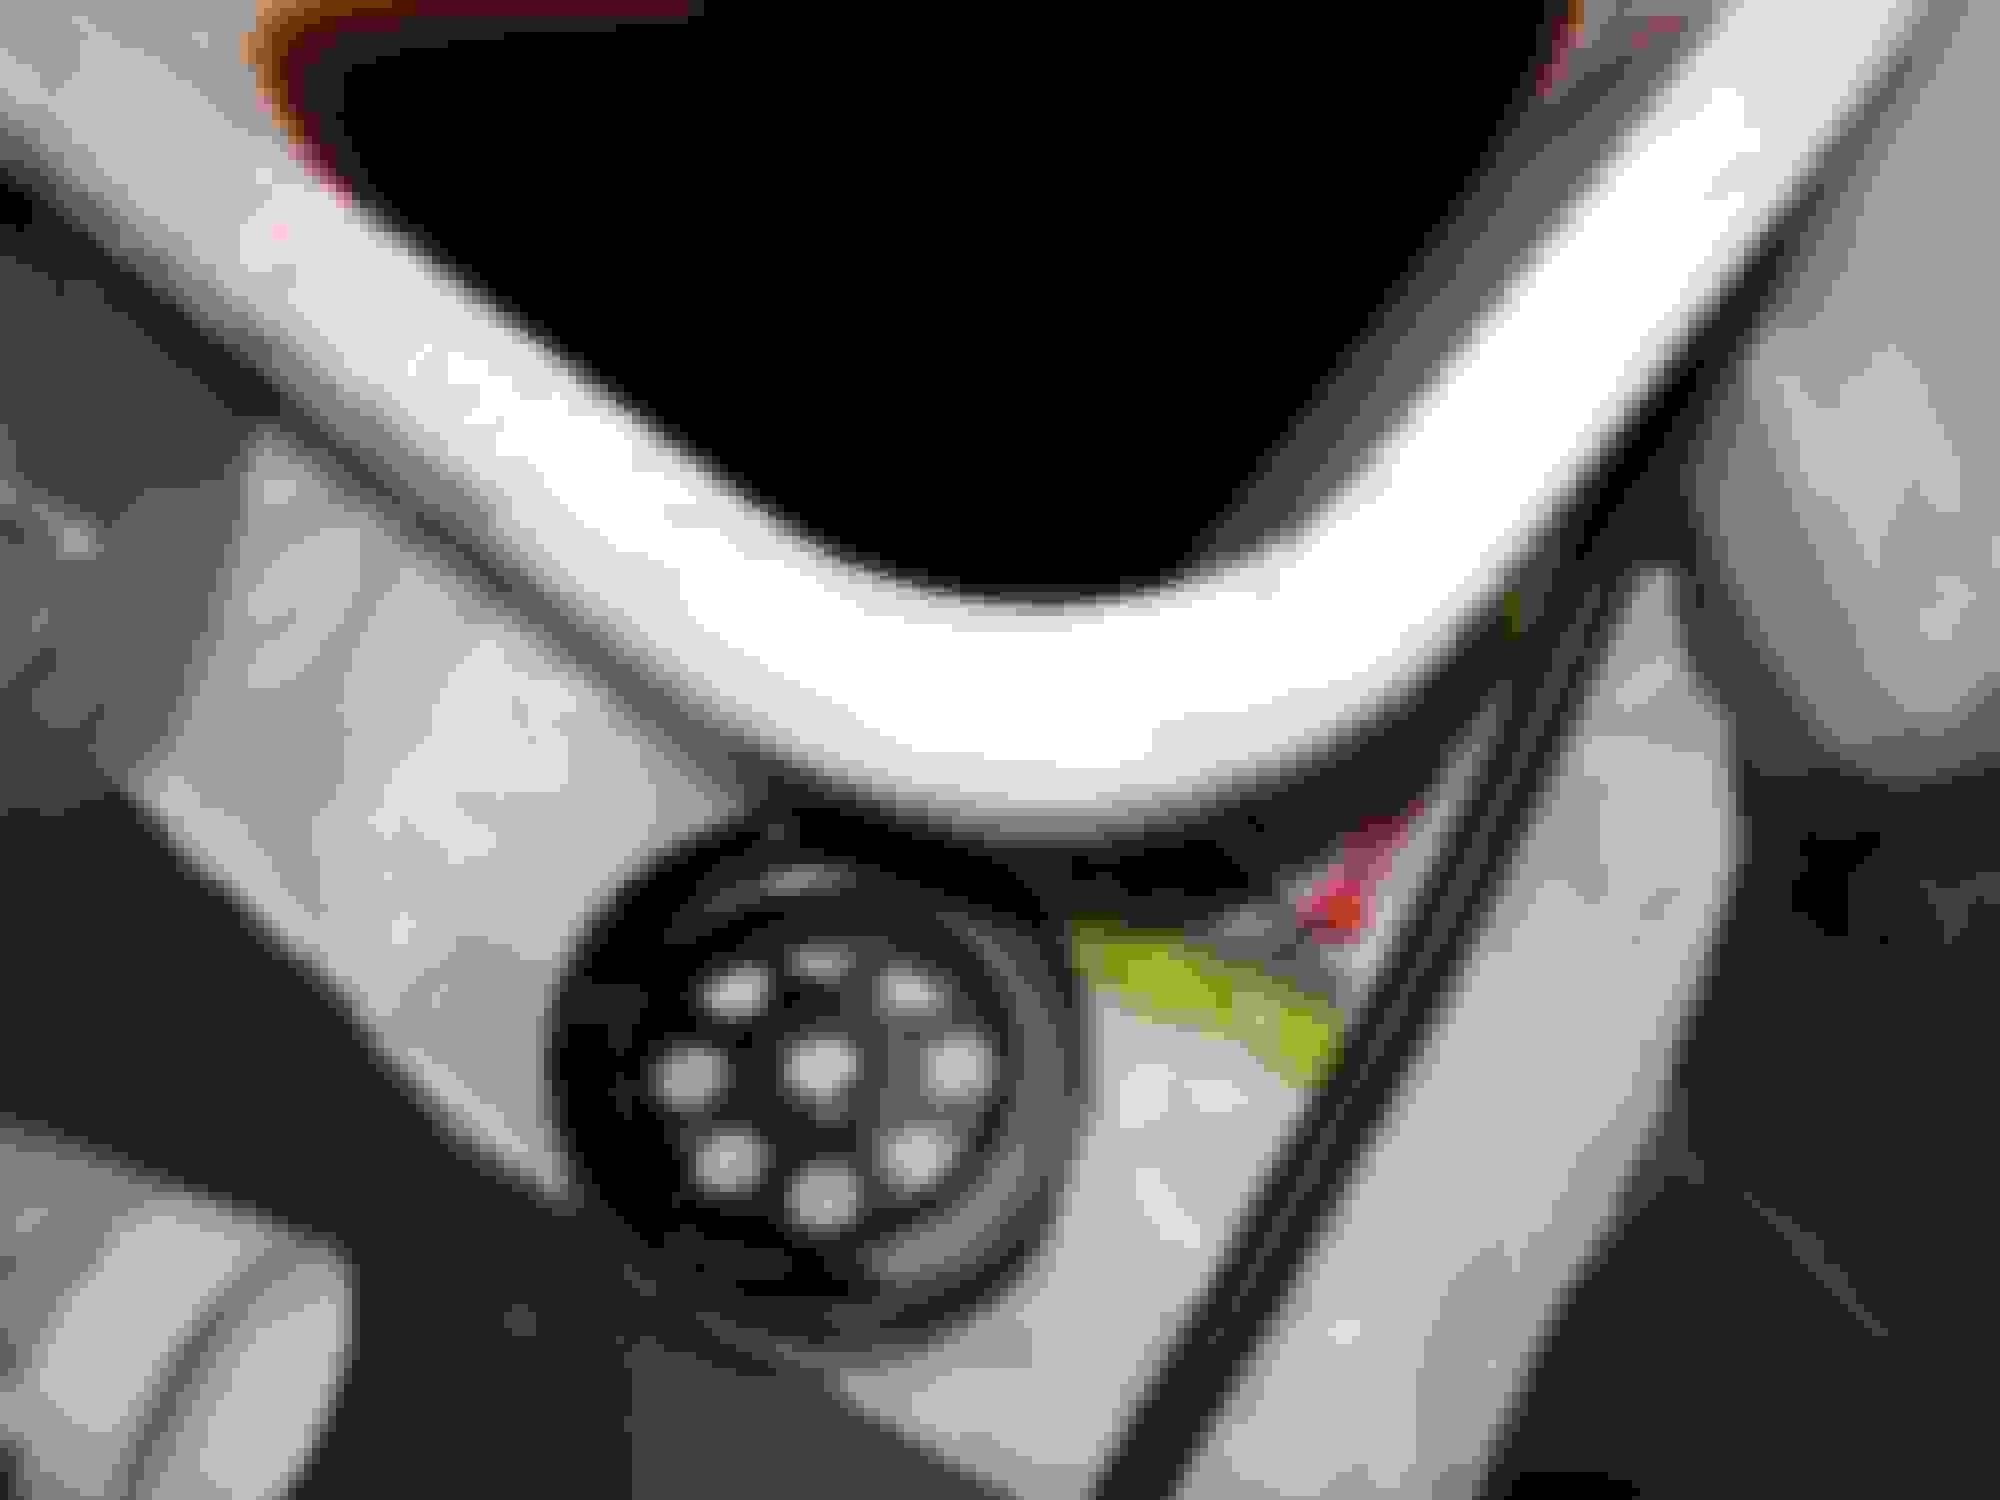
I had ordered a new seal to go in between the collector and the engine but this seal seems to be missing a few legs that go between the outlet holes would annyone know if this is bad (see picture below)
Last edited by mercedes w123; 01-25-2015 at 04:05 PM.
It's Sunday here so the Mercedes expert I rely upon for advice on these older w123's is closed, I can't ask him. I don't have much exposure to 200D. This is the air intake to the cylinder. As they fire sequentially, I would say the missing piece is not important. I would double check the parts sheet to see if there appears to be a difference. Don't install it until you know for certain! Nice work you are doing. Good luck.
I don't have any experience working on the OM615 so I don't know if that gasket will work or not. The rest of the project is very impressive. Well done!
Its been some time already since my last update so ill try to explain what we have done.
First things first we finally got the engine out of the car i nearly snapped the oil pressure gauge line for that but lucky me I noticed just in time.
Now to start from the start. Here you have the engine installed in the car. I already released all the support bolts and those of the drive shaft and such but didn't release any yet.
This is the last picture of the engine installed in the car.
Now I got underneath the car and started releasing everything making sure the transmission was supported by a jack since it tends to lean back allot and damage the oil filter cup if you are not careful.
supporting the transmission with a jack while everything is loose. Notice the clutch pump isn't removed yet thats because I couldn't reach it that easy so I released it from above instead.
After releasing everything we attached the towing cables to the engine and put a little tension on it to keep the engine from toppling over as mentioned above. Of this I do not have any pictures since I was very occupied with monitoring everything and yet I still didn't notice the oil pressure gauge line was still attached to the filter housing. I hope its not broken but I think that's just a plastic tube and should be replaceable, if there is no other damage.
So after this little adventure this is the result.
the engine hanging on the forklift of my friend lucky me he has the space to get all this stuff done otherwise This would be impossible.
Now as most people might not notice the engine and especially the clutch housing and transmission are just coated in 30 year old dirt combined with some leaked oil. You will see what I mean when comparing the picture above and the one beneath.
The engine after some thorough cleaning its not perfect yet but good enough for me.
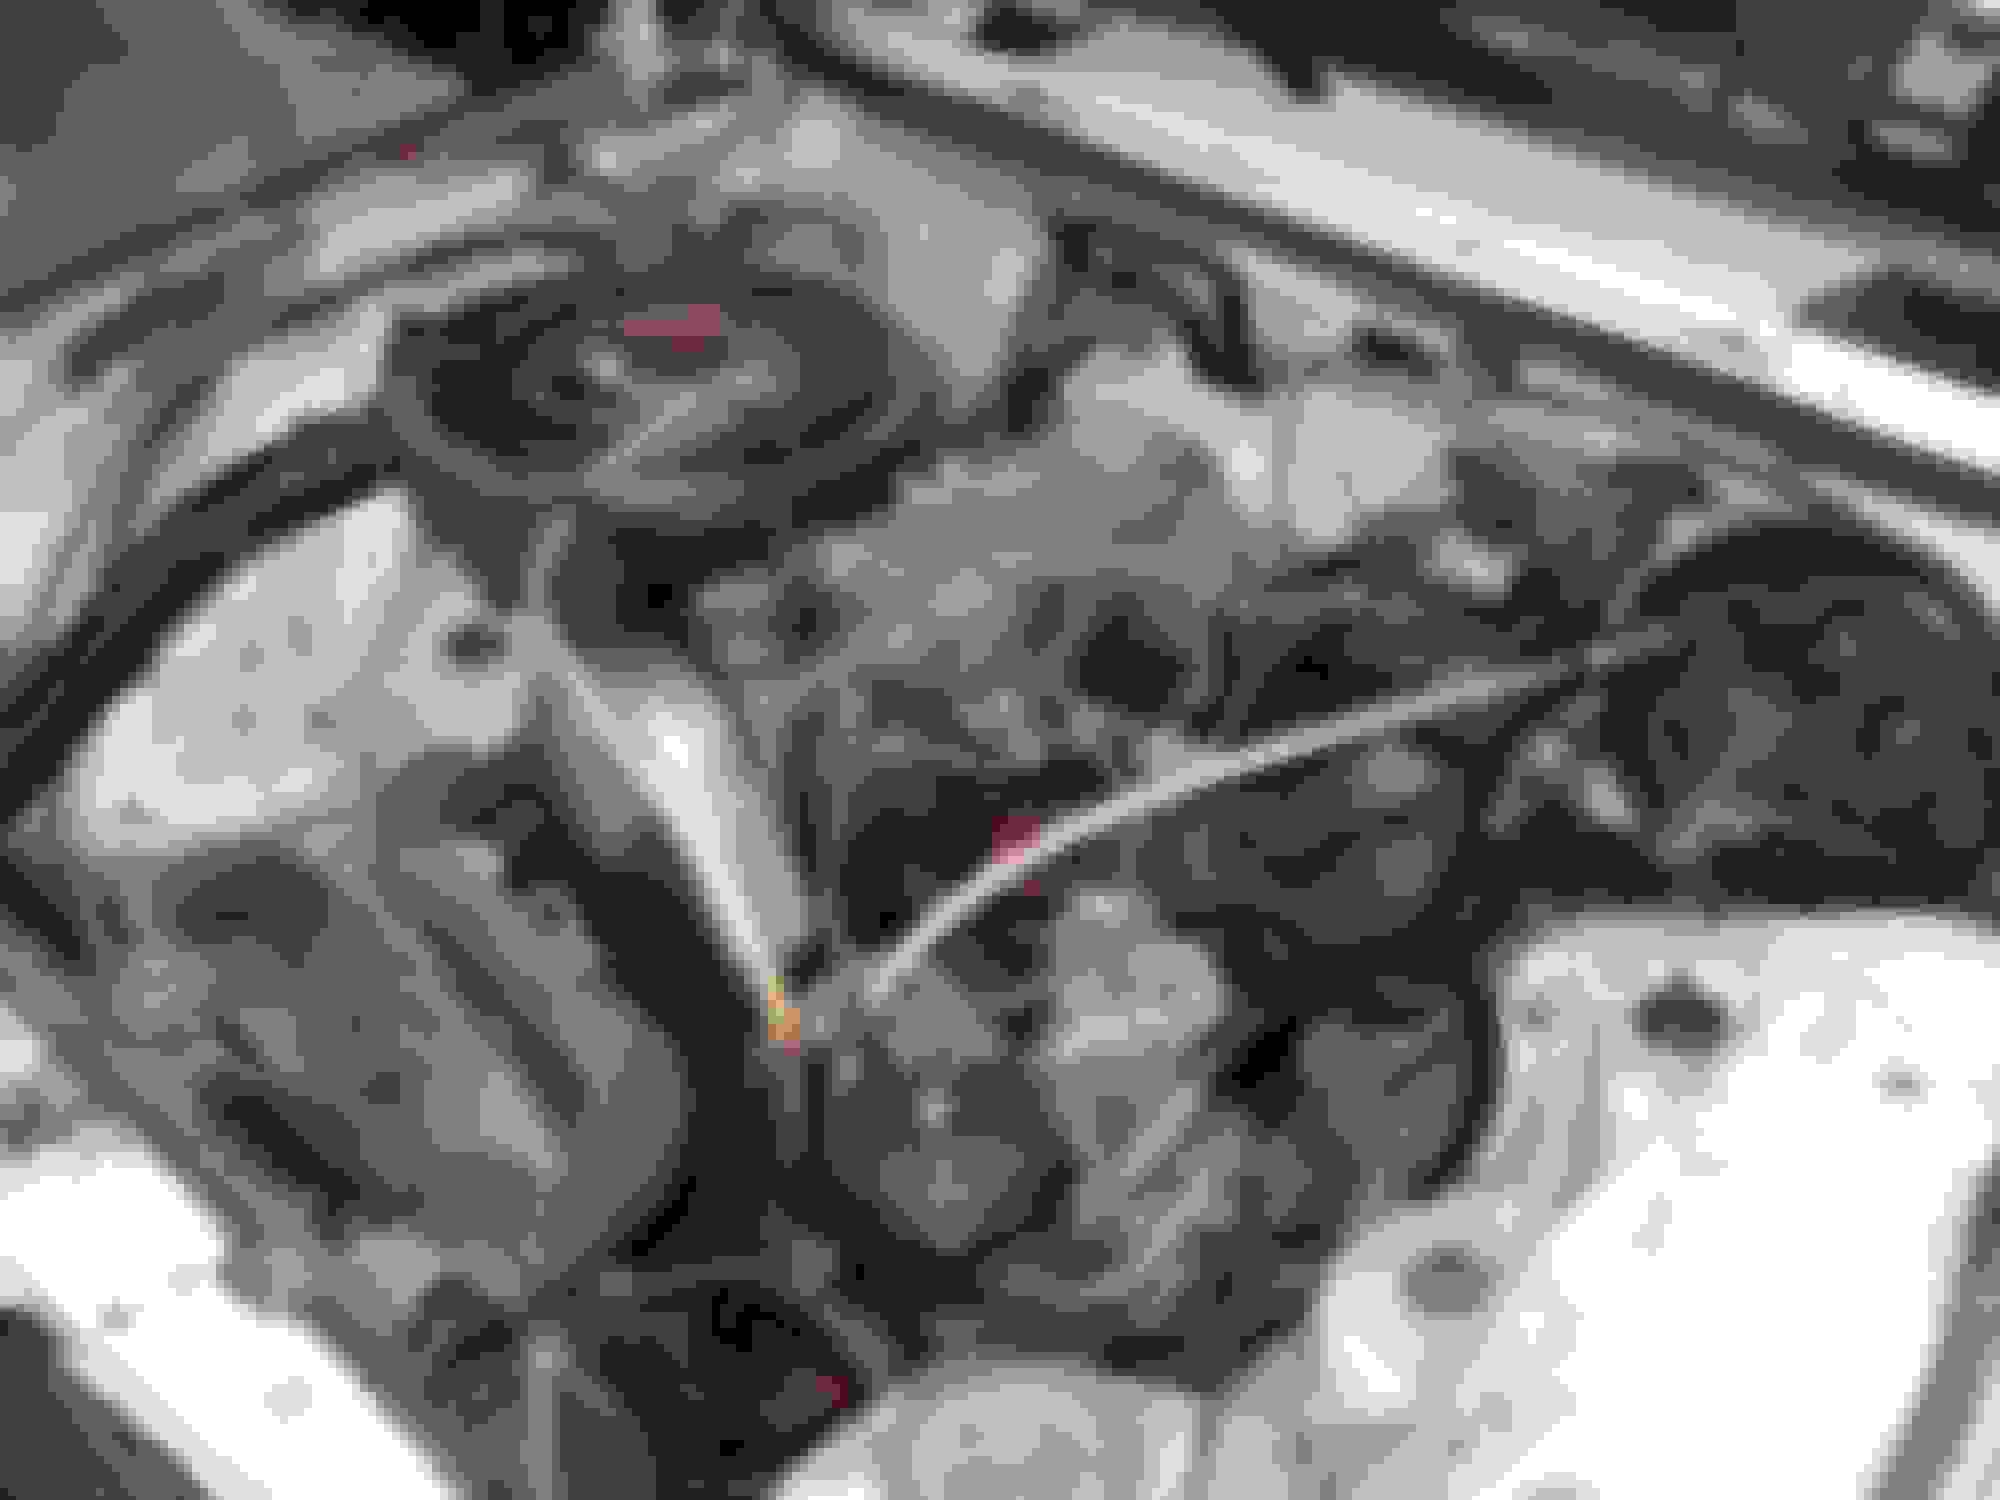
Sadly there is more bad news to be had After lifting the engine out I noticed a crack in the valve cover I don't know how bad this is or could be but If it doesn't leak I'm planning of replacing/ fixing it. If any of you ever encounterd this and fixed it please tell me how every bit of information is welcome.
Its not that clear on the picture but you can see a small black line between the two bolt holes. I'm afraid it might split apart and be broken entirely. any advice is welcome.
On the side note I already revised my alternator it needed some new bearings and a new set of coals. so that's another job done I hope you enjoyed reading and feel free to advise every bit of help is welcome.
Kind regards Mercedes w123
Last edited by mercedes w123; 02-16-2015 at 03:55 PM.
So ill try to keep you a bit up to speed. After taking out the engine + transmission i put it in the garage and unmounted the gearbox to get to the clutch assembly. which looked like this:
Its looking a little rusty and dirty but It was still functional the only thing that sounded a bit worn out was the clutch bearing. taking no risk thou I replaced the entire clutch assembly and cleaned the rust of the shaft that holds the clutch plate and the clutch bearing. there was coating of dirt and rust on there that prevented the clutch plate from disconnecting smoothly.
Here you can see the makeshift clutch centring tool its just a copper pipe with a old steel pipe over it and a few layers of paper tape to reach the right dimensions. it worked pretty well since we got the transmission on in a jiffy.
Here you see the new clutch assembly mounted and the old one in the background together with some tools lying around I tensioned the clutch assembly to 25 nm as specified in my French manual. The bolts of the clutch disks housing are specified at 40 nm thou I have not yet tensioned them since 40 nm feels allot to pull a steel bolt into a aluminium housing.
if anyone reads this could they confirm ?
Now to jump from the one ting to the next I have also been painting several parts with some rust repelling fake hammerite paint. Since most of you are well familiar with this process I won't post any pictures to keep it all a bit short.
However I did paint my exhaust collector with heat resistant paint that stated to apply the paint let dry for one hour and then put one hour in the oven on 160�C it claims to be heat resistant up to 800 �C anyone have experience with this? What kind of substance it could be or how efficient it actually is?
Its not very visible but for those with some imagination its my exhaust collector that is painted and baking in the oven.
Thanks for reading and I hope you got some information out of it if you have any questions feel free to ask
and keep em running
Last edited by mercedes w123; 03-08-2015 at 07:00 AM.
After allot of time I finally found some time to do a little bit of work and post something.
In the past time I'm mainly busy with cleaning up the body, preparing it for a respray and unmounting other parts of the car to give them a refurbish.
In the past time the following things have been done. I bought a parts car to get some easy acces to spares. It set me back 500 bucks but seems worth it. Ok now where do I get started.
I unmounted the servo pump today and took out the old oil to change the filter to come to the conclusion that the filter had become the pollution instead. This filter was 34 years old for sure if you see the amount of dirt that's on it. On the picture below you can see the captured oil in the white tray above and the filter (left side uncleaned right side cleaned)
The old filter was replaced with a new one and the inside of the reservoir cleaned. Since the budget is getting a bit tighter rebuilding the servo pump and housing won't be done to keep it cheap the servo housing was given a respray to black.
I could not seem to take a better picture but the result looks better then this. there is no rust visible any more that was the desired result. The pumping unit didn't need a respray since it seems to be immune to rust.
The next thing that needed fixing was the crack in my valve cover. On the advice of Rmac58 I used some epoxy putty that was heat resistant to 120�C I'm still scrubbing down the epoxy a bit since it was applied a bit to enthusiastic. On the left you see the Easter decoration on the right you see the valve cover that still needs some work but should come out nicely.
That was about it for today I will update later with a picture of my Bordeaux wreck. Thanks for reading and if there are any questions feel free to axe.
Last edited by mercedes w123; 04-06-2015 at 05:44 PM.
Why hello my fellow internet people, It has been a long long time.
I hope you all had happy holiday's and that you may drive another year without any misery what so ever.
Now without further redo I would like to introduce to you what I have done to my car.
This is a list of what has happened in the meanwhile.
-The car was stripped completely
this is the car ready for paint
same picture other angle
-The body of the car has gotten a complete respray.
freshly painted and ready to go
-The front and back window have gotten a new rubber in there since the old ones where in very poor condition.
This was very difficult to insert into the car you really need to be with 4 persons to push the right spots at the right moments and don't forget to insert the chrome before inserting the rubber. because I literally had to stand on it to press it into the rubber.
-The engine has been reassembled reinstalled with new support rubbers just as a precaution.
the engine ready to insert
same shot from above
-The brakes have all been revised (new rubber seals, dust booth's and heat shields).
-and manny maaaanny more but these are mainly small things like removing the rust of tiny parts and repainting them with anti rust paint.
There is of course more to be done but this is about what I have accomplished in the time I absent. I hope to complete it asap.
Please feel free to comment.
Kind regards mercedes w123
Last edited by mercedes w123; 01-05-2016 at 05:52 PM.
Hello everyone this is just a little update.
If anyone remembers the first post I made this is how my engine bay looked when the project began:
the engine bay before the cleanup
same same but different angle
Now these pictures are the same view just a bit neater then the above.
Nothing is perfect but for me this is close enough.
I know the radiator hose is not entirely on the radiator but there is no coolant in the engine yet. keeping it dry until low temperatures are over.
Now up next I'm fiddling with the electrical circuit sine there is an after-market central locking kit on the car it required me to add some wires and extra buttons.
Feel free to comment every reaction is apreciated. Hope to be driving soon
Truly sorry for your loss. I can only image the pain you must feel. You could always complete the build in remembrance of your father passing. My condolences.
Thank you shaz V6 for your support it means allot.
I just lost about everything. Its impossible to describe how bad it feels.
I will certainly complete the car if only for his memory.
Thanks for your thread, this has been a joy to watch unfold. I am very sorry for your loss. Keep in mind that the car brought you and your dad many good times together. You are very lucky to have had his companionship and love with you while you both worked on the car, up to the very end of his life! You should feel blessed for this, many do not enjoy the same relationship. Now when you work on the car you can remember him, sounds like a great thing to me.
 01-25-2015, 04:02 PM