When you click on links to various merchants on this site and make a purchase, this can result in this site earning a commission. Affiliate programs and affiliations include, but are not limited to, the eBay Partner Network.
I'm new to this forum and the whole restoration scene. I don't have any experience of metalworking what so ever. I am just trying to get this rusty mercedes back onto the road as my daily driver.
My intention is to provide everyone willing to read this thread with pictures and updates and such of what I attempted this day/week / month.
I wish to warn everyone this is not at all a professional restoration I don't have the time and means to strip the entire car and have it sandblasted, repainted, etc... What i inted to do here is to remove the largest amount of rust and broken parts and replace them with new metal parts and a fresh coat of spraycan paint and some polyester.
I didn't intend to do this at first so I had already started taking some parts off and fixing some things. so to start from the start.
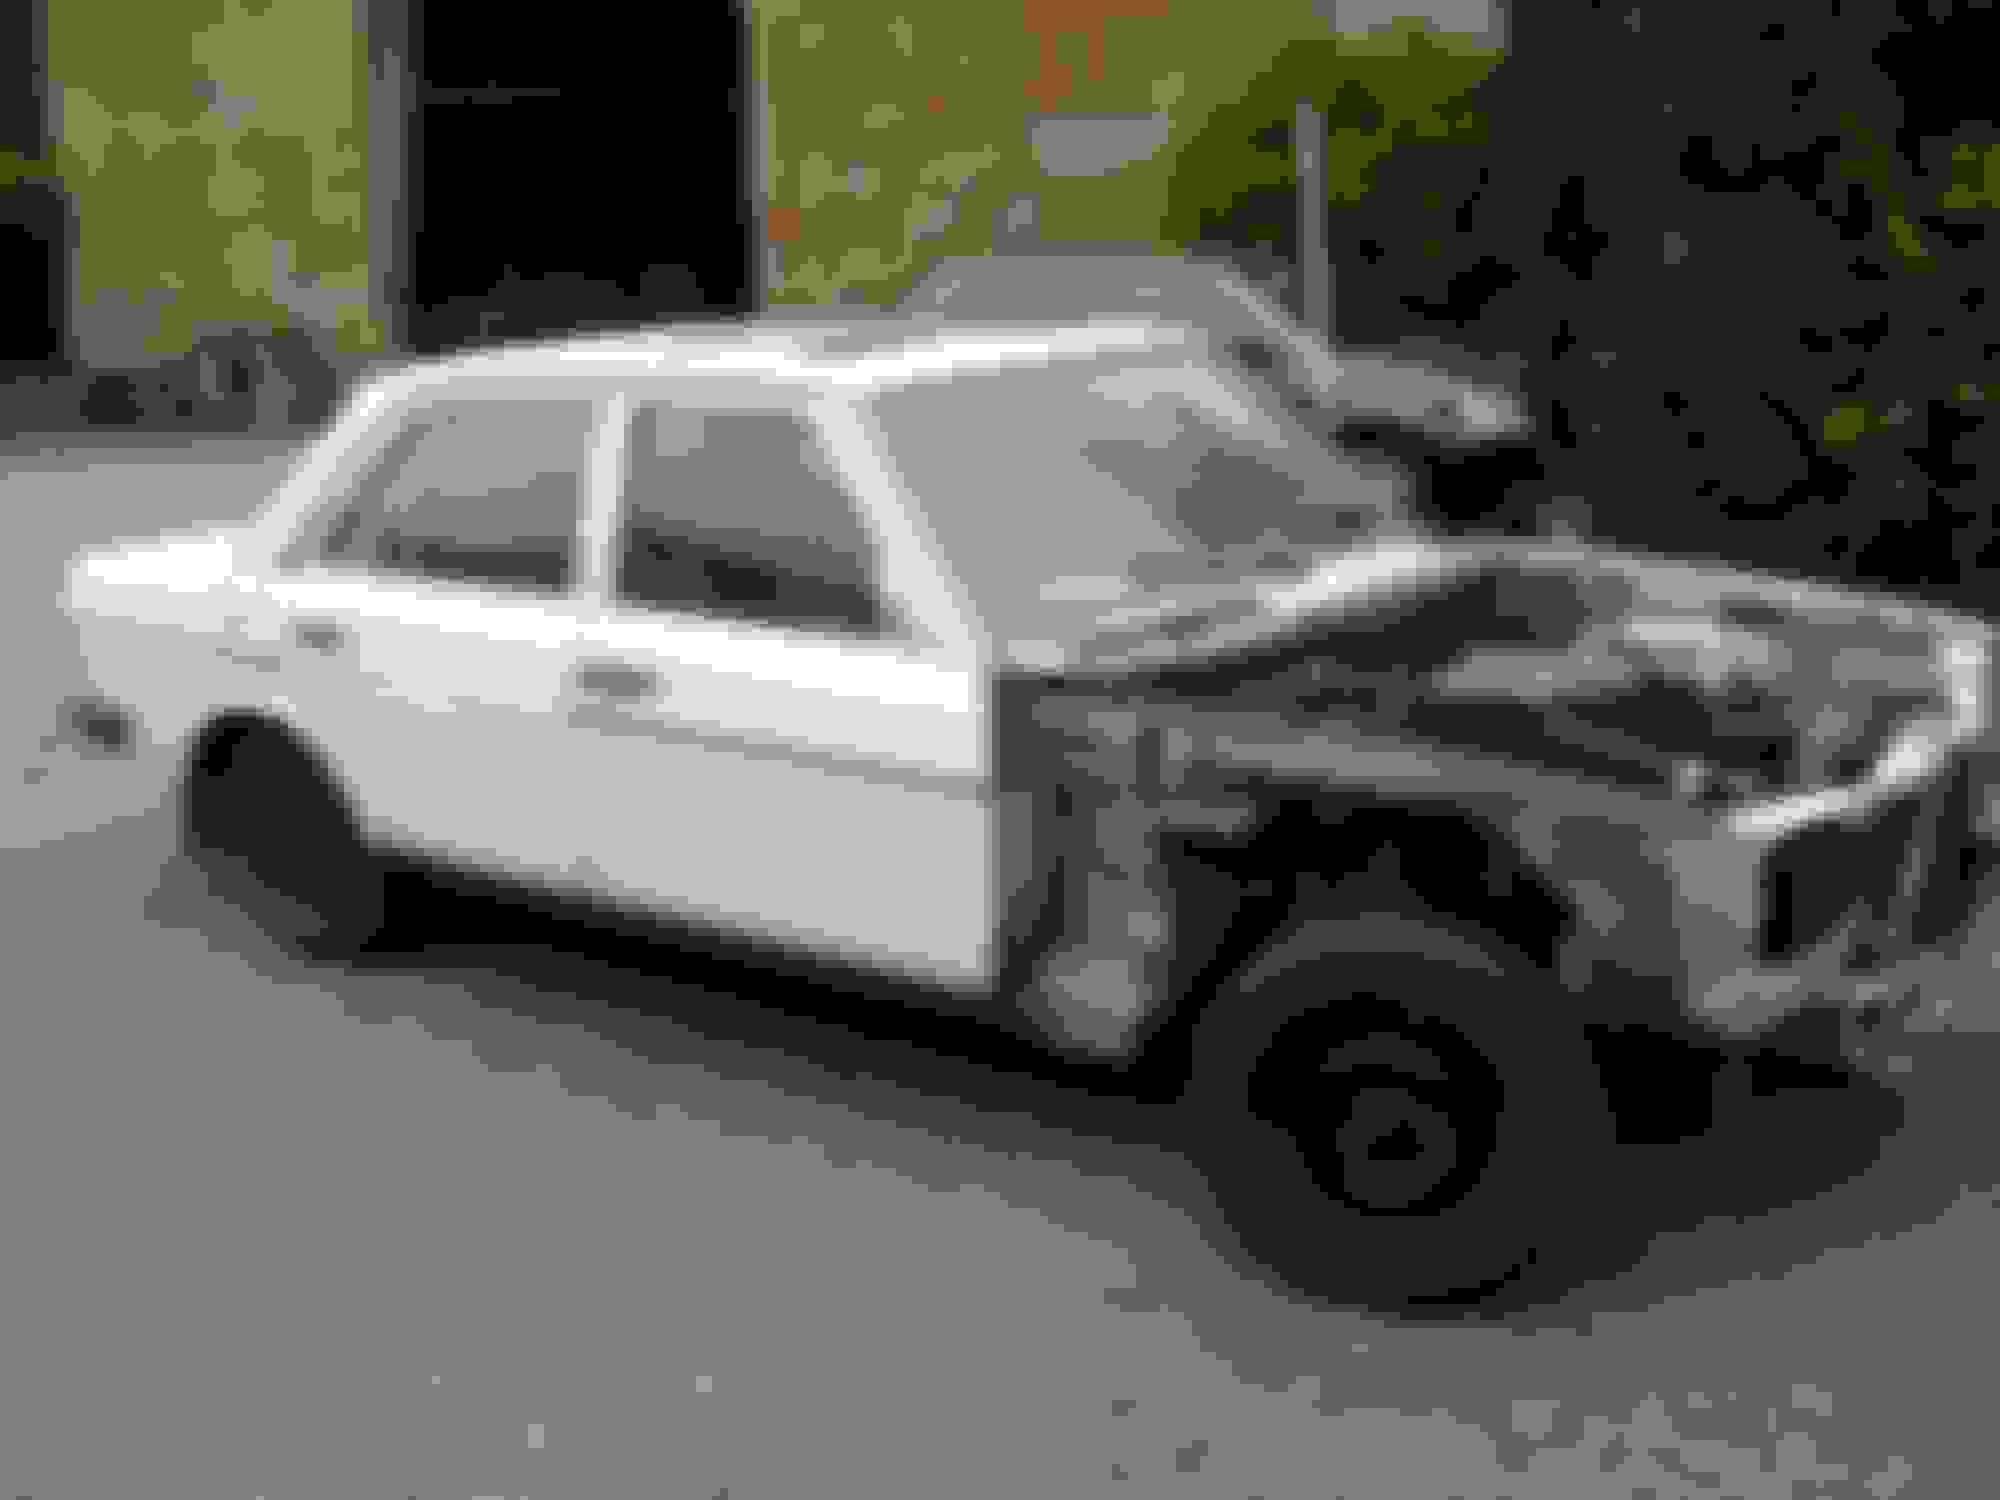
This is my car: a 1979 Mercedes w123 200D it has 140 000 km on the counter and the last oil change was 15 years ago it drove 18 000 km since.
The engine runs nicely but starts difficultly the preheating circuit was to blame of this more about this later. (its serial preheating <3)
The side I started already.as you can see some holes are already fixed here. These will be shown below.
The side I haven't started yet.
The butt.
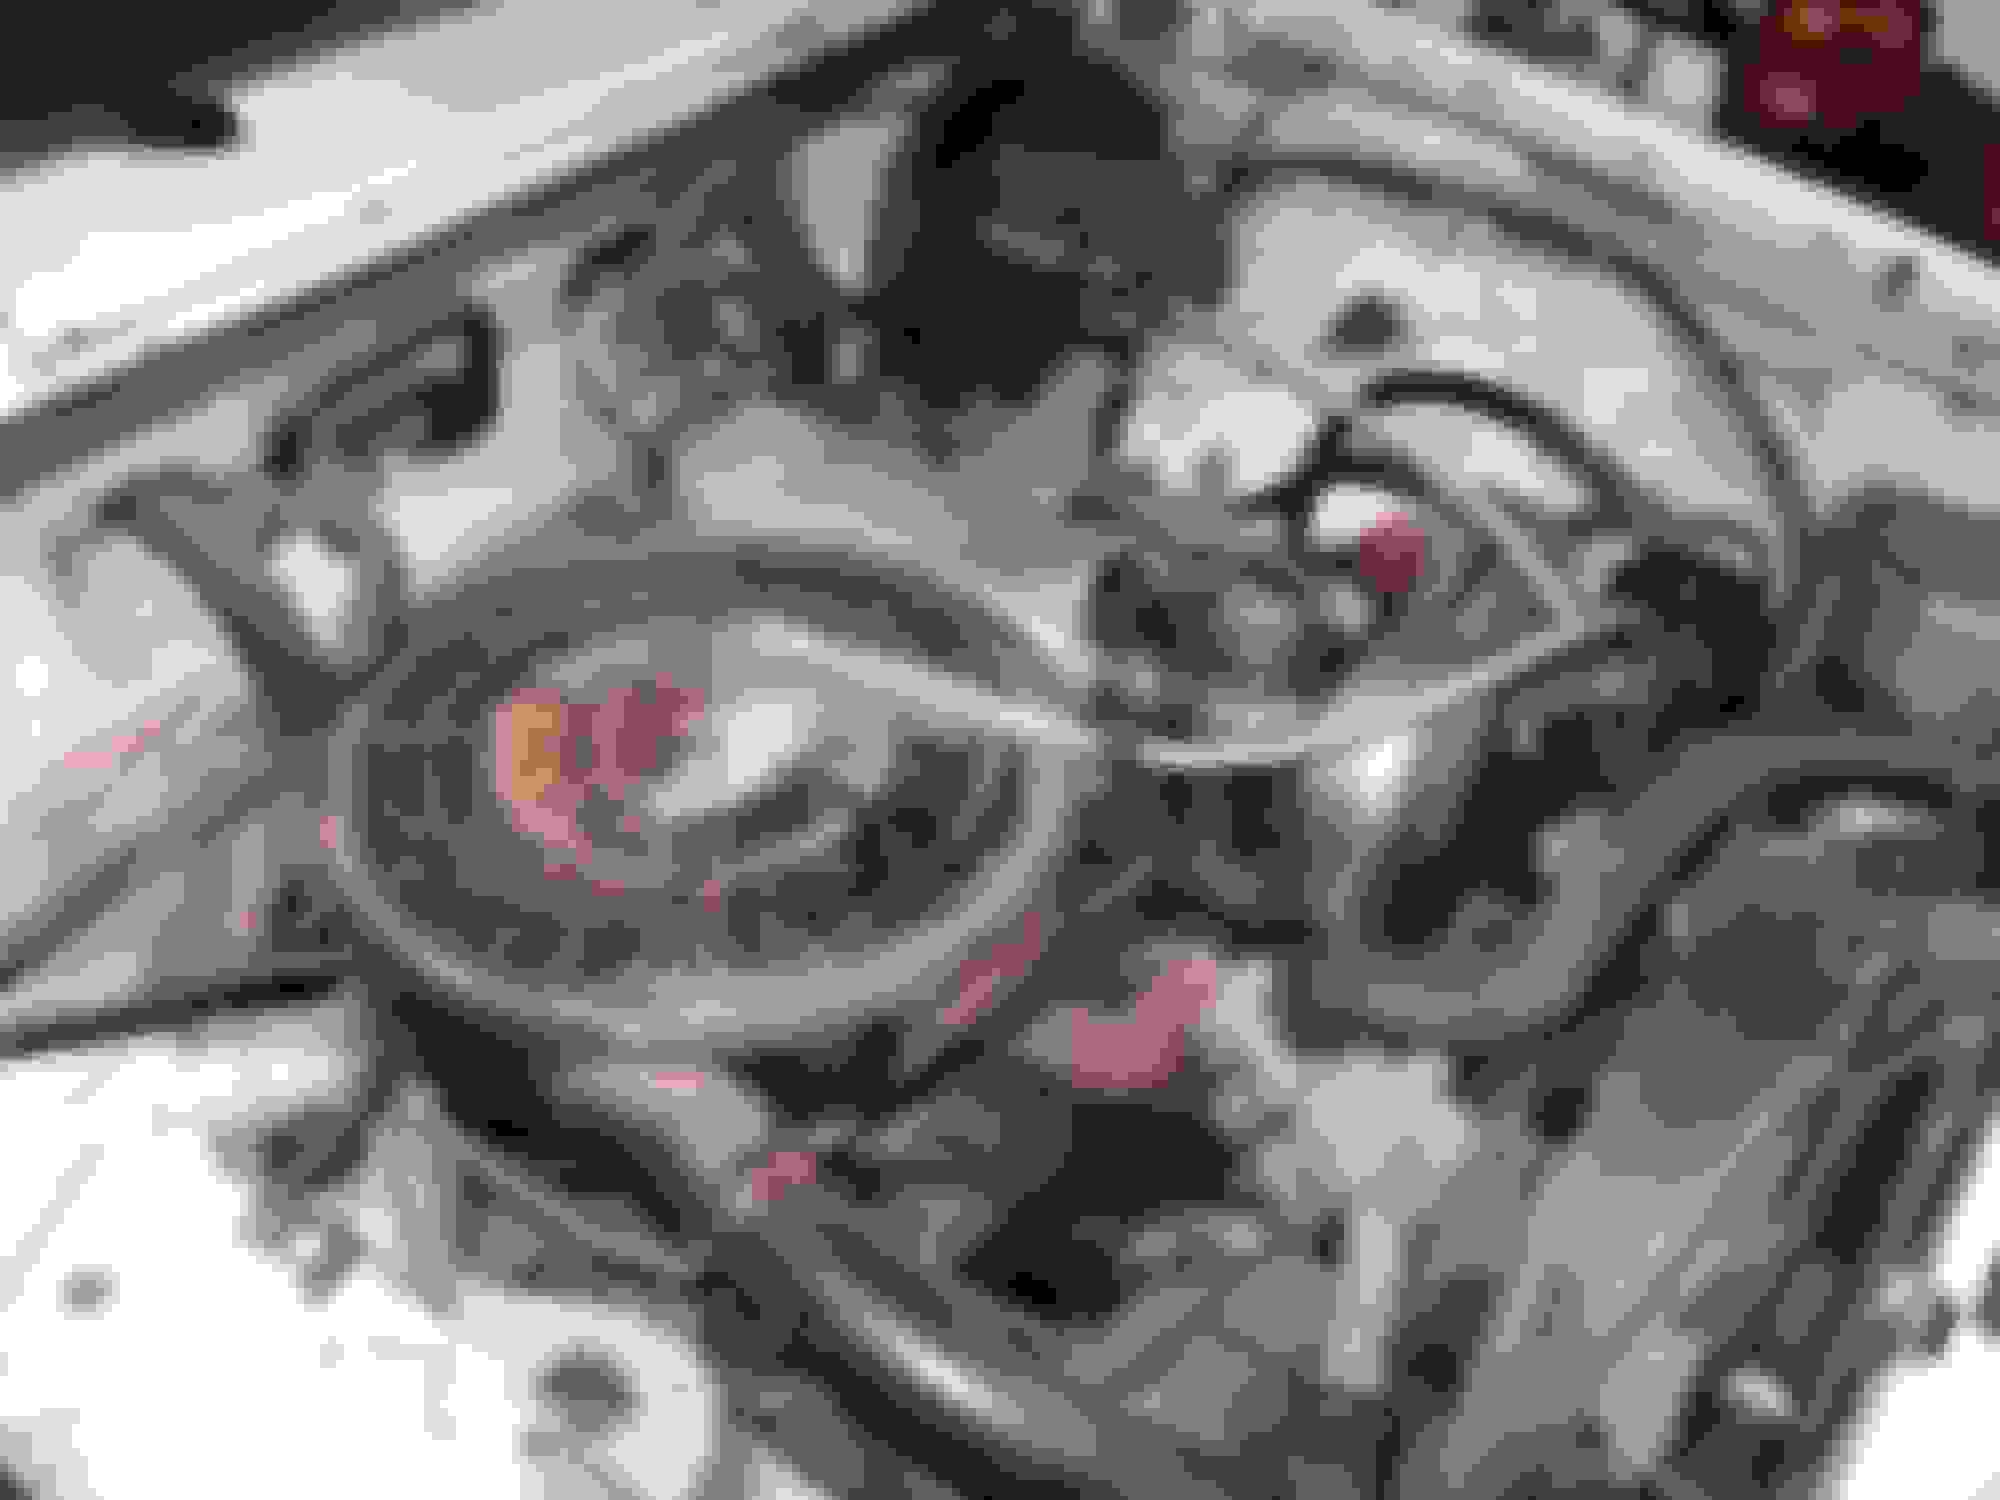
This is my pretty engine bay as you can see as good as new
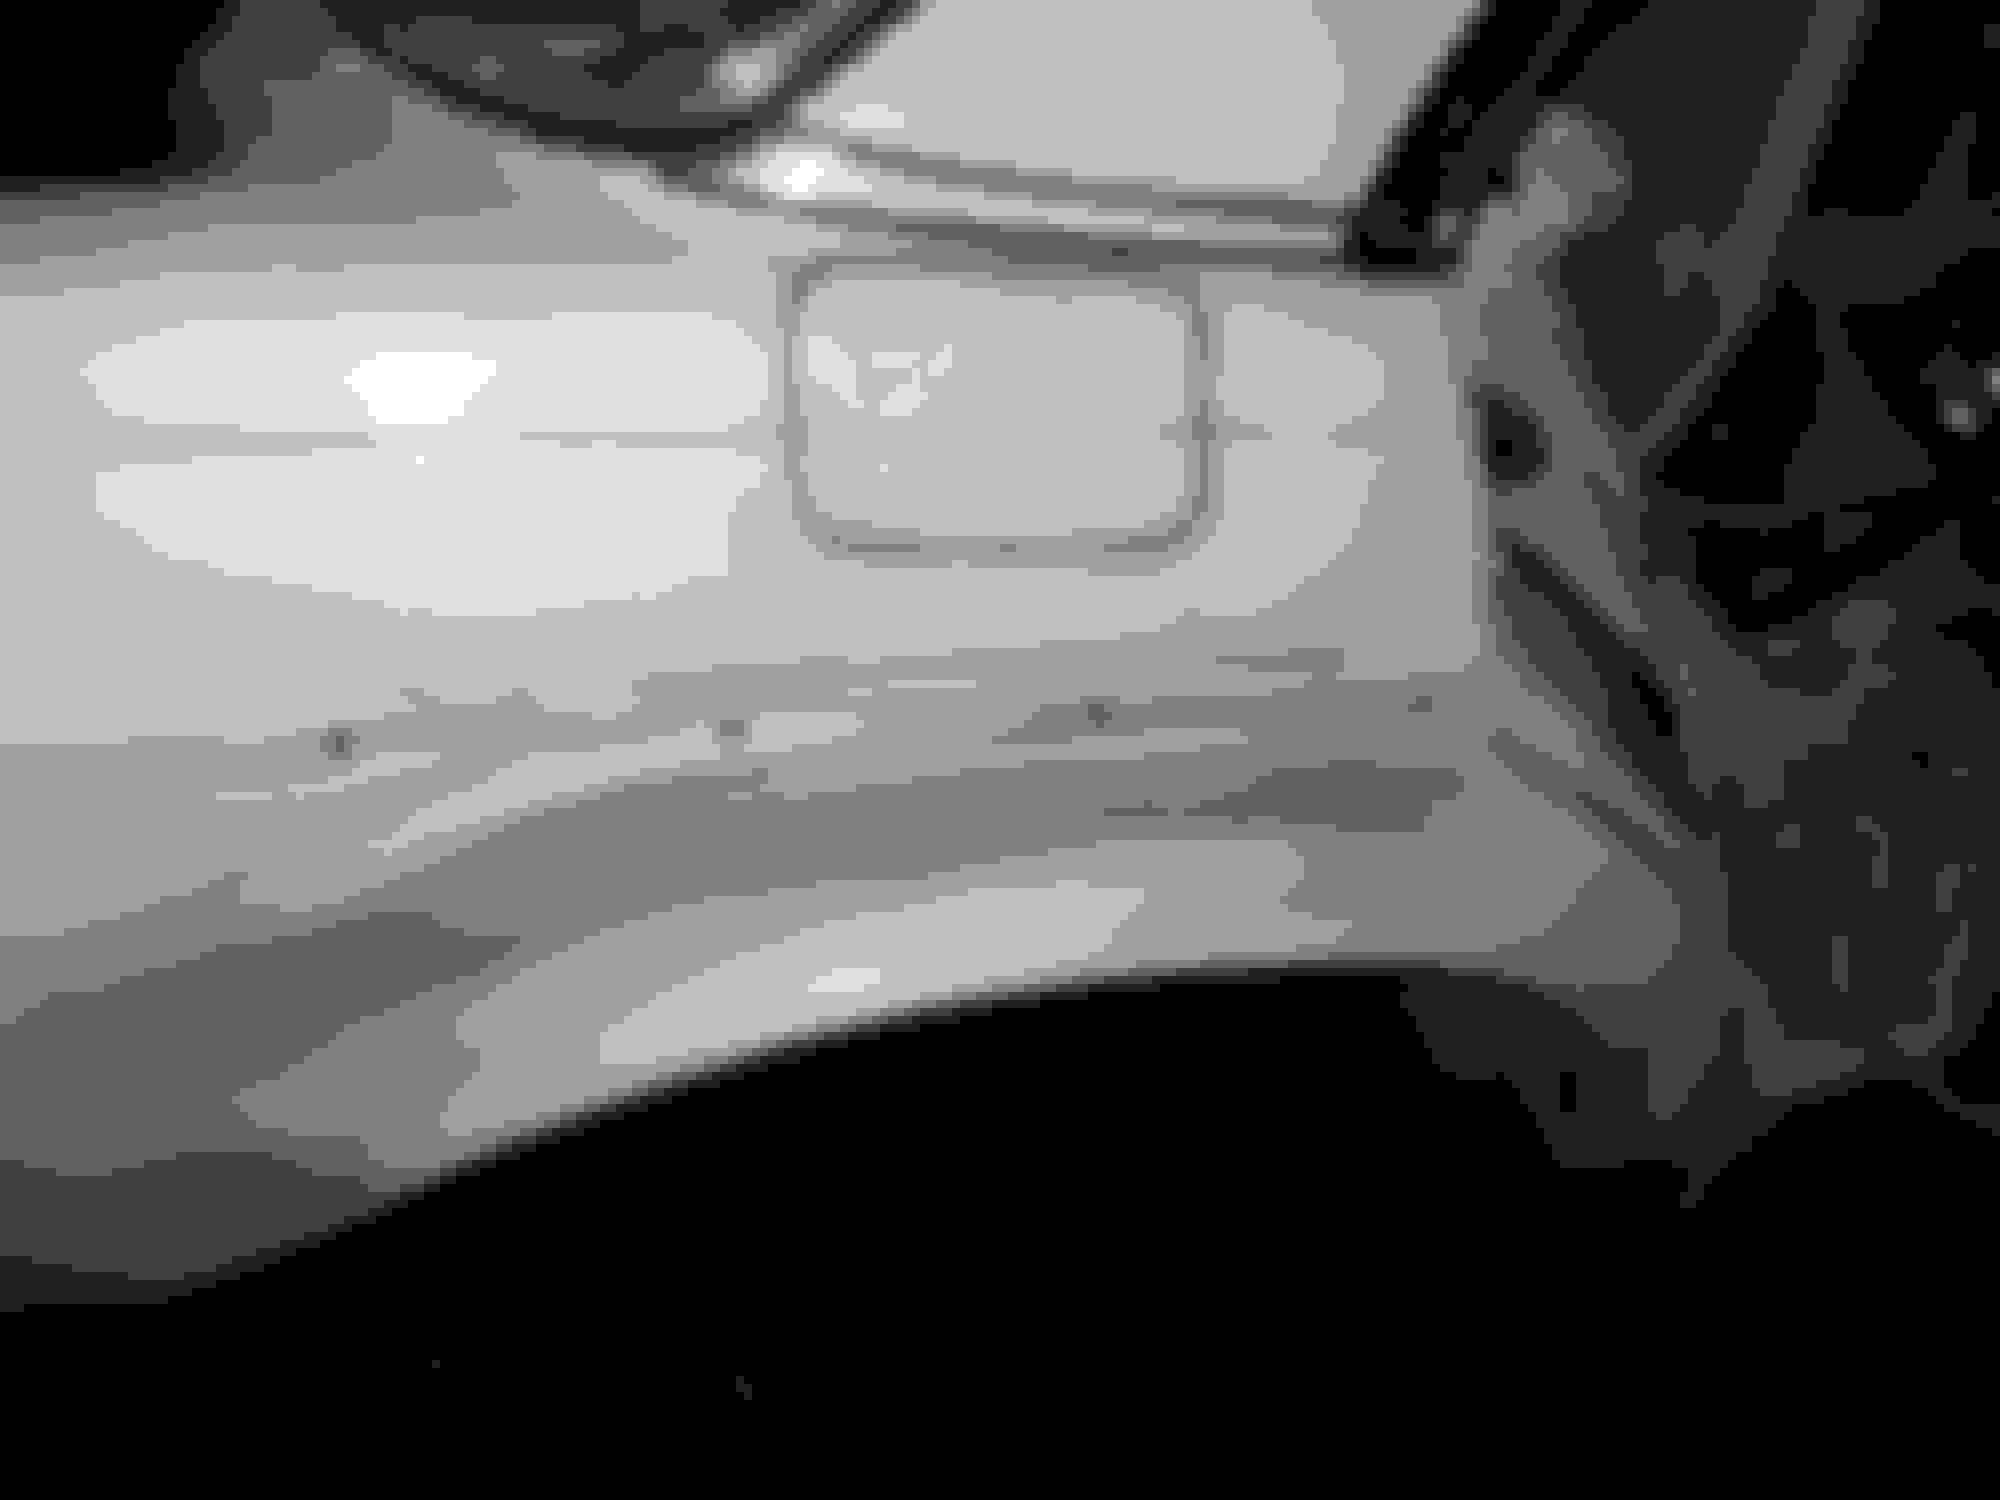
The side I started already with the rusty parts anglegrinded out and the rust taken off. I sprayed over the naked metal with some zinc spray to keep it from rusting anny further.
As you can see the battery of this car used to leak and i already replaced the part right underneath it it took me quite some time since i never bent a iron plate in my life.
This is a picture taken from the same angle after the repairs as you can see everyting worked out allright. I also repainted the hood supporting arm a bit and regreased the joints for extra horsepower :p
The right side undearneath the front lights (already removed in case you didn't notice that) again more holes at this time i started realizing this would be worse then expected. So i started documenting.
I will stop here more to come later. Hope someone likes this.
In case this post is not located well please move it or notify me.
In case you do not like what you see or have advise for me about forming a decent topic with some structure please post below i will try to read every day.
Thanks for reading and have a nice day!
Last edited by mercedes w123; 09-20-2014 at 06:49 PM.
Just wanted to add some more pictures of the repairs done on the holes above. It meight not be perfect but it should hold for some time.
The corner on the right side in some zinc spray.
Right side hole underneath the lights.
Same fix seen from the front. There is still a fault in this but i have not yet corrected this i forgot to put a dent in the outside and the new part to come over it does not fit. more about this one later.
Last edited by mercedes w123; 09-20-2014 at 06:50 PM.
In a desperate attempt to keep everyting a bit more clear i'm gonna try and edit the above a bit into a more fluent piece.
In the meantime here is the update on the progress.
I am now trying to restore the 2 back wheel arches they where both damaged by the previous owner. Here are the pictures and coments related to those:
This picture here shows the wheel well. Now it has seen better day's but i'm gonna try to fix it up the the best of my capetasity. So as you can see the previous owner didn't have a right vieuw mirror since he probably scraped a wall over the entire lengt of his car flattening the otherwise subtle wheel well.
Now here you can see the variety of holes found in a wheel well of a w123 one could say a block of 100 year old cheese is nothing compared to it.
Just Locating the holes would not be enough ofcourse Since the people giving regio to this car do nog appreciate the 30 year long work of rusting up this car I set out to close them giving this picture above as result.
The zinc spray shows "the zone" a bit better. overall i'm pleased with this result and so is the car.
As said before i'm not the greatest metal worker ever made so I cheated a little. In the picture.
I orderd these oversized parts on with the power of the internet. Since making that would take me way to long and never have the desired result I decided that at 20 euro each it was well worth the save in time.
I cut off the old and destroyed part only to discover it had already been fixed up once. The mechanic before me was a bit lazy thou and just welded a new one on it instead of removing the old one first. I will not make that mistake.As you can see the inside of the wheel well itself is damaged. We fixed this first since now was the time we could reach it easyer then ever.
Once that was fixed we welded one of the irons on the car. I must say i'm very happy with the result the parts fit nicely with some minor adaptions and they look great. A part of me wished i could leave it like this because this just looks nice to me. I like the sight of freshly welded iron in the morning.
That is about it for this time more later
Last edited by mercedes w123; 09-20-2014 at 07:31 PM.
I'm swung out the polyester and after cleaning the metal part nicely I started applying it with generous amount which in its turn led to endless sanding works as my right arm is now double the muscle mass in comparison to my left i'm quite happy with my result.
Here you see the left side (ofcourse not in the same color to show the area I applyed polyester on.
This is the right side i started hre as you can see there is much more layers here I used some different colors to be able to differentiate the layers. It took me 3 day's for every side. and spray putty is a great tool to use here together with some finishing putty to fill up the tiny pits that form.
If there are any questions please don't hesitate to ask.
I might still update a bit later till then stay busy and never give up!
Great work. It's nice to see another W123 saved even if it is or was rusty.
First of all thank you for your reaction it means allot to me
We have another w123 that once belonged to my grandfather that one is up for restoring after I restored his old Volvo truck
I try to cut away every bit of rusted up plate and replace it by brand new one. These cars are very prone to rusting in a bit more wet climates and this one hasn't had much love over the last 6 years. I'm not showing everyting I do on the forum but I think I already use a few square feet of 1mm iron plate to rebuild all the rust holes.
A update for today,
Taking out a sunroof is one thing taking it out without damaging anything is another.
Now I got lucky no permanent damage was done but getting it back together will be more of a challenge then taking it apart
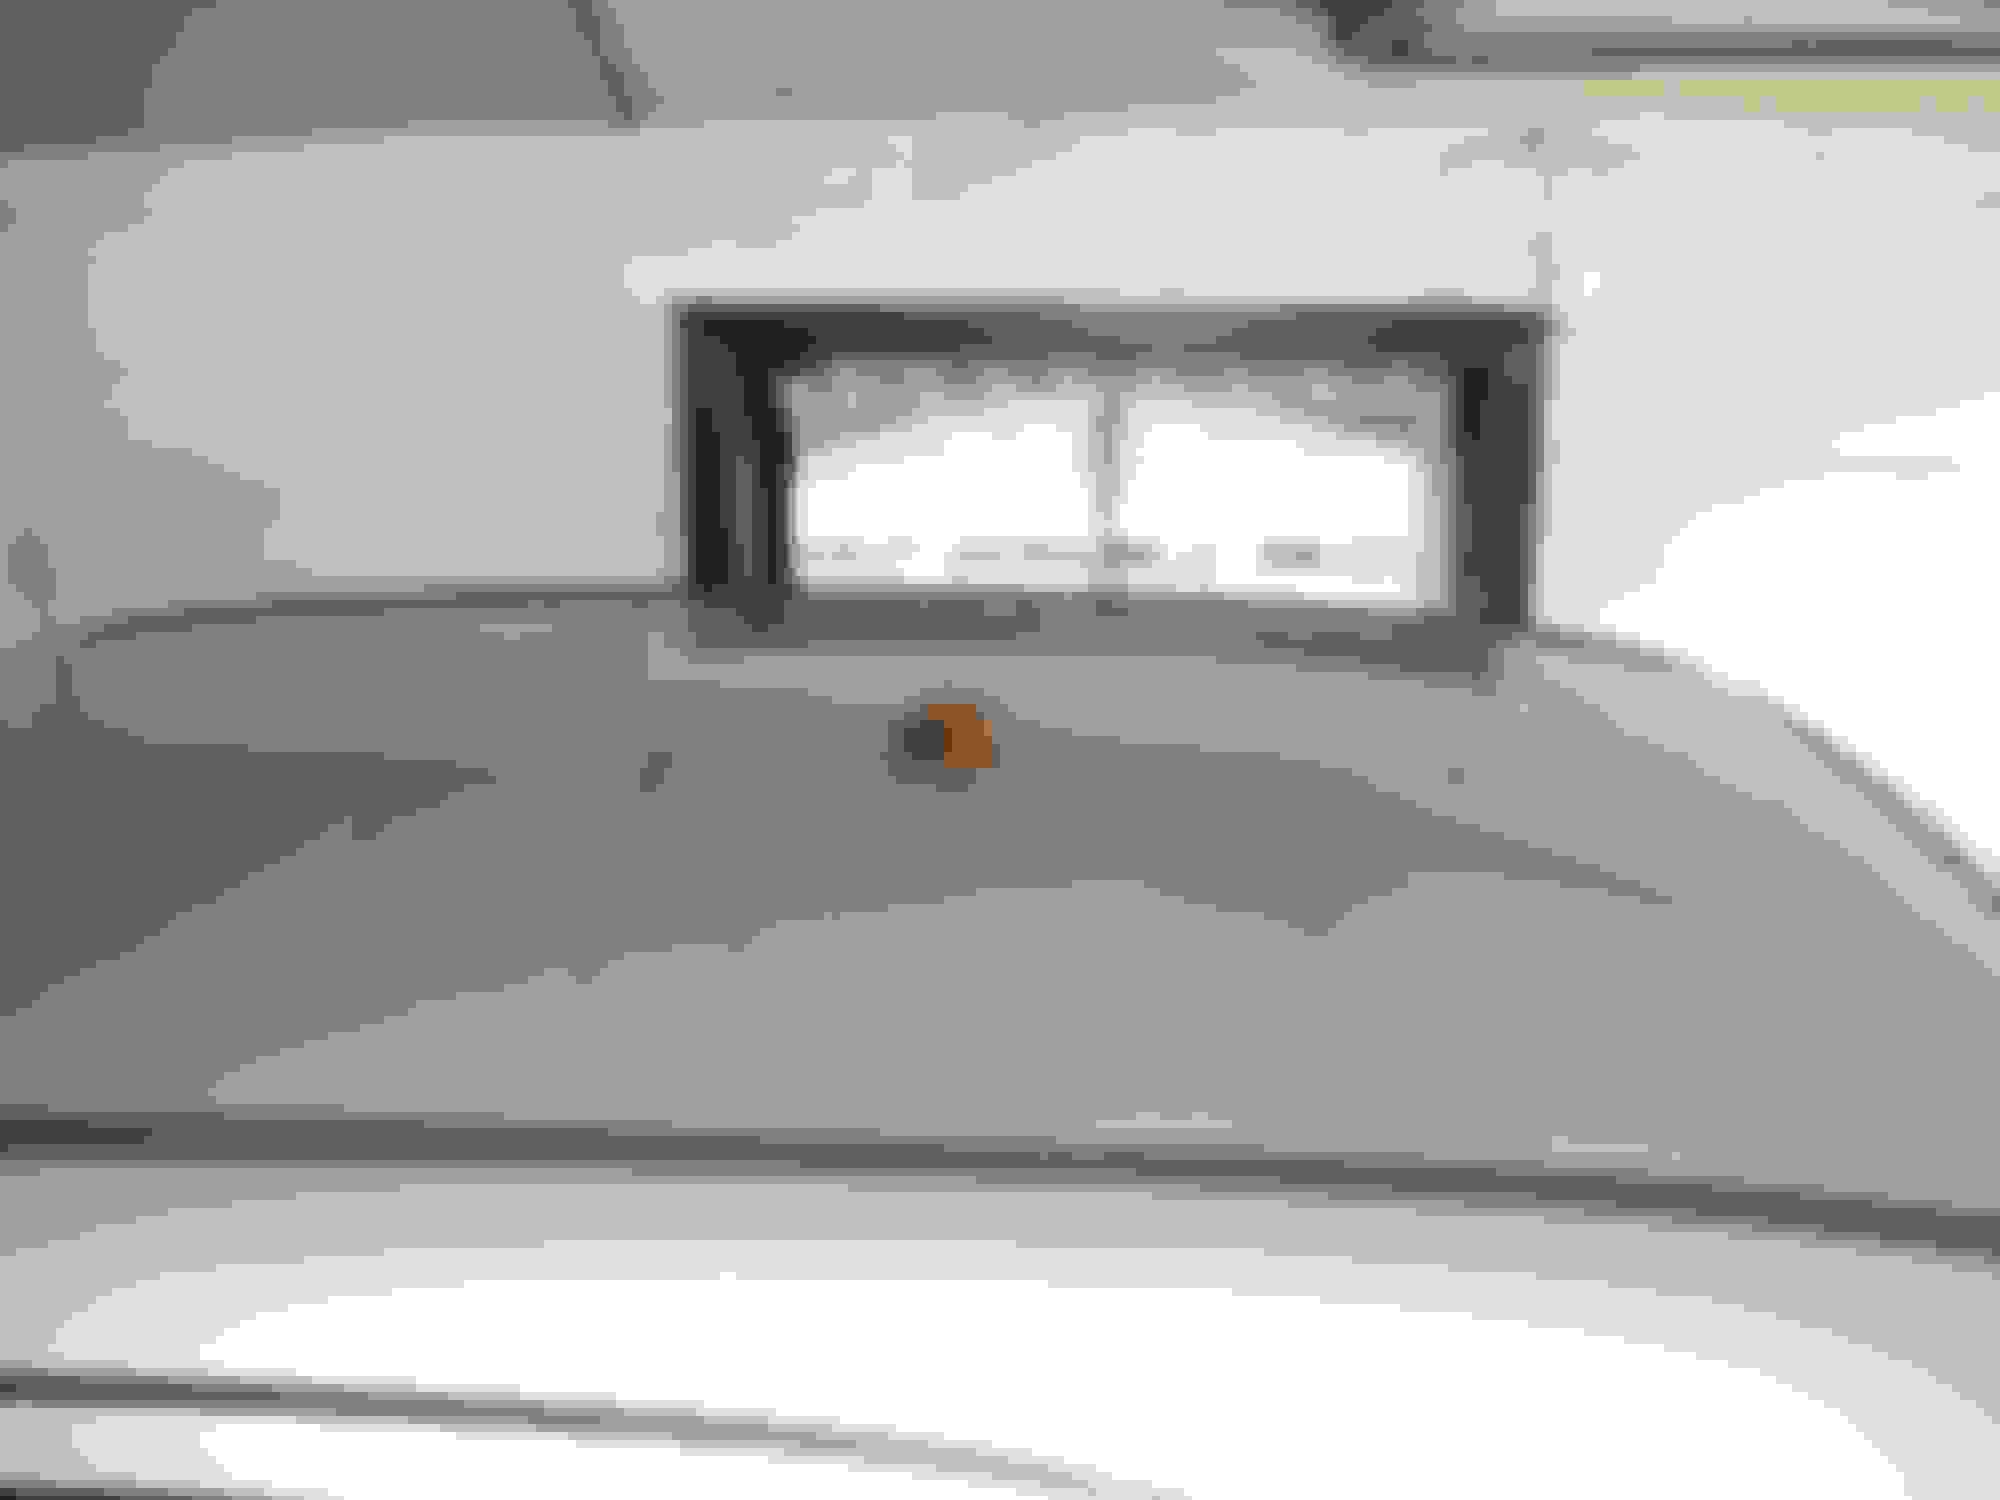
I took out the open roof window since it was no good the 2 front corners where rotted out as can be seen on the picture below and water just ran into the car when it was raining.
As can be seen rust everywhere I decided it would be easyer getting a new window for it then fixing the old one.
So to save some costs and because I had already done it anyway i fixed up the roof itself. There where several rusty spots but the back itself was in pretty bad shape. As can be seen in the photo below the latch that holds the back closing rubber was severely rusted.
As can be seen here the old latch that was drilled out and the new latch I made just above it.
As usually it took much longer then I had hoped for but I got it done and could continue to welding it on with spot welds. Which turned out quite well.
Some welds where not as pretty but hey i'm just an amateur.
This is not an update but the cat that did this I will never forgive.
Yes this is exactly what you think it is in the middle of my dads w202 roof. I laughed at first but that cat is lucky I didn't see that happen cause I would of killed it.
Its been some time since my last reply. I have been busy as always and have put most of my parts in primer paint already in my self made spraying booth.
Which you can see here:
This is my self made spraying booth after adding a second primer layer. its my first time I attempt to spray paint anything The first layer was much to crude i had to sand down all my parts with wet 400 grit paper to get it even again the second layer I used 3 times the thinner prescribed and its allot smoother now
Here you see the parts from a different angle these 2 where black to start off with now they have a nice matt white colour
I hope to be able to post a bit more frequently Thank you for reading i hope you enjoyed my adventure.
You are doing a great job. Keep up the good work. I rebuild my cars myself. Limited funds & clever use of hand tools. I recommend using Rustoleum rubberized undercoating before refit of those trouble areas. It seals very well and it's paintable. You don't want to open them up again! Great work & good documentation photos. Keep us up to speed....mikey USA
You are doing a great job. Keep up the good work. I rebuild my cars myself. Limited funds & clever use of hand tools. I recommend using Rustoleum rubberized undercoating before refit of those trouble areas. It seals very well and it's paintable. You don't want to open them up again! Great work & good documentation photos. Keep us up to speed....mikey USA
Thanks allot for your reply it mean allot to me
I am at the moment preparing the car for paint. I'm taping off the windows because I don't want to remove them in fear of breaking them. I will update pictures this weekend of what I have achieved in my process.
I'm rebuilding this car mainly to help my dad smoke less now he has something to keep him busy while he is home instead of watching TV all day and smoking himself to death.
This product that you are presenting does not ship to my country but I have comparable products that seal in well. A crucial part seems to be the cleaning of the welded area if you weld very cleanly an wire brush it off neatly it seems not to rust but if any dirt is in your weld it will start to rust again.
Again thank you and if you have any documentation about your projects please let me know.
I am new to this forum. I've had many old Benz. Mostly drivers. I'm reworking a 1981 300D. Iam also slowly working a 1972 250 gas. A racing project has been draining $$$. Still trying figure posting pics. Yes, weld cleanliness will prevent future disaster! Keep hammering away at it. Before long you'll drive that beauty! mikey USA
This is not an update but the cat that did this I will never forgive.
Yes this is exactly what you think it is in the middle of my dads w202 roof. I laughed at first but that cat is lucky I didn't see that happen cause I would of killed it.
First of all Nice pic to sanmiguel69 above here. There seem to be special plastic covers on your headlights did you custom made those because i can't recall those being factory?
Thanks Rmac58 I will do my best to keep you updated!
Okey gentlemen since it is way to cold here now to do a decent paint job I am now looking into cleaning up the engine a bit and fixing whatever is broken or bent. so the following few months will probably be filled with minor fixes, cleanups and all kinds of things that we happen to run into.
Now the previous mechanic was probably not that patient as most of us.
Resluting into this:
For the people who have never seen this object before this is the alternator tensioner used to regulate the alternator belt tension.
For all clarity it should be straight.
So I got out my trusty welder once more and picked the first piece of threaded metal I found and made this out of it.
as you can see its allot straighter. I'm holding the old piece underneath it for comparison. We didn't have any normal steel/iron lying around so I had to weld a in-oxidative threaded rod to it. the thread is metric 6 as far as i remember.
So if you ever replace a alternator belt and see this be sure to release all the bolts before you change the tensioner setting. otherwise it will bend and becomes usless.
I have also spotted a leak in the waterpump a new one is on the way. It should of been here already but apparently the post order company is taking a few weeks off and just keeping my package for the fun of it oooh the waiting. I really wanted a waterpump for Christmas.
So next up is the waterpump change.
In the meanwhile have great holiday's an a happy new year to you all !
Last edited by mercedes w123; 12-30-2014 at 05:31 AM.
Most of the cars I've seen have a bent alt tensioning bolt, so no surprise.
Your fix will work, that's all it is in the first place. It's the same thread pitch, I hope.
When you get to the water pump, be careful when installing the new one, those bolts holding it on are prone to snap off right as you're tightening them up. Clean the threads and use anti seize on 'em.
Depending on their condition, you may want to install new belts, if you haven't already.
I've only seen pics of the headlight doors with the flat glass/plastic over the front. As I understand it, that was to facilitate a wiper system.
I have checked the thread pitch before I welded it on it fits perfectly now See picture:
I am also planning to replace the bolts with in-oxidative steel ones thanks for the anti seize advice I was told to use loctite to assure a good seal on the thread what is your opinion about this?
I also removed the thermostat+ housing. and will replace the seal inside since it was held together with loctite.
The FSM doesn't mention any thread locker for the t'stat housing either, therefore, I wouldn't use any myself.
They don't mention any anti seize, certainly, but I feel it's a good idea.
Oftentimes, folks not knowing, will over install/tighten etc., just in case.
If you have the opportunity, inspect and maybe replace that short hose & clamps too, preventative measure if not leaking, while you're in there I mean.
I'm certainly not insulted by your advice Rmac58 if anything i should thank you! I had already looked up the tightening specs but i had only found the 20 -25 nm not the 9 nm I will have to get myself a lower range momentum ratchet since i only have on that goes from 29nm to 210 nm.
Thanks allot for this advice
I was indeed looking to replace the short lower hose connecting the pump housing to the thermostat housing I had already read it was a weak point and you confirm this assumption.
Replacing that short hose is easy, once you get access. I think I installed it on the housing first, then worked it on the housing item #59, the water pump housing you have off anyway.
On the ones I replaced, there was not a gasket, (item #49) but I put one on the SD and a wagon was so difficult to install, I used a tube of gasket material, neither leak.
There is still one thing I must do to the vehicle and that is replacing the clutch disk. Yet I have not found anything specific on that in the online FSM, maby you can point me in the right direction?
I was certainly planning on replacing the short piece of hose you mentioned but now i also know the dimensions i'm after in any case i'll get myself a tube of liquid sealant just in case I can't get things shut.
for all the advice and I hope you enjoyed the fireworks
Happy you found that, I forgot it as I have the FSM on cd-rom and used to have a site that carried it other than Startek. What used to be available was that link, just from a different source.
Sadly, MB doesn't have much info on any of their transmissions in the FSM, must be a reason, but good luck finding that.
Also, the FSM does not cover a 200 in the 123 body, so the info I post is of a 1977 240D. The pics are self explanatory.
What is your transmission designation? A 716/7.xxx?
What year is your car and what are the first six digits of the VIN? As in 123.xxx. Is it a 123.120?
I have access to the epc, but that may not help in finding a how to. It will, however, have diagrams.
In the past week I have been very busy working.
So there was little progress in this project. I was however able to test my thermostat. Here you can see the result there is still a small gap visible this is after I had it in a pot of water at about 87�C
Now for my friend Rmac 58 above here I have a french technical manual that describes shortly how the transmission and the clutch works below i have uploaded a picture of those few pages.
Indeed the FSM does not cover a 200 diesel since its the American FSM and 200D whas never exported to the US.
The Vin number is indeed 123.120 but the transmission number seems to be unfindable for me if you would be able to say where I can find it.
The car is from 1979 and its a manual.
 09-11-2014, 05:44 PM


 till then stay busy and never give up!


 oooh the waiting. I really wanted a waterpump for Christmas.


 for all the advice and I hope you enjoyed the fireworks


