W210 Climate Control Complete disassembly(pot repair+bulbs)
 09-12-2014, 04:12 AM
#1
Junior Member
Thread Starter
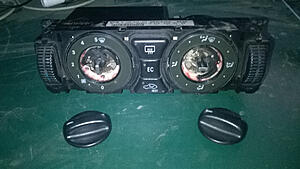
W210 Climate Control Complete disassembly(pot repair+bulbs)
I've seen alot of removal and disassembly but anyway here's mine.
I've replaced the bulbs, oiled and greased all moving parts and fixed the skipping potentiometer, the fan speed was jumping around -turning on and off and changing speed - even when am not touching the knob.
Every thing can be fiddled with without worrying, nothing can be installed incorrectly :P
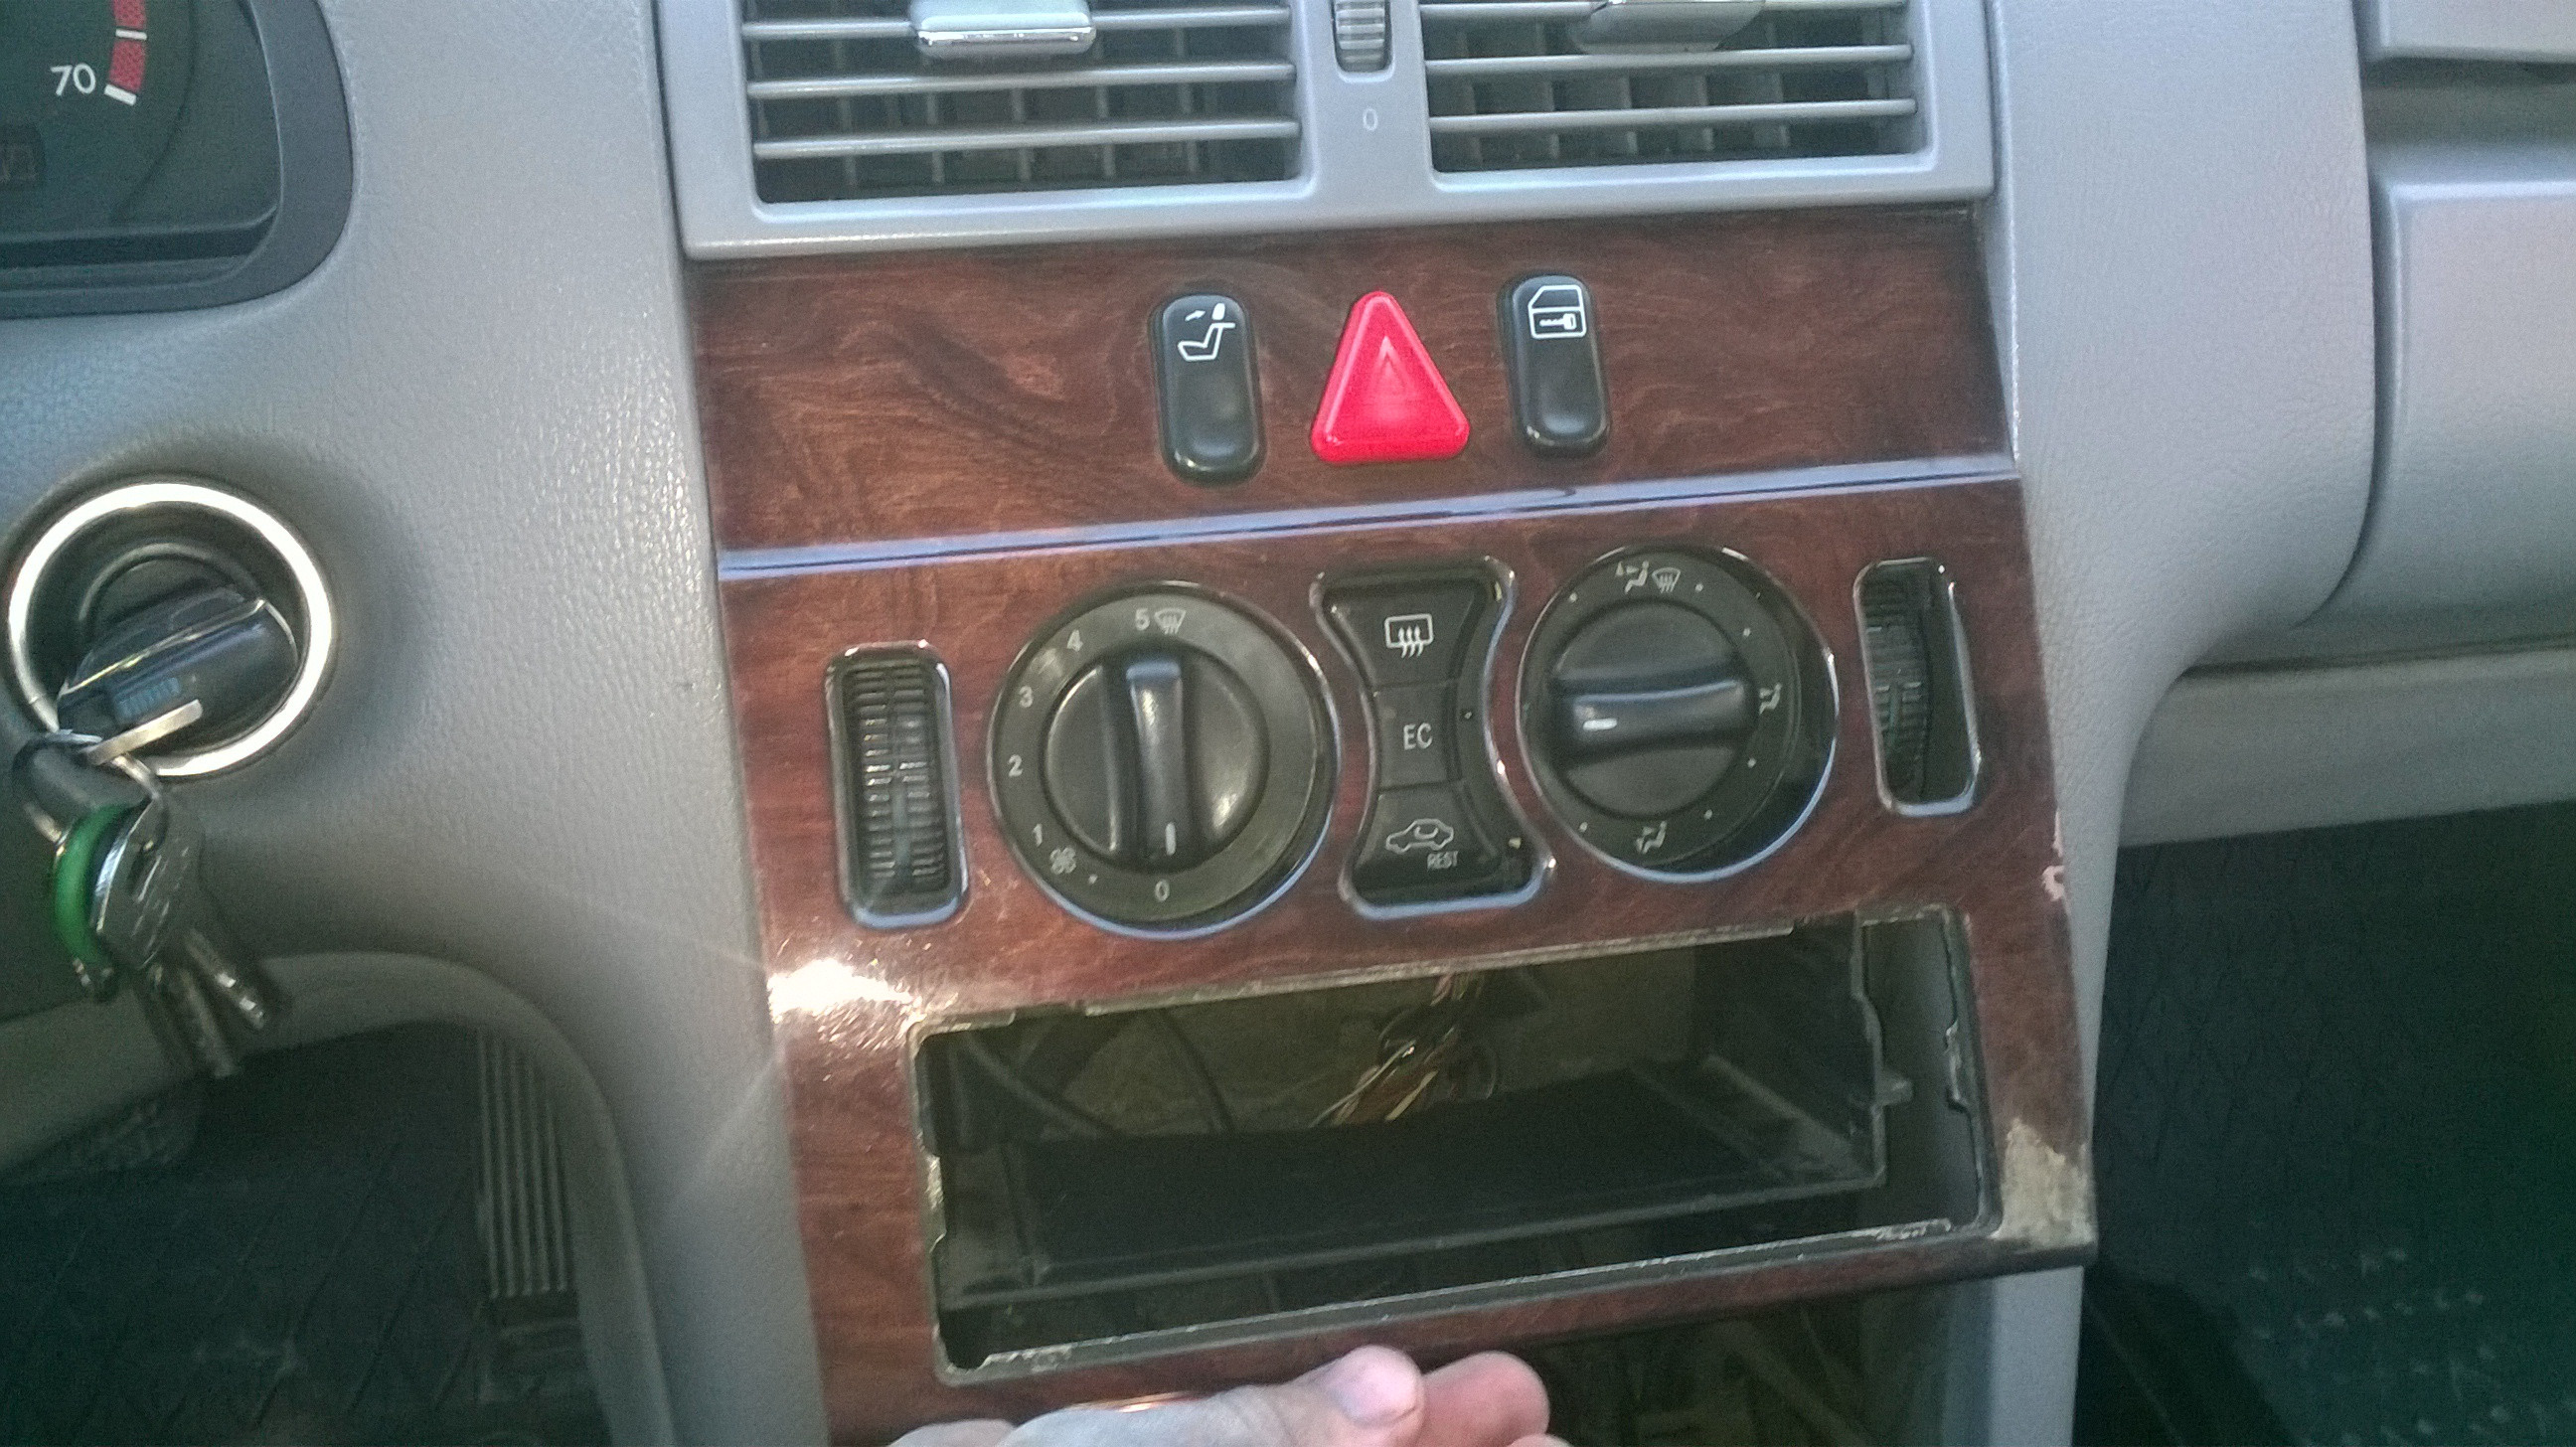
A-Climate Control Unit Removal:
A1-Windows switches and gear bezel is removed by pulling upwards it from the top, and set aside.
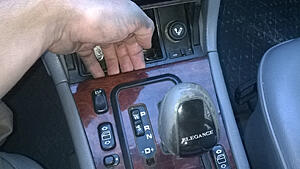
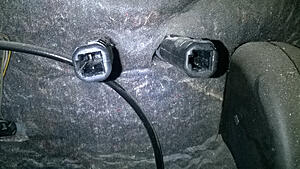
A2-Ashtray/ piggybank is removed by unscrewing two screws, then pulled outwards(gear in neutral), and connecting cable removed


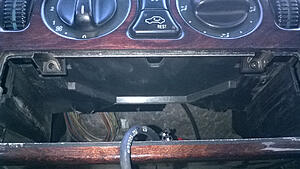
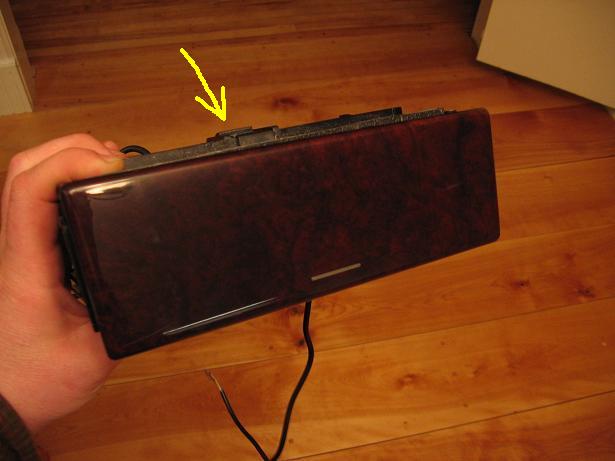
A3-Cubby is removed by reaching it from behind , pulling downward on the holding tab with middle finger -awesomly drawn in the side view- and pulling outward ..second picture stolen from NOTFARNOW @ peachparts

A4- Radio is removed by pulling the radio(or pushing from behind) while pushing the tabs in using a nail clipper's file. And then the connectors and antenna cable are removed, or just use the specific keys to remove it.. Warning: make sure you have the radio code before disconnecting it.
Attachment 445949
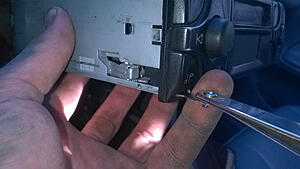
A5-Dashboard bezel( or whatever the hell is called) is removed by removing two screws located where the Radio was, and pulling it starting from the bottom, and then set aside.
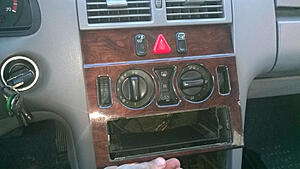
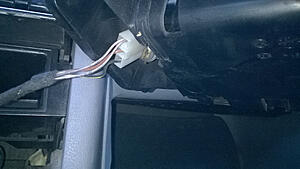
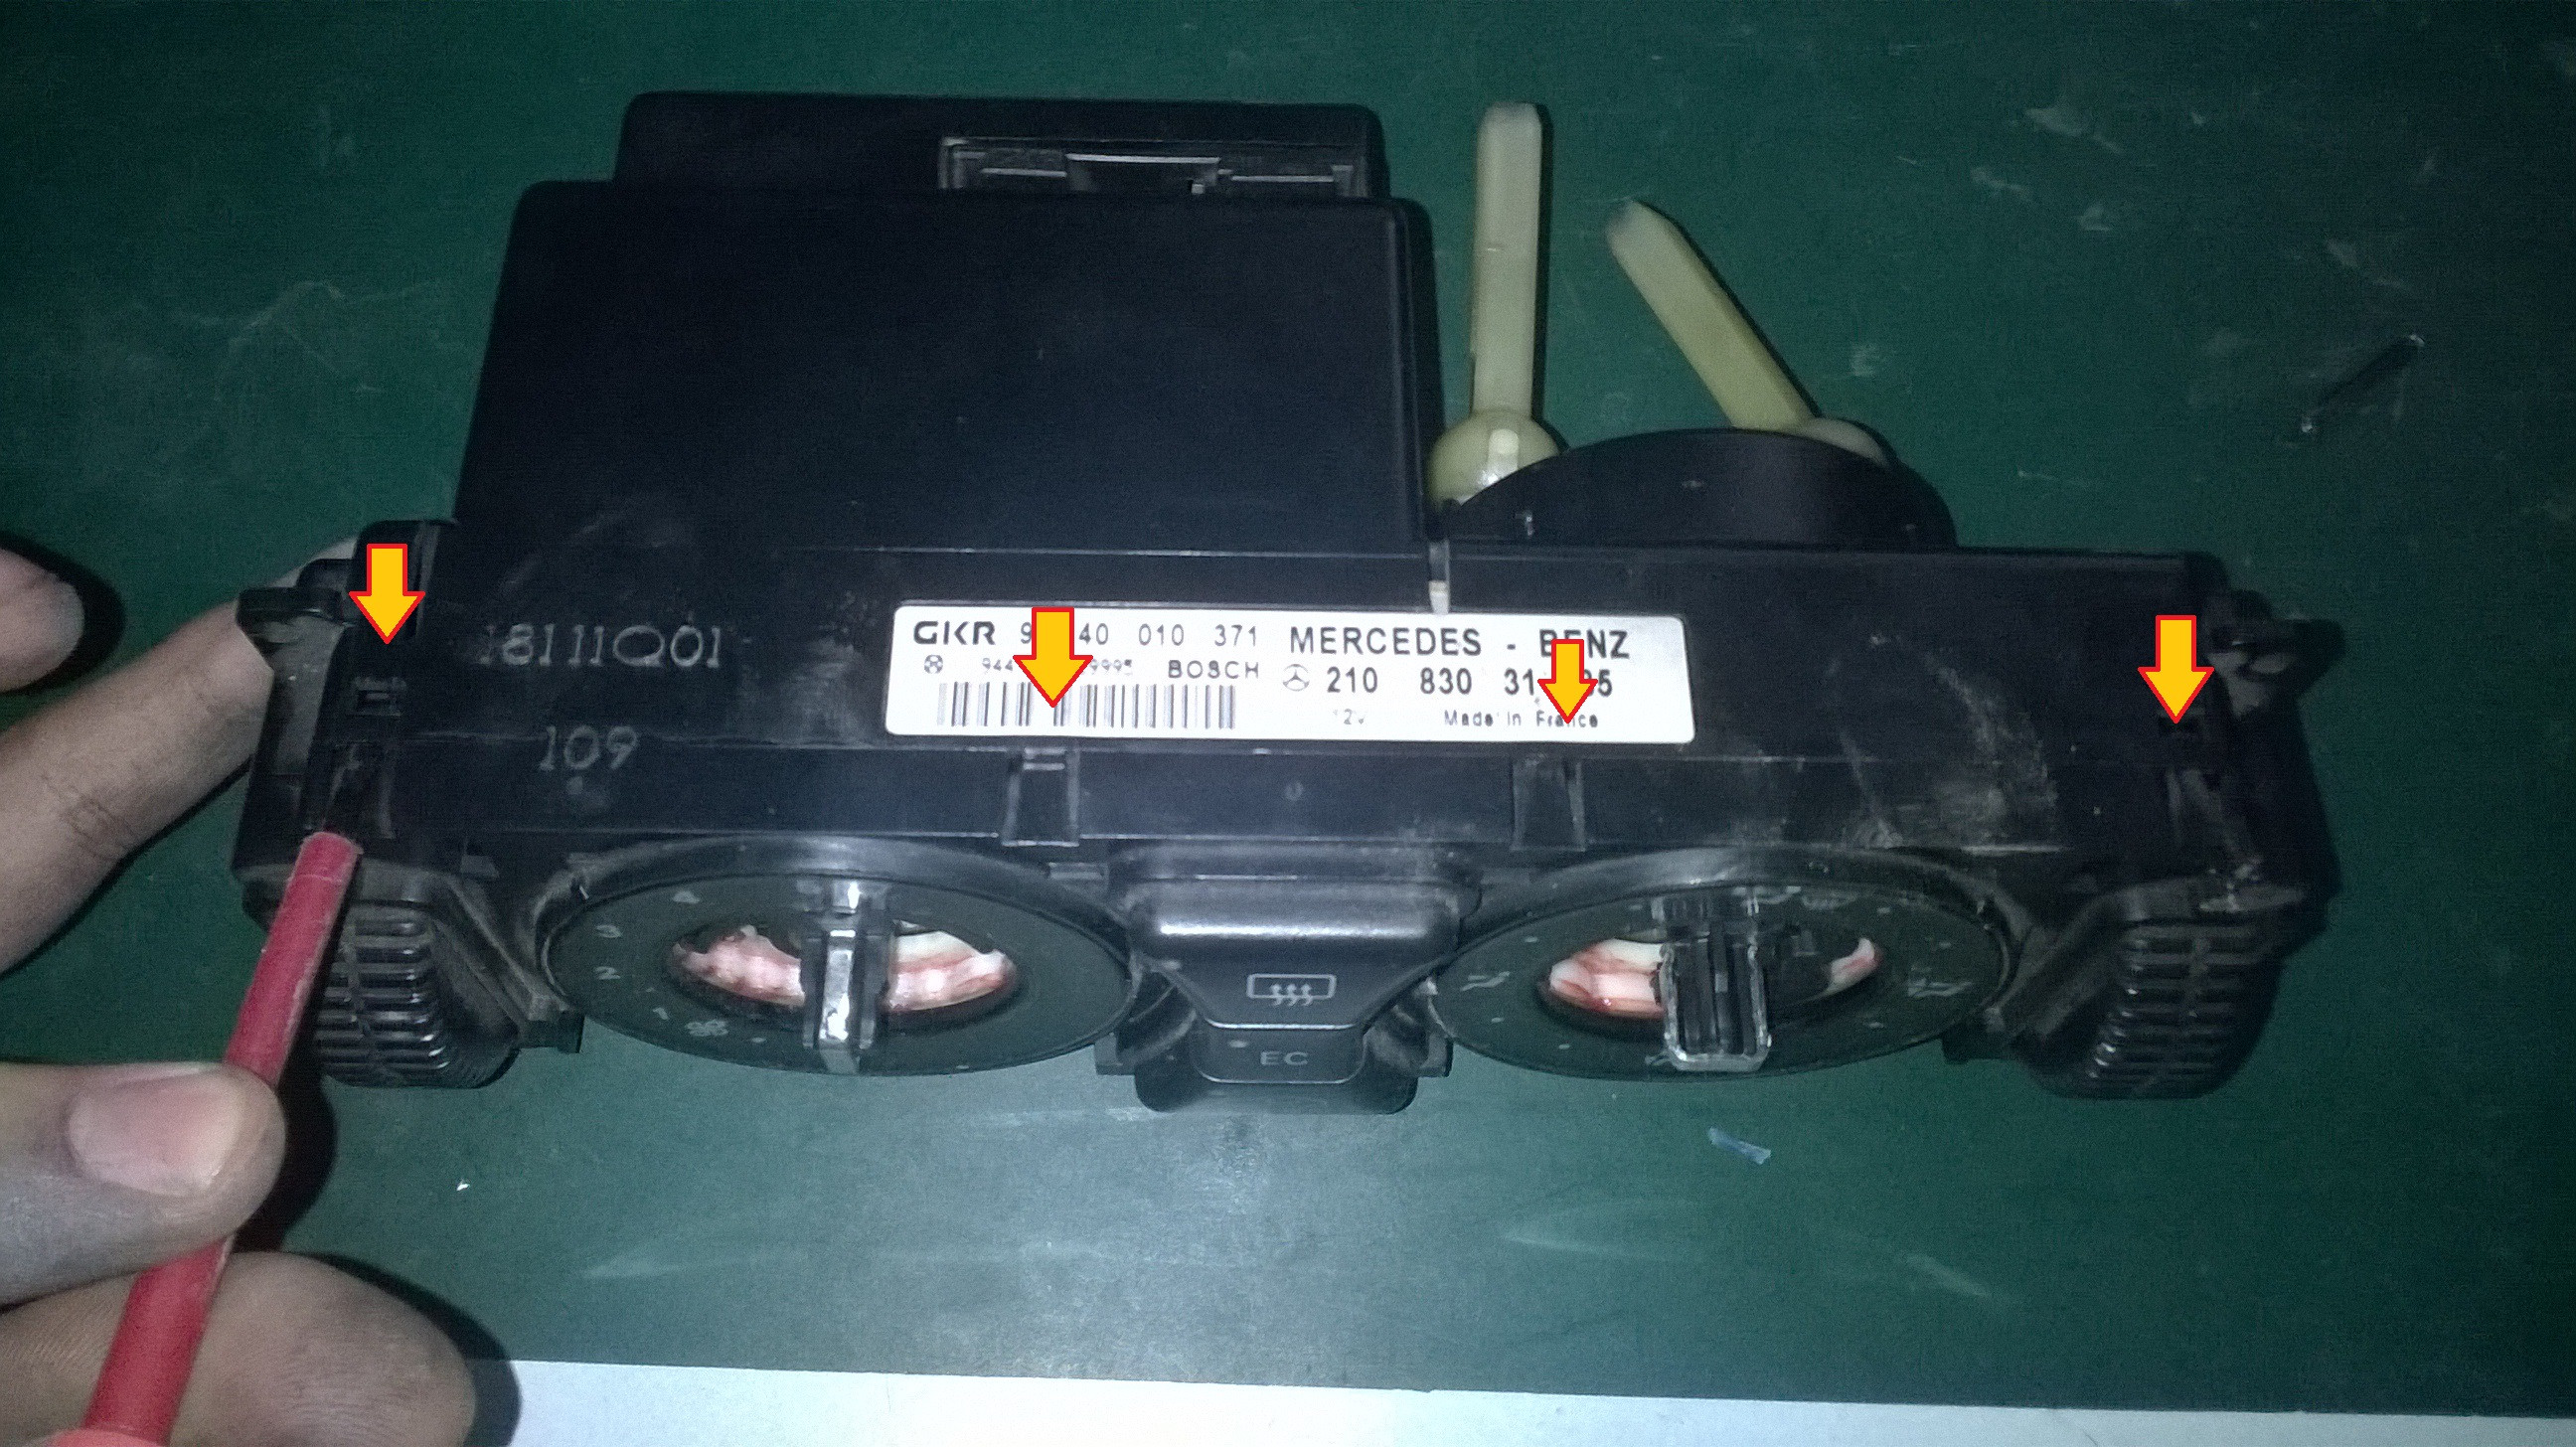
A6- Climate Control Unit is removed by pushing two tabs outward then pulling back (Straight! ) on the unit. and it's cable is removed by pushing the little tab in, and sliding the handle .
B-Disassembly and repair
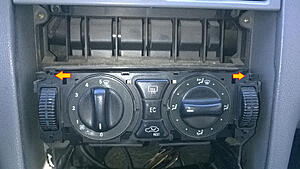
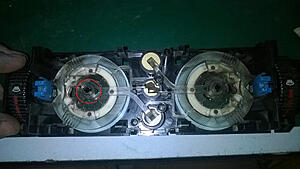
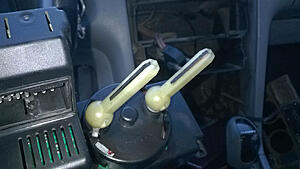
B1- fan and direction knobs are removed by pulling them outward, here i also put a little* grease on the tracks because it was very squeaky.
*i just googled this and thought i'd share :P (A little is more than little.)
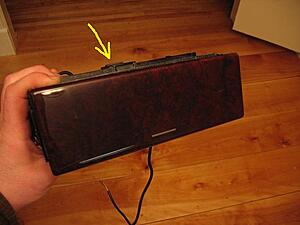
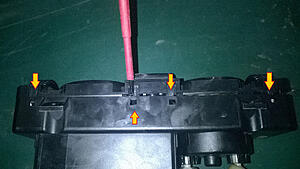
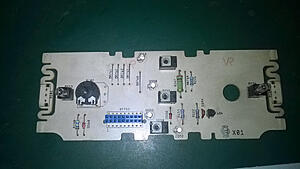
B2- the face is removed away from the back by pulling downward on the 8 tabs with a small flathead screw driver . and then pried apart

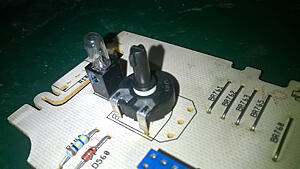
Cleaned then greased the hell out of the direction selector, now it move quieter and easier
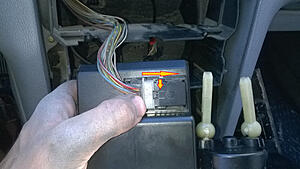
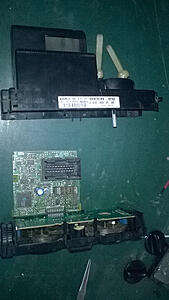
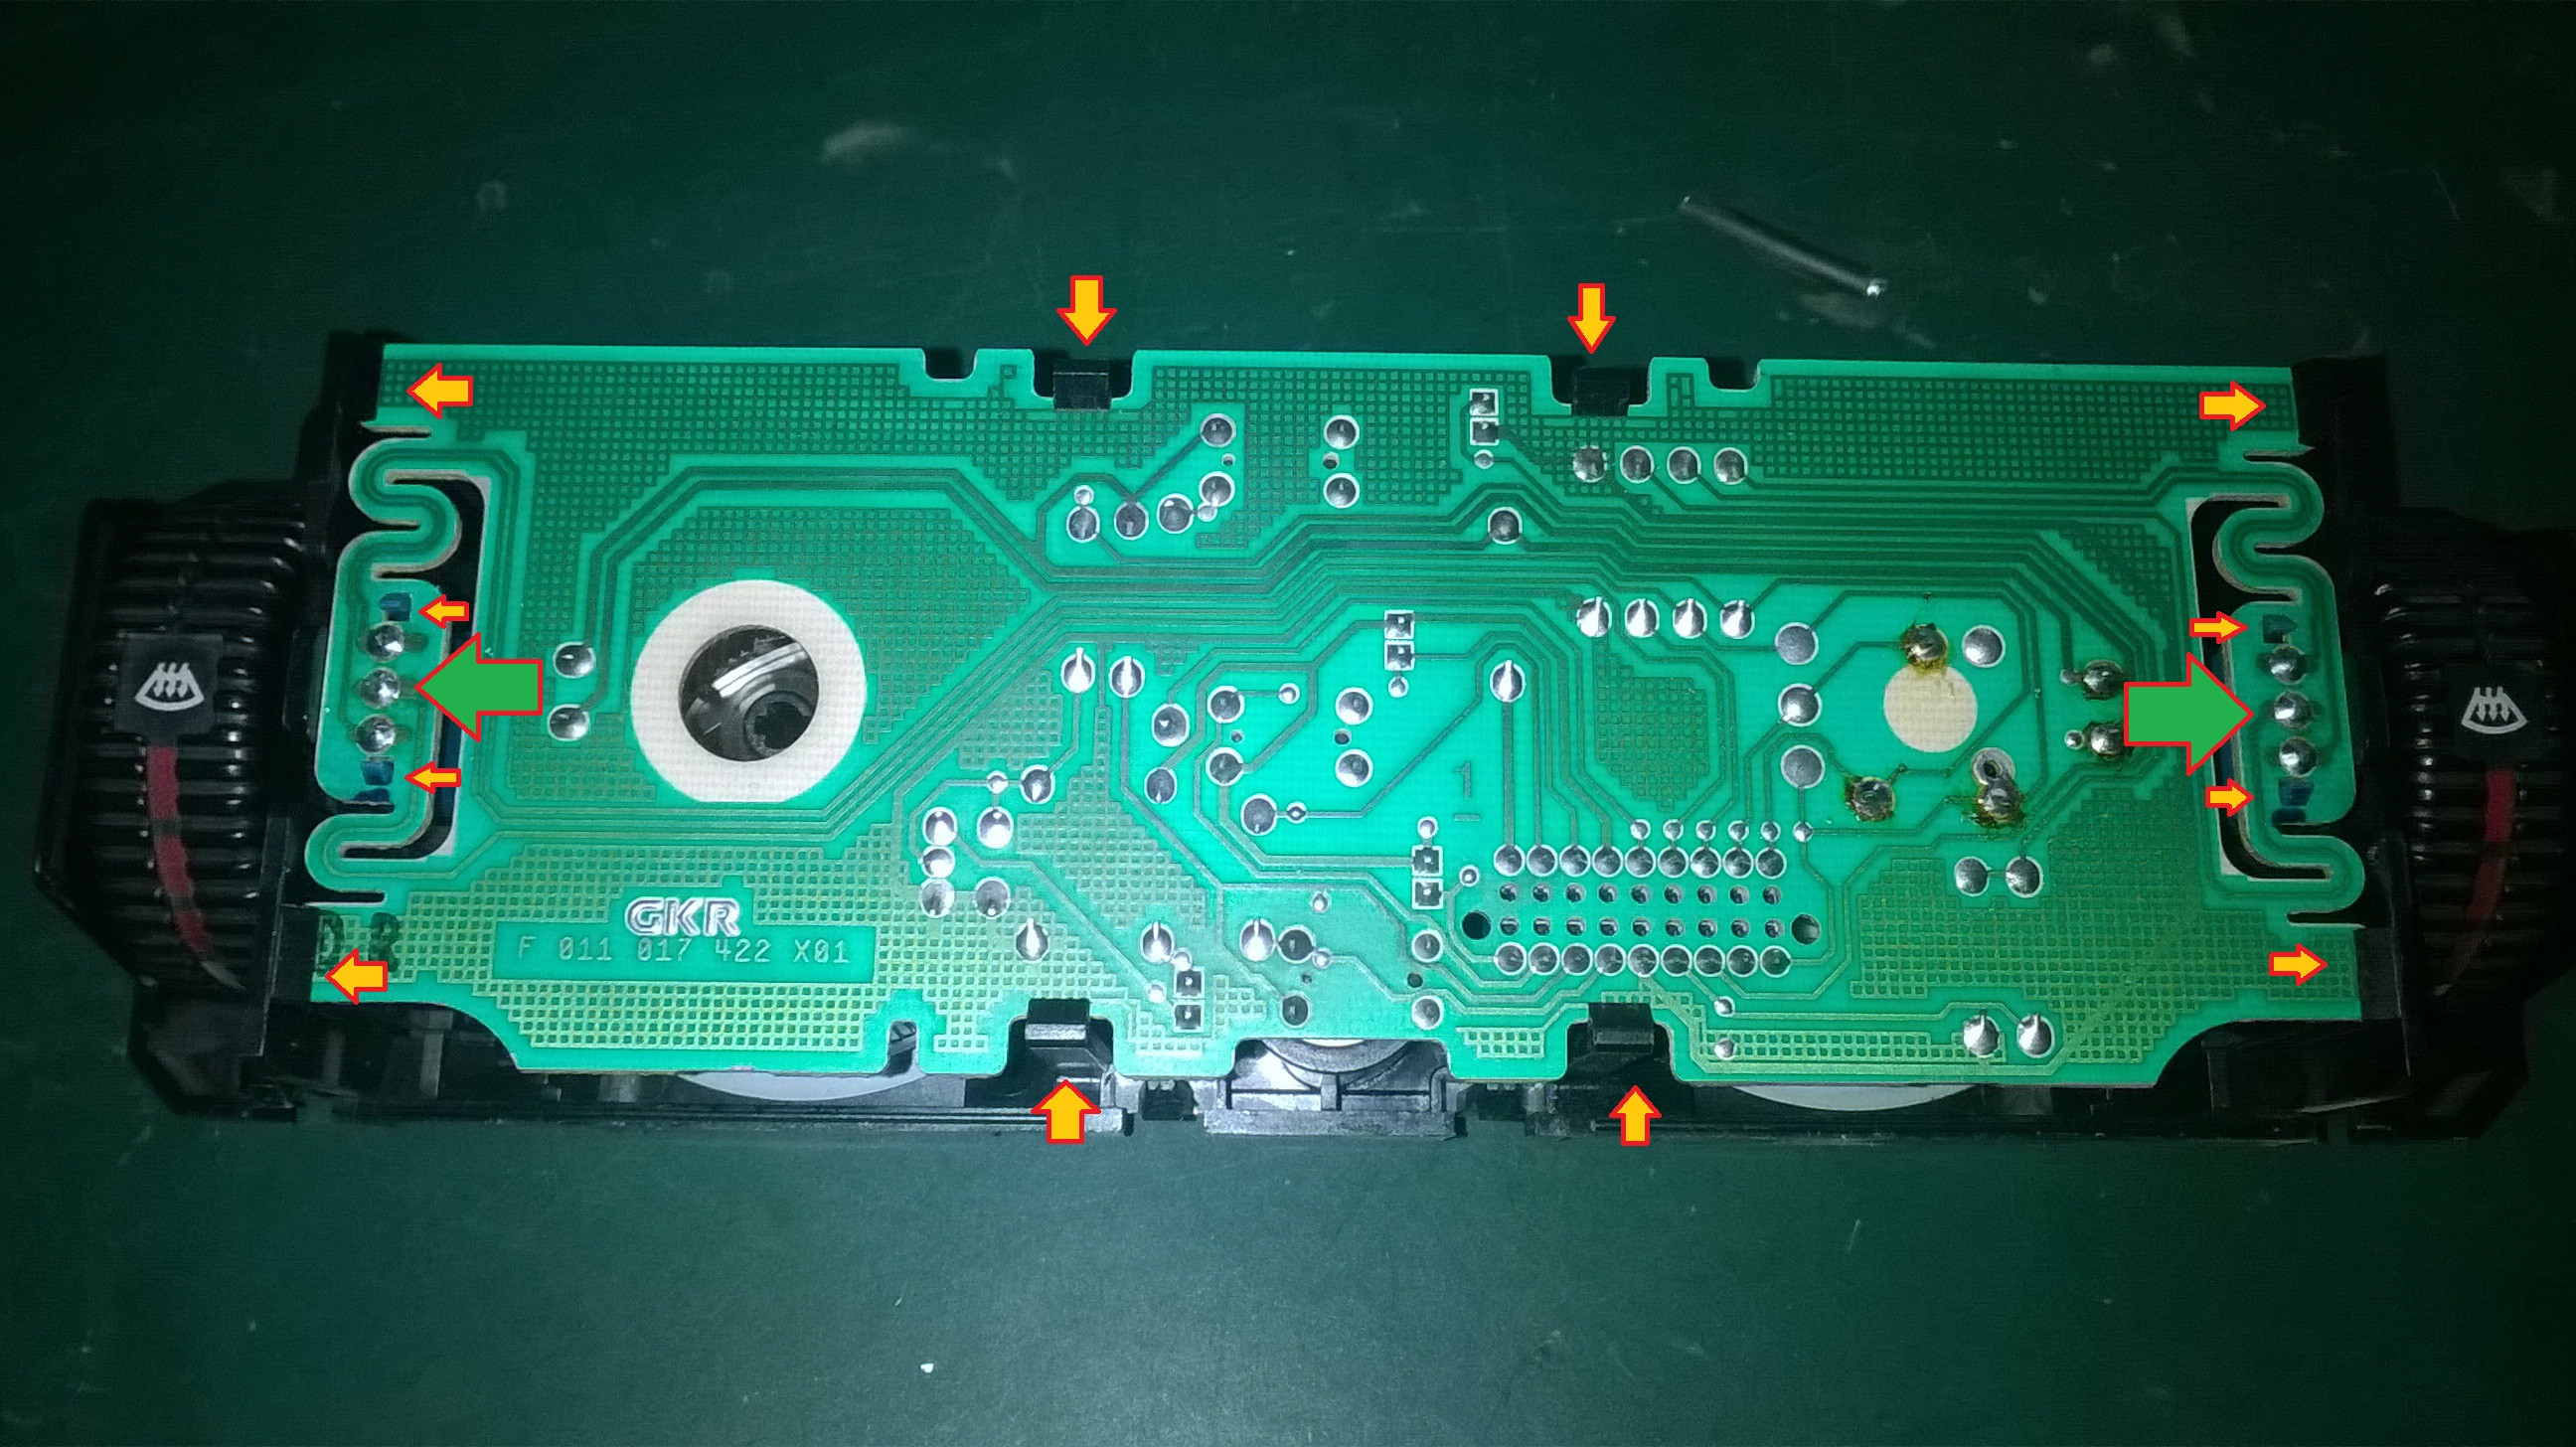
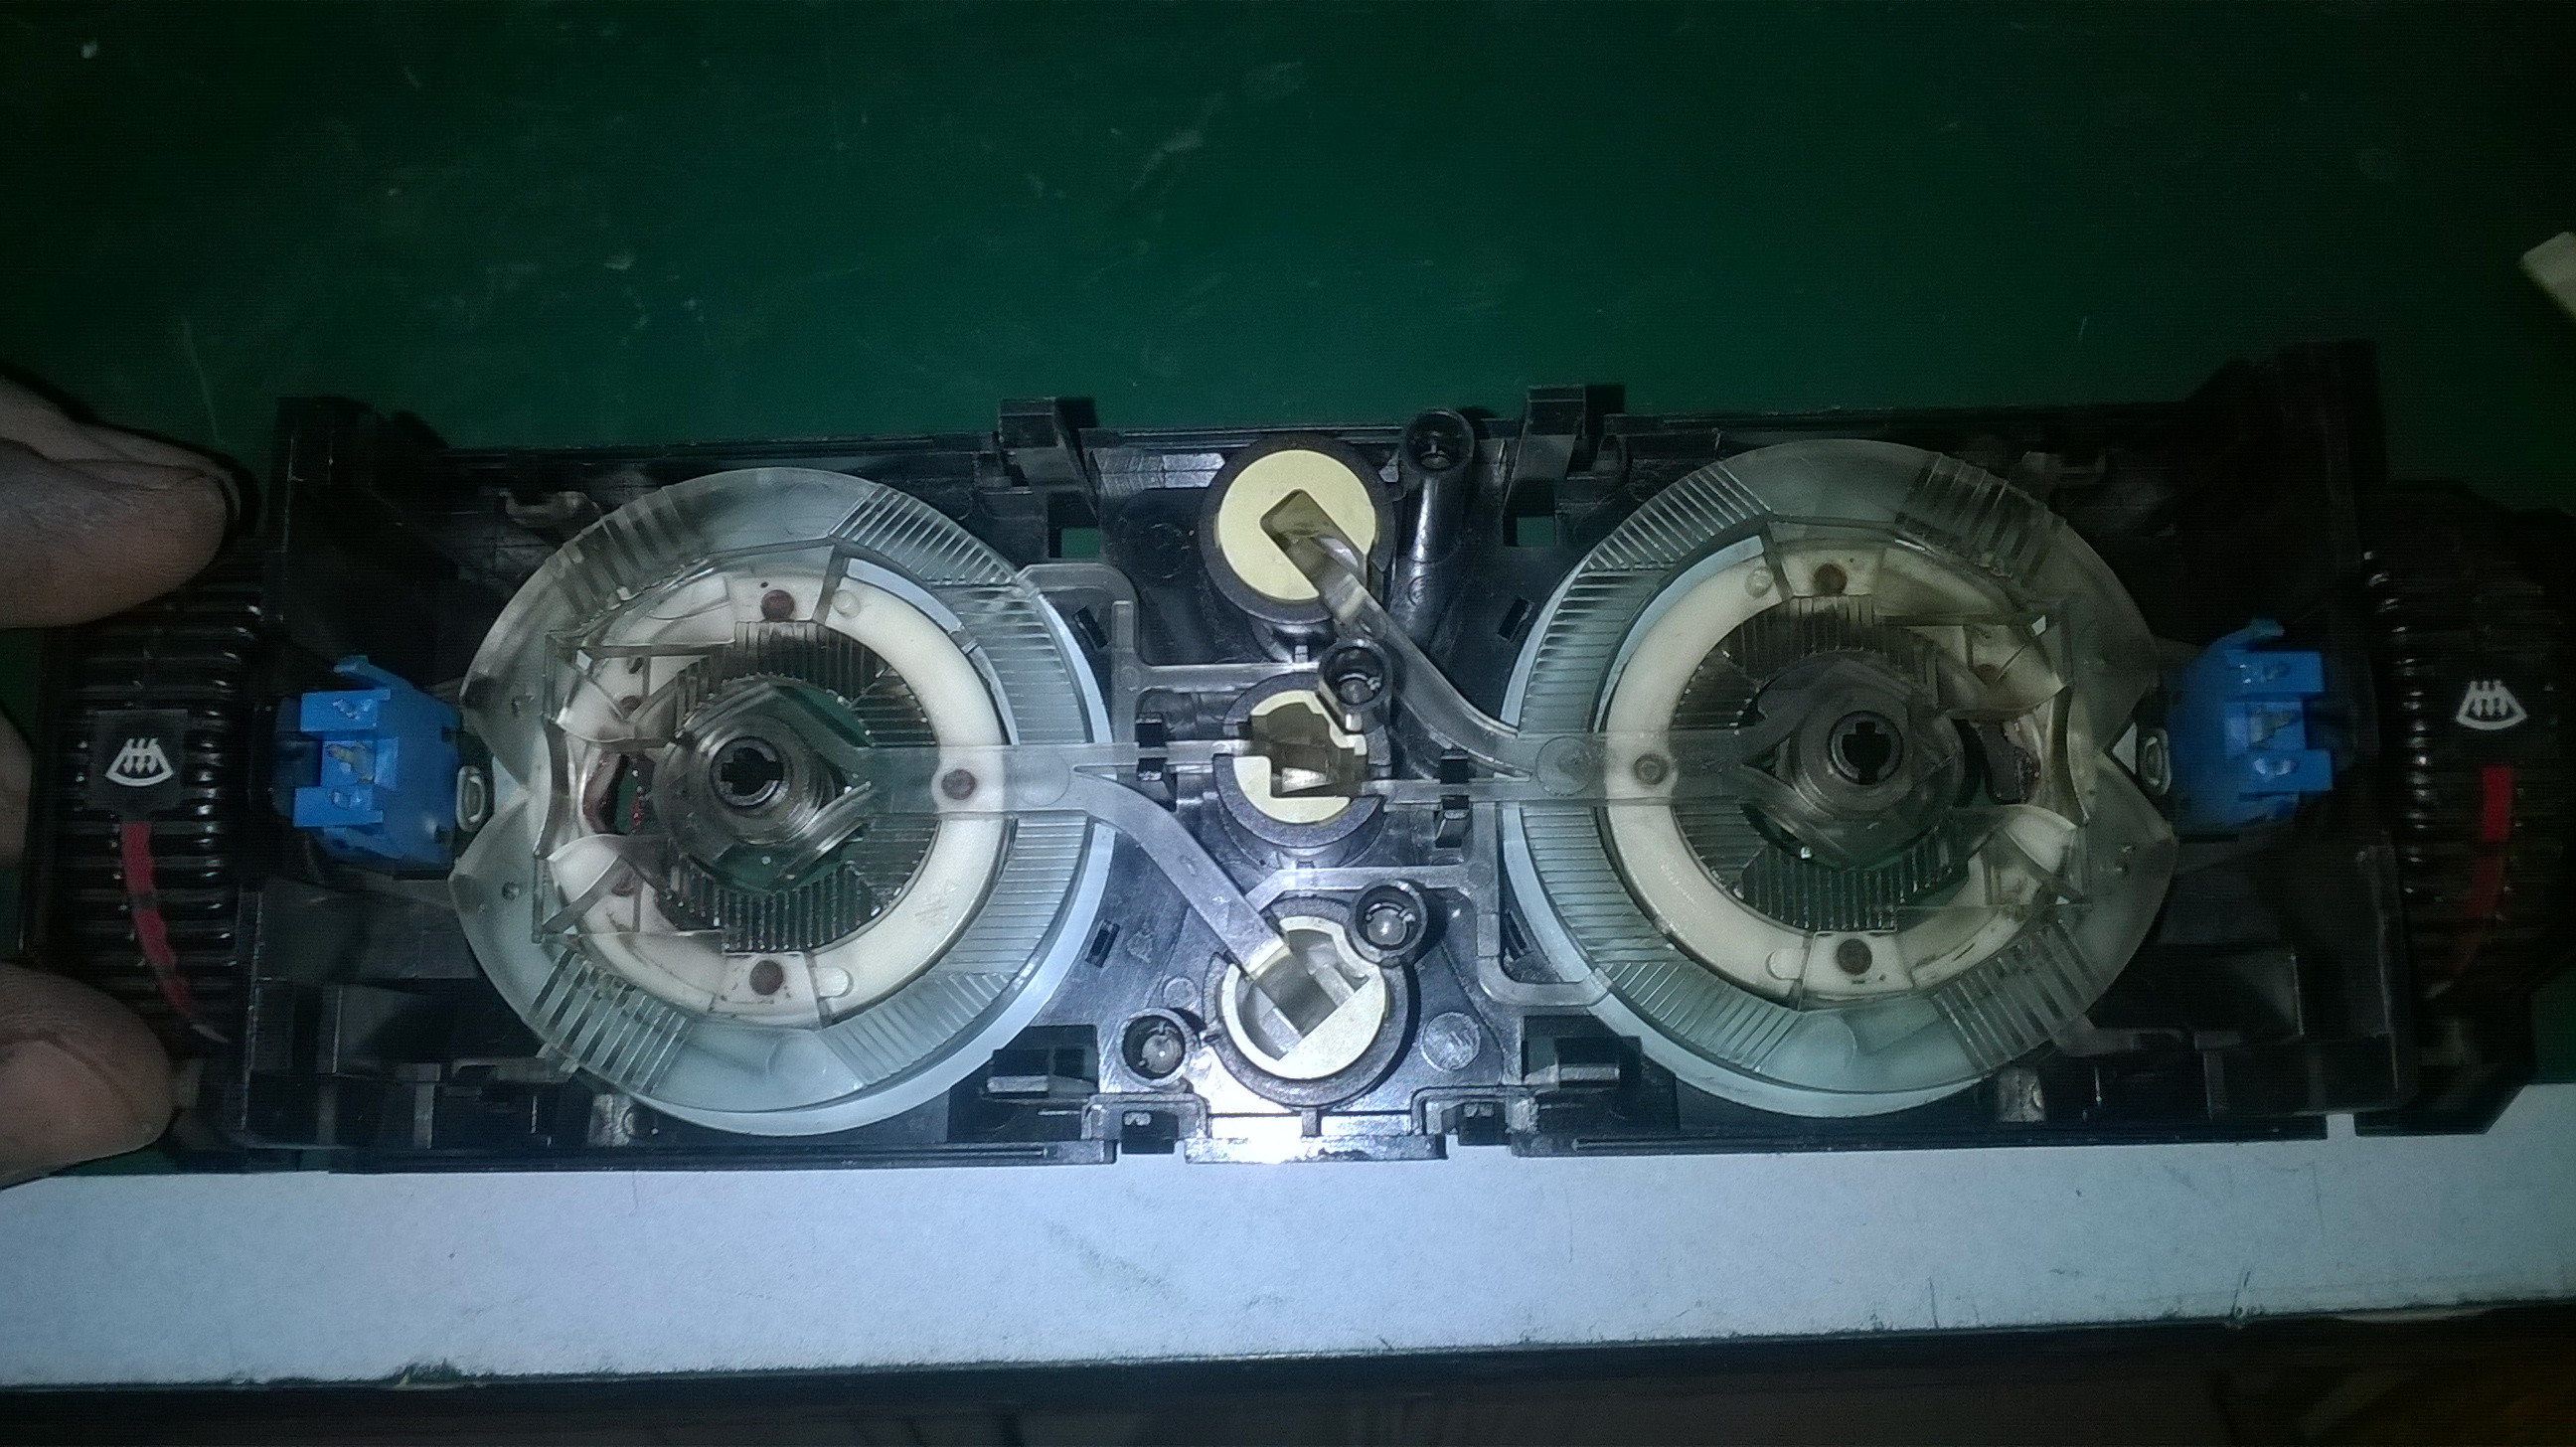
B3- Board is removed from the face by desoldering -if you don't have solder sucker you can just heat it and blow some air- the two temperature selector potentiometers (green arrow), then prying it while pushing the 12 tabs holding it (start from one side and work your way to the other is the best method )
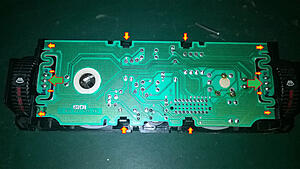
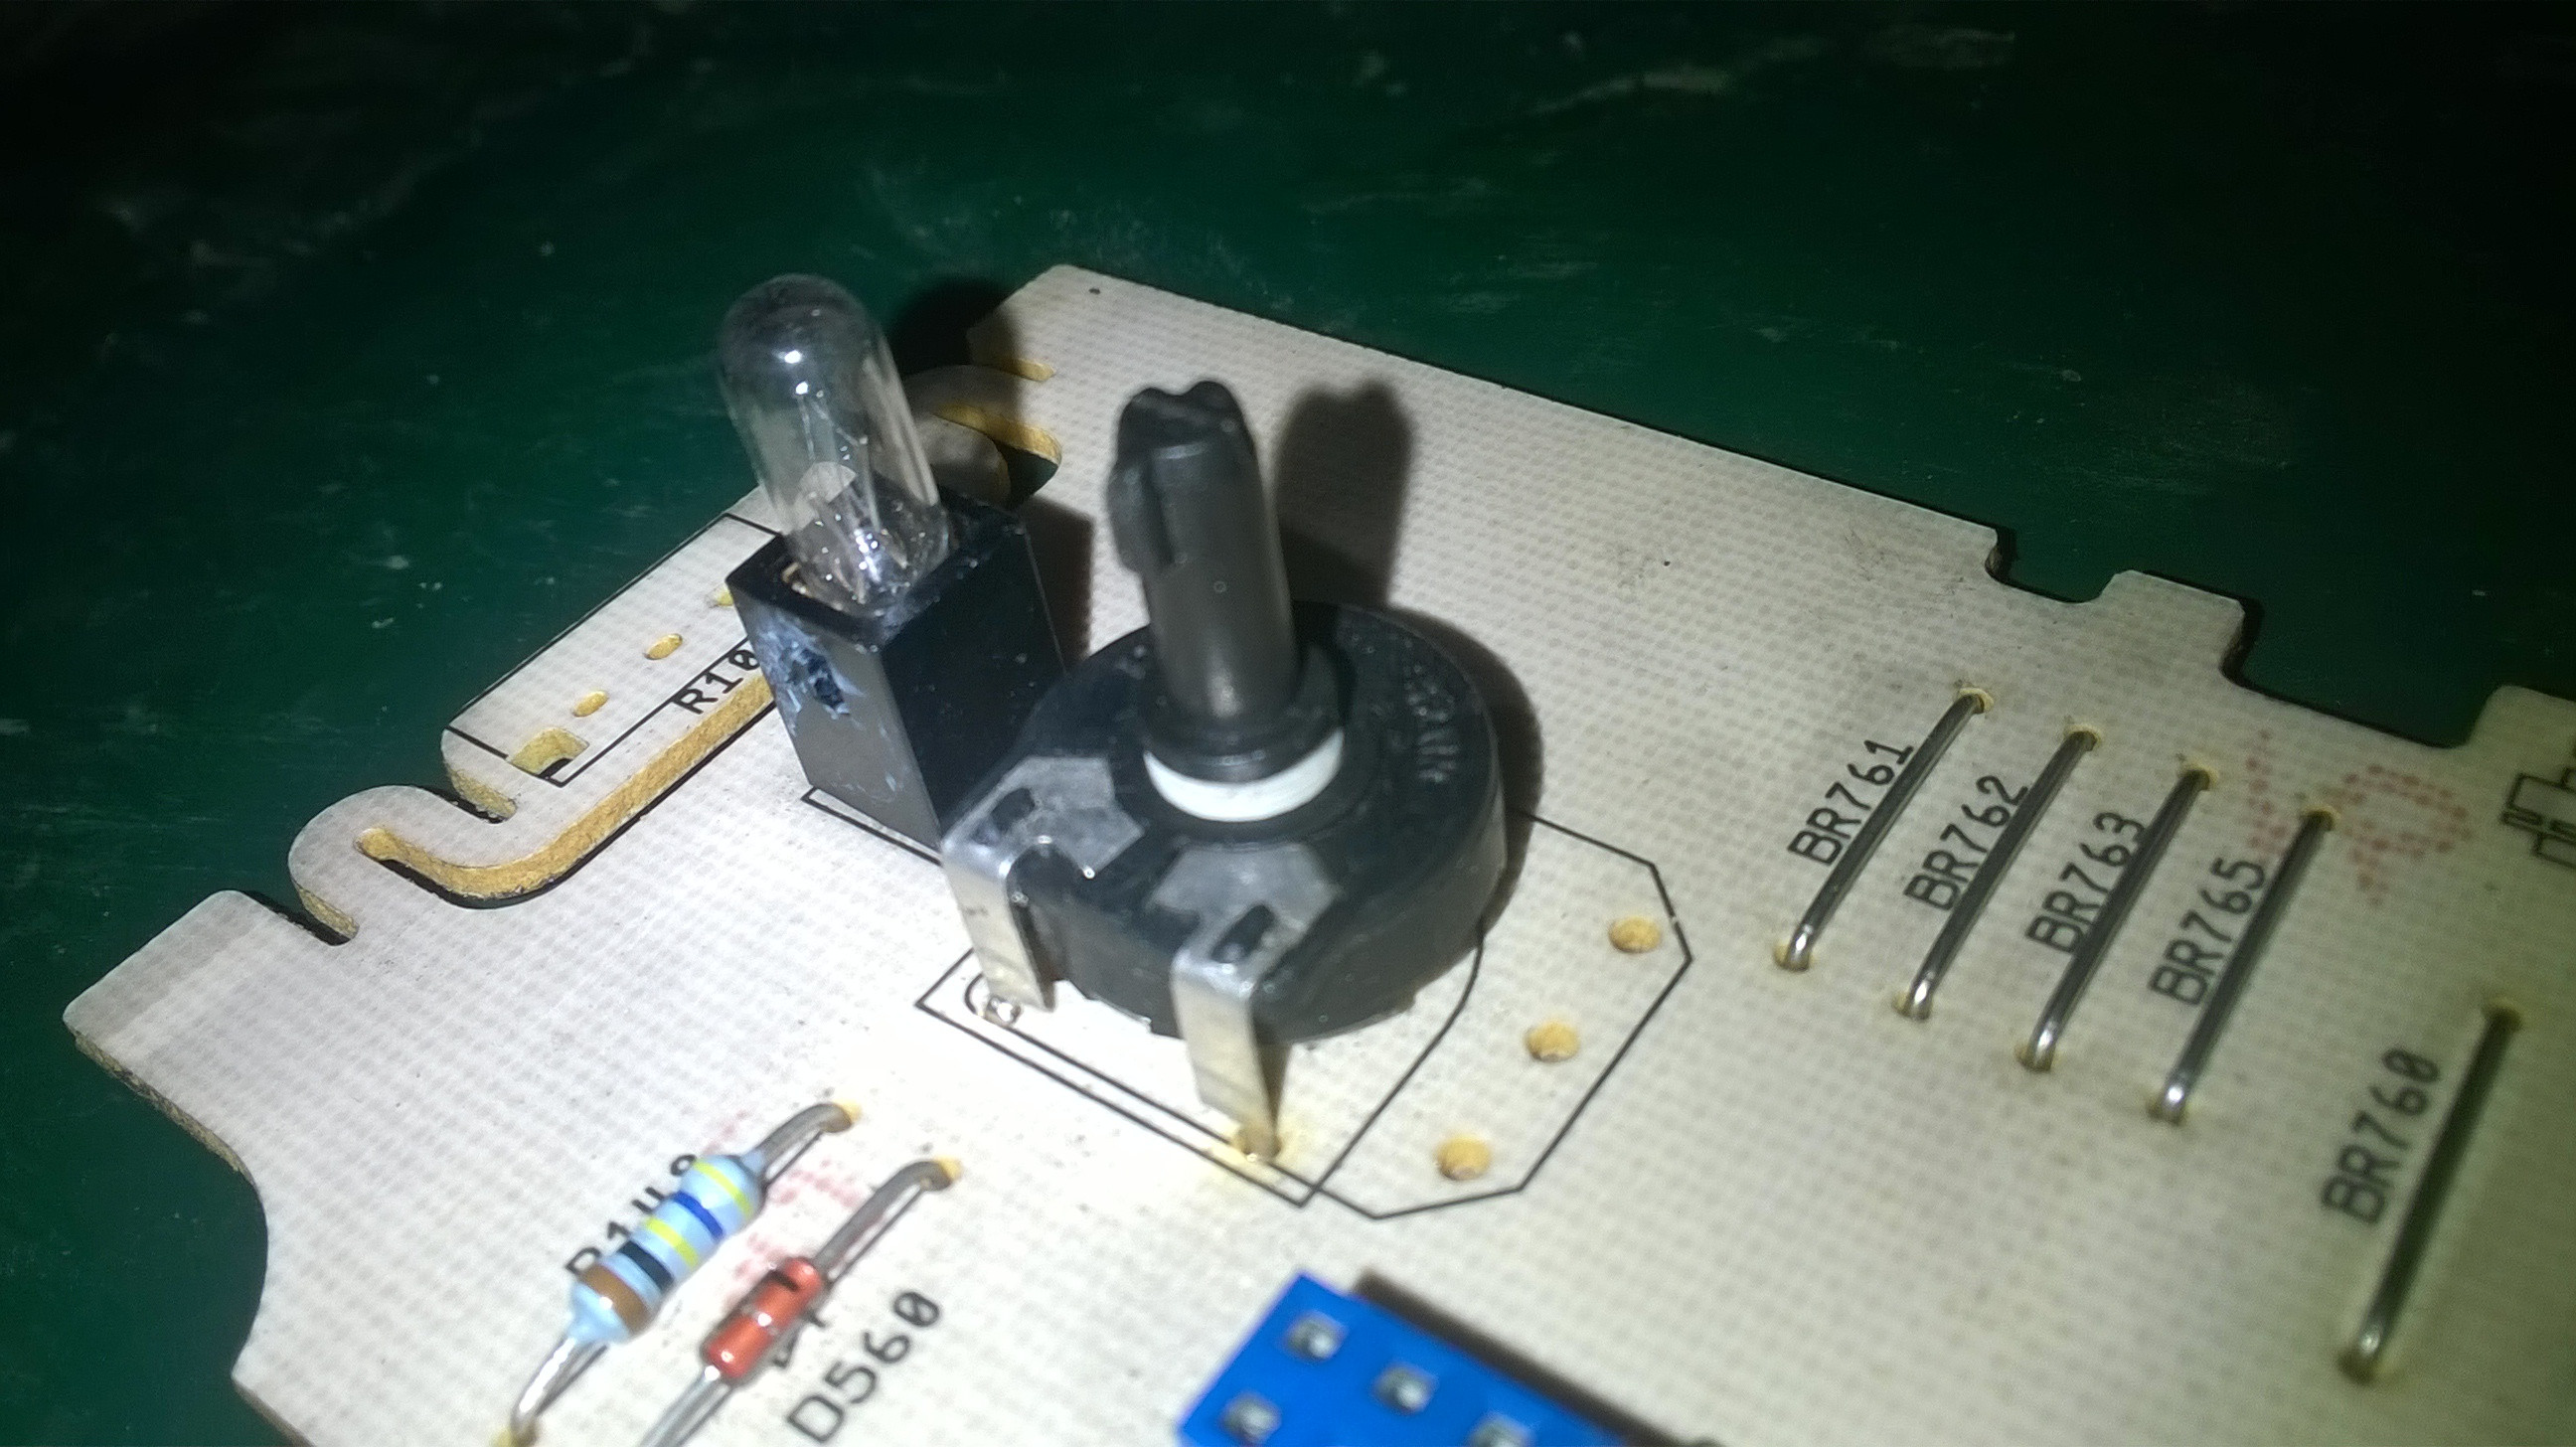
B4-Board is cleaned with alcohol and bulbs replaced.
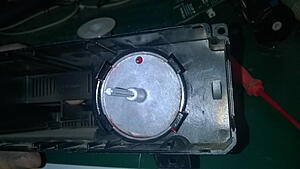
The potentiometer is cleaned, by removing it and soaking it with alcohol and moving the wiper left and right to clean the tracks
also the face is cleaned -because the unit appeared poorly lit at night- with computer cleaning foam, alcohol and some cotton swabs

That's it
Tips: while assembling pay attention to:
1- air position knob and selector tip, also fan speed knob and potentiometer

2-Selectors arms, which have to be installed in the correct position, you can rotate them with your hand to match the others direction
I've replaced the bulbs, oiled and greased all moving parts and fixed the skipping potentiometer, the fan speed was jumping around -turning on and off and changing speed - even when am not touching the knob.
Every thing can be fiddled with without worrying, nothing can be installed incorrectly :P
A-Climate Control Unit Removal:
A1-Windows switches and gear bezel is removed by pulling upwards it from the top, and set aside.

A2-Ashtray/ piggybank is removed by unscrewing two screws, then pulled outwards(gear in neutral), and connecting cable removed

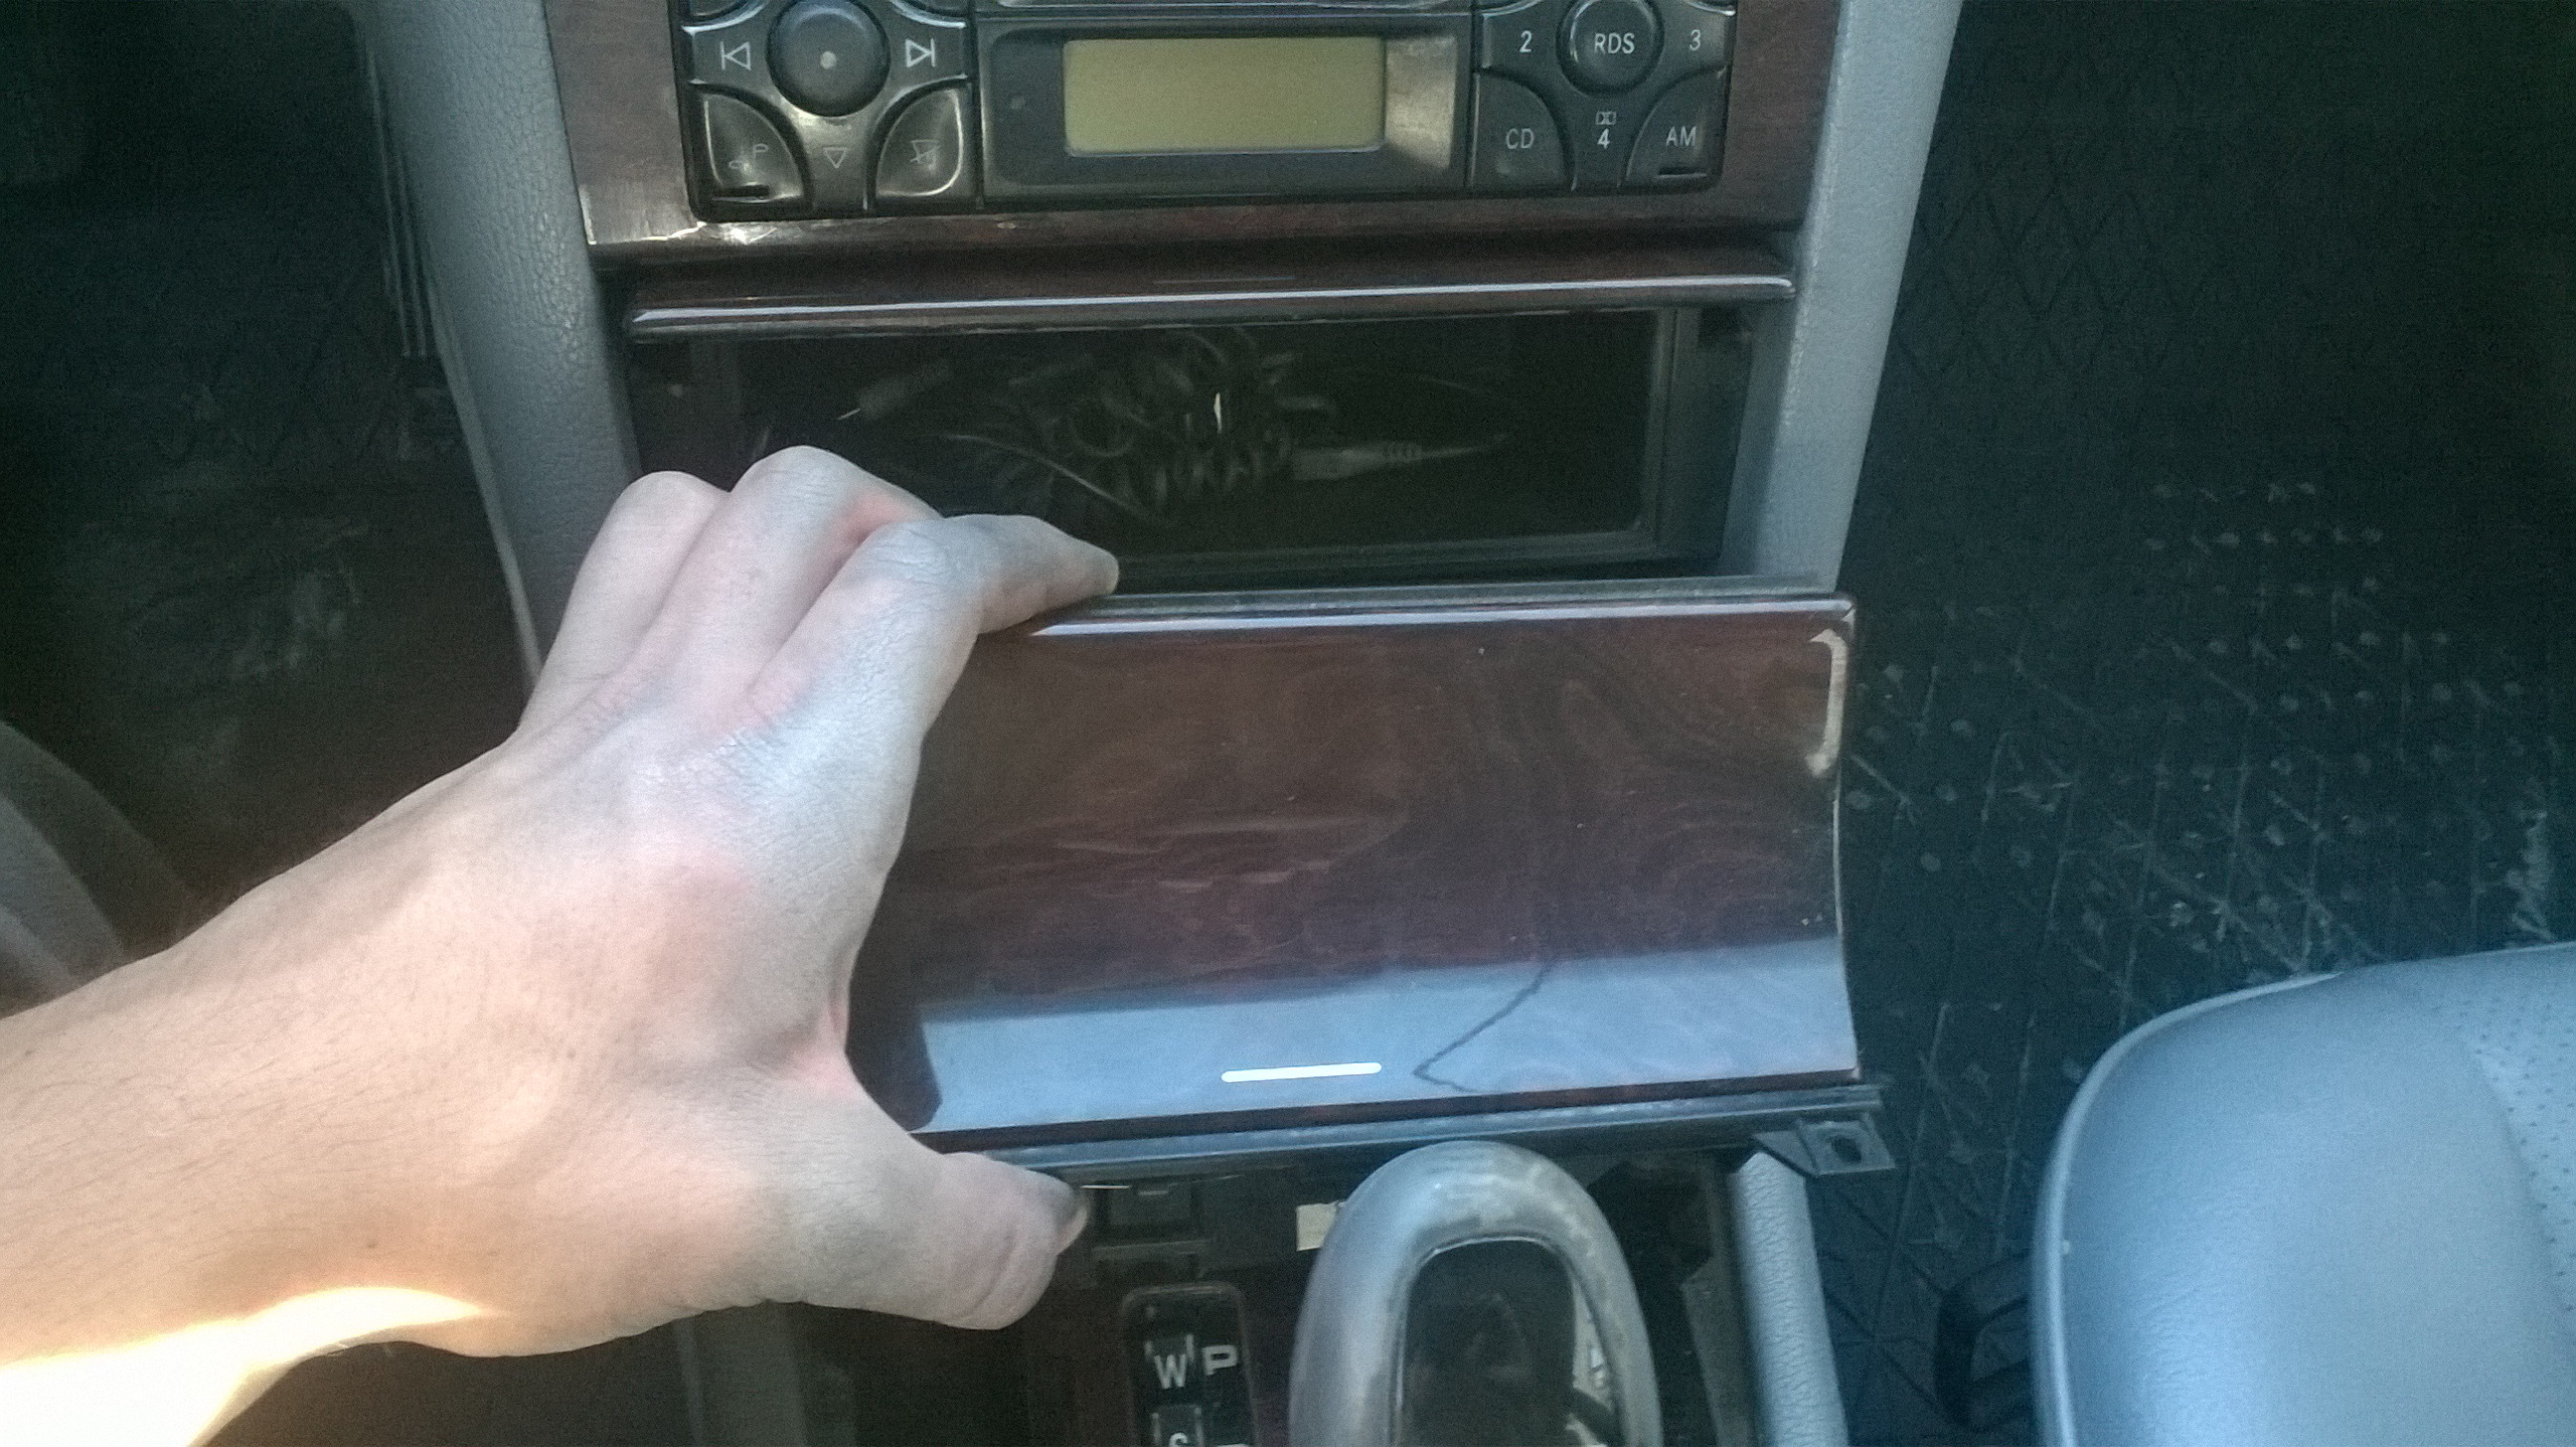

A3-Cubby is removed by reaching it from behind , pulling downward on the holding tab with middle finger -awesomly drawn in the side view- and pulling outward ..second picture stolen from NOTFARNOW @ peachparts

A4- Radio is removed by pulling the radio(or pushing from behind) while pushing the tabs in using a nail clipper's file. And then the connectors and antenna cable are removed, or just use the specific keys to remove it.. Warning: make sure you have the radio code before disconnecting it.
Attachment 445949

A5-Dashboard bezel( or whatever the hell is called) is removed by removing two screws located where the Radio was, and pulling it starting from the bottom, and then set aside.

A6- Climate Control Unit is removed by pushing two tabs outward then pulling back (Straight! ) on the unit. and it's cable is removed by pushing the little tab in, and sliding the handle .


B-Disassembly and repair
B1- fan and direction knobs are removed by pulling them outward, here i also put a little* grease on the tracks because it was very squeaky.
*i just googled this and thought i'd share :P (A little is more than little.)

B2- the face is removed away from the back by pulling downward on the 8 tabs with a small flathead screw driver . and then pried apart


Cleaned then greased the hell out of the direction selector, now it move quieter and easier

B3- Board is removed from the face by desoldering -if you don't have solder sucker you can just heat it and blow some air- the two temperature selector potentiometers (green arrow), then prying it while pushing the 12 tabs holding it (start from one side and work your way to the other is the best method )
B4-Board is cleaned with alcohol and bulbs replaced.
The potentiometer is cleaned, by removing it and soaking it with alcohol and moving the wiper left and right to clean the tracks

also the face is cleaned -because the unit appeared poorly lit at night- with computer cleaning foam, alcohol and some cotton swabs
That's it
Tips: while assembling pay attention to:
1- air position knob and selector tip, also fan speed knob and potentiometer


2-Selectors arms, which have to be installed in the correct position, you can rotate them with your hand to match the others direction


 09-12-2014, 07:51 AM
#3
Out Of Control!!


Remember folks this is the old style non digital control unit---the newer units(in most W210's) are simple to change the bulb and change out control units!!
09-12-2014, 03:37 PM
#4
Junior Member
Thread Starter
Thank you man ^_^ , I appreciate it.
i know right !i did a complete disassembly because i didn't want to break the tabs, ironically both of them broke after the complete assembly by an unknown reason.
I've been looking into converting to a fully digital unit, but i need to take a look at it in person and see the difference between both
I've been looking into converting to a fully digital unit, but i need to take a look at it in person and see the difference between both


