When you click on links to various merchants on this site and make a purchase, this can result in this site earning a commission. Affiliate programs and affiliations include, but are not limited to, the eBay Partner Network.
On a scale of 1-10 the difficulty of this job is about a 7. I generally dont have issues with doing mechanical things but this was HELL!
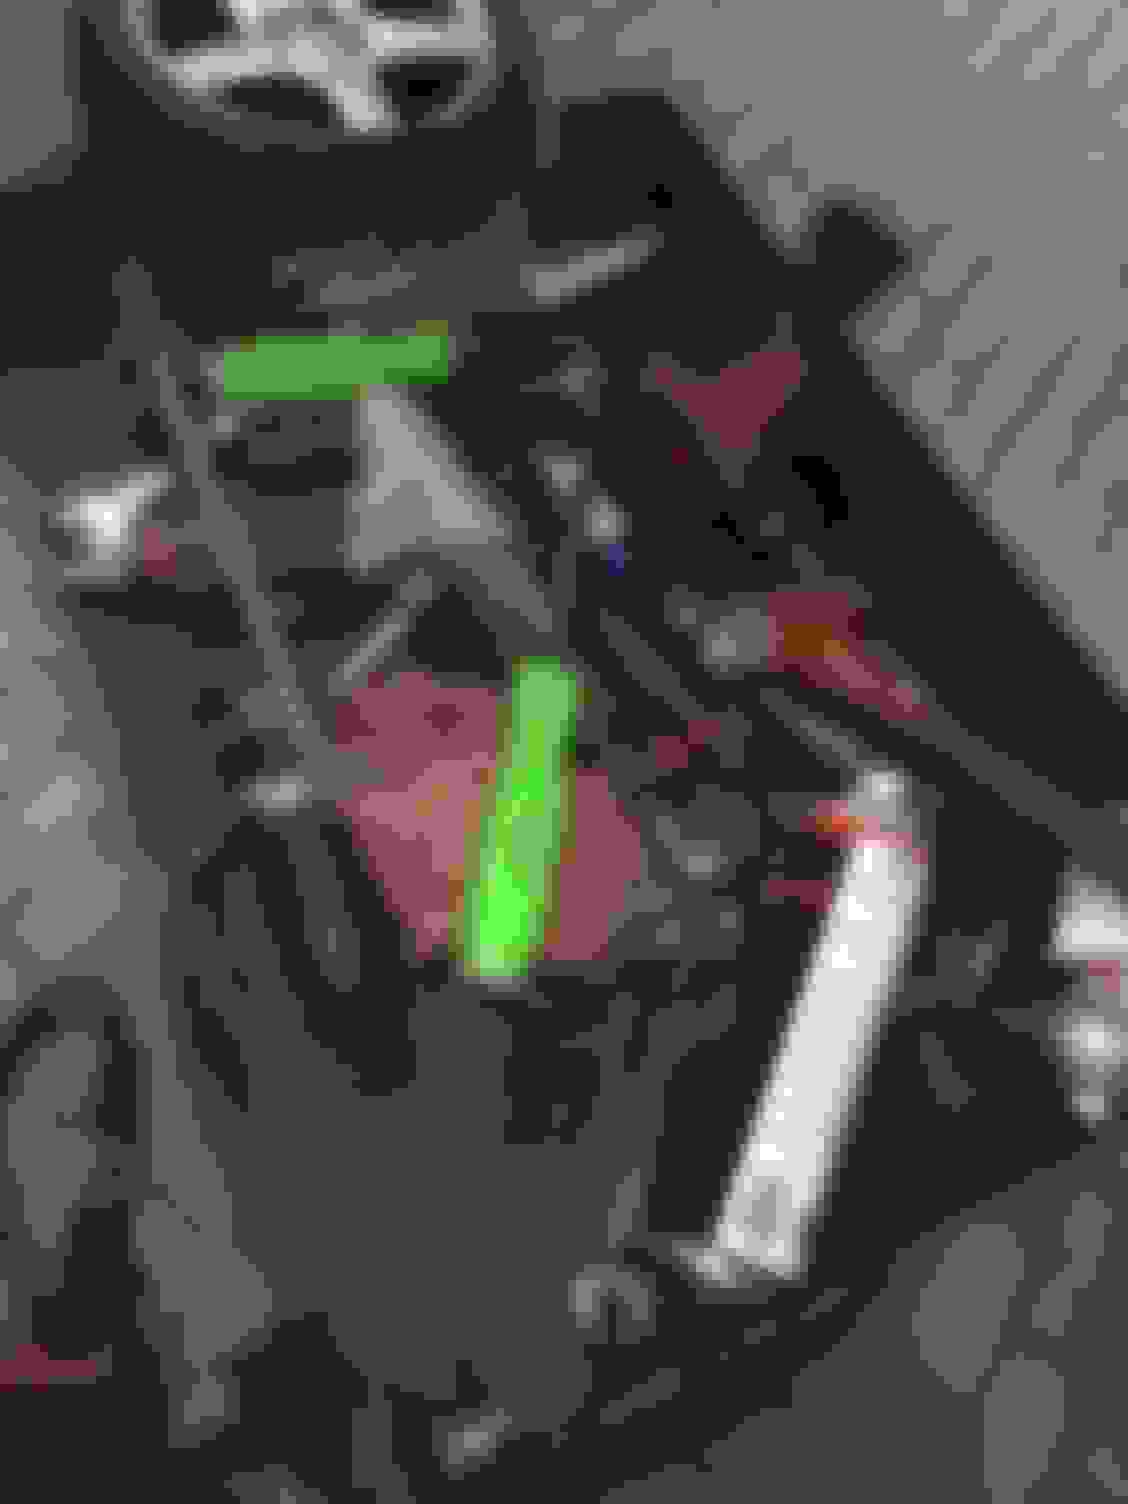
I'll make this short and sweet
1. drain your diff fluid
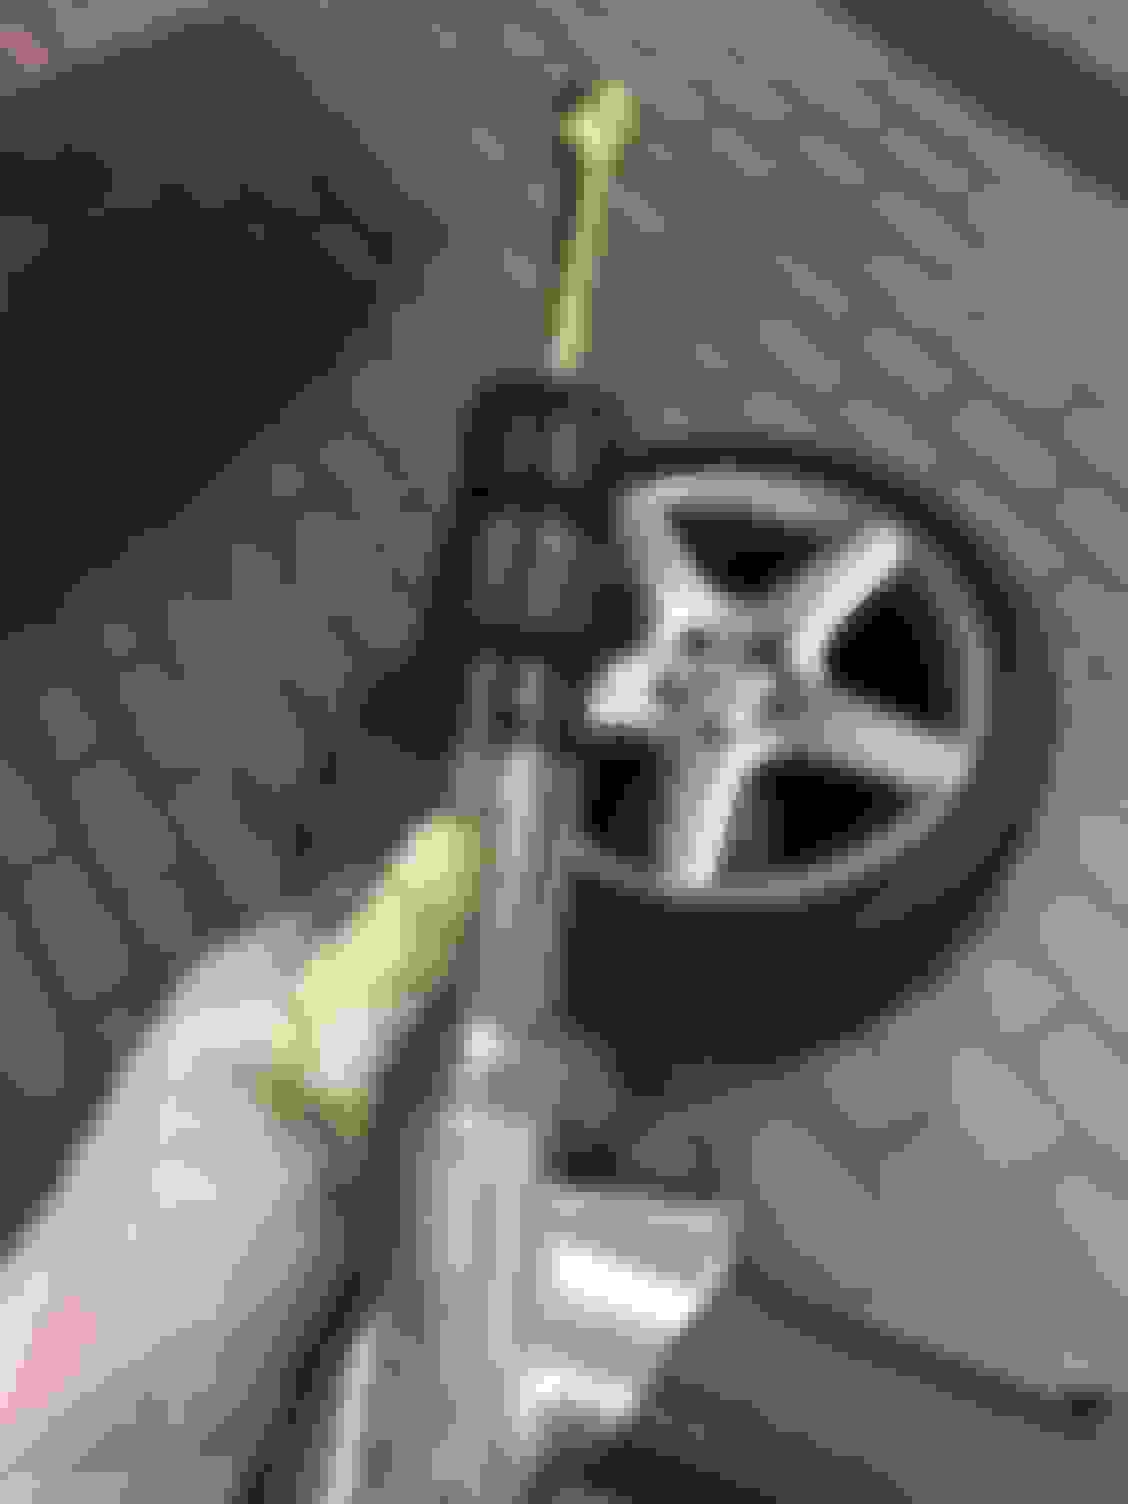
2. remove your wheel
3. Remove your caliper/bracket as one assembly. 18mm
4. Detatch all suspension arms from hub and put your bolts back through the arms the way you took them out so you dont have to keep looking at the other side for a reference.
5. Remove sway bar end link
6. Remove 12 point 32mm nut on axle shaft.
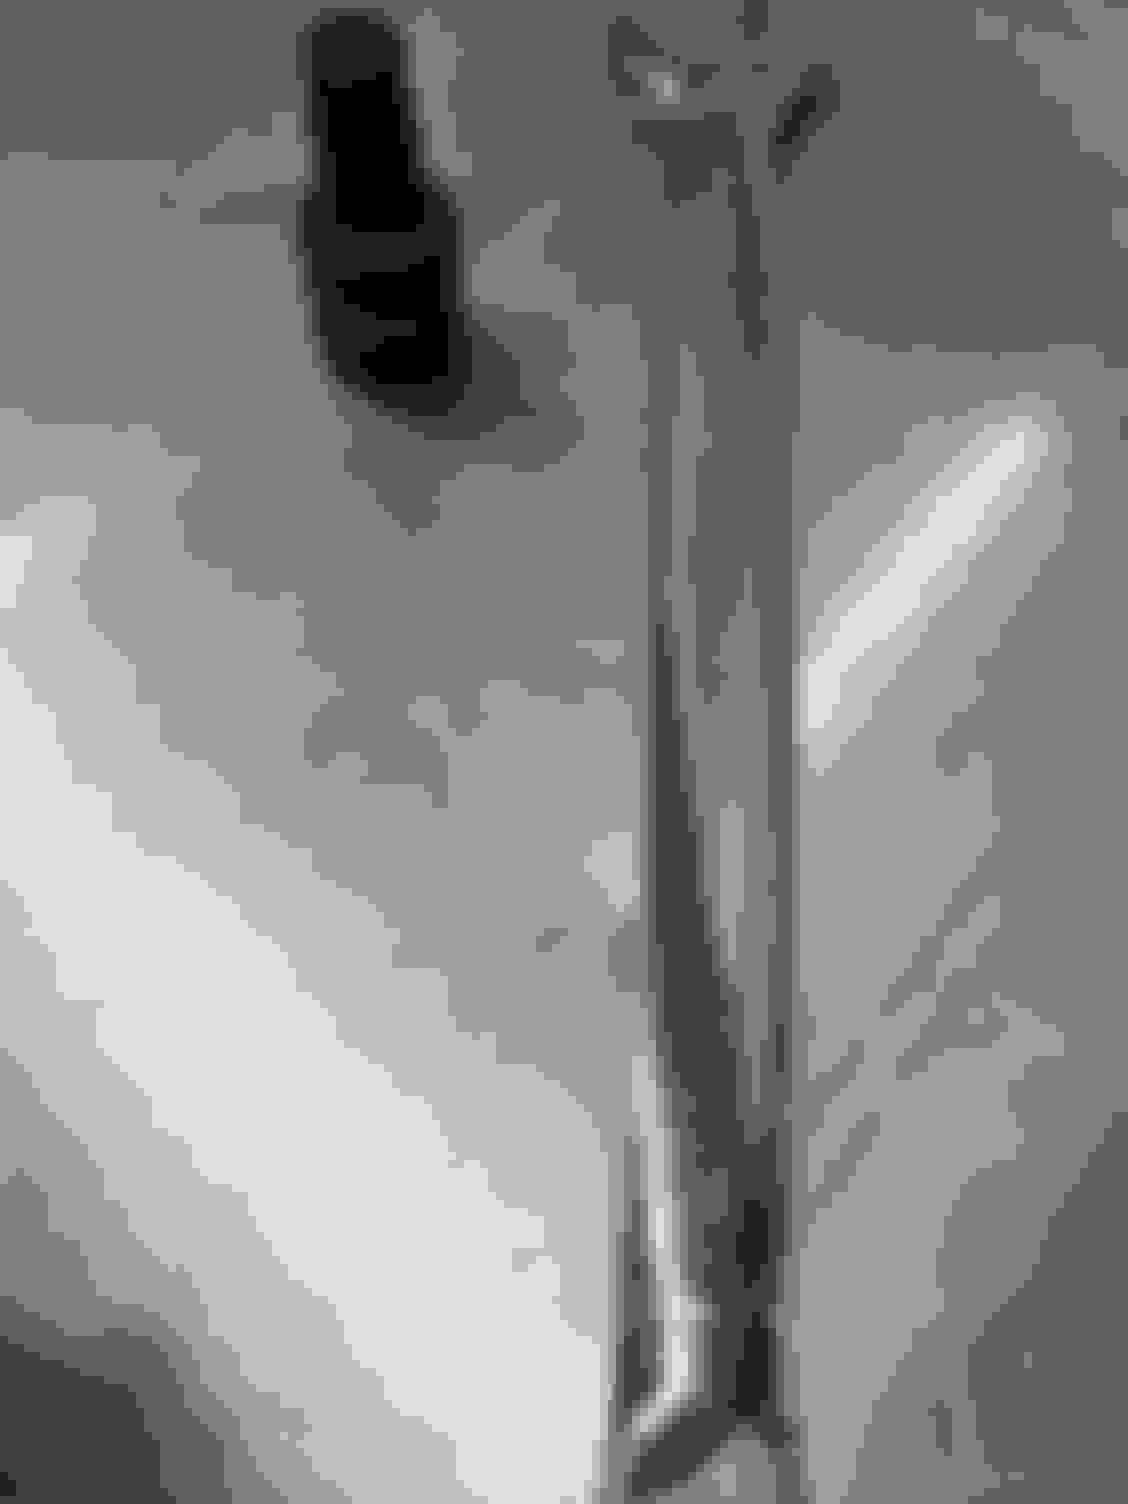
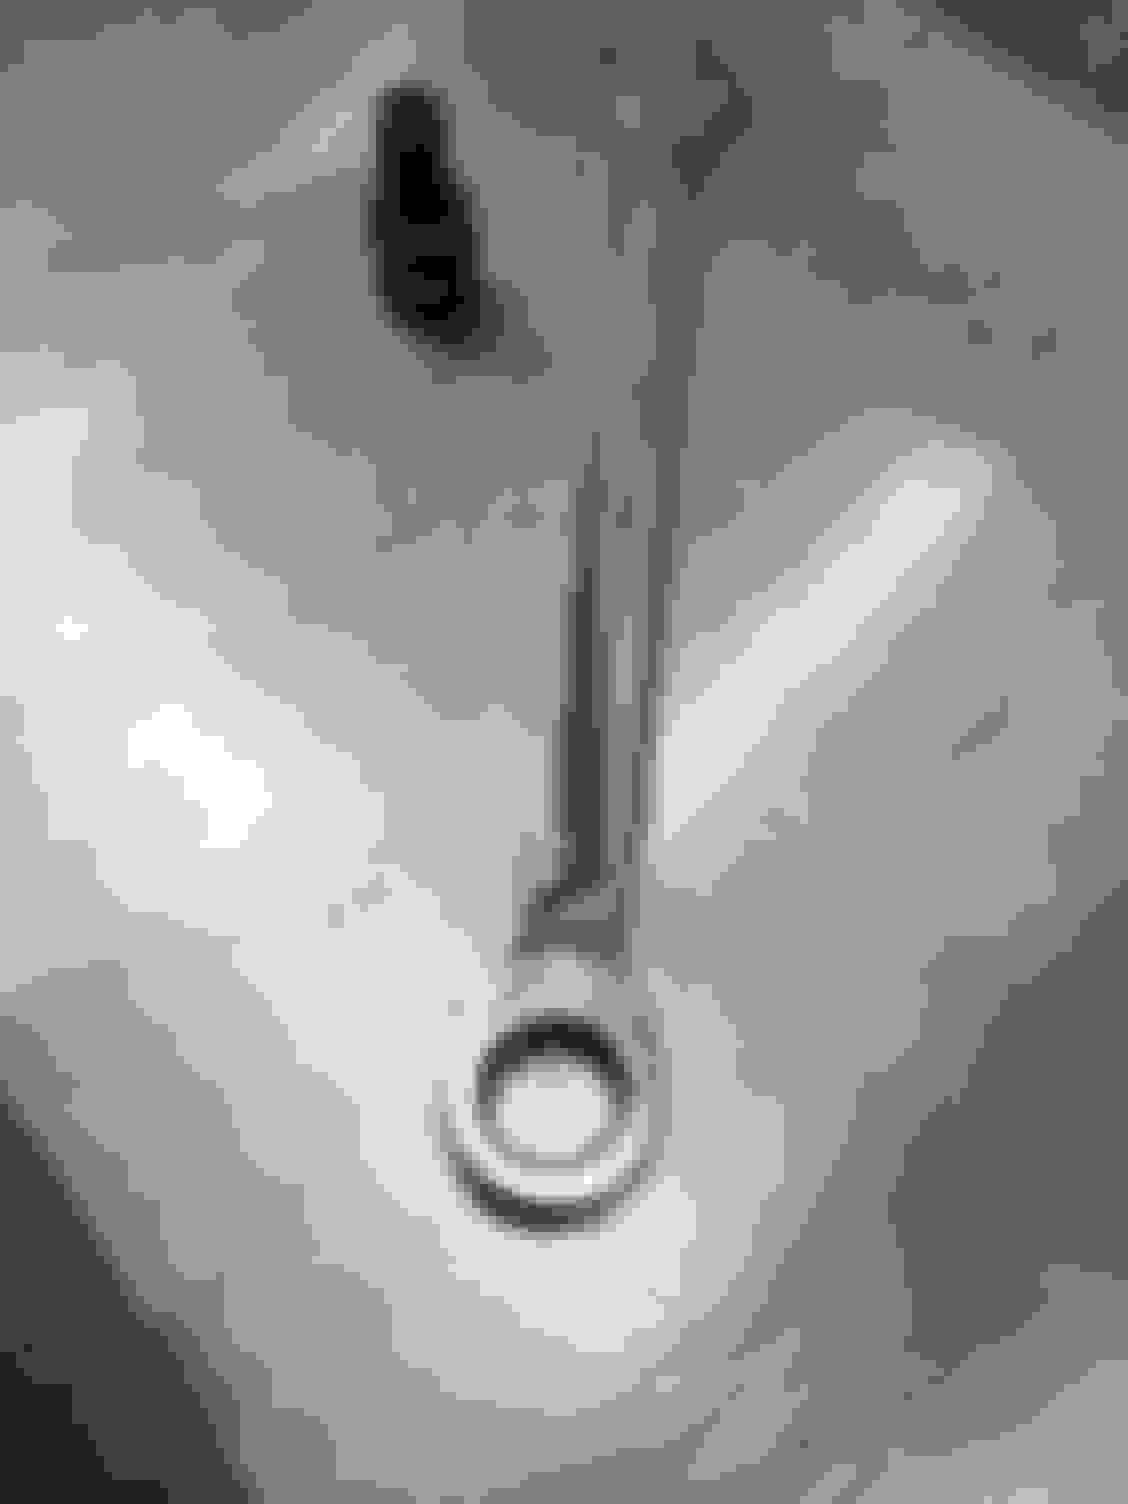
7. I used a air hammer to push axle out of hub.
8. Shimmy axle out of hub, total pain in the ***.
9. Use pry bar and hammer to tap axle input shaft out of rear differential housing.
10. Remove axle
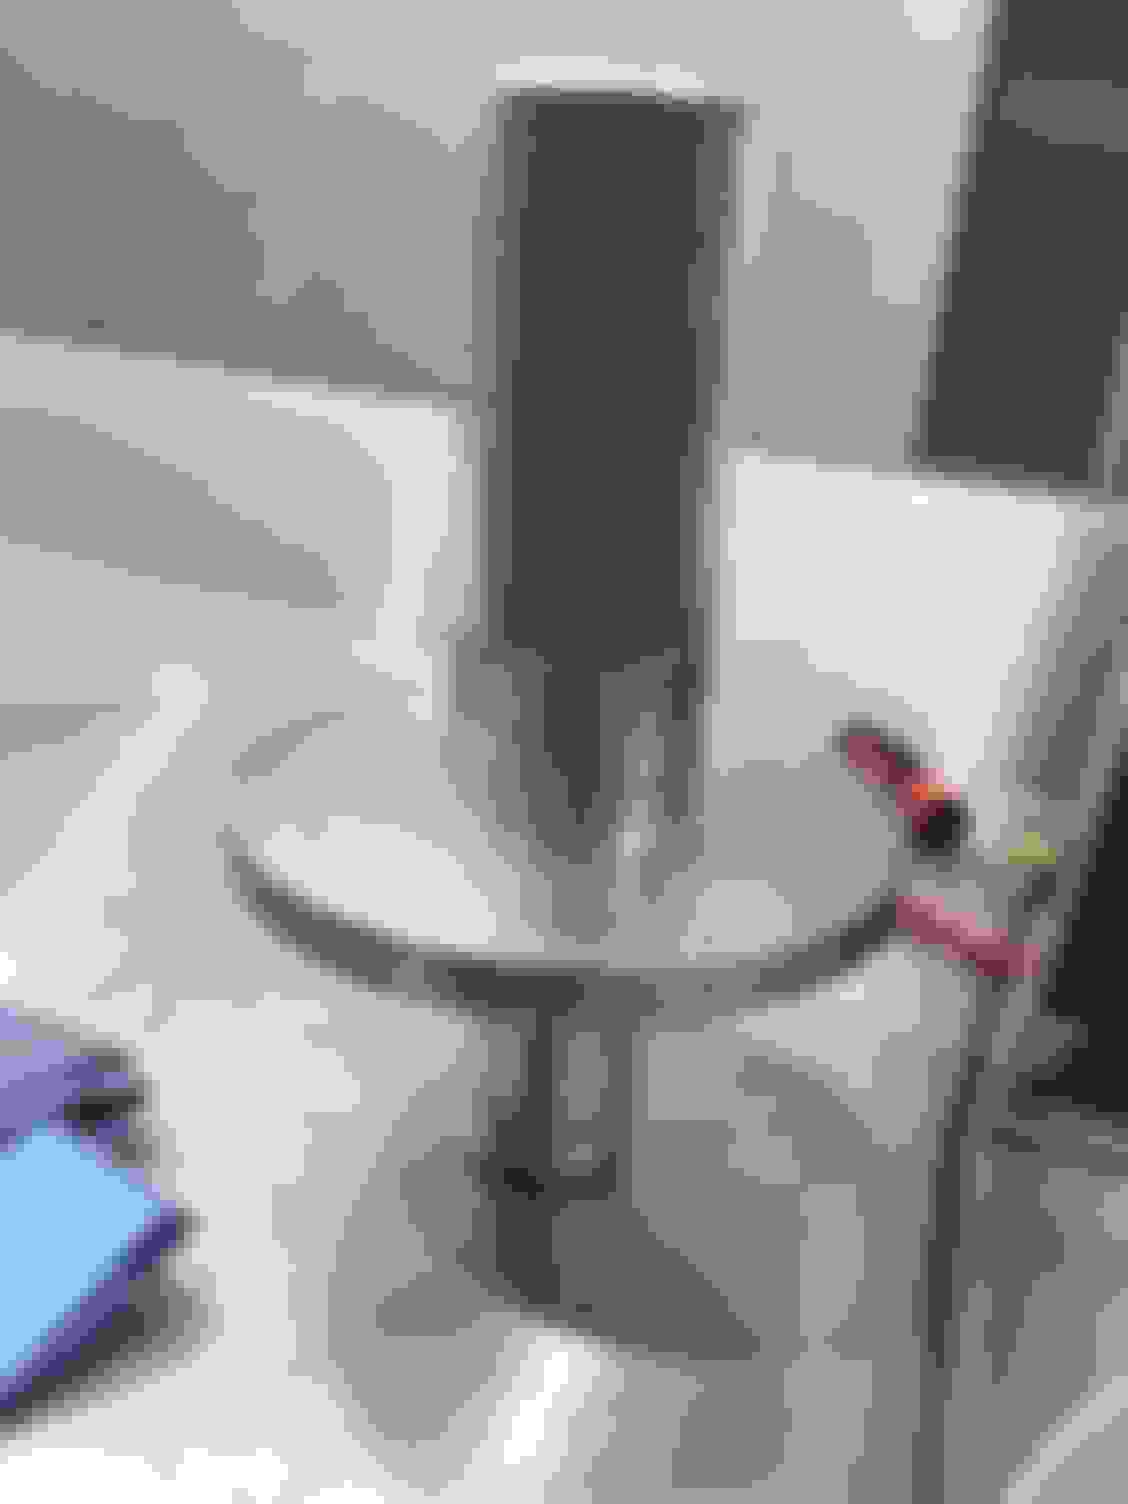
11. Pry seal out, pry bar/hammer
12. Lube new seal up
13. If you dont have access to the correct installation tool use a punch or something that wont cause serious damage to the new seal and tap it in gently working your way around the seal. You'll be able to see which portion of the seal is durable. Just be easy and dont HOGG it up. Patience is a virtue.
14. Typically i would say install in reverse order but for this job i had to bolt one arm down, try to bolt another arm down, not happening. Loosen arm i bolted down and try tightening a different arm first if that makes any sense.
This is by no means a excellent write up. Im doing this for the fellas who despise indy/stealership. it is a diy job if you have the right tools but take that with a grain of salt, this seal whooped my butt and i had access to air and a lift.
Easiest way to put it, remove everything from your hub, except the lower carrier joint bolt. If everything is removed from the hub its simple, however getting all your arms re-installed it a complete disaster.
Set your fluid level, spin your wheels so you dont have excess fluid spewing out of your vent tube.
Thank you for the useful info. By the way, do you happen to know specification of bearings in differential of W211 E280 2007 (VIN: WDD2110545L010276) ?
Not to sure, Im not at work so i can refer you to wis... maybe someone on here who has paid for wis will be able to help you... If not ill look into it tomo at work!
You seem to work on your car more than customer cars!
I would not want to do this job how much would this cost at the dealer?
I have to bring in my dads car in on Tuesday its making a noise in the rear end over bumps.
Actually I despise working on my own car, its no fun unless your getting paid! Which model does your father drive?
This job at the dealership is probably around 700-800 dollars. Parts only like 25 bucks and some new gear oil. I would only make a note of rear side seal on differential starting to seap, not something i would be looking forward to doing on a regular basis.
He has a fully loaded 2012 c350 4matic Coupe
Its a great car that is both practical for the weather we get in this area but is also fun to drive around and gets okay millage if you drive it sensibly.
Thank you for the useful info. By the way, do you happen to know specification of bearings in differential of W211 E280 2007 (VIN: WDD2110545L010276) ?
If by specifications you mean MB suppliers catalog number---don't hold your breath---however if you need the part numbers for the six bearings in your differential---simply use EPC or call the donut girl at any dealership, but call in the afternoon!!
Ok, I did this job. But as a shortcut I didn't take the axle loose of the axle carrier. Instead, I took the lateral link loose and pulled the whole carrier with axle assembly back.
One, although the E-brake cable comes loose at the drum with a small pin, I couldn't figure this out and added hours to the job. Look at the expansion thingy in the brake drum.
Two, when you take the E-brake cable loose, it allows the cable tensioner to suck in the cable and the E-brake adjustment gets really screwed up. A thing called an "automatic tension adjuster" turns out to be a simple thing to reset. It is located above the driveshaft under the center console.
I've read it was really difficult to hammer the stub axle out of the wheel bearing (not to mention damage to the bearing). Nevertheless, it is probably more difficult to get the main control arm back into the the carrier.
I've read it was really difficult to hammer the stub axle out of the wheel bearing (not to mention damage to the bearing). Nevertheless, it is probably more difficult to get the main control arm back into the the carrier.
Nothing is ever easy.
Peter
I've always just blasted the axle out of the carrier. Then once it's out of the carrier you can remove axle and replace seal. and agreed, nothing is ever as simple as it seems.
Did you replace only one seal? I have one sipping as well on my SL65 2005! Do I need to replace them both? Any torque spec sheets for putting everything back together on the R230 SL65 2005?
Thanks in advance
Originally Posted by cmriv
On a scale of 1-10 the difficulty of this job is about a 7. I generally dont have issues with doing mechanical things but this was HELL!
I'll make this short and sweet
1. drain your diff fluid
2. remove your wheel
3. Remove your caliper/bracket as one assembly. 18mm
4. Detatch all suspension arms from hub and put your bolts back through the arms the way you took them out so you dont have to keep looking at the other side for a reference.
5. Remove sway bar end link
6. Remove 12 point 32mm nut on axle shaft.
7. I used a air hammer to push axle out of hub.
8. Shimmy axle out of hub, total pain in the ***.
9. Use pry bar and hammer to tap axle input shaft out of rear differential housing.
10. Remove axle
11. Pry seal out, pry bar/hammer
12. Lube new seal up
13. If you dont have access to the correct installation tool use a punch or something that wont cause serious damage to the new seal and tap it in gently working your way around the seal. You'll be able to see which portion of the seal is durable. Just be easy and dont HOGG it up. Patience is a virtue.
14. Typically i would say install in reverse order but for this job i had to bolt one arm down, try to bolt another arm down, not happening. Loosen arm i bolted down and try tightening a different arm first if that makes any sense.
This is by no means a excellent write up. Im doing this for the fellas who despise indy/stealership. it is a diy job if you have the right tools but take that with a grain of salt, this seal whooped my butt and i had access to air and a lift.
Easiest way to put it, remove everything from your hub, except the lower carrier joint bolt. If everything is removed from the hub its simple, however getting all your arms re-installed it a complete disaster.
Set your fluid level, spin your wheels so you dont have excess fluid spewing out of your vent tube.
 06-20-2015, 03:11 AM