When you click on links to various merchants on this site and make a purchase, this can result in this site earning a commission. Affiliate programs and affiliations include, but are not limited to, the eBay Partner Network.
The ebay company I got them from only sales OEM Xenon stuff so it's actually really good. They sent me pictures of the bowls and they aren't dull nor any burnt spots. I will modify the shield like I did on our other car to get a little nicer color band without affecting output.
Where are you getting them aluminized? Seems like a dark secret that even people over at HIDPLANET don't talk about short of finding a company overseas..
I was going to purchase another set of ZKW-R lenses over at TRS but they only have B-stock for hella specific projectors, which are probably fine but I'd rather not take the chance since the ones I bought for the CLK were A-stock. I've heard really good things about B-Class stuff but also the complete opposite as well.
Have you ever tried the CBI bulbs or the nightbreakers? I'm usually an OEM Philips but might be trying something new. It's hard to spend $200 for bulbs though..hahah
2016 E350 Sport; Mom Wrecked the 2008 E350; sold the 2002 C320
^ Did you get your E55's from the same seller you got the ballasts from?
On the aluminizing, no kidding! People that got it done act like it's the fountain of youth and protect the source with their lives! I'm still working on finding someone that does it. I have a client that has a plating business and although he does not do aluminizing, he said he knows someone that does it. I'll keep you posted if it pans out.
I'm running CBI bulbs myself and I'm happier than pig in poop with them. I have tried quite a number of other bulbs and although the cash plop hurts at first, believe, me you will be glad if you get them. I might pick up a spare set during the Black Friday sale - looks like they went down in price as it is.
Last edited by EuroDriverSD; 11-20-2016 at 12:22 PM.
Got the e55's from another seller on eBay. They only sell OEM HID equipment, so it was actually kinda nice browsing through all the stuff they had.
I got both projectors and were in perfect condition. I tested them and all was well. I noticed that inside the one projector bowl there looked to me a slight line/scratch which in tern made the left side of the cutoff slightly jagged.
I ended up taking the CLK apart yesterday baking the headlights and then figuring out which projectors I wanted since I now had 4 e55 projectors. I ended up using the one from the lot I got from eBay and then using one from the CLK. Now I have two nice projectors which have exceptional color band. I also removed the clear lenses I had off the CLK and used them on mine now. Stuck the stock fresnel lenses on the CLK and put it all back together. Now it can officially be sold.
So I just placed an order over at TRS with their Thanksgiving sale... honestly I thought it would be better, as I was banking on 25% off...but since I ordered the Morimoto D1S/D2S igniters and then bit the bullet and ordered:
D2S: OSRAM XENARC 66240 Nightbreaker Unlimited at $175... OUCH.
I have bulbs that were 5000k and honestly I just wasn't happy with it. It's very hard to see at night especially on blacktop or if there is rain. And now I see some of the CBI's are labeled as high as 5500k which is really pushing it to me.
I'd be happy completely and have been with normal Philips 85122 forever now, but figured lets try something new. Everyone complains that the nightbreakers are halogen in color, but they say they are whiter than the Philips 85122... I think the Philips are white so this should be OK for me I think. We'll see in a week once I get everything.
They are rated higher lumens than the Philips so that will be a plus.
This weekend I'll be completing the retro and putting everything back together once we get back in town. Then I can finish the other stuff on the car and be done and enjoy it..haha
Finally 90% done with the headlights. I will post pictures up in the next day or two.
Completed all wiring so ballast on the bottom and all headlight wiring is internal. I am using the factory bi-xenon led/highbeam reflector so I've already done the wiring for that (takes out 2 plug in leds out of the equation).
I've wiring the e55 projector/bi-xenon so that's done. I also modified the foreground limiter shield that came stock on the clk's e55 projectors and used them here. On the CLK they screwed to the external housing, on our headlights I had to put it on the inside of the housing and modify the shield bracket so that I could use the existing screw mounts. Nothing a little dremel couldn't handle.
I am unsure now if I am going to mount the external chrome shields that are under above the projector. I say this because they most definitely change the foreground lighting after I tested everything for a few hours. It makes like a H shape on the ground compared to the foreground limiters I have which extender further and create a shallow curve. I MIGHT cut the entire bottom portion off of the ones and only use the top to prevent light bleeding into the turn signals but honestly I won't know until I assemble everything minus the lenses of the headlights. If no light bleeds up then I won't use them. If it does then I will cut the lower portion of the shield so it does not extend into the projector like they do currently.
I'm glad I took the clear lenses off the clk's headlights and swapped for the fresnel. There is so much more color than even my older e55's that I'm happy that I know swapped A-stock lenses compared to buying new ones and only getting B-stock which might be chipped/scratched.
I'm waiting on my nightbreakers and ignitors from TRS... I ordered them on Wednesday via the early bird sale and it's STILL pending. Probably would have been beneficial just to pay the $6 for priority shipping and would have had them by tomorrow or Tuesday.
Also one note on the Ijdmtoy amber leds. They are 7mm TOO long to fit. IF you remove the 3 prong lens that is attached to the turn signal they will fit fine. No problem at all. But you then see (if you get down to the headlight and really look) at the 3 small holes that are left by removing the prong.
I am going to just use the amber 3157a bulbs. I thought about moving the turn signal lens out slight, but only gained 3-4mm tops and the bulb would still not fit and push against the lens. If MB had designed the lens to be 10mm longer it would be fine OR if the led was slightly shorter it would have worked.
Annoying to say the least. But... the rear turn signals are normal bulbs so I guess I'm cool with that. Still super weird to me that MB has LED mirror turn signals, LED rear brake lights but they couldn't figure out how to do LED front turn signals/rear turn signals and backup lights on a $60k+ car...rofl.
2016 E350 Sport; Mom Wrecked the 2008 E350; sold the 2002 C320
If you get a chance, try driving with and without foreground limiters. People mostly say they are a must with the EvoX-R projectors but I opted to go without them and I'm very glad I did - the foreground lighting is perfect!
I finally got a chance to do some serious nighttime driving in wet conditions last night and on the highway, I was not one bit disappointed in the lighting performance. However once in the rural city with poor street lighting, it was very hard to see the road. I'm currently using Osram CBI capsules so at the very last minute last night when I got home, I went ahead and purchased the Nightbreakers while the sale was still on at TRS. It will be interesting to see how much difference the lower kelvins will make.
When messing around with that small top shield, also make sure that your amber lighting does no bleed into your headlights when you use the turn signals...
Can you post some info & pics on which OEM leds you are using in your high beam housings?
Good point about the foreground limiters. These are the oem hella ones which are not nearly as aggressive as the Maxima's but it does prevent about a solid 4-5' in front of the car which I think is really good. When driving the CLK without the foreground limiters (since I removed them from the projectors), I am not too happy with how it is, only because there is way too much light up front ALL the time. Which then tricks your eyes into not focusing further out.
When I turn the fog lights on without the limiters you can't see that they are on from the cabin. I have Piaa ion crystals for the w211, since I love yellow fogs. It's a subie thing I guess as I've always had hid headlights with yellow fogs which I think looks awesome. Anyways, with the limiters in, when you turn the fog lights on you can see the first 4' having pure yellow light, which is perfect to me.
Good point about the blinker leaking into the headlight. I will post pictures probably over the weekend of everything wired up. All the internal wiring in the headlight looks pretty much stock, if you didn't know what I did you'd probably think it came that way. I will take pictures of the external stuff as well. Ballast and all. I just with the darn led would have fit for the turn signal! :-(
I've attached pictures of the OEM led/reflector compared to stock. The oem led module reflector is ever so slightly different compared to the normal bulb reflector/high beam.
I only did this because I was able to get these for next to nothing and it eliminated the plug in LEDS that will sometimes fail. The one thing with these is the car needs to be coded via developer mode to enable them so they don't flicker... which leads me to believe if you enable them, then you could use normal LEDS in the normal plug in bulb reflector and not have any issues at all. But that's just my theory. When I code the car this weekend with my C4 DAS/Xentry then I'll know for sure.
First pictures is to compare the OEM led/OEM plug in bulb reflector.
Pictures 2-6 are of the driver side.
Pictures 7-10 are passenger side.
I took a picture of the part numbers on the headlight and LED modules.
Welp I finally got everything together and over the weekend put the headlights back on the car. So excited. Turned them on JUST to make 100% sure everything was working and that my wiring job didn't cross somewhere. Everything was fine minus the passenger side headlight. It would flash on/off/on/off...etc. I thought that was odd, as I coded everything properly. Bi-xenon fuction worked perfectly fine, leds work, high beams work. But bulb was flashing.
Swapped over the morimotor ignitors. Same problem. Took the ballast off the passenger head light and put it on the driver side. Turned the lights on and boom, now that headlamp was doing the same thing.
I emailed the seller on eBay and sending this ballast back to them tomorrow morning, so hope to have a new ballast later in the week. Other than that everything worked on the headlamps. I guess the car just wasn't pleased with the ballast.
I do like the Nightbreaker bulbs. They are not yellow to me at all. Extremely bright. Happy I went with them over the standard Philips so in a week I'll get some pictures of everything all put back together. I was really hoping I'd have the entire front end done over the weekend but oh well. I can focus on installing the rear backup camera this week since I ran all the wires and that is done. Just drill, and place it then put the trunk back together. The inside finally looks like a car again with the overhead consoles and the seats back in! w00t w00t.
Forgot to post pictures over the weekend. Everything is functional 100%. Actually drove at night and just need to slightly adjust the headlights down. E55 steps are so large that when set properly are just a tad too high..lol Other than that though it's nice. I'm actually pleasantly surprised at the performance of the foglights.
My foreground limiter shields could actually be more aggressive. I might tackle that in the spring when it's warmer now. When I am sitting in the car there is still quite a bit of light in the foreground which I'm not 100% digging.
Anyways here are some pics of the finished product. Hella ballast mounted on the bottom. Looks OEM. Ignitor on the back of D2S bulbs, looks pretty OEM. Just enough room too. I was worried they might stick out too far, but they are perfect.
I will have to take a picture of the top custom light shields I fabbed up to block any light leakage both from the projector and from the turn signal. Those worked out perfectly. I might actually look into the stock foreground limiter that was on the stock h7 projector just to see how that looks but from testing it gave a weird H pattern on the ground and cut off some of the side light which I didn't want since e55's aren't particularly strong with that.
Prepare the headlights for "baking" (not California Prop 64 kind of baked): remove as much as you can from the housings, such as the lens retaining clips, bulbs, retaining rings, vent tubes, the washer nozzle assembly and the center bracket between the low beam and high beam
In order to soften the buyl to remove the lens covers, I preheated the oven to 250*F, then put in the headlights for 15 minutes. Place on a large cookie sheet and make sure no part of the housing touches the walls of the oven. Otherwise, things can melt where there's direct contact.
Use some thick gloves and have your area ready where you are going to start your work. The housings will be HOT - especially the metal parts such as the mounting nuts.
You should have a large flat blade screwdriver or similar tool ready. Immediately start to work around the edge of the housing cover, separating the clear cover from the housing. If the light cools down and the butyl hardens on you, don't force it - you will end up with cracking the lens cover. If this happens, just stick it back in the oven for a few minutes and keep going. Repeat as necessary. In my case, I easily worked around the headlight without the need to reheat. Perhaps this was because the housings are new because I remember when I did this on my old headlights it wasn't so easy.
Once you worked your way all around the headlight, lift it up about 1/2 - 1 inch and lightly set the lens back down on the housing. Give it a couple of minutes to cool down before lifting it off completely. Reason for this is that if the butyl is still warm, it's going to be very gooey and you are going to end up with butyl all over your chrome trim. Once you are ready to lift the lens off, it's helpful to have a sharp object on hand to trim or rip the butyl away from the housing as you lift. A second set of hands is very helpful for this if you can afford an assistant.
Another tip is to not try and lift the lens straight up, top to bottom or bottom to top. You will end up hitting the chrome trim either on top or most likely on bottom and again, getting butyl all over the chrome trim. Best approach is to lift up slowly and a diagonal downward motion towards the bottom of the headlight. Keep an eye on the edges until you clear the chrome trim.
If you happen to get butyl on the chrome, it's probably best to let it be. The chrome plating is very delicate and prone to scratching or peeling. If you attempt to wipe it clean, you will likely either scratch it or peel it, no matter how gently you do so.
Once the lens is off, proceed to remove the chrome cover surrounding the low beam. It is held in place by 3 tabs. The top and side tabs simply lift off, but the bottom one is bolted in. You will need to dig through the butyl glue in the channel to find the little screw.
Top tab seen here:
Bottom tab seen here - look closely and you will see the screw that secures it in the channel:
Here's an image of the back of the chrome trim so you can get an idea of how it's designed
Once the screw is removed, simply lift the chrome trim straight up. Grab it by the edges and do your best to avoid touching the chrome.
Chrome trim removed:
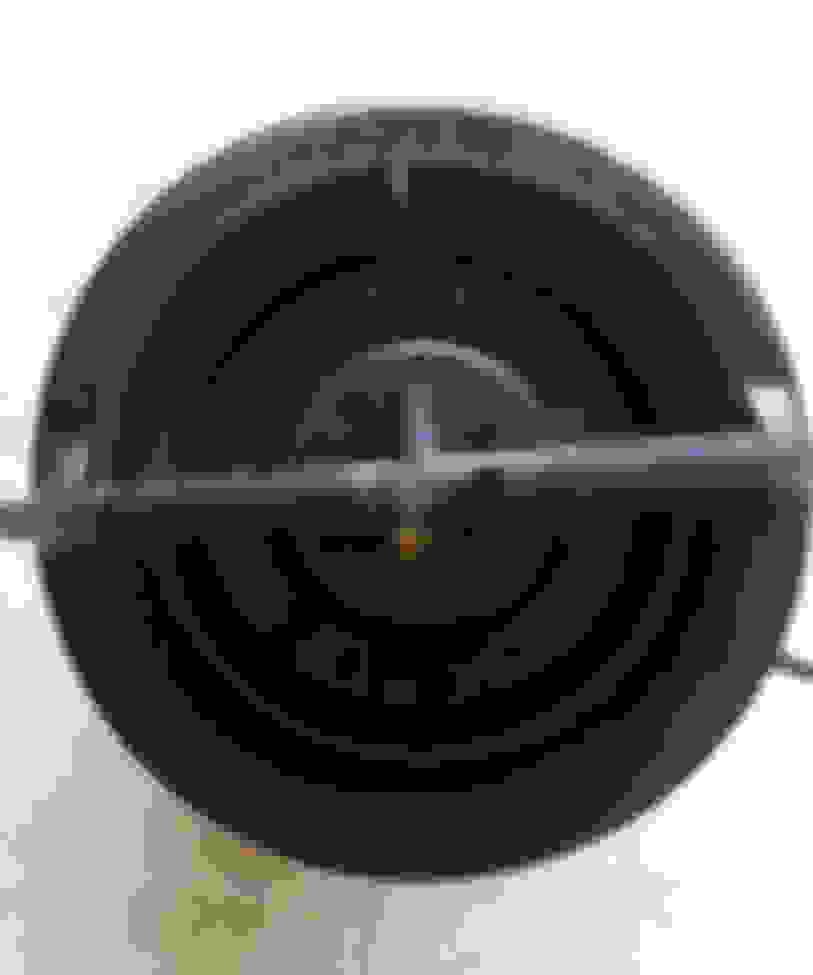
Now remove the projector shroud (the chrome ring around the projector). There's no screws securing it - it just has compression tabs that hold it snug around the projector. Place your fingers behind it, and tug up on it, slowly working your way around the circle.
Back of shroud:
Shroud removed:
See that extra little shield above the projector? That is to prevent the light from bleeding into the turn signal compartment. Remove that too. It is held in by a screw on each side.
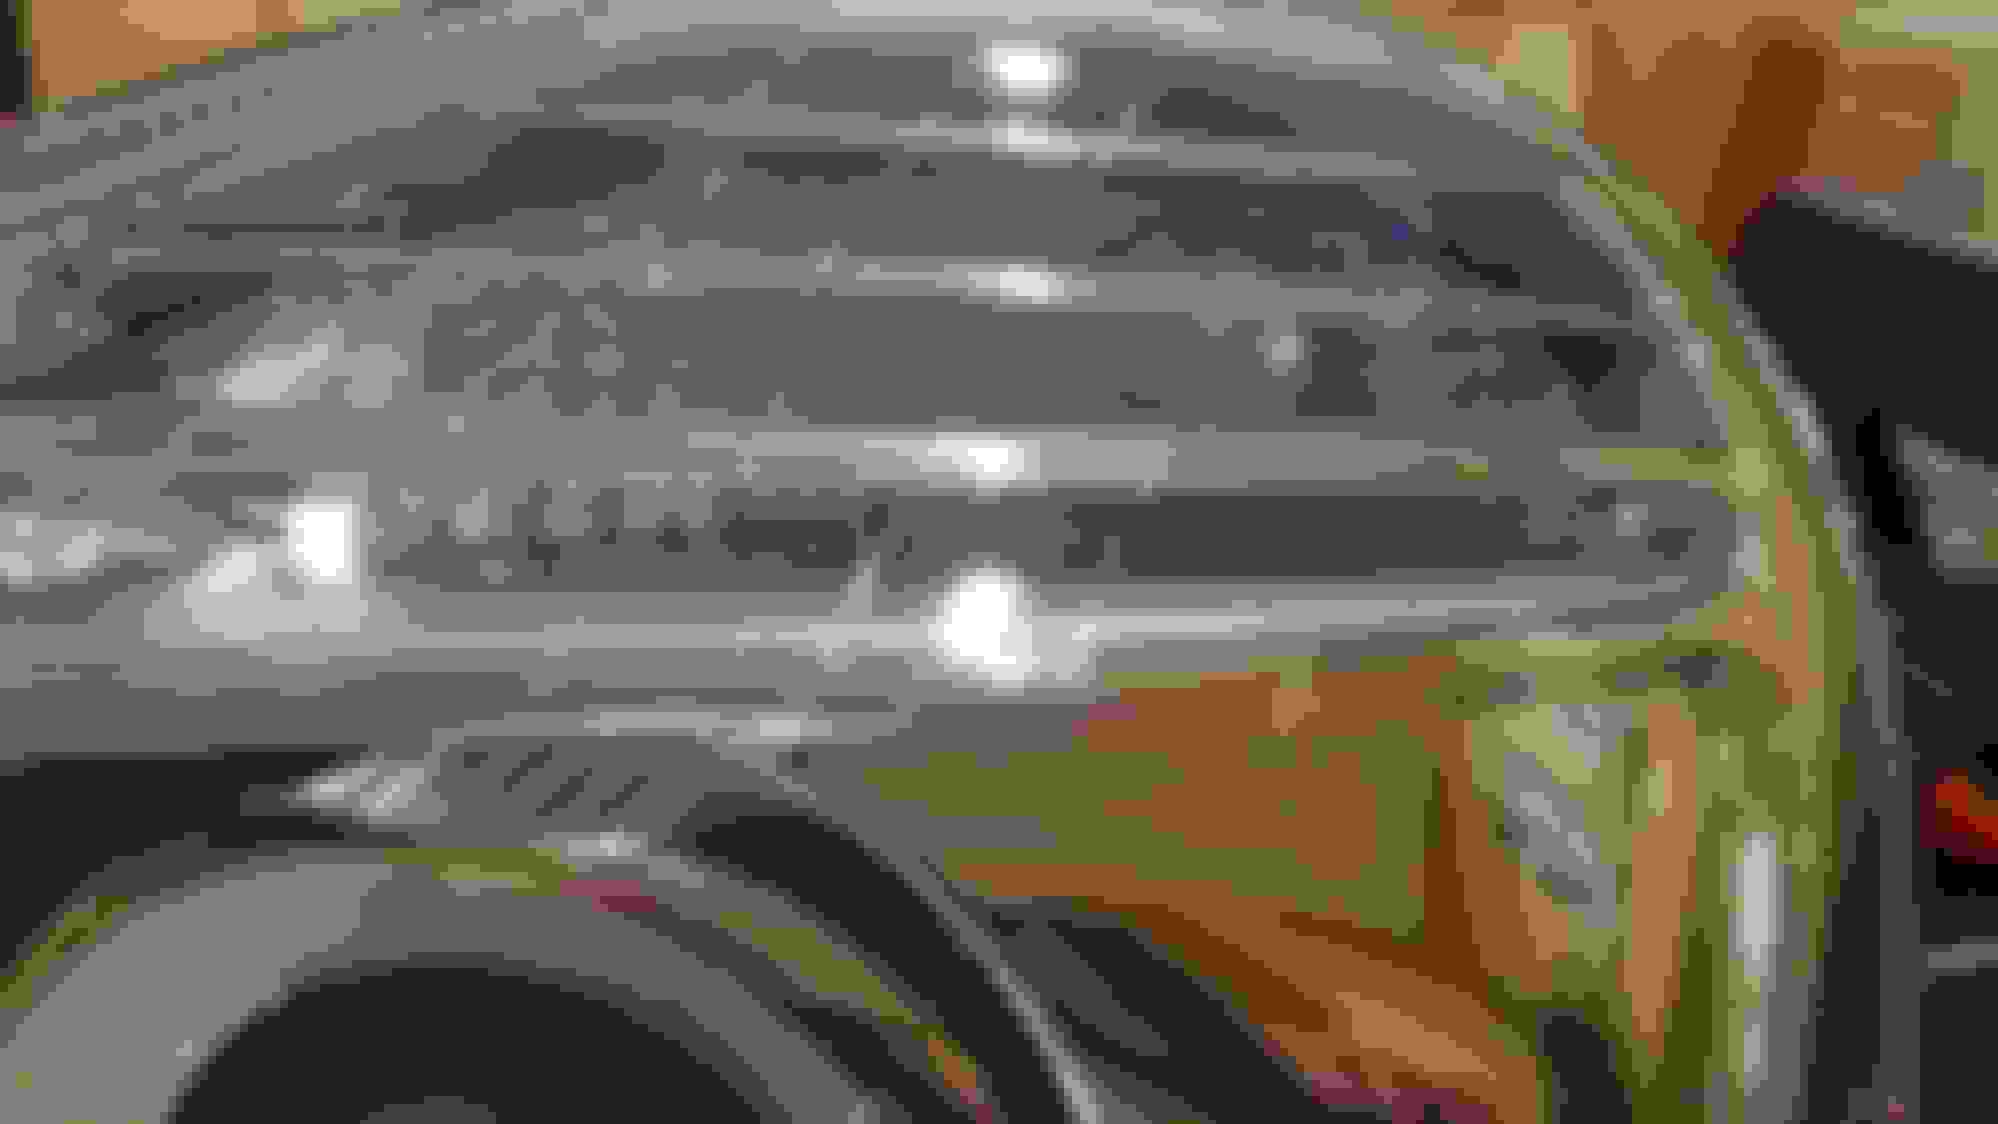
In the picture below, note the 3 white knobs that hold the projector bracket.
Each is has 2 small tabs that secure the bracket. With a small screwdriver (preferably a jeweler's screwdriver), lightly push in on each tab while pulling on the bracket until it pops loose. First one, then the other. Repeat on the other 2 knobs.
Now the projector is free from the housing.
Now look at the projector from the back - there a 4 torx screws that hold the projector on the bracket. Remove the 4 screws and now the projector is completely free.
Assemble your new projectors on the projector brackets and now work in reverse to assemble everything back together. If you are installing bixenon projectors, now is a good time to wire the solenoids to the high beams. You can either splice the wiring into the high beam wires. I opted to use the H7 adapters from TRS and soldered the original wires to where the AMP plug was. Connect the molex connector to the solenoid, the orange plug to the high beam bulb and the black connector the the housing plug (the black plug that originally connected to the high beam bulb)
Note that on my EvoR-X projectors, I had to install the bolts from behind and the nut in front. This is because from behind, the nuts kept moving the bowls due to the tight space
This created a problem for me on one of the small shields - it would not sit flush (on the other side, it fit fine). I had to dremmel a small notch to clear the nut.
You probably thought to yourself that there's an incredible amount of butyl glue. It should be more than enough to re-seal the housings but just in case, I ordered butyl glue from TRS. When I retrofitted my first set of headlights, I ended up with condensation in my right headlight every time it rained or went through a car wash. You don't want that disappointment, so do yourself a favor and get some more - I bought 2 rolls, but 1 ended up being more than enough.
Work it into the channel all the way around the headlight housing. I used scissors to cut it.
When you are ready to put everything back together, preheat the oven again (this time, I only heated it to 200*F). I put the housings in for about 10 minutes. Pull them out and immediately start firmly pressing the lens into the housing - have your retaining clips ready and clip them back in while the butyl is still hot - they will help settle the lens in without you having to keep pressure by hand. Keep working your way around until the lens won't go down any further.
When done, I went ahead and put protector film on the lenses. I've been using this on my past couple of vehicles and it's great - it keeps your lenses looking new for years!
I also painted my turn signal bulbs with chrome paint to eliminate the egg yolk effect.
In retrospect, I would have left the bottom portion of the bulb unpainted and perhaps a lighter coat of paint - they ended quite a bit dimmer. I might play with another set later.
All done. Adios dull headlights! Hope all this is helpful
Older thread but I wanted to post something about the turn signal bulbs. I ordered a new bulb holder and will post after I get home from work. You can use a different style bulb that isn't nearly as orange but looks good. I will also find the pictures of it. I think I posted it on the other forum so I will post that info here to others can see. Figured I'd type this now because I will forget by time I get home and won't find the thread...lol
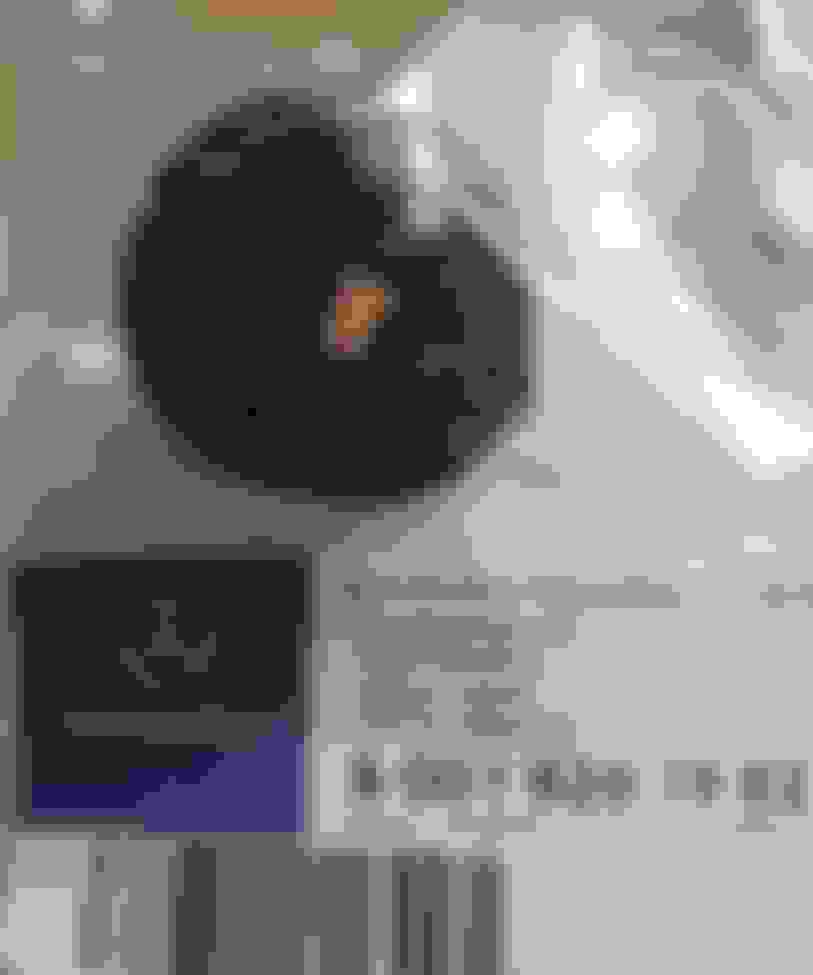
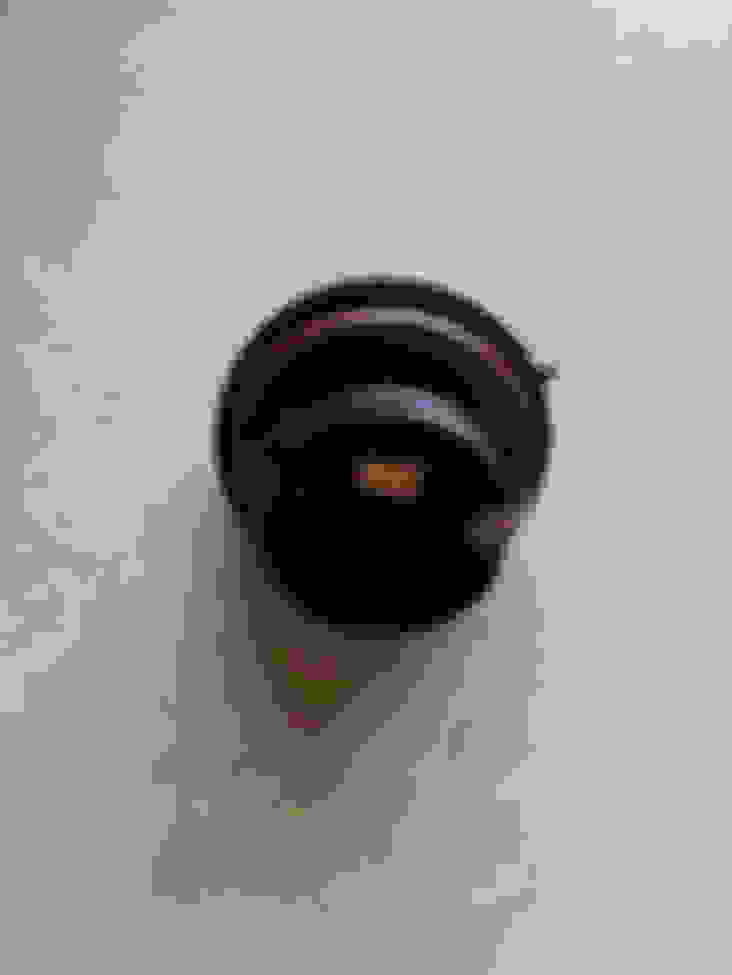
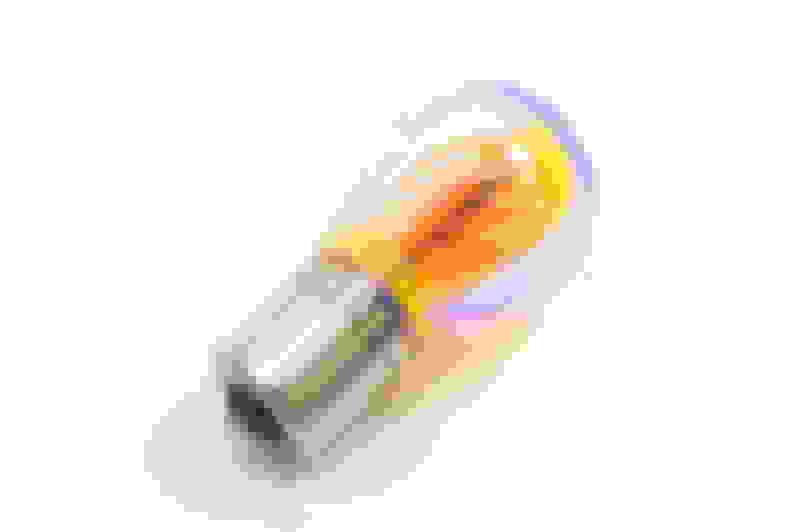
So we know our front turn signal bulbs are 3547a. Super ugly orange and can't really be sourced at a local shop which is annoying.
I found an old thread and was recommended to change the bulb socket to what most European countries get which is the PY21W bulb.
MB part number to replace socket: 001-826-19-82
Lights up orange but during the day it's not anywhere near orange as the egg yoke affect. Even the picture I took afterwards is still too orange than when you see it in person. When it lights up, it's completely orange like the original bulb.
Small thing, but might save people time on painting bulbs or getting the ones that are already plated then start flaking apart. Note I tried LED canbus that stated they would work and not throw errors. They didn't work. Ideally I'd love to go LED but this is fine for me, plus no error codes.
See pictures below of socket, bulb, before and after (Last picture is hopefully noticeable of lack of orange yoke). If I can't attach all pictures here I will do a follow up post below to add the rest of the pictures.
Hey Guys,
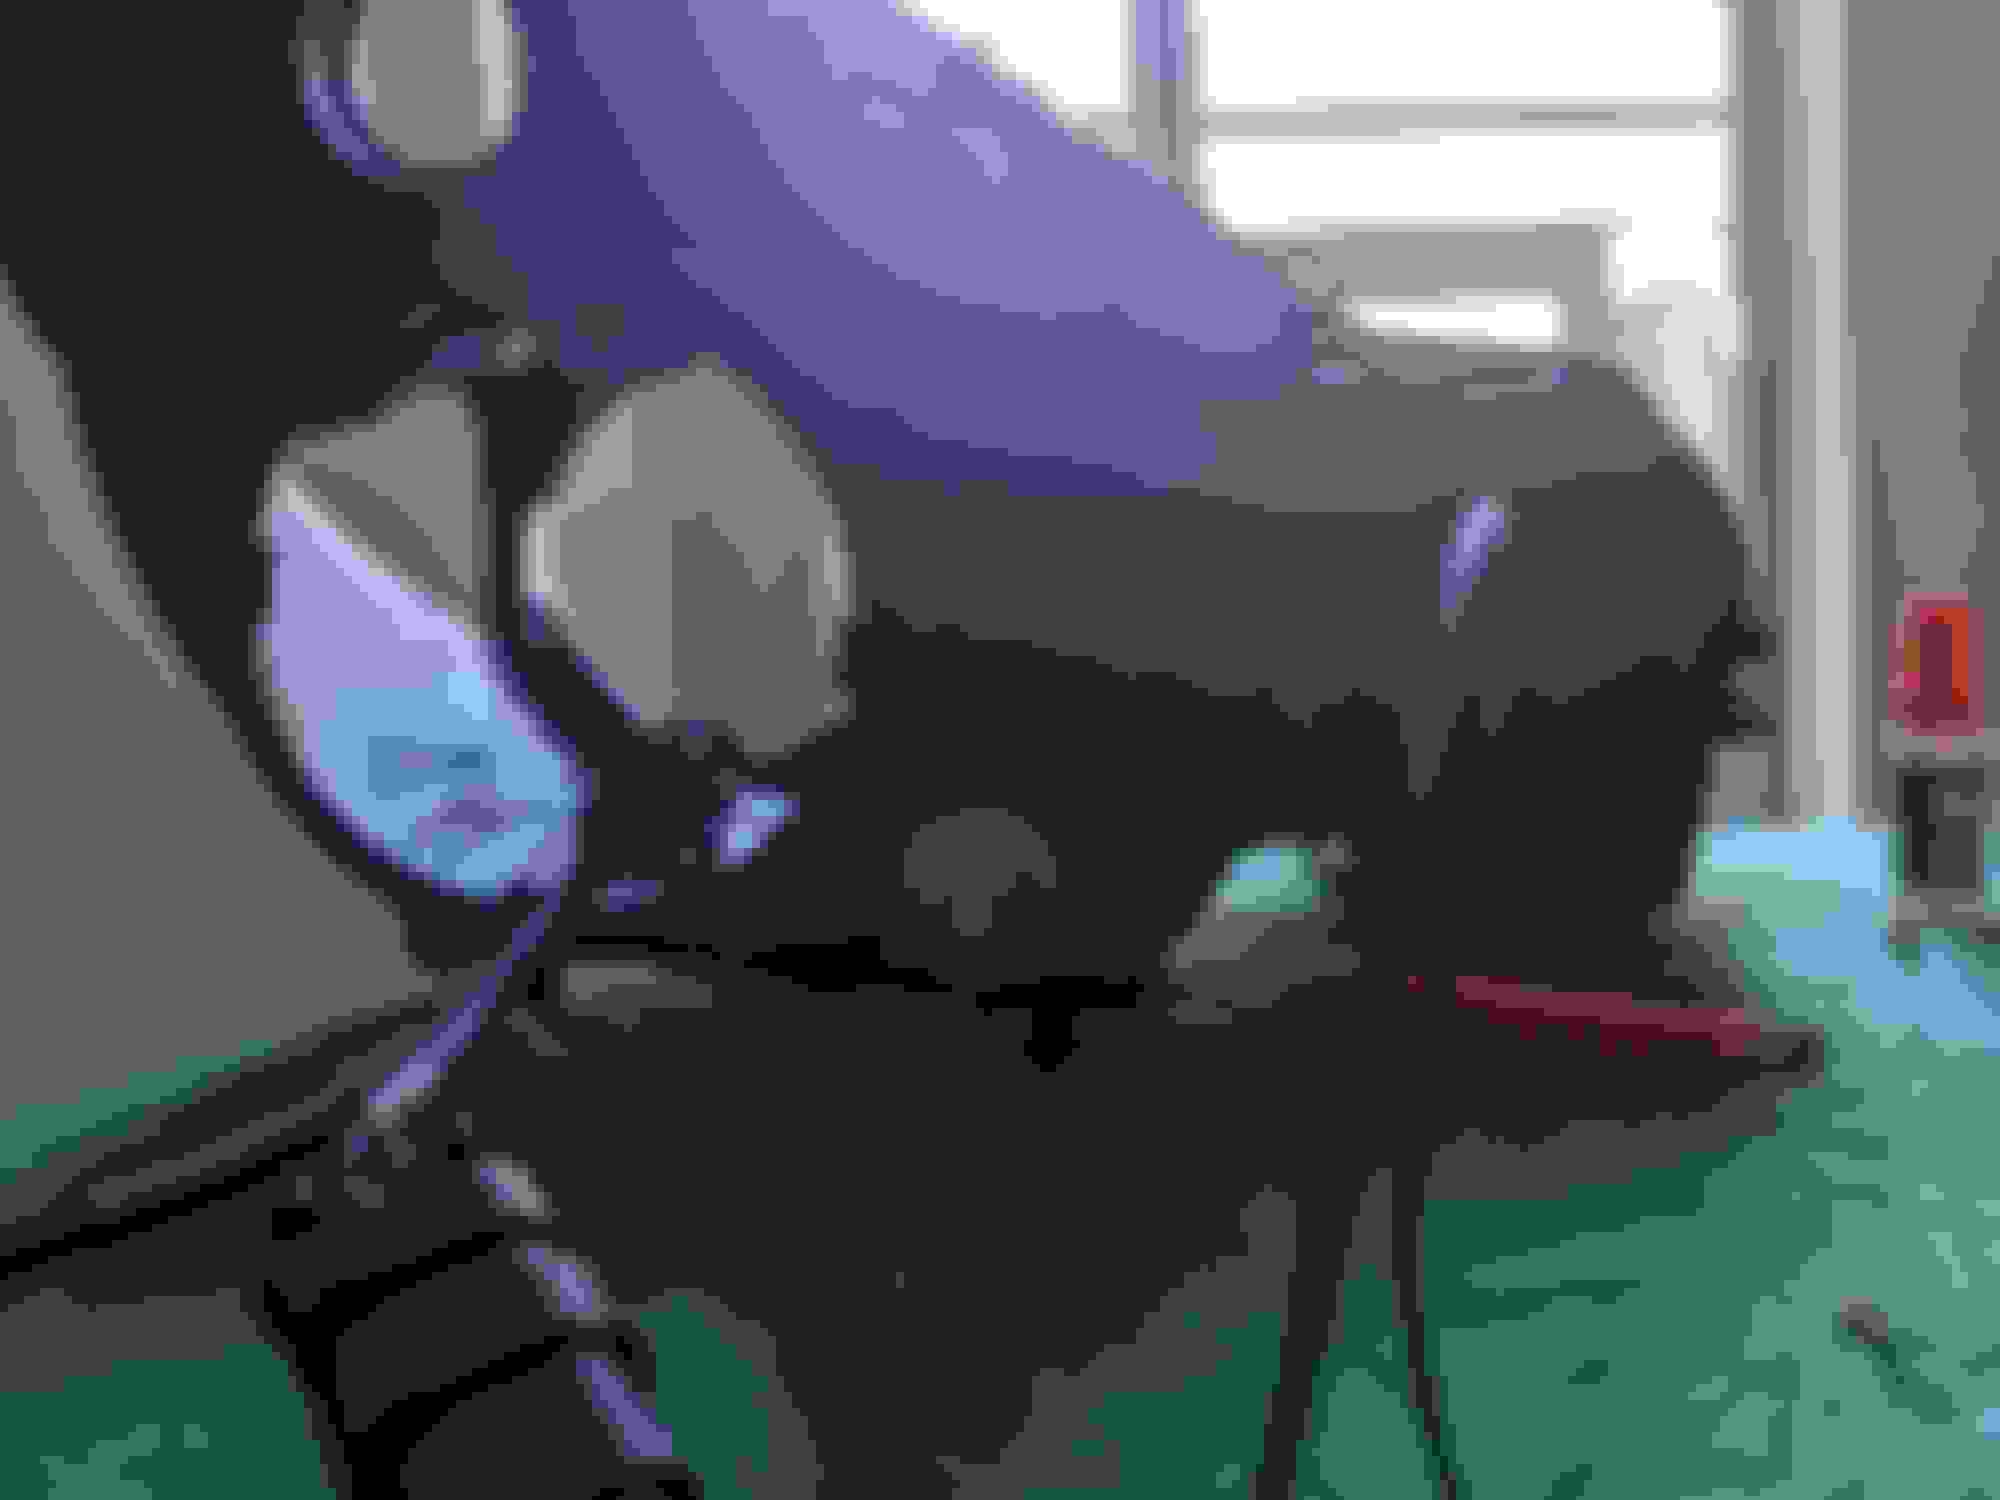
I am resurrecting this thread to call on the Wizards of the W211 headlight retrofit for some help. I too started with factory halogen projectors and now after pulling the light apart, I see the previous owner had converted to LED's and it appears that some of the factory has already been changed. (But I lack the knowledge to be sure). I feel like I am 99% done but am just not sure where to go from here. Gained a lot of confidence after weeks of review on this and related forum posts, but worried I may have bitten off more than I can chew. Any help you guys can provide is greatly appreciated, please be kind on any egregious mistakes lol. .
A couple things I've noted:
- H7 Splitter to Factory H7 Connector is very very loose.
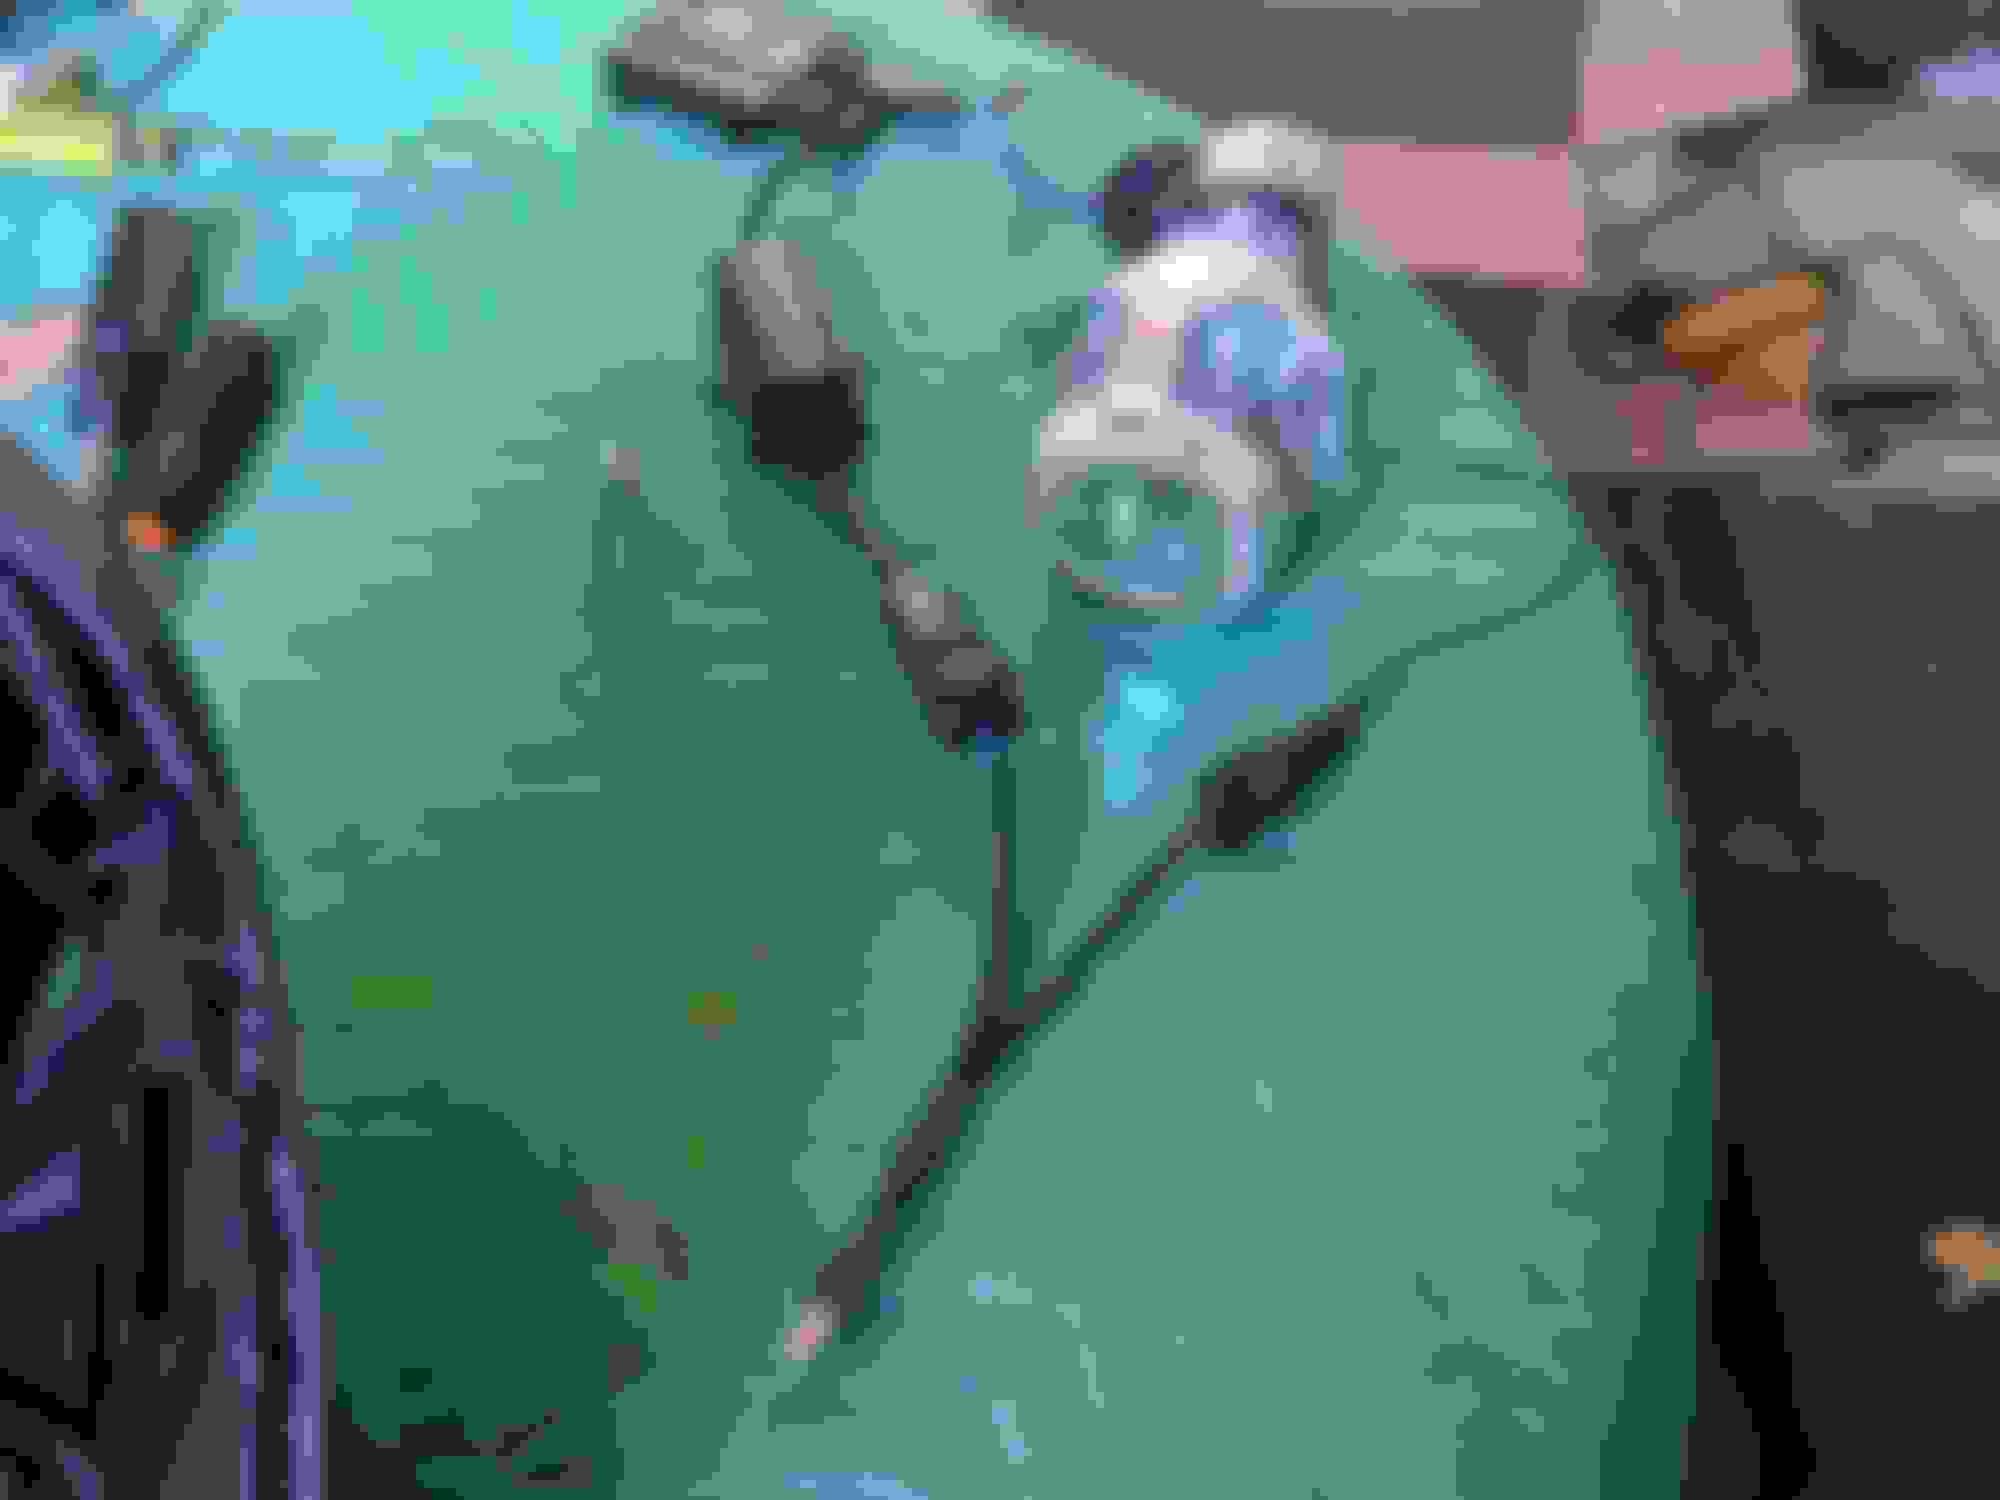
- Looking at the internal shot of the headlight, does that look like factory wiring to you? There are no plugs/wires even coming from the AMP connector below even though the wire was plugged in from the other side. Are those even being used at this point?
Hey Guys,
I am resurrecting this thread to call on the Wizards of the W211 headlight retrofit for some help. I too started with factory halogen projectors and now after pulling the light apart, I see the previous owner had converted to LED's and it appears that some of the factory has already been changed. (But I lack the knowledge to be sure). I feel like I am 99% done but am just not sure where to go from here. Gained a lot of confidence after weeks of review on this and related forum posts, but worried I may have bitten off more than I can chew. Any help you guys can provide is greatly appreciated, please be kind on any egregious mistakes lol. .
A couple things I've noted:
- H7 Splitter to Factory H7 Connector is very very loose.
- Looking at the internal shot of the headlight, does that look like factory wiring to you? There are no plugs/wires even coming from the AMP connector below even though the wire was plugged in from the other side. Are those even being used at this point?
That is typical MB wiring because it's all cracked and falling apart. I would HIGHLY recommend you either put heat shrink tubing on all that is cracked or better yet just solder in new wire. You are asking for a short/fire with how those wires are exposed... The brown and yellow wire are almost touching where the insulation is breaking apart which could be a disaster...
That is typical MB wiring because it's all cracked and falling apart. I would HIGHLY recommend you either put heat shrink tubing on all that is cracked or better yet just solder in new wire. You are asking for a short/fire with how those wires are exposed... The brown and yellow wire are almost touching where the insulation is breaking apart which could be a disaster...
-Nigel
Thanks Nigel! Your original threads helped get me through this. I was super worried about a short with the wires as they were so I did end up soldering some new wire in here and now keep a fire extinguisher under the seat for good measure.
 11-20-2016, 10:15 AM