When you click on links to various merchants on this site and make a purchase, this can result in this site earning a commission. Affiliate programs and affiliations include, but are not limited to, the eBay Partner Network.
I installed my clear side markers last weekend and have some pics and descriptions of the install.
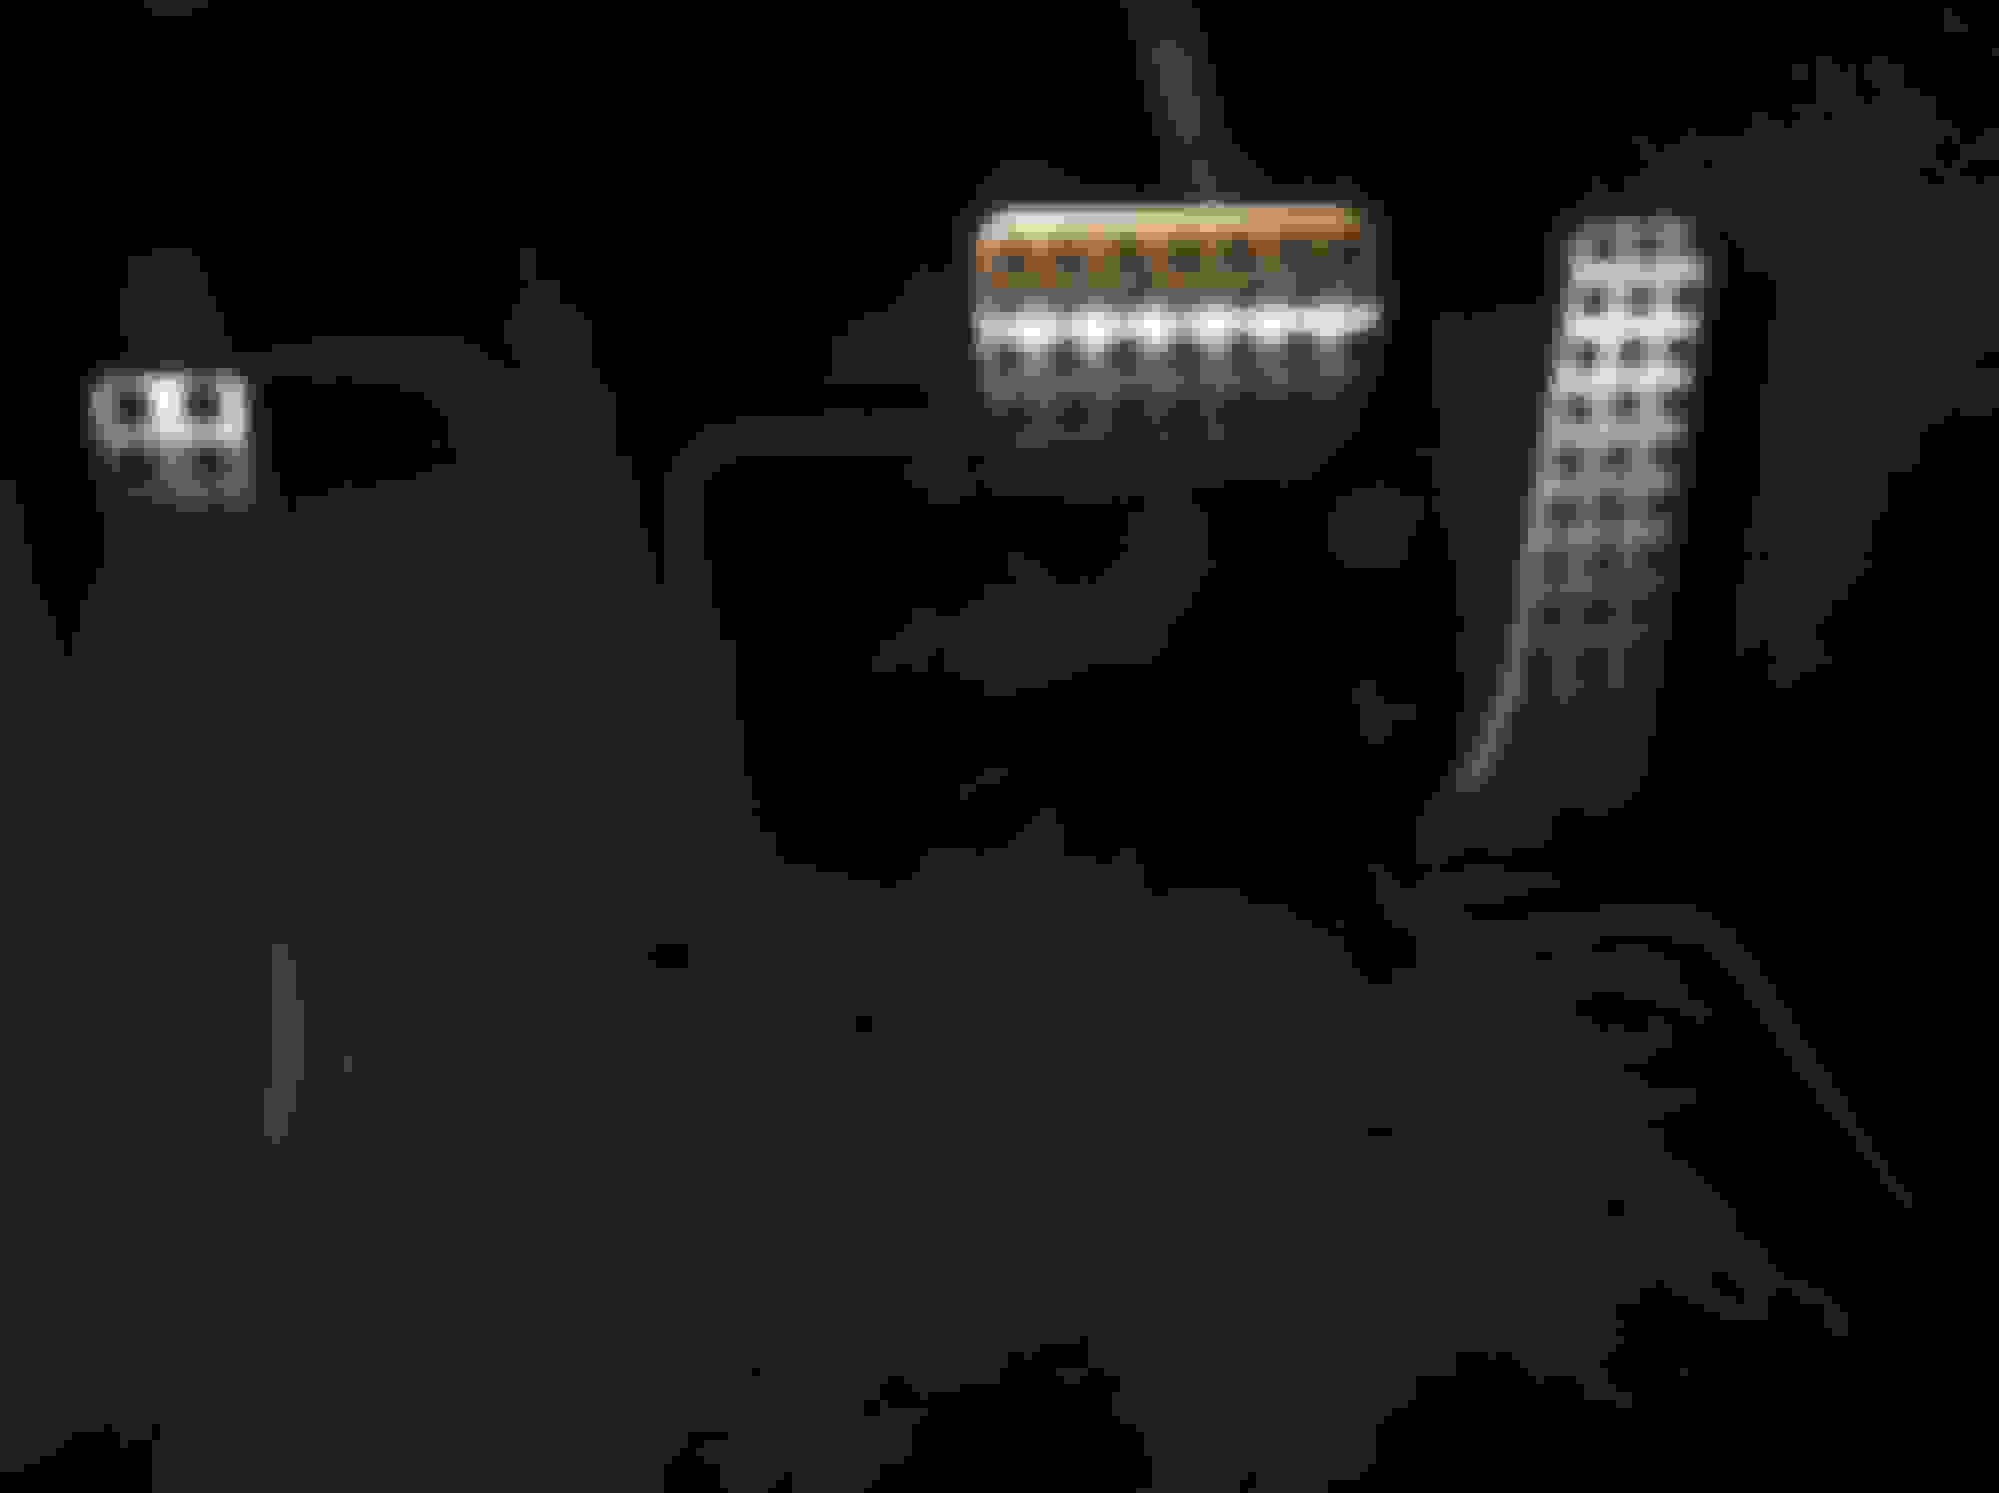
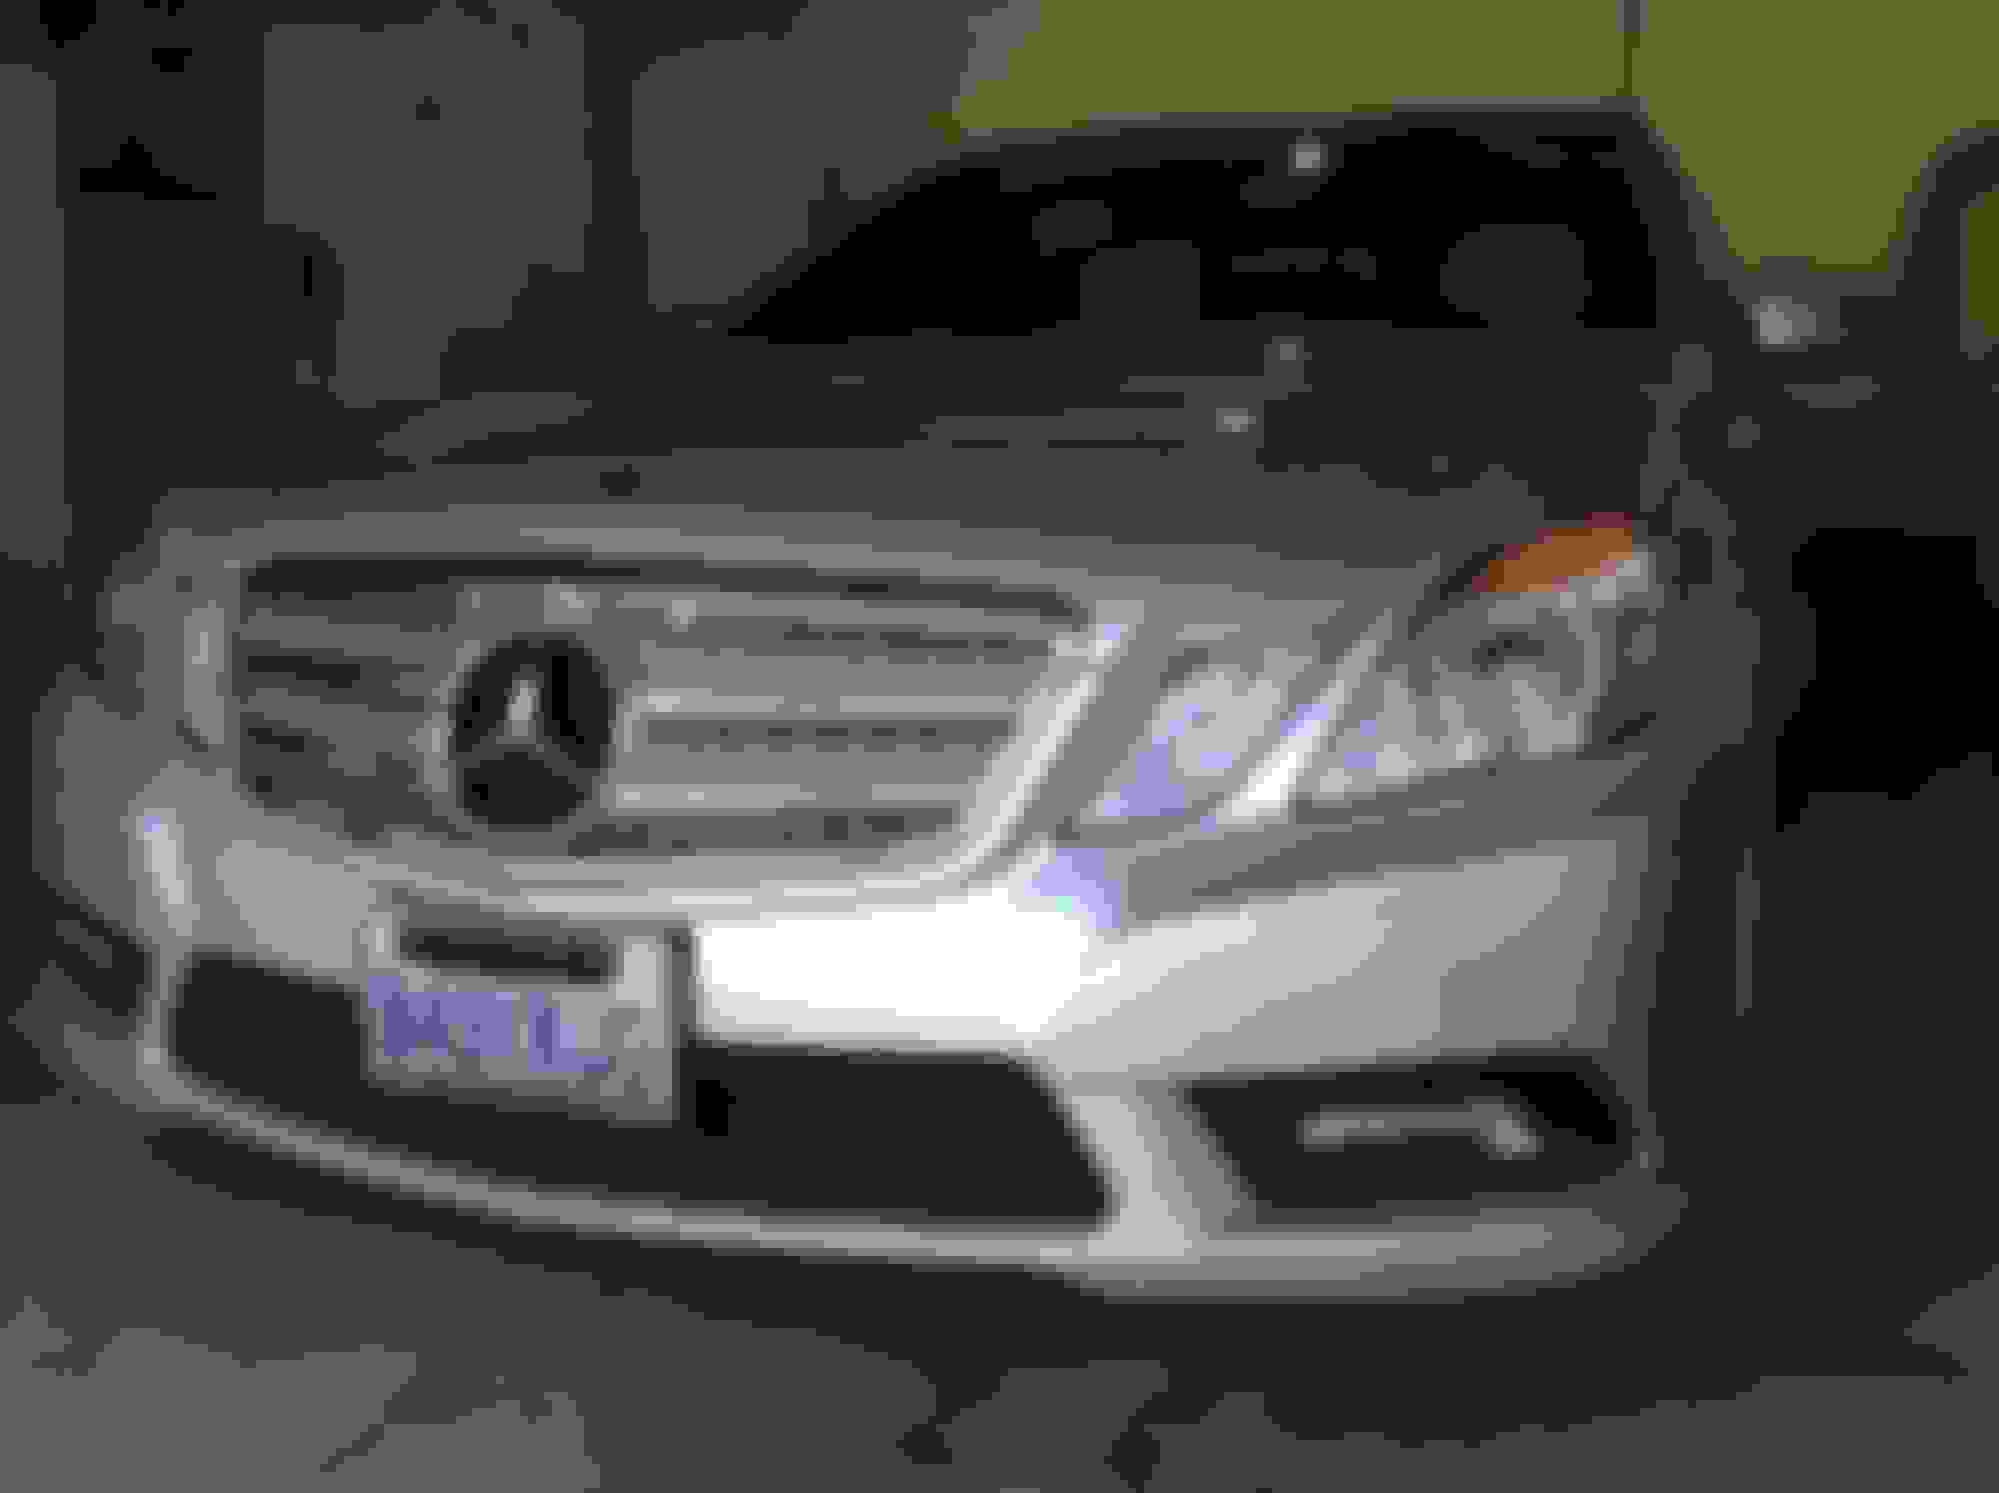
After removing two of the plastic fasteners from the wheel well liner (see pic), I has able to pull back the liner enough to slide my hand inside and twist the bulb socket free from the lens housing (see pic). The bulb and wiring will just hang there inside the fender during the install.
Next I felt for the plastic tab that attaches the exterior lens to the backing plate which is inside the fender. Once that tab is pushed away, towards the front of car, the lens will start to pull free from the fender (see pic). While still holding the backer plate inside the fender with one hand, I pulled the lens out and away from the fender with my other hand and unhooked the lens from the plate. The backer plate can also move/slide along with the lens to help in unhooking (see pic). Once the lens is completely free, the backer plate is totally loose inside the fender, so try to keep it in its place.
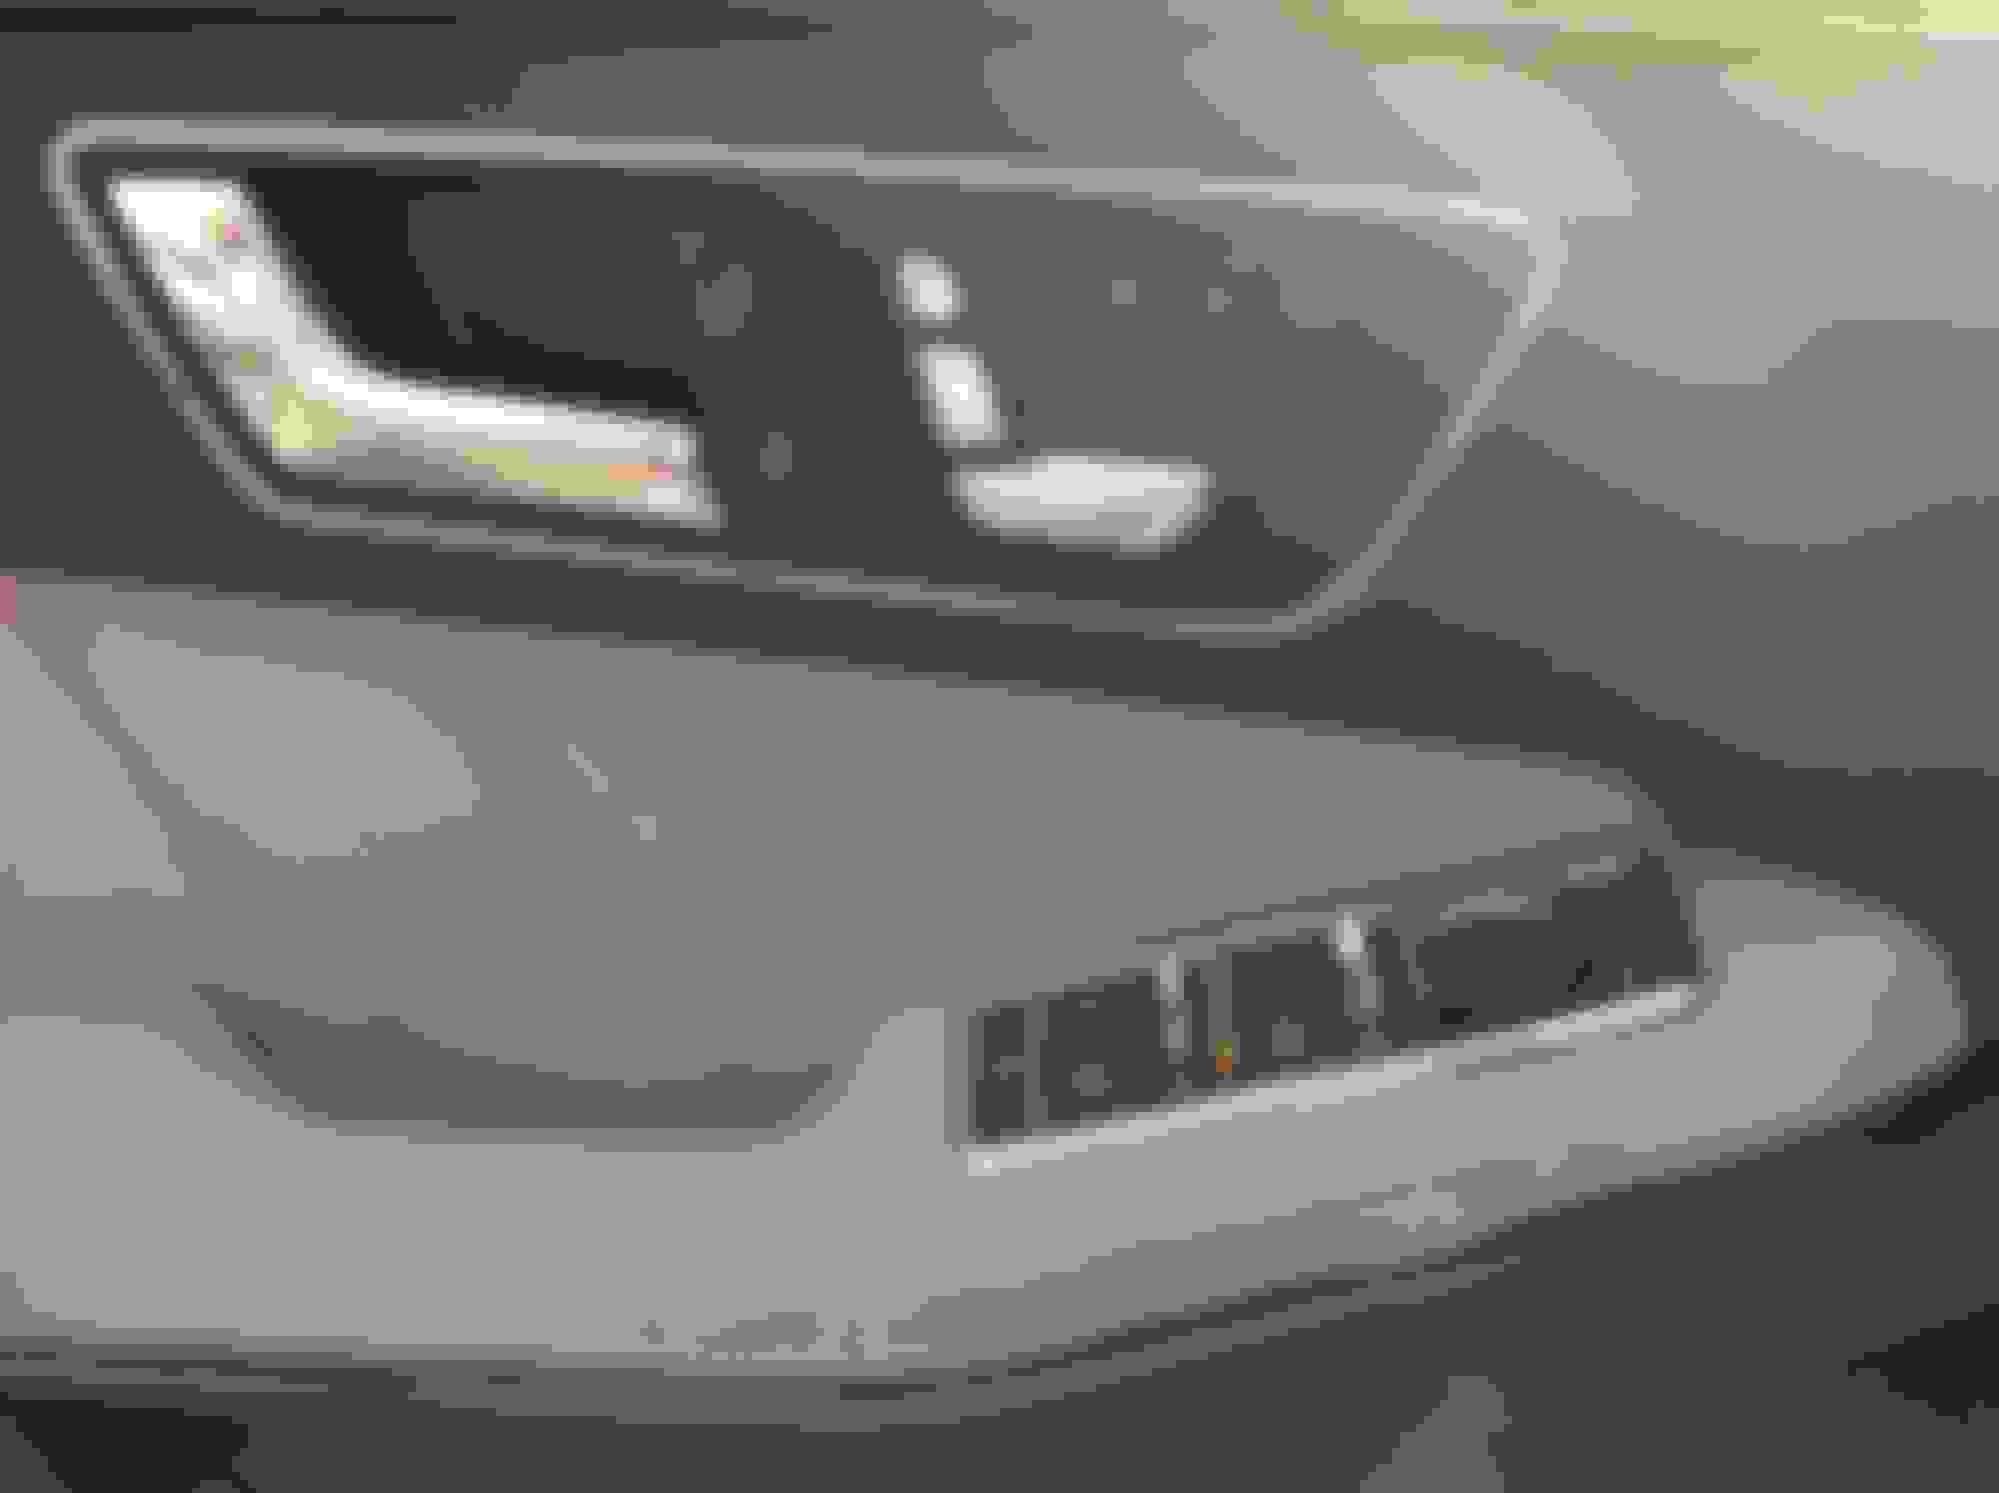
Now the new lens can be slid into place by first re-hooking onto the backer plate and sliding the plate and lens back into the original position(see pic). It is a very tight fit so you may had to shave a bit of the plastic lower clip of the new lens with a utility knife to give it a little extra clearance to slide into place in the opening.
Once the lens and backer plate is totally aligned in the opening, squeeze the lens and backer plate together completely to snap them together so it holds in place.
Then use either the clear or amber bulb and twist the socket back into the housing and push the fasteners back into the wheel well liner and its done.
I installed my clear side markers last weekend and have some pics and descriptions of the install.
After removing two of the plastic fasteners from the wheel well liner (see pic), I has able to pull back the liner enough to slide my hand inside and twist the bulb socket free from the lens housing (see pic). The bulb and wiring will just hang there inside the fender during the install.
Next I felt for the plastic tab that attaches the exterior lens to the backing plate which is inside the fender. Once that tab is pushed away, towards the front of car, the lens will start to pull free from the fender (see pic). While still holding the backer plate inside the fender with one hand, I pulled the lens out and away from the fender with my other hand and unhooked the lens from the plate. The backer plate can also move/slide along with the lens to help in unhooking (see pic). Once the lens is completely free, the backer plate is totally loose inside the fender, so try to keep it in its place.
Now the new lens can be slid into place by first re-hooking onto the backer plate and sliding the plate and lens back into the original position(see pic). It is a very tight fit so you may had to shave a bit of the plastic lower clip of the new lens with a utility knife to give it a little extra clearance to slide into place in the opening.
Once the lens and backer plate is totally aligned in the opening, squeeze the lens and backer plate together completely to snap them together so it holds in place.
Then use either the clear or amber bulb and twist the socket back into the housing and push the fasteners back into the wheel well liner and its done.
total time approx 30-45min
Great! where can i order the clear side markers? Who got a good price?
Tip: For the plastic fastners on the wheel well. Take needle nose pliers and yank the smaller inner circle out of the fastner first. Then the wider plug will just yank right out. Instead of trying to force the whole fastner out.
Reverse this method when re installing the fastner or you'll have a sore thumb from trying to push it back in.
Nice install. Looks clean.
I also pulled the pin out first, which definitely made it easy to pull the fastener body out next.
Clear sidemarkers is a magnet for cops in Hawaii....automatic ticket!! Its gotta be orange. With that being said...will be ordering a set soon...LMAO!!
SOrry to bring this thread up again, but if we continually remove those push pins from the wheel well, is it possible that we could expand the holes too much so that the rivets don't hold the wheel liner in?
Since the pins are not screwed in, but just have jagged edges, don't these abrade/strip the holes in the bumper and wheel liner whenever we remove them??
Was having problems removing the side markers,
Tried to first remove the bulb but there seamed to be somthing blocking it.
I'm I doing somthing wrong?
Didnt want to force it and break somthing.
Also is there glue that holds the marker in place?
I installed my clear side markers last weekend and have some pics and descriptions of the install.
After removing two of the plastic fasteners from the wheel well liner (see pic), I has able to pull back the liner enough to slide my hand inside and twist the bulb socket free from the lens housing (see pic). The bulb and wiring will just hang there inside the fender during the install.
Next I felt for the plastic tab that attaches the exterior lens to the backing plate which is inside the fender. Once that tab is pushed away, towards the front of car, the lens will start to pull free from the fender (see pic). While still holding the backer plate inside the fender with one hand, I pulled the lens out and away from the fender with my other hand and unhooked the lens from the plate. The backer plate can also move/slide along with the lens to help in unhooking (see pic). Once the lens is completely free, the backer plate is totally loose inside the fender, so try to keep it in its place.
Now the new lens can be slid into place by first re-hooking onto the backer plate and sliding the plate and lens back into the original position(see pic). It is a very tight fit so you may had to shave a bit of the plastic lower clip of the new lens with a utility knife to give it a little extra clearance to slide into place in the opening.
Once the lens and backer plate is totally aligned in the opening, squeeze the lens and backer plate together completely to snap them together so it holds in place.
Then use either the clear or amber bulb and twist the socket back into the housing and push the fasteners back into the wheel well liner and its done.
total time approx 30-45min
I tried to DIY the side markers and I hit a snag (could not pull the bulb out). Decided to put back together but can't get marker to click back into place. Is there a trick to it? Do I pull the pin/hook back? It was easy to move forward to losen the bulb side of the marker. Now when I put the plastic liner back into place the side marker sticks out and is lose. Any pointers?
Just recently my bulb needed retightening and even as the op, I also had some trouble this time getting the lens to fit tightly to the backer plate. While holding the backer plate with one hand and the lens side with the other, I continued to squeeze together until they finally aligned and snapped into place.
As long as the front edge of the lens is slid into place, the back edge should snap into place with a little squeezing.
I'm not sure if this is appropriate, so I apologize if not.. I have a new in the box set of clear side markers with the chrome bulbs for a W212, E350 sedan, if anyone is interested. Let me know and we can work out a deal.
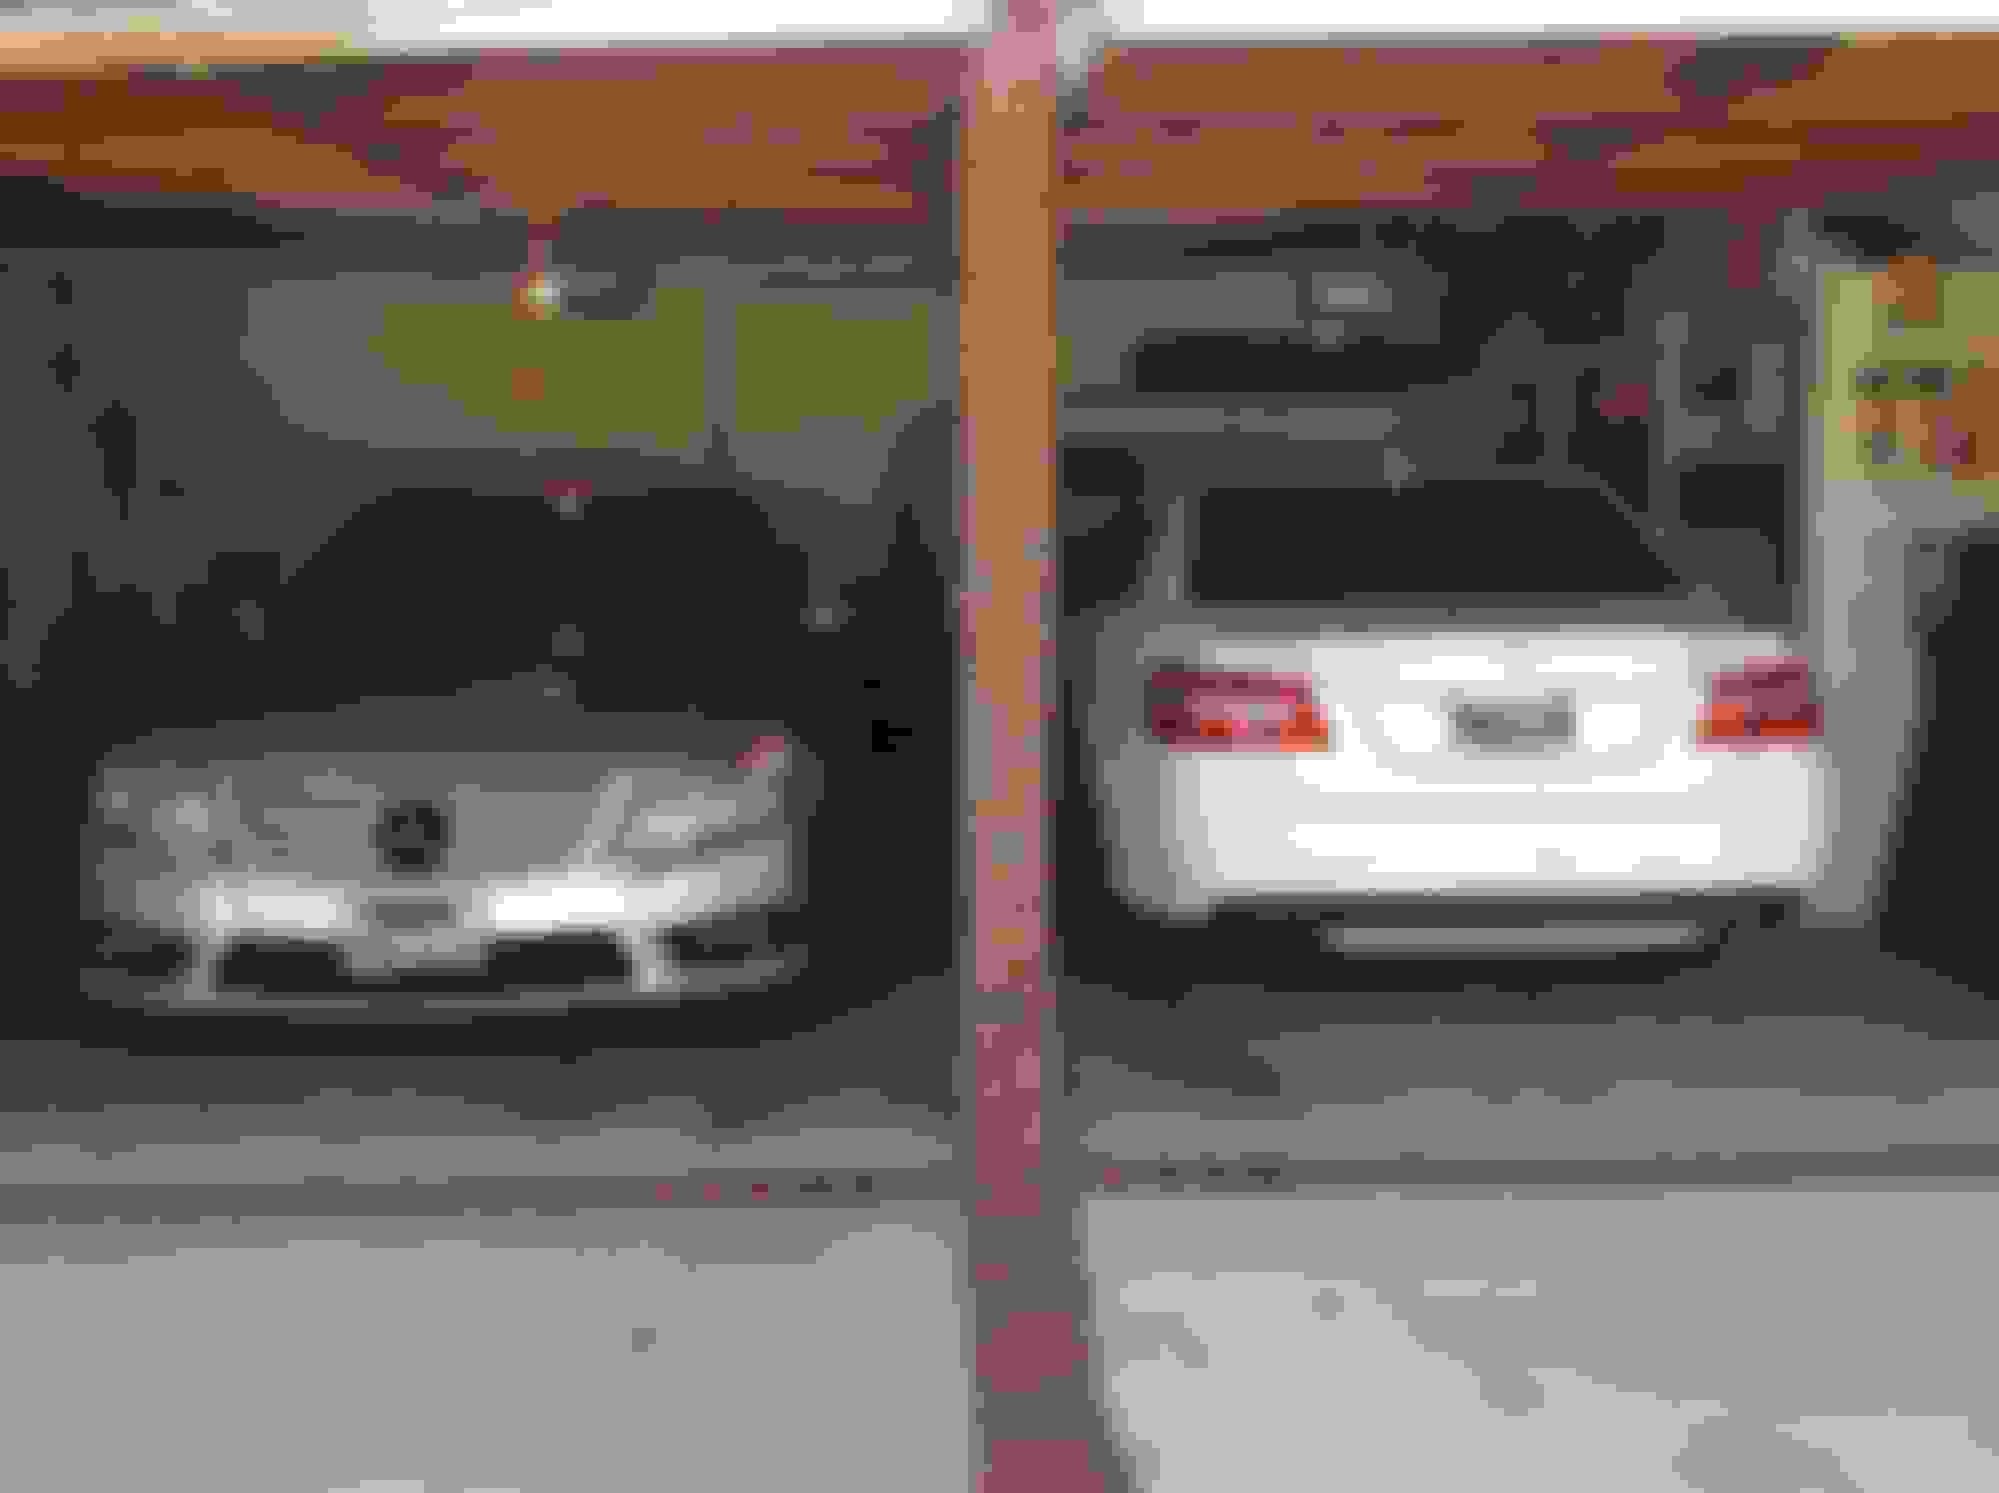
I got the same grille as yours along with the same year, model and color Mercedes. I picked the smoked side markers, AMG pedals, lowered on 20" Vossen CVTs. Hope you like it.
Originally Posted by PHML
Clear sidemarkers is a magnet for cops in Hawaii....automatic ticket!! Its gotta be orange. With that being said...will be ordering a set soon...LMAO!!

 06-24-2015, 06:24 PM