When you click on links to various merchants on this site and make a purchase, this can result in this site earning a commission. Affiliate programs and affiliations include, but are not limited to, the eBay Partner Network.
Okay just did this today and to be honest it isn't difficult enough to be worth a "how-to" but for anyone curious or unsure about doing it themselves here it goes.
First off, this is one of the simplest vehicles I've ever changed them on. You'd almost have to change a plug on a lawnmower to find it easier.
I didn't get carried away with pictures because it's really straightforward but I'll include a few for reference at the end.
1. Remove crossbar - Two 17mm wrenches to remove the four bolts.nuts (2 each side) and a 10mm socket for the top bolt that attaches the upper trim piece to the crossbar.
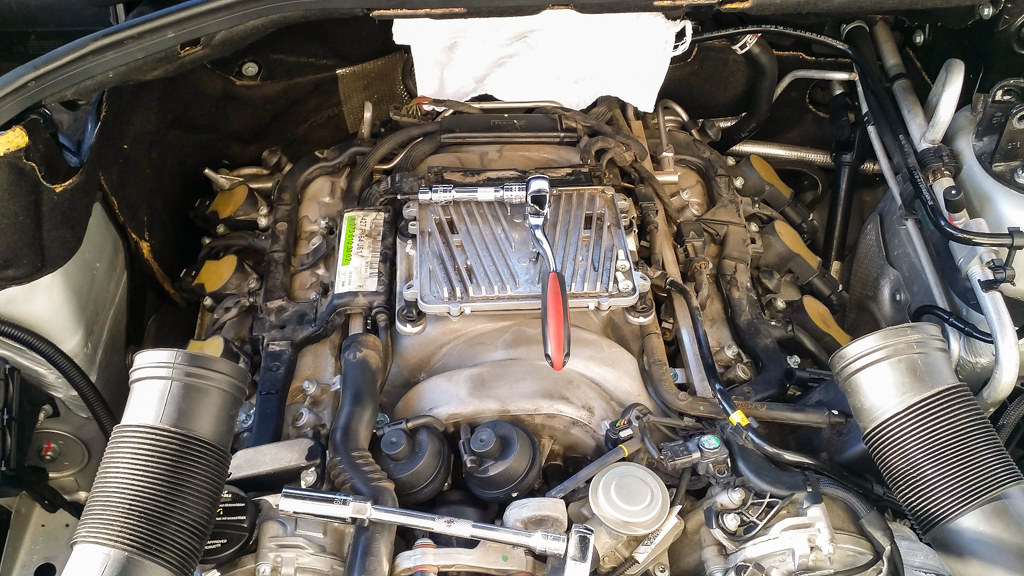
2. Remove plastic engine covers - Front half of cover simply slides up and off. For the rear cover slide off the two plastic tubes for the air intakes, slide off the vent hose near the front center (slightly left) cover. Unclip the silver clip on the rear over the air intake/MAF. Lift out to remove (might take a bit of a tug).
At this point it's the coil packs and plugs. All are well exposed and easy to access without any difficulty. For the sake of simplicity I suggest doing each plug individually and completely to avoid too many loose parts or the off chance of mixing coils to cylinders.
3. Each plug has it's own coil held down by two T-27 screws/bolts (the coils are the yellowish/beige and black units in the picture below). Unscrew the two hold down bolts and simply wiggle up and off to remove from plug. There is no need to remove the wires attached to the coils, there is ample slack to remove and set aside.
4. Remove plug - 14mm (narrow) plug socket with a short (3 or 4 inch) extension is sufficient. Remove and replace. I've seen torque specified in several different specs from 17ft/lbs to 35ft/lbs. I played it safe at 22, lightly snug but not over the top.
5. Replace coil pack and screw back down.
6. Repeat for all 8 spark plugs.
7. Replace rear plastic engine cover/air filter housing. Special care to ensure it is properly fitted to MAF and silver clip locked back into place. Also double check that the vent hose near the front of the back half center is back in place. Refit air intake hoses.
8. Replace front plastic cover
9. Re install crossbar.
Easy, simple (took me less than 30 minutes) and you save yourself several hundreds of dollars at either an indy shop or the dealer.
Plugs I used were the OE recommended Bosch and they come pre-gapped and ready to go.
One thing I can add is never ever get creative with your choice of plugs. Stick to the oem recommended plugs to avoid headaches. This applies to all modern vehicles.
It's a great service to combine with changing the air filters.
But I ran into a couple of difficulties.
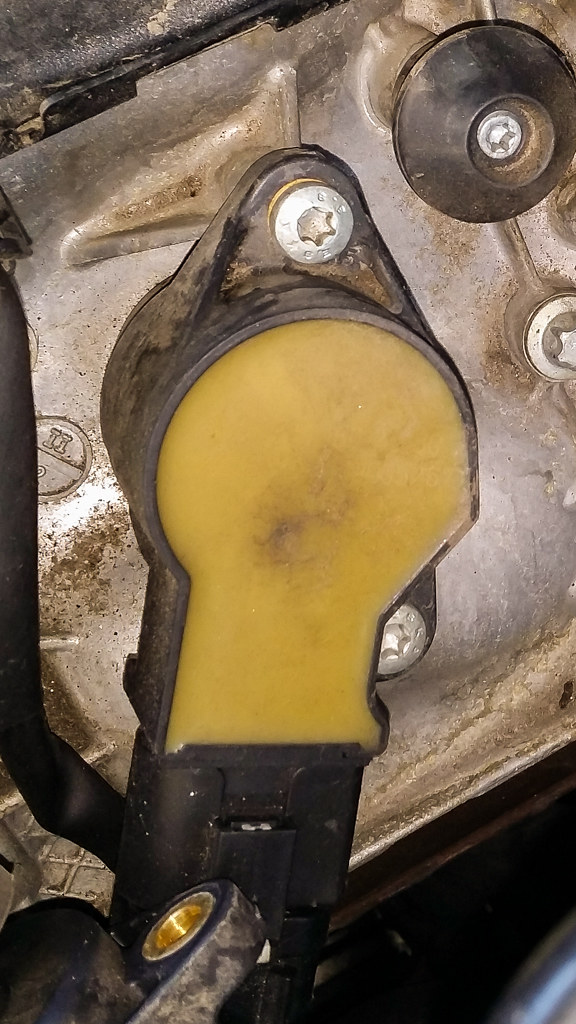
One is, there was some sort of rubber debris, like portions of rubber flange, in several of the spark plug wells. I'm pretty sure it came off the coils.
The other was pretty much heart stopping. When I installed one of the spark plugs, as I was torquing it down, I felt it "give". Now, anybody that has wrenched knows what it feels like when threads strip. This freaked me out, because I simply didn't push that hard on the wrench; it's a 3/8" ratchet and I'm not THAT strong. I backed the spark plug out, my heart pounding in my ears, getting ready to see aluminum cylinder head material in the spark plug threads.
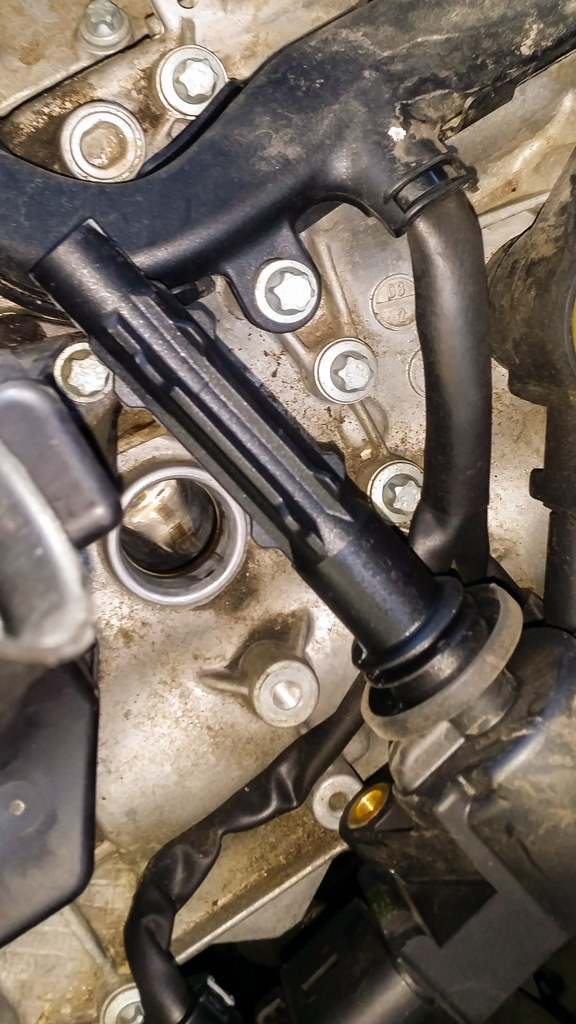
The threads were clean. I peeked in the spark plug well, and saw the rubber debris at the bottom. I figured that what had happened was the rubber had gotten in the way, and the "give" I had felt was the rubber getting squeezed out of the way. I vacuumed the rubber debris out of that well and the others and went back to installing the spark plugs. This time, the spark plug simply didn't accept torque, and spun freely. I pulled it back out to see this:
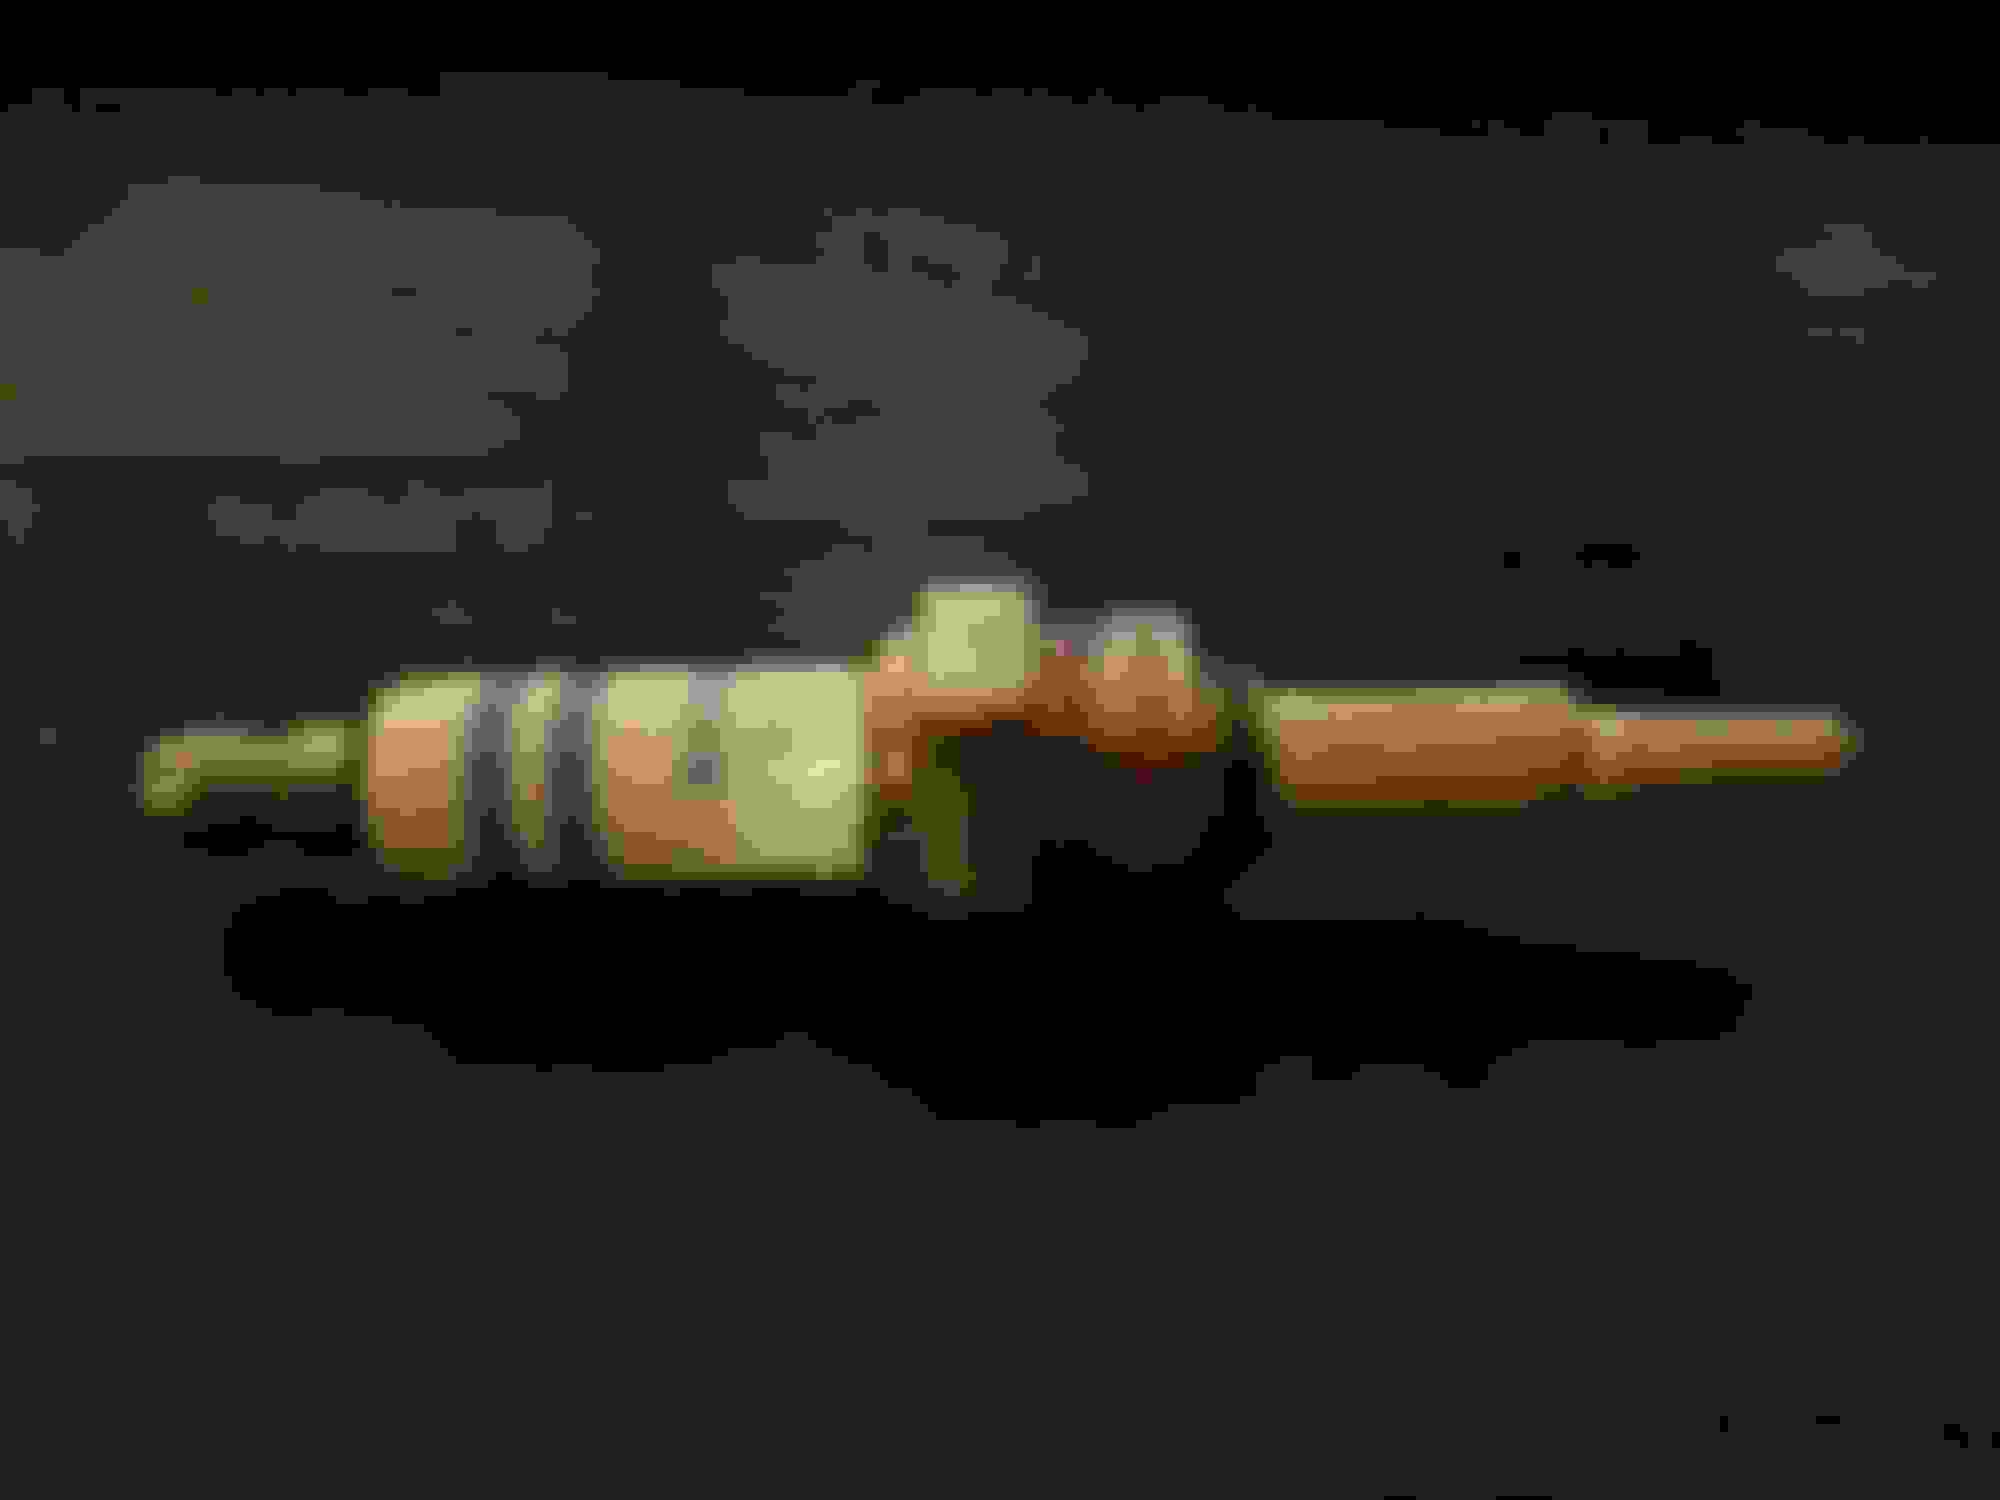
So, yeah, the spark plug came apart, leaving the threaded portion stuck in the cylinder head. Again the heart is pounding in the ears. Getting creative with a screwdriver, I managed to unscrew the separated thread piece out of the cylinder head. I put one of the old plugs back in to one of the front cylinders, and I'll order a replacement.
So, bottom line is this:
1. You may need to clean the spark plug wells. Mine had rubber debris in them. Inspect them with a flashlight and a mirror (to see the back cylinders).
2. Be careful with the torque! I have never in my life over torqued a spark plug to the point of self disassembly, but here you go. I applied more torque to remove the plugs than I did to break the threads on this one. Maybe defective, but they are kind of skinny ... I dunno. Maybe the rubber debris distracted me from the torque process, because I didn't feel the plug cleanly hit its snug point. The box had no torque spec on it. Yes, they are Bosch plugs.
Strange, though: I swear my crossbar nuts are 16mm and the coil bolts are T-30, contrary to the above.
Hahaha no, my grubby fingered son helper played with it after I handed him the broken plug. It's a new one.
I know it is wildly conservative, but I'm going to replace all eight plugs with new ones. I freaked out after I found out the torque spec on 12mm thread plugs is just 9-10 ft-lbs (Bosch says 12-15, less 30% if threads are lubricated). I have no idea how problematic it is to have stretched plug threads, but I easily put 30 ft-lbs on them. If I'm getting in there I'll just be safe and replace all eight. Better safe than sorry.
I started with mrchris's original post, and after changing plugs on my 2007 GL450, have applied some listed corrections, and added some details such as torque specs from the M-B WIS:
0. Lift the two clips that retain the Cabin Filter Cover on RH (US-Passenger) side and remove the cover for crossbar clearance.
1. Remove crossbar - One 16mm wrench and E14 Torx to remove the four bolts/nuts (2 each side) and a 10mm socket for the top bolt that attaches the upper trim piece to the crossbar.
2. Remove plastic engine covers - Front half of cover simply slides up and off. For the rear cover slide off the two plastic tubes for the air intakes, slide off the vent hose near the front center (slightly left) cover. Unclip the silver clip on the rear over the air intake/MAF. Lift out to remove (might take a bit of a tug). I place a plastic can top over the MAF screen to keep any debris out.
3. At this point it's the coil packs and plugs. All are well exposed and easy to access without any difficulty. For the sake of simplicity I suggest doing each plug individually and completely to avoid too many loose parts or the off chance of mixing coils to cylinders. (As I had to swap and change a coil pack, I just labeled mine with a marker - #1 is RH(US-Passenger) front cylinder to #4 at the rear, #5 is LH(US-Driver) front cylinder to #8 at the rear.)
Each plug has its own coil held down by two T-30 screws/bolts (the coils are the yellowish/beige and black units in the picture below). Unscrew the two hold down bolts with a T-30 Torx bit and 3" extension and simply wiggle up and off to remove from plug. There is no need to remove the wires attached to the coils, there is ample slack to remove and set aside.
4. Remove plug - 5/8" (narrow) plug socket with a 6" and 1-1/2" extensions. (I unscrew 1 turn, then blow air in the plug hole to clear any debris.) Remove and replace. The M-B WIS says to torque plugs to 23 Nm.
5. Replace coil pack and screw back down. The M-B WIS says to torque to 9 Nm.
6. Repeat for all 8 spark plugs.
(If replacing Air Filters, use a T-25 Torx bit for the Air Filter Covers.)
7. Replace rear plastic engine cover/air filter housing. Special care to ensure it is properly fitted to MAF and silver clip locked back into place. Also double check that the vent hose near the front of the back half center is back in place. Refit air intake hoses.
8. Replace front plastic cover.
9. Re install crossbar. Torque the 4 bolts/nuts to 50 Nm.
Plugs I used were the OE recommended Bosch and they come pre-gapped and ready to go.
 12-23-2013, 07:55 PM