When you click on links to various merchants on this site and make a purchase, this can result in this site earning a commission. Affiliate programs and affiliations include, but are not limited to, the eBay Partner Network.
DIY: 2013-2015 LED Tail Light Conversion for 2010-2012 GLK
It seems like a lot of people were/are interested in this topic. First and for most, I'm not entirely sure if I did this conversion correctly, so I will not be held accountable for any damages. That being said, proceed with caution! Critique and expert opinion on the matter is also greatly appreciated.
1. With the car OFF, unplug and remove tail lights. You will need a 10mm socket wrench to loosen and remove the tail lights.
Repinning or Wire Splicing:
2. There are 2 different approaches in which you have the option of either repinning certain wires OR splicing those wires. (I did the repinning method)
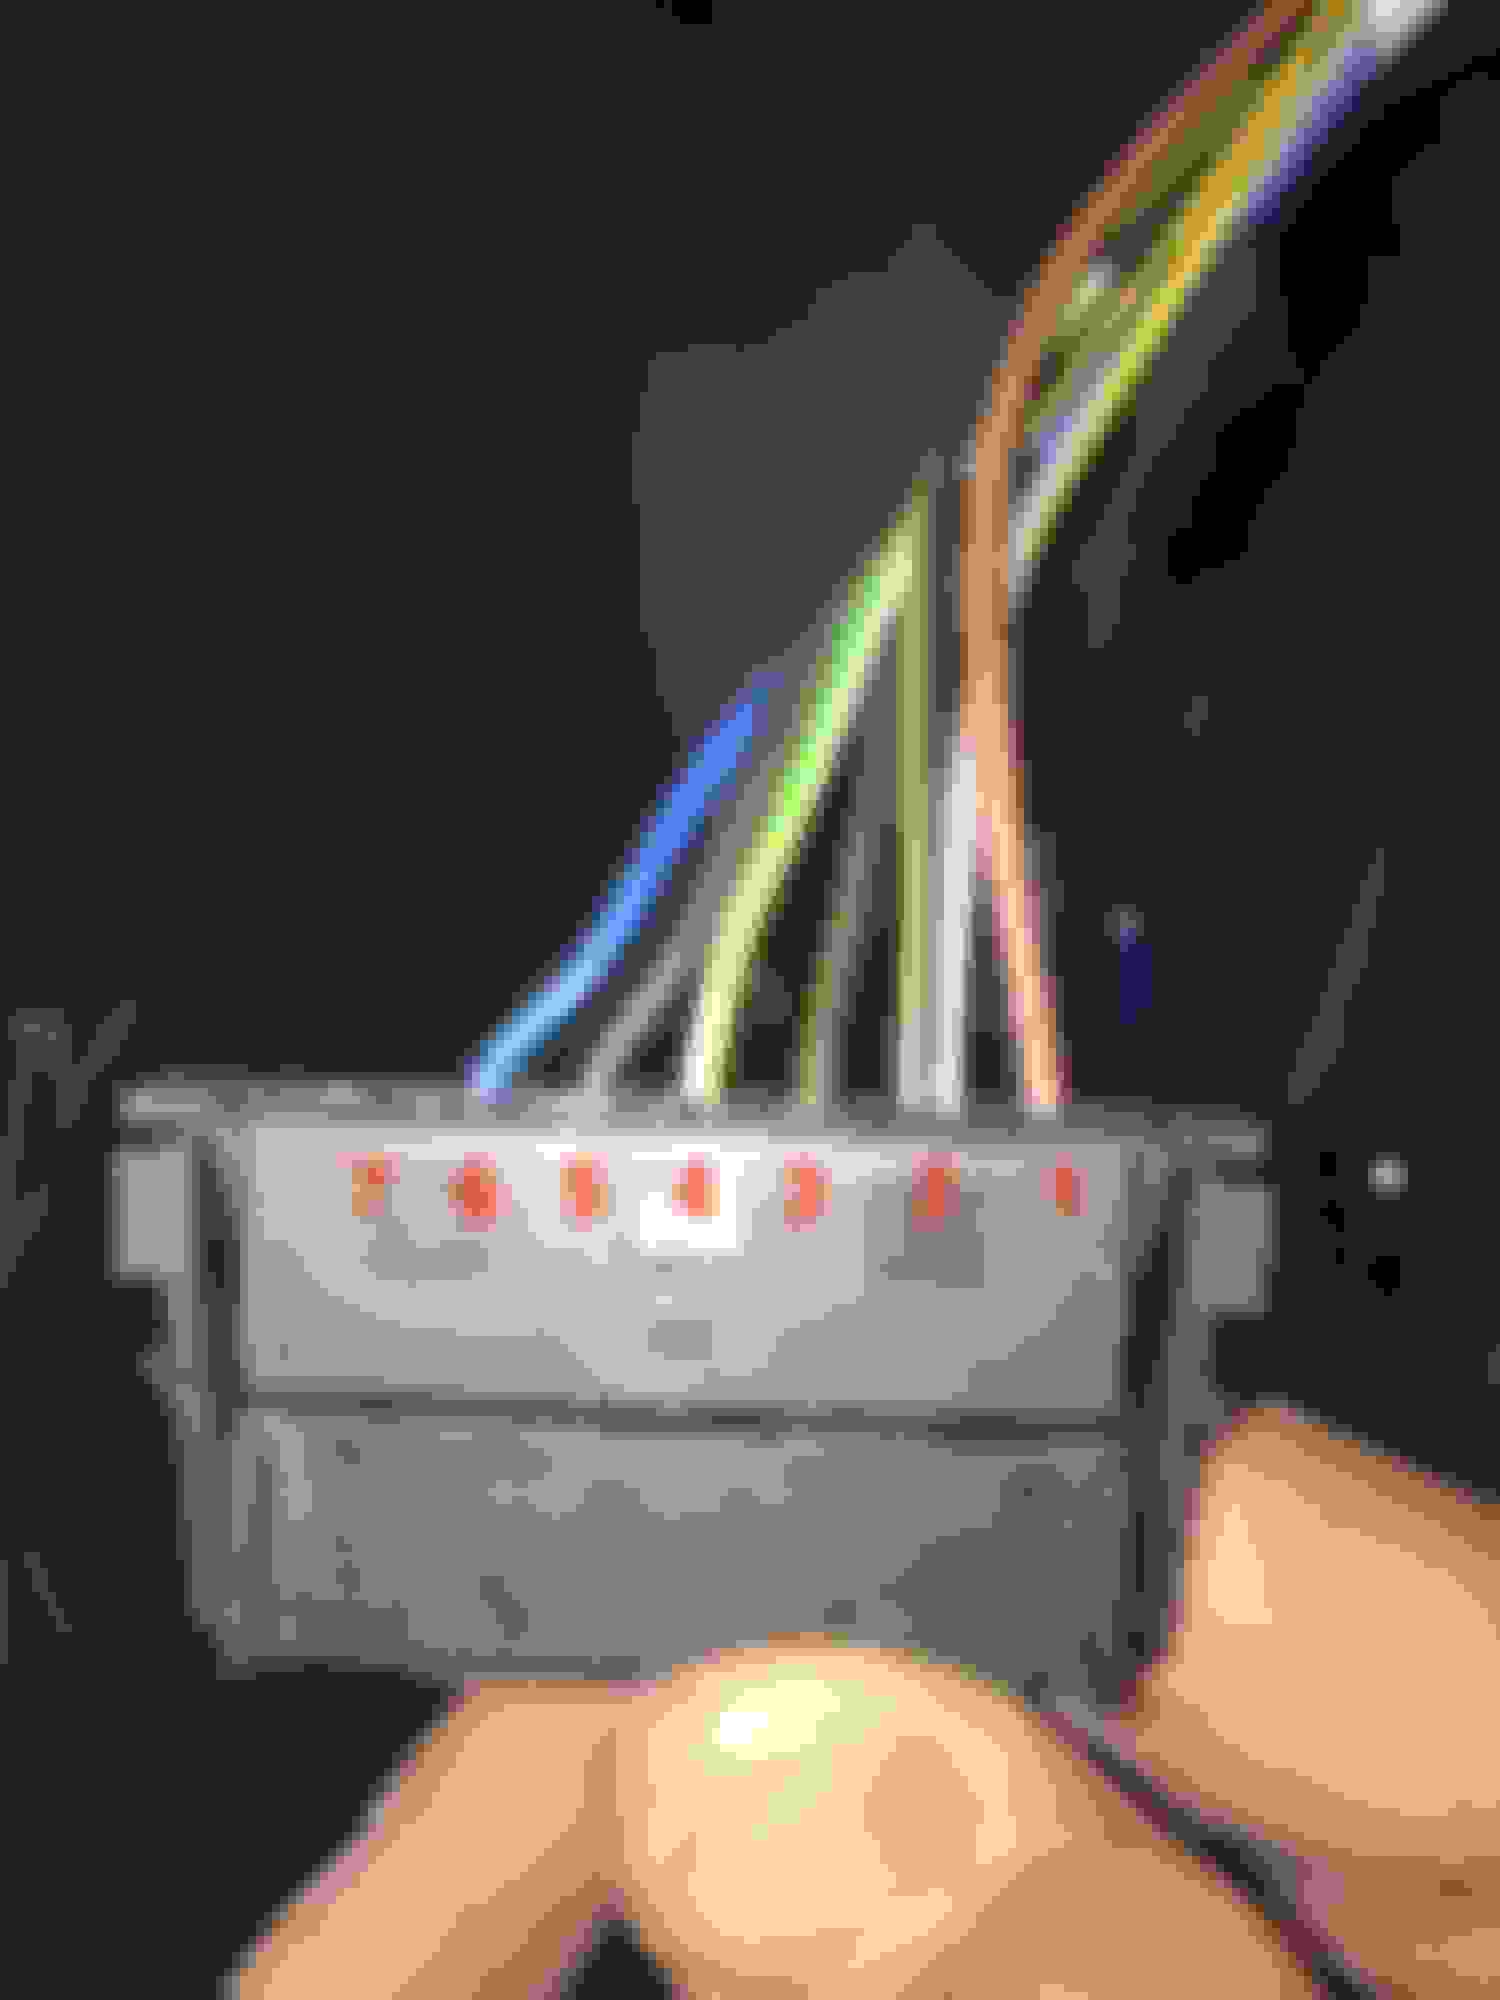
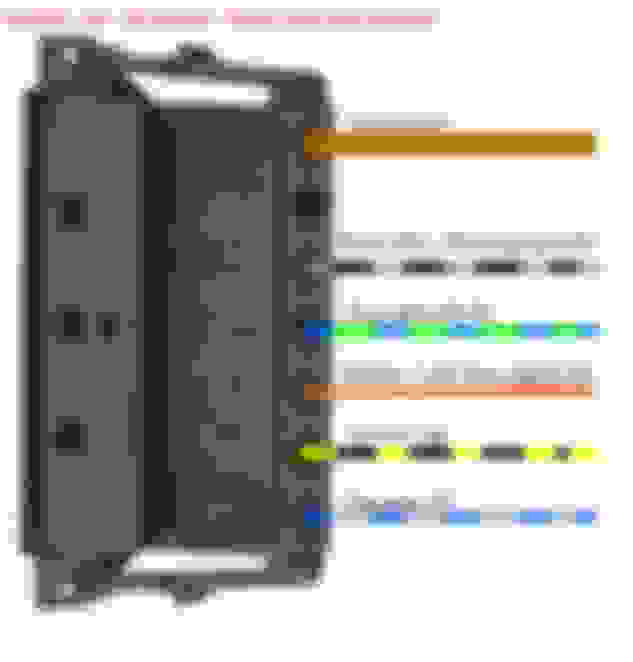
Image of Passenger/Right Side tail light plug from GLK BEFORE repinning:
The only wires that I repinned were wires 2, 5, and 6. What I essentially did was I used a small flathead to push the corresponding wires out, but some wires could be hand pulled out if you're careful.
Once you've gotten those 3 wires out, the objective is to repin:
Before Repinning:
1 = Brown
2 = Tan/Yellow + Black/Yellow
3 = Black/Yellow
4 = Green/White
5 = Black/Green
6 = Blue
7 = (empty)
After Repinning:
1 = Brown
2 = empty
3 = Black/Yellow
4 = Green/White
5 = Blue
6 = Black/Green
7 = Tan/Yellow + Black/Yellow
Once you've securely repinned those 3 wires, plug in your tail lights, and reassemble your new tail light.
Repeat on the other (driver) side using the same wires.
2 --> 7
and
5 <--> 6
After following this, my tail lights are fully functional. However, I do get error messages whenever I don't turn off the lights before turning off my car. It probably has to do with reseting the SAM and etc. It has also been previously mentioned that you can apply 5 ohm resistors to the repinned wires in order to not get the error messages.
This is awesome Andrew! Have you tried the resistor? The error would drive me nuts, this is exactly what I was looking for, thank you for posting
Originally Posted by Andrew Nguyen
It seems like a lot of people were/are interested in this topic. First and for most, I'm not entirely sure if I did this conversion correctly, so I will not be held accountable for any damages. That being said, proceed with caution! Critique and expert opinion on the matter is also greatly appreciated.
1. With the car OFF, unplug and remove tail lights. You will need a 10mm socket wrench to loosen and remove the tail lights.
Repinning or Wire Splicing:
2. There are 2 different approaches in which you have the option of either repinning certain wires OR splicing those wires. (I did the repinning method)
Image of Passenger/Right Side tail light plug from GLK BEFORE repinning:
The only wires that I repinned were wires 2, 5, and 6. What I essentially did was I used a small flathead to push the corresponding wires out, but some wires could be hand pulled out if you're careful.
Once you've gotten those 3 wires out, the objective is to repin:
Before Repinning:
1 = Brown
2 = Tan/Yellow + Black/Yellow
3 = Black/Yellow
4 = Green/White
5 = Black/Green
6 = Blue
7 = (empty)
After Repinning:
1 = Brown
2 = empty
3 = Black/Yellow
4 = Green/White
5 = Blue
6 = Black/Green
7 = Tan/Yellow + Black/Yellow
Once you've securely repinned those 3 wires, plug in your tail lights, and reassemble your new tail light.
Repeat on the other (driver) side using the same wires.
2 --> 7
and
5 <--> 6
After following this, my tail lights are fully functional. However, I do get error messages whenever I don't turn off the lights before turning off my car. It probably has to do with reseting the SAM and etc. It has also been previously mentioned that you can apply 5 ohm resistors to the repinned wires in order to not get the error messages.
No problem AzCamel, I haven't had a chance with adding the resistors yet due to work and school, hence the late reply haha. I'll be sure to do so during my winter break.
What type of error message do you get, and will the resistors solve the problem?
Otherwise great write up. I might give this a go in the new year if I can find a decently priced set of taillights.
What type of error message do you get, and will the resistors solve the problem?
Otherwise great write up. I might give this a go in the new year if I can find a decently priced set of taillights.
error messages vary, sometimes error would indicate the left and/or right fog lamps, left and/or right brake and tail lamps, and left and/or right reverse lamps.
I might try installing resistors once the weather clears up a bit.
Andrew,
I see you were converting the tail lights. What exactly were you converting? I am trying to change my tail lights to meet European specs. This means the turn signal at the top becomes the standing light ad the turn signal is at the bottom next to back up light. Do you have a wiring diagram that details what each pin goes to? I saw the seven pin diagram but no specific designation for turn signal, brake, fog, back up and alternate turn signal.
Andrew.. The driver side tail light clip wire number two IS NOT tan/yellow + black and Yellow it seems to be Blue/Grey one wire..??
I also noticed in the pictures you posted of the finished product, on the left tail light below the bottom led there seems to be a formation of lights on but NOT on the passenger side of that GLK.. I myself am attempting to do this tail light swap and just by plug and play before the repining of the wires MINE HAS THE SAME LIGHT ON on the driver side but NOT the passenger side.. Can you elaborate? I also sent you a PM. thanks man
No problem AzCamel, I haven't had a chance with adding the resistors yet due to work and school, hence the late reply haha. I'll be sure to do so during my winter break.
did you get a chance to put resistors almost a year later?
Hey guys, new the forum and my first reply. I want to add rear amber turn signal to my US version x204 - 4matic. Currently, the brake and turn signal is the same pin/wire. Has anyone done this conversion/modification? I took out the taillight and started testing what pins did what. This is what I came up with. Mind you, there's a secondary harness that connects to the carrier where the reverse bulb goes to. There is a socket for a PY21W bulb ( by factory it's empty, no bulb installed) that connects to pin 6, but not sure if it'll work simultaneously with the brake/turn signal pin 5 (red and amber blinking altogether). See picture attached/shown.
***THIS IS NOT FOR FIRST GENERATION GLK'S. ONLY US VERSION OF GLK350 V6 4MATIC - US VERSION (NOT GLK250). Black & yellow connects to empty socket PY21W (no bulb installed). Has anyone tried this?
No problem AzCamel, I haven't had a chance with adding the resistors yet due to work and school, hence the late reply haha. I'll be sure to do so during my winter break.
Hello Andrew Nguyen, I have just purchased both taillights and am wondering about the error codes. Have you gotten a chance to put them on? I need help. Thanks
I can see a problem with this right away. Your brake lights are always lit with this setup. If your wiring is correct, all you need is correct coding and everything will work just fine without any issue. I've done plenty of w204s converted to fl tail lights, but not GLKs. It should be the same tho.
If you need help with that I can remote code conversions such as this one. Just email me.
 10-12-2016, 04:52 AM

 That being said, proceed with caution! Critique and expert opinion on the matter is also greatly appreciated.