When you click on links to various merchants on this site and make a purchase, this can result in this site earning a commission. Affiliate programs and affiliations include, but are not limited to, the eBay Partner Network.
it was a few years ago so I don't recall exactly but I don't recall it being expensive. Mine was "chirping" and annoying.
Oh i see. I am planning to lubricate my trunk motor, my glk seems have hard time open and close the trunk door when -20. Do you have any recommendations for the lubricant?
Oh i see. I am planning to lubricate my trunk motor, my glk seems have hard time open and close the trunk door when -20. Do you have any recommendations for the lubricant?
I use Dupont Teflon lubricant instead of WD40 because it does not attract as much dirt and seems to last longer from my experience. Also check your bolts, it could come slightly loose over time and cause a "clunk" feel or noise, my previous CLK500 had this issue at 50k miles and all i had to do with tighten one of the hinge bolt to fix it.
This is the normal Multi use linked below, however I going to get the dry lube and lithium one soon, the lithium should be exception for metal/metal stuff like door hinges and have a higher temp range then the normal stuff.
I use Dupont Teflon lubricant instead of WD40 because it does not attract as much dirt and seems to last longer from my experience. Also check your bolts, it could come slightly loose over time and cause a "clunk" feel or noise, my previous CLK500 had this issue at 50k miles and all i had to do with tighten one of the hinge bolt to fix it.
Thanks buddy. I never really thought of the hinge bolts, i will definitely check that tomorrow. I also hear some rattling noise from passenger side, dont know where exactly is, it comes and goes, you have any suggestions for me on how to track down the rattling noise coming from?
Thanks buddy. I never really thought of the hinge bolts, i will definitely check that tomorrow. I also hear some rattling noise from passenger side, dont know where exactly is, it comes and goes, you have any suggestions for me on how to track down the rattling noise coming from?
so many variables when it comes to rattles, this is one of the few things I am OCD about lol. I make my wife start putting pressure on where she thinks the noise is coming from and then i start tearing the car apart when i get home to fix it lol.
so many variables when it comes to rattles, this is one of the few things I am OCD about lol. I make my wife start putting pressure on where she thinks the noise is coming from and then i start tearing the car apart when i get home to fix it lol.
I am very OCD about the rattling noise too. I am thinking of getting some dynamats to solve the problem. What you normally use to solve the noise problem
I am very OCD about the rattling noise too. I am thinking of getting some dynamats to solve the problem. What you normally use to solve the noise problem
felt strip, they come in different thickness depending on the gap, it will dampen the vibration.
I use Dupont Teflon lubricant instead of WD40 because it does not attract as much dirt and seems to last longer from my experience. Also check your bolts, it could come slightly loose over time and cause a "clunk" feel or noise, my previous CLK500 had this issue at 50k miles and all i had to do with tighten one of the hinge bolt to fix it.
This is the normal Multi use linked below, however I going to get the dry lube and lithium one soon, the lithium should be exception for metal/metal stuff like door hinges and have a higher temp range then the normal stuff. https://www.amazon.com/DM1046601-PAR.../dp/B00P7F8MW6
Good - WD40 is not intended as a lubricant. It is intended as a water displacement (WD) agent for rust prevention and degreasing. WD40 doesn't "last long" because it is not intended as a lubricant.
If your rear hatch is making noise when it opens, try adjusting the opening distance if your car has that option. I adjusted my GLK250 to open just a bit less and the noise went away. It seems like the noise originates from having the hatch to open full.
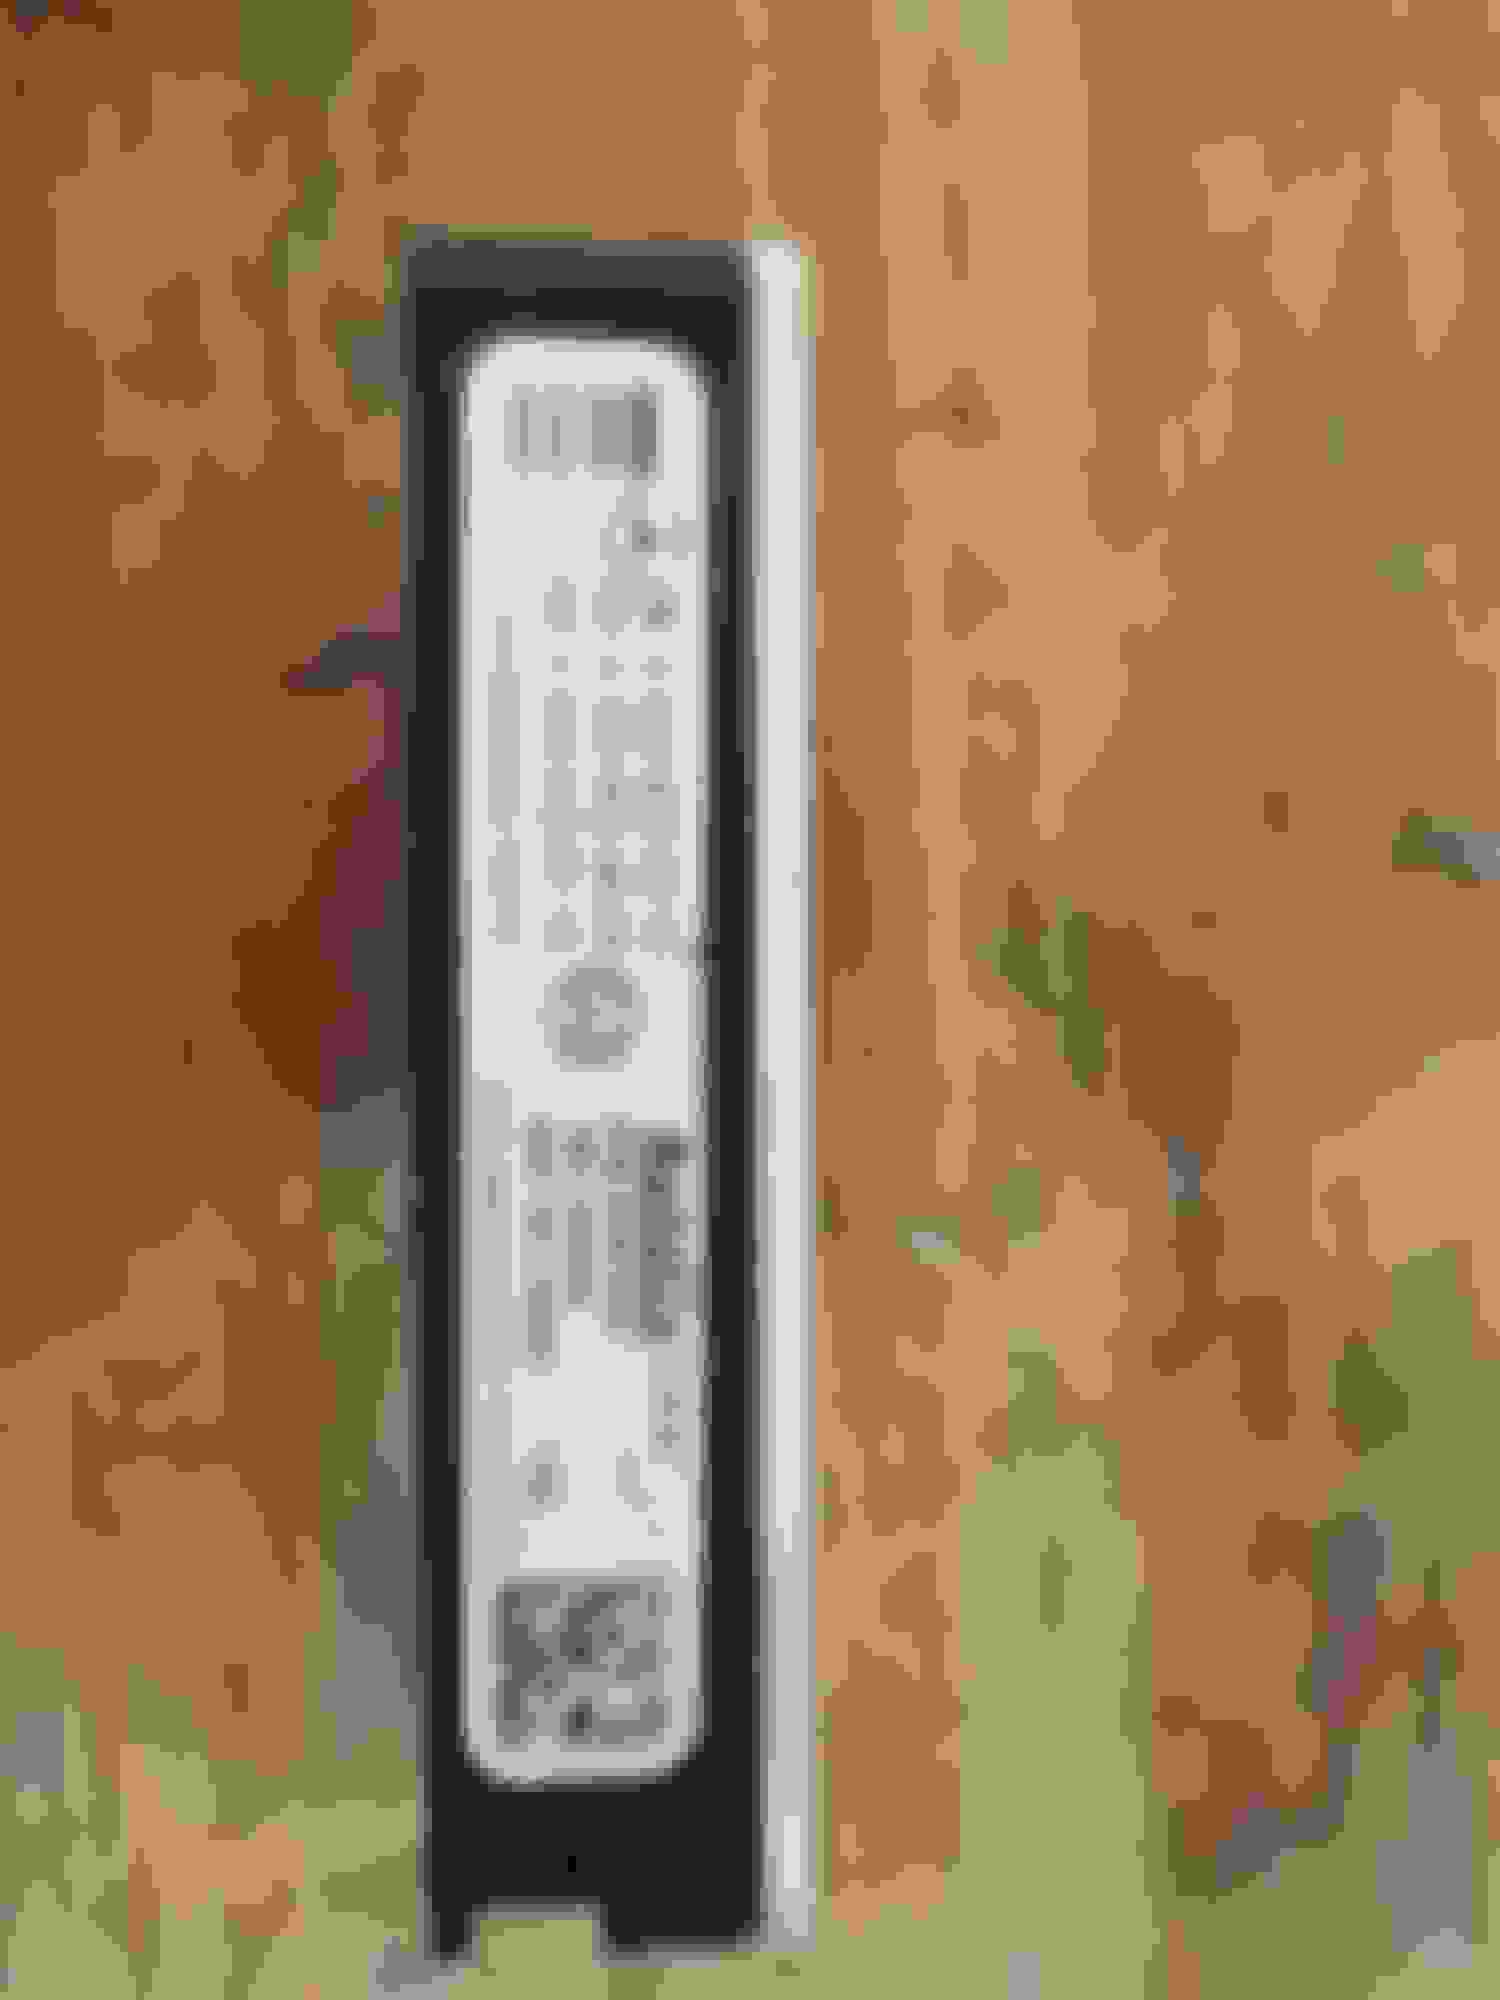
Question about the two small hoses labeled 1 & 2 in the photo
Need to understand where the ~19mm heater hoses go, can you trace them and post pictures?
Howdy,
I have been following your project, nice work! I have a project where I am retro-fitting the preheater to my US Spec GLK 250 BT and I've run into a problem with lack of online documentation. I think that you can probably look at your 250 and answer the question, if you will? In the attached photo, I've labeled the 2 hoses in question as "1" & "2". Hose 1 exists on my US Spec 250. Hose 2, I only paid attention to when my parts showed up and I saw the Y junction. Before I start tearing the car apart to add the Preheater, I need to resolve what hose 2 does and where it goes. Would you please trace it on your 250 and photograph the other end so that I can figure what additional parts that I need order?
Thanks,
Mike
I will take some pictures for you once the weather gets little better. it like -20 in calgary right now with tons of snow. I should be able to get some pictures sometime next week.
I will take some pictures for you once the weather gets little better. it like -20 in calgary right now with tons of snow. I should be able to get some pictures sometime next week.
Great! I appreciate that. So, at -20, are you using the Preheater and does it make a difference?
Cheers,
Mike
Great! I appreciate that. So, at -20, are you using the Preheater and does it make a difference?
Cheers,
Mike
Yes it does. After i plugged in my vehicle, the temperature gauge will be around at 60 whenever I try to start the vehicle. I feel like it makes easier to start the vehicle and reduced the time to warm up the vehicle. There were times that the temperature was like -35 and I did not plug in the vehicle for overnight. The GLK still starts no problem. Now with my DPF delete, i wont have to worry the DEF get freeze and stop the car to start up.
I will take some pictures for you once the weather gets little better. it like -20 in calgary right now with tons of snow. I should be able to get some pictures sometime next week.
Howdy,
Has it warmed up enough to take pictures of the smaller hose coming off the Y junction and where it connects?
Thanks,
Mike
My MK did not came with the block heater cord, so I decided to install one.
I have purchased the cord from my dealership for $60. Honestly man, I didn't really go search online and see if I can get a better deal, but I think $60 is a fair price.
There was a thread about the block heater some time back along with epc diagrams and part numbers. The heaters (but not cord) were standard equipment in Canada. Not so in USA it seems.
Sorry mike. has been really busy lately. i will try to find sometime to take pictures for you. which y junctions u talking about?
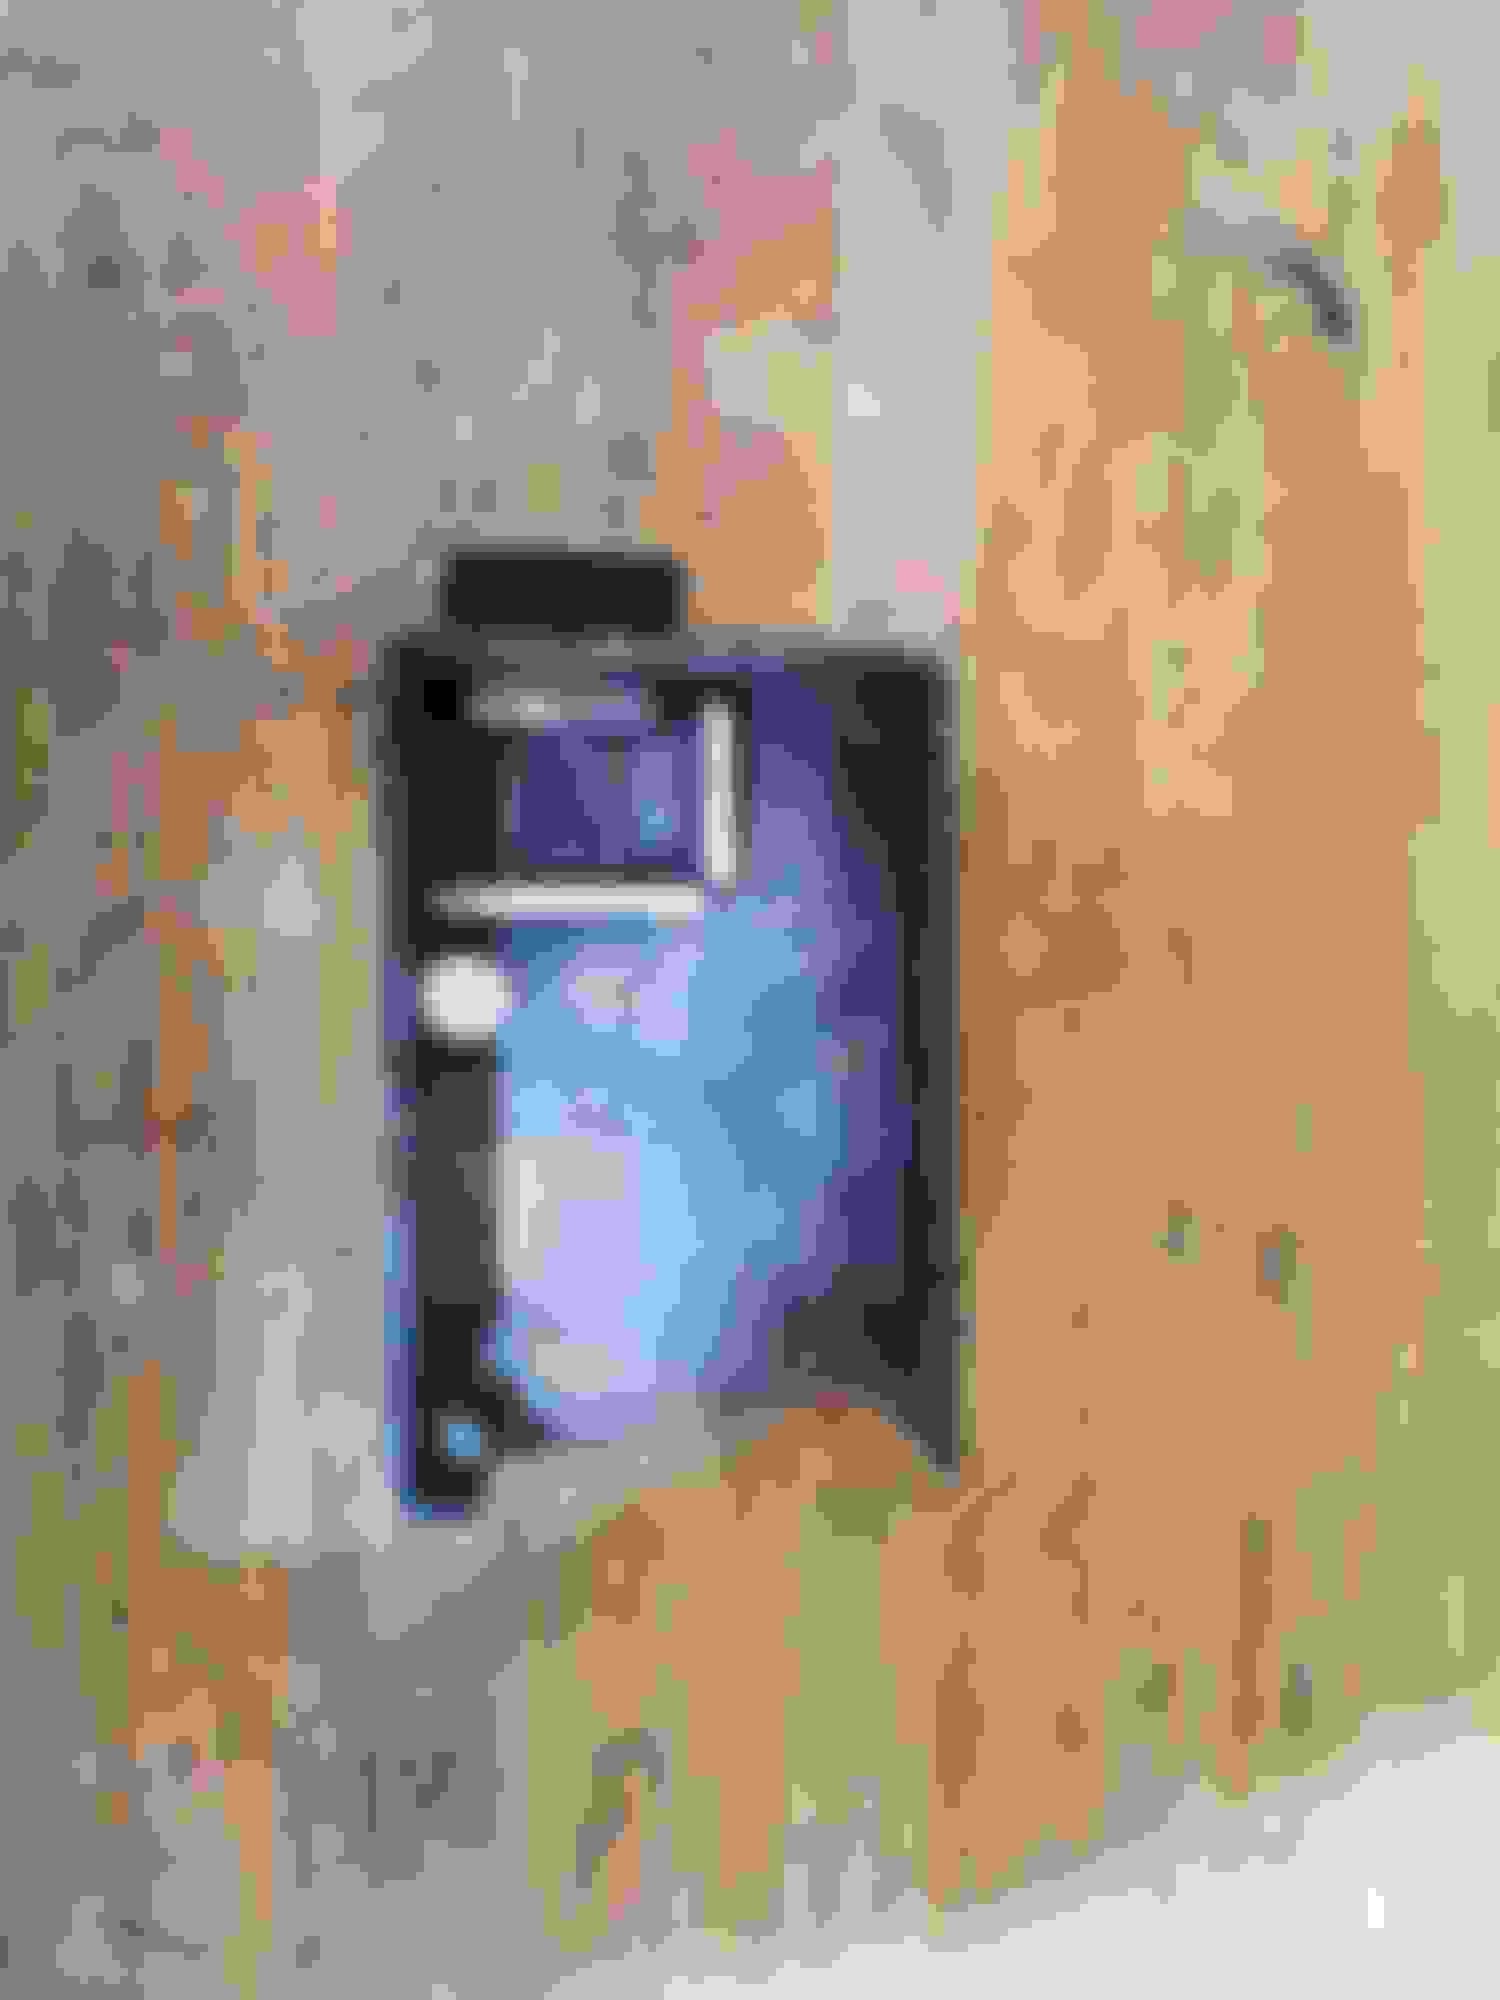
Sorry for the delay on my side too. So, I purchased all the preheater parts shown in the parts drawing posted here on the Forum from Exoparts. When they arrived, big surprise (!), there is an undocumented junction on the cooling hose (labeled 150) in the parts drawing. I need to find out what that smaller hose is and where it goes (i.e., what it connects to on the other end). The first picture is the undocumented junction. The second picture is the parts drawing that has been posted before. The third picture is one from the Forum that shows the in situ view looking down. Please ignore the red arrow, it simply points to the heater. The white arrow that I labeled "2" points directly to our bad boy. None of these parts show in the US epc, they are "Canada Specific" Code 460. If I can find out where that hose goes and what is needed to complete the circuit, I can ask Exoparts to order the needed parts as I have all the other parts needed (I hope).
So, I would greatly appreciate your assistance and pictures in solving this mystery.
My MK's Blind Spot Assist stopped working ever since last year, I didn't really have time to fix it until recently. Today I just finished the repair and here are some of the details about this repair. This repair is definitely do able by yourself, it will be better if you have two person to help you to take the bumper off, but overall, the difficulties wasn't too hard. My blind spot sensors corroded so bad, and it actually fukked up the wire hardness, which made me have to take the bumper off. If you wire hardness is still good, you do not have to take the bumper off for this projector.
Look at the sensor eh! The best of nothing! Mercedes Benz! I was like that WTF is this. I cant believe how bad my sensors are. I think this is truly designer failure, which caused the water gets into the sensor
Just follow the above youtube video, you should be able to remove the bumper.
After remove the bumper, I recommend to add some silicone along the sensor gap, so this can prevent the water gets into the sensor again.
By the way, here are the parts number:
Mine MK is 2013 model, which has the 234 blind sport assistant NOT 237 blind spot assistant
Sensor: A 000 905 02 10 (Dealer price: $800 CAD, got it from ebay from Germany for OEM parts for $400) which i found really reasonable. DO NOT ORDER THE SENSOR FROM CHINA. I ordered one and it does not work, which costed me a lot of time to get a refund from ebay.
Wire hardness: 204-440-70-40 (Dealer price: $242 CAD, i was able to get 10% off from the dealership, which I got it for $217.8)
Overall, the project is really straight forward, remove the bumper, replace the sensors and wire hardness, silcone the sensor gap, add dielectric grease to add sensors connection, which includes the parking sensors. Reinstall the bumper, then you are done
Another informative video that I used from youtube
Haven't updated my built thread for a long time, but thank god I documented what I did with the blind spot inoperative from last time. I reviewed what I did last time to solve the problem, and It actually helped myself to solve the problem again this time for a very low cost.
This is the switch to release the coolant, located on the front driver side. This is the coolant drain hole, I attached one of the hose to prevent making a mess. I remember I drained approximately 6 liters of used coolant. it was draining very slow. Here is the filled milk jug of used coolant. I used the milk jug to measure the amount of coolant that I drain out While draining the coolant, I did an oil change as well After the oil change done, I did a quick drain and fill transmission with the filter change. I didn't brother to drain the torque convertor since I don't have the special tool to rotate the engine. For next time, I may get the special tool kit to flush off the torque convertor. The vehicle still gets very decent mileage. You will need one of these super COVID goggle to prevent dust to get into your eyes when working on the blind spot sensor I have a dummy sensor from the last repair. It not working properly, but it wont set off the warning message on the dashboard. My plan was to switch out the blind spot sensor with the dummy one and see if the message will go away. Sure enough, I took the passenger side off, and switched to the dummy one, the message is gone. This part is still the pain in the *** to take it off In case people break the clip, here is the part number After I figure out the passenger sensor acts up. I noticed a rust spot outside of the sensor case. I decided **** it, I will open it up. I was running out of patient and decided to crack open it. It was very difficult to open it. I tried to pray it out and eventually, the plastic case broke and I was able to open it up. Once I opened it up, I notice a small puddle of brown/rusty water inside the cover. I then suspected the water made the sensor malfunction. I used electrical cleaner to clean the board and the case. I didn't notice any damage on the board other than a yellow burnt spot on the board. It probably from the water damage. I sprayed the electrical cleaner on the board. waited for it fully dry, then reassemble the sensor. TA DA! IT WORKED. The sensor just working fine. No more error message. I used the silicone to reseal the sensor and wrapped electrical tape to prevent the moisture enter the sensor. This is really a pain.
I hope it will work for another few years since I checked FCP euro, the price for a new sensor is almost $600. I really don't want to buy 2 new sensors and it will only for work few years
2014 GLK350 base model (active) ; 2001 E320 base (retired); 2001 Wrangler soft-top
@GLK Super Fan wrote:
"I didn't brother to drain the torque convertor since I don't have the special tool to rotate the engine."
With vehicles I've had, I use a breaker bar (or 1/2" torque wrench), with the appropriate size socket to fit the crankcase pulley bolt, to turn the engine.
@GLK Super Fan wrote:
"I didn't brother to drain the torque convertor since I don't have the special tool to rotate the engine."
With vehicles I've had, I use a breaker bar (or 1/2" torque wrench), with the appropriate size socket to fit the crankcase pulley bolt, to turn the engine.
Thanks for the write-up with photos !!!
This is the bolt looks like to rotate the engine. I spoke with my mechanic, he said I have to buy a special tool.
2014 GLK350 base model (active) ; 2001 E320 base (retired); 2001 Wrangler soft-top
Originally Posted by calder-cay
@GLK Super Fan wrote:
"I didn't brother to drain the torque convertor since I don't have the special tool to rotate the engine."
With vehicles I've had, I use a breaker bar (or 1/2" torque wrench), with the appropriate size socket to fit the crankcase pulley bolt, to turn the engine.
Thanks for the write-up with photos !!!
...
...
Originally Posted by GLK Super Fan
This is the bolt looks like to rotate the engine. I spoke with my mechanic, he said I have to buy a special tool.
Okay, to further my last post ... I went to my toolbox and grabbed a two inch extension, 27mm socket, and torque wrench.
I went to our 2014 GLK350 Base, fitted the 27mm socket onto the 27mm bolt for the harmonic balancer, and rotated the engine a full 360 degrees. I also reached down to feel inside the harmonic balancer and there's only ONE bolt, so not sure what your photo with 4 bolts is showing.
Two photos below - one shows the wrench/socket attached to the single harmonic balancer bolt. The photo is me leaning against the front grill, looking down at the balancer ... radiator fan is at bottom and air cleaner cover is at top of photo.
... the 2nd shows the 2" extension and 27mm socket.
wrench/socket on bolt
..
.. 27mm socket and 2" extension
Last edited by calder-cay; 02-13-2023 at 06:45 PM.
2014 GLK350 base model (active) ; 2001 E320 base (retired); 2001 Wrangler soft-top
Originally Posted by John CC
Be careful using your torque wrench to turn the engine! If it clicks you either need to set it higher, or get a bigger torque wrench!
Agree with ya, John. It was set to 20 ft/lbs and never clicked. It's my understanding the harmonic balancer bolt torque spec is "150 ft/lbs, then 90 degrees".
It doesn't take much effort to rotate the engine manually like this
Okay, to further my last post ... I went to my toolbox and grabbed a two inch extension, 27mm socket, and torque wrench.
I went to our 2014 GLK350 Base, fitted the 27mm socket onto the 27mm bolt for the harmonic balancer, and rotated the engine a full 360 degrees. I also reached down to feel inside the harmonic balancer and there's only ONE bolt, so not sure what your photo with 4 bolts is showing.
Two photos below - one shows the wrench/socket attached to the single harmonic balancer bolt. The photo is me leaning against the front grill, looking down at the balancer ... radiator fan is at bottom and air cleaner cover is at top of photo.
... the 2nd shows the 2" extension and 27mm socket.
wrench/socket on bolt
..
.. 27mm socket and 2" extension
Mine is GLK 250, not 350. We have different engine. I have the om651 engine. My om642 engine can turn by 27mm socket, not the om651.

 02-16-2017, 10:37 PM