When you click on links to various merchants on this site and make a purchase, this can result in this site earning a commission. Affiliate programs and affiliations include, but are not limited to, the eBay Partner Network.
2009 S550 AMG sport pckg. 2014 Ford F-150 Lariat Supercrewcab
DIY front/rear brakes S550 4Matic
Ok I changed my front brakes today and rears are going to be changed tomorrow. I chose to go with EBC redstuff brake pads because I had good luck with them when I had an ML350. I used stock oem rotors.
Tools needed:
21mm socket
Drift or suitable tool
T30 torx bit
torque wrench
breaker bar or impact wrench
BFH (big ****in hammer )
Anti seize if you live in the northeast rust belt
suitable hanging tool or tow straps
Screwdriver or suitable brake pad spreading tool
wire brush
tooth brush
parts cleaner
Procedure
-Remove the wheels. Make sure to use a Facom NSB 17mm socket because mercedes chose to use weird lugbolts on our cars.
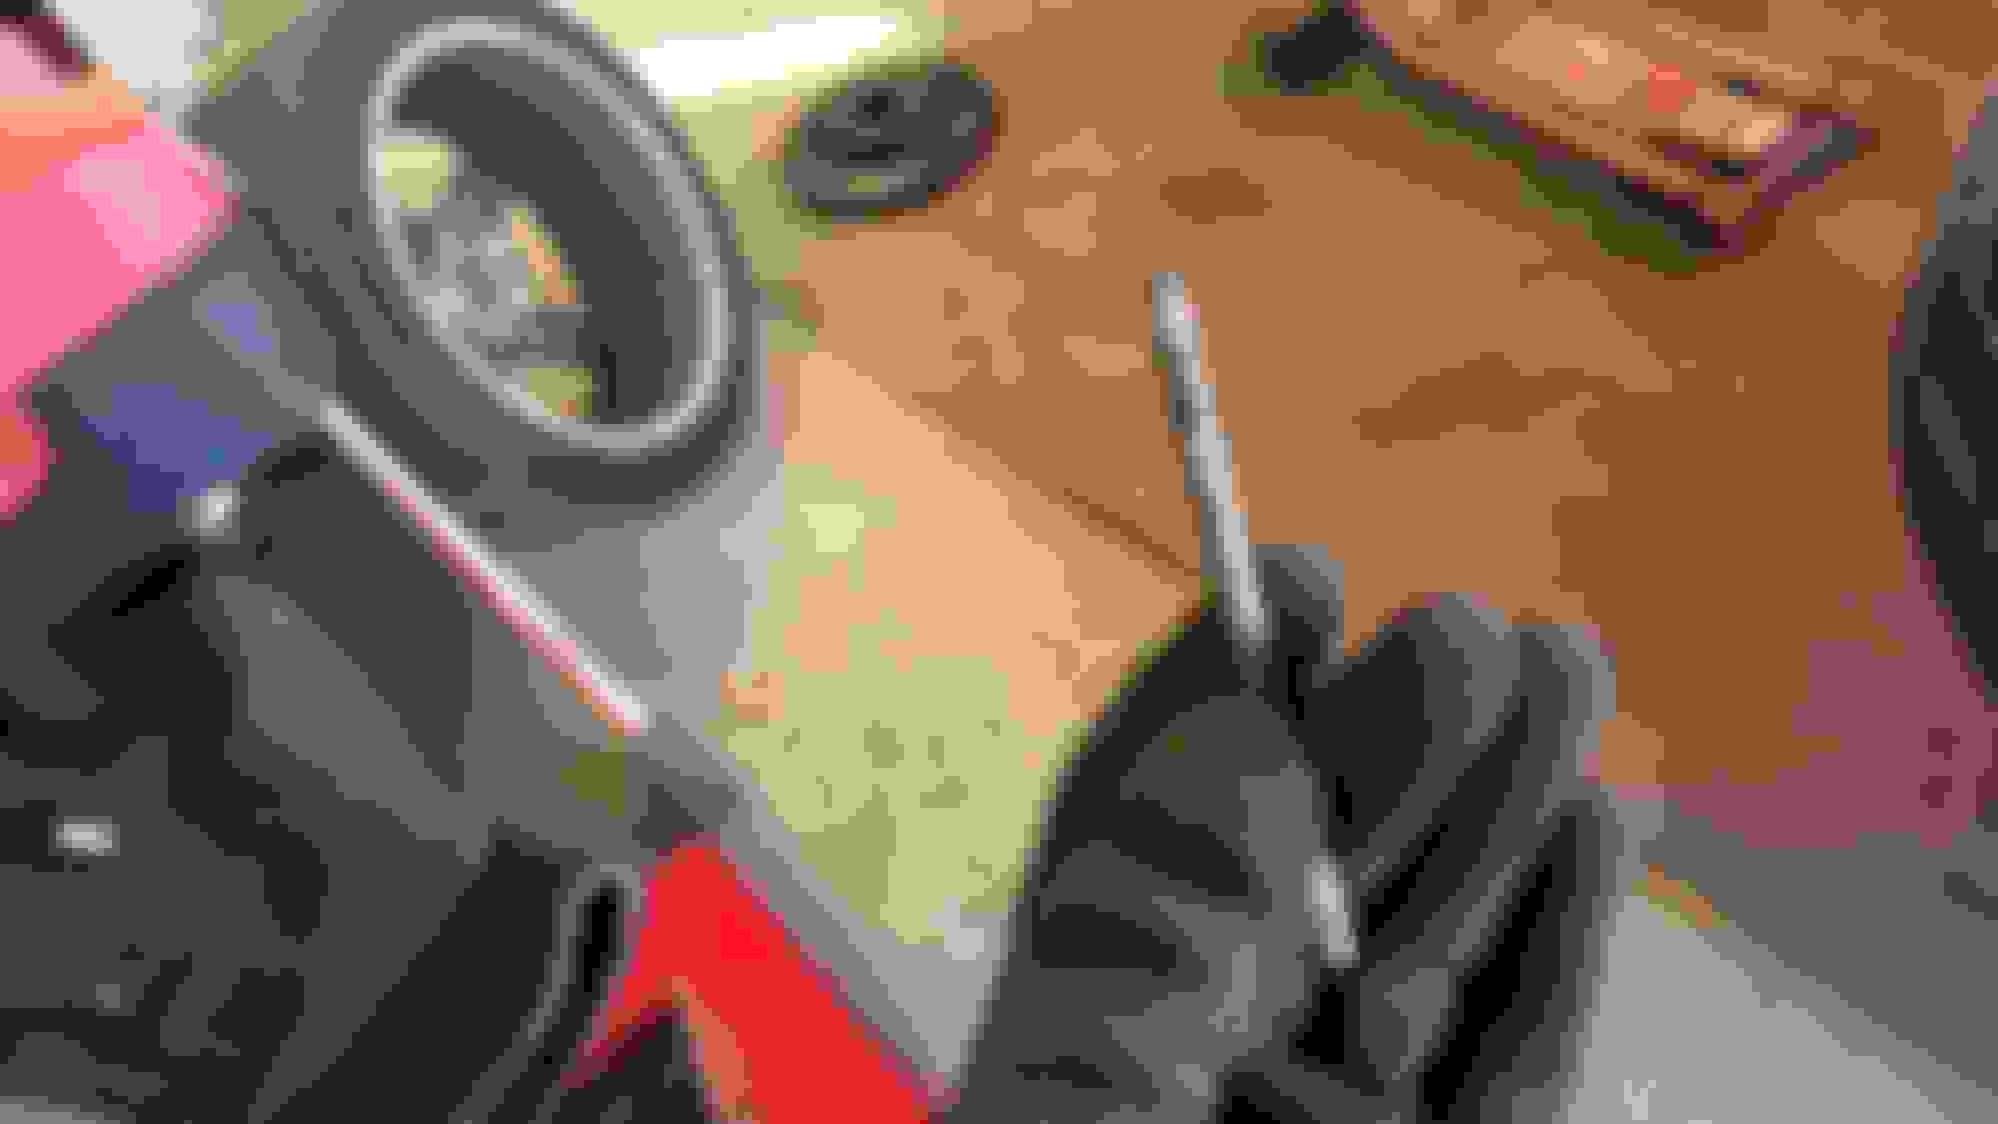
-Remove the T30 screw holding the rotor to the hub. This screw is mainly an alignment screw. If you strip it then just drill it out and see if you can extract it to replace it. I had it happen to me on my W211 E-320 years ago. It maybe on there pretty good. I took a hammer and tapped the rachet and it broke free.
Screw is out
-Next remove the brake pad sensor from the brake pad. Mine was baked into the pad so I got a new one and scrapped the old one
-Now remove the retaining pins from the caliper. There is an anti rattle clip that is under tension that the pins run through. the clip will spring up as you back out the first pin
first pin
clip springs up
last pin
retaining pin
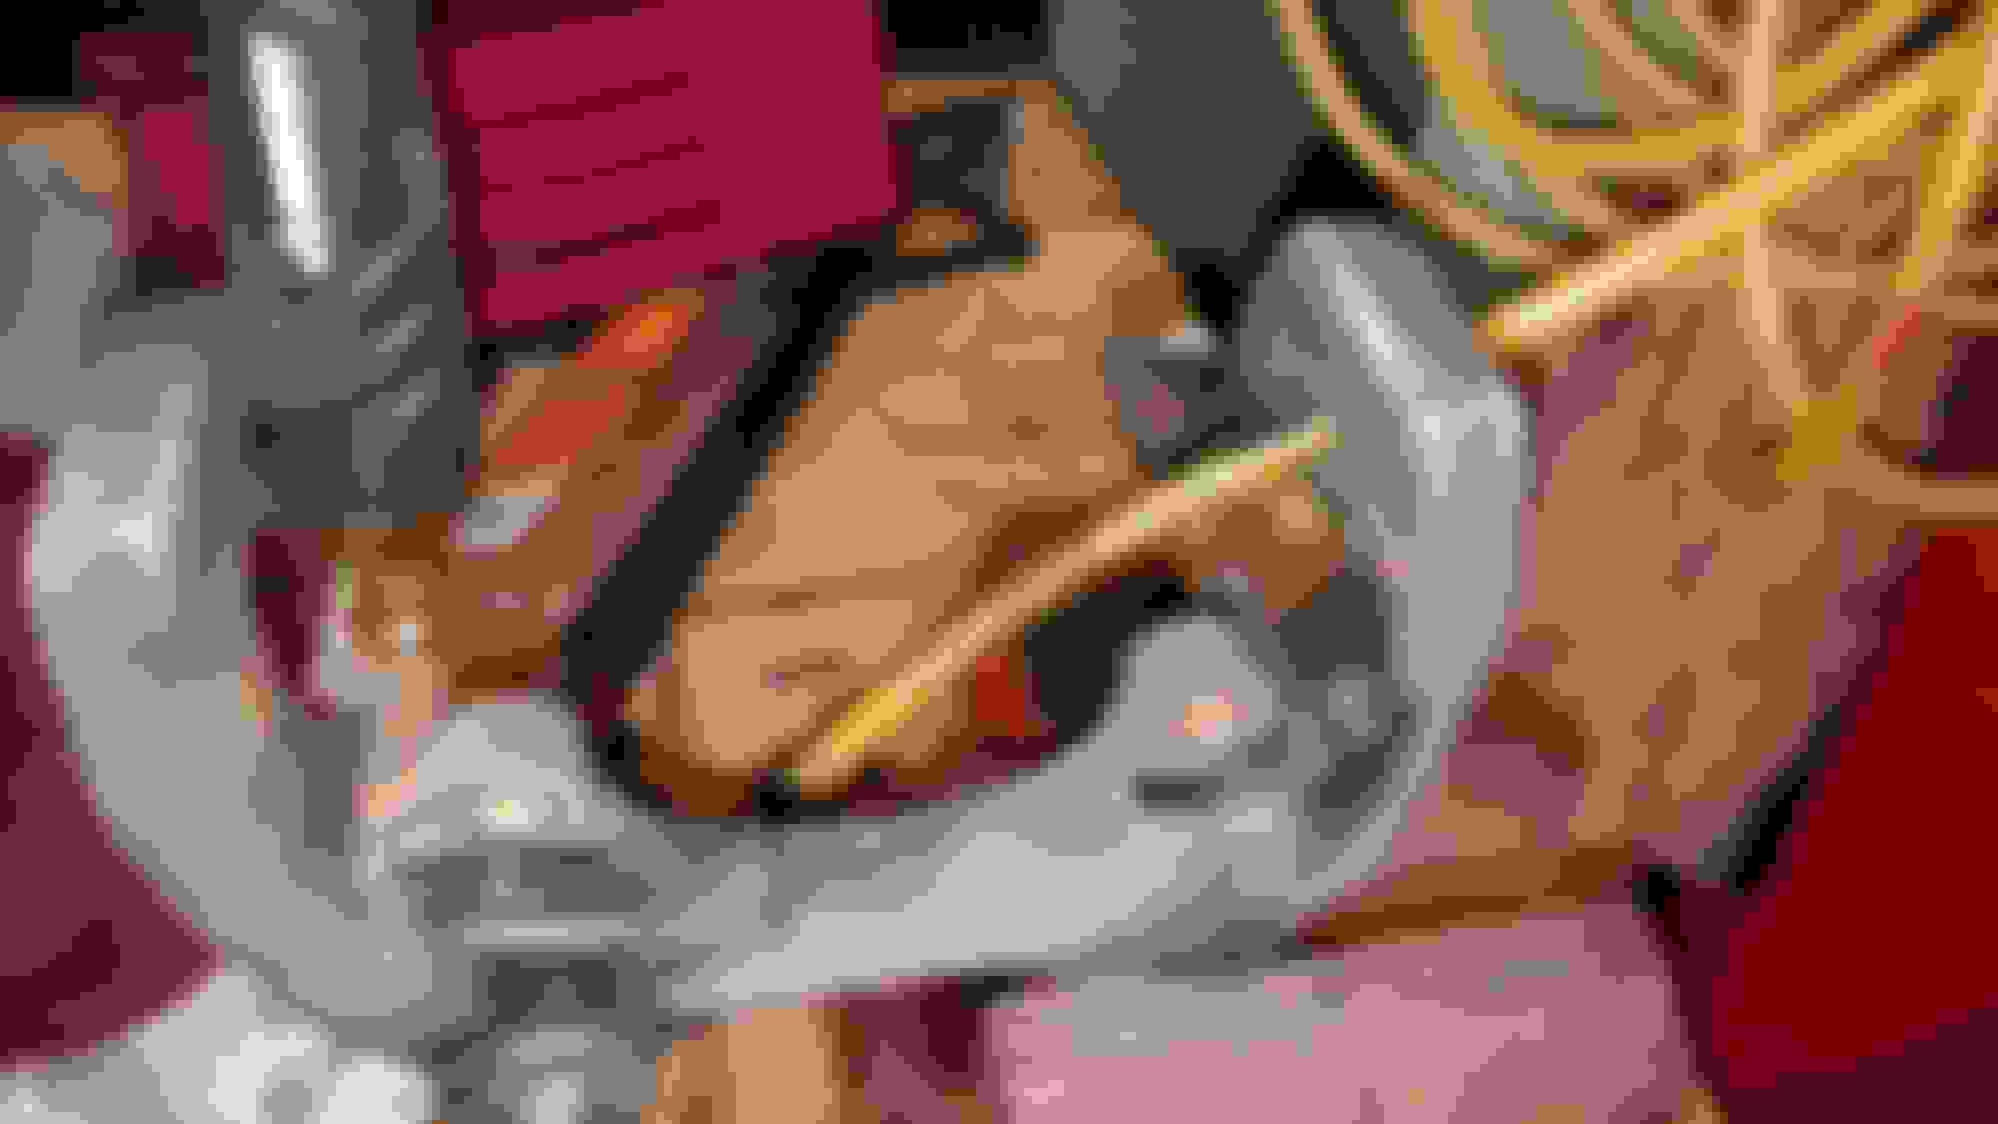
-Now spread the brake pads out. Most people use a screwdriver or a prying tool to pry between the pad and the rotor but I decided to shell out some cash and buy a more professional tool for it. If your calipers are painted you can damage the paint sometimes ***also worth mentioning is make sure your brake fluid reservoir is not too full. you are going to push some fluid back up into the reservoir and it may leak if there's top much and brake fluid will ruin paint on contact. if it is siphon a bit out***
bought this from snapon. surprisingly its only 70 bucks and not five thousand dollars.
Ok now you're ready to remove the brake pads. simply pull them out. mine came out pretty easily without much fuss but if they dont want to come out, take a screwdriver and pry them out bit by bit. If you have painted calipers put a cloth between the screwdriver and the caliper so you dont scratch the paint
-ok now you have a bare calip that needs to be removed. Now here's where you need to be very careful. ***DO NOT I REPEAT DO NOT!!!!! REMOVE THE TWO big torx bolts on the caliper. If you do congratulations you need new calipers. There are two 21mm hex bolts that hold the caliper on the steering knuckle that are to be removed.
2009 S550 AMG sport pckg. 2014 Ford F-150 Lariat Supercrewcab
Next remove the caliper. on the passenger side there is a brake pad sensor wire that needs to be unclipped from a harness to give clearance to hang the caliper. Sorry I forgot to take a pic of it.
I put a tow strap on it right before taking it off the caliper brace
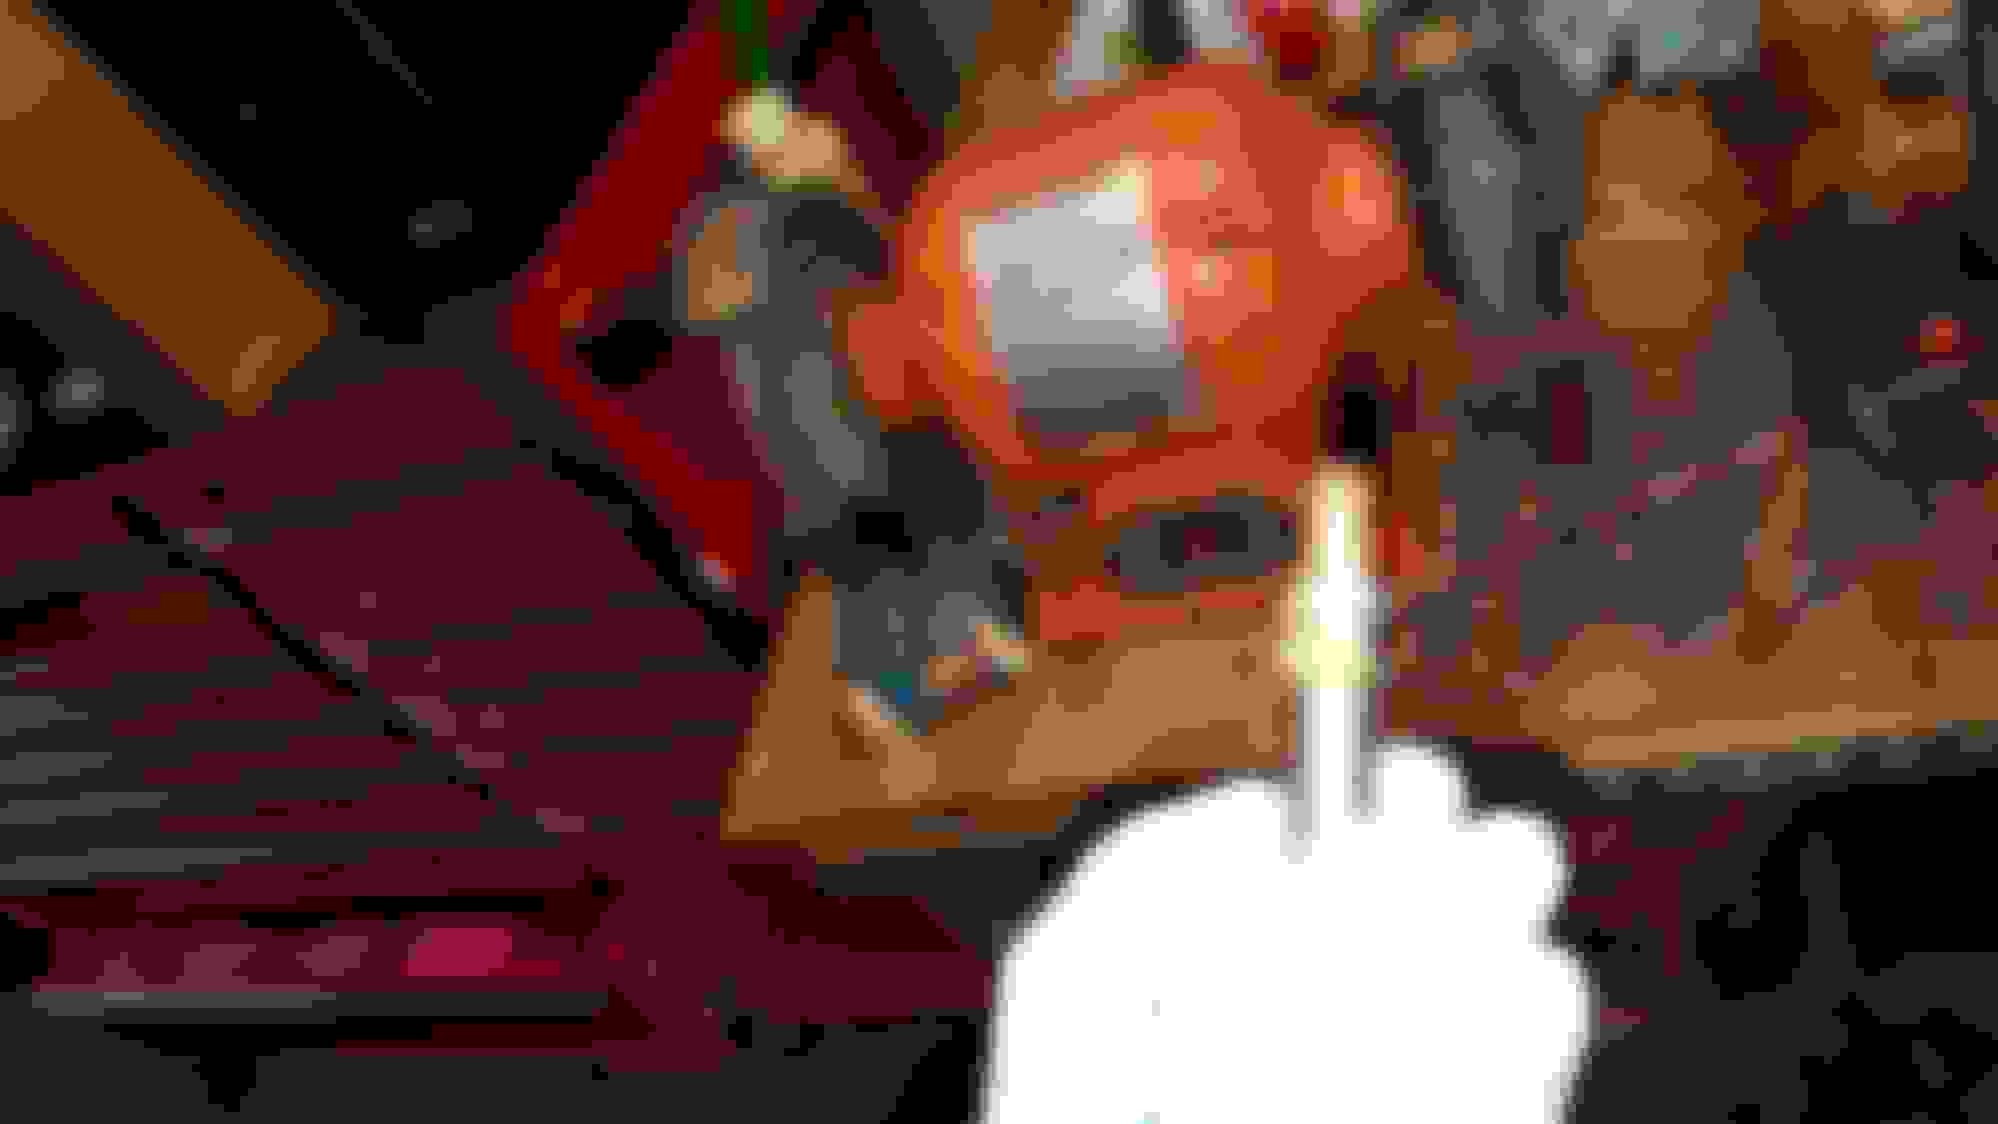
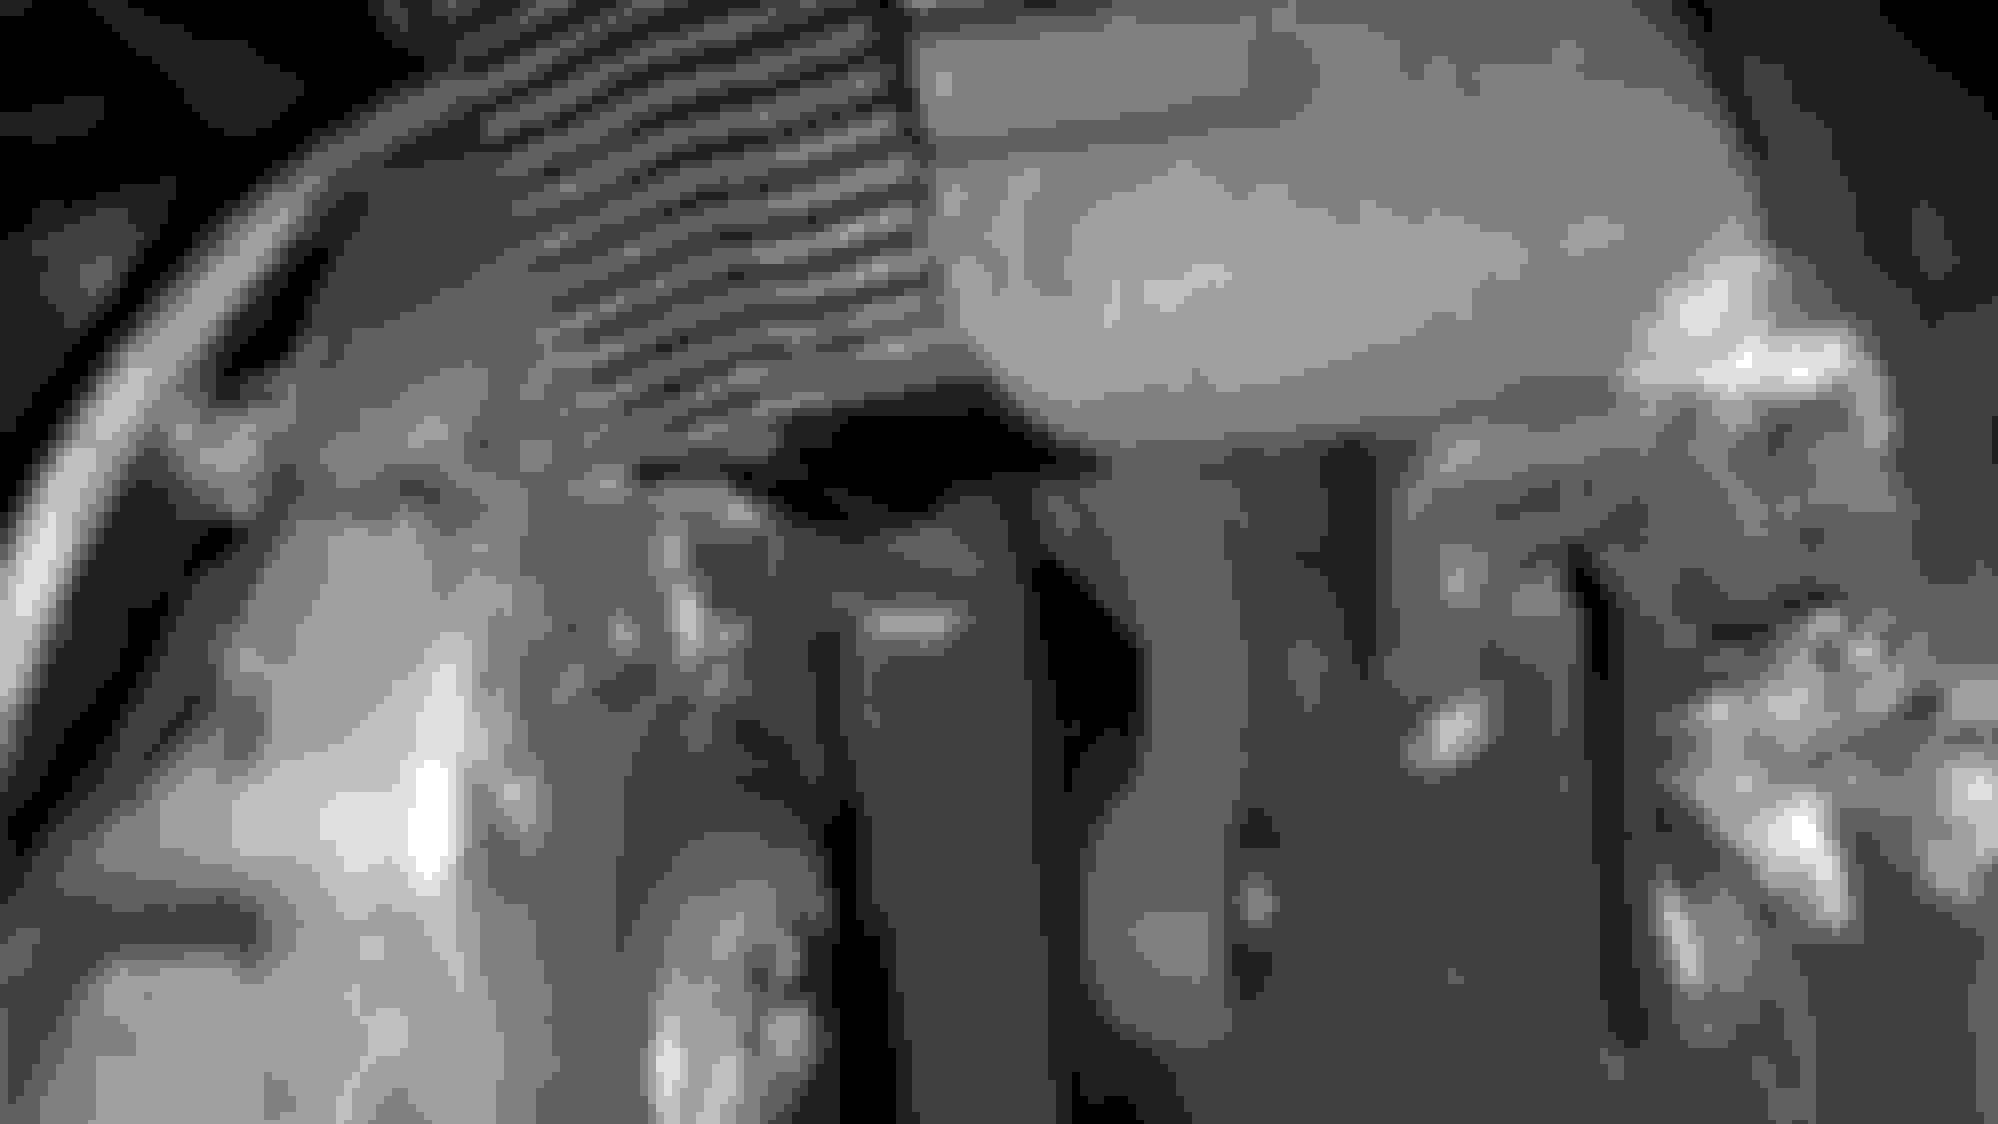
Ok now time to remove the rotor. If you live in the Northeast rustbelt like me yours will be on there good due to a thin layer of corrosion between the hub and the rotor. Take your trusty BFH and give it some good thwacks going opposite sides
Nice layer of corrosion
Say hello to my little friend
...and no more bond
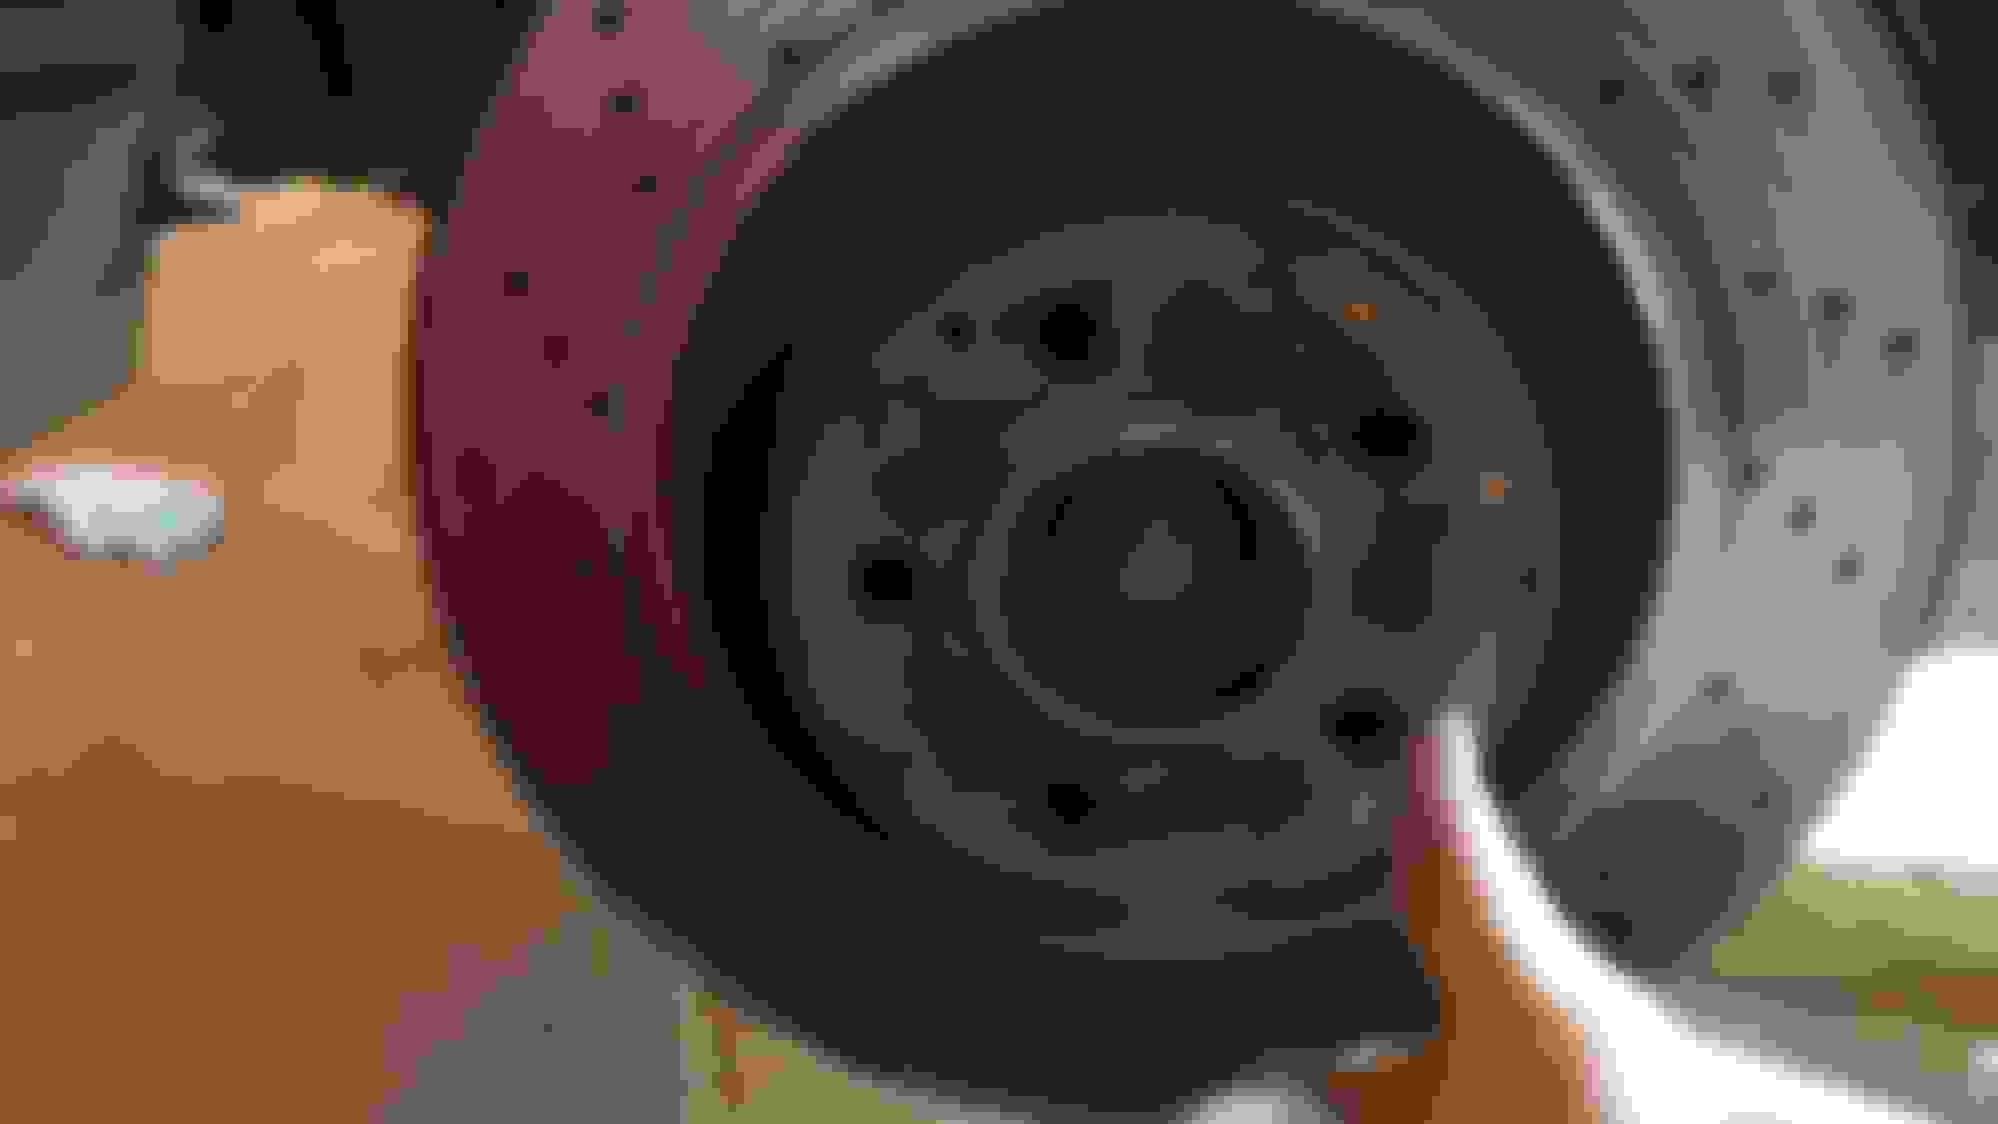
-Ok now its prep time. Not prepping will increase the chances of having premature wear and other brake issues. First brush off the hub with a wire brush to get any thick buildup of corrosion off
-Next put a liberal amount of anti-seize on the hub
Next install the new rotor and the screw. anti seize the screw as well so it comes off easier next time
2009 S550 AMG sport pckg. 2014 Ford F-150 Lariat Supercrewcab
-now use the parts cleaner and toothbrush to clean the inside of the caliper of dust residue. Its not a fun job but you wont regret doing it so that your pads don't seize and prematurely wear. Then put some anti seize on the spots shown in the pic
Just a bit along these corners. if you gob it on wipe it off so theres a thin layer
2009 S550 AMG sport pckg. 2014 Ford F-150 Lariat Supercrewcab
Plug in the sensor
I forgot to plug the wire back into the harness in this pic in the upper right hand corner!!! Going to put it back tomorrow because I'm also try to fix a airmatic leak issue and i have to remove the front tire to get to the valve block anyway
-Torque the bolts to 180nm or ~133ftlbs.
-All done!!! Repeat on the other side.
Going to report back on the amount of dust and take a pic in a month. Also going to see if the dust from ceramic comes off easier than semi-metallic
***also DO NOT PUT THE VEHICE INTO DRIVE IMMEDIATELY AFTER DOING BRAKE REPAIRS. PUMP THE PEDAL UNTIL BECOMES FIRM TO REPRESSURIZED THE PISTON. DO NOT FORGET TO DO THIS OR YOUR PEDAL WILL GO STRAIGHT TO THE FLOOR AND NO BRAKING POWER!!!!
Last edited by Nickthegreek; 12-03-2015 at 09:18 PM.
hello
I need to replace the right catalytic converter on my 07 s550. Is that any good source to get a better price on Mercedes or aftermarket parts? I need the part no. too.
Thanks for your advice
Eddy
2009 S550 AMG sport pckg. 2014 Ford F-150 Lariat Supercrewcab
Originally Posted by ewong3388
hello
I need to replace the right catalytic converter on my 07 s550. Is that any good source to get a better price on Mercedes or aftermarket parts? I need the part no. too.
Thanks for your advice
Eddy
Try out fcpeuro.com they have some decent prices and warranty policies
2009 S550 AMG sport pckg. 2014 Ford F-150 Lariat Supercrewcab
Ok time for the rear brake write up
Tools
18mm combo wrench (ratcheting if possible)
7mm hex bit
T30 torx bit
Various ratchets and extensions
Screwdriver
C-clamp
Brake lube/silicone lube
Wire brush
Parts cleaner
-first raise the vehicle and support on jack stands.
- next locate the covers to the slide pins and remove the two plastic seal covers
-now loosen the two slide pins with a 7mm hex bit. The top one can be removed without a universal joint but the bottom one will need a universal joint.
- release the anti rattle clip. In the pic im Prying from the wrong side so pry on the other side and it should pop out
-using a c clamp compress the caliper until the piston bottoms out to install the new pads. Check and make sure the brake fluid reservoir is not overfilled.
Last edited by Nickthegreek; 12-03-2015 at 08:22 PM.
2009 S550 AMG sport pckg. 2014 Ford F-150 Lariat Supercrewcab
The rear calipers are very light so i wasnt too concerned about hanging them.
- next using a 18mm socket and wrench remove the 2 bolts that hold the support bracket on. The top bolt can be taken out with a shallow socket but the bottom one needs to be taken out with a wrench because theres no room for a socket. A ratcheting wrench will speed the process up.
2009 S550 AMG sport pckg. 2014 Ford F-150 Lariat Supercrewcab
-after you remove the support bracket, next remove the t30 torx alignemnt screw. I took a hammer and tapped it and it came loose.
-ok now is the hardest part of the procedure... getting the rotors off. Like in the front there will most likely be a coat of rust and corrosion that is holding it tightly on. Hit it a few times with a BFH and it should come loose but it may not just slide right off immediatley because there is a parking brake mechanism on the inside that works like a drum brake. Anyone who has worked on a drum brake knows it can be a real pain in the *** to remove the rotor due to a thin ridge of rust that froms on the inside diameter of the drum part of the rotor. My first rotor came off the some twisting and pulling but the second one required me loosening the star wheel. The star wheel adjusts how close the parking brake shoe sits to the rotor surface. You need a screw driver and a flashlight to shine into one of the stud holes to find the star wheel. You then lever the wheel with the screwdriver to loosen it and the rotor should come off (easier said than done )
The star wheel sits on the left hand side and has teeth to grab and lever with a screwdriver. It spreads the pads apart or brings them closer in together
- now is a good time to brush off rust and apply a coat of anti seize
The parking brake sits in the inside portion of the rear rotor and theres a ridge of rust that forms that makes it difficult to remove. In this case you need to loosen the starwheel.
Last edited by Nickthegreek; 12-03-2015 at 08:42 PM.
2009 S550 AMG sport pckg. 2014 Ford F-150 Lariat Supercrewcab
-ok now its time to prep the support bracket and slide pins. The support bracket should be cleaned of excessive dust and corrosion and the sliding pins should be cleaned and relubed with silicone lubricant only. I found a special ceramic brake lubricant i used to lube the support brackets.
The left lubricant is for use on the bracket while the right one is for use on the slide pins.
My slide pins are dry as a bone. This is not good as it will not allow the caliper to slide freely and apply an even force on both brake pads. This can cause caliper seizing and uneven brake pad wear
2009 S550 AMG sport pckg. 2014 Ford F-150 Lariat Supercrewcab
- now its time to put everything back together. If you had to back off the starwheel, then you should try and readjust it to be close as possible without dragging on the rotor. What i did was I adjusted it until the parking brake pads just contacted the surface and loosened it 6 clicks this let me slide it on. Then after both rotors were on I set the parking brake to make sure the rotors were locked and it Passed. Then i released the brake to see if there was any dragging and none at all so all was good
- next install the alignment screw into the rotor
Then install the support bracket. Ill have to look up the torque because i just used the german "gudentite" method because there was no way i could fit a torque wrench in there
Next install the inner brake pad. It will have a tab that fits into the caliper piston. You may have to squeeze the tab abit with pliers to get it to slide into the piston
-now install the brake pad sensor into the outer pad and insert it into the bracket. Let the sensor stick up and as you install the caliper feed it through the opening and plug it in. There is only one sensor in the back
The inner pad has a tab that goes into the piston. Do not put the wrong pad in
-install the caliper and thread the slide pins then tighten and install anti-rattle clip. I go hand snug then give it a good hit with my hand for good measure. Also reinstall the plastic caps that seal the slide pins from the elements. Ok all done. Now put the wheels back on torque to 150nm and youre good to go!
****oh and one thing i forgot to mention is to always pump the brake pedal until it becomes firm BEFORE DRIVING IT. Otherwise your pedal will go right to the ground. Because you compressed the piston it needs to be repressurized**** DO NOT FORGET TO DO THIS!!!!!
Last edited by Nickthegreek; 12-04-2015 at 09:19 AM.
I changed the rotors and pads on my S550 a few months ago and at least one piston was seized on each of the front calipers so I had them both rebuilt. I would recommend checking them if you are doing a brake job. This would also be a good time to do a brake fluid flush.
2009 S550 AMG sport pckg. 2014 Ford F-150 Lariat Supercrewcab
Originally Posted by MagCL
AWESOME POST NICK.
I changed the rotors and pads on my S550 a few months ago and at least one piston was seized on each of the front calipers so I had them both rebuilt. I would recommend checking them if you are doing a brake job. This would also be a good time to do a brake fluid flush.
Thank you. Good point, if the pistons do not move free and the pads are hard to push in then it might be time to consider new or rebuilding the calipers. The tool i used from snap on made it so much easier than using a screwdriver to pry the pads back and it applied a more even force. I think i would have been wrestling with if i didnt have it. Luckily the pistons on mine moved easily.
The worst part for me was getting the rear passenger side rotor off. That thing had a ridge of rust so thick i couldnt pound the rotor off and had to loosen the star wheel.
Last edited by Nickthegreek; 12-04-2015 at 09:16 AM.
Great write up Nick !!
Pictures are very useful.
Thanks for that!
Yup that BFH is an indispensable piece of hardware!!
Hey Nick How do you like the EBC's ?
I have the Akebono's and their perfect,must say performance almost better then oem!!..No dust anymore !!!!!!
Something I am sure you of all people knows how to do this but just as reminder for us all :
Also important to my opinion to do a brake-in procedure,here is what I did.Its way off an official procedure,but for every day use I found this sufficient.Its only half an hour or an hour of converting fuel into heat,but here you are:
slowly and gently up the applied pedal pressure as well as the speed,the idea is to gradually up-the temperature thus 'baking' the pads correctly and avoid to make spots on the disk initially.
What I did: 5-10 times braking increasingly from 50 mph to 1 never stop completely.Try to keep the car rolling at all times ,traffic permitting of course. I just used a stretch of country-road without traffic.
Then 5-10 times from 70-15 mph with increasing pressure the last stops already breaking harder,never stop completely.
Cool disks down by driving for 10-15 minutes or longer,preferably without braking.
Then repeat this procedure a few times.
This helps a lot against squeeling and should give optimum performance.
Important try to do this without rain or wet roads..of course outside temperature is a big factor how much heat(pedal-pressure) you can apply at one time,but it will be rewarding if its done with patience.
2009 S550 AMG sport pckg. 2014 Ford F-150 Lariat Supercrewcab
Originally Posted by marthyh
Great write up Nick !!
Pictures are very useful.
Thanks for that!
Yup that BFH is an indispensable piece of hardware!!
Hey Nick How do you like the EBC's ?
I have the Akebono's and their perfect,must say performance almost better then oem!!..No dust anymore !!!!!!
Something I am sure you of all people knows how to do this but just as reminder for us all :
Also important to my opinion to do a brake-in procedure,here is what I did.Its way off an official procedure,but for every day use I found this sufficient.Its only half an hour or an hour of converting fuel into heat,but here you are:
slowly and gently up the applied pedal pressure as well as the speed,the idea is to gradually up-the temperature thus 'baking' the pads correctly and avoid to make spots on the disk initially.
What I did: 5-10 times braking increasingly from 50 mph to 1 never stop completely.Try to keep the car rolling at all times ,traffic permitting of course. I just used a stretch of country-road without traffic.
Then 5-10 times from 70-15 mph with increasing pressure the last stops already breaking harder,never stop completely.
Cool disks down by driving for 10-15 minutes or longer,preferably without braking.
Then repeat this procedure a few times.
This helps a lot against squeeling and should give optimum performance.
Important try to do this without rain or wet roads..of course outside temperature is a big factor how much heat(pedal-pressure) you can apply at one time,but it will be rewarding if its done with patience.
Yes i didi Something similar. I went from 60 to 20mph gradually and let off and then drove it again for a bit and repeated this. I tried to never stop on the dime and do it gradually so that the heat was as uniform as possible. EBCs grab alot better than the oems. When i turned on the distronic plus with the originals it would not stop the car all the way before and i had to press harder the last bit to avoid hitting the car in front. Now it stops alot faster when distronic turns on and it stops itself the entire time. Also when i apply pressure to the pedal i immediatley feel the car stopping
 11-30-2015, 11:37 PM

 )
)


 )
)