When you click on links to various merchants on this site and make a purchase, this can result in this site earning a commission. Affiliate programs and affiliations include, but are not limited to, the eBay Partner Network.
2016 C300 aftermarket rear view camera DIY install
Long story short, wife wanted a C300 in the new cardinal red color, I insisted on sports package because non-sports ones look like a Kia, and due to lack of inventory bought one one without “must have” rear view camera. Upside: it sure is pretty.
We bought the car Friday a week ago so immediately I began researching. I looked at products by NavTV, Naviks, Navitech, and HD Link. There were some cheaper Chinese/Taiwanese units, but I decided on HD Link, purchased from Indiwork.co.kr:
Unlike my wife’s old W204 C300, where the built-in Navi/Multimedia already had an analog camera input that could be enabled in the service menu after installing a cheap $20 camera, the W205 is much more complex. All of the rear view camera solutions on the market are “interface” boxes that inserts itself between the main radio unit and the LCD display. Normally, the interface box allows the standard video signal to pass through. When reversing, the interface unit hijacks the video feed and sends the LCD display its own video of the rear view camera. This system is much more complex, but also much more capable and feature rich. You can watch some of the videos to see what all is possible. Indiworks also sells an interface box that only provides rear camera input, instead of the HDMI-capable model I bought.
Shipping from Korea was very fast, I had the items in two days after payment. Two thumbs up for the Indiwork guys. Very strongly recommended.
Without further delay, the install:
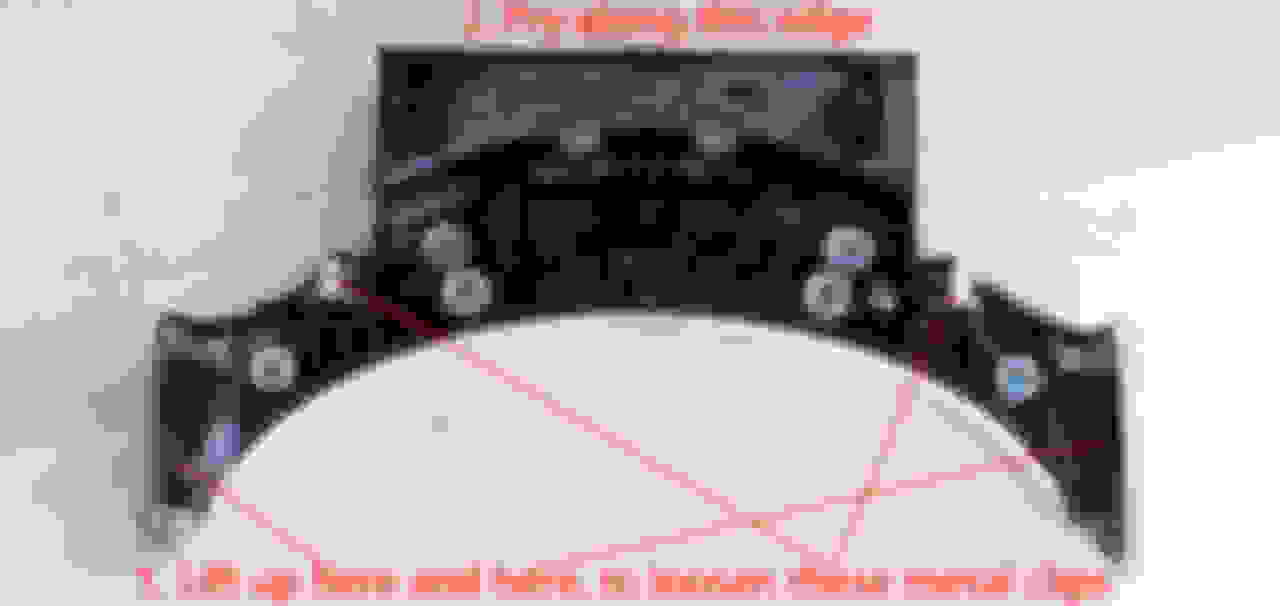
Begin by removing the interior trim panel of the trunk. First the trunk close handle, held on by two plastic pop clips. There are also two rubber bumper stops that can be unscrewed by hand or with a torx driver. Remove both of these.
Next remove all of the little round plastic clips. These things were much harder than I remembered in the W204. I eventually had to use a hook tool to rip them out. I’ll be buying replacements.
After removing all the little black clips, the trunk liner will droop down, disconnect the wires for the red light and interior trunk button, and then you can just slide the trunk liner out. Remove the passenger side trunk support cover. The factory wiring runs down this side. No need to remove the driver side support cover. The cover is held on by one of those round plastic clips and two clasps on the back.
I really really didn’t want to take apart the exterior trim pieces because they are always a pain to work with. For example the chrome horizontal ornamental piece that goes across the trunk lid is held on with double sided tape and who knows what other combination of screws or clips. There are no known tutorials on how to take this apart, and I am not willing to take one for the team. Sorry guys.
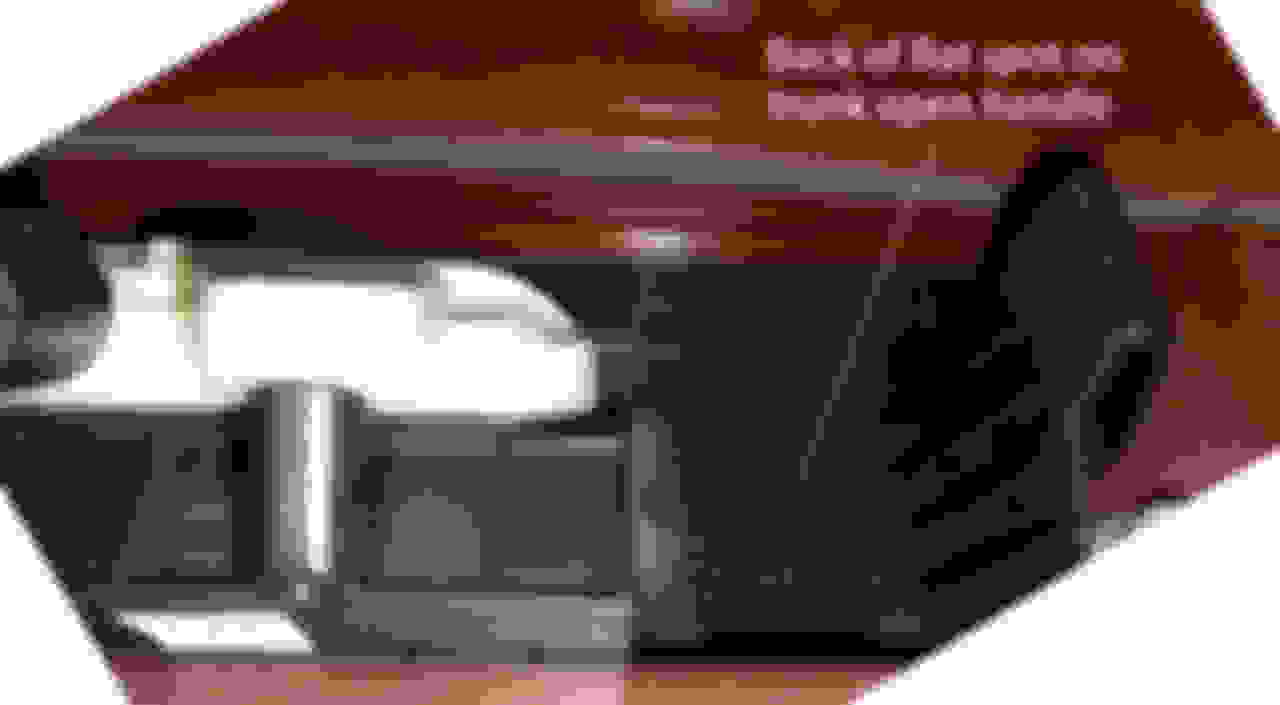
There is a flat spot next to the trunk open handle, where the OEM rear view camera would have been. Taking a photo of this spot from the rear reveals that it is clear in the back as well. This is the perfect spot!
Blue tape is your friend. I marked the spot, protected nearby panels with blue tape, and started with a small pilot hole. The shank of the K2000 rear view camera is ⅜” in diameter, so I gradually used larger and larger drill bits until the hole was large enough.
Test fit, looks decent, but too far forward. I used a dremel to elongate the hole a bit after this picture so that I can move the camera back some more. Avoid the urge to fix the camera in place at this point, you never know if you have to go back and rework anything, so I just left it kind of loosely in place and began working on the wiring.
The wire for the K2000 camera comes in two segments: the pigtail from the camera, and a longer cable, and connects together. Based on experience, making a small knot like this eliminates the chance of the connection pulling apart. It’s important to follow the same path as the OEM wiring down the support strut, because there needs to be enough slack in the wire to allow the trunk to open and close freely.
Blue tape is your friend. I fished the wire out from between the rear seat side bolster and the plastic side panel. The wire then runs down this crevice towards the floor. The rear sill cover was a pain to remove, in fact I never fully removed it. I was only able to get the front part to lift up like this, which was enough to allow me to run the wire through it. At this point, the K2000 camera wire splits into separate wires for RCA video cable, and red/black power wire. The HD Link interface box supplies rear camera power on demand, so I ran both sets of wire up to the front.
The front sill cover was much easier, and I didn’t take any pictures here. Essentially you lift up the panel starting from the rear end of the panel, and go along until you pull it towards the back to dislodge the last clip that is on the front. Working in this area, keep in mind that you can adjust the position and height of the front passenger seat to give yourself more room as needed.
To route the wire towards the center console, remove the cover plate from below the glove box. There is one torx screw on the right, and two metal clips at the front that pops away with gentle pulling. Two factory wires are attached to this panel, one is a temperature sensor and the other is a light bulb. It was far easier to twist and remove the sensor and light bulb, rather than disconnect the wire. The cover plate drops away and you have to kind of bend it this and that way to dislodge it completely. Tuck the sensor and light bulb away while you are working so as not to accidentally damage them.
Time to disassemble the dash. There are Youtube videos out there that show how to do this and you should watch them as they give you a good idea of what to do. You begin by opening the console storage box and try to pry out the silver trim piece. All tutorials online say to start the prying from the seam inside the storage box. In my case, this just didn’t work.
I tried prying at the seam for about an hour, working with a variety of tools from proper panel removal tools, to flat blade screw drivers to spackling knife, to the flat side of a hammer. It just wouldn’t give. The seam became a little chewed up and I grew really really frustrated at this point, thinking that maybe the 2016 model year had some additional hidden screws or double sided tape.
Finally, I had a breakthrough when I pried up the two silver side “wings” at the front of the trim piece. This lifted the front part up by about a quarter inch and all of a sudden, prying from the seam inside the glovebox made progress. In all there are four clips total, two plastic ones in the back and two metal ones in the front. It seems that loosening the two metal ones in the front makes the rear plastic ones release easier. Band Aid and beer break. Happy tears.
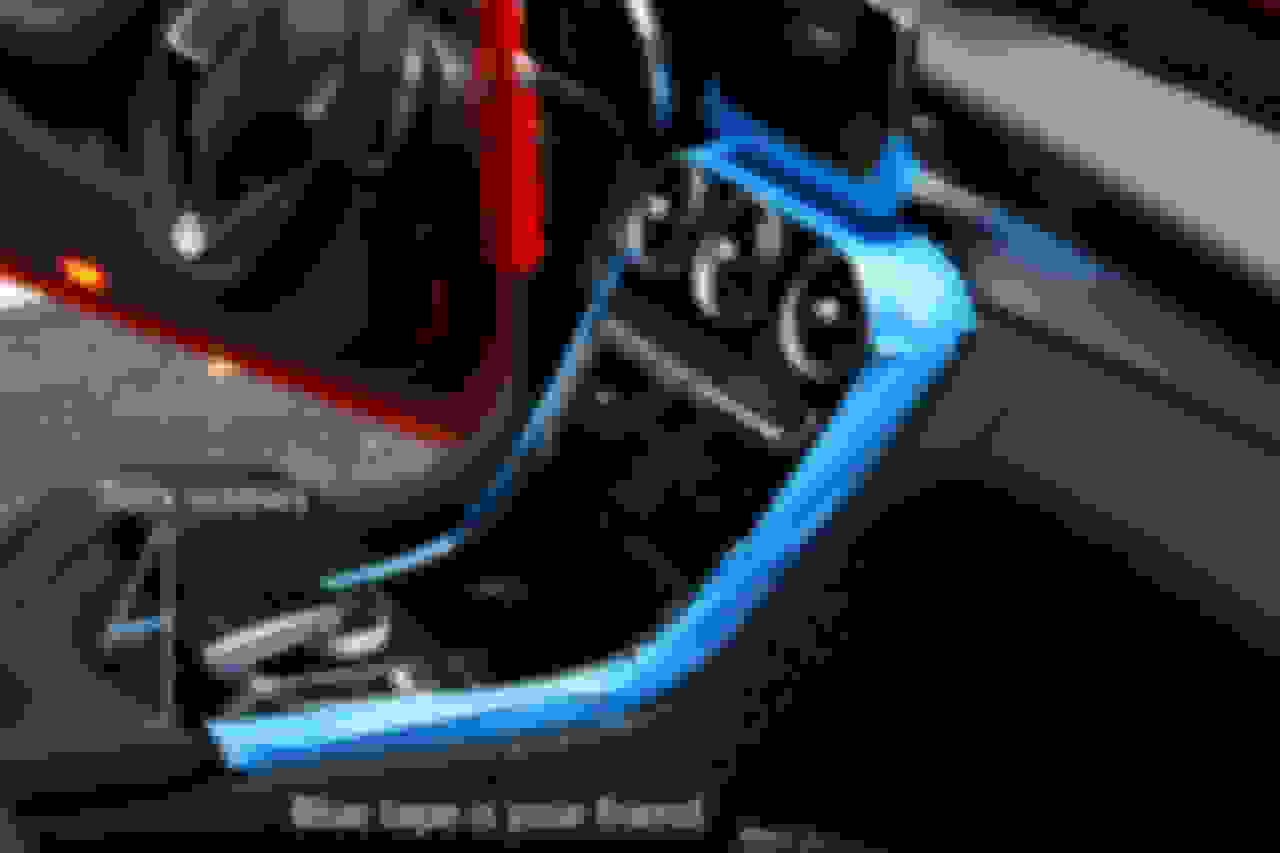
Blue tape is your friend. Protect the edges because you will be bumping it into something. After removing the two torx screws lift up the center console cover from the rear, and unsnap clips as you work your way up by grabbing the edge.
There are of course numerous wire connections in the back of the cover that needs to be disconnected. I got to the connection for the cig lighter plug and could not find a way to disconnect it. After staring at it for 10 minutes, and watching Youtube videos, I still could not figure it out. I am an electrical engineer, so unlike a trim piece or body panel, I am supposed to know how to do this. Eventually I thought to myself, no guts no glory, and used a flat blade screwdriver to separate the connector at the place I thought was most likely the plug. As I guessed, this plug goes in sideways at a 90-degree L-shape.
Time to remove the head unit - two torx screws, and rotate the two plastic cam arms forward along with the head unit. I put on latex gloves at this point because fingerprints on the bare metal parts of a head unit leads to corrosion and is a pet peeve of mine.
I am not going to talk about connecting the wires except to say that soldering iron and heat shrink tubing was involved. This particular product does not make use of a pre-made patch-in cable so you have to cut the insulation off of existing wires, solder connections in, and cover everything back up. If you don’t have the tools and are not comfortable doing this type of work, no amount of tutorial is going to be enough. I had Weller soldering iron station and a heat gun sitting inside this new car - needless to say, I had everything covered with moving blankets and etc in case I accidentally brushed against something with the soldering iron or heat gun tip.
There is a pocket behind the head unit, it’s even nice and padded. So I put the HD Link interface box back there, and crammed all the excess wire in there too. Then I stuffed some polyfill in there to eliminate chances for rattle.
The HD Link interface provides USB power and HDMI jack for connecting the Apcast module. I put the Apcast model in the little net pocket in the passenger footwell. It’s the perfect spot since this ensures a good signal, and also allow me to use the HDMI input for other purposes.
Not shown is the front camera install. I connected the wires on the HD Link, but have not yet routed the wire to the front of the car. I’ll be posting an update with this part of the install, probably next week.
At this point, with everything connected, I put the console cover back in place loosely, connected all the wires, and held my breath. It worked! I saw a live video feed of the ceiling of my garage because the trunk was open.
I drove outside, placed some brooms perpendicular to the back of my car, and began aligning the camera so that it is perfectly straight. After I was satisfied that it was straight, I mounted the camera in place permanently. In the HD-Link settings menu, you can also shift the guide lines left/right/up/down to compensate for the fact that the camera is mounted off-center. So awesome.
Starting from the center console and working backwards, I began putting things back in place, all except for the silver trim piece because of how difficult it was to remove. I am going to drive around for a week and put the trim piece back once I am sure everything is okay.
Bonus side project: I don’t know why a dealer in Maryland would order a car with summer-only tires, but it certainly won’t survive the winter if there is even a little bit of snow. So I ordered a set of wheels and tires for winter use. These are 18” Sparco Asseto Gara in graphite silver, 45mm offset, and G-FORCE COMP-2 A/S tires in OEM size. The set is 47lb rear, 45lb front, compared with 57lb rear, 55lb front for the stock 19” AMG/PZero set. The tires are a little chunky looking. I am not sure if I like it yet. Maybe it will grow on me.
I am going to finish up the front camera install this weekend and will provide some photos.
Indiworks site has some videos linked in the product description that shows you how the rear camera works. The active guide lines work very smoothly, and the position on-screen is adjustable.
Thanks to all for the compliments on the color. I really like it. At some angles, it also looks like a deep hot-orange. Very nice color.
NovaOne, do you remember how long the rear camera install took you in total? I'm trying to hash out a ballpark labor figure with my dealer to install either an aftermarket or OEM kit.
I finished the front camera install. I left off my previous rear camera install with just the wire from the HD Link interface box in place and ready to be connected to the front camera. So this weekend I finished things up.
Start by removing the front license plate holder. There are two screws holding the plate holder onto the bumper. Two clips on the bottom grabs onto the plastic lower mesh grill. The car certainly looks better without the plate holder.
After looking at things, I decided the front plate holder is the best spot for the front view camera. I know I wanted the front camera hidden and not just be sitting there obviously not part of anything. Note that the steps shown are specific to the front camera model I installed, your steps will obviously differ depending on the camera you get.
I started by cutting out some of the ridges on the back of the plate to make a smooth mounting spot, and a square hole for the camera to poke through. Worked out well.
I used blue tape to hold the camera bracket in place and drilled the pilot holes. I put out-door rated double sided tape on the bracket. This tape will provide most of the holding force for keeping the camera in place. However, the four screws are necessary for making sure that the bracket does not peel away from the double sided tape.
I am not particularly attached to EuroMotor cars, but this plate frame is solid metal, nickle I think. I made a hole for the camera to peek through.
I mounted the plate holder back in place, and started running the wires. It's always a good idea to start from the camera and work your way back, just like I did with the rear camera.
The pigtail from the front camera is fairly long, and I ran it upwards along the hood latch rod. After connecting the pig tail wire with the main wire run, I tied the connector in place to two conveniently located eyelets as marked in the photo. I then used adhesive tie-points to secure the wire along the way towards the back. The wire goes down through an opening just under the hood hinge.
The photo below is reverse, take a look at the right side first. The wire comes down and runs behind the black rubber flap, and then into the grommet. I don't know why this grommet is there, but in my car it's unused, so I made a small hole and put the wire through it. Originally i had planned to make a hole through the main wiring harness grommet that goes directly through the engine bay firewall. But once I saw this grommet here, I felt that it was a better choice, even though the wires not be totally hidden.
There's a lot going on in the panel here, which is the panel that sits below the glove box held on by a torx screw and two clips. This panel is the perfect place for gathering and keeping the front camera wire since it is heavily padded, so it will not rattle. I put the front camera control board here, as well as the two switches for controlling camera master power and mode. The master power switch is usually left on, I don't know why I would ever want to turn it off. The mode switch lets you change the view from the front camera among three different choices.
Here's the panel put back in place, and showing the power switch and mode switch. It's a easy reach to use the switches, and they are well hidden.
Here's a view of the front camera completely installed. I put a layer of XPEL film on the camera to protect it from road debris. Of course a huge rock is going to destroy this camera, but this should protect it from smaller stones and pebbles.
And here's the front camera. No you won't be able to drive while looking at the camera like you would a video game, because the perspective is heavily distorted. Things appear to be very far away until the last few feet. It is intended for navigating tight parking spaces, and making sure the front doesn't bump into curbs and etc.
Here's the rear view camera in action. The guide lines are fully active and very sensitive. Even a slight change in the steering wheel angle will have a corresponding change in the guidelines.
Anyway, this was a lot of fun to install. It's been almost a decade since I did any work like this on a car. I've always enjoyed working on cars and the front/rear camera install on this one has really brought back a lot of memories of long weekends and late nights. My wife is very happy with the results, and that's what matters the most.
NovaOne, do you remember how long the rear camera install took you in total? I'm trying to hash out a ballpark labor figure with my dealer to install either an aftermarket or OEM kit.
This was a labor of love, so it took me probably one full day to install the rear camera, and half a day for the front camera. There's probably a solid 12 hours of labor in there. But I am an amateur and I was really careful with everything. A professional should be able to get the rear camera installed in 3 hours. The front camera is a bit tricky because you have to fabricate a custom mounting location for it. It's not like the rear camera where I just had to drill a simple hole and start running the wires. The front wiring was, in contrast, much simpler to run. So maybe 2 hours for the front camera as well if I did this for a living.
Thanks, NovaOne! Amazing writeup with tons of the really useful information. I'm sure this'll end up in the W205 basics sticky once someone creates it.
I'm going to try to use your instructions to install the OEM camera in the next couple of weeks. I priced everything out on MB OEM Parts (aka MB of Naperville) and the parts came to $833 with shipping. The only thing not included in that are the MBZ cable ties, which are "just a little" overpriced at $3....each. The OEM parts will be about twice as expensive as the Korean parts, but I want an easy lease turn-in in three years.
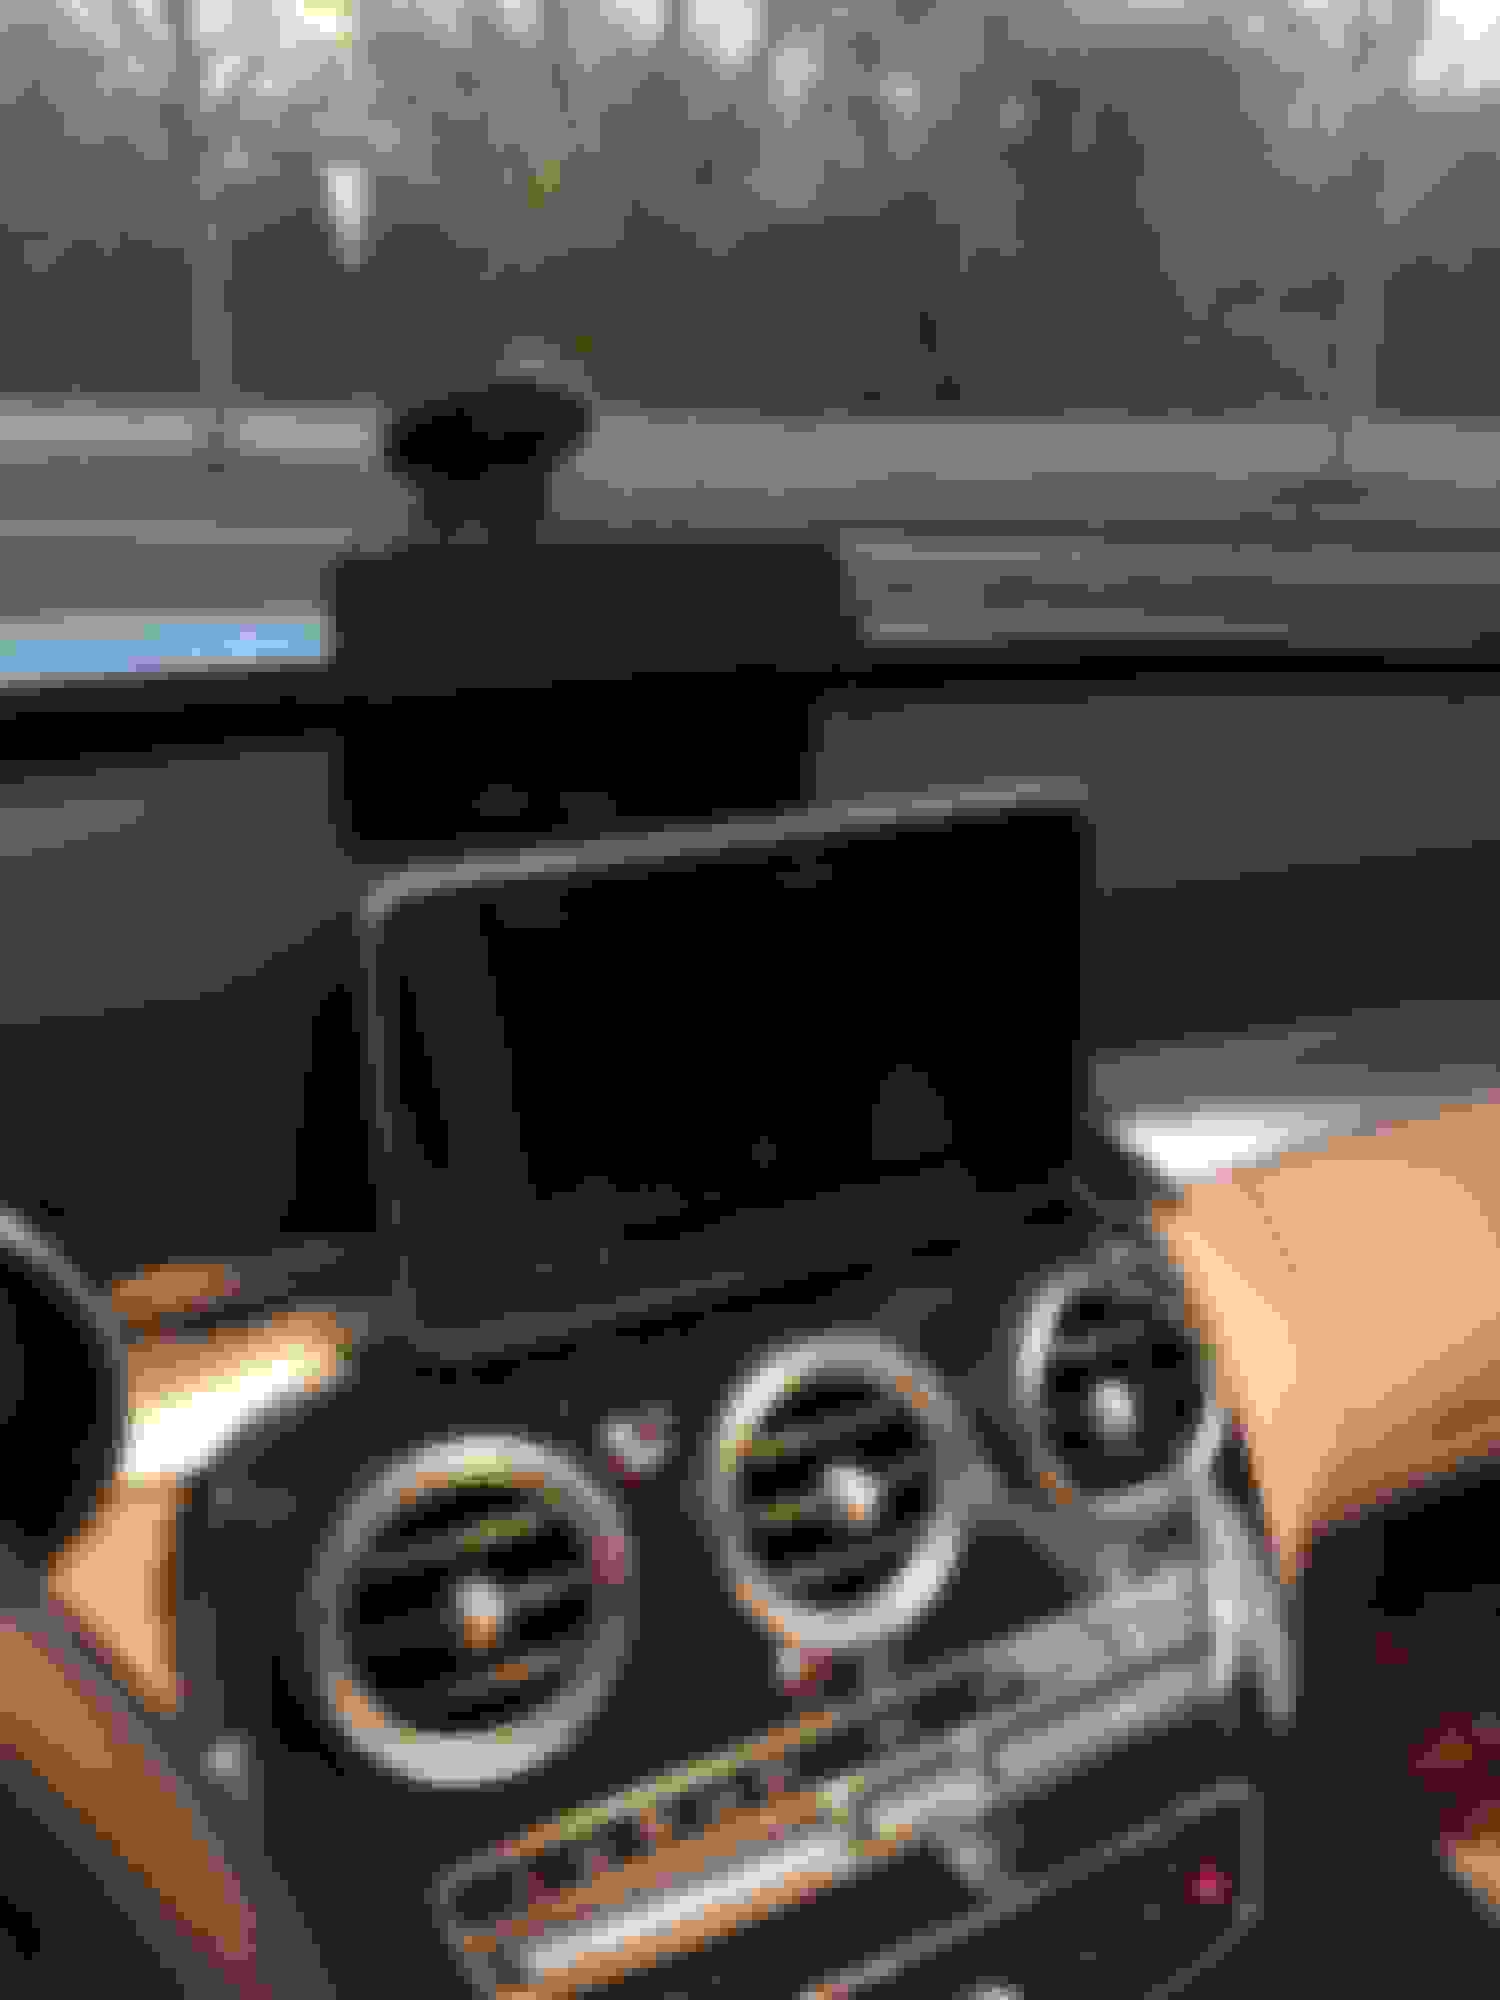
In the meantime, for your amusement, here's the ridiculous Yada wireless camera that I've temporarily set up while I wait to install the real deal (the Yada image quality is pretty, pretty bad):
Last edited by sadpanda; 11-02-2015 at 06:28 PM.
Reason: Typo
Thanks, NovaOne! Amazing writeup with tons of the really useful information. I'm sure this'll end up in the W205 basics sticky once someone creates it.
I'm going to try to use your instructions to install the OEM camera in the next couple of weeks. I priced everything out on MB OEM Parts (aka MB of Naperville) and the parts came to $833 with shipping. The only thing not included in that are the MBZ cable ties, which are "just a little" overpriced at $3....each. The OEM parts will be about twice as expensive as the Korean parts, but I want an easy lease turn-in in three years.
In the meantime, for your amusement, here's the ridiculous Yada wireless camera that I've temporarily set up while I wait to install the real deal (the Yada image quality is pretty, pretty bad):
Thanks for the compliments. Good luck with the OEM camera install. I saw on the back of the stock head unit that there is a LVDS jack labeled "CAM", so I assume this is where you would plug in the OEM backup camera unit. I think it would be helpful after your install to list out all of the part numbers used.
To be frank, I am pretty disappointed by the state of the backup camera feature in cars today. There is no reason why they cannot use a high resolution 720p camera to feed image over a digital data line. But due to the fact that the automobile is still very much an analog environment (save for the Tesla I guess), the rear camera feeds still rely on the old analog signals. It's amusing but sad to see the analog signal being converted to digital, and up-sampled to be displayed on the "high definition LCD display" in all its bleeding blurry blocky-ness.
Update: dealer quoted me $541 for a fixed aftermarket camera from a reputable maker and $525 for labor (4 hrs). That's actually not as bad as I'd expected. I'd still prefer the OEM camera, though.
I priced out all the OEM parts at $813. Now I'm just waiting on the W205 shop manual to confirm that all the parts are correct. My big remaining question mark is whether I can use an OEM control module that goes between the Audio 20 and the camera.
That's my backup (no pun intended) if OEM doesn't work out. NovaOne brought it up, and I agree with him that the documentation on the Navitech model is very poor.
Update: dealer quoted me $541 for a fixed aftermarket camera from a reputable maker and $525 for labor (4 hrs). That's actually not as bad as I'd expected. I'd still prefer the OEM camera, though.
I priced out all the OEM parts at $813. Now I'm just waiting on the W205 shop manual to confirm that all the parts are correct. My big remaining question mark is whether I can use an OEM control module that goes between the Audio 20 and the camera.
I am willing to bet that all of the "reputable maker" aftermarket systems are using one of the Korean rear view camera interface boxes, either the one from HD Link or Navitech, plus a generic camera of some sort. Pricing this out for HD-Link "R04-MB14 Rear Interface For Mercedes W205" plus the K-2000 camera comes to about $290 plus shipping.
The K-2000 camera is one of the nicer one's I've seen. Cheap Chinese cameras can be found for $20 or less.
I've been quoted by dealers for $850 to install a rear view camera system that "works just like factory", so that's what I'd shoot for if you want an aftermarket system. If the price difference is only a couple of hundred dollars, I would definitely prefer the OEM system, as that would come with warranty and etc.
Lastly, I don't think it's a good idea to use the factory control box with an aftermarket camera. I am not sure if that would work. Too much of a risk to buy the parts and then find out it doesn't work.
I've been going over camera options with my service manager and just started looking at all the diagrams in the service manual.
I'm off to the dealer to confirm, but here's a comparison of the schematics for the W204 vs the W205:
W204.
W204 schematic. Here, the camera is activated via the SAM unit.
W205.
Note that the camera connects to the instrument cluster and the ignition. The cluster provides speed data. The ignition handles the vast majority of inputs. Another big change is N42, which connects separately to the ignition. N42 is the "camera cover control unit", which makes the camera pop out of its housing when the car is put in reverse.
I went ahead and ordered all the components, at a cost of $867 with shipping. The big question mark is labor for installation and, particularly, programming.
I'll provide a full parts list if we can finish the install.
Hi There, i am in the same boat as you. please let me me know on how it goes and i will appreciate if you can post the part numbers when you are all set. my wife doesnt want to drive the car as it doesnt have a back up camera. So definitely need it. Hehe. Good luck with the install.
My local Costco has wireless DIY kits for $120. As I recall it is completely free-standing (no connection to your vehicle's electronics). A camera and transmitter fastens above the rear license plate, with one of the license plate mounting bolts. (This would make it easily stolen, but what good would it be to a thief without the other end, the receiver and screen? That unit is inside the car and, like a ree-standing GPS, not necessarily visible.) The camera and transmitter needs a power connection to the tail lights. I did not look at the kit long enough to see how the receiver and screen is mounted and powered. The kit states that the purchaser can do it himself, have a telephone hot-line walk him through the installation, or ask for a list of recommended installers in his area.
With its free-standing screen, this kit would be suitable only for MBs whose owners had spent absolutely all of their money on their new MB! However, it might be useful for an MB owner's other car, truck, camper, or even boat trailer.
I'm happy to report that I was able to install an OEM-style backup camera that flips out of its housing when the car is placed in reverse. In the end, the dealer and I decided that trying to retrofit the OEM components had too much of a learning curve -- the install alone could have cost over $1,000, and the parts were almost $900.
I went with the previously-mentioned Navitech unit. It looks just like the original on the outside. The resolution itself is crystal-clear, and it turns on slightly faster than the OEM one. Unlike the OEM model, it instantly turns off when Drive is engaged. The guidelines are easily adjustable, and I was able to remove the warning text at the same time. The screen displays my Parktronic sensors as well. The only downside is the lack of a wide-angle feature.
Of course, I'll have to wait and see about unit reliability. On the one hand, the flip mechanism introduces an extra wear-and-tear element compared to other aftermarket cameras. On the other hand, it also protects the camera from the elements (it's 10F here right now). In a month of use, I've had no issues.
The Navitech kit itself cost $460, shipped directly from the manufacturer. The kit arrived within 3 business days, and I received installation instructions via email.
Installation at the dealer cost $500, although I'm very sure the service department gave me a great deal on labor, a) because they're great and, b) in order to gain experience installing a flip-style W205 aftermarket camera. Labor was the same as to install their typical aftermarket Mid City Engineering camera.
My contact at Navitech, Ryan, was very easy to work with. He patiently walked us through the steps necessary to correctly adjust the dip switches (which had perplexed the dealer tech). The dealer, in turn, was very patient and didn't charge me to access the control module inside the center console. That alone saved about $250.
Overall, it seems like a great option. The service manager and I both agreed that it's much better value for money than trying OEM.
If you decide to get the Navitech kit, PM me and I'll send you advice on how to get the installation right the first time. Or, if you're in the Detroit area, go to MB of Ann Arbor, since they now know how to efficiently install the kit.
I'll try to find some time tomorrow to take pictures and videos.
Last edited by sadpanda; 01-11-2016 at 09:22 PM.
Reason: typo
Regarding the silver cover behind the control pad, note the two black tabs in the upper part of the picture, after you have yanked it up a bit you need to press these tabs though the gap in the centre console using a butter knife or similar, do NOT use a screwdriver as you will damage the console.
Then it will come out without use of the F-word, beer or band aids.
 10-26-2015, 04:57 PM