When you click on links to various merchants on this site and make a purchase, this can result in this site earning a commission. Affiliate programs and affiliations include, but are not limited to, the eBay Partner Network.
I've recently purchased a set of Eurocharged mid-length headers, FTP's cooling kit (reservoir, front heat exchanger, custom cabin filter and accessories) as well as a Johnson CM30 coolant pump.
I plan to install all of this in one shot at my dad's shop. I am also having the primary cats, secondary cats and resonators deleted. I am replacing all of that with straight 2.5" piping and replacing an the resonator with an X-Pipe.
I might even consider changing spark plugs at the same time since the ignition coils will be off when installing the headers, as well as flushing the coolant system out since I will be separating the two circuits.
I want to double check with those of you who already have done some of these mods:
1) cooling system:
When I split the system, I will be installing the reservoir and heat exchanger. Correct me if I am wrong but the way the supercharger cooling circuit should be is as follows:
Reservoir -> Pump -> Intercooler -> Heat Exchanger -> Back to Reservoir.
2) Header install:
Aside from having to remove the ignition coils and having the patience of a nun, is there anything else I should prepare myself for? I plan on using new exhaust manifold gaskets. The Eurocharged headers have a short piece of pipe that is flange bolted to the headers but is used for welding to the rest of the exhaust system. The kit also has those bolts and gaskets. I plan on getting EC's header tune as well, deletes the CEL for missing cats.
The custom piping will be done by a performance shop within the same complex as my dad's shop, he's a buddy of ours.
Again, if any one has any further input with respect to things that should be done or looked at or removed please let me know.
Oh, I also will be looking into my fuel pressure dampener... i believe i have a small fuel leak. I smell raw fuel every once in a while. its coming from under the hood, towards the passenger side of the fuel rail at the back near the firewall...
The stock setup is Reservoir -> Intercooler - > Pump -> Heat Exchanger -> Back to Reservoir. The reservoir is actually a T-fitting that bleeds into the engine coolant circuit. The fluid never returns to the reservoir.
Reference: GF09.41-p-3104AM on WIS if you have it.
The stock setup is Reservoir -> Intercooler - > Pump -> Heat Exchanger -> Back to Reservoir. The reservoir is actually a T-fitting that bleeds into the engine coolant circuit. The fluid never returns to the reservoir.
Reference: GF09.41-p-3104AM on WIS if you have it.
Thanks for the reply. I was refering to my new setup (after splitting the circuit). The OEM setup doesnt return to the reservoir because it gets cycled through the engines coolant circuit.
Any one have any suggestions with respect to mounting the FTP engine bay reservoir tank? Its literally a tank.. no mounting brackets or tabs or anything... and I'd really like to make this as clean of an install as possible.
The OEM low temp circuit for the intercooler doesn't cycle through the engine coolant circuit at all. I was adding the reservoir for your own interest, assuming you were installing the pump in the same location where the intercooler is (and the cooling grills for both).
The actual configuration is (starting at) pump-->heat exchanger-->intercooler-->pump, with one expansion hose on the return line to the intercooler IF it needs it. Separate circuit from the engine.
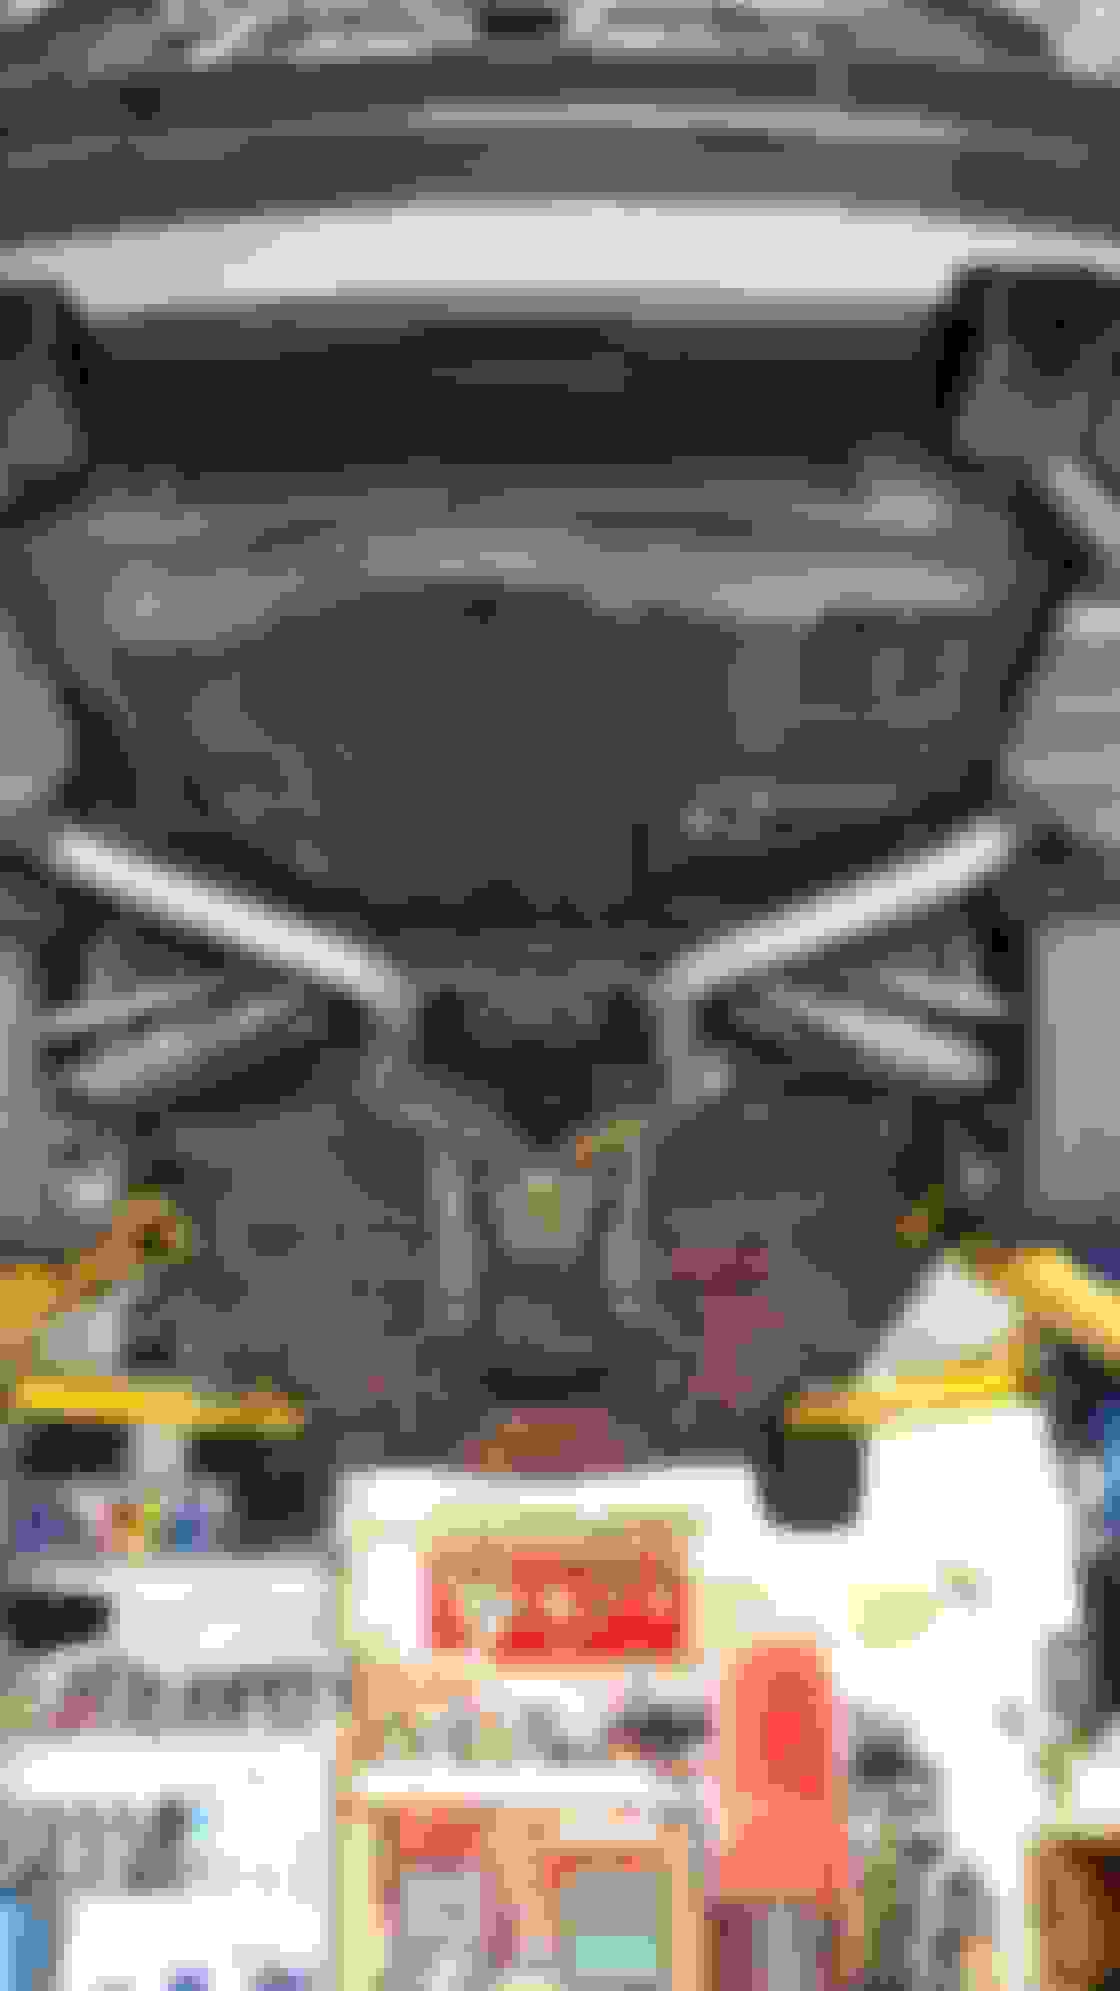
Here's the underside of the car as it sits. I'll post pictures as the installation progresses, just currently replacing the fuel dampener o-ring... I smelled a small bit of fuel last week coming from the engine bay and it was coming from directly around the fuel dampener (passenger side near the throttle body. the top (facing down) looked to be a tad moist and as I pulled the o-ring off, I noticed the minute it was slightly stretched out of place I saw cracks everywhere.
Onto the car:
Primary Cats
Secondary Cats, Kiss Pipe, H-Pipe
Resonator
Rear pipes to Mufflers (where the new pipes will end)
Here is the shrine of new parts that are being installed:
Eurocharged Mid-Length Headers, Fabtech heat exchanger and split cooling kit with the polished aluminum engine bay tank, as well as the cabin air filter modification/relocation.
As mentioned before, Primary Cats, Secondary Cats and Resonator will all be removed. The Eurocharged headers have mini down pipes off of them which are 2.75" OD, and the same size piping (2.75" OD) will be used from those down pipes all the way back to the OEM muffler piping. I plan on using V-Band connections at the rear for ease of un-installation if necessary. I will record sounds of the car pre-surgery as well as post surgery. everyone will know what a totally OEM car will sound like with nothing but rear mufflers.
I will also record another video after the car gets its header tune.
So, more progress last night, a lot more compared to Monday night.
Monday night: removed Throttle Body and changed out the O-Ring on the pressure dampener.
Tuesday night:
-Installed new O-ring and reinstalled throttle body.
-Removed every bit of OEM Exhaust, everything from the primary cats to the rear mufflers came down in one piece. I then removed all of the coil packs for access to the top bolts/studs on the manifolds. The manifolds were somewhat hard to work with, but with a small flame on a torch for about 30-45seconds, they all cracked loose. I had every nut/stud come out complete, no studs remained in the heads. The OEM manifolds basically fell through the gaping hole where the primary cats sat.
I test fitted the headers, they fit quite well if you ask me. one thing you will have to do is unbolt the steering joint. At the bottom near the rack is a fixed U-Joint knuckle, but above is a 13mm bolt that links up the steering CV joint type system. **Pro Tip: Lock your steering wheel, and then undo the bolt. It'll hold everything still and ensure that you don't lose position** remove the bolt, push the steering side of the shaft OUT of the U-Joint Shaft, or UP, depending on your view. And Voila, went in like the passenger side, no problem.
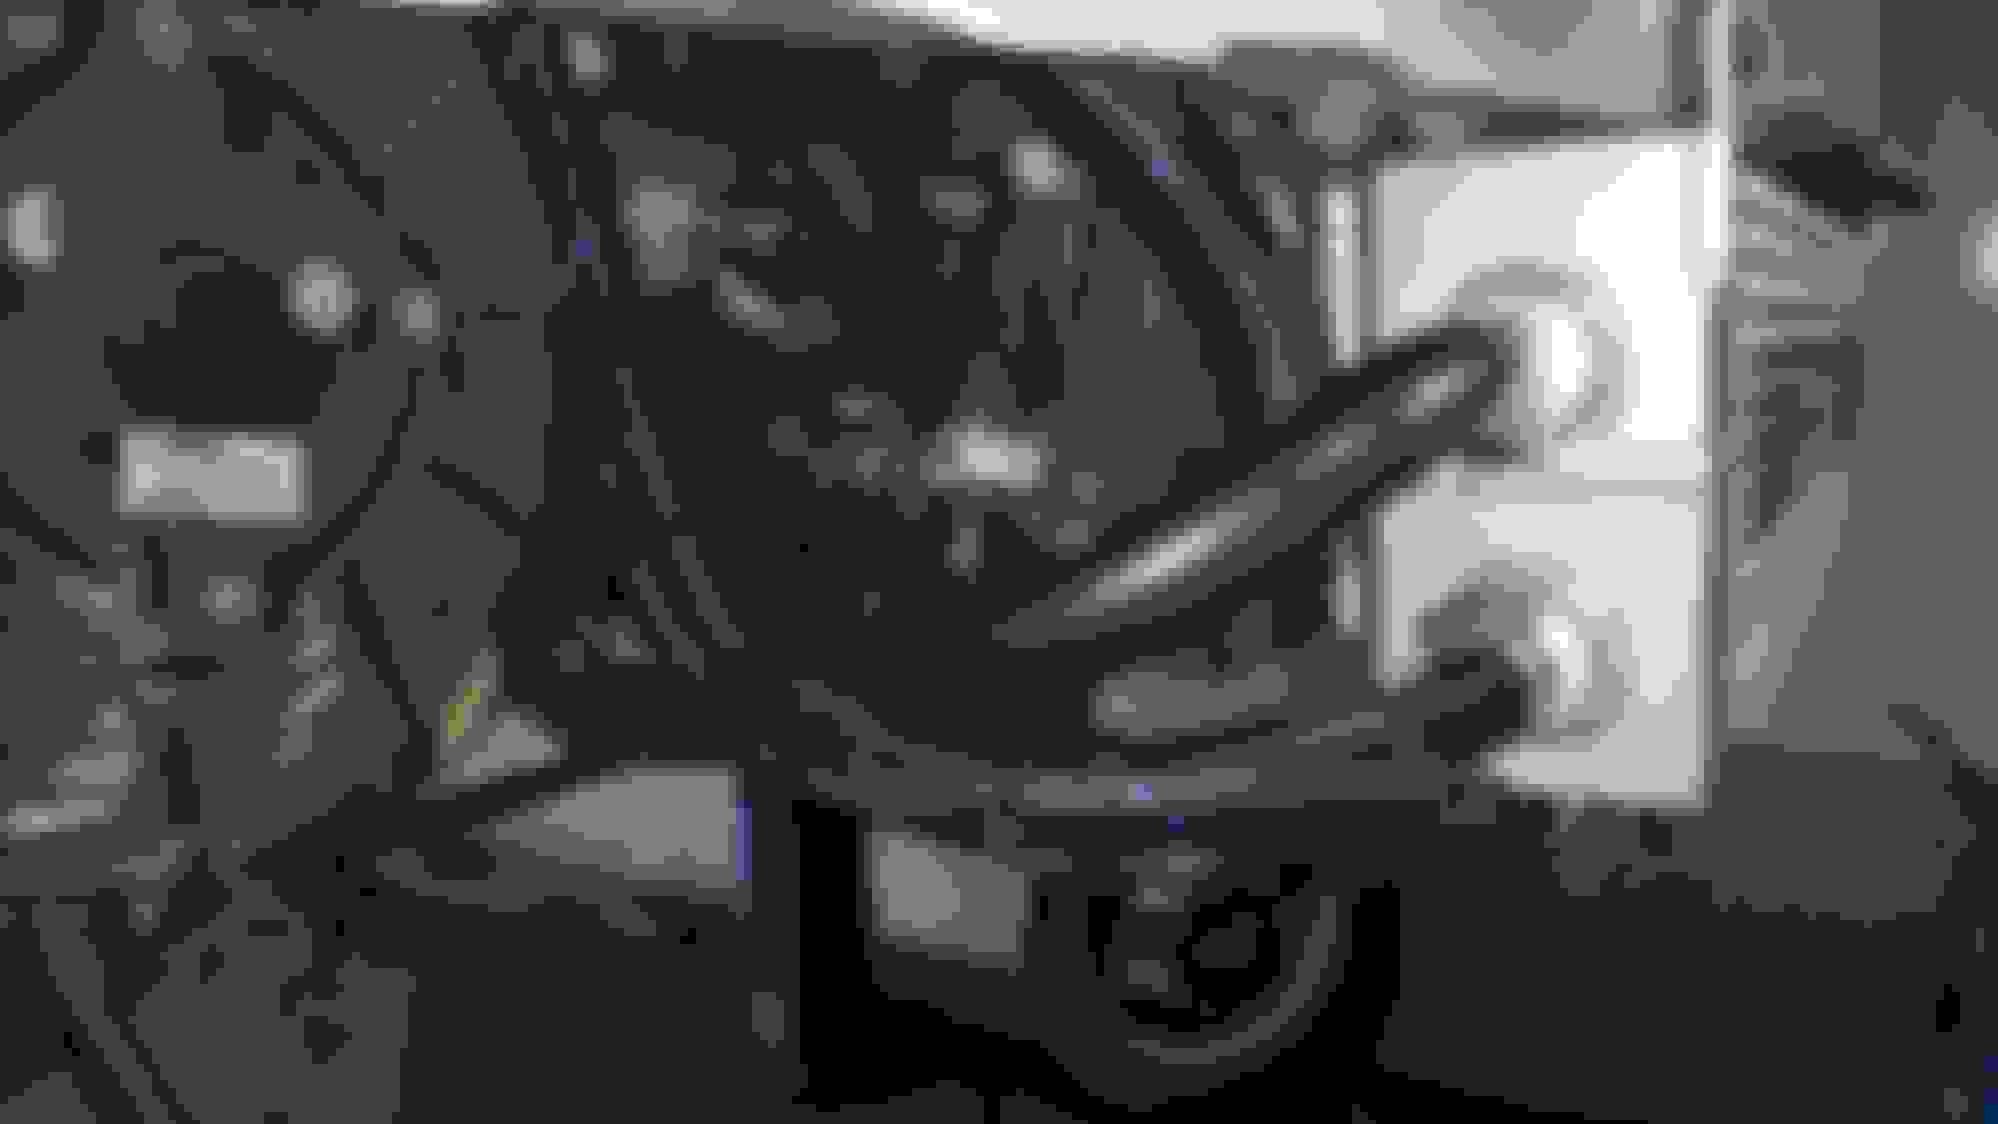
Onto pictures:
-12AN to 3/4" NPT fitting for the front heat exchanger. Might as well keep the pretty AN fittings consistent.
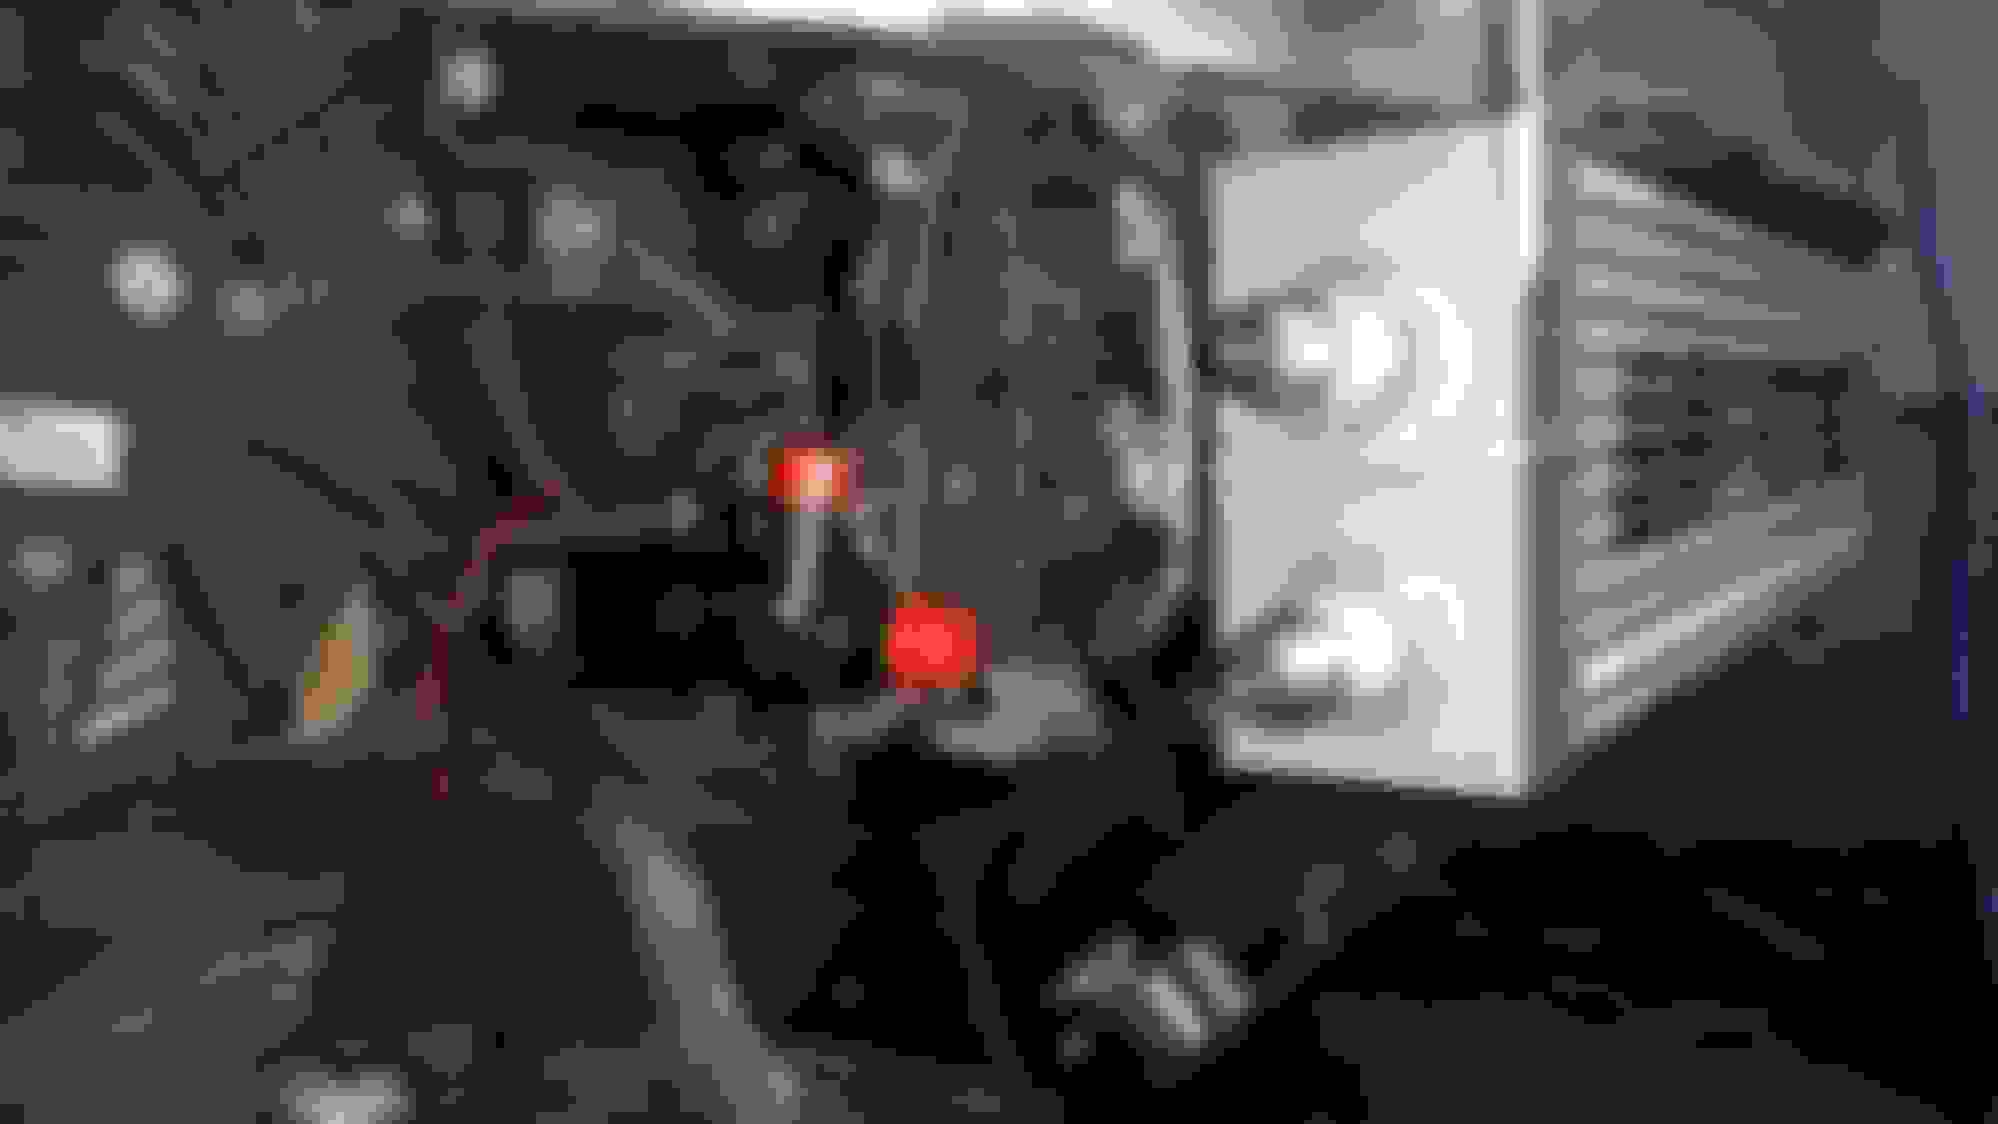
View from the top. Air boxes, coil packs, and OEM manifolds removed. Rag covering TB (in case it wasn't clear).
Passenger side detail, no manifold.
Driver's side no manifold.
Test fit passenger side header.
Test fit driver's side with steering knuckle re-installed.
Both headers positioned.
Passenger side view from above.
Driver's side view from above.
I have a question, anyone use any special high quality studs? I wouldn't mind replacing the OEM ones with a shiny stainless set, but this time with a driving head so that they can be set in place and then have the nuts tighten against them.
Might as well add pulleys and belt wrap kit while you are at it
Thanks man, I appreciate it.
I am definitely contemplating a belt wrap kit, but am holding out. Next year I plan on doing a larger crank pulley and tune so I'll wait it out until spring.
I think I'll change the supercharger belt and bearing at the end of all this just to have a piece of mind for next year. Belts are cheap and the bearings I can order here at work. I'm a millwright/Industrial Mechanic for a manufacturing plant. I've got access to cnc machines and manual machines to make things, but I also have access to getting some really nice parts for great prices, bearings included.
Shardul, you've seen a tonne of this stuff, when it comes to the OEM manifold studs, what are your thoughts on not using studs at all, but instead, using stainless socket head cap screws and stainless washers? I cant say I've seen it around, but since I have a rack of bolts in just about every size and spec, its a pretty viable option...
you can use them if you want. but stock studs and copper nuts are fine to reuse. Most people want to keep cost to a minimal so they reuse without any issues.
you can use them if you want. but stock studs and copper nuts are fine to reuse. Most people want to keep cost to a minimal so they reuse without any issues.
Yeah I hear you. With this car, cost really isn't too much of a hinder simply because the difference in price easily pays off when it comes to reliability or longevity or anything else. And the car is simply too beautiful to not give it the best.
I've decided on ordering new head studs (the headers came with the copper coated nuts already). I'm getting spark plugs, any recommendations? as well as a new supercharger belt. Is there a 'better" belt than the oem one? i know the OEM one is a gates belt, do they offer a more "grippy" belt?
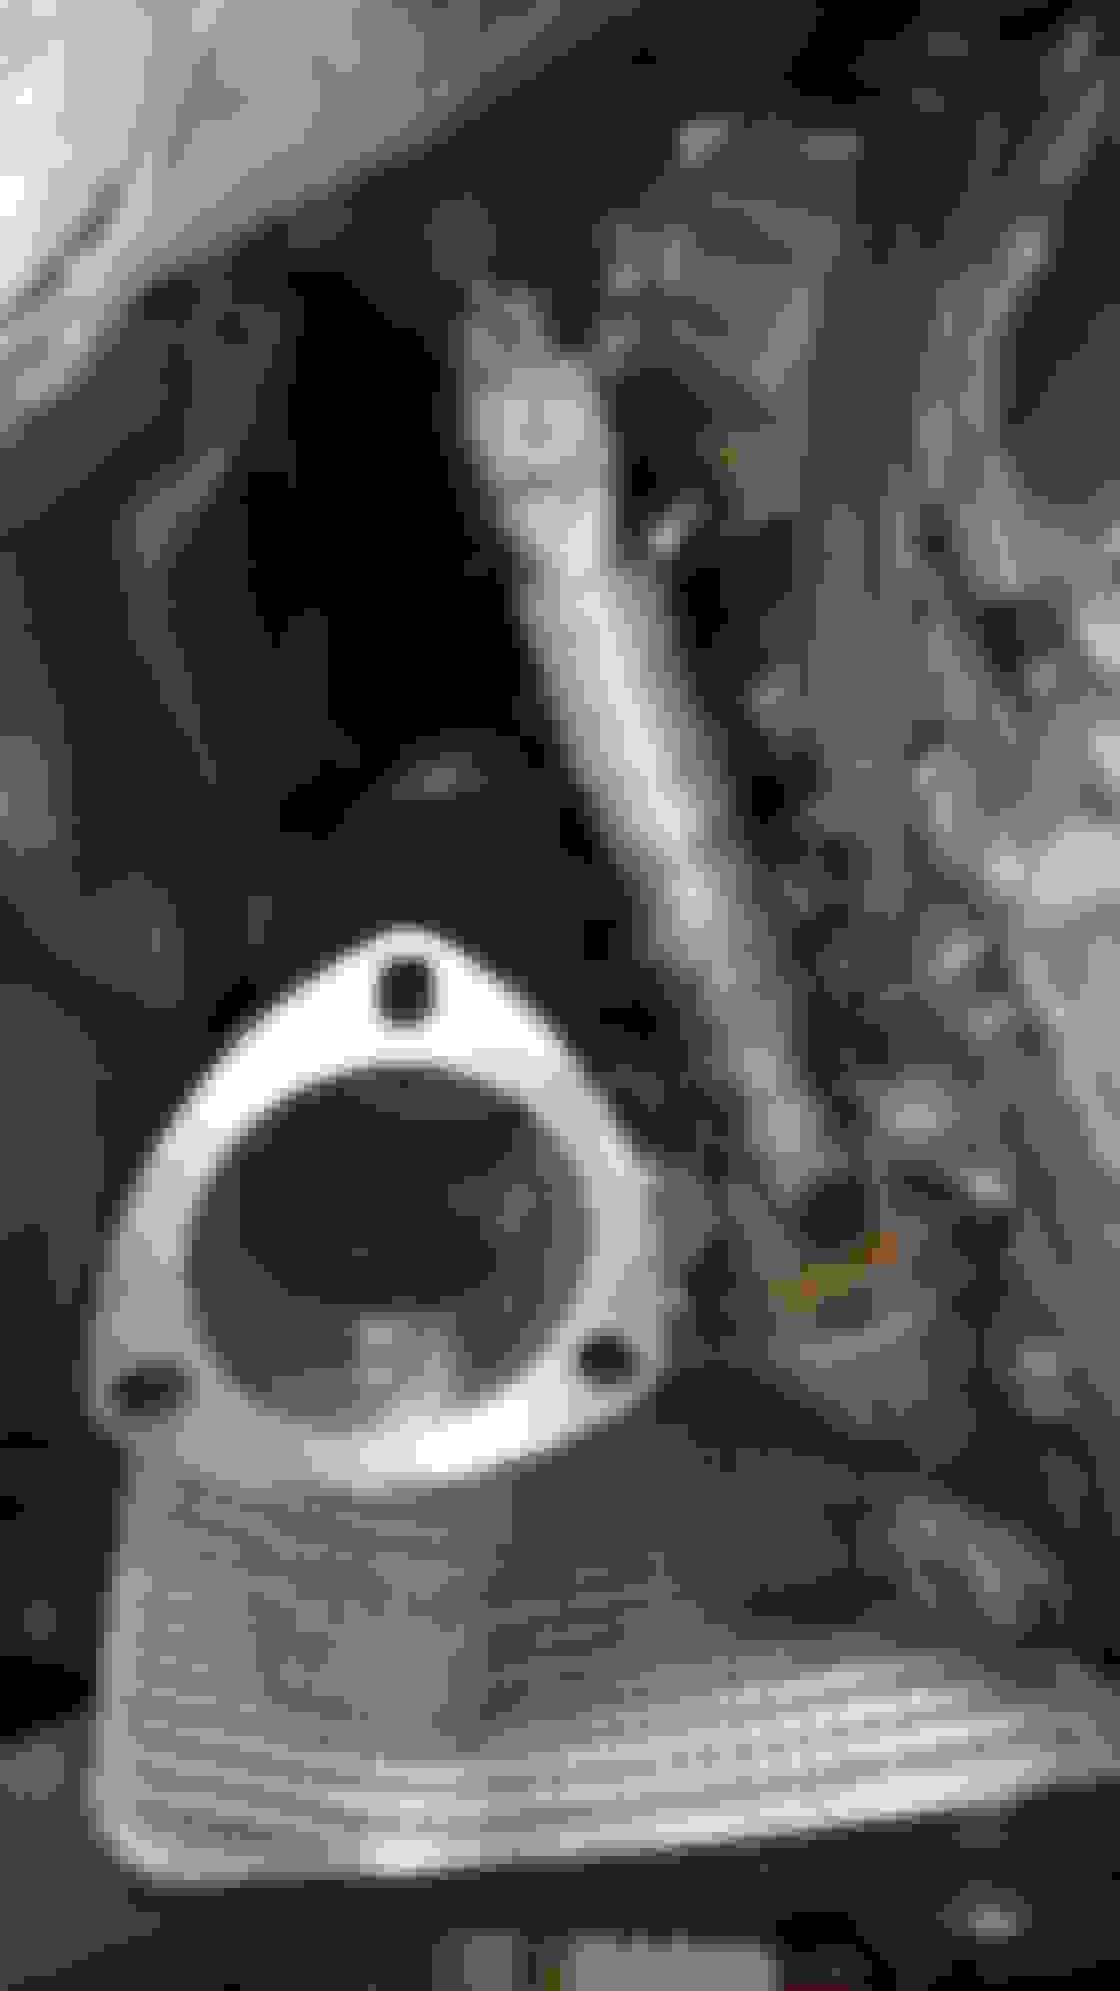
-Headers are installed for good. Perfect fit, as well as great locations for the primary O2 sensor bungs.
-New NGK Laser Iridium Plugs
-New Continental Supercharger belt (hopefully prevents some slippage that I was experiencing previously. The belt on the car looked pretty old)
Driver's side installed with O2 sensor.
Passenger Side installed with O2 sensor
Passenger side view from above.
Driver's side view from above.
**Tonight I plan to reinstall all of the coil packs as well as replace the coil pack wire plugs. The push-down locking tabs that connect the coil packs to the ECU all broke.. I suppose after 112,000kms and being a virgin (plugs and coils all original) they'd be dry and brittle. Upon reinstallation, the short down tubes provided with the headers will be installed and the car will be fired up with open tube headers. I'll have a video posted tomorrow!**
So the coil pack wire connectors were all re-done with new clips. They're a PITA to take out. the coil packs were re-fitted, the spark plug wires were re-attached and the car was ready to start up with the open tube headers and 2.75" OD short downpipes.
I'll apologize ahead of time for the talking and distortion in the microphone due to the loudness. My dad's comment about it being a "hush puppy" was his old 80's talk of open tube 427 big block chevies. Can't blame him I suppose.
**Edit: over the weekend I will be installing the FTP Supercharger cooling package with the engine bay reservoir. I'll post more pictures as progress continues.**
Last edited by pmgiarrizzo; 09-04-2015 at 07:20 AM.
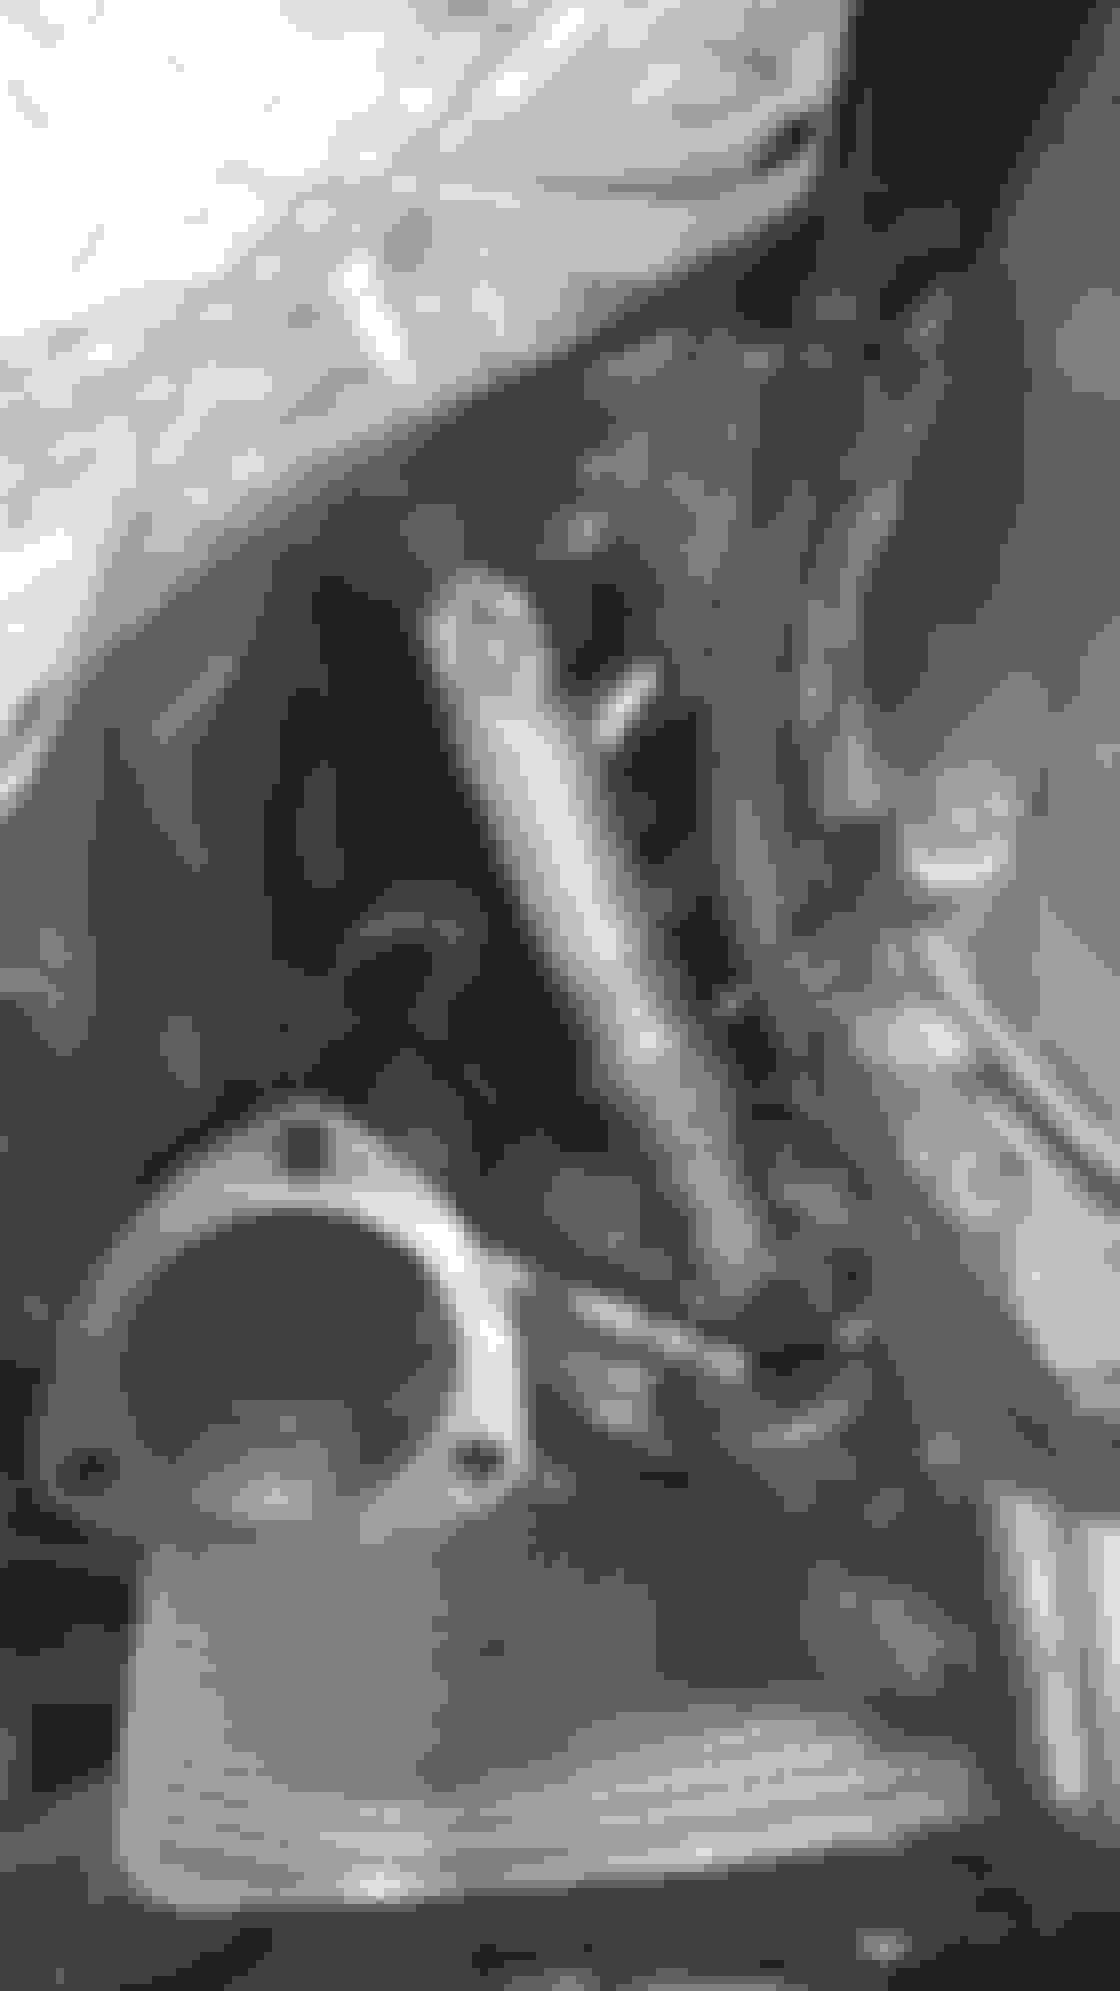
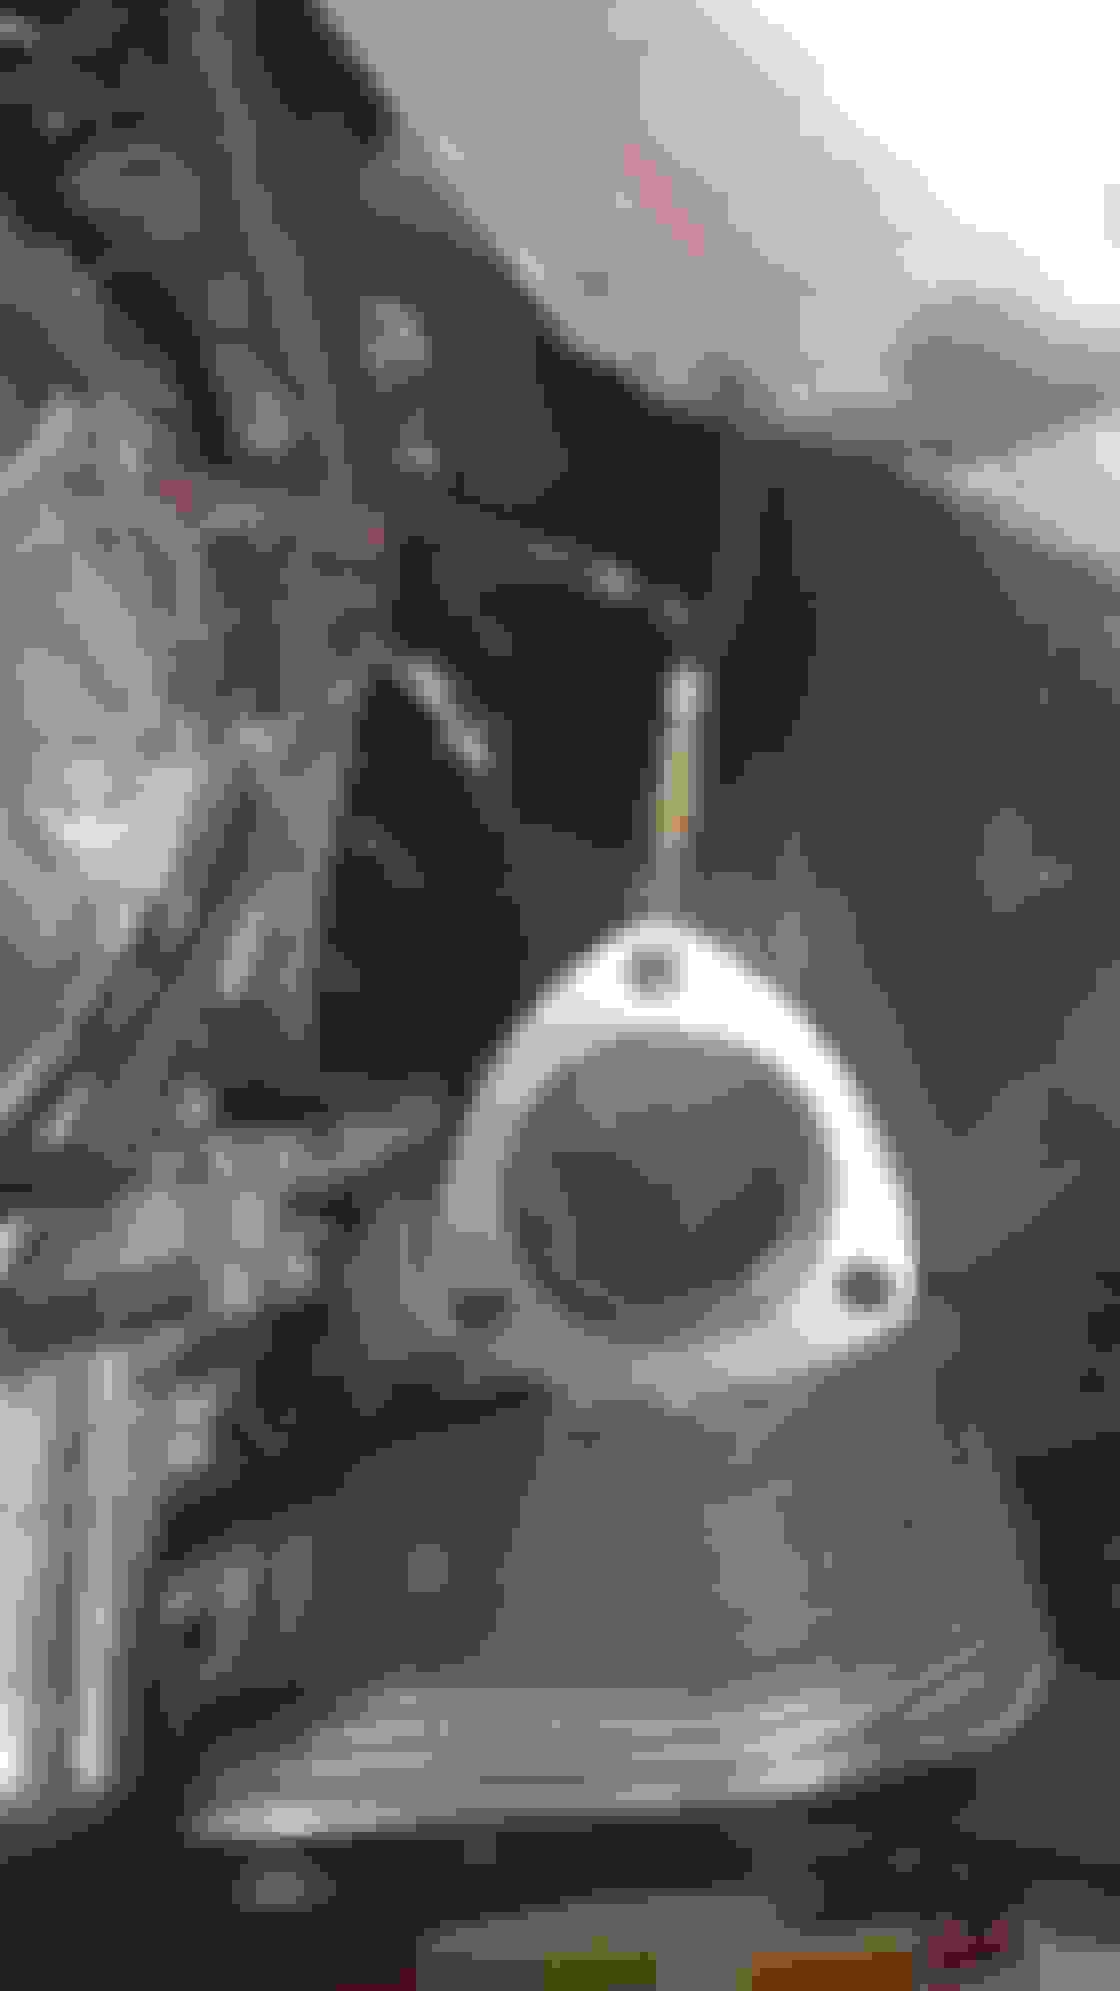
I've removed the front heat exchanger and also mapped out the cooling system. At the lower portion of the engine bay (behind the main engine radiator) there is an "H" configuration with two "T's" this whole system basically gets removed. the lower "T" junction gets removed all together. The upper "T" junction also becomes eliminated, but the straight through coupling is placed in. This allows the original engine coolant system to continue functioning totally separate from the supercharger cooling circuit. ill take pictures when its more exposed, its quite crammed in there.
Here's a few pictures of the front heat exchanger removed:
Front bumper and oem heat exchanger removed.
Right beneath the big fat rad hose, you can see a small corner of the steel clamp ring that is on one side of the top of the H junction.
the in and outlet pipes on the intercooler.
The original supercharger coolant pump.
Since everything is apart, if anyone has any questions about things in the vicinity, please don't hesitate to ask, I'll do my best to help you out. I came from the VW scene where DIY's and information is in abundance. Probably 5 DIY's for everything. So if I can help create some or help you create some to help everyone out, I'm game.
**Correction update: I mentioned earlier in the thread that I will be using 2.5" pipe. I lied, I will be using 2.75" OD stainless pipe. I measured the header down pipes and they're 2.75" OD.**
I hope everyone's long weekend was great, welcome back for some, sorry I haven't updated you guys earlier. I had my apprenticeship schooling start this year. Every Tuesday, expect an absence. So this weekend I managed to finish the whole cooling system. I split the OEM from the supercharger cooling circuit and managed to finish off the new cooling system.
I installed the front heat exchanger and pump:
Front Heat Exchanger installed
Johnson CM30 Pump installed.
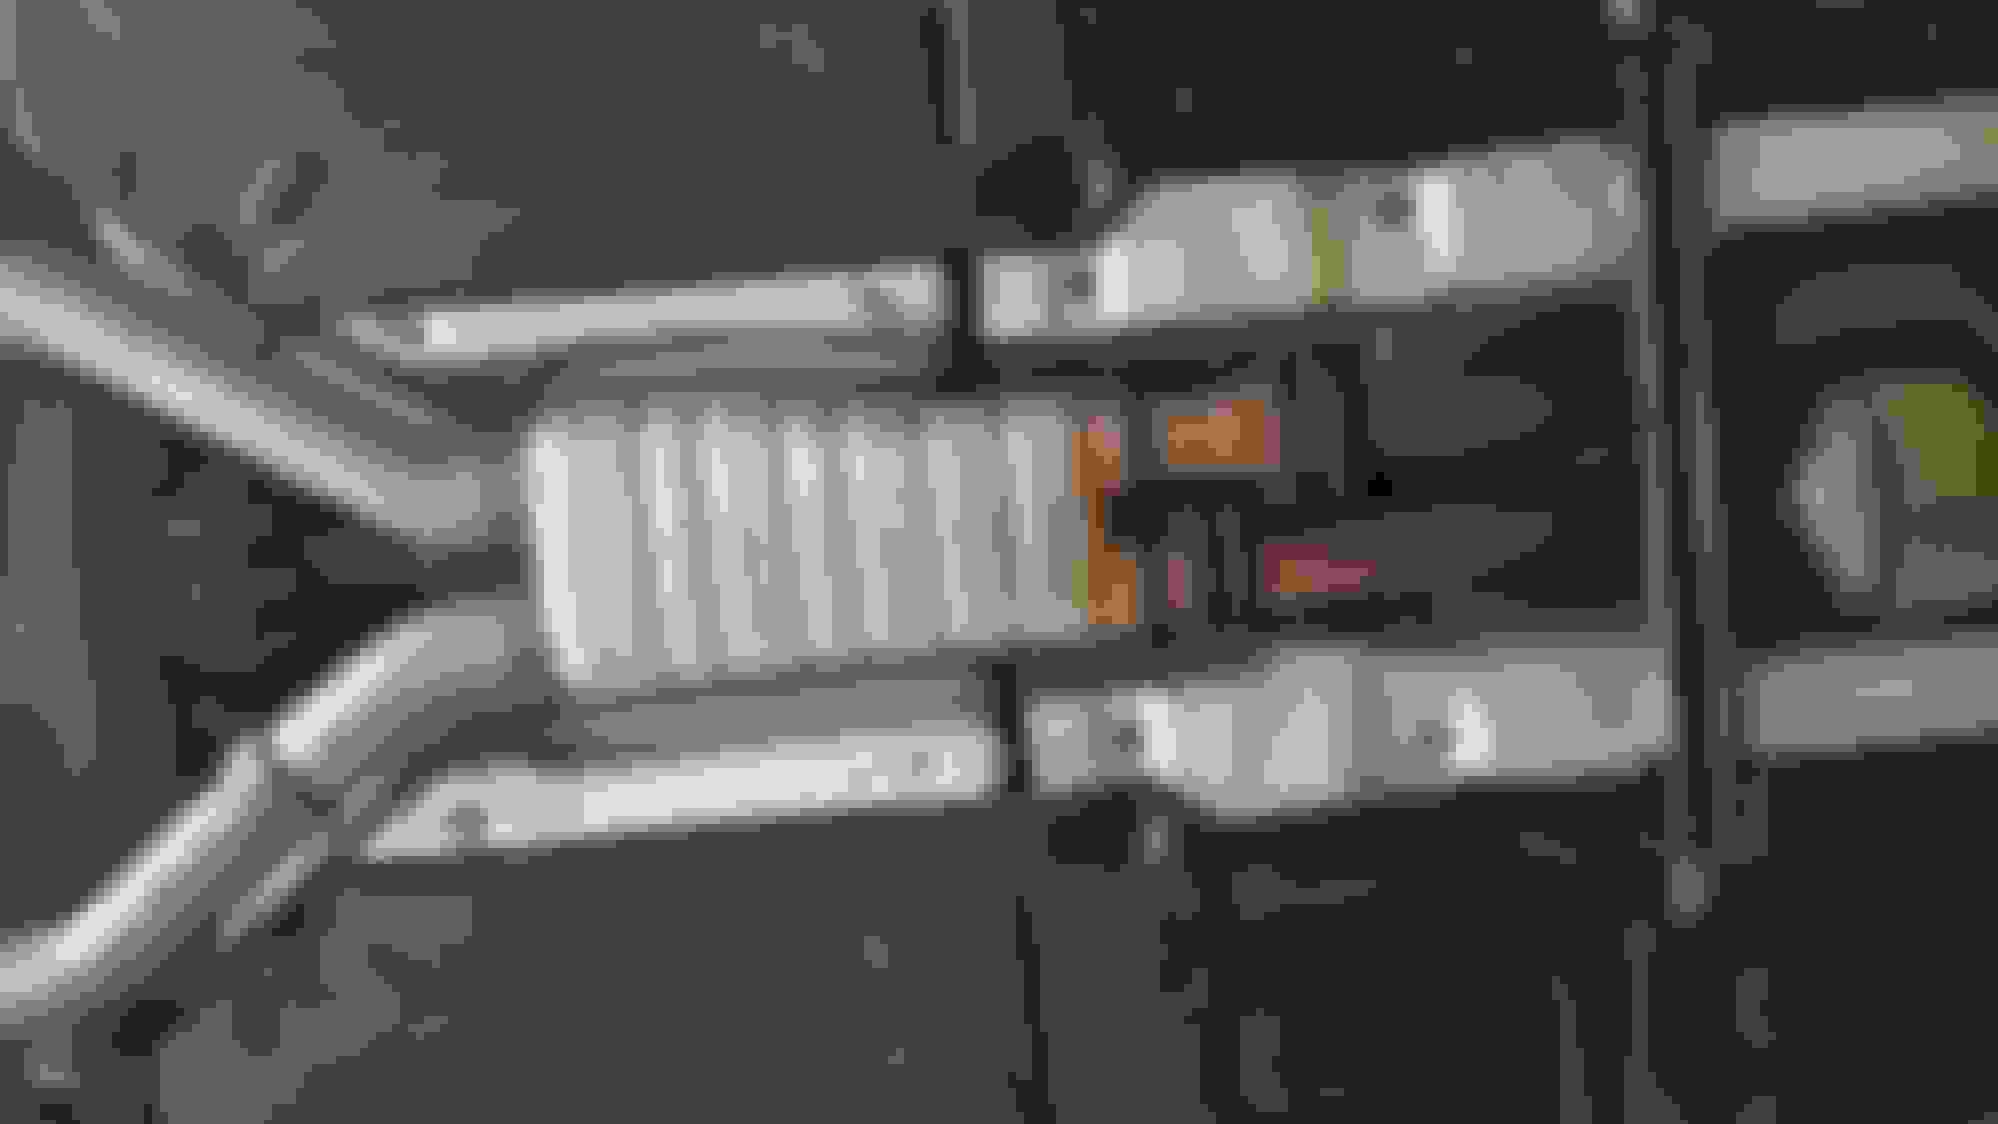
The Cooling lines and rest of the system:
Close up of reservoir. Covered in 1/8" sticky rubber mat (used on tables or shelves).
Reservoir again.
All hoses attached below. The AN fittings are not here yet so I've attached the hoses with the barbed fittings to ensure that the pump works and the system is leak free.
Front Shot of the heat exchanger
New 3/4" braided line.
OEM hoses for a clean installation.
Hope that satisfies some of those waiting for an update. Tonight I will hopefully fill the system with a coolant additive and water, whether it be Royal Purple Purple Ice, or Water Wetter, or Hy-Per Lube's Super Coolant, I really don't care, they all do the same thing and will work within a degree or two of each other (tests have shown).
If all goes well, I can re-install the front bumper and I'm hoping to send the car out today or tomorrow to have the exhaust system to be worked on. I planned on using 2.75" piping to match the OEM pipe size at the mufflers, as well as match the collector tubes on the headers. But as it seems, 2.75" pipe elbows, clamps etc are not only more expensive, but sometimes, not available. I was lucky to have the 2.75" pipe supplied for nothing, and if its going to cause an issue in terms of availability, then the system will be converted to 3" all the way. the collector ends will be expanded to fit just inside the 3" pipe and the muffler OEM pipes will be expanded to fit on the outside of the new pipe. Ensuring good flow characteristics of "stacking the joints". pipe one slips into pipe two and pipe 2 slips into pipe 3 etc.
Love the updates and "How To" options. I Come from the Mustang / Corvette world and there was a how to for everything. Ill be doing my IC pump rather soon since my new inter cooler is in. Thanks again ! Car looks great !
Love the updates and "How To" options. I Come from the Mustang / Corvette world and there was a how to for everything. Ill be doing my IC pump rather soon since my new inter cooler is in. Thanks again ! Car looks great !
Thanks man! Working on this car has been an absolute blast. Most cars are usually a tonne of cursing and wrench tossing, but this car has been quite different. As long as you can be even a little bit patient, you'll do just fine. The OEM manifold studs were the "hardest" part. Truth is, it wasn't very hard at all, just takes patience because its a tedious job. Using a small flame on a torch, they all backed out with absolutely no problem.
If you have any questions with respect to the "How To" don't hesitate to ask. I will have more pictures up later this week. I am filling up the supercharger cooling system tonight and crossing my fingers that everything functions properly.
To all, Since the intercooler is sitting horizontally, is there any way to ensure that there are no air bubbles left inside of it while filling from the top? Any one prefer Distilled water to tap water when filling the system? I have access to the large plastic drums you'd put in a water dispenser, of distilled water. The tap water at my dad's shop is a bit... cloudy... The hose water doesn't seem to look as bad, but I doubt its filtered at all.
I've run into some issues with the I/C pump. I've installed it but I don't have any power coming to it. I've tried all of the tricks, tried the car with the key in position 2, nothing. Started the car, nothing. Rev'd to 2000RPM, nothing. Drove the car with a good pull, nothing. can someone please help me? I have read about 12 different forums that say 12 different things.
Some guys say that the pump is switched on by the ECU, some guys say it uses a relay and a fuse, some guys say it turns on when their key is in pos 2. some guys say it doesnt kick in until the supercharger kicks in, some say its on all the time and some say it only turns on after its first bump at 2000rpm and then stops again when the car stops (at a red light for instance) and then starts back up after you hit 2000rpm again.
can someone please help me understand what the f*** the deal is with these cars and these I/C pumps? its like EVERY car out there has a different procedure and a different mystical code to make the pump come on. Alternately, are there any 12V switched circuits in the engine bay that I could use when the key is in position 2 to turn the pump on and have it circulate ALL the time?
I just picked up my CLS a month or so ago and I am very happy to see this thread. Great looking car and props to your for doing your own work and properly documenting it for the rest of us! I am jealous of your mods...but I will be there soon enough! I hope you get your pump issue sorted!
I'm going to apologize for my absence over the week. My aunt passed away on sunday September 13th, and since then its been a tough week. Wednesday/Thursday was the viewing and funeral.
As bad of a week as it was, the car was out for welding on Tuesday and yesterday around 2pm after everything was done (funeral) I got a call saying the car was ready.
So, naturally, to shed some light on a dark week, it was exactly the pick-me-up needed.
For your optical pleasure:
Test Fit for custom X-Pipe
More Test Fitting
Luka of Lukasportz in Woodbridge, Ontario. Artist of a welder.
The gorgeous X-Pipe.
Finished 2.5" Stainless piping
Flex-Joint section.
X-Pipe and midsection.
Rear Section welds. Kept OEM disconnects as well as incorporated a few extra V-Band disconnects.
Oh, I should also inform you guys, the cooling electrical system is complete. I used the cigarette lighter positions to use them as constant 12V and switched 12V.
So now the cooling system is full, the pump circulates the water/super-coolant through like a hero.
As soon as I have a video, I'll post it so you guys can hear the new exhaust note. It's got a very C63 Black-Series rasp, with the good old rumble of our 55's. The OEM mufflers are absolute magic. They provide ZERO drone, so while cruising there's absolute bliss in the car, very much like OEM. But when you touch the throttle... you'll quickly understand its nothing like OEM.
First impressions of the new exhaust and headers... well.. it feels like the motor has a weight off its shoulders. The car literally feels like it woke up from a power nap. The typical gains are stated around 30hp and 30ftlbs, but truth be told, it feels like I've gained 50 of each. Depending on the conditions, on OEM setup, the car would hesitate to break the tires loose in 2nd gear... now? sweet baby jesus... it'll break them loose at any point in 2nd.
 08-11-2015, 11:27 AM


 I hope you get your pump issue sorted!