Mercedes-Benz C-Class AMG: How to Replace Air Filter
As dirt restricts airflow through the filter, your engine begins to draw in that dirt. The dirt mixes with the engine oil, decreasing its life and causing engine wear. Continue reading to find out how to replace the air filter in your Mercedes-Benz C-Class AMG.
This article applies to the Mercedes-Benz C-Class AMG w204 (2007-2014).
The air filter is made from a grouping of fibers that are engineered to trap dirt as small as microns, while still allowing enough airflow for no negative effect in performance. Air filters need frequent maintenance because an engine draws in so much air while it's running. If air filter replacement is neglected, the results can be decreased engine performance, poor fuel economy, and accelerated engine wear.

Materials Needed
- Ratcheting socket wrench
- T25 socket
- Flat head screwdriver
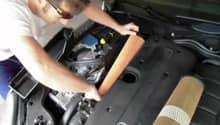
Step 1 – Remove the engine cover
The engine cover is in front of and connected to the air box lids. It snaps out of place by applying some upward pressure.

Step 2 – Replace and re-install the air box lids/filters
There are five T25 Torx screws surrounding each air lid, and holding it onto the air box. Some of them are indicated in Figure 1 (blue circles). The Torx screws not circled are on the back side of the lids, and are easily accessed.
The worm gear clamps hold the lid to the intake elbow. They are indicated by the green circles in Figure 1. The lids will pop off with some upward pressure. Make sure you do not pull too hard; otherwise, the MAF sensor connectors can become damaged. They can be unplugged by squeezing the flexible tab on the connector, and giving it a pull. Pull the filters off of the lids and re-install the new ones. The edge of the filters fit into the recessed gap on the lid.
To make it easier to bolt the lid back on to the box, keep the worm gear clamp loose and start the first Torx bolt by hand. This will keep the lid in position, while you continue to tighten the Torx bolts. With the filters installed into the air box and the air box secured, reconnect the engine covers, and then you are done.
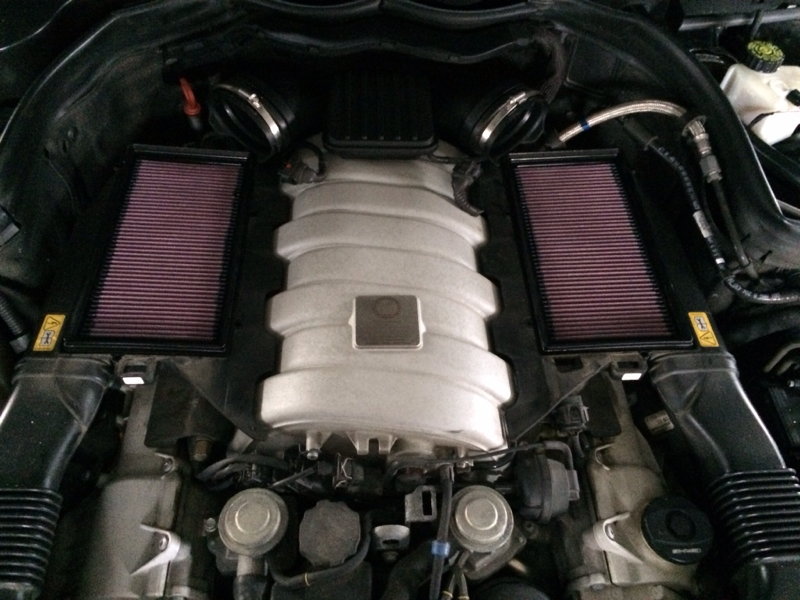
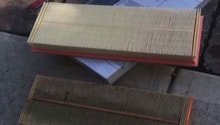
Figure 2. Lids removed, exposing the air filters. 
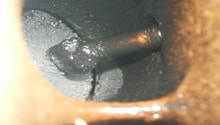
Figure 3. The MAF sensor connectors. 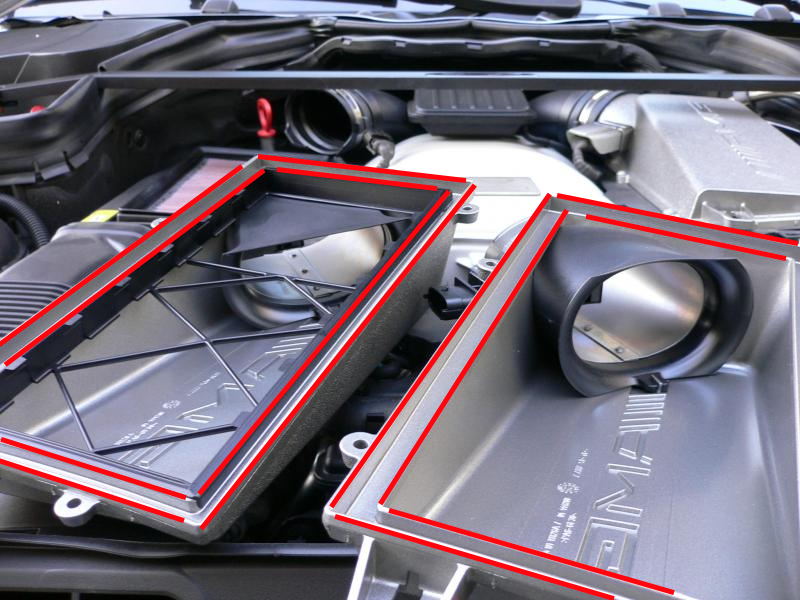
Figure 4. In between the red lines is where the edge of the filters press into the air box lids.
Featured Video: Mercedes-Benz C63 Filter Removal
Related Discussions
- How to Change Air Filters C63 - MBWorld.org
- Changing Air Filters K&N - MBWorld.org