Mercedes-Benz C-Class and C-Class AMG: Why Does My Battery Keep Dying?
The battery is integral to almost every system in your C-Class. It provides the power to make your engine come to life when you turn the key. But batteries cannot power a vehicle alone. They need the help of an alternator to keep charging levels in the normal range.
This article applies to the Mercedes-Benz C-Class and C-Class AMG (2007-2014).
The battery in your C-Class or C-Class AMG makes electricity through the constantly-occurring chemical reactions inside of it. A solution found inside reacts with metal plates that are stacked in rows. When the reactions occur, electrons move about, creating the electrical energy the engine needs to start. The chemical reactions have a harder time taking place in times of extreme temperature fluctuation and when there is an electrical draw on the battery with no return supply. Learn more about testing the C-Class and C-Class AMG battery below.

Materials Needed
- Digital volt-ohm meter (DVOM)
- Battery load tester (optional)
- Basic hand tools (ratchets, sockets, screwdriver, pliers)
- New battery (optional)
- New alternator (optional)
Your vehicle's battery must be above 75% (12.2 volts to 12.6 volts) of its maximum charge level before an accurate test of the charging system can be made.
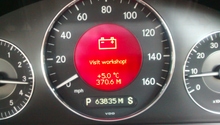
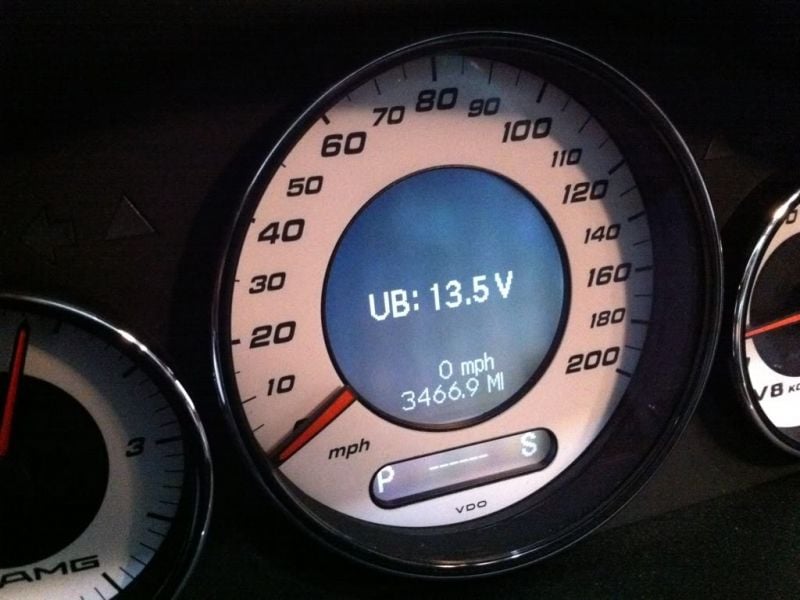
Your W204 has the ability to monitor the battery's voltage on the instrument cluster screen. To access the battery voltage turn the key to the 'accessories on' position. Press and hold the phone button, then the 'OK' button on the steering wheel. Looking at the service menu, scroll through the options until you see vehicle data. Then select 'battery voltage.'
Step 1 – Check the condition of your battery
Your battery may be drained to the point where it will no longer hold a charge.
When the battery suffers a significant drain, it can be damaged beyond repair. The best way to determine if the battery will re-charge is to load-test it. This can be done in two different ways:
Test 1 – Use a load tester
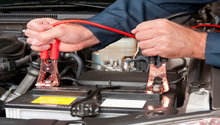
- Connect the load tester to the battery (positive to positive, negative to negative) and hold the load switch button for 10 seconds. If the battery's voltage drops below 9.6 volts during the test, it will need to be charged and re-tested or replaced.
Test 2 – Use a DVOM
- Using a DVOM, crank the engine with either the fuel pump fuse or relay removed. Open the fuse box located at the upper right corner of the engine bay and remove fuse 19 (20 amp). This fuse will be listed as "fuel pump" either under the fuse box cover or in your owner's manual.
- Now start the engine and wait for the engine to stall.
- Crank the engine for 10 seconds and monitor the battery voltage with a DVOM. If the battery voltage drops below 9.6 volts during this time, it will need to be replaced or charged again and re-tested.
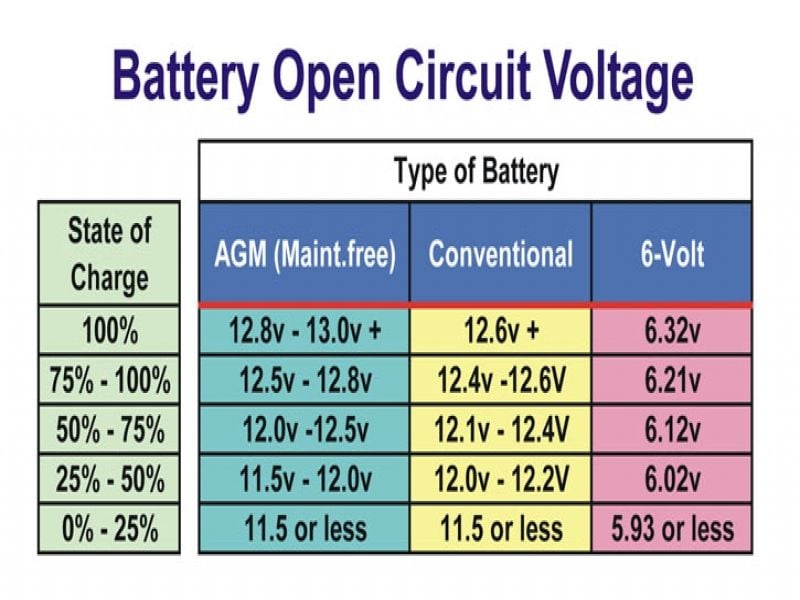
Figure 3. A battery condition table. The W204 uses the AGM type. 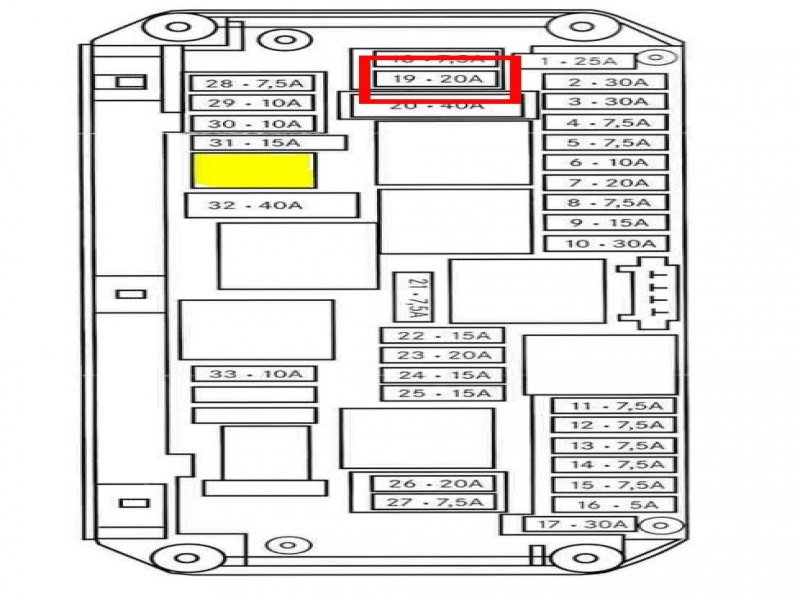
Figure 4. The red box indicates the fuel pump fuse.
Pro Tip
Let the load tester or starter cool for a minute or two between tests.
Step 2 – Check the output of the alternator
Your alternator must supply a steady output to your battery while your vehicle is running. Normal alternator output is between 14.2 and 14.6 volts.
There are several reasons your alternator is not charging like it should, such as:
- Weak field coils
- Damaged wiring
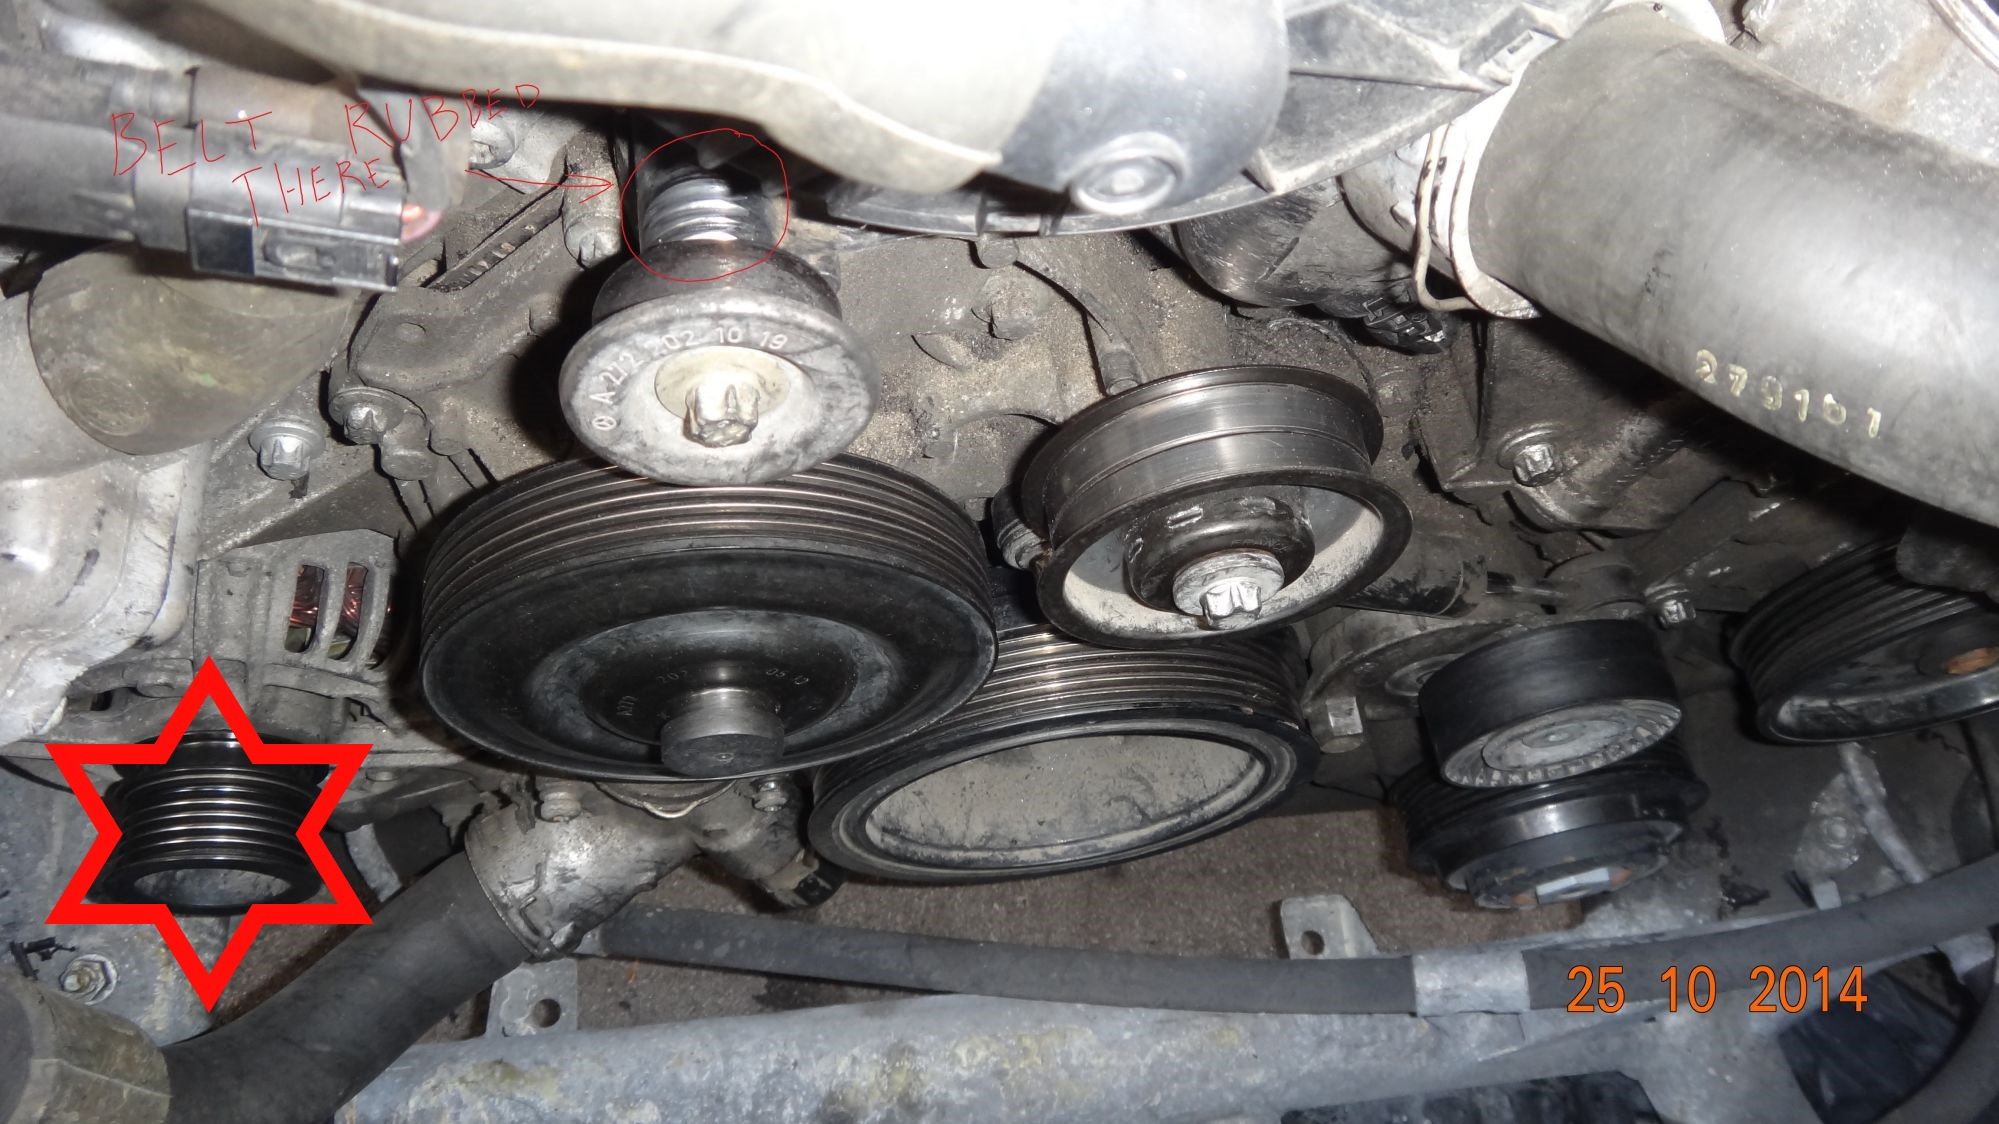
- Damage to the pulley or belt (usually accompanied by a squealing or squeaking noise)
To test your alternators output, simply:
- Re-connect your DVOM to the battery. With the engine running, turn on all of your interior accessories (radio, interior lights, A/C etc.) as well as your headlights.
- Wait for one minute, and rev the engine to 2,000 RPMs.
- Watch the DVOM or instrument cluster for 30 seconds and record the reading.
If the reading does not rise to at least 14.2, then you have weak alternator output and will need a replacement to restore performance.
If the issue still persists, move on to Step 3.
Step 3 – Check for a parasitic drain
This occurs when a module or circuit remains powered with the key removed from the ignition.
To test for parasitic draw:
- Wait for 20 minutes after removing the key from the ignition.
- Disconnect the positive or negative battery cable, and place the positive lead of your DVOM on the terminal. Place the negative lead on the cable.
- Turn the dial on your DVOM to read 'DC Amps.'
- Now measure the current. If it is not reading 0, there is a draw on your system.
To find the draw, you must open the fuse boxes and remove the fuses and relays one by one, until the draw disappears, This will point you to the circuit the draw is originating from.
Related Discussions
- Car Keeps Dying, Battery, Alternator - MBWorld.org
- Battery Keeps Dying - MBWorld.org
- C300 Draining Battery - MBWorld.org