Mercedes-Benz C-Class: How to Install Door Speakers
Aftermarket speakers are a great way to improve your stereo's sound quality without having to overspend. This how-to will show you how it's done.
This article applies to the Mercedes-Benz C-Class w204 (2007-2014).
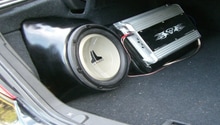
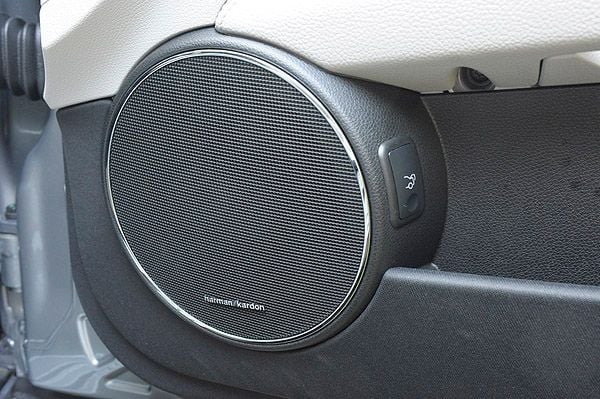
So you got a used C-Class and you have now realized that the sound quality isn't great? Don't blame the stereo. It's more likely you don't have the upgraded sound package. It's unfortunate that the standard speakers are made of little more than paper. But, you can change it without great expense by installing aftermarket speakers. The steps below will outline how to install a composite speaker system.

Materials Needed
- 6 3/4 inch composite speaker system
- Speaker wire
- Crimp connectors
- 1/8 inch threaded screws
- Torx screwdriver
- Flat head screwdriver
- Cutting tool
- Razor
- Drill
- Wire cutter/stripper
- Soldering iron and solder
- Pry tools
- 1/8 inch double sided foam tape
- Electrical tape
Note
Disconnect the battery before you cut any wires.
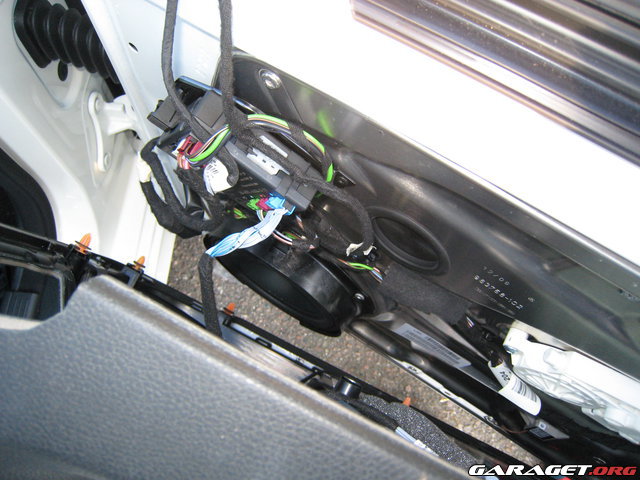
Step 1 – Remove the door panels
Roll the window down. Pop out the tweeter grille, disconnect the tweeter, and set it aside. Pry off the trim around the window. You'll see a clip embedded in the bottom left corner. Pull out the clip, rotate it 90 degrees, and then push it back in. Push in the wedge at the bottom, and twist it so the panel will come loose. Carefully pry out the panel. Disconnect any wires, and set the door panel aside.
(Related Article: How to Remove Door Trim Panel - MBWorld.org)
Step 2 – Cut out the factory speaker
Cut out the paper cone inside the speaker mount with a razor. Then, use your cutting tool to cut out the three support arms and the inner voice coil. Scrape out the remaining pieces from the mount with a screwdriver.

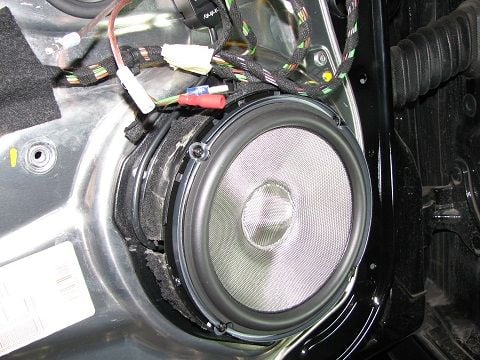
Step 3 – Install aftermarket speaker
Solder two six-inch speaker wires to the remaining wiring. Assemble the new speaker and orient it with the supports facing the door, so you know where to drill into the door panel. Drill 1/8-inch holes for each of the supports. Cover the back of the new speaker's assembly ring in double sided foam tape, and place it directly over the holes you drilled. Secure the screws into the holes and install the speaker.
Pro Tip
Your aftermarket speaker set will likely come with a crossover unit. You can install this unit inside the door panel beneath the speaker.
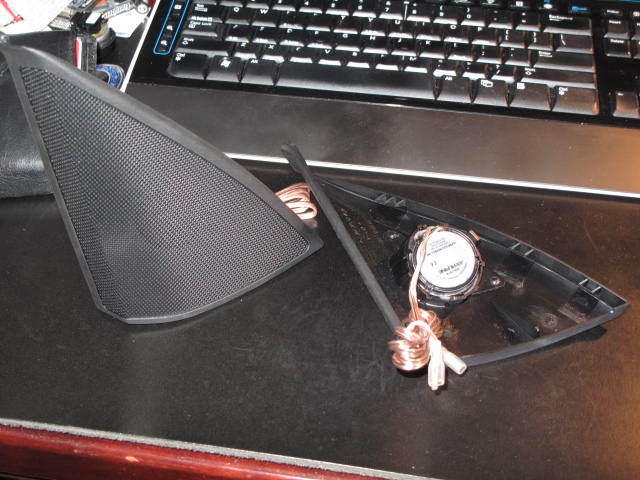
Step 4 – Install tweeter
If your tweeter's do not fit into the factory housing, cut off the three plastic rivets and then pry out the housing. Press your new tweeter into the foam backing, and use the factory grille to hold it in place.
Step 5 – Connect the wiring
Use crimp connectors to extend the factory speaker wires, and connect them to your crossover. Route wires from the crossover to your aftermarket speakers and tweeters. When the wiring is finished, turn on your car and stereo. Do a quick stress test of the speakers, paying attention to the way the cones vibrate. If either speaker is vibrating differently from the other, then they are wired incorrectly.
Pro Tip
Remember, when wiring the factory wires, the solid colors are positive and the brown-striped wires are negative.
Step 6 – Reassembly
If everything checks out on your install, then all that is left is reassembly.
- First, reconnect the tweeter cover.
- Make sure that the door speaker orientation is as you want it to be, and re-install the door trim panel.
Related Discussions
- Front Door H/K Speaker Retrofit - MBWorld.org
- W204 Aftermarket Rear Speaker Retrofit - MBWorld.org
- W204 Third Party Component Speaker Upgrade - MBWorld.org