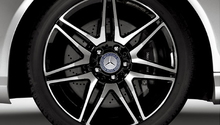
Mercedes-Benz C-Class: How to Plasti-Dip Wheels
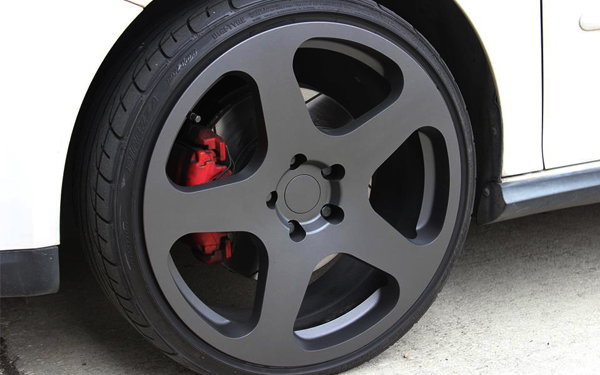
Looking to upgrade the look of your Mercedes-Benz E-Class but don't want to spend an arm and a leg? Consider Plasti-dipping your wheels. Beyond the aesthetic enhancements, a Plasti-Dip coating is pretty easy to remove, doesn't stain, and is pretty affordable. If done right, it can last a few years before needing another coat.
This article applies to the Mercedes-Benz E-Class (2007-2014).
One of the best ways to update the look of your Mercedes-Benz E-Class is to upgrade its wheels. Unfortunately, this can be a costly endeavor that falls in the neighborhood of a few hundred to more than a thousand dollars. A more cost-efficient solution is Plasti-dipping your wheels instead. Going this route gives the vehicle a whole new look without the hassle of having to take the car to a powder coating or paint shop, or paying an arm and a leg for new wheels. What’s more, the color of your Plasti-Dip can easily be changed as you see fit, as the material is able to be peeled off and redone whenever you want. Read on to get started on Plasti-dipping your wheels today.

Materials Needed
- Two to four cans of Plasti-Dip
- Fast-drying wheel cleaner
- Bucket of water
- Scrubbing brush/sponge
- Rag
- Newspaper or paper towels
- Screwdriver (optional)
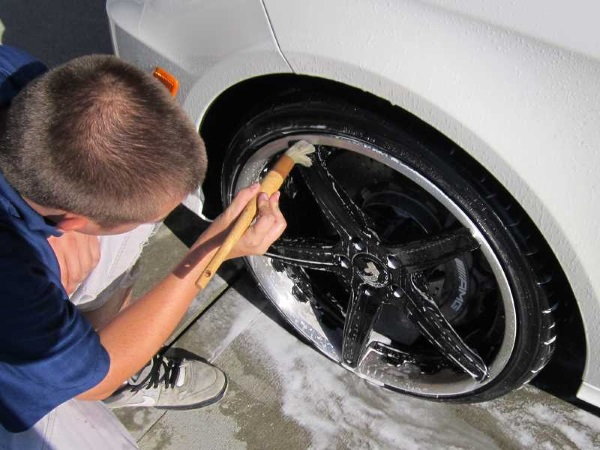
Step 1 – Clean the wheels
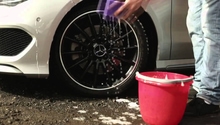
Plasti-Dip looks its best when it’s applied to a clean surface that it can evenly stick to. So, before you spray the material onto your wheels, take some time to remove dirt and grime. Using soapy water and a sponge is a safe route to go. Alternatively, you can use a dedicated wheel cleaner, like Sonax Wheel Cleaner, if your wheels are heavily soiled and dirtied.
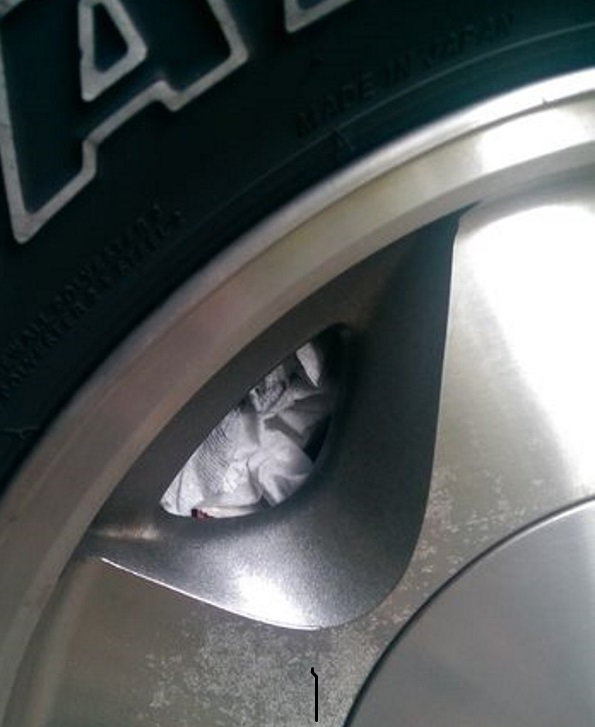
Step 2 – Cover the brakes with newspaper
From this point, there are two trains of thought. The first is to remove the wheels from the vehicle and spray them while off the car. The other easier option, due to Plasti-Dip's ability to be easily removed from tires or paint work, is that you keep the wheels on the vehicle, mask off the area behind the face of the wheel, and coat them while still on the vehicle.
One area where you don’t want to apply Plasti-Dip to is the car’s brakes. In order to avoid accidental coverage, apply newspaper over the wheels’ brakes (paper towels work fine, too). In the instance that Plasti-Dip does get on to the brakes, make sure to remove the material as soon as possible.
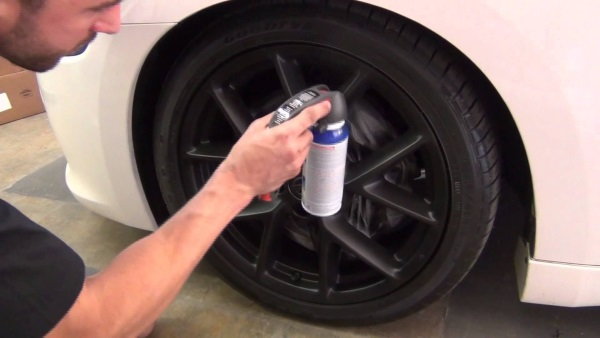
Step 3 – Apply a base layer of Plasti-Dip
Once the wheels are clean and the brakes adequately protected, apply a base layer of Plasti-Dip. You’ll want to take time while spraying to ensure a smooth, even coating. The best approach to achieving this is to move your hand and arm in a controlled, circular motion that would make Mr. Miyagi proud.
Step 4 – Add additional layers as desired
Once the base layer is applied, you can add additional layers as you see fit. Most people like the look of one or two layers, but there’s a growing group out there that prefers a bit more Plasti-Dip to ensure more longevity. If you fall in to the latter group, then shoot for three to five layers of the material.
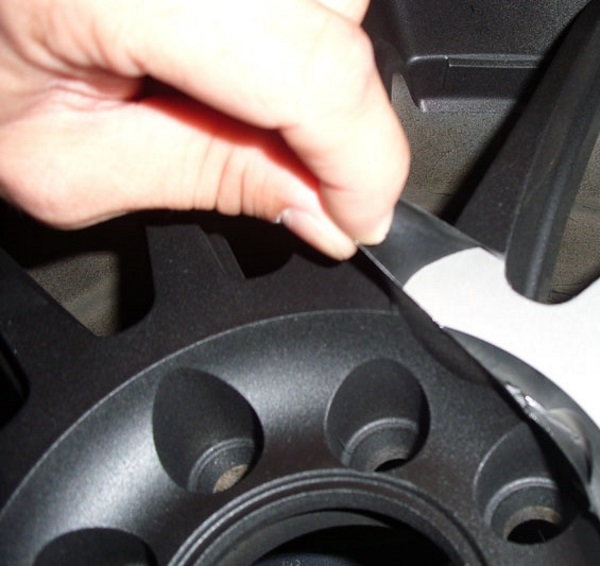
Step 5 – Peel off extra material for a more uniform look
After you’ve sprayed on the number of layers you prefer, give the wheels a look-over and check for accidental coverage on the wheels or additional layers that make the surface look uneven. In these instances, peel off the Plasti-Dip using either your finger nail or a screwdriver.
Related Discussions
- White Plastidip OEM Wheels Pictures - MBWorld.org
- Plastidip Wheels 2008 C300 - MBWorld.org
- Plastidip Paint Winter Rims - MBWorld.org