Mercedes-Benz C-Class: How to Remove Interior Lighting
Interior lighting is important for passenger convenience and, quite possibly, a lost driver's aid. Fumbling around with your phone or GPS in the dark is no good, take the time to upgrade to some sweet LED units. But first, you will need to learn how to remove the stock light bulbs. Find out how to do that with this helpful article.
This article applies to the Mercedes-Benz C-Class w204 (2007-2014).
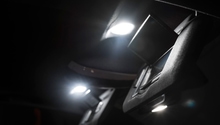
The interior lights in your vehicle serve many functions. Maybe you need to review a travel map, or possibly find that receipt you dropped. Regardless, it's nice to have different lights with the vehicle's cabin to guide you when it's dark out. Over time, some of the interior bulbs wear out and become more dim. This is a good opportunity to upgrade the interior lighting to something brighter that lasts longer. LED (Light Emitting Diodes) offer bright, clear lighting for almost any application, and also doubles or triples its lifespan over their halogen standard counterparts.

Materials Needed
- Flat tip screwdriver
- Non-marring pry tool(s)
- Microfiber cloth
- Four 195/5W5 LED bulbs and 1 Festoon LED bulb
This guide will instruct you on replacing the front as well as rear dome lights and kick panel lights.
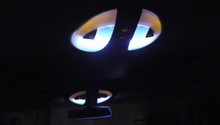
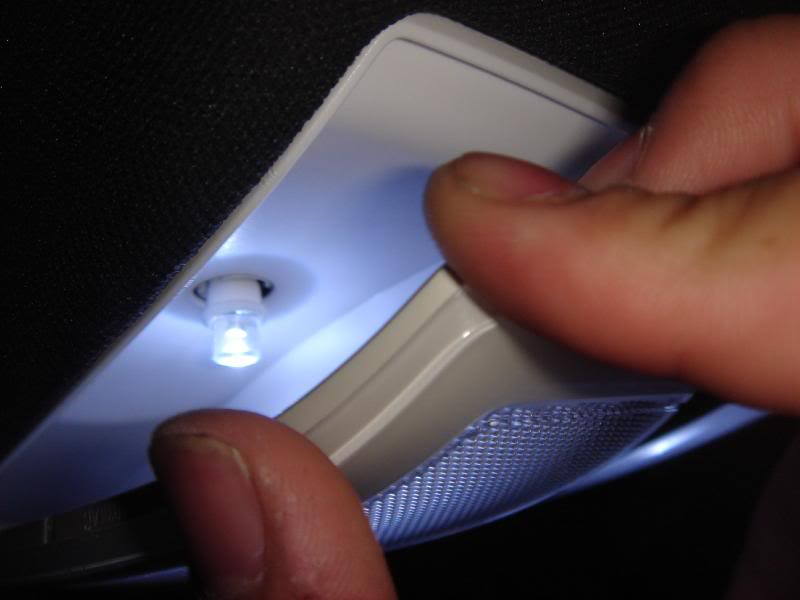
Step 1 – Remove front dome light panel
Before this light can be replaced, the cover needs to be removed.
- Cover the flat tip screwdriver in microfiber cloth, and pry at the corners. If you have a plastic trim removal tool, this is an ideal time to use it.
- Remove the old bulb, which fits like a wedge into an opening.
- Replace with new LED bulb; again, in wedge style.
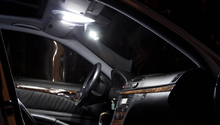
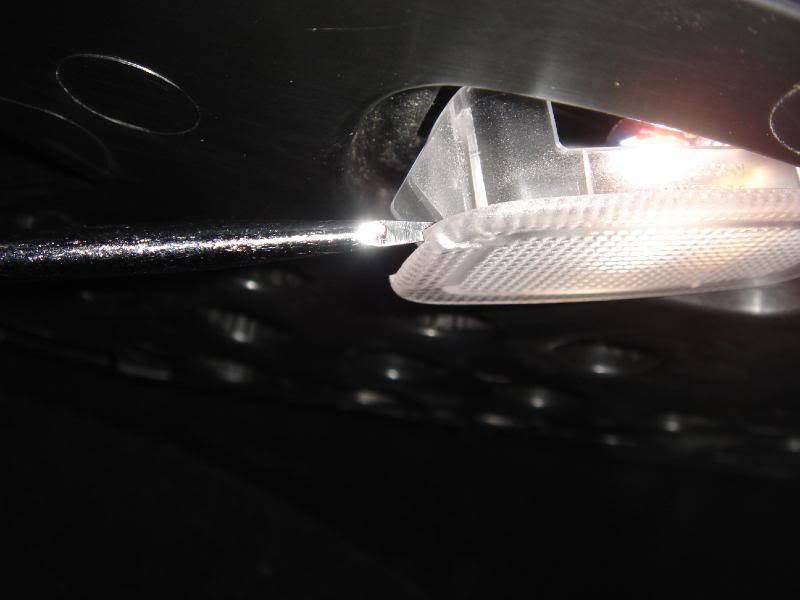
Step 2 – Remove the kick panel light
This light is located near your feet. The panel needs to be removed first.
- Use flat tip screwdriver to pry the corner of the plastic housing.
- Remove the old bulb.
- Replace it with a new LED bulb.
- Repeat this process for the passenger's side.
Step 3 – Remove rear dome panel cover
This is the most involved of the system. It requires removal of the panel, and then separating the inner board from the panel to access the "festoon" bulb.
- Pry the tabs on the back edge of unit.
- Work your way around until complete.
- Separate the inner board from the cover.
- Replace the festoon bulb with new LED bulb.
- Replace the left and right lamps with new LED bulbs.
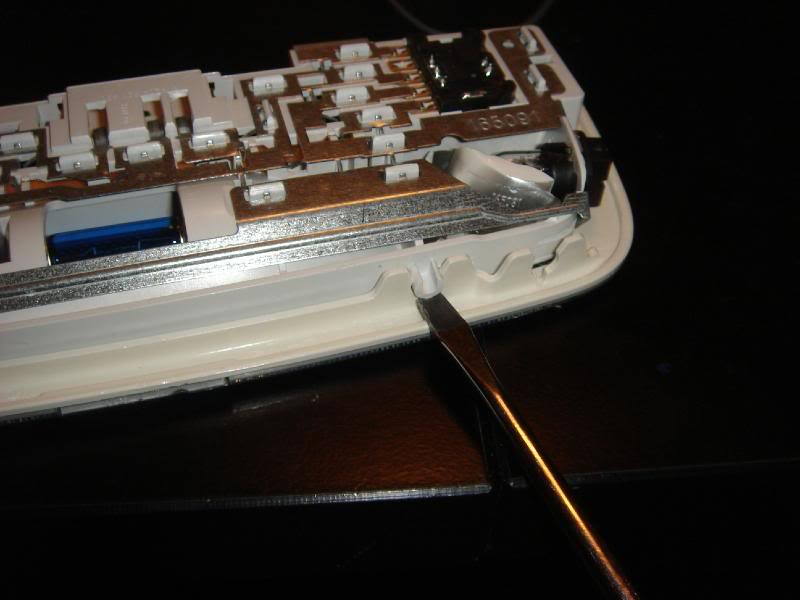
Figure 3. Backside of rear dome light assembly. 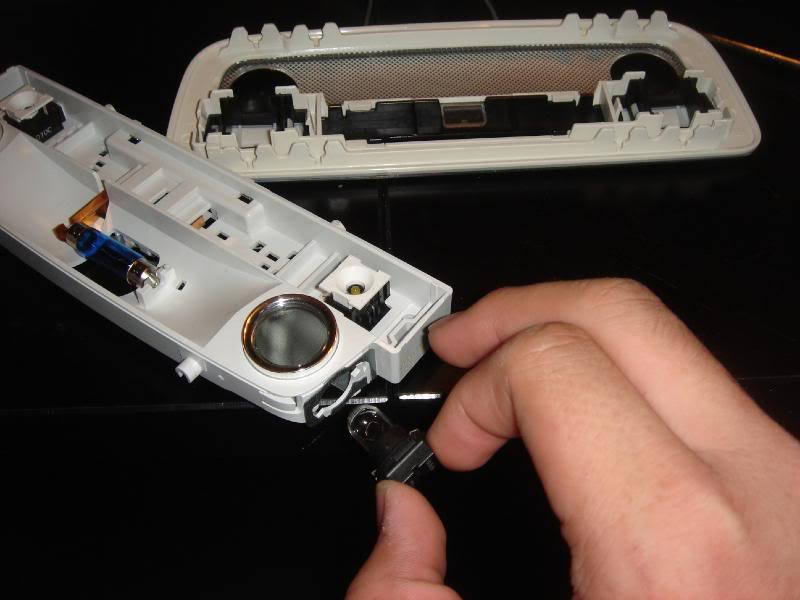
Figure 4. Rear dome light separated.
Step 4 – Installation is reverse of removal
Now that all the bulbs have been replaced with LEDs, it's time to test them.
- Re-install the rear dome light unit.
- Re-install the kick panel lights.
- Re-install the front dome light unit.
- Finally, test each light individually.
Pro Tips
- If any of the LEDs do not work, it is possible that the polarity is reversed. Simply reverse the position you have the LED bulb installed in.
- It's also important to make sure the LEDs you purchased are "CANBUS" or "Error free." These types of LEDs have resistors built into them that allows them to "turn off" when the car is turned off.
Related Discussions
- DIY: Interior Light Removal - MBWorld.org
- Know Which LED's to Buy - MBWorld.org
- LED Interior Light Accents - MBWorld.org
- Interior Light Issue - MBWorld.org