Mercedes-Benz C-Class: How to Repair Lower Grill Mesh
The mesh grill in your Mercedes' bumper takes a pounding, and it is not uncommon for debris on the interstate to break the mesh. Learn how to repair it with this helpful guide.
This article applies to the Mercedes-Benz C-Class w204 (2007-2014).
The front of all cars take a lot of abuse, and withstands a lot of different elements like weather as well as debris. The front bumper serves many purposes on your vehicle. One of them is keeping dirt as well as debris out of your radiator and motor. Often, the grill is made of plastic or other hard composite material, which is prone to cracking and breaking over time. Eventually, the grill gets to the point where it's not serving its purpose as well as it did originally. Thankfully, this can be repaired and even improved.

Materials Needed
- 10mm, 8mm socket wrenches
- Flat head screwdriver
- Tin snips
Step 1 – Remove radiator trim
To access the grill, the bumper will need to come off. Before the bumper can come off, the radiator trim needs to be separated from the bumper.
- Using a flat head screwdriver, press and pry on four tabs.
- There is a "T" shaped plastic piece holding the trim to the grill, which is secured by two 10mm bolts. Remove the bolts.
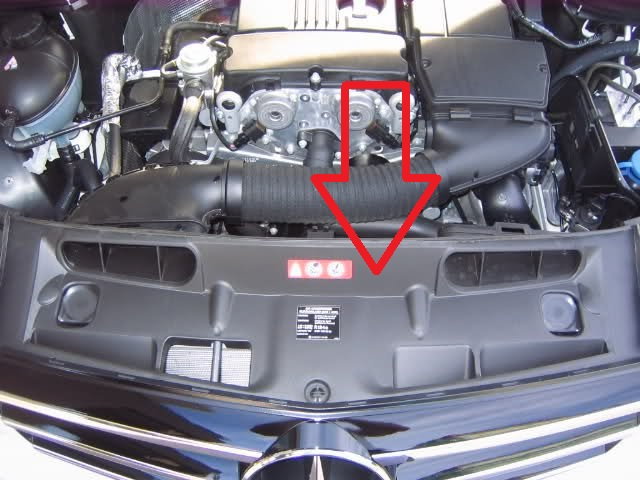
Figure 1. Radiator support covers. 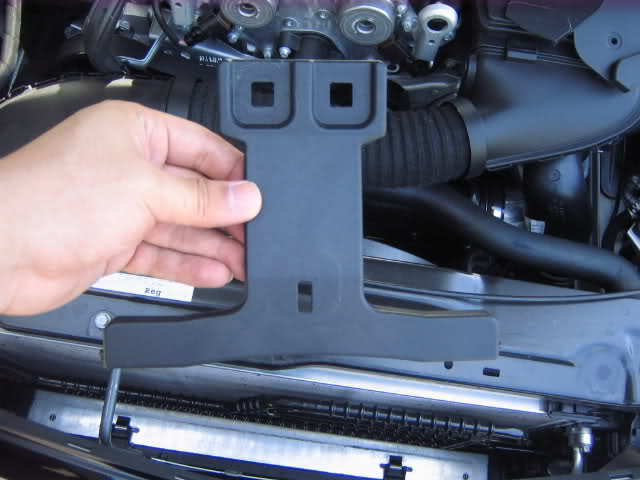
Figure 2. Plastic trim being removed.
Pro Tip
The air ducts connecting to the grill can also be removed at this time. They are affixed by 10mm bolts.
Step 2 – Remove front bumper
Now that the radiator trim is totally separated from the front bumper, it can be removed.
- Release three tabs under each fender liner on both wheel wells using a flat head screwdriver.
- Remove two 10mm bolts on each side.
- There are slide brackets held in with 8mm bolts on both sides. Unbolt them and pivot the brackets to release the bumper.
- The bumper is secured to the under tray as well, so again, use your 8mm socket.

Figure 3. Location of bumper's bolts and plastic tabs. 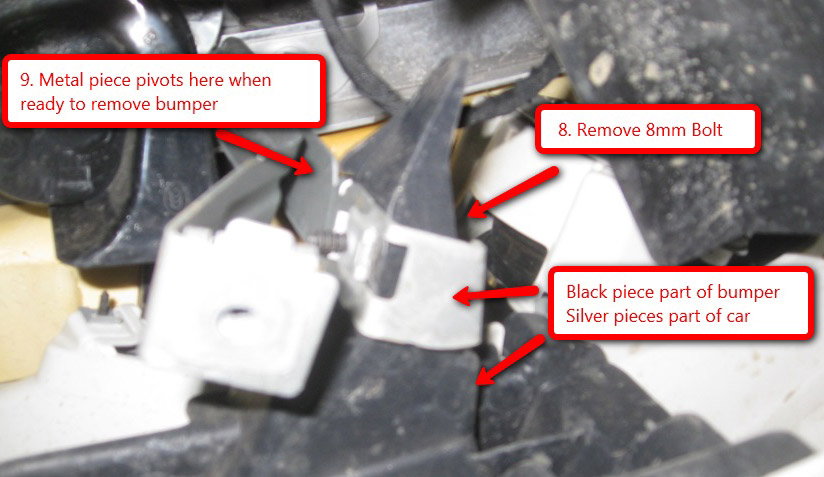
Figure 4. Bumper mounting points.
Pro Tip
If your car is equipped with "parktronic," the electrical connector should be unplugged now. Similarly, the head light connectors and any other electrical connectors can be disconnected now.
Step 3 – Replace broken grill
With the bumper completely off the car, the grill can now be removed. The grill is held in by several tabs.
- Using the flat head screwdriver, pry and release the tabs around the grill.
- Remove the foam grill after the grill is removed.
- Place the new grill over the old to form your template.
- Use tin snips to cut the shape, and leave a little extra for bending.
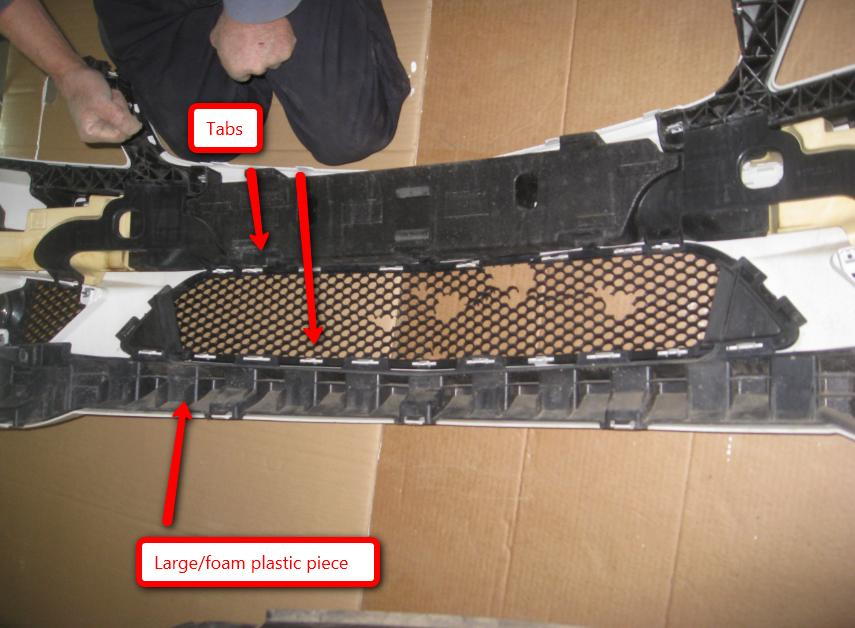
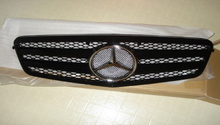
Figure 5. Mesh grille mounting points. 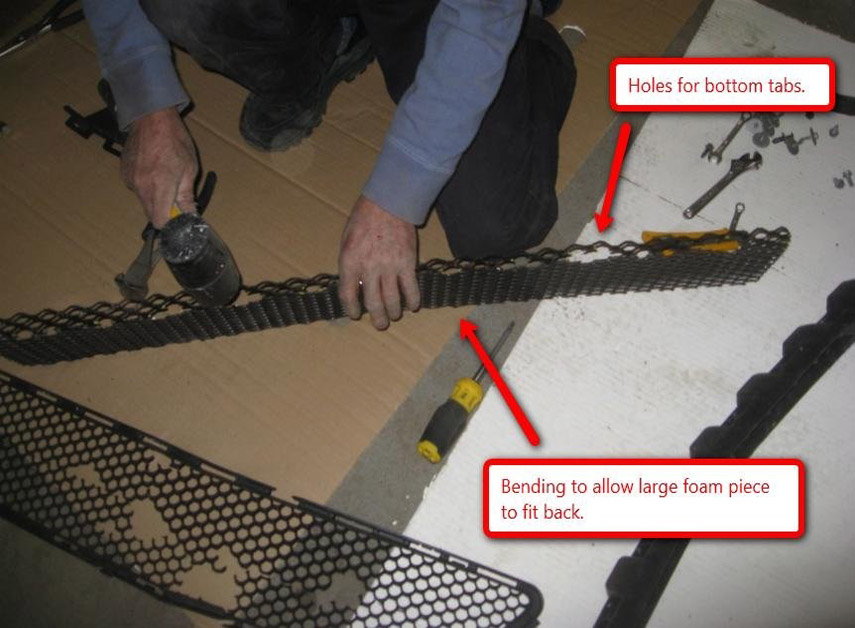
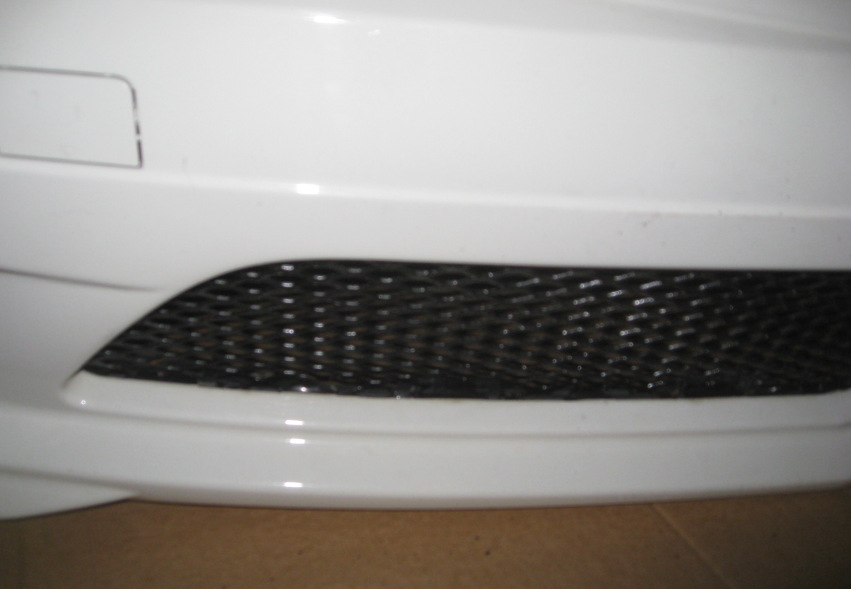
Figure 6. Replacement mesh being formed to fit grill surround. 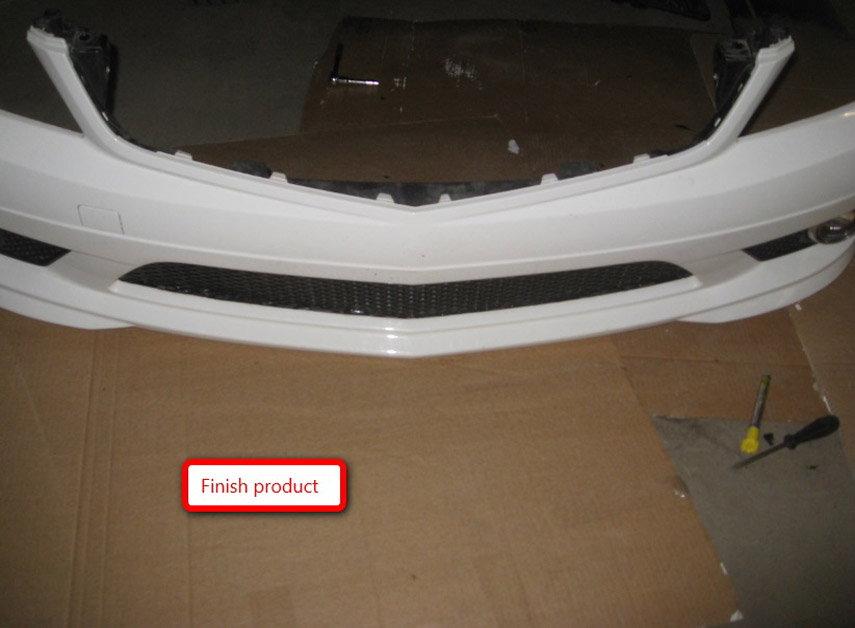
Figure 7. Finished grill installation.
Pro Tip
When forming the new grill to shape, leave a few gaps to allow the tabs to fit into the grill and secure properly.
Step 4 – Re-install bumper
Installation is the reverse of removal. Now that the new grill is secured to the bumper, it can be put back together.
- Align the bumper to the front of car, and insert tabs.
- Secure the two 8mm bolts and four 10mm bolts.
- Re-install the fender liner bolts.
- Reconnect any disconnected electrical connectors.
- Re-install the radiator trim.
- Re-install the air ducts.
Related Discussions
- Fixing Lower Grill Mesh - MBWorld.org
- Painting Grill / PDF - MBWorld.org
- Grill Removal PDF - MBWorld.org