Mercedes-Benz C-Class: How to Replace Air Filter
Changing the air filters is not hard, and it lets your engine breath easier. Breathing easier means better performance and mileage. Continue reading to find out how to replace the air filters in your Mercedes-Benz C-Class.
This article applies to the Mercedes-Benz C-class w204 (2007-2014).
The engine in your vehicle is really nothing more than an air pump. Since it is an air pump, it only makes sense that making sure it can get all of the clean air it needs is very important. The factory installed two air filters on your car, so it can breath easy and make the power you need. The owner's manual for your car will show how often you should change the filters. Usually, it is every 30,000 miles or sooner. It is better to replace them sooner rather than later. If you learn how to change them yourself, you will save money and not hesitate to make your engine happy. You can do this!

Materials Needed
- T25 Torx bit
- Screwdriver or drill driver
- Cloth (to wipe off dirt)
- 2 air filters for your model
Step 1 – Remove the engine cover
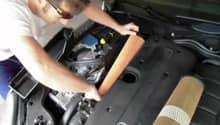
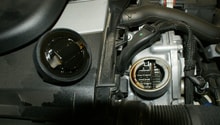
The air filters for the engine are housed in the engine cover. The engine cover is in two pieces. Grasp the front piece, and pull up on it firmly to unsnap it from the clips that hold it on. Next, remove the two air duct hoses and the hose for the air injector from the rear piece of the engine cover. There may also be a spring clip at the rear of the cover. If there is, push it rearward to unsnap it. Grasp the rear piece of the cover on both sides, and pull it loose from the engine. The air filters are in this piece of the engine cover. Before continuing, it is a good idea to put a cloth over the intake opening on the engine. Getting something in there will ruin your day.
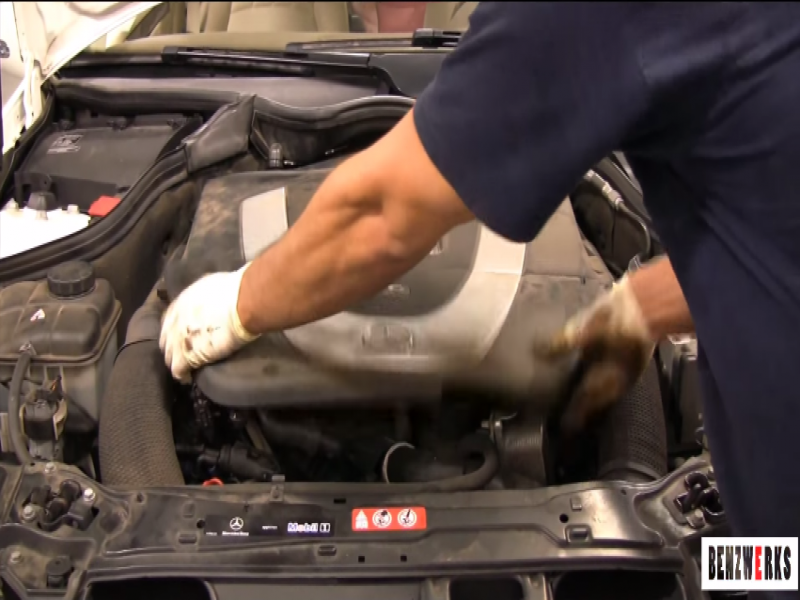
Figure 1. Removing front piece of engine cover. 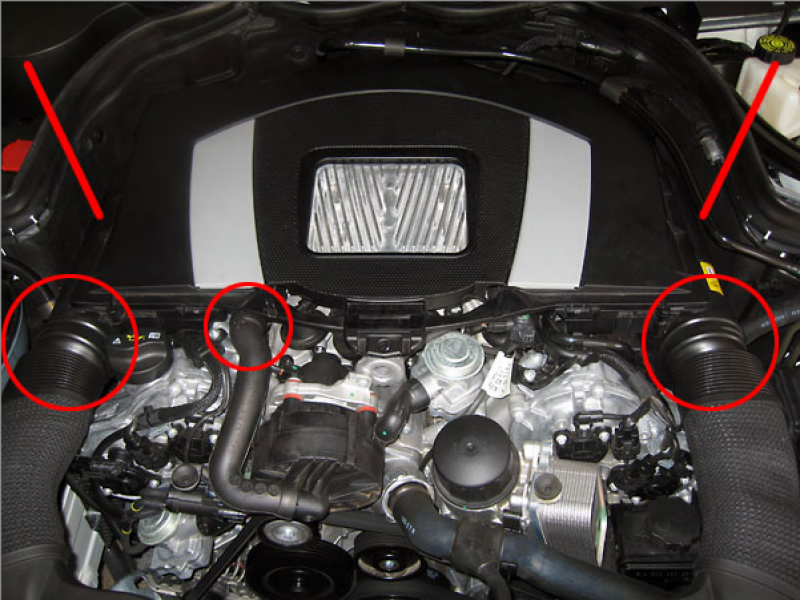
Figure 2. This shows the rear part of the engine cover. The circled hoses need to be removed.
Step 2 – Remove air filters from engine cover
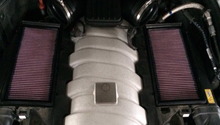
Lay the back piece of the engine cover upside down on something soft to protect it. Each air filter housing is held to the cover with four T25 Torx screws. Remove the screws for one cover, and set aside. Pull the air filter housing off to reveal the air filter. Now, remove the old air filter to clean both parts of the housing well, so the new filter will fit nice and snug. Put a new filter into the housing in the same manner the old one was removed. The housing should fit onto the engine cover evenly and snug. Re-install the four Torx screws, being careful not to over-tighten the screws. Move on to the other filter, and repeat the same steps. You have now changed both air filters.
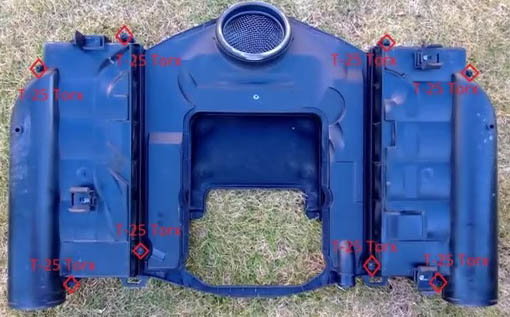
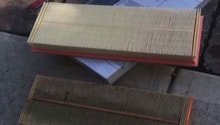
Figure 3. Bottom of engine cover, showing screws that hold the two air filter housings on. 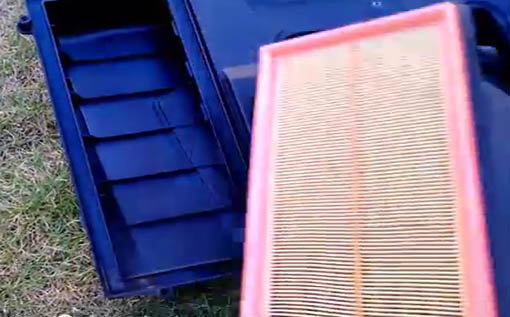
Figure 4. Air filter removed from housing.
Step 3 – Re-install engine cover
Remove the cloth that you put over the intake opening. Re-install the engine cover pieces in the same way you removed them. Make note of the date and mileage that you replaced your filters for your records. Now your engine will breath easier and perform better.
Featured Video: Air Filter Replacement
Related Discussions
- DIY Replace Air Filter - MBWorld.org
- K&N Filter Installation - MBWorld.org
- Engine Cover Removal - MBWorld.org