Mercedes-Benz C-Class: Why is My Car Vibrating?
There are hundreds of rotating components in a modern car that can become loose, misaligned, imbalanced, or out-of-round. And when that happens, they vibrate. The following is a list of some common causes of vibrations, what you can do to correct it, and what can happen if you ignore it.
This article applies to the Mercedes-Benz C-Class w205 (2014-Present).
All cars vibrate; it’s the nature of a machine with rotating parts to do so. Inline cylinder engines vibrate more than V-arranged engines. Diesel engines vibrate more than gasoline engines—due to the extreme compression ratio.
In this article the vibration causes are broken down into two categories: Vibration at Idle, and Vibration at Speed.
Vibration at Idle
Step 1 – Check your belt tensioner
Abnormal engine vibrations at idle can be caused by a failed roller bearing or seized belt tensioner.
Up front, belt-powered accessories are driven by the crankshaft pulley, which is often called the harmonic balancer or vibration damper. If the rubber damper ring inside the pulley fails, the pulley will slip and will need to be replaced. And if any of the belt-driven components (such as the alternator pulley) begin to fail, they can cause abnormal vibration as they deteriorate.
The belt tensioner can also have its roller bearing fail, typically causing the serpentine belt to come off or shred. But keep in mind that the belt tensioner's behavior can also be a clue that it, or one of the other pulleys in this area, is failing.
- While one person gets behind the wheel, the other will need to stand in front of the car (with the hood open) to watch the engine.
- With the the emergency brake on and the car in Neutral, the driver will need to start the engine, and then revs it to 2,000 rpms for a few seconds.
- If the spring-held belt tensioner starts to bounce or vibrate, it’s very possible that either its bearing or the pulley bearing of another accessory (such as the alternator or water pump) is failing.
Because the belt tensioner is under constant lateral force from its built-in spring action, quite often its bearing is the first to fail in this area. As luck would have it, it’s also the easiest to replace. However, if your belt tensioner has failed, when you replace it be sure to check all the other belt-driven accessories (s well as the crankshaft pulley) to make sure that the belt tensioner’s failure wasn't collateral damage from another pulley failure.
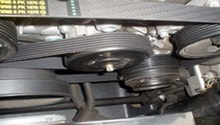
Check to see if you have a mechanical water pump/alternator belt tensioner assembly or a hydraulic type. With the hydraulic type, replacement idler pulleys can be purchased separately ($30 -$48). The mechanical style shown in Figure 2 is only available as an assembly—the bearing or pulley is not available separately.
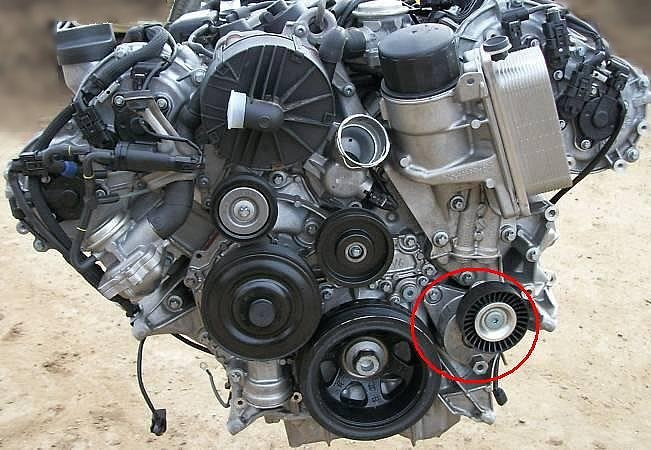
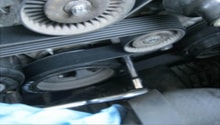
Figure 1. Belt tensioner location. 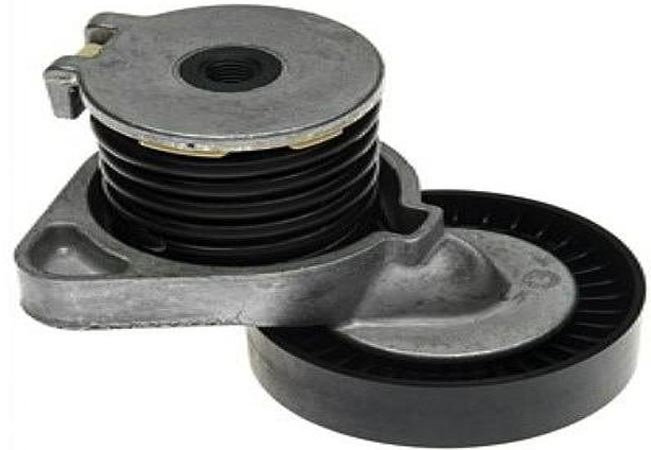
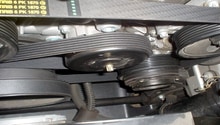
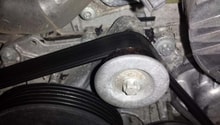
Figure 2. Belt tensioner (mechanical type).
If after replacing the belt tensioner the vibration remains in this area, other accessories like the water pump or even the crankshaft pulley may have to be replaced.
Step 2 – Check your engine mounts/transmission mount
Engine mounts and/or transmission mount failure can also cause cabin vibration at idle. The engine mounts aren’t just blocks of Neoprene, but oil-filled to help absorb the engine’s twisting movements.
Replacing the engine mounts is not an easy procedure, and requires both lifting the block as well as using a special tool to replace the mounts. However, DIY enthusiasts have come up with a simple procedure to test the status of the engine mounts.
- With one car, two people, and a wide open space, one person gets behind the wheel and the other stands by the car’s open hood to watch the engine. It’s important that the observer does NOT stand in front of the car, for reasons that should soon become obvious.
- The driver starts the engine, holds the brake down firmly with his or her left foot, puts the transmission in drive, and then revs the engine to 2,000 rpms for a few seconds.
- The observer watches for excessive engine “jump” at its front corners; generally, over 1-inch (25mm) from either forward or reverse direction. If the engine movement is excessive, the engine mounts should be replaced.
If the engine movement isn't excessive but the engine-area vibration remains, changing the transmission support might be in order. This procedure is fairly straightforward.
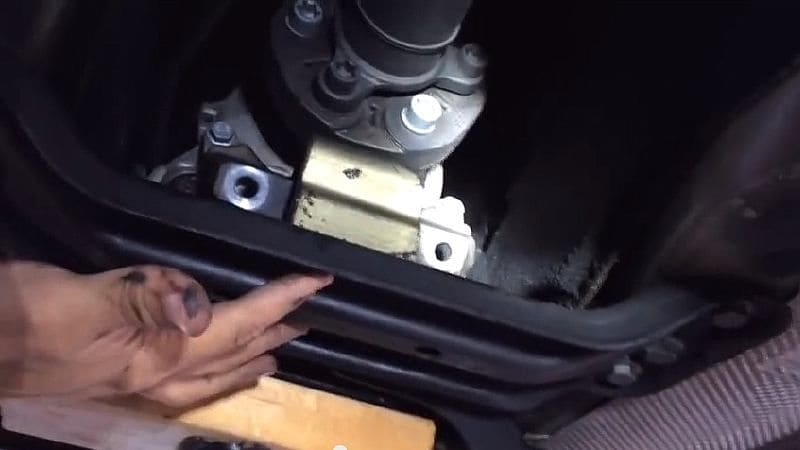
Figure 3. Replacing the transmission support. 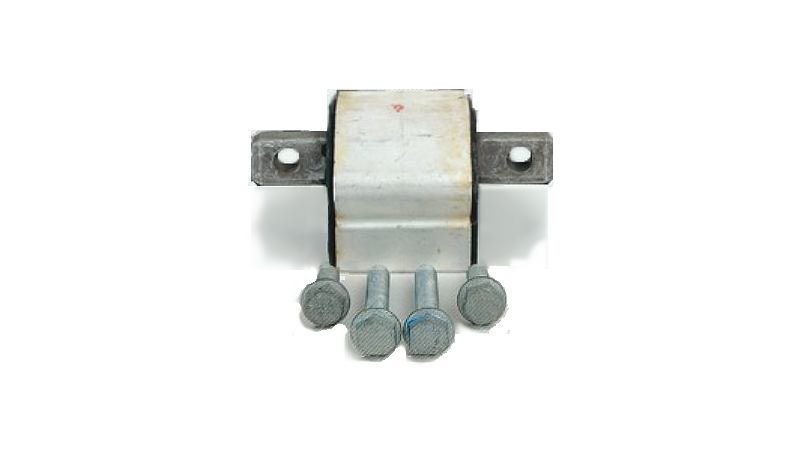
Figure 4. Transmission mount.
Vibration at Speed
If you're driving a 2015 Mercedes-Benz C300 and notice a vibration centered around the steering wheel, make sure your car was not included in a NHTSA recall campaign (14V-598) for a faulty steering coupling interlock mechanism, which could result in a loss of steering control. And drivers with the Lane Keeping Assist option soon learn, sometimes by surprise, that this system vibrates the steering wheel intermittently to warn of unintentional lane crossings.
Step 3 – Check the wheels
Check the wheels as the source of excessive vibration:
- For a vibration that comes on at a specific speed (such as 50 mph (80 km/h), the first culprit can be out-of-balance tires and/or out-of-alignment wheels.
- If it comes on slowly over time, it can be due to abnormal tire wear, a wheel weight having fallen off, or loose lug bolts.
- If it comes on suddenly, you might have a damaged or failing tire.
- Also, if your wheels are aftermarket, make sure that they incorporate a hub-centric ring and the correct hardware.
- If you’re using aftermarket wheel spacers, make sure they incorporate a hub-centric design and proper-length lug bolts.
Step 4 – Check the camber bushing
Excessive vibration at the wheels, if not caused by the tires, wheels, or brakes, can be from the deterioration of the bushings at the attachment points of control arms to the suspension. Bushings that are in need of replacement lose their ability to cushion and insulate a car’s other systems, which results in excess road noise, increased vibration and shock.
Looking at tire wear patterns can indicate signs of camber wear. Finding 1/8th inch or more of free play can indicate that it has reached its end. Note that a camber strut is generally replaced as an entire unit because individual bushings for it aren't available from the factory.
Aftermarket bushings can be used, but will involve pushing out each bushing and pushing in the new bushing using a special tool.

Figure 5. Worn camber strut bushing versus a new camber strut. 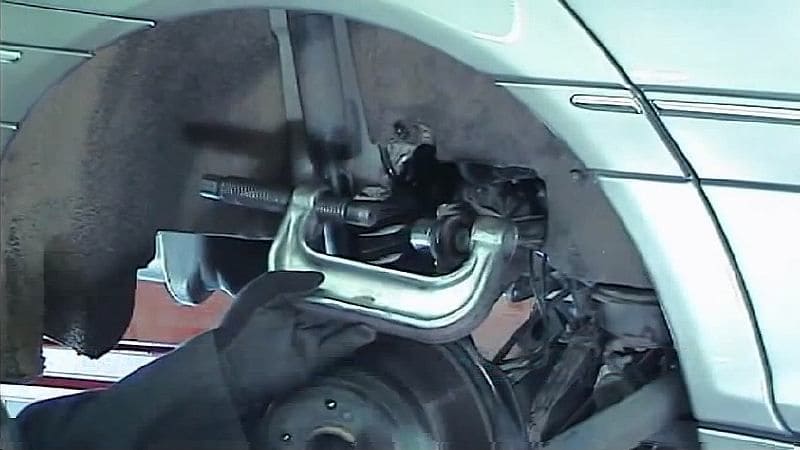
Figure 6. Special tool for replacing camber strut bushings.
Step 5 – Check the flex discs
Mercedes-Benz uses a unique way to help reduce jarring vibrations along the drivetrain with objects called “flex discs.” These are large rubber gasket-like buffers, reinforced with fibers, mounted at the front and rear of the drive shaft. Eventually they wear out, which is a process that may be accelerated with road salt, calcium chloride, or asphalt residue.
If the vibration is not emanating from the engine compartment, check the condition of the flex discs:
- Look carefully for any cracks in the smooth surface of the disc.
- With a pry bar or large screwdriver, push and pull on the disc to see if any part of it has separated.
- If one disc is deteriorated, it’s a good idea to replace both of them.
If the flex discs are in really bad shape, the end bearings and propshaft center bearing might also need to be replaced, which requires pressing the old bearings out and pressing new ones back in their place.

Figure 7. Bad flex discs. 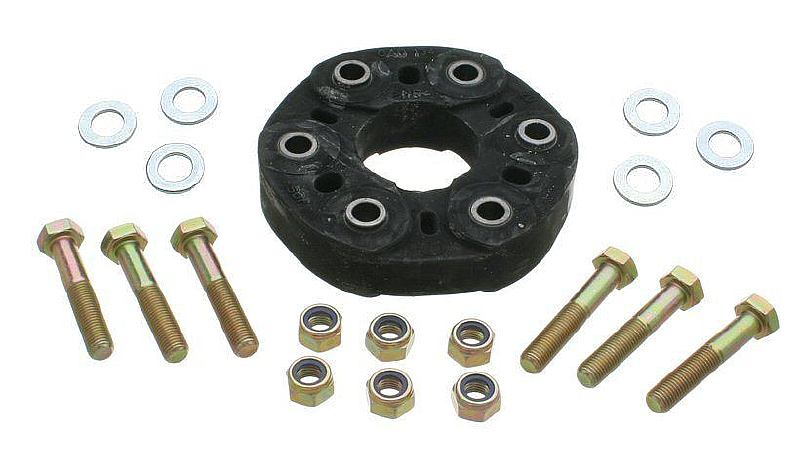
Figure 8. Flex disc replacement kit.
Related Discussions
- High Speed Vibration - MBWorld.org
- Vibration When Stopping - MBWorld.org
- Vibration When Accelerating - MBWorld.org