Mercedes-Benz E-Class AMG: How to Replace Brake Pads, Calipers, and Rotors
Replacing the brake pads, calipers and rotors on your Mercedes-Benz E-Class AMG is an easy DIY job for even the most novice of mechanics.
This article applies to the Mercedes-Benz E-Class AMG (2002-2009).
Keep your high performance Mercedes-Benz E-Class AMG in tip top shape by performing regular maintenance and replacing worn parts immediately. Your braking system is one of the most important tools on your car. Do not neglect them and don't be scared of replacing them on your own. Your brakes are too important to let go past their useful life. Replacing the pads, calipers and rotors on a Mercedes is about as easy as any vehicle and can be done in just a couple of hours in your own garage, even for the least mechanically inclined of owners. If you are really unsure of what you are doing, a professional mechanic will give you the peace of mind you need knowing they were done correctly. Doing them yourself is a relatively simple task that will save you a ton of money over having a pro do it.

Materials Needed
- Socket set with 13,17 and 18 mm sizes
- 11 and 13 mm open wrenches
- Rubber mallet
- Hydraulic floor jack
- Jack stands
- Lug wrench and breaker bar
- Penetrating spray lubricant
- Blue Locktite
- Anti-squeal spray (optional)
- E27 Torx bit
- Brake bleeder tubing
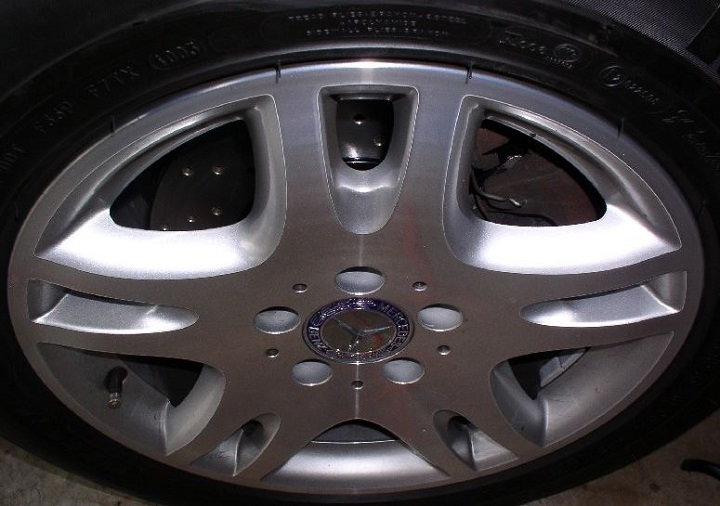
Step 1 – Loosen lugs
Before you lift the car, loosen the lugs on all four tires if you are replacing all four sets of brakes.
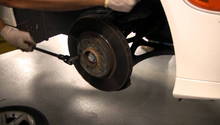
Step 2 – Lift the car at the indicated jacking locations
Make sure that you are using the correct jacking points and jack stand locations for your Mercedes. Never omit using jack stands as a floor jack can slip or drop unexpectedly. You can do the front and rear separately if you only have two jack stands. Remove the wheels.
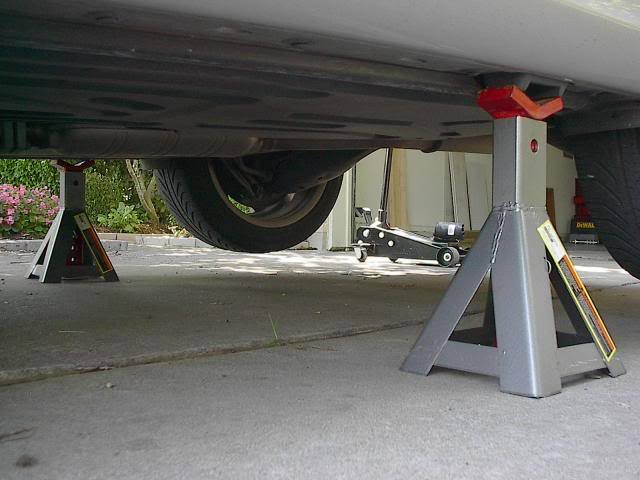
Pro Tip
Never work under your car with only a floor jack holding it up. Always use jack stands, and if you are only using two, be sure to chock the other two wheels to prevent the car from rolling.
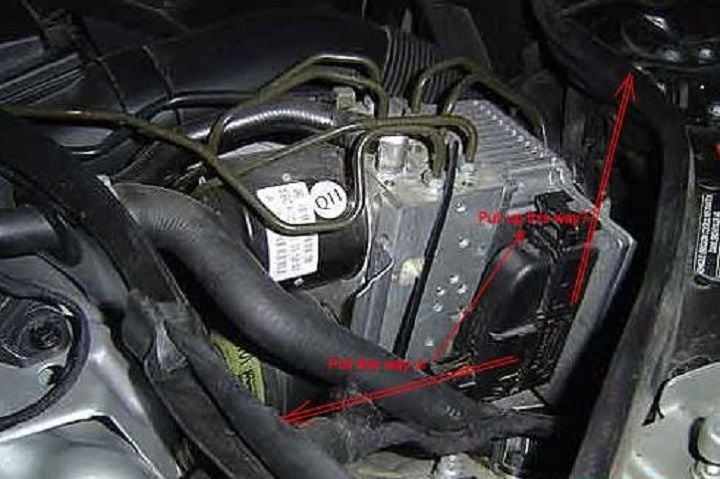
Step 3 – Disconnect SBC sensor
Disconnecting the SBC sensor is fairly simple.
- Pop the hood and disconnect the negative terminal (black) of the battery.
You can use this option to disable the SBC as well:
- Close all doors and trunk.
- Remove the key and activate the alarm by locking the vehicle (this deactivates the SBC).
- Do not open the doors or the trunk or activate the alarm remote or the SBC pump will run.
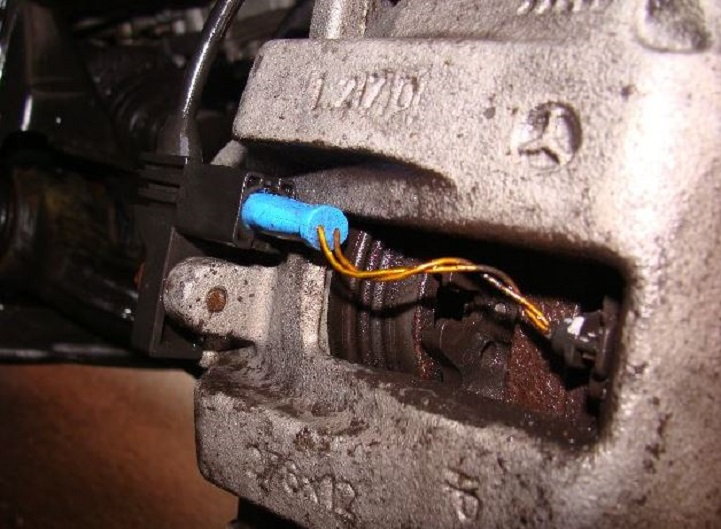
Step 4 – Remove brake pad wear sensors
Remove the brake pad wear sensor plug and unclip the wear and speed sensor wires from behind the hub.
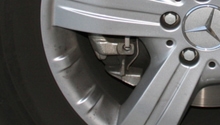
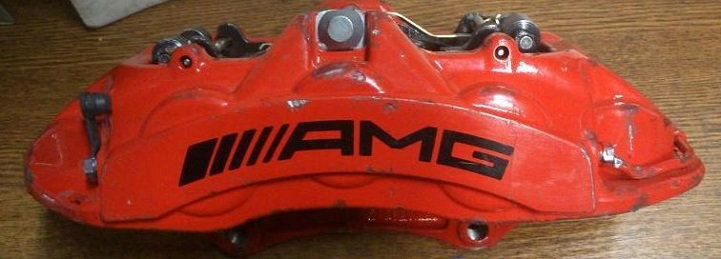
Step 5 – Remove calipers and pads
Use a 13 mm socket and ratchet to remove the caliper bolts. Pull the caliper and remove the pads (unless you are replacing the entire caliper assembly as well). Remove the spring clips and pull the pads. If you are keeping the calipers, you will need to compress the caliper pistons. A special compression tool makes this easier, but is not necessary. Use a bleeder hose over the bleeder valve (11 mm nut) to bleed the brakes into a container while you are compressing the pistons. You will not need to bleed the lines after this job unless you are also replacing the brake fluid completely. The front wheels will have six pistons and the rears will have four, depending upon your model for OEM caliper, or may be slightly different depending upon brand of aftermarket caliper that is on the vehicle.
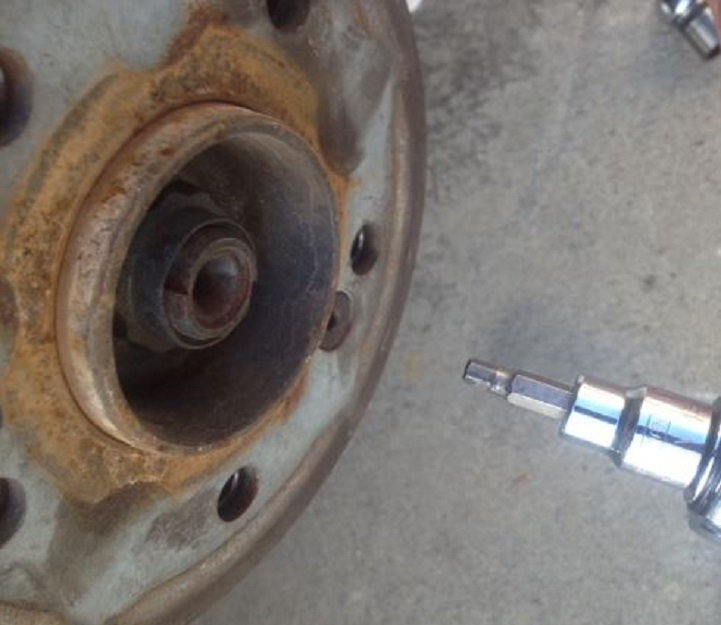
Step 6 – Remove rotors
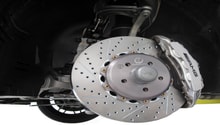
Use a size E27 Torx bit to remove the Torx screw holding the rotor onto the hub. If the rotor is pretty rusty, you may need to use some penetrating lubricant and a rubber mallet to get the rotor off. If you have a dust boot, do not pull or pry and be careful working around it. The rotors are normally replaced at the same time the pads are replaced with these vehicles.
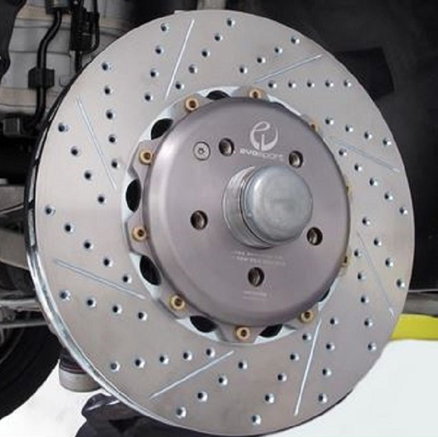
Step 7 – Install new rotor
Replace the new rotor on the hub and use the E27 Torx bit to secure it. You may want to add a little blue Locktite to the Torx screw threads.
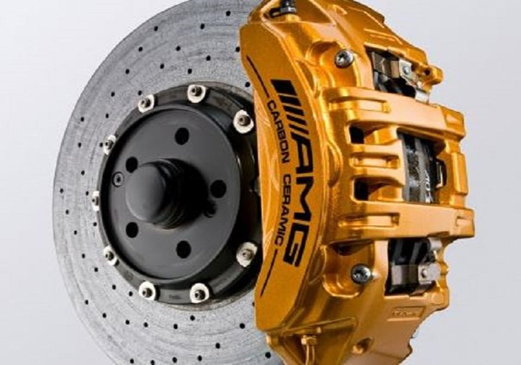
Step 8 – Install new pads and calipers
With the caliper pistons compressed, the new pads should fit into the calipers with little trouble. Install the new springs that should have come with your brake pad kit. Reinstall the calipers and secure them with the 13 mm bolts. Use a little blue Locktite onto the threads of the bolts. Replace the wear sensor plugs and re-clip the wires from the rear of the hub.
Step 9 – Reinstall wheels and reconnect SBC unit
Make sure the bleed valves are tightened securely and replace your wheels. Hand tighten the lugs only for now. Lower the car back to the floor. Reconnect the SBC unit unless you used the alternate method, in which case, you will only need to open the car door and hear the SBC pump run. When you reconnect the SBC unit, press the brake pedal and start the car. If you see no warning lights, you have completed your brake job successfully. Top off your master cylinder with approved (DOT 4) brake fluid. Be sure to torque your lug nuts to specification and take a test drive in a low traffic area.

Related Discussions
- E-Class DIY Brake Job - MBWorld.org
- E-Class Front Brake Pad Replacement - MBWorld.org
- E63 Front Rotor Replacement DIY - MBWorld.org