Mercedes-Benz E-Class and E-Class AMG: How to Replace Front Upper Control Arm
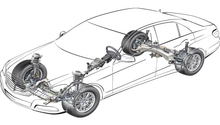
Upper control arms keep the rear axle from moving side to side. The also help to eliminate pinon deflection that can mess with traction. Changing the upper control arms is one of the more difficult jobs you can do, but it can save you a lot of money.
This article applies to the Mercedes-Benz E-Class and E-Class AMG (2002-2009).
If your Mercedes-Benz is making a terrible noise while driving at low speed and over bumps, you may be looking at an upper control arm replacement. It may be that you only have some worn bushings on the ball joints, or the ball joints themselves are bad. Replacing the ball joints aren't much easier and a special tool is needed to do the job. Replacement upper control arms come with a new ball joints already, and the cost isn't much different. This is no easy job however, as the passenger side is a very difficult part to get to and a lot of other stuff has to come out first. If you want to tackle this job yourself, you might suffer a little, but the end result is saving yourself easily a thousand bucks or more over the labor cost of a professional doing it for you. If you have any qualms at all about taking this job on, your best bet is just to take it to a professional from the start before you get in there, get stuck and need a tow. If you have moderate mechanical abilities and have tackled other tough jobs before, read on and learn how to change your upper control arms yourself.
Materials Needed
- Ratchet and various metric sockets
- Metric wrenches and an offset wrench (17 mm)
- Turkey baster
- Tape or rubber cement
- Assistant
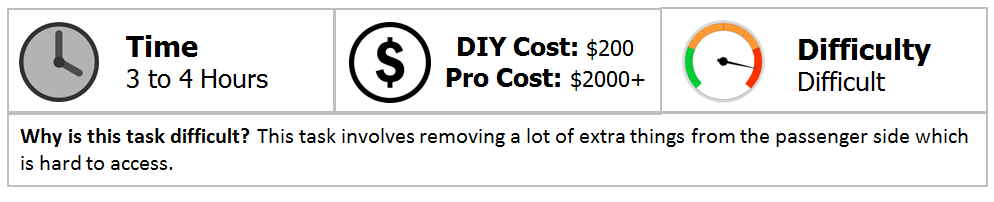
Step 1 – Raise the front end
Use a hydraulic floor jack to lift the front end and place it on jack stands in the approved safe locations. We advise to go ahead and remove the wheel on the passenger side to give you more working room.
Step 2 – Drain and remove washer fluid reservoir
The washer fluid reservoir is under the hood on the driver's side and must be removed in order to get access to the control arm top bolt. Getting a wrench on this bolt isn't so difficult. Use a turkey baster to suck the windshield washer fluid out of the reservoir, then remove the bolts holding the reservoir. Remove the reservoir.
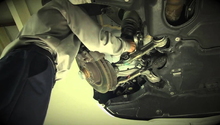
Step 3 – Remove upper nut
With the washer fluid reservoir removed, you can now remove the upper nut and pull the bolt out. The other end is attached by the ball joint. This is a 17 mm nut that needs to be removed. The right upper control arm can now be replaced with the replacement UCA. Reinstall the ball joint bolt first, then the top bolt. You can wrench on the bolt end while holding the nut with an open ended wrench. Replace the washer's reservoir back into place.
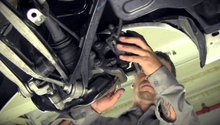
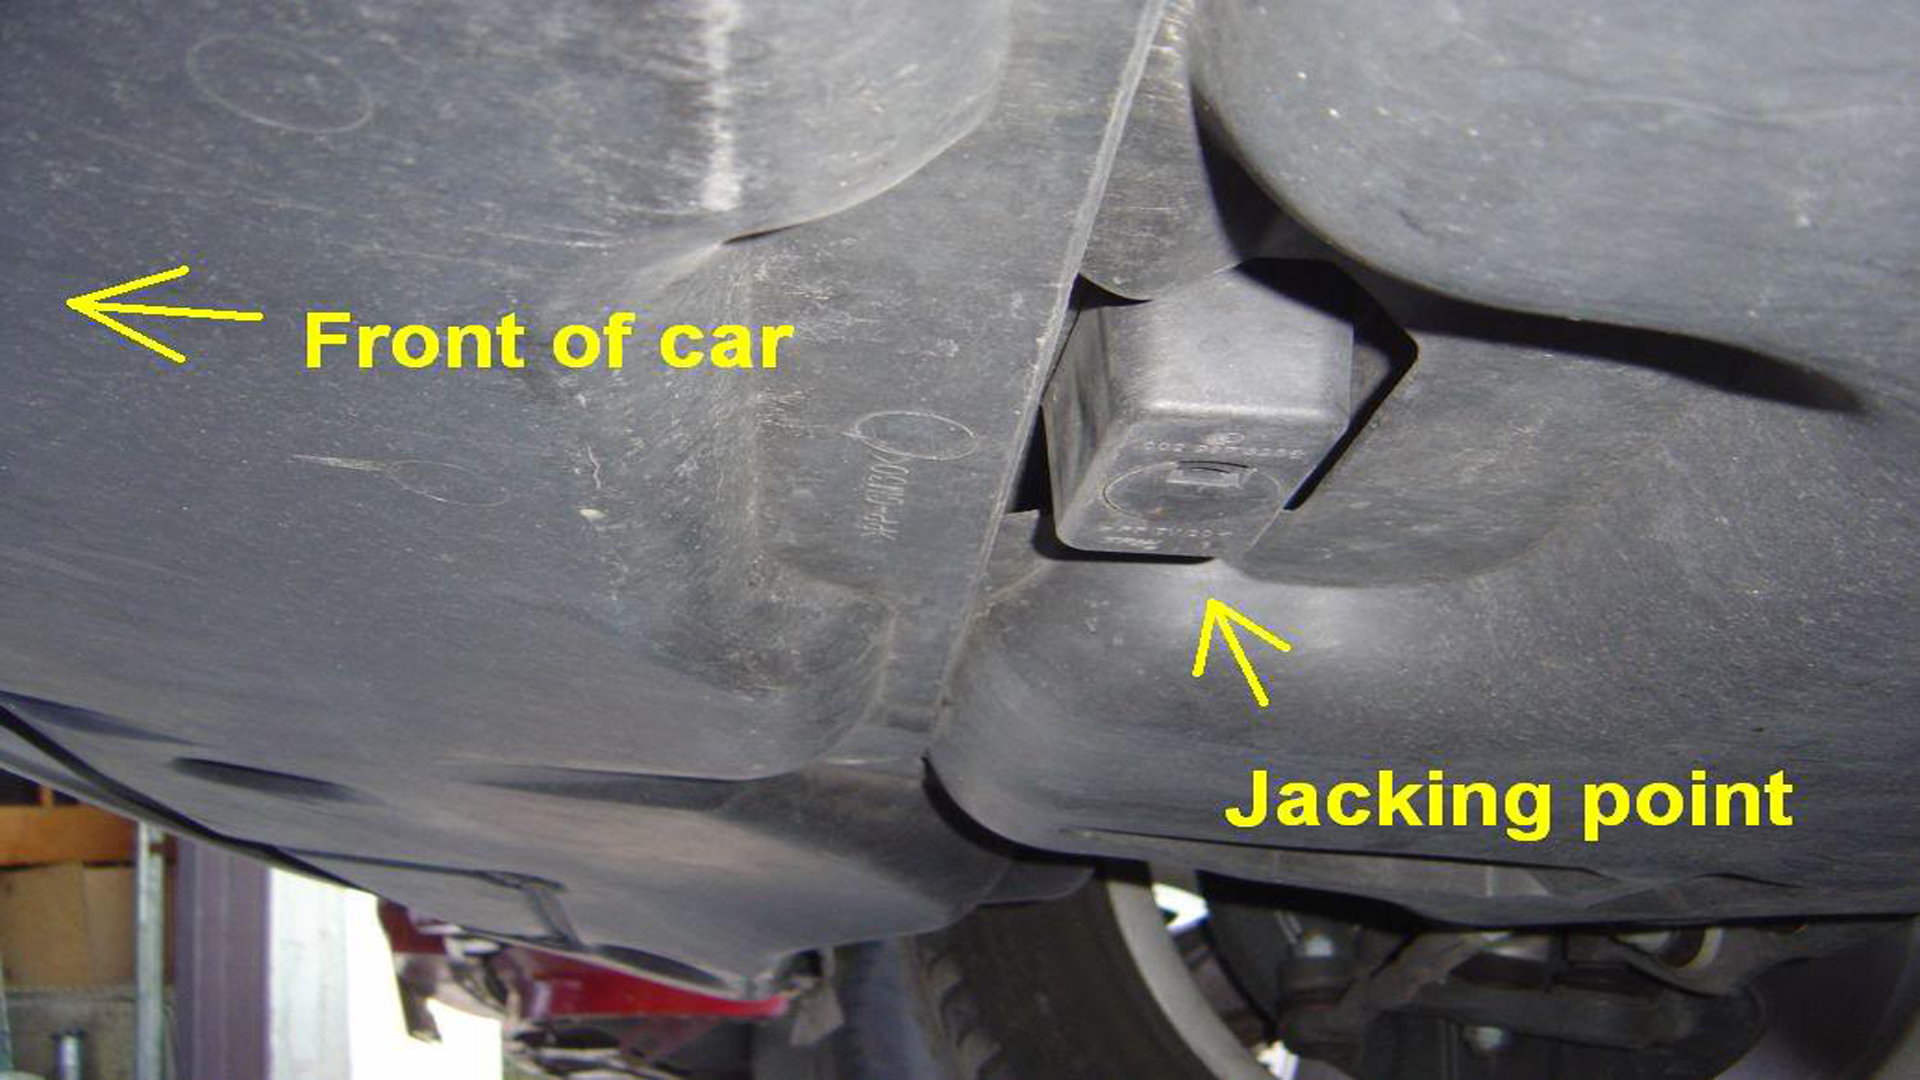
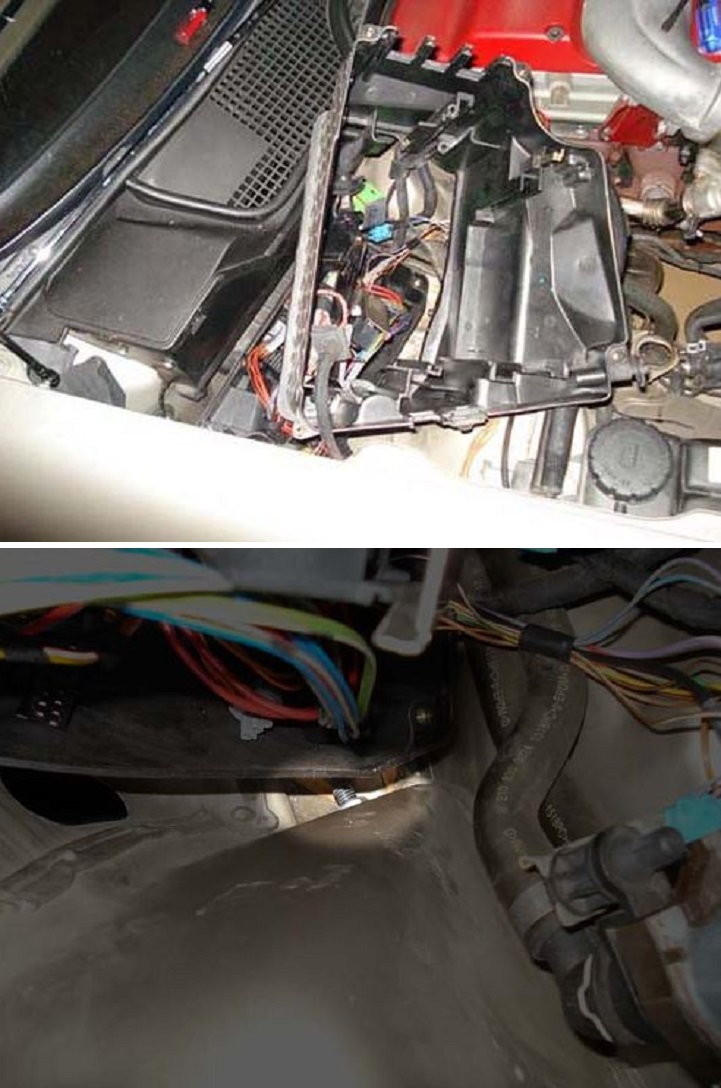
Step 4 – Remove computer box
This is the step in this process that is the most difficult and painful to carry out. The passenger side top mounting bolt of the upper control arm is extremely difficult to get to even with all this stuff removed. Removing the box for the computer components is easy; however, the cables are extremely messy, so take your time to keep them straight.
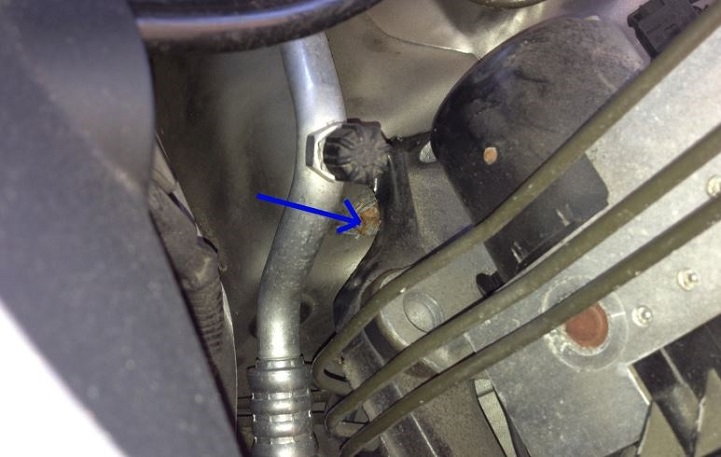
- Removing the nut is easier than replacing. Find the rubber body plug in the wheel well.
- Cut the base of the plug (rubberized lining) so you can remove the plug without cutting through it. The plug can be put back into place after the job is complete.
- You will see the nut that you can slip a 16 mm open ended box wrench over. Use a ratchet on the other end and loosen the bolt until it and the nut can be removed.
- Remove the 17 mm bolt on the ball joint.
- Remove the upper control arm.
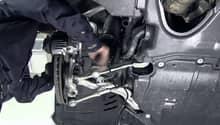
Replacing the upper control arm on the passenger side is much more difficult.
- Insert the new UCA into position and replace the ball joint bolt.
- Use an offset open ended wrench and either tape the bolt to it or use a copious amount of rubber cement to hold it in place at the end of the wench.
- If you have a helper with really small fingers, you can tape the bolt to his fingers to hold the nut in the correct location while the bolt is turned.
- When you finally get the arm in place and the bolts tightened, replace the computer box back in place.
Related Discussions and Sites
- 4Matic Upper Control Arms - Benzworld.org
- E300 w210 Upper Control Arm - peachparts.com
- 02 E320 Upper Control Arms Repair Questions - MBWorld.org
- Upper Control Arms Front Suspension - Benzworld.org
- E300 w210 Upper Control Arm (R&R) - MBWorld.org
- Changing Ball Joints in Front Upper Control Arm - MBWorld.org