Mercedes-Benz E-Class and E-Class AMG: How to Replace Tail Light Assembly
This guide will show you how to replace a broken tail light. The process is not too difficult and can save you money.
This article applies to the Mercedes-Benz E-Class and E-Class AMG (2002-2009).
A broken tail light is just one of those everyday annoyances. But having functioning tail lights is required by law in many states, so it's in your best interest to fix it right away to avoid some uncomfortable conversations later. Simply follow the instructions below and you'll have repaired yours in no time.

Materials Needed
- Replacement tail light assembly
- Small flat head screwdriver
- T20 Torx screwdriver
- Ratchet w/ 8 mm socket
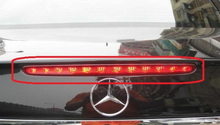
Step 1 – Remove the back panel in the trunk
There is a large black plastic panel along the back of the trunk that needs to be removed first. It's held down by a series of fasteners. At the top of each corner there's a hidden tab that can be pried off. Underneath the panel there will be an electrical cable that needs to be unplugged as well.

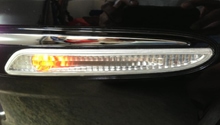
Step 2 – Remove the side trunk lining
Unscrew the cable tie hooks attached to the side lining with your Torx screw. Then pop out the fasteners along the top of the side lining. Pull the lining out of the way to where you can access the back of the tail light housing.
Note
For cars with the airmatic feature you'll also have to remove a large air canister on the passenger's side in order to get to the passenger's side tail light housing. Simply unbolt the bracket for the cannister and slide it out of the way.

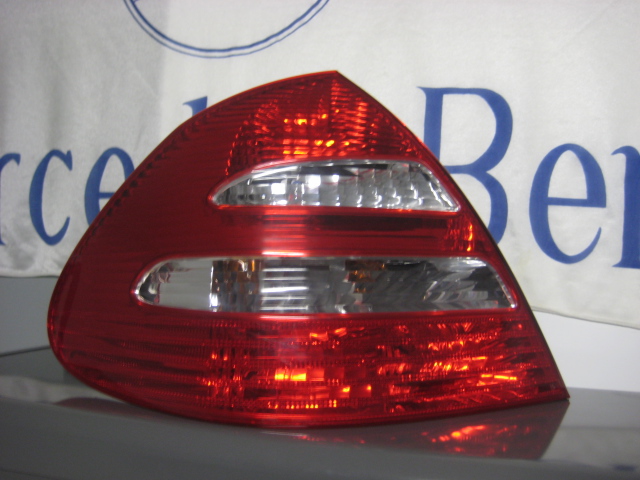
Step 3 – Remove the tail light assembly
There are five 8 mm nuts attached to the assembly. Remove each of these then disconnect the electrical harness. Push against the tail light assembly a little so that you can pull it from the outside. Once you have it removed, pull off the black foam seal on the back and unscrew the three Torx screws to remove the bulb holder.
Warning
Be careful when handling the bulb holder; the bulbs attached to it are filled with pressurized gas and could explode if ruptured.
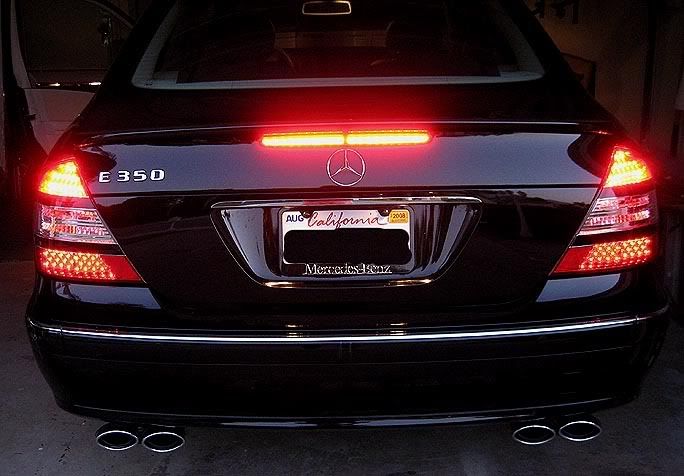
Step 4 – Install new tail light assembly
Attach the old bulb holder to the new tail light assembly and screw on the three Torx screws. Reattach the black foam seal. Then carefully guide the new tail light assembly into place. Firmly press it into the car then reattach the five 8 mm nuts inside the trunk. Reattach the electrical harness. Then return the trunk side lining with the fasteners at the top and then return the cable tie hooks. Reconnect the inner electrical plug then return the back panel to the trunk with the fasteners along the top and tabs at the corners.
Related Discussions and Sites
- How to Remove Tail Light? - MBWorld.org
- Brake Lights are Burnt Out? How Do You Replace Them? - MBWorld.org
- W211 Tail Light Removal - BenzWorld.org
- Pelican Technical Article - W211 Tail Light Replacement - Pelicanparts.com