Mercedes-Benz E-Class: How to Flush Your Radiator
Keeping your E-Class cooling system in optimum condition is important because the coolant performs four important functions: Protecting against freezing, protecting from over-heating, reducing thermal stresses in your engine and radiator, and improving cabin heater efficiency. Learn how to flush the radiator below.
This article applies to the Mercedes-Benz E-Class (2002-2009).
Typically, northerners call it “antifreeze” and southerners call it “coolant.” Regardless of what you call it, it’s a good idea to flush your cooling system once every two years — and more often if you put a lot of miles on your Mercedes-Benz E-Class. Doing this job yourself not only gives you the opportunity to save a lot of money, but to also check and replace any cracked or damaged hoses and look for possible engine problems.

Materials Needed
- Socket wrench set with metric sockets, 8mm
- Safety glasses and gloves
- Large funnels
- Large (5 gallon/19 L) shallow pan
- Hose clamp pliers (optional)
- Large, flat head screwdriver (optional)
- Coolant pump (optional)
- Coolant gauge (optional)
- Hose removal tool (optional)
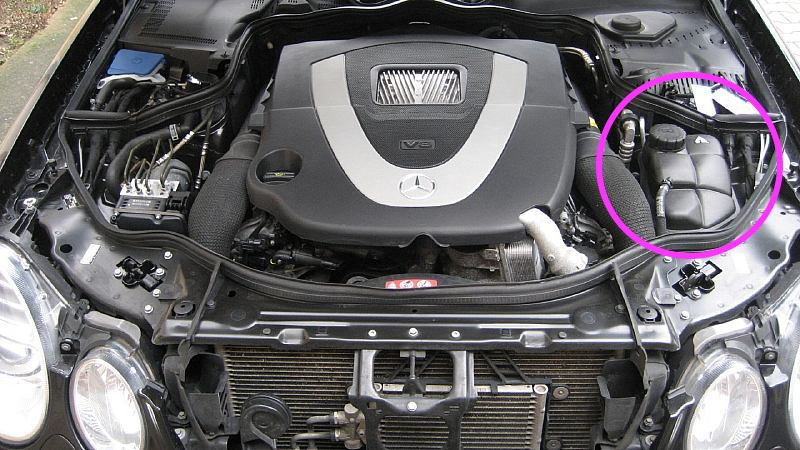
Step 1 – Open the hood and locate the coolant reservoir
Put the vehicle in park on level ground with the parking brake on, then open the hood. The coolant reservoir (also called a recovery tank or surge tank) for the E-Class is located on the driver side front of the engine compartment. It has a black top, a pressurized screw-on cap, and translucent sides that allow you to see the coolant level in it.
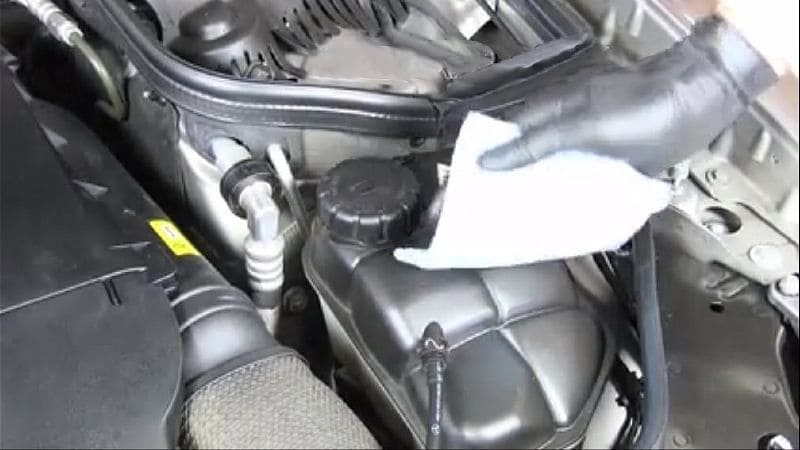
Clean off the reservoir top and cap to make it easier to not only see the coolant level, but prevent any road dust from getting into the reservoir after you remove its cap.
Step 2 – Drain the reservoir
Because this is a pressurized system, the coolant reservoir isn’t just for overflow; its cap is the only way to get coolant into the system (the radiator itself doesn’t have a filler cap). When the engine is cool (and only when the engine is cool), remove the cap from the coolant reservoir.
Warning
Because it’s a pressurized system, opening the reservoir cap when the system is hot could spray out coolant, causing burns. But be sure to wear gloves and safety goggles as well, as coolant is toxic.
This process can be sped up by draining the reservoir before the radiator (it’s at a higher level than the radiator), then using a pump made for this purpose to extract all of the fluid out of the reservoir and into a large drain pan.
Step 3 – Drain the radiator
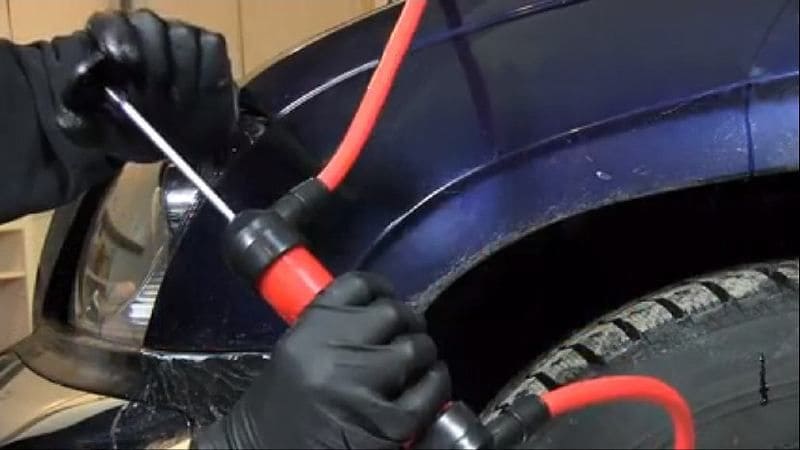
To drain the radiator, you’ll first have to remove the front engine protection splash shield (sometimes referred to as a “belly pan”), a plastic cover attached beneath the bumper, to reveal the bottom of the radiator and petcock. This plastic cover is held in place with seven 8mm hex-head screws.
Note
Different models used a different number of screws — the earlier W110 generation used ten screws.
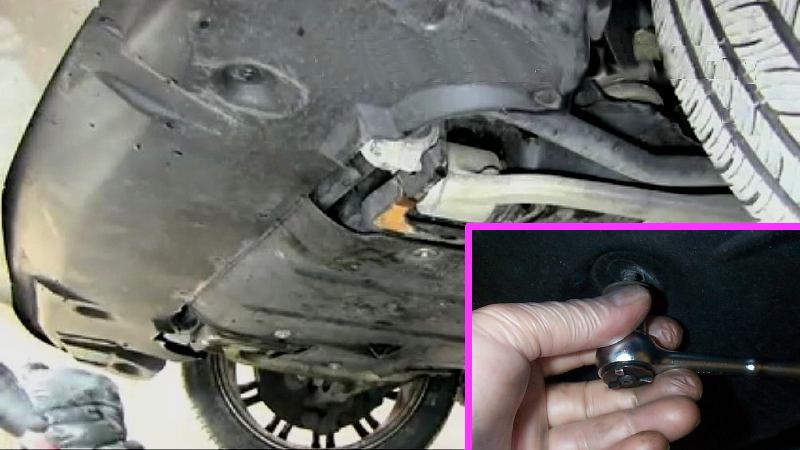
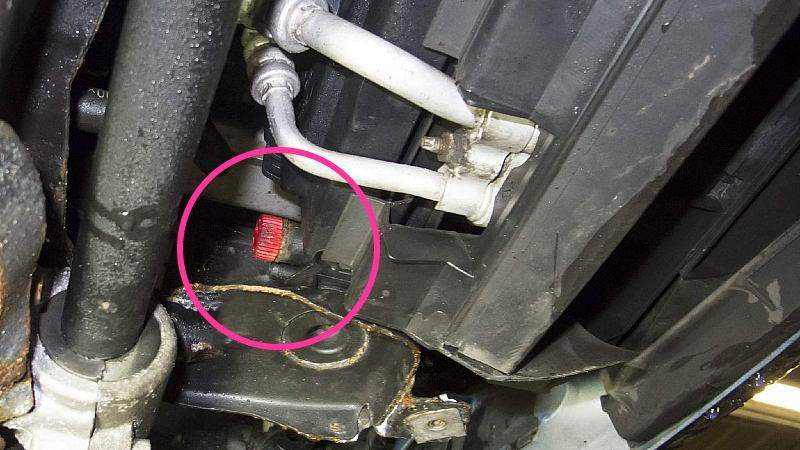
Put newspapers and a large (5 gallon/19 L) drain pan underneath the petcock at the front of the car.
Open the petcock by turning it 180-degrees counter-clockwise to drain the radiator into the drain pan. A large, flat-head screwdriver can be helpful. Be careful with the petcock as it’s made of plastic.
Pro Tip
Because the barb of the petcock is located above the petcock valve, putting a short hose on it to the drain pan can help prevent the fluid from spilling out across the car’s undercarriage.
If the petcock is difficult to operate (or to speed up this operation), many prefer to detach the lower radiator hose by removing its squeeze clamp (or screw clamp) and pulling it off its fitting. Regardless of drain method, check the consistency of the draining coolant. Excessive sediment and/or a dark color can indicate an internal leak from the engine into the coolant system.
Let the coolant drip for ten minutes to make sure all the radiator’s channels and fins have drained out. Keep in mind that the total amount you remove from both the reservoir and radiator is the amount you’ll need to replace.
When it’s finished, close the petcock (or replace the bottom radiator hose). At this point, it’s a good idea to check to make sure that none of the hoses are torn or frayed at their connection points, and squeeze all of the hoses to make sure they are firm and not spongy. Replace any damaged or questionable hoses.
Step 4 – Flush the system with water
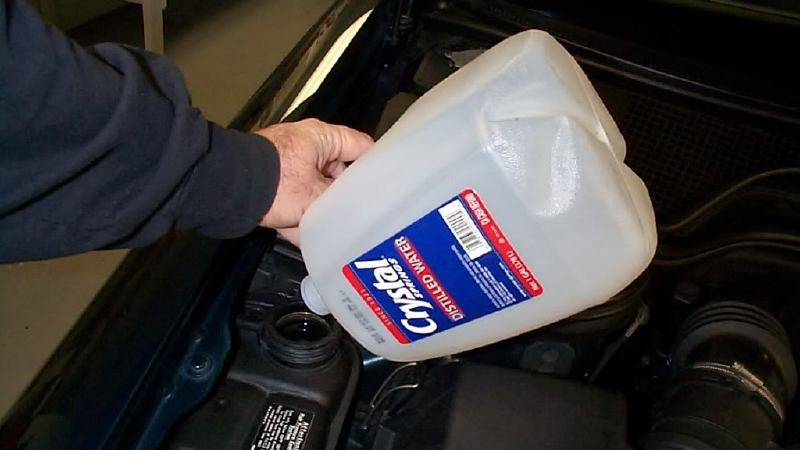
Fill the coolant reservoir to the top with distilled water. Never add tap water or softened water to this system because it contains minerals and salts that can cause corrosion. Watch for the water level to drop throughout this operation as the radiator fills; as it does, add more water.
When the reservoir is filled and its water level is stable, replace the reservoir cap tightly.
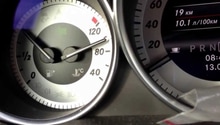
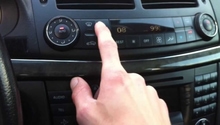
You’ll need the water to circulate throughout the system. To accomplish this, with the vehicle still in park and the parking brake on, turn on the ignition. Let it run until it reaches normal operating temperature. To speed this process up, you can rev and hold the engine at around 2500 RPM, and turn the defroster to its hottest setting.
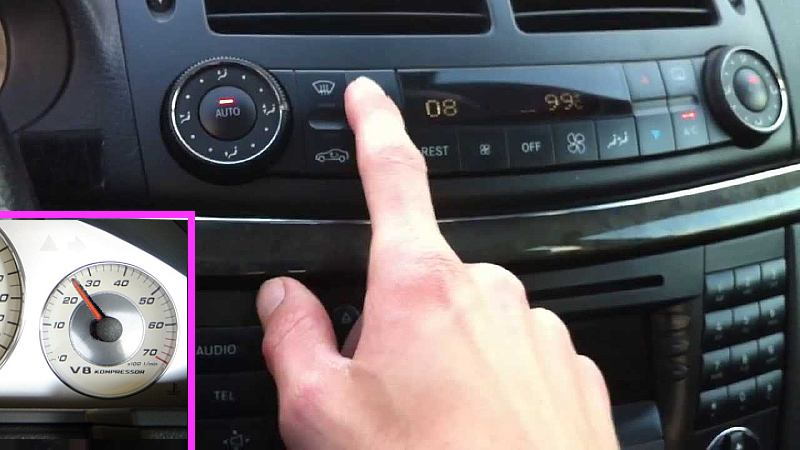
After about ten minutes you should be able to hear the radiator fans turn on, indicating that the thermostat has opened and the water pump is now flushing the water throughout the entire system (before this happens, the water remains stationary). With the coolant now circulating, let the engine run for ten more minutes.
Then turn the engine off. The water is now very hot — let it cool down for a few hours before removing the reservoir cap, which is once again under pressure. Next, open the petcock again or remove the lower radiator hose. Let all of the water drain out, then close the petcock or replace the lower radiator hose.
Step 5 – Fill the system with coolant/distilled water
Your owner’s manual will specify the type and amount of coolant your car will require. The 2008 E350 shown uses 10.7 quarts (10 liters) of MB 325 anti-corrosion antifreeze, or a trusted manufacturer’s equivalent.

Coolant is available premixed with distilled water or unmixed. If you’ve bought unmixed coolant, you’ll need to mix it with distilled water, typically to a 50/50 coolant-to-water mixture. Most pre-mixed coolants come in a 50/50 ratio. People who live in colder climates go to a 60/40 mix; but using too much coolant in a mixture, such as a 70/30 percent coolant to water mixture, actually makes the fluid less ineffective for cooling your car, not more.
As it’s better to have a little more coolant than water in the mix (as opposed to more water than coolant), per this owner’s manual you can put 5.35 quarts (5 liters) of coolant in first, and fill the system the rest of the way up with distilled water. But if you’re mixing your own coolant, it’s always a good idea to use a cooling gauge to verify the final coolant mixture.
Fill the reservoir completely with the proper mix of distilled water and coolant.
Step 6 – Bleed the system
Bleed (or “burp”) your coolant system to get all of the air out of the system, if bubbles are left it can damage the water pump. Start by squeezing as much of the top radiator hose that you can reach to remove any trapped air bubbles.
Most cars with pressurized coolant reservoirs are self-bleeding, but you can speed up this process considerably. With the reservoir cap still off, start the car, turn the defroster on the high heat setting, and let the system warm up to operating temperature. Revving the engine a few times can help the bubbles collect in the reservoir tank while the level of coolant in this tank will drop accordingly. As this happens, again bring the coolant up to the fill line of the reservoir, and repeat this procedure one or two more times. When finished, cap the coolant reservoir tightly.
Step 7 – Replace the front splash shield
Replace the seven 8mm hex-head screws holding on the engine protection splash shield. It’s a good idea to first keep the screws a bit loose to make sure the shield is in place before tightening them all down.
Step 8 – Recycle your used coolant
The containers you’ve put your used coolant in should be marked as such. Get rid of your old coolant properly (it can be recycled, plus many reclamation centers will accept it). Do not dump it down a storm sewer, and many municipalities now forbid it being poured or flushed down a sanitary sewer.
Pro Tip
For coolant to be recycled, the container should say what's in it, and it can’t have previously contained other chemical substances, such as motor oil.
Related Discussions
- Good Tips about Flushing Your Coolant System - MBWorld.org
- Instructions for Bleeding a Pressurized System - MBWorld.org
- Changing Your Coolant for the Previous Generation of E-Class - MBWorld.org
- Flushing a Radiator for the Previous Generation of E-Class - MBWorld.org