Mercedes-Benz E-Class: How to Install Interior LED Lights
New interior LED lights not only enhance the look of your E-Class w212's interior, but they're also practical to have. Continue reading and learn how to swap your interior stock lights with brighter LEDs.
This article applies to the Mercedes-Benz E-Class w212 (2009-Present).
Car manufacturers equip vehicles with bright lighting all about the exterior for safety reasons and visibility. But, what about the interior? Almost every panel in the cabin has some type of light, which serves an important function—whether it's for reading, locating equipment in the trunk, or dropped items in the foot wells. Today, most, if not all, of these bulbs are upgraded to the LEDs because they are brighter and last longer. With the instructions below, you will learn how to swap the bulbs in your E-Class' front and rear dome lights, door panels, foot wells, and trunk.

Materials Needed
- LED interior package
- Trim panel removal tool
Step 1 – Swap the foot well and door panel light bulbs
The replacement of lights for the foot wells and door panels follow the same procedure. None of the light housings are secured by screws.
- Using a trim panel removal tool, simply pry out one corner of the foot well light housing.
- Unplug the connector from the housing.
- Pull stock light bulb out of the socket.
- Then, insert the new LED bulb.
- Connect the housing, and snap it back into the panel.
- Repeat the procedure for the other foot well and door panel lights.
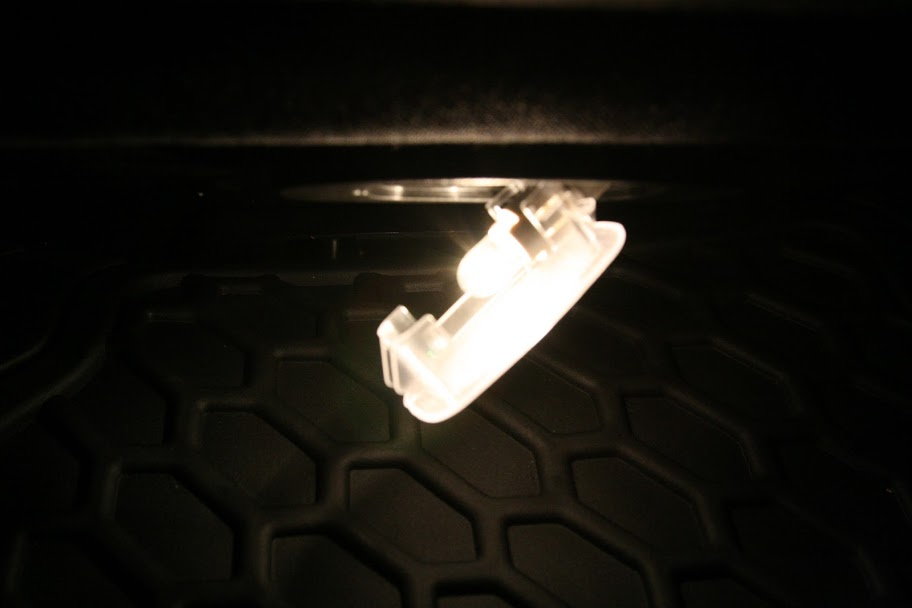
Figure 1. Remove the foot well light housing. 
Figure 2. Install LED bulb. 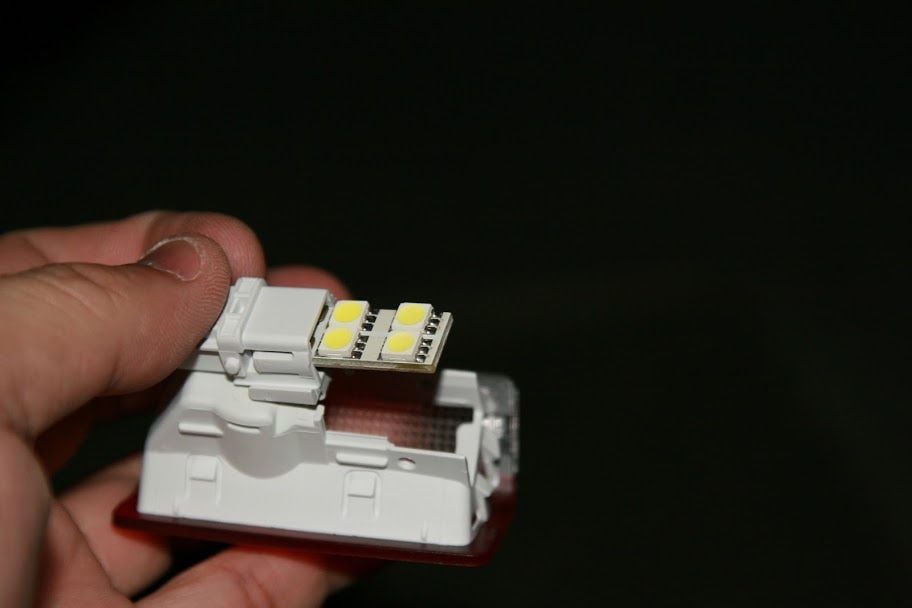
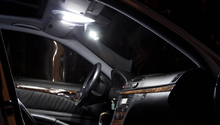
Figure 3. Foot well LED light installed. 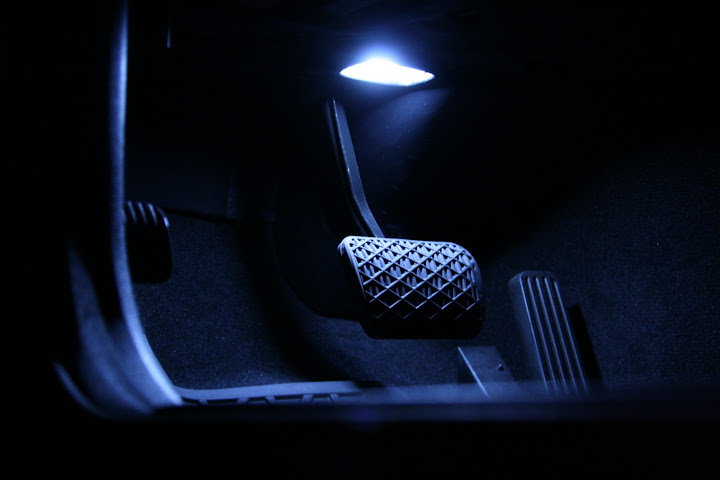
Figure 4. LED installed.
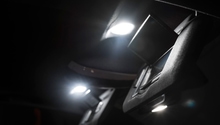
Step 2 – Swap the front dome lights
- Use the trim removal tool to pry out the rear side of the dome light housing.
-
Then, do the same to the front cover above the rear view mirror. The dome light assembly should drop down, but not completely detach.
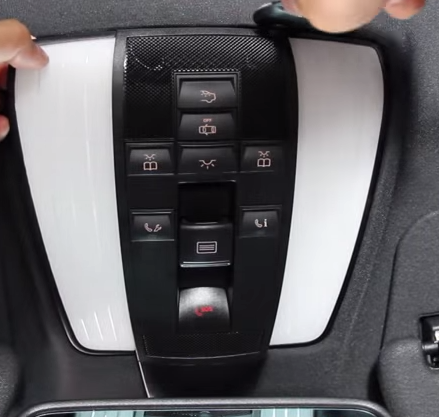
Figure 5. Pry out rear side of the dome light housing. 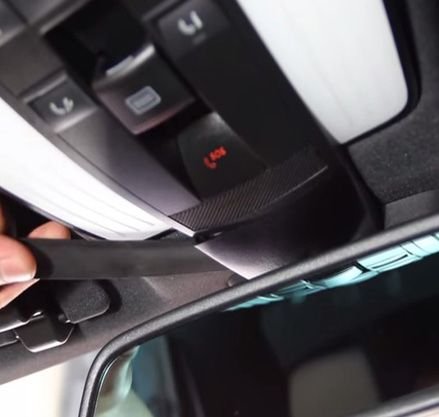
Figure 6. Pry off cover above the rear view mirror.
- There are two sockets on back side of the assembly. Pull them out by hand.
- Pull out the stock bulbs of each socket.
- Insert the new LED bulbs, and place the socket back into the assembly.
-
Re-install the front cover and light assembly.
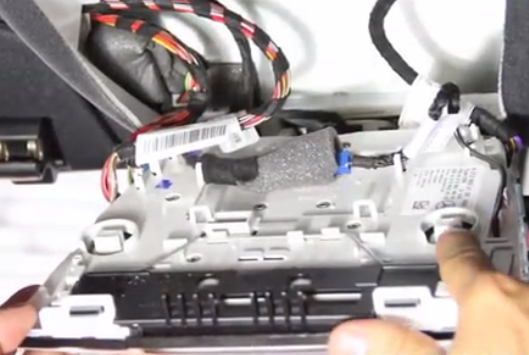
Figure 7. Remove the dome light sockets. 
Figure 8. Remove the stock light bulb. 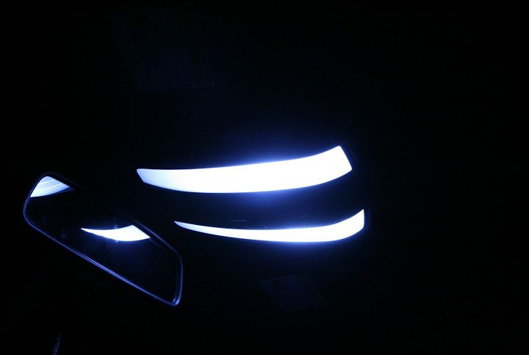
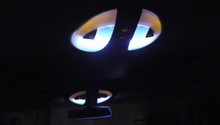
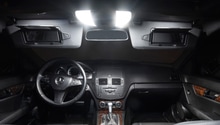
Figure 9. LED front dome light installed.
Step 3 – Swap the rear dome lights
Replacing lights on this unit is the most difficult out of the set. It requires removal of the covers, and separating the unit from the housing.
- Use the trim removal tool to pry out the dome light housing.
- Pull the light assembly down and unplug the connector.
- Remove the black plastic covering surrounding the edges of the assembly.
- Use the trim removal tool to un-clip the rear casing of the assembly, and pull them apart.
- On the circuit board of the assembly, remove the stock light bulb.
- Then, insert the new LED bulb.
- Reattach the rear casing and black cover to the assembly.
- Reconnect the dome light harness, and install the assembly.
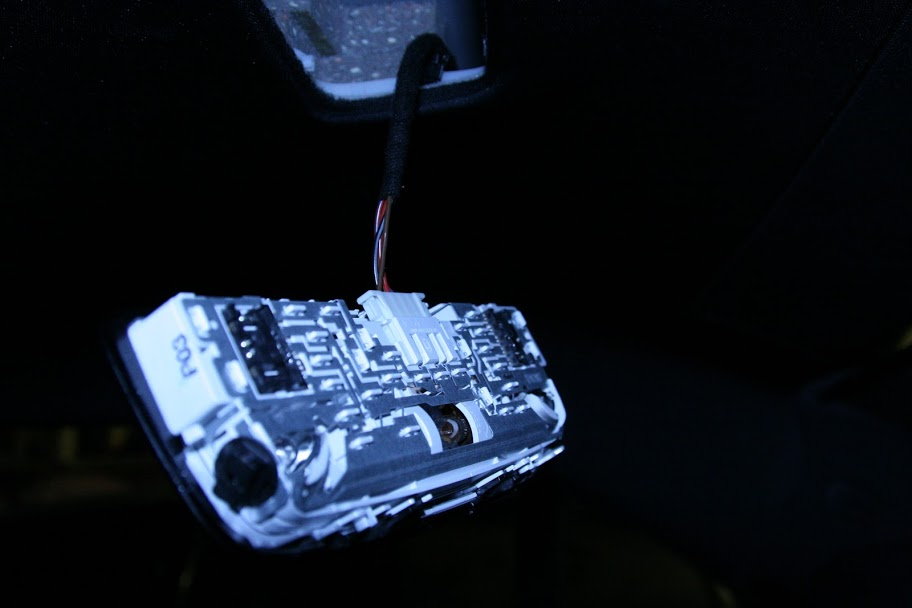
Figure 10. Unplug rear dome light connector. 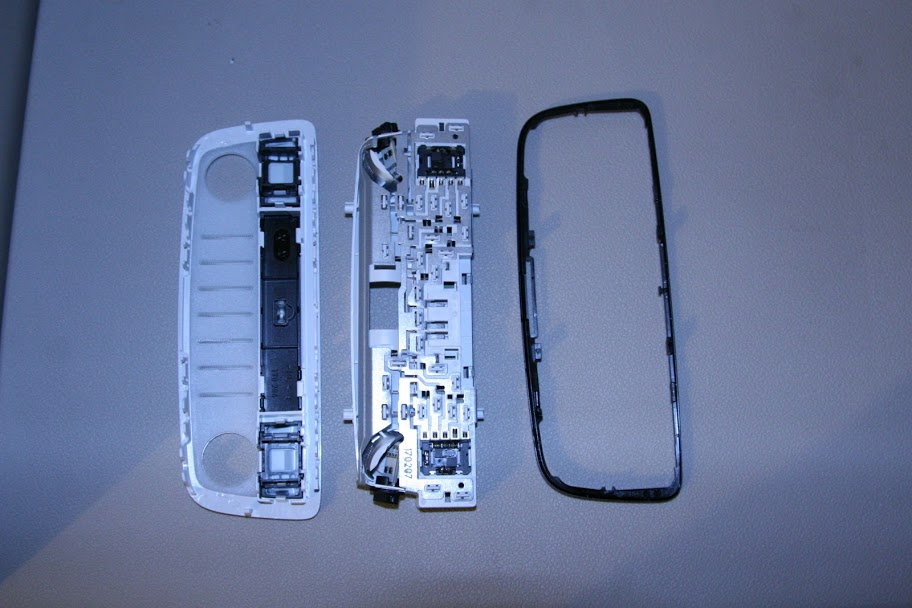
Figure 11. Separate rear dome light assembly. 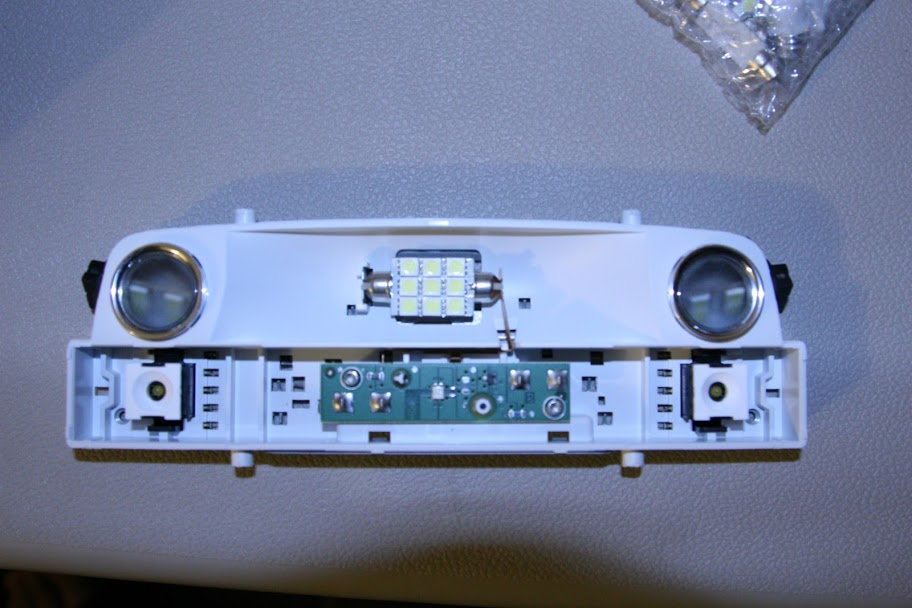
Figure 12. Install the rear dome light bulb.
Step 4 – Swap the trunk light
- Use the trim removal tool pry out the trunk light housing.
- Remove the plastic cover from the socket.
- Pull out the stock bulb, and insert the new LED bulb.
- Re-install the plastic cover, and push the light housing back into place.

Figure 13. Pry off the trunk light housing. 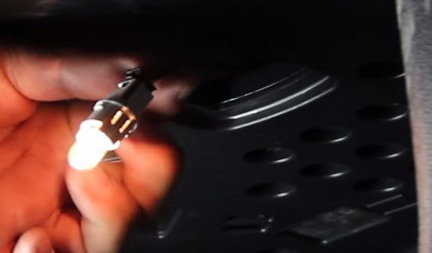
Figure 14. Remove the stock light bulb. 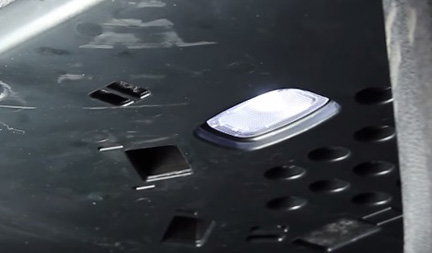
Figure 15. LED trunk light installed.
Featured Video: LED Installation
Related Discussion and Site
- Interior LED lights - MBWorld.org
- Where to Buy the Right LED's - PrecisionLED.com