Mercedes-Benz E-Class: How to Remove Door Panel and Replace Speakers
Upgrading the front speakers in your Mercedes-Benz E-Class is one of the first steps you should take to increase the sound quality of your audio system. If you plan on doing this installation yourself, follow the instructions below.
This article applies to the Mercedes E-Class w212 (2009-Present).
The ride quality of your Mercedes-Benz E-Class is already considered the best in its class by enthusiasts and critics alike. Although it may seem as if nothing more can be done to enhance your w212, there is always the audio system. To start an upgrade of the front speakers, you must remove the door panel. In addition to a great set of speakers, installing sound deadening material is a great way to decrease any unwanted vibrations from entering the cabin. Read these step-by-step instructions to complete this project yourself.

Materials Needed
- T27 Torx driver
- 3M double-sided tape
- Trim removal tool
- Flat head and Phillips screwdrivers
- Scissors or X-ACTO knife
- Pliers
- Sound deadening material
- Soldering kit
- Wire cutters
Step 1 – Remove the door trim
The mounting screws on the door panel are located under the armrest cover.
- First, disconnect the negative lead (black) from the battery terminal.
- Open the door and use a trim removal tool to pry out the armrest cover.
- Remove the two Hex screws with your T27 Torx screwdriver.
- Use the trim removal tool to pry out and loosen the A-pillar tweeter housing. The trim can then be gently removed by hand.
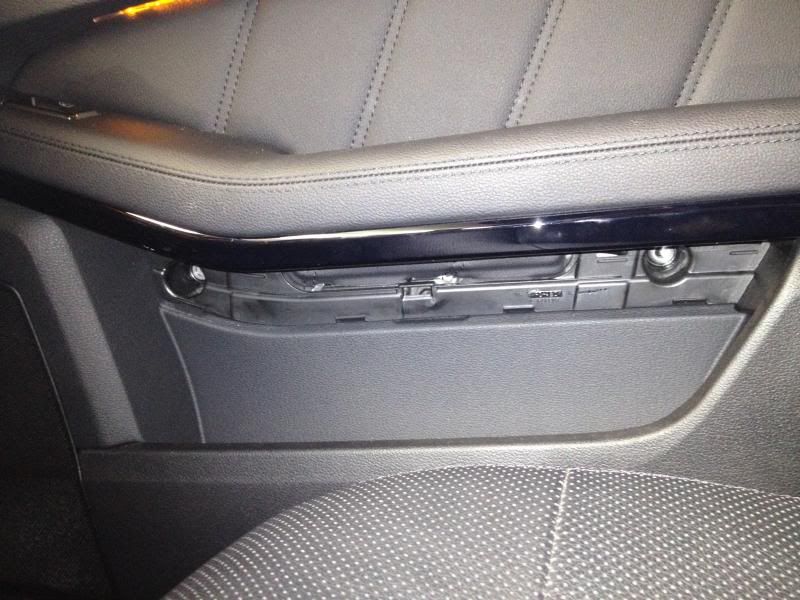
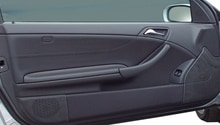
Figure 1. Remove the door panel covers. 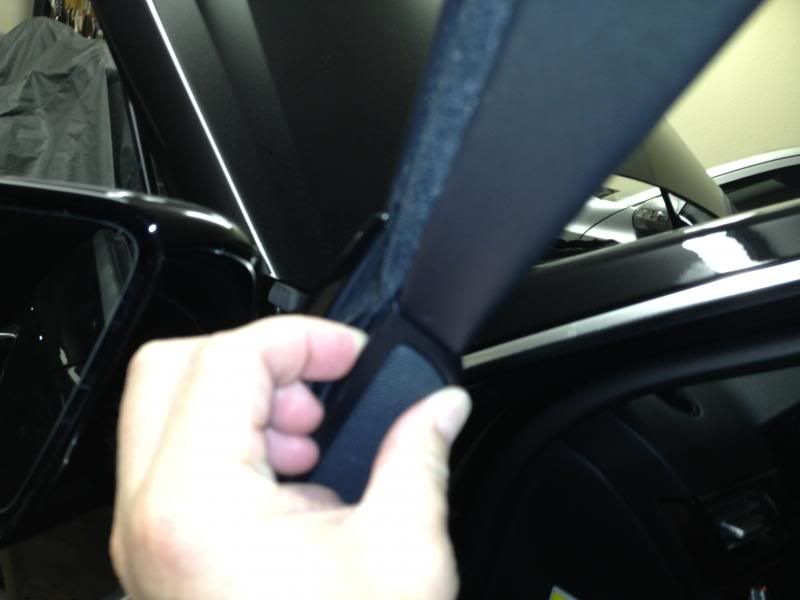
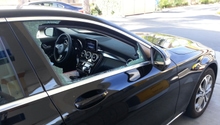
Figure 2. Remove the A-pillar tweeter housing.
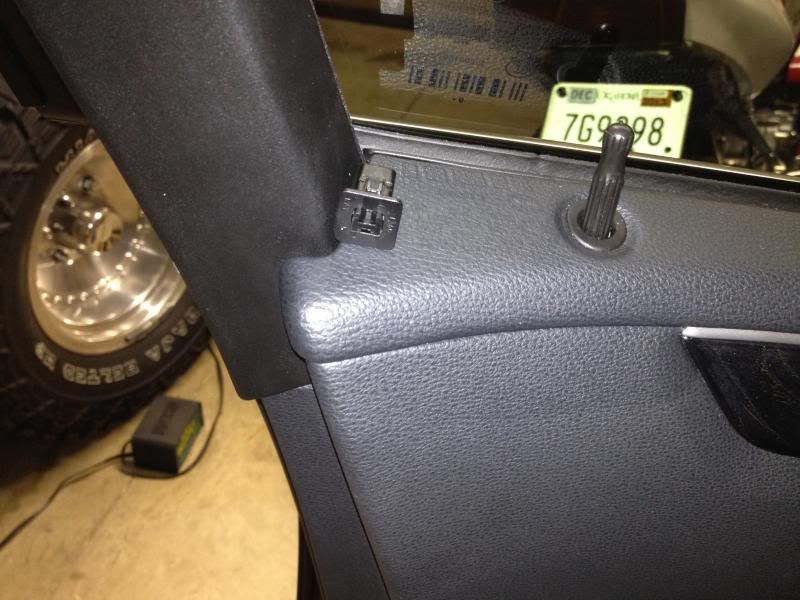
Step 2 – Remove the door panel clips
There is a square clip near the lock that secures the door panel to the frame.
- Gently pull the door panel out. Then, insert the pliers into the crack between the panel and the frame.
- Push down on the peg release mechanism of the square clip, and remove it.
- Use the trim removal tool to undo the remaining clips around the inside edges of the door panel.
- Remove the door panel and set it aside.
Step 3 – Replace the speakers
To install aftermarket speakers, you must separate the stock speakers from their mounting brackets. These mounting brackets will be installed onto the new speaker units.
- With a Phillips screwdriver, remove three screws surrounding the stock speaker.
- Use a flat head screwdriver to pry out the speaker from the door frame.
- Then, disconnect the speaker wires and remove the speaker unit.
- Use the flat head screwdriver or X-ACTO knife to separate the stock speaker from its mounting bracket, and cut the wire contacts.
- Trim and sand down the edges of the bracket.
- Install the new speaker to the bracket.
- Solder the bracket's wire contacts to the new speaker.
- Lastly, mount the new speaker unit to the door frame.
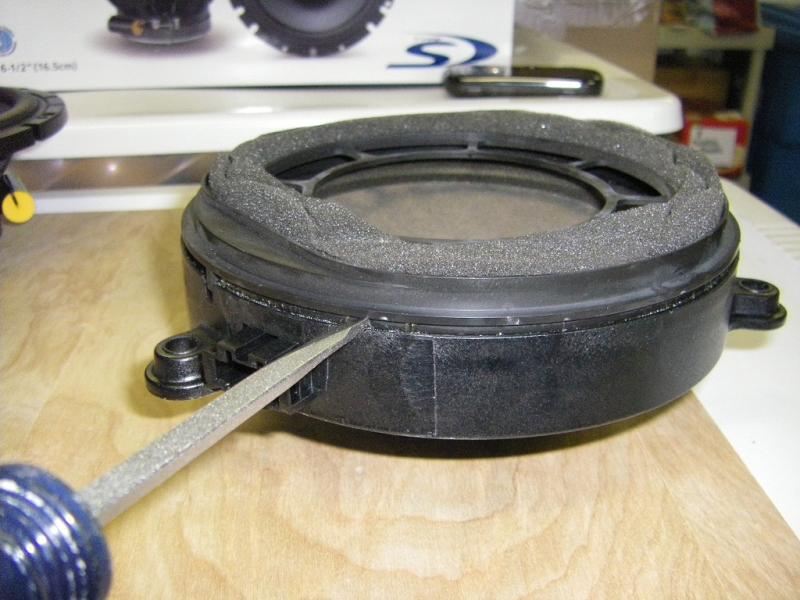
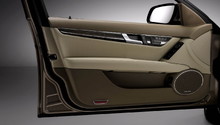
Figure 4. Separate speaker from mounting bracket. 
Figure 5. Install new speaker to the mounting bracket. 
Figure 6. Solder the speaker and bracket wire contacts. 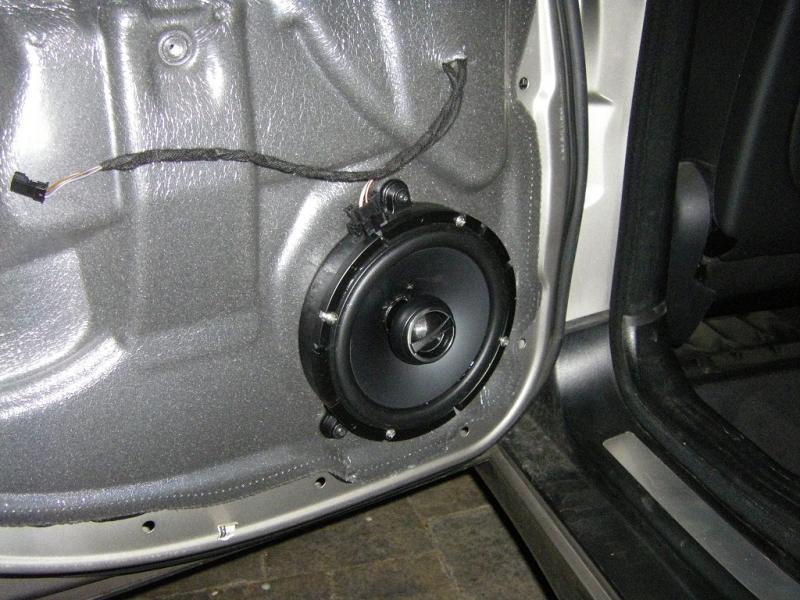
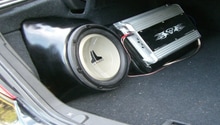
Figure 7. Mount new speaker unit to the door frame.
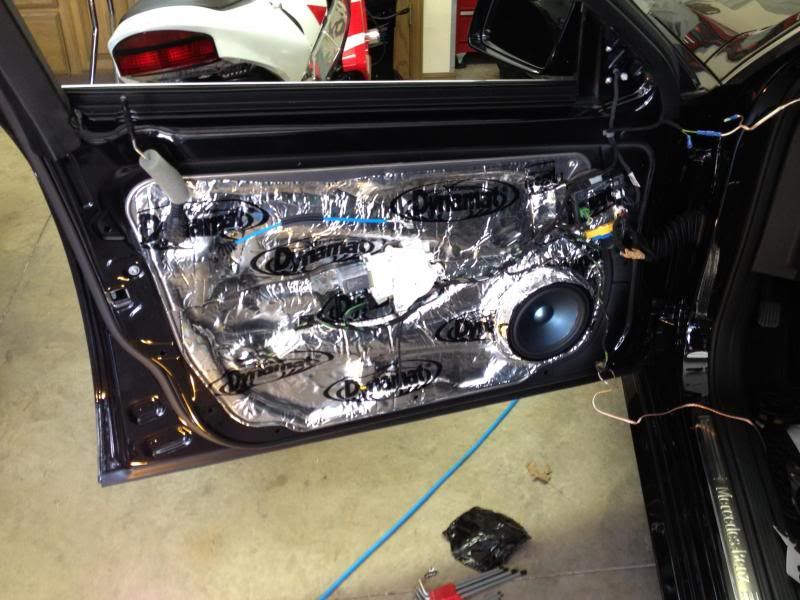
Step 4 – Add the sound deadening material
Since you are installing new speakers, it's a good idea to improve the sound deadening element of the audio system. Sound deadening foam prevents the cabin of the vehicle from feeling the vibrations and noises caused by the speakers or outside.
- Measure the amount of sound deadening foam to fit the door frame, and outline all necessary edges as well as holes.
- Use scissors or an X-ACTO knife to cut the outlines. Make sure to accommodate for all speaker and door mechanisms.
- Apply 3M double-sided tape to the edges and center of the foam.
- Press the foam firmly onto the door frame, and make sure it is tightly bonded.
Pro Tip
Although optional, the sound deadening foam can also be placed onto the door panel itself, which will help to soften the vibration created by the new speakers.
Step 5 – Re-install the door components
- Re-attach the square clip to the inside corner of the door panel.
- Push the door panel back onto the door frame, and make sure all the clips snap into place.
- Insert and tighten the Hex screws.
- Re-attach the armrest cover and A-pillar tweeter housing.