Mercedes-Benz E-Class: How to Replace Spark Plugs
This article explains the procedure for spark plug replacement on your Mercedes-Benz E-Class. Pictures as well as links have been included to make this how-to a very resourceful guide.
This article applies to the Mercedes-Benz E-Class (2002-2009).
A spark plug has an air gap between the electrode and the conductor prong. Electrical energy originating from the battery is released at the air gap, creating heat which ignites the fuel supplied from the injectors. As this process occurs thousands of times a minute, wear is inevitable. Reduced engine response and misfires are both indicators your spark plugs may need replacement. Learn how to tackle this job for your Mercedes-Benz E-Class here.

Materials Needed
- Mercedes-Benz v6/v8 spark plug boot puller or a suitable spark plug wire boot puller
- Bosch platinum spark plugs, Part # #7422/FR8DPP33
- 5/8" spark plug socket
- 3" and 6" 3/8" extensions
- 3/8" swivel joint
- 3/8" rachet
- Folding Torx set
- Diagonal cutters
- Electrical tape
- 9 volt radio code memory saver
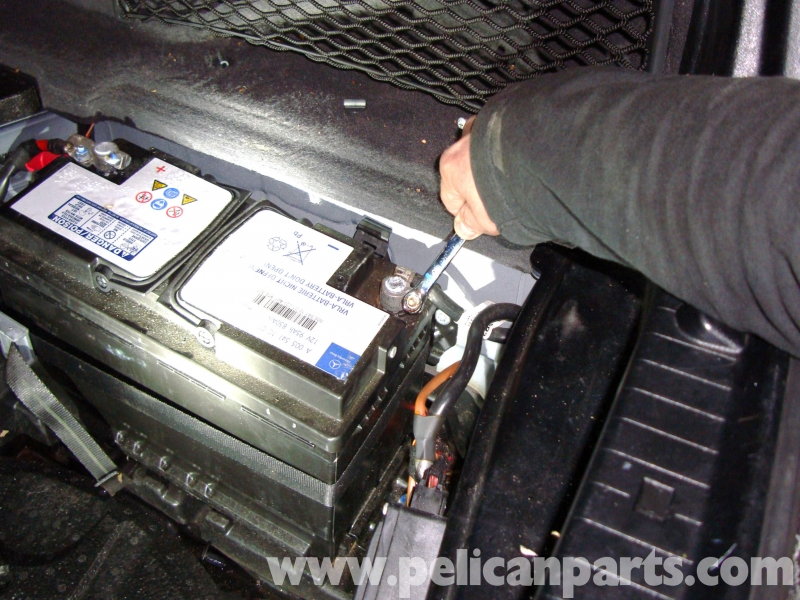
Step 1 – Disconnect the negative battery cable
Install the memory saver into the power outlet. Then, lift the trunk cover up by pulling on the handle.
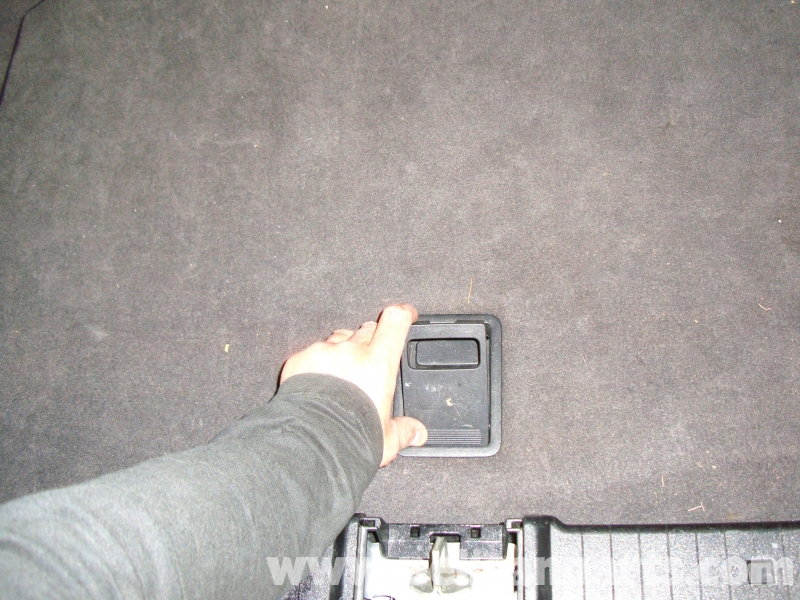
The handle acts like a hook to hold the cover in place onto the trunk seal.
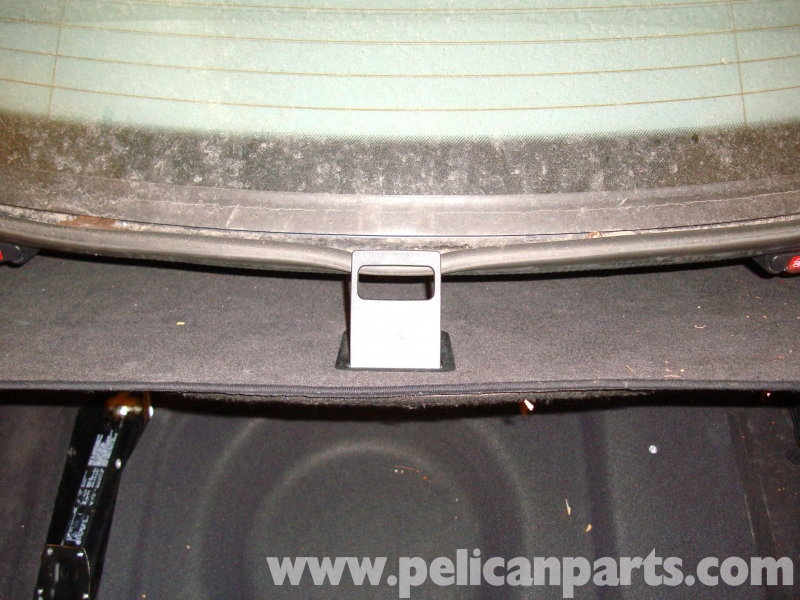
Note
If your trunk seal is in poor condition, then it may become detached from the trunk. Lift and remove the molded trunk carpet.
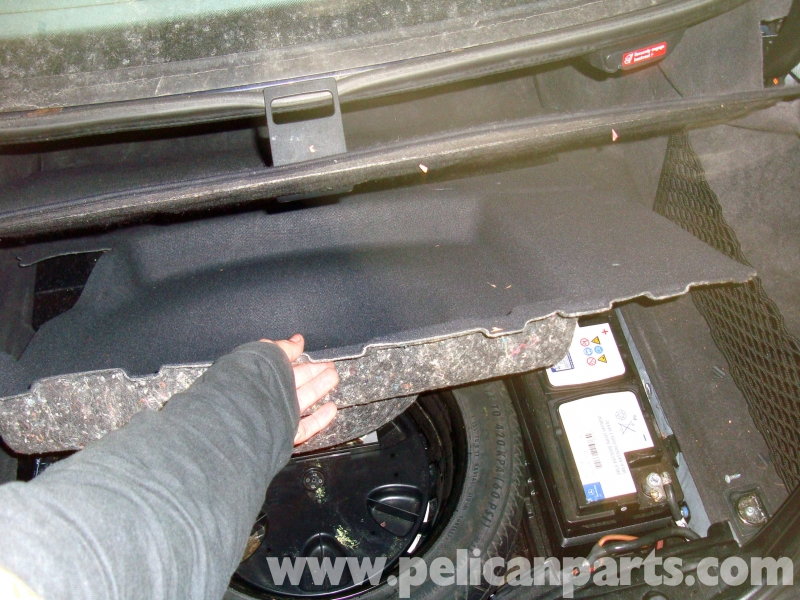
Locate the battery at the right side of the trunk and loosen the 10mm negative cable fastener. Remove the cable from the post and insulate the cable by wrapping it with electrical tape.
Step 2 – Remove the front duct air hoses
Simply pull both ducts away from the air filter housing and the radiator support.
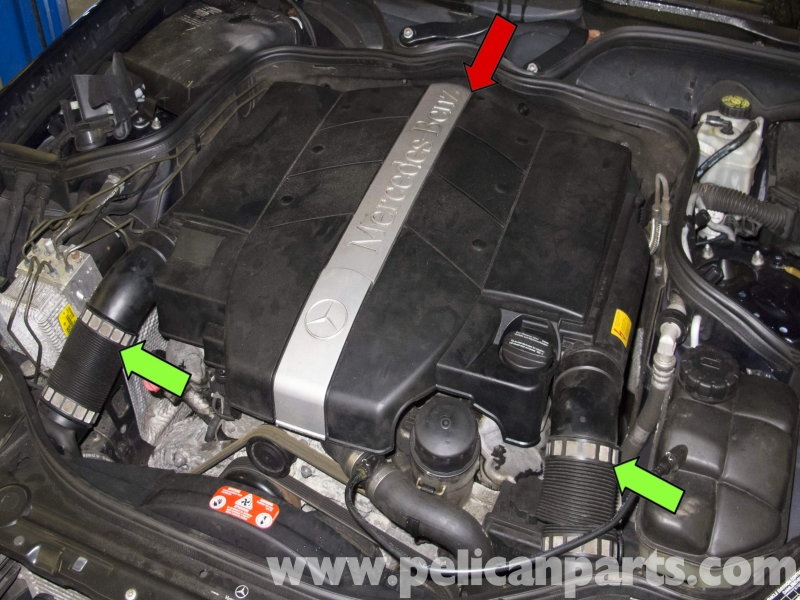
Figure 5. The green arrows point towards the air ducts. 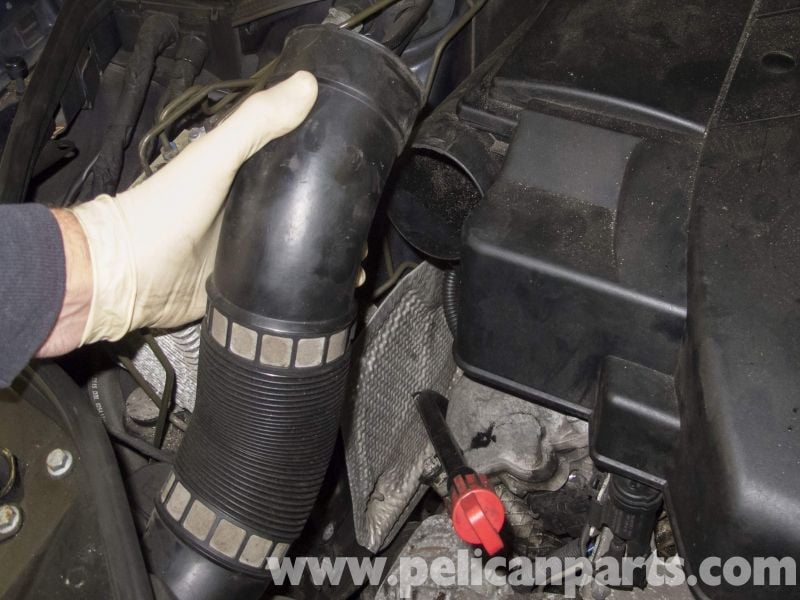
Figure 6. Removing the air duct.
Step 3 – Remove the engine covers
The engine cover consists of two pieces. The first piece slides forward and up.
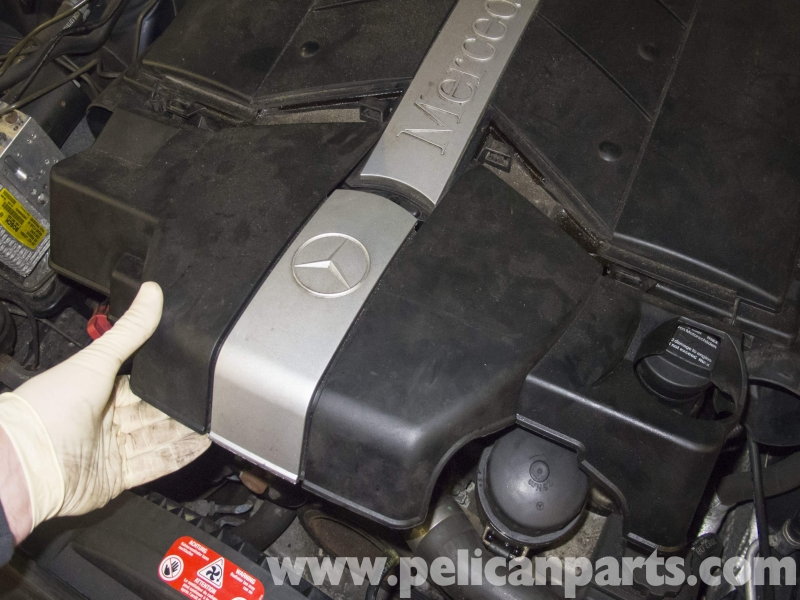
The second is held on by four clips that attach to rubber mounts. Pull straight up on the cover.
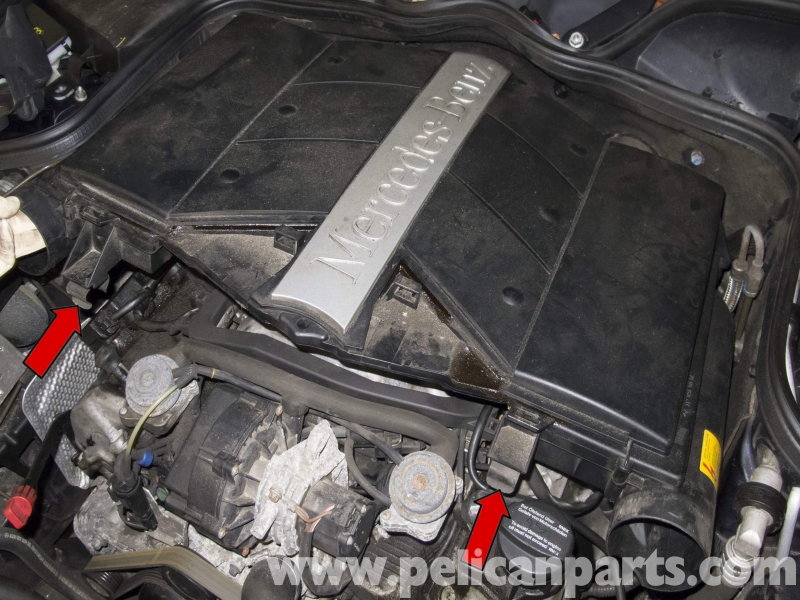
Figure 8. Pulling the cover up and off the rubber mounts. 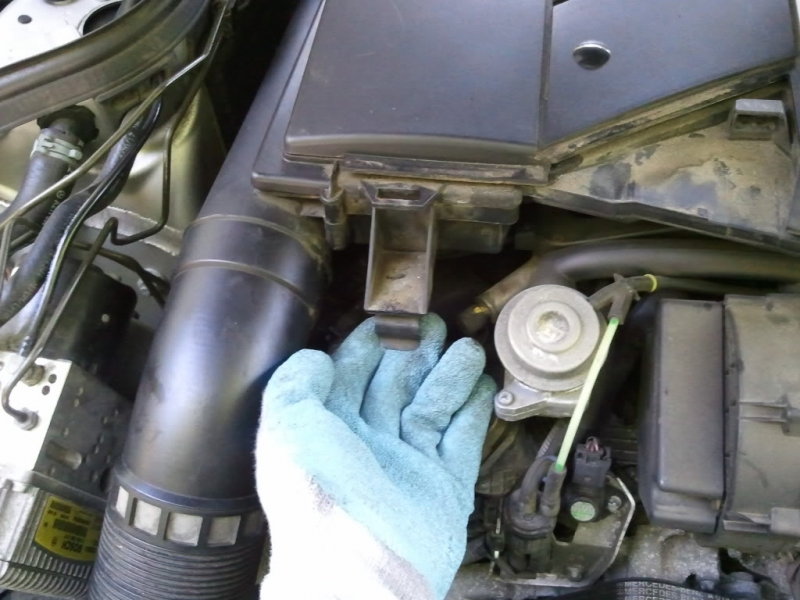
Figure 9. Removing the rear engine cover.
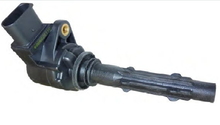
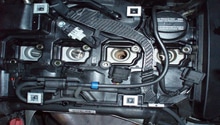
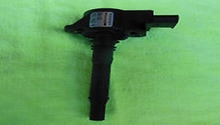
Step 4 – Remove the coil packs
There will be one coil pack per cylinder, although two spark plug wires off of each coil pack. Keep the spark plug wires in order on the coil packs.
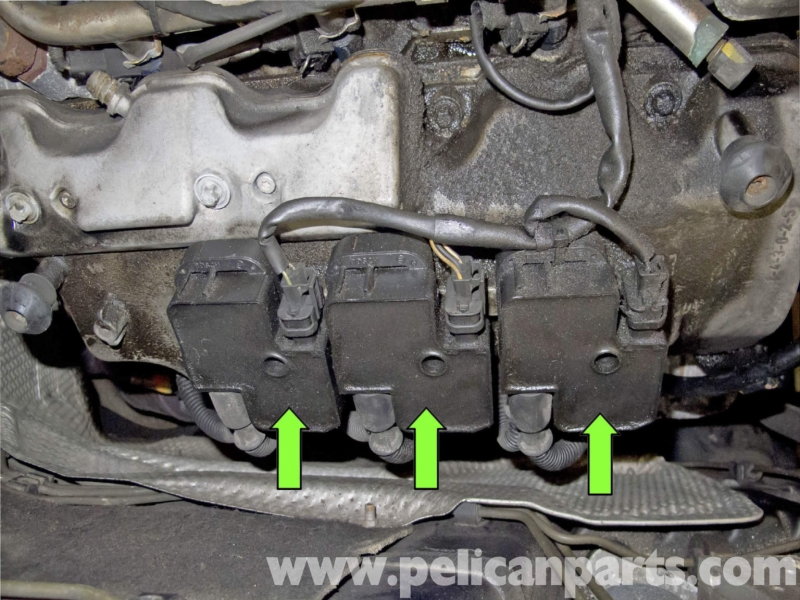
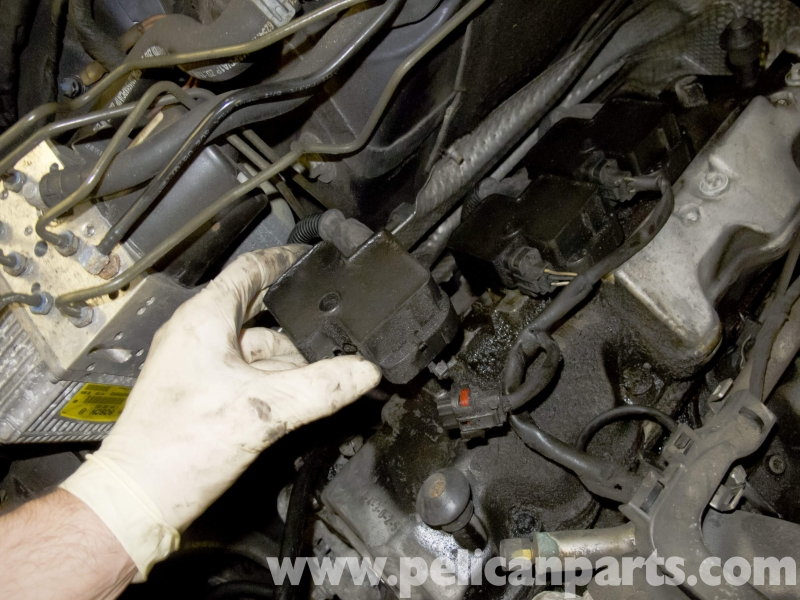
First, disconnect the electrical connectors from the coil packs. They are a three-wire type.
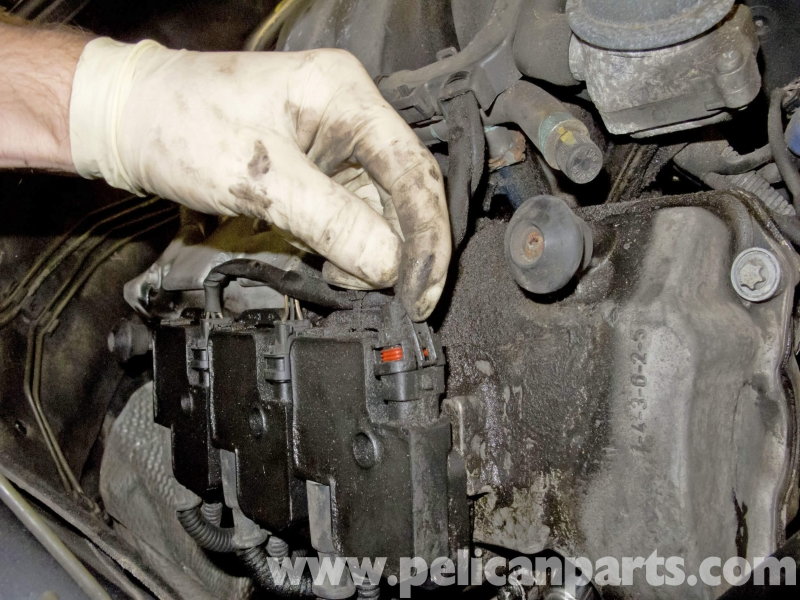
Figure 11. Pushing the tab on the connector to remove it. 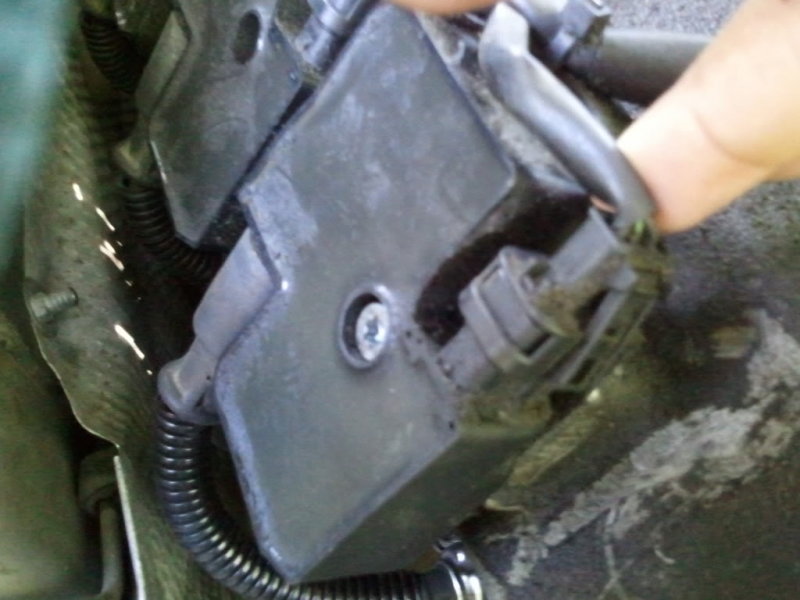
Figure 12. Removing the connector from the coil pack.
Now, remove the T27 Torx bolts and cut any zip ties holding the coil packs down.
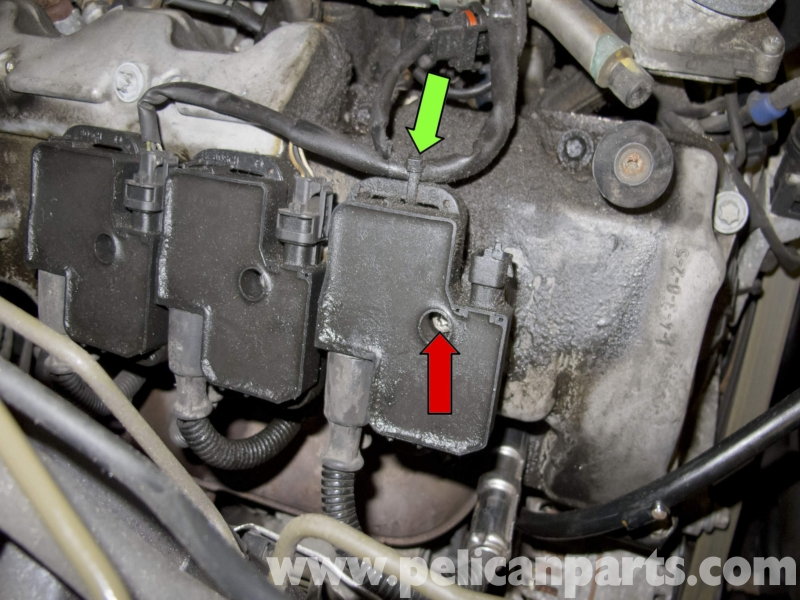
Pull up on the coil to remove it.
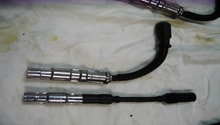
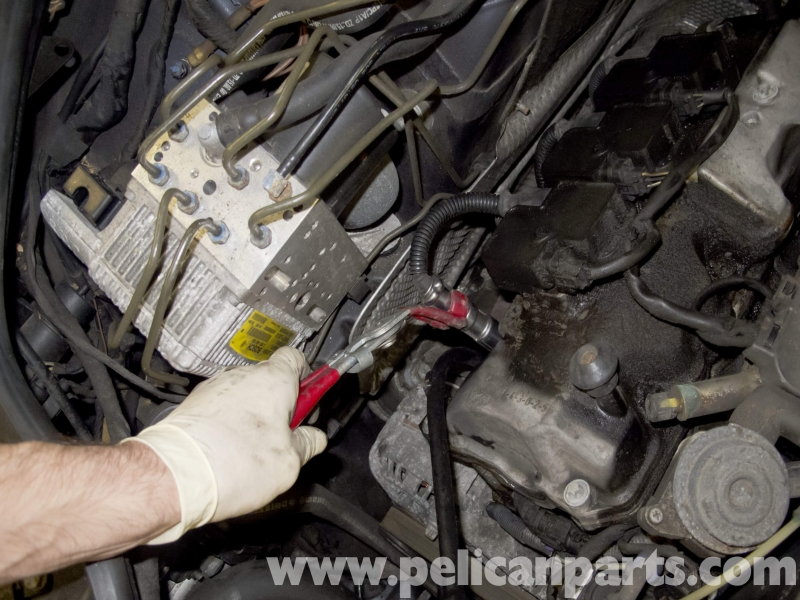
Step 5 – Remove the spark plug wires from the spark plugs
Using the 17mm offset spark plug boot wrench or a suitable spark plug wire boot removal tool, disconnect the wires from the spark plugs.
Step 6 – Remove the spark plugs from the engine
Seat the spark plug socket onto the top of the spark plug with a 3" or 6" extension. Some spark plugs will require the use of a swivel joint. Connect a rachet and loosen them by turning counter-clockwise.
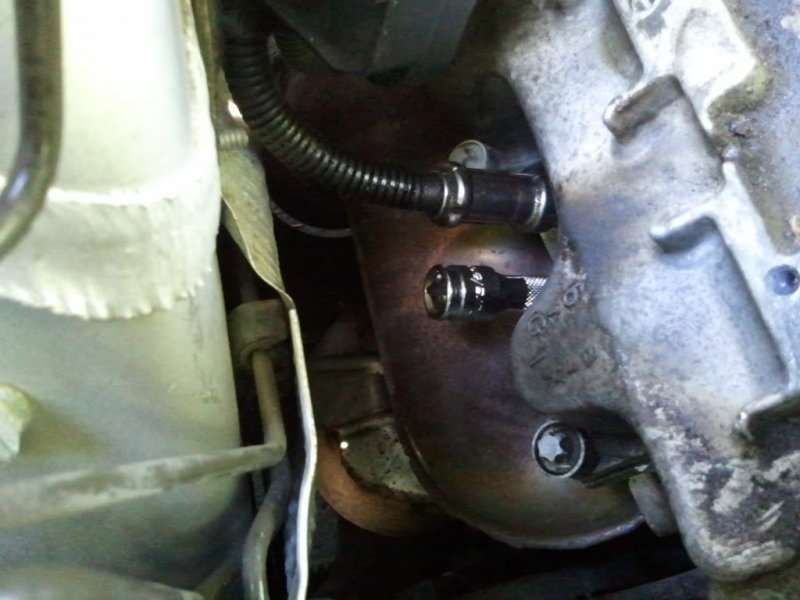
Figure 16. The extension is visible out side of the spark plug tube. 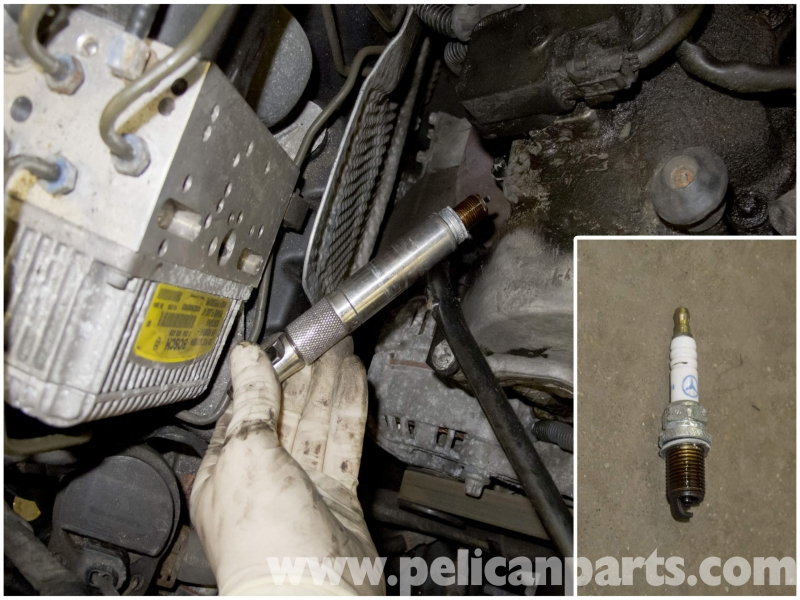
Figure 17. The spark plug has been removed from the engine.
Pro Tip
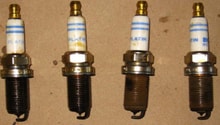
Here is a quick spark plug analysis guide:
A Blue/dark black spark plug indicates oil burning and/or a rich condition. White indicates a hot/lean condition. A light to dark brown is indicative of proper combustion.
Step 7 – Install the new spark plugs
- Begin by tightening the new plug by hand using the socket and extension. Once tight, attach the ratchet and tighten with one finger only. Then, make an additional quarter turn. This is a way to get close to the torque spec which is 20 ft-lb.
- Finish the installation by re-installing the engine covers, air ducts and reconnecting the battery.
- Once the vehicle has been started, follow the normalizing procedure to return the power windows, tilting roof, seats and ESP (steering angle sensor) into proper calibration.
- For the windows, hold the manual switch closed for one second.>
- For the roof, open fully and hold the switch down for one second. Repeat for the closed position.
- To calibrate the steering, turn the wheel from stop to stop, then center it. An error message should disappear on the display.
- To calibrate the seats, move the switch all the way forward and back. Hold it there for one second.
Related Discussion and Sites
- Mercedes W211 Engline Spark Plugs, Ignition Wires, Coils - Pelicanparts.com
- DIY Changing Spark Plugs W211 - MBWorld.org
- Mercedes Spark Remover Installer Wrench - Amazon.com