Mercedes-Benz E63 AMG: How to Replace Spark Plugs
Although internal combustion engines have greatly evolved over the years and are now fitted with electronic ignition systems, spark plugs still experience wear and tear from normal use. Proper spark plug maintenance is key to keeping your Mercedes-Benz E63 AMG's engine running correctly.
This article applies to the Mercedes-Benz E63 AMG (2007-2009).
Spark plugs are devices located in the cylinder heads of engines that ignite the air-fuel mixture in the combustion chamber. Over time and normal use, the electrodes in the spark plugs begin to wear down and require more voltage to fire the spark plug. Severely worn plugs can result in reduced fuel economy and engine performance. Mercedes-Benz recommends a spark plug maintenance interval between 60,000-100,000 miles, depending on the model. This article will provide an overview of changing spark plugs on the E63 AMG model.
Materials Needed
- Screwdriver
- T25 & T30 Torx drivers
- 14mm spark plug socket
- 3/8" drive ratchet & extension
- Feeler gauges or spark plug gap gauge
- Dielectric grease
- Torque wrench
This DIY procedure outlines spark plug replacement for the E63 AMG with an M156 engine, however, the process is straightforward and is similar to the spark plug replacement procedure on other W211 E-Class models.
Step 1 – Remove air intake components
To gain access to the spark plugs, several air intake components must first be removed.
- Remove front engine cover by lifting it straight up.
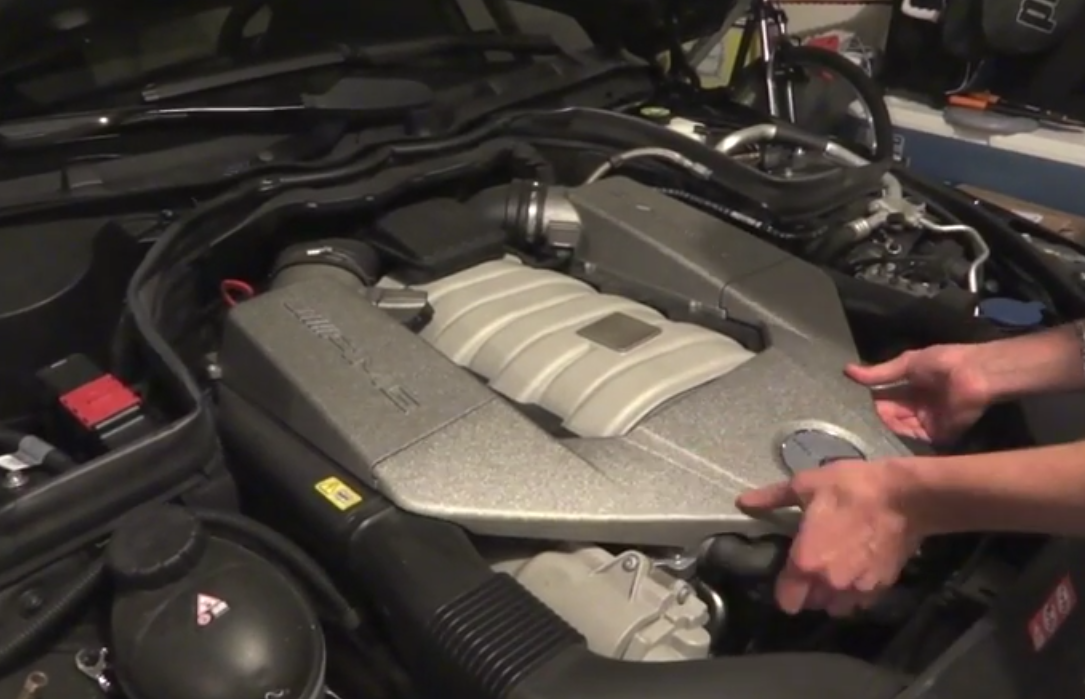
Figure 1. Front engine cover removal. - Unplug both mass airflow sensors.
- Loosen airbox hose clamps with a screwdriver or 6.5mm socket.
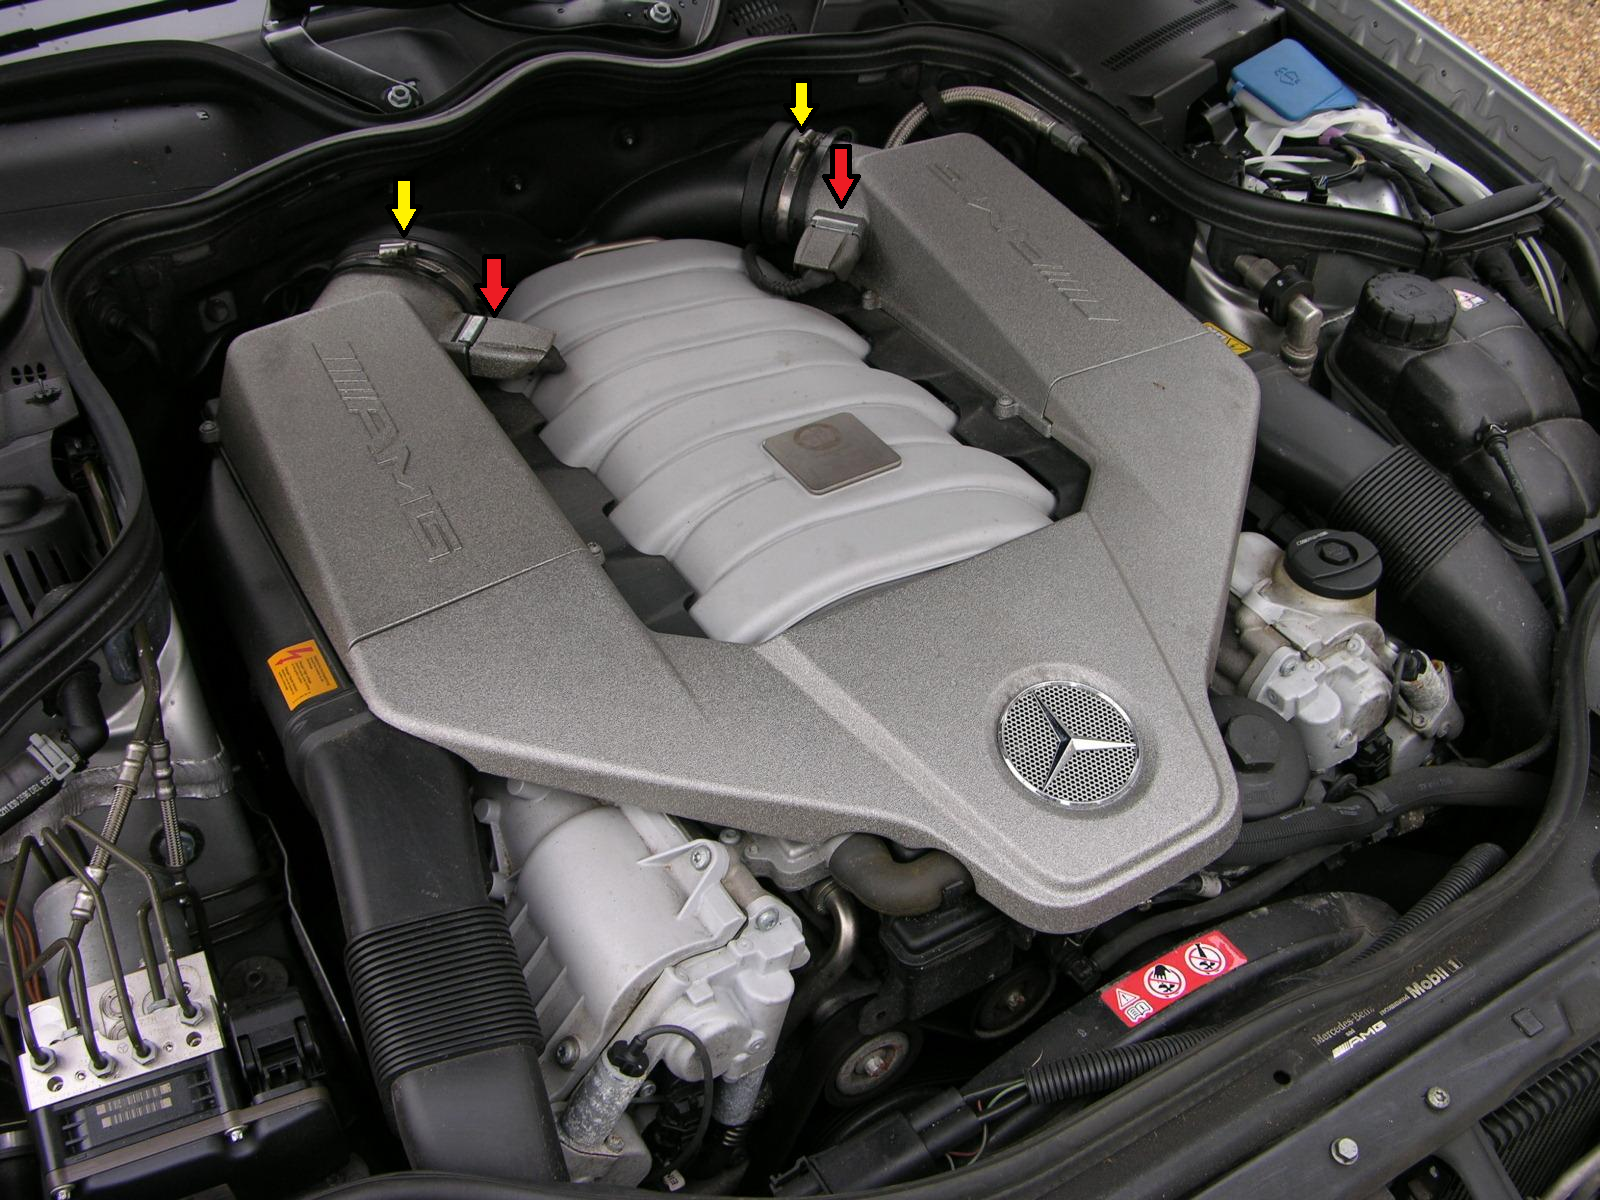
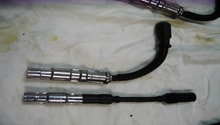
Figure 2. MAF plugs and airbox hose clamps. -
Remove the (5) T25 Torx screws from each airbox cover.

Figure 3. Airbox cover fastener removal. -
Disconnect the plastic airbox inlet tubes leading into each airbox.
- Remove airbox assemblies from engine bay.
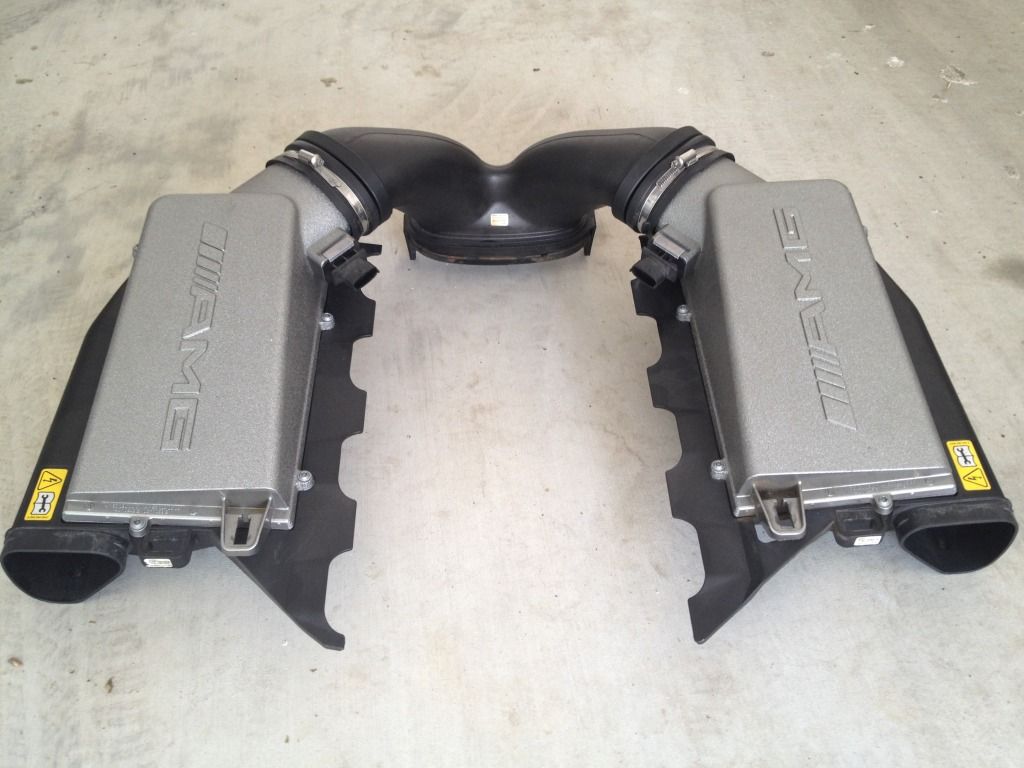
Figure 4. Airbox assemblies removed.
Note
The y-pipe stays on the engine, as it is not removed with the airbox assemblies as shown in Figure 4.
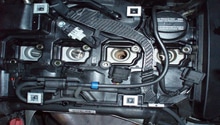
Step 2 – Remove coils & spark plugs
With the top of the engine now visible, the coil packs are accessible.

- Unclip the connector at each coil by depressing the locking tab and releasing the clip. A small screwdriver may come in handy.
- Remove the (2) T30 Torx screws holding each coil in place.

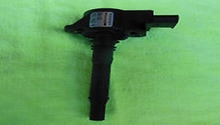
Figure 6. Disconnecting coil. -
Remove each coil from the engine. They may take a bit of wiggling to break free.

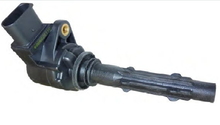
Figure 7. Coil removal. -
Remove the spark plugs from the engine. It is highly recommended that a specialty thin-walled 14mm spark plug socket be used to remove & install the spark plugs as certain standard sockets can damage the spark plug insulator. If using a standard 14mm or 9/16" socket, test on an old plug to ensure no damage will occur.
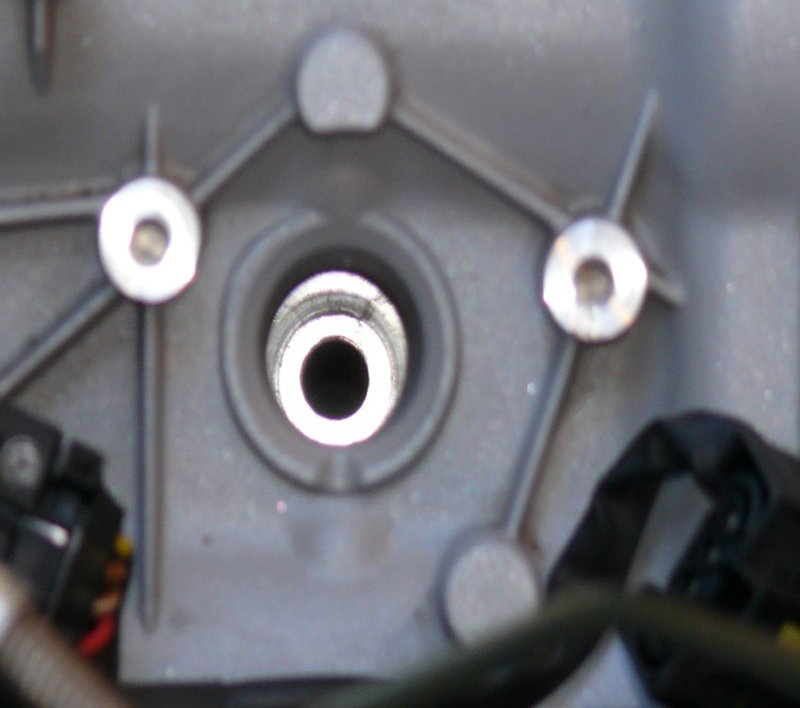
Figure 8. Spark plug removed from engine. 
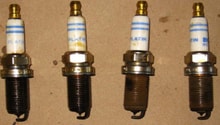
Figure 9. Old spark plugs removed.
Step 3 – Install new spark plugs
- Gap new spark plugs. Recommended gap setting for a normally aspirated engine is .039"-.040" (.990mm-1.016mm)
- Gap for supercharged engines is .028" (.711mm)
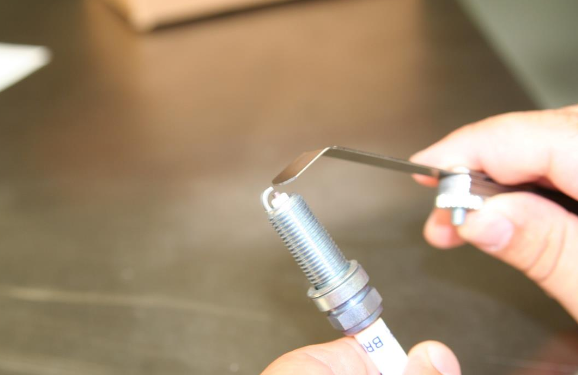
Figure 10. Checking spark plug gap.
Pro Tip
It is important to check spark plug gap before installation as an improper gap setting may cause a mis-fire or pre-ignition, and your engine may not run properly.
- Apply a small amount of dielectric grease to the terminal tip of the spark plug.
- Install new spark plugs into engine and torque to 15-18 ft-lbs.

Figure 11. Spark plugs with dielectric grease.
Step 4 – Reassembly
With all of the spark plugs replaced, everything can be reassembled.
- Install coils onto spark plugs and tighten T30 Torx screws to 15 ft-lbs.
- Reconnect electrical plug to each coil.
- Reinstall airboxes and plastic intake tubes.
- Reconnect electrical plugs at mass airflow sensors.
- Install front engine cover.
Related Discussions
- Recommend Me a Spark - Mbworld.org
- M156 Spark Plugs Interesting - MBworld.org
- E55 Spark Plug Questions and Answers - MBworld.org