Mercedes-Benz: How to Repair Foggy Headlights
There's no need to drive with foggy headlights. A little restoration work on your part goes a long way toward removing oxidation, and getting your Mercedes-Benz's headlights working well in no time.
This article applies to the Mercedes-Benz C-Class w204/w205 (2002-Present), and E-Class w211/w212 (2002-Present).
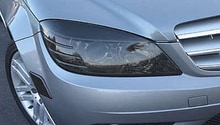
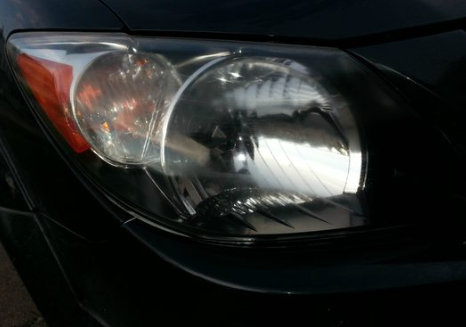
Headlights fade for a number of reasons, including when the lights themselves begin to dim. But the primary reason for why your headlights look foggy, is because the protective film covering your headlights becomes damaged over time due to exposure to UV rays, harsh chemicals from the road, and even from the heat of the lights themselves. The more oxidized this film is, the more foggy your headlights will look. Of course, this presents a safety risk. The foggier the headlights, the weaker the headlight beam, and the less you see. One solution—and an expensive one at that—is to pay a mechanic to replace the headlights, but there's usually no need to do this. Instead, a little elbow grease and some restoration work on your part can get your headlights looking good as new. Below are the different methods to get your headlights shining bright.

Materials Needed
- Toothpaste
- 200 or 400 grit sand paper
- Warm water
- Several clean towels or rags
- Painter's tape
- Headlight restoration kit
- Buffer
- Compound
- Polish
- Dish soap
Option 1 – Toothpaste Method
Using toothpaste is one simple way of de-fogging your headlights, but you’ll need to do it every two or three months for best results. Do not use a whitening or gel toothpaste.
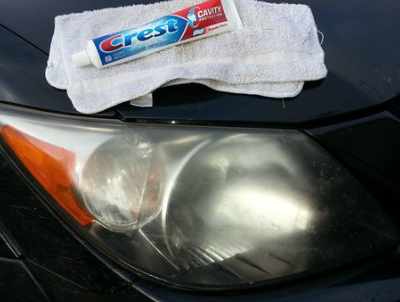
Step 1 – Squeeze toothpaste onto towel
Squeeze a tablespoon of toothpaste on a towel, but don't put too much or you can make more of a mess than is necessary. Some Mercedes-Benz owners who use toothpaste to clean their headlights recommend applying toothpaste directly to headlight, and then wiping clean with a cloth.
Step 2 – Rub toothpaste on headlight
Wipe the headlight until you've covered it completely with toothpaste.
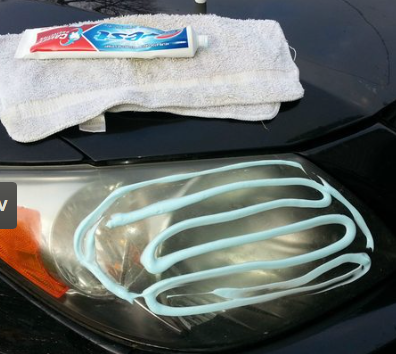
Figure 2. Conversely, you can apply toothpaste directly to the headlight, but this will add a step. Applying toothpaste with towel works just as well. 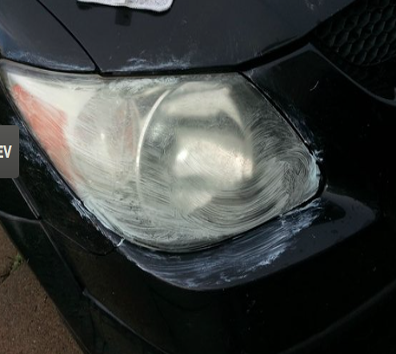
Figure 3. Apply toothpaste until headlight is covered with a thin layer.
Step 3 – Let it sit
Leave the toothpaste alone, and let it sit for between one to two minutes. This gives the toothpaste a chance to "bond" with the protective lens, and break up the oxidization.
Step 4 – Dip towel in warm water
Dip a clean towel in a bowl of warm water. The towel should be damp, but not soaking wet.
Step 5 – Wipe clean
Wipe off the toothpaste. Use circular motions, and wipe in one direction. Wipe until the toothpaste is completely off. You should see a difference immediately. If you aren't happy with the finished effect, then repeat Steps 1 through 5, letting the toothpaste sit for a few minutes longer during Step 3.
Step 6 – Repeat Steps 1-5 on other headlight
If you had to clean your first headlight more than once, then consider letting the toothpaste sit longer when cleaning the second headlight.
Option 2 – Sandpaper Method
Some Mercedes-Benz owners swear by using sandpaper to de-fog headlights, but beware. Use sandpaper and you run the risk of damaging the headlight itself. If you go this route, be sure to rub the sandpaper against the headlight gently. You’ll need to repeat this process every three to four months to keep your headlights bright.
Step 1 – Tape off headlight
Use painter's tape or other type of tape that won't stick permanently to your car. Tape off the headlight, being sure to cover the portion of your car that touches the headlight.
Step 2 – Dissolve a little dish soap in a bowl of warm water
Add dish soap (no need to use a name brand here; any brand will do) to a bowl of warm water. A few drops will do. Stir warm water until soap dissolves.
Step 3 – Dampen sandpaper with warm water
Insert the 200 or 400 grit sandpaper into the bowl of warm water. The sandpaper needs to be damp; there's no need for it to be soaking wet.
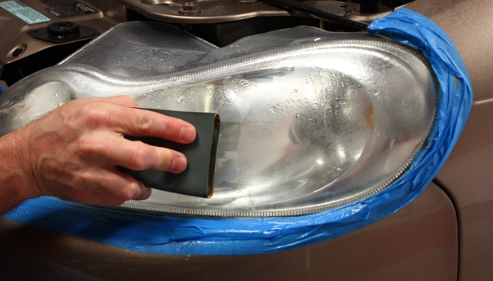
Step 4 – Rub sandpaper on headlight
Rub sandpaper against headlight. Don't press too hard into the sandpaper, or you can damage your headlight. Rub in one direction (such as right to left) until you've "sanded" the entire headlight.
Step 5 – Buff headlight with dry towel
Use a dry towel and buff the headlight. Consider buffing in circular motions.
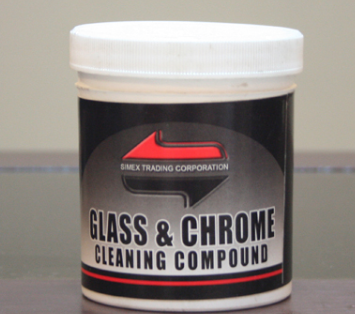
Step 6 – Apply compound to headlight
Add compound to a dry towel, and apply to the headlight. Consider wiping the headlight in circular motions. Let the compound sit for between two to five minutes.
Step 7 – Polish headlight with dry towel
Use a different towel (one that isn't wet or that has the compound on it), and wipe the compound away.
Step 8 – Repeat Steps 1-7 on other headlight
Repeat process on other headlight. Remember not to press too hard with the sandpaper.
Option 3 – Headlight Restoration Kit Method
Using a headlight restoration kit is the more expensive option, but you don’t need to reapply as often as you would with one of the above methods. Some Mercedes-Benz owners swear by Meguiar's Headlight Restorer, cleaning waxes, DP Glass Polish, and the 3M Headlight Lens Restoration System.
Step 1 – Dampen cloth with restoration liquid
Dab the cloth with headlight restoration cleaner until cloth is damp. There's no need to soak the cloth.
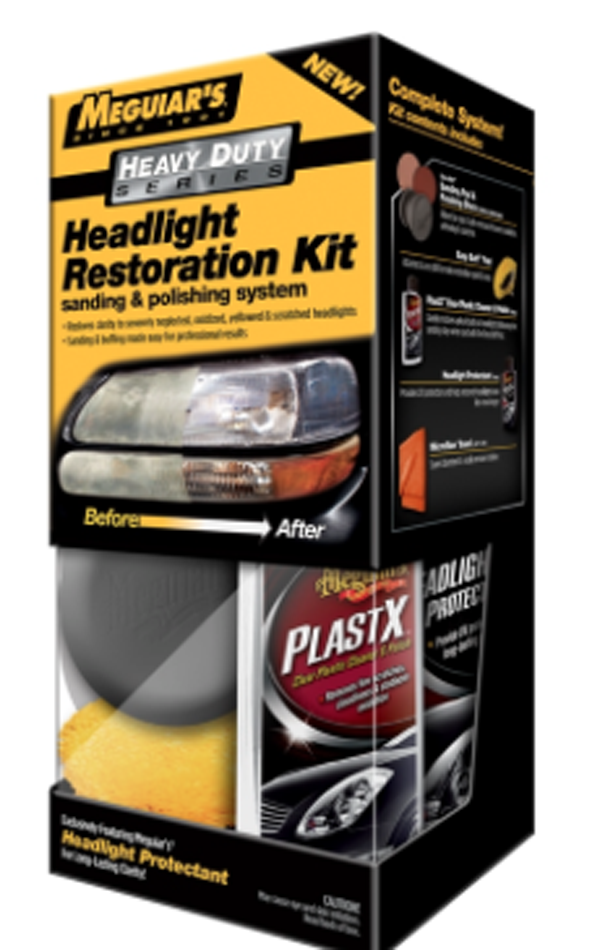
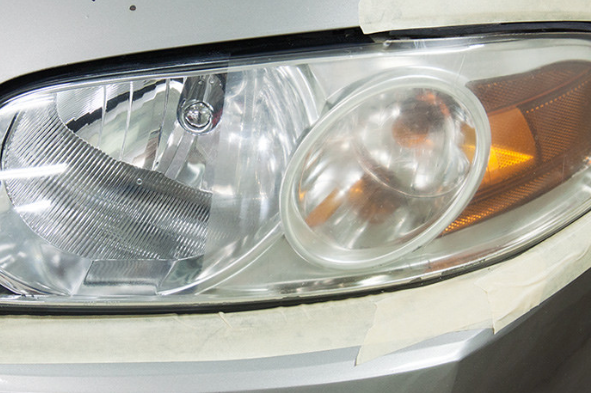
Figure 8. A headlight restoration kit is made for "de-fogging" headlights, but is the most expensive method you can use. 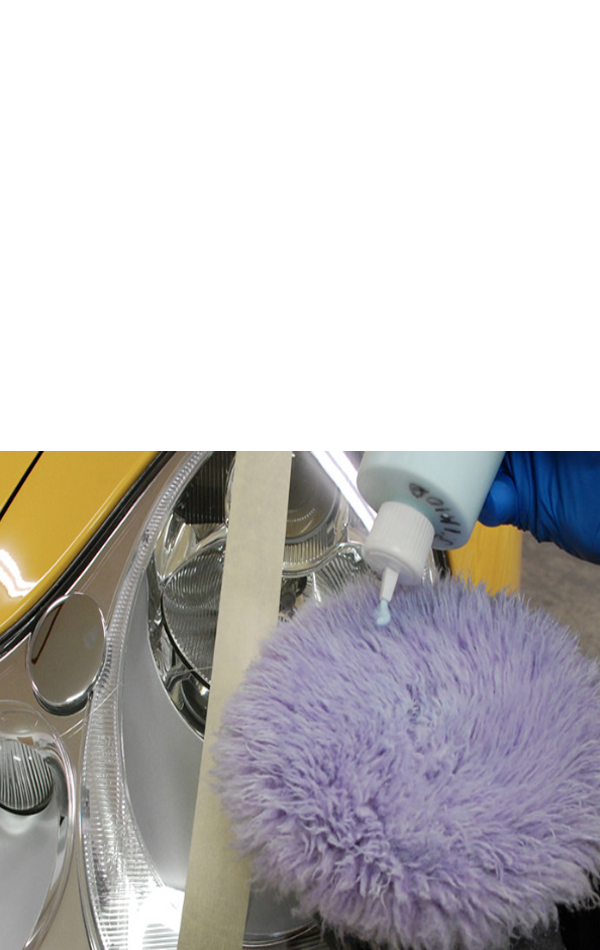
Figure 9. Apply cleaner to cloth. 
Figure 10. Apply cleaner so that cloth is covered.
Step 2 – Wipe restoration liquid on headlight
Wipe headlight with cloth. Consider wiping in circular motions. Wipe until the headlight is completely covered with the cleaner, but there shouldn't be so much that it is dripping off of your headlight, or clumping.
Step 3 – Let it sit
Let the cleaner sit for between one to two minutes. This gives it enough time to bond, but not so much time that it will harden and become harder to remove.
Step 4 – Dip towel in bowl of warm water
Dip clean towel in bowl of warm water. The towel should be damp, but not soaking wet.
Step 5 – Wipe clean
Wipe off the cleaner. Use circular motions and wipe in one direction. Wipe until the cleaner is completely off. You should see a difference immediately. If you aren't happy with the finished effect, then repeat Steps 1 through 5, letting the cleaner sit for a few minutes longer during Step 3.
Step 6 – Repeat Steps 1-5 on other headlight
If you had to clean your first headlight more than once, then consider letting cleaner sit longer when cleaning the second headlight.
Related Discussions, and Site
- Foggy Headlights - 2012 W204 - MBWorld.org
- Quick and Easy Headlight Restoration - DetailedImage.com
- Help with Foggy Headlights - MBWorld.org
- Foggy Headlights - MBWorld.org
- "Foggy" Headlights - MBWorld.org