How-To: C209 Door Control Module Diagnosis, Replacement
If Your Windows Stop Working On Your CLK, There’s a Cheap and Inexpensive Way to Fix the Problem, Even in the Worst-Case Scenario
If the automatic windows on your CLK have stopped working, chances are it’s not a window motor. It’s likely the door control module. This module performs multiple functions, and when it goes bad, it means all the controls on your door cease operating. But before you narrow it down to that, and shell out hefty cash for a new module, try the following checks instead.
- Does the passenger side window lower and raise as it should?
- Does the passenger side window switch operate normally?
- Do the trunk release handle and button on your key fob work?
- Do the seat controls on the passenger side work, but the driver’s side does not?
- Are you unable to adjust the outside mirrors?
If you said “yes” to all of those, then it’s almost certain you’ll have to replace the module. If you want to check the fuse boxes behind the dash panel, and on the driver’s side of the trunk, you can; however, it’s likely you’ll search in vain for that blown fuse.
All right, so the good news is that you don’t always need to buy a new module. The list price for a new one from Mercedes-Benz is an eye-watering $853.00, but I completed this project for under $100.
Tackling the Door Card, and Accessing the Module
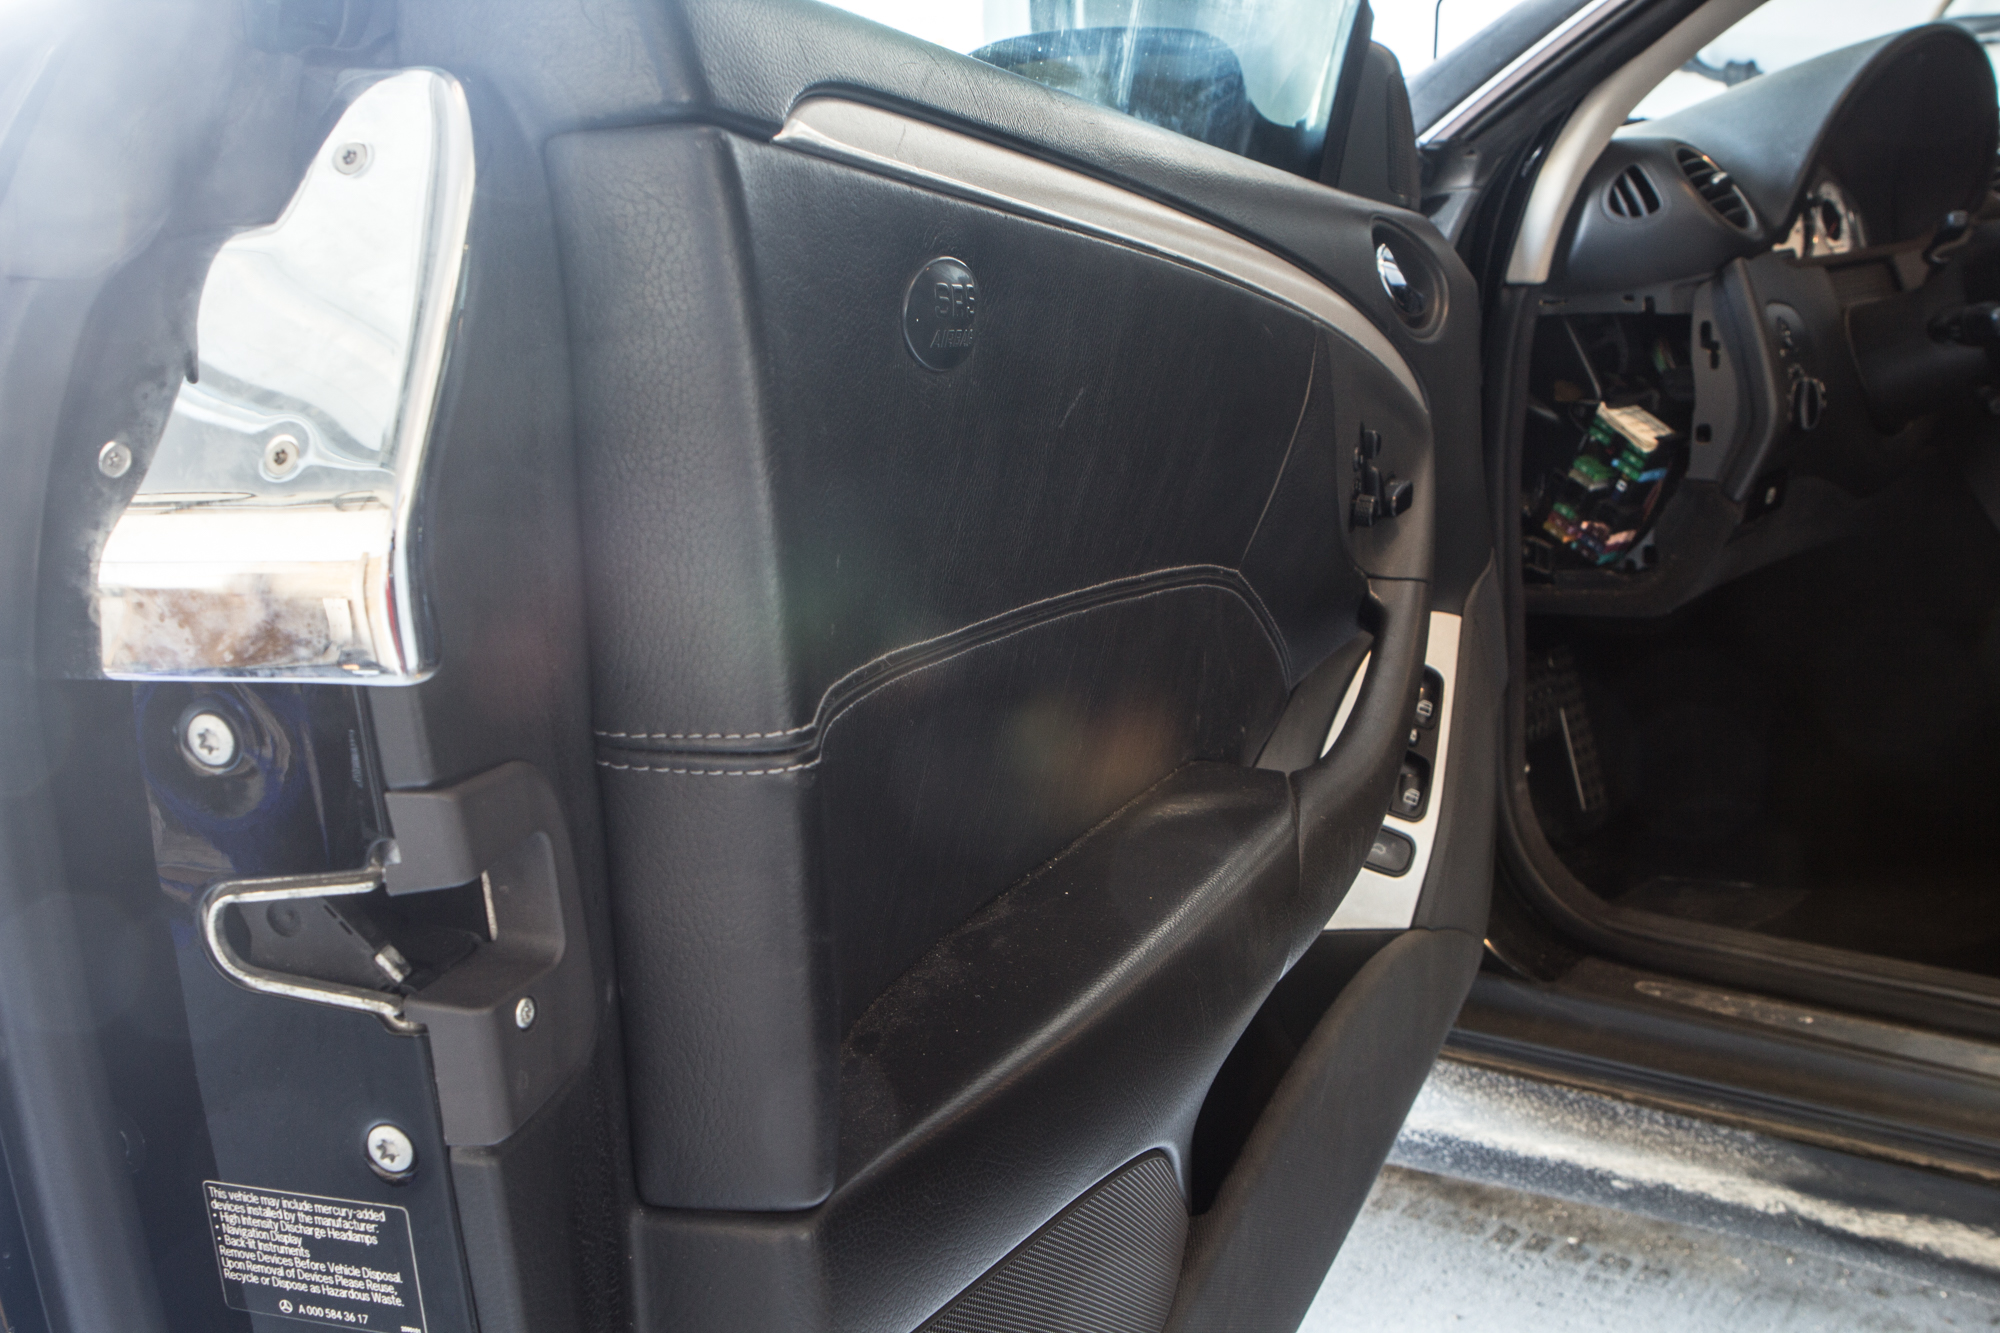
This project is a lot simpler than it seems. Removing the door card is a breeze.
Things you’ll need:
- T10, T15 and T30 Torx sockets
- Plastic trim panel tools
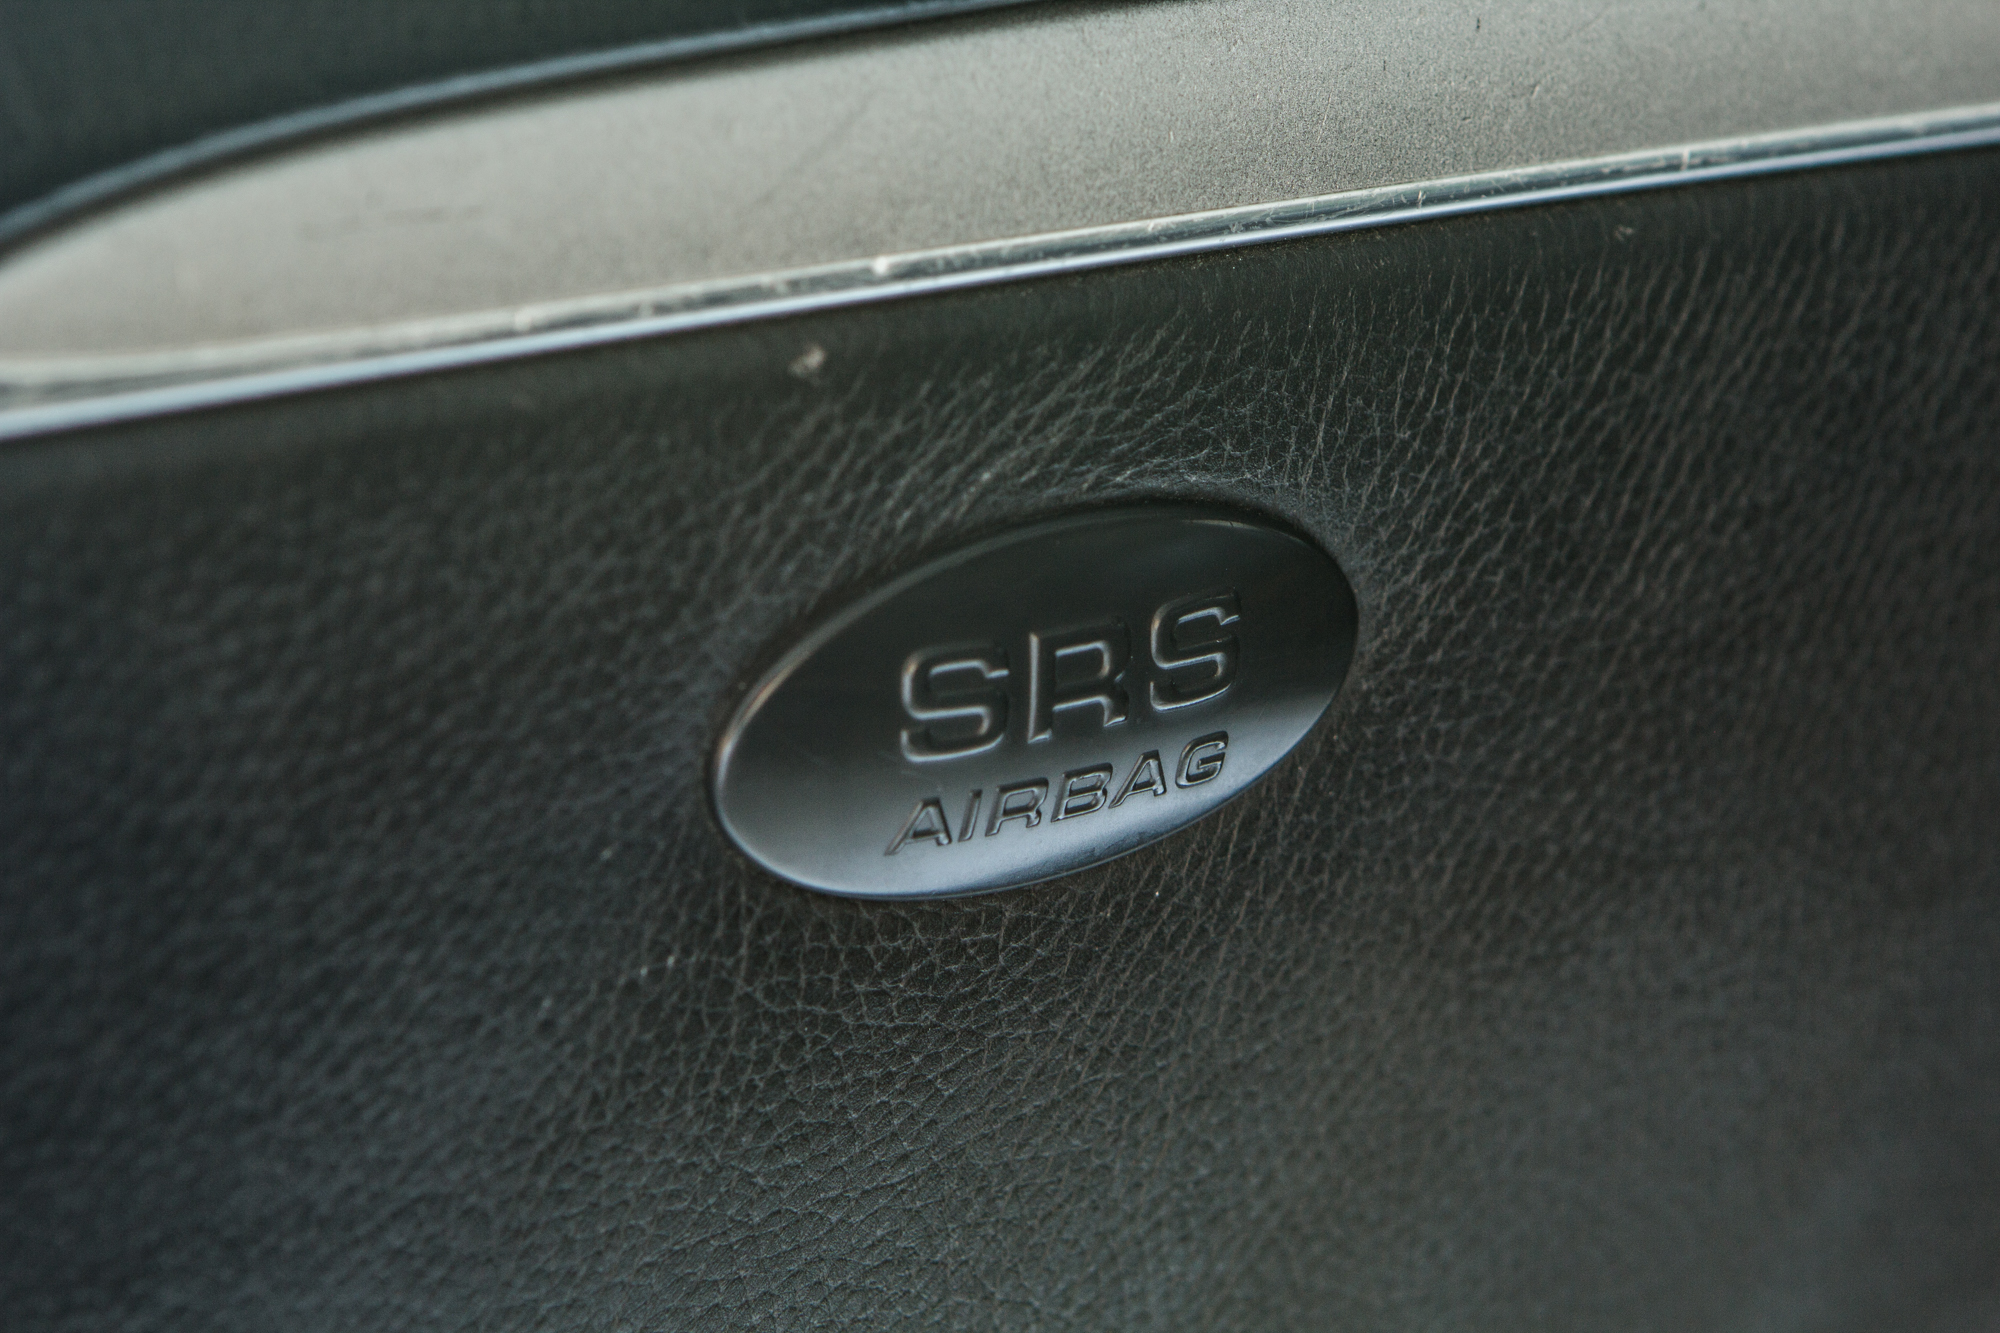
Start by removing the SRS airbag button, and a small cover that’s at the bottom of the arm rest. These hide T30 fittings behind them.
Next, remove the three T10 screws from the metal end plate, and one T15 screw from the door striker. There’s a plastic surround for the door striker that will come off with that T15 screw.
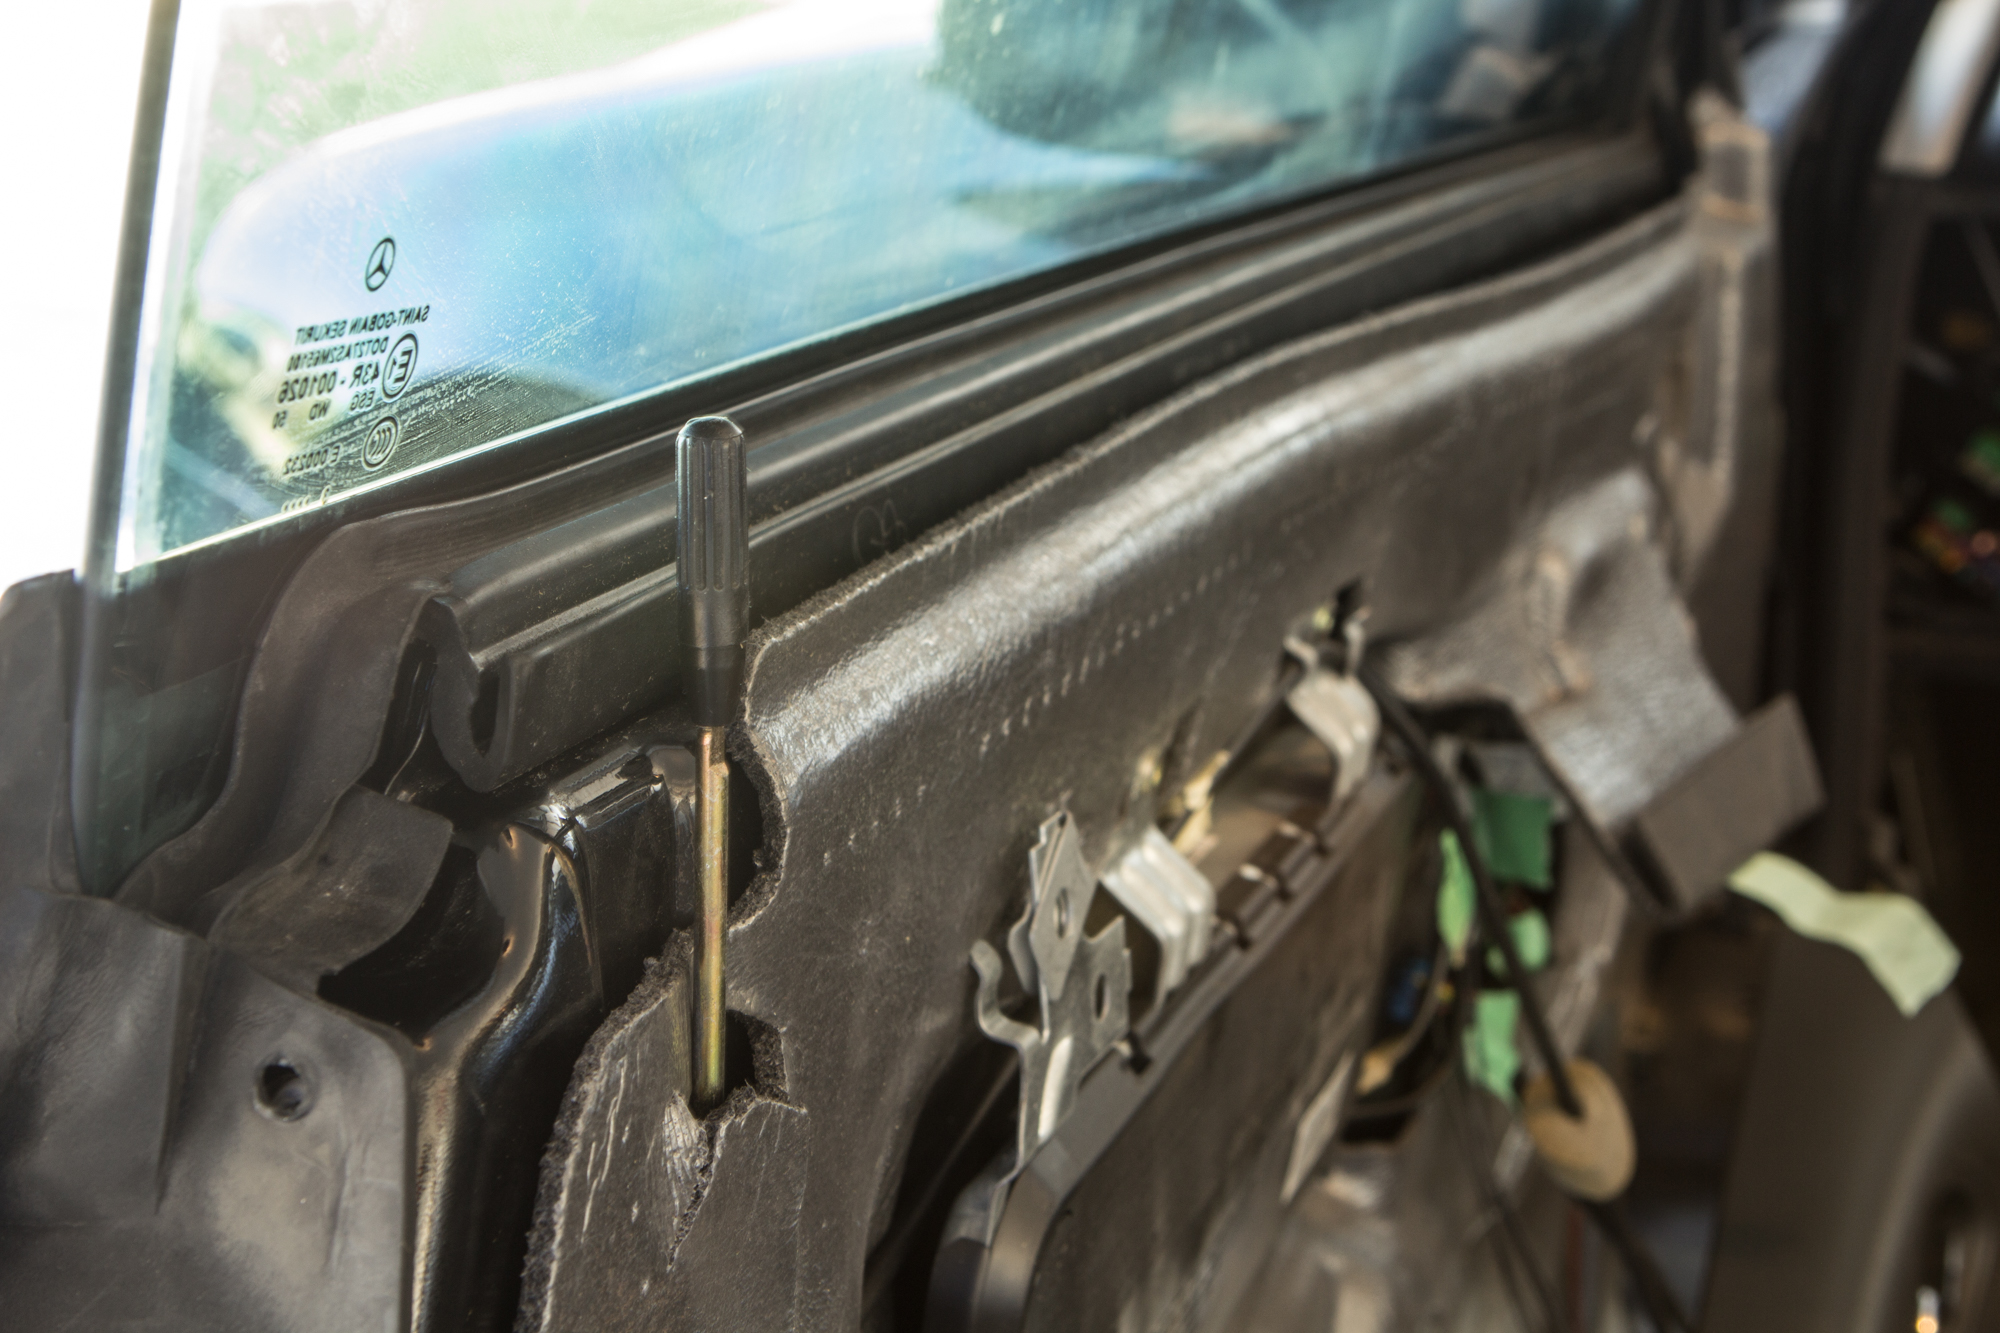
Next, simply pull off the plastic piece at the top of the door that covers the tweeter. At this point you can start to use soft plastic pry tools to gently pry the door card outward. You shouldn’t have to apply too much force as these pop-in clips are plastic, and could potentially break.
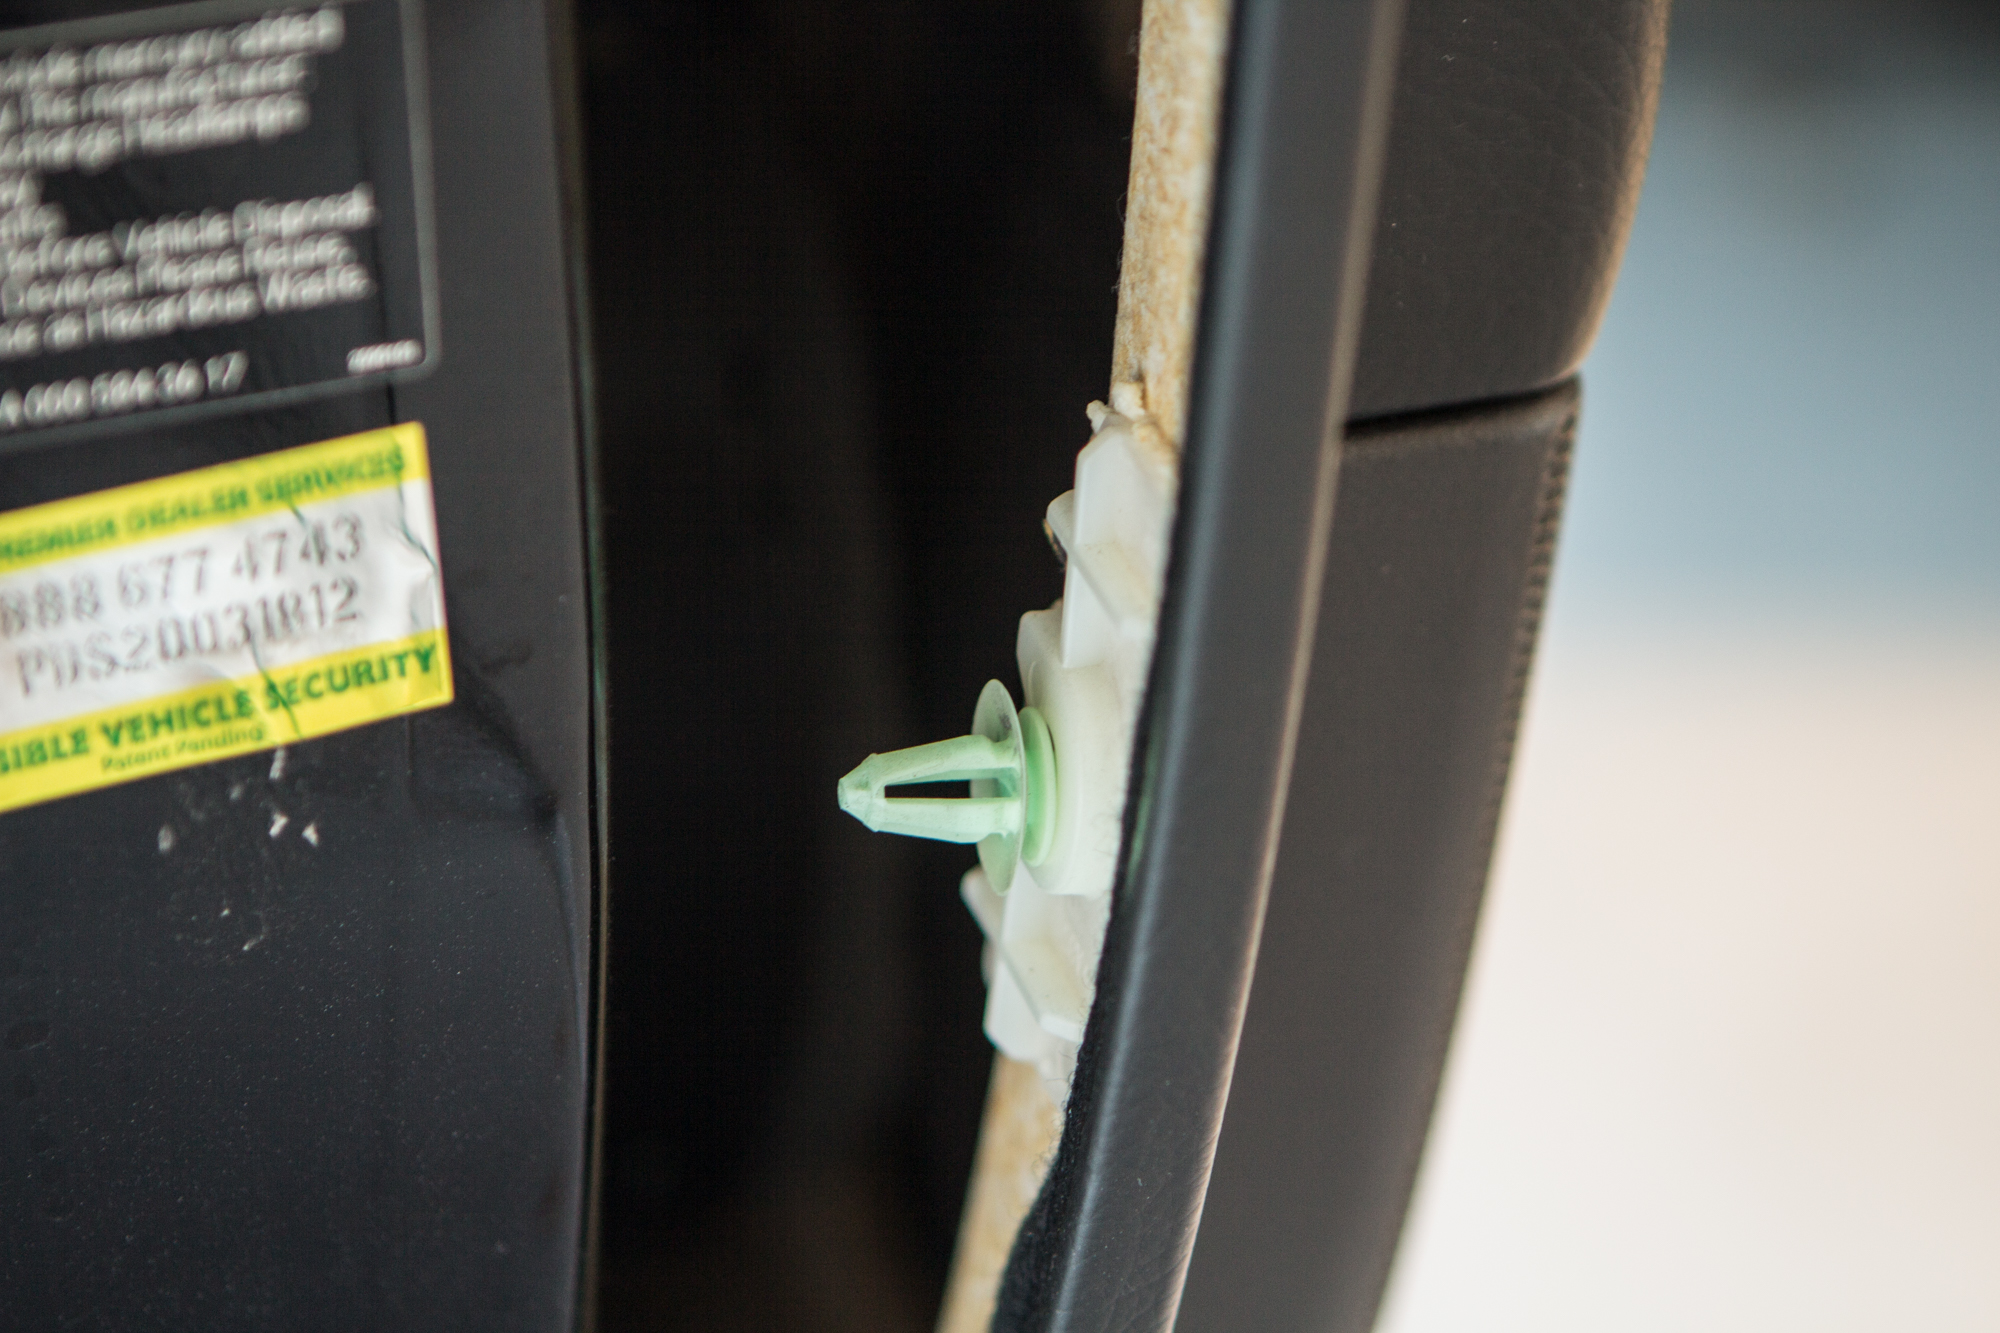
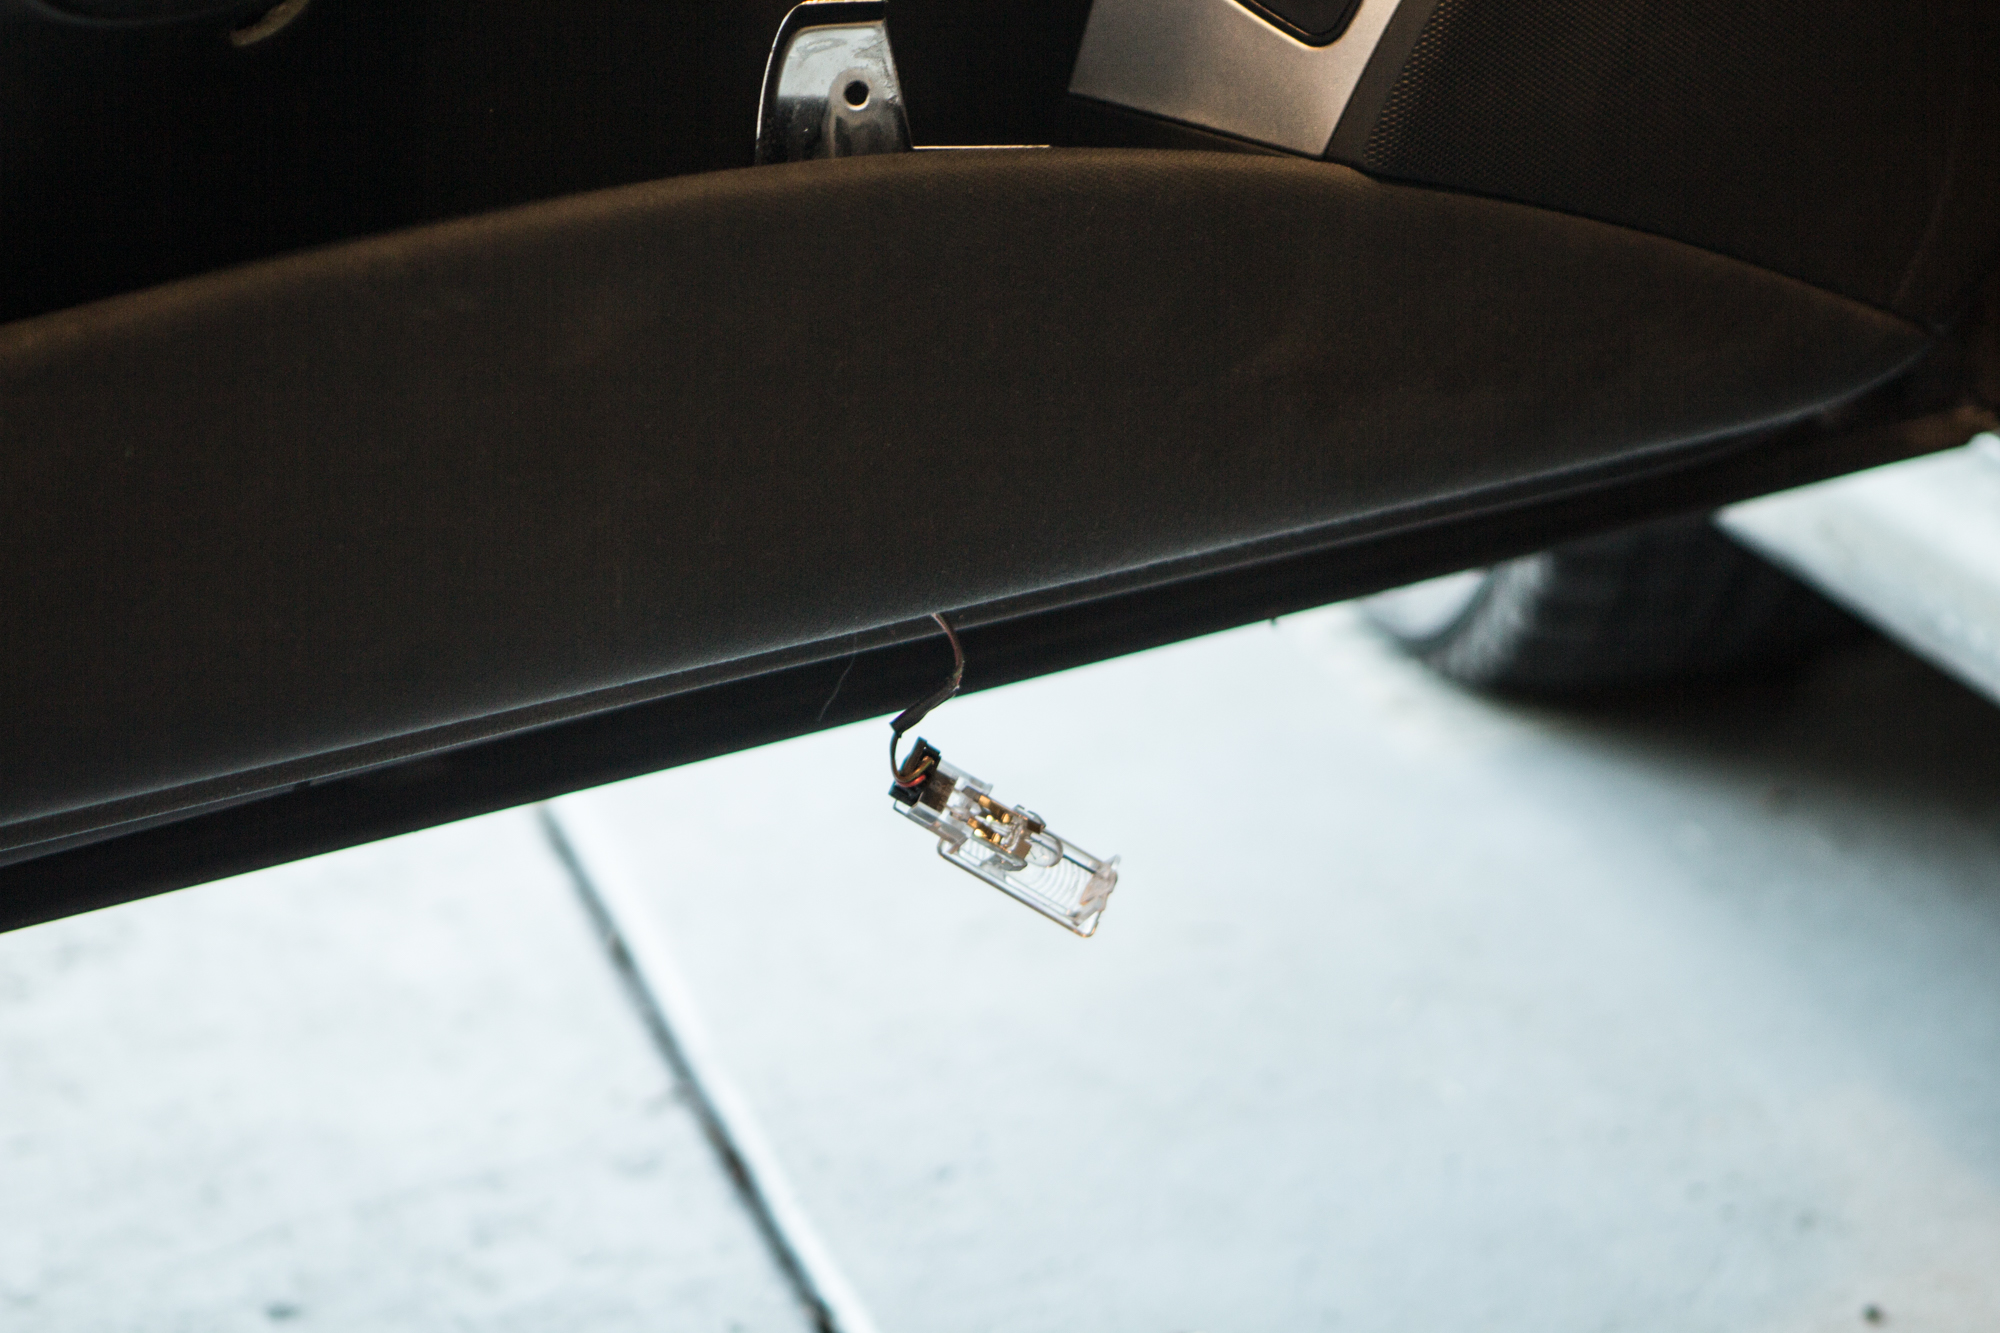
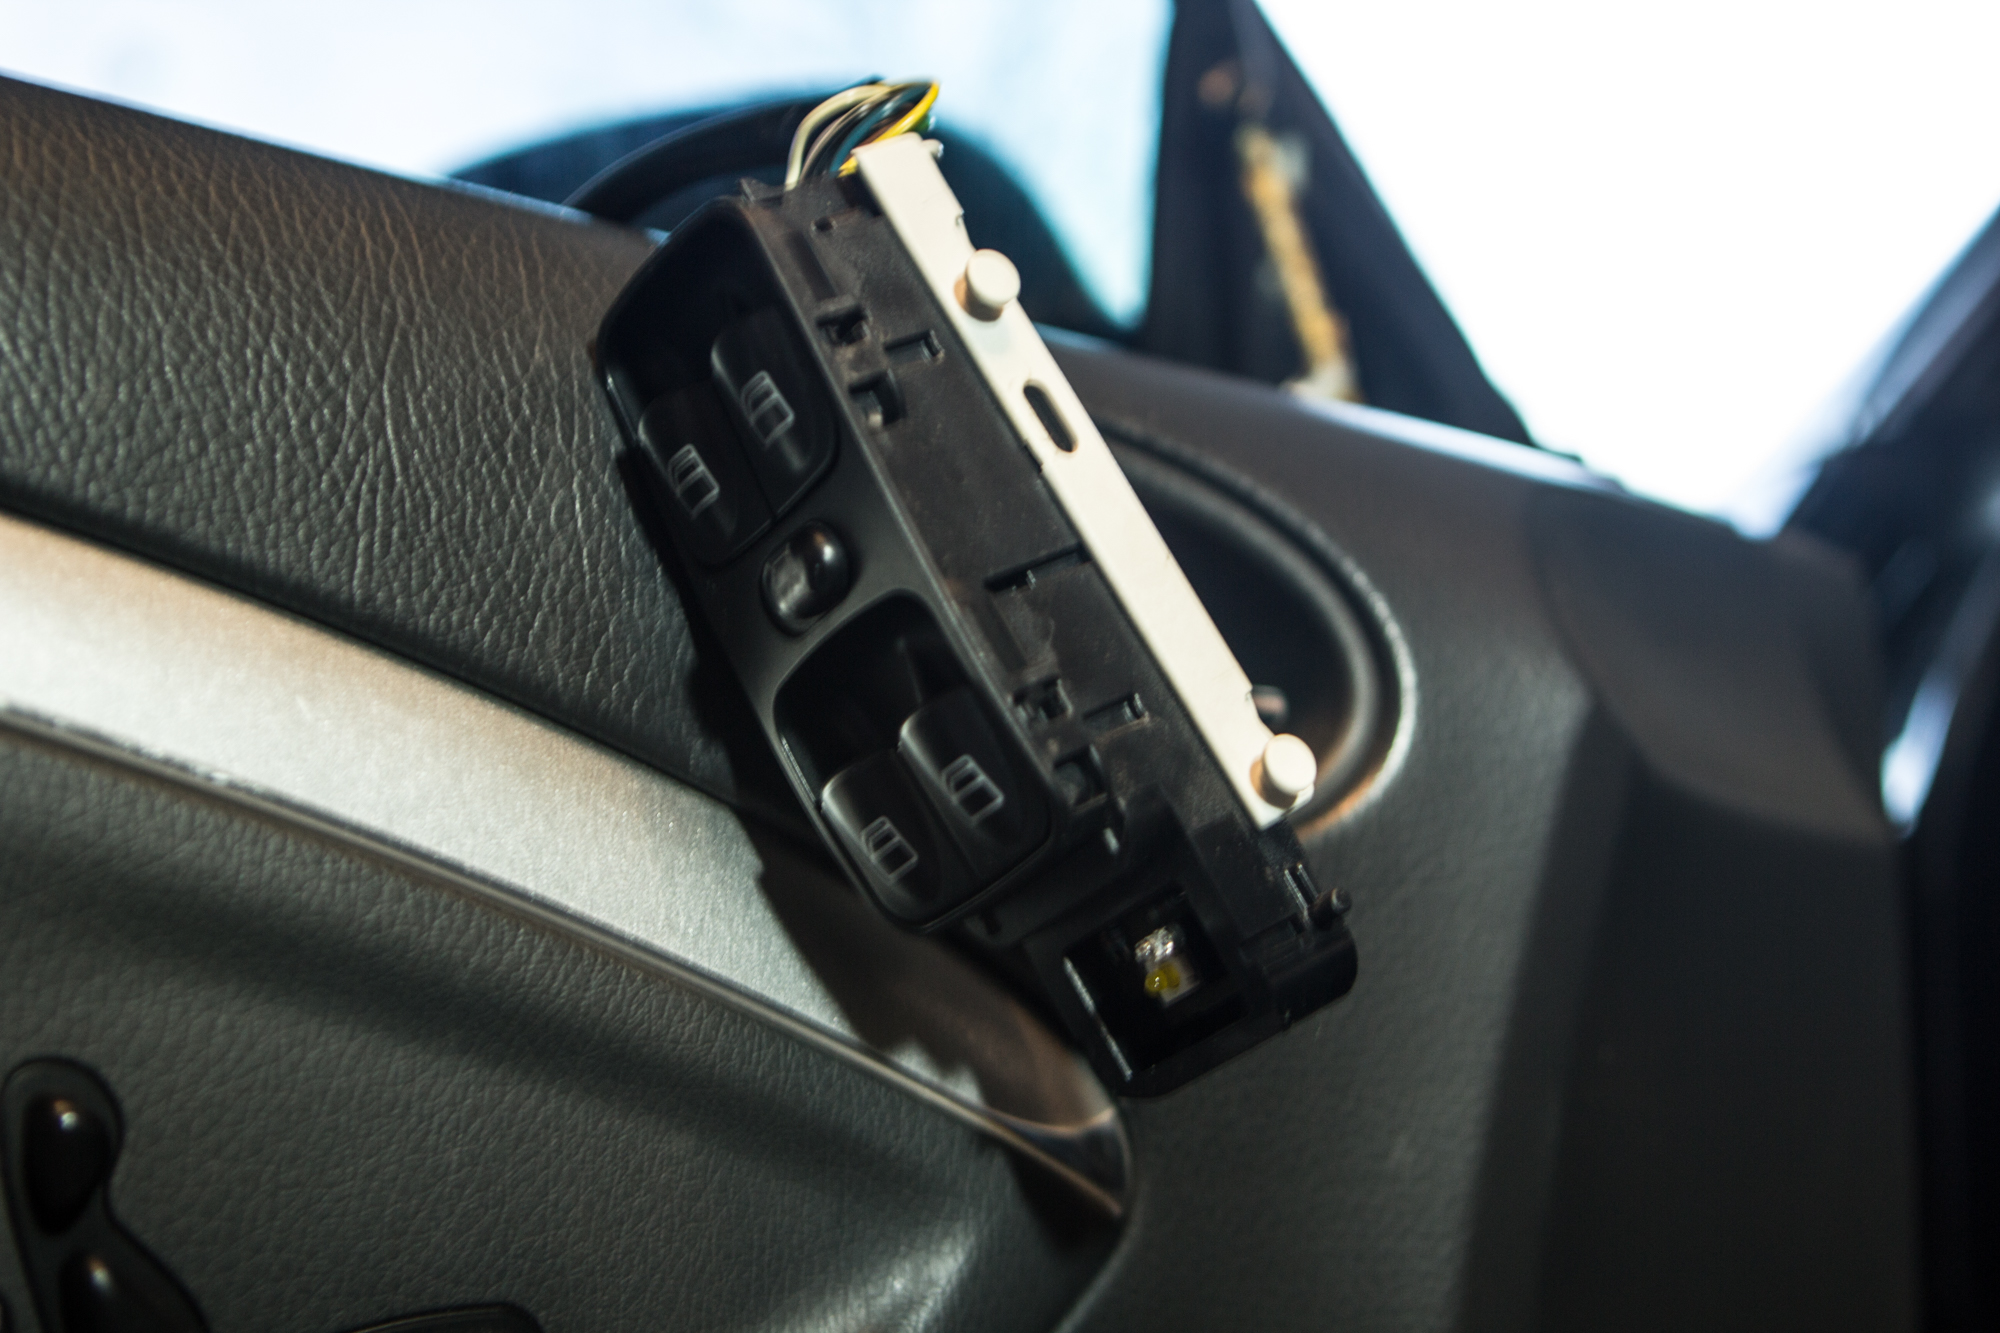
Next, I suspended the door card with a small tether to keep it from putting undue tension on any wires I was removing. I started with the courtesy light, and then unclipped the entire window switch panel from the door. The window switch panel has a tab on top that you pull up to unclip.
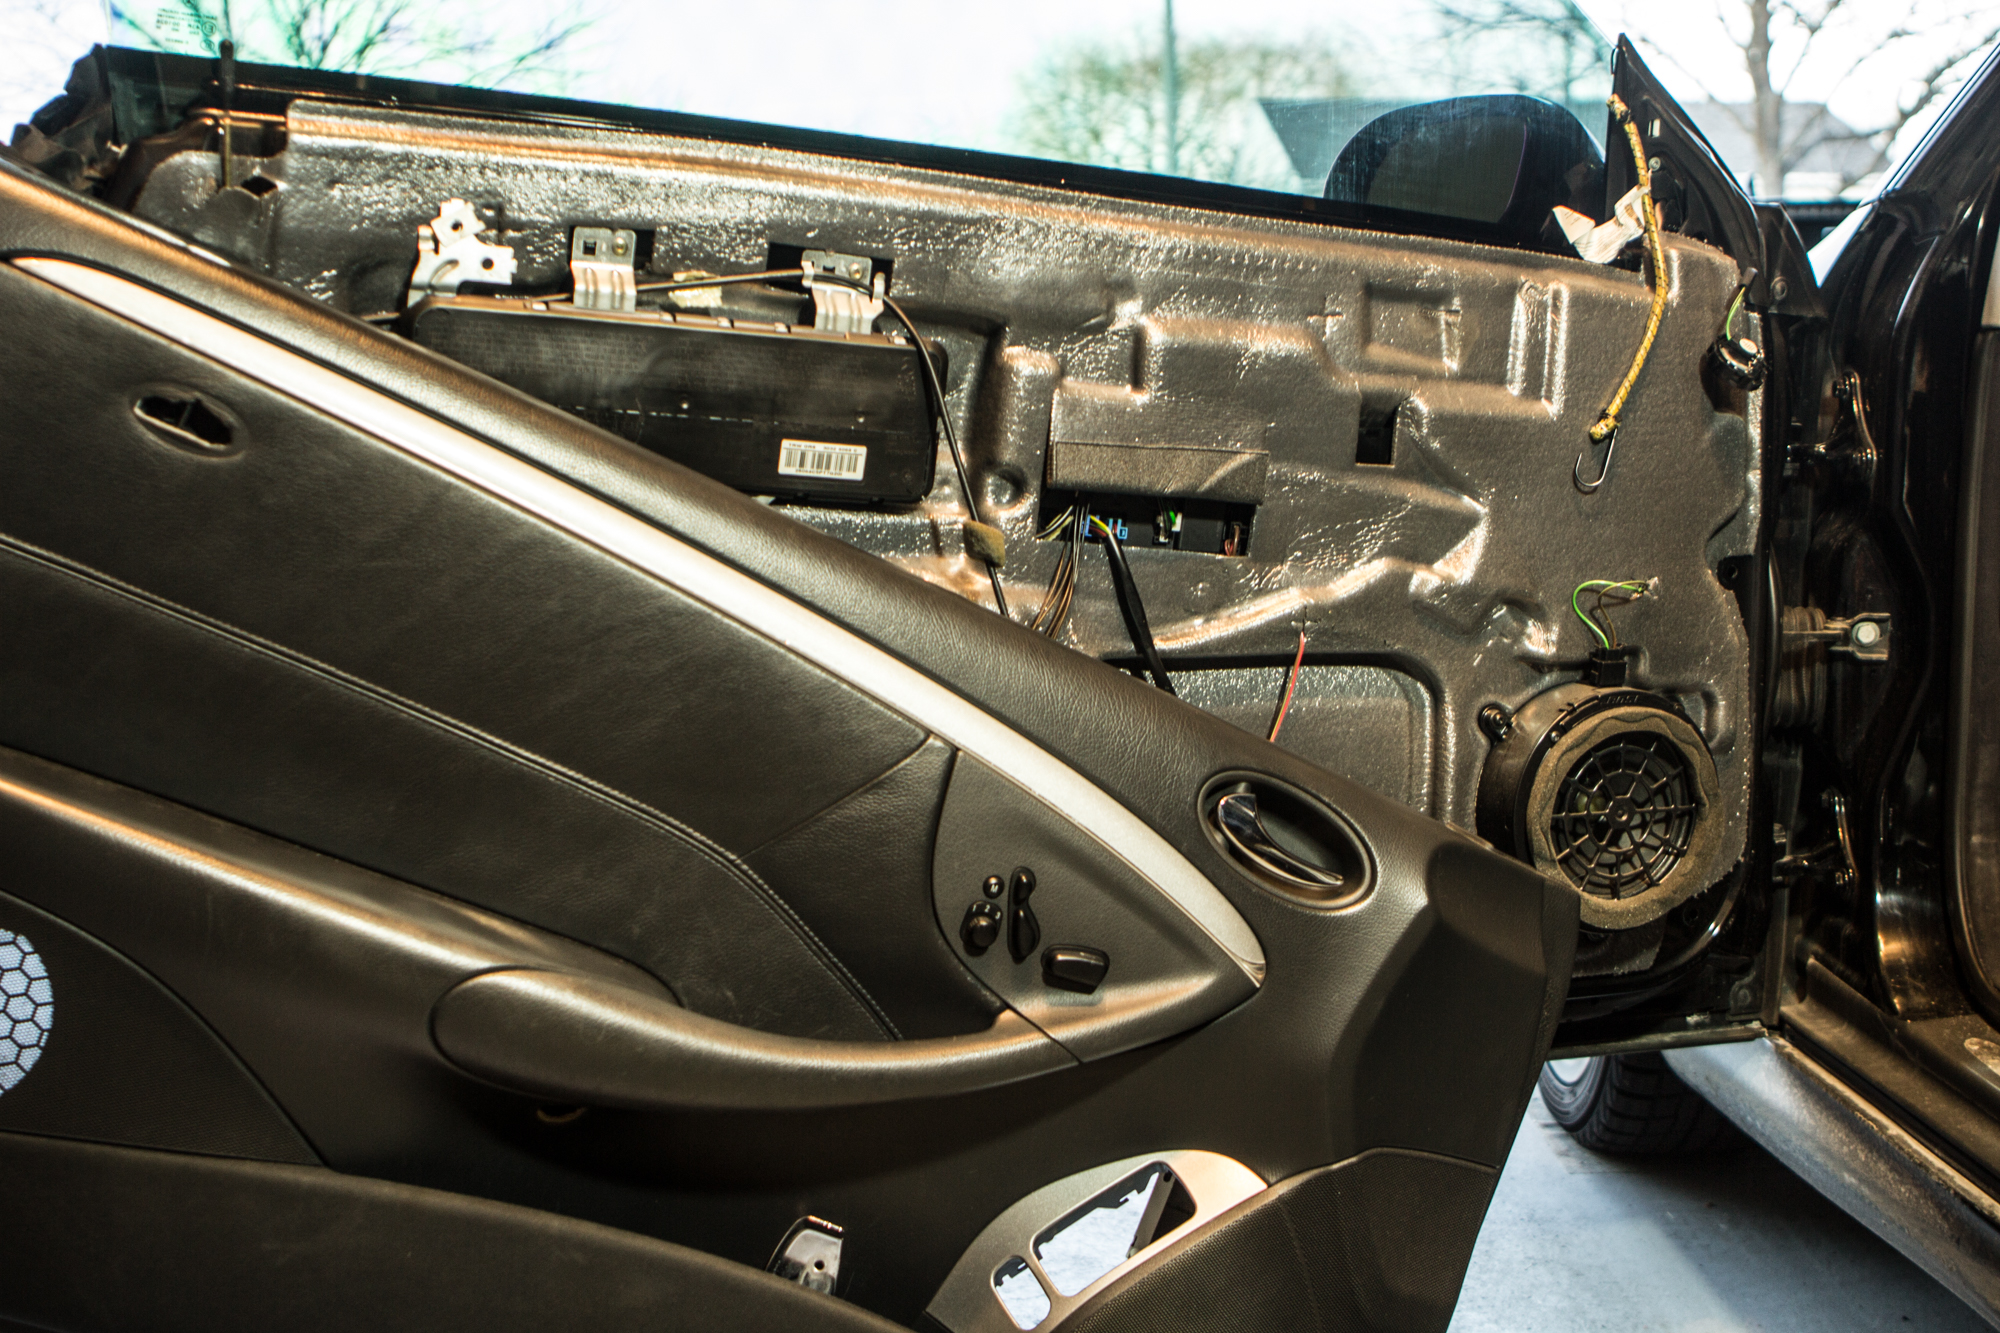
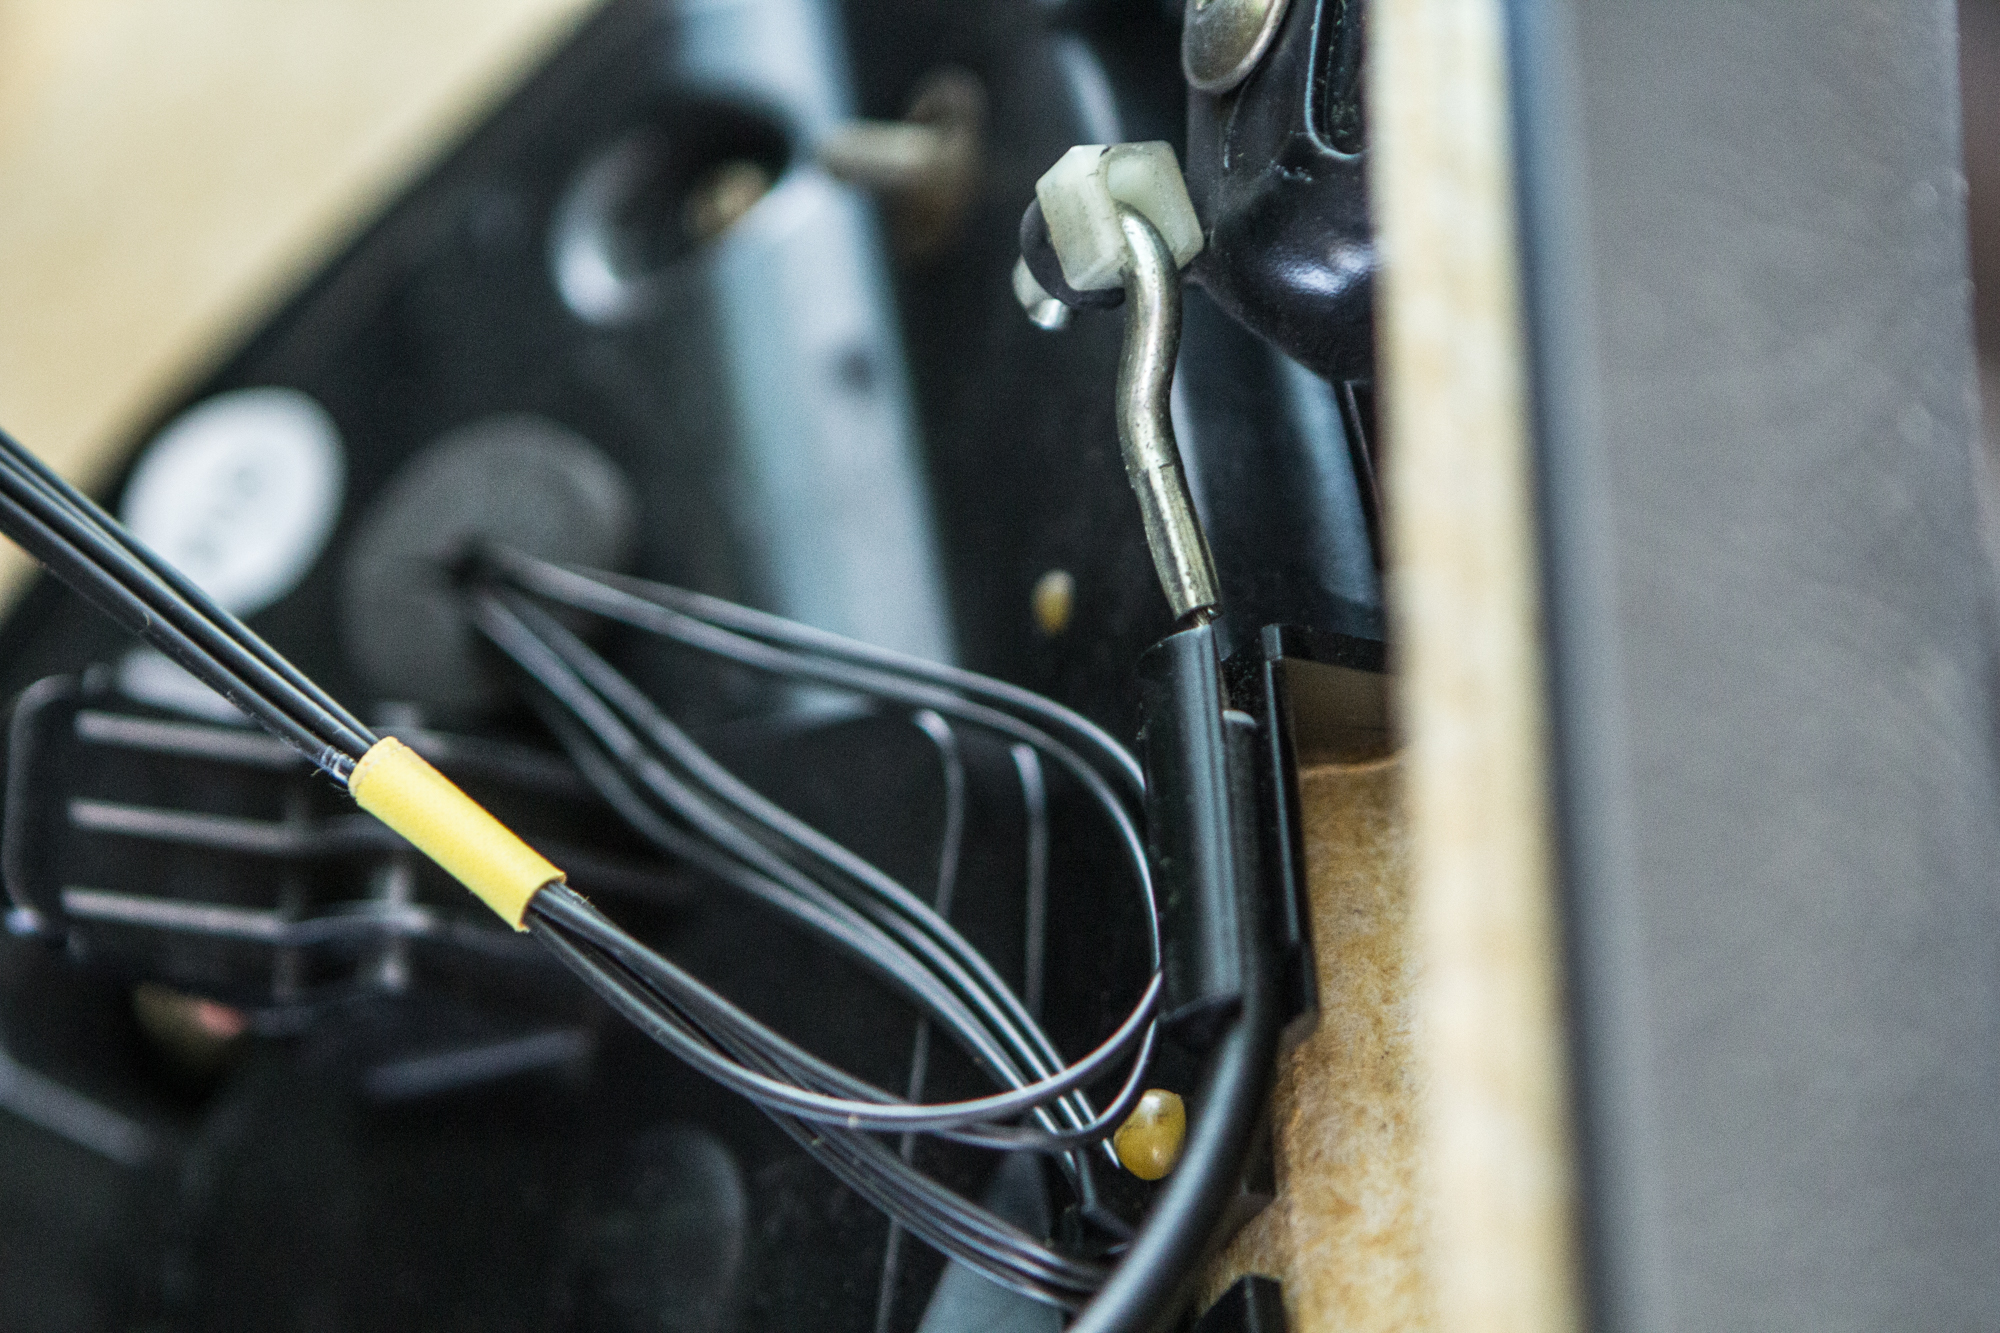
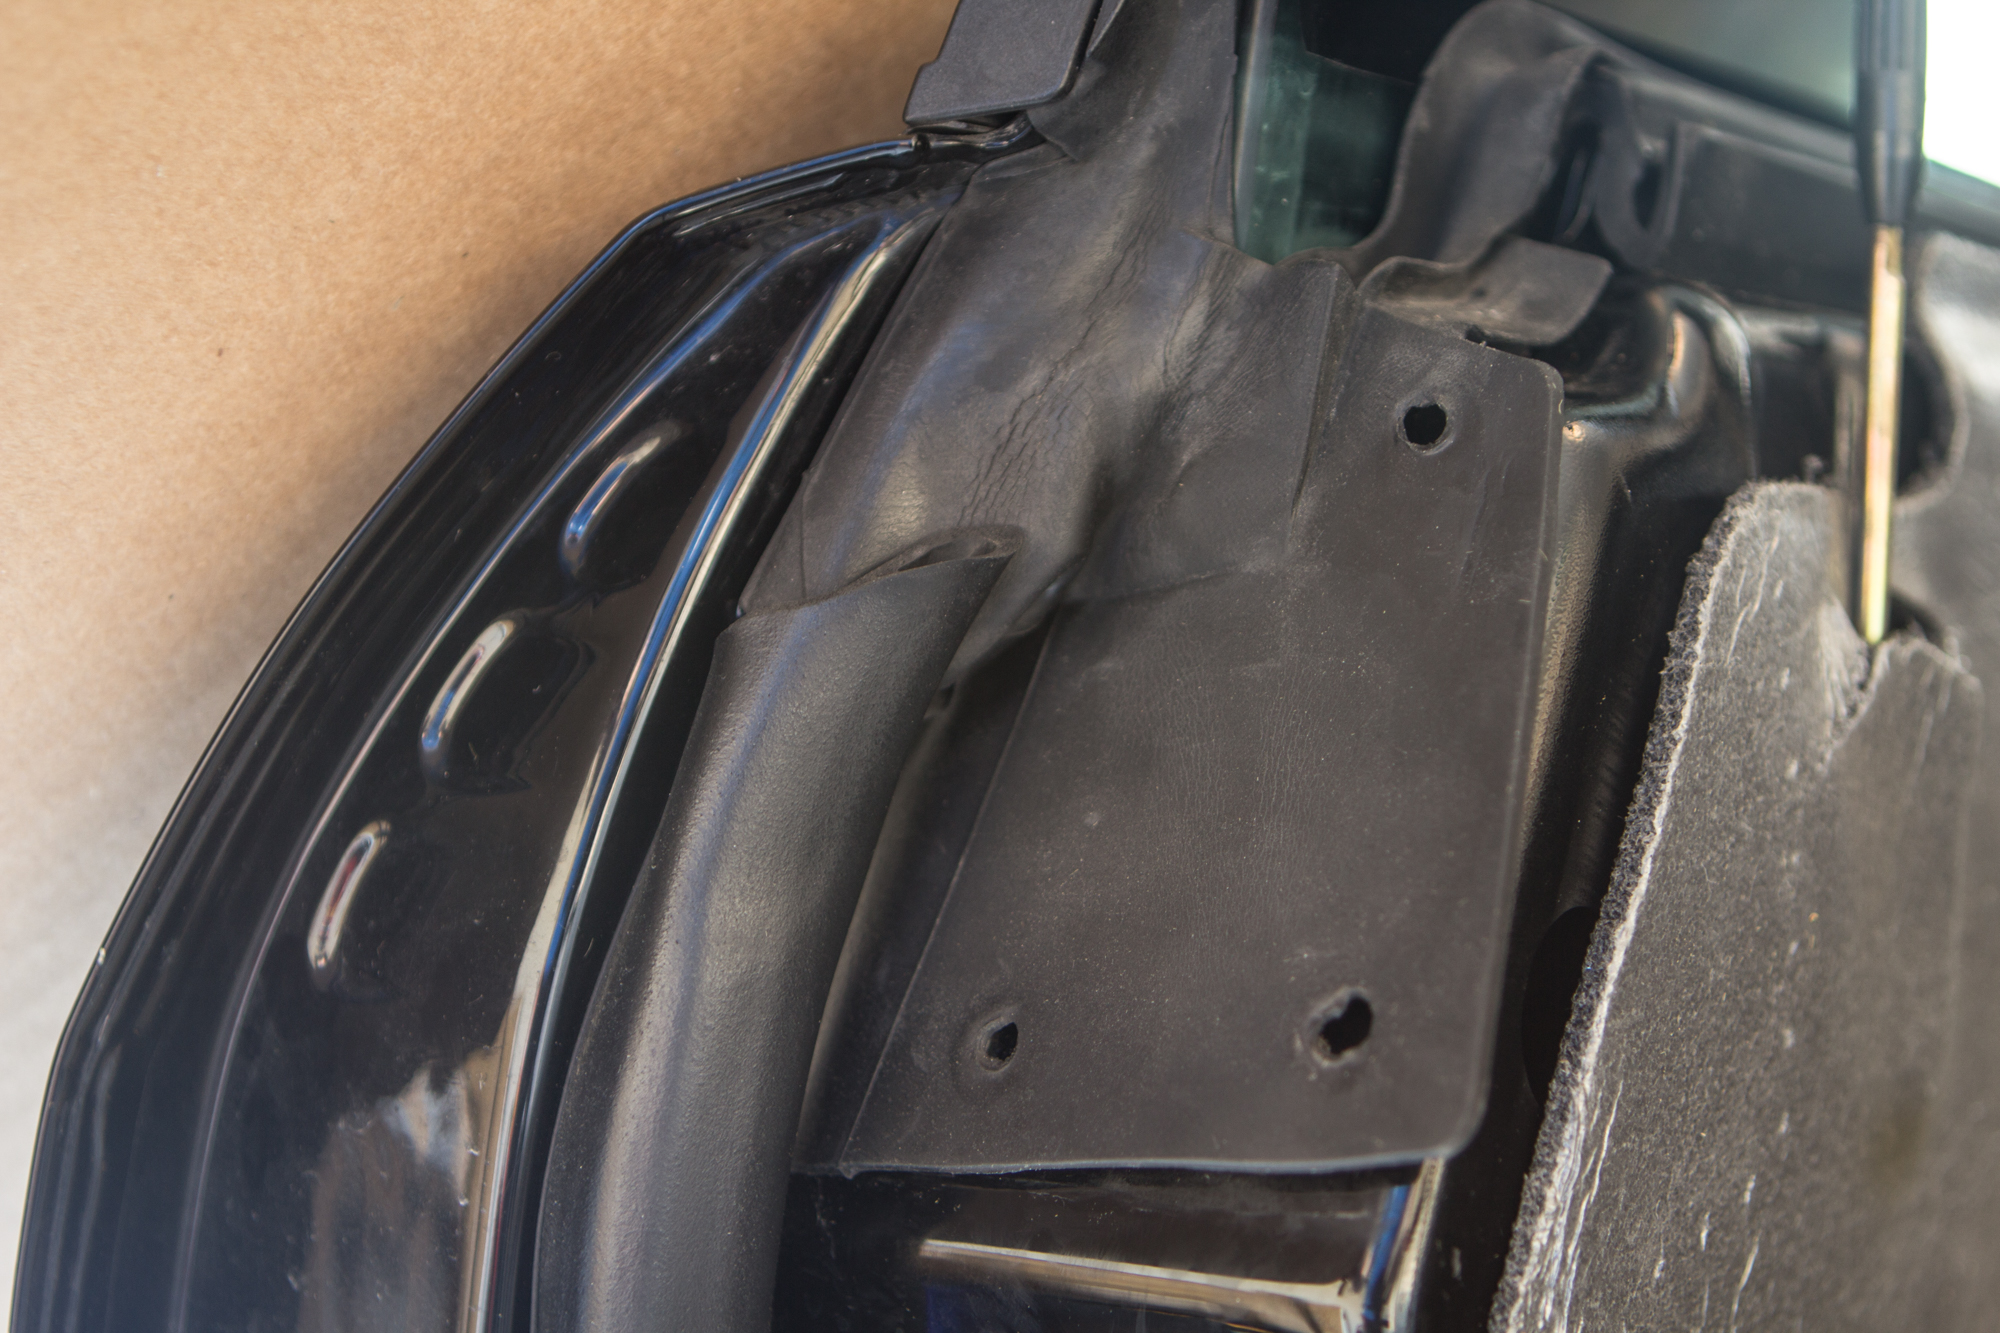
All of that will give you pretty easy access to the module, but I didn’t want to damage the rubber window seal, which stays attached to the door card. I lifted the seal from the metal part of the door, and removed the door latch cable.
To remove the cable, gently pull back on the black part of the cable to release it from this retainer, then simply lift up.
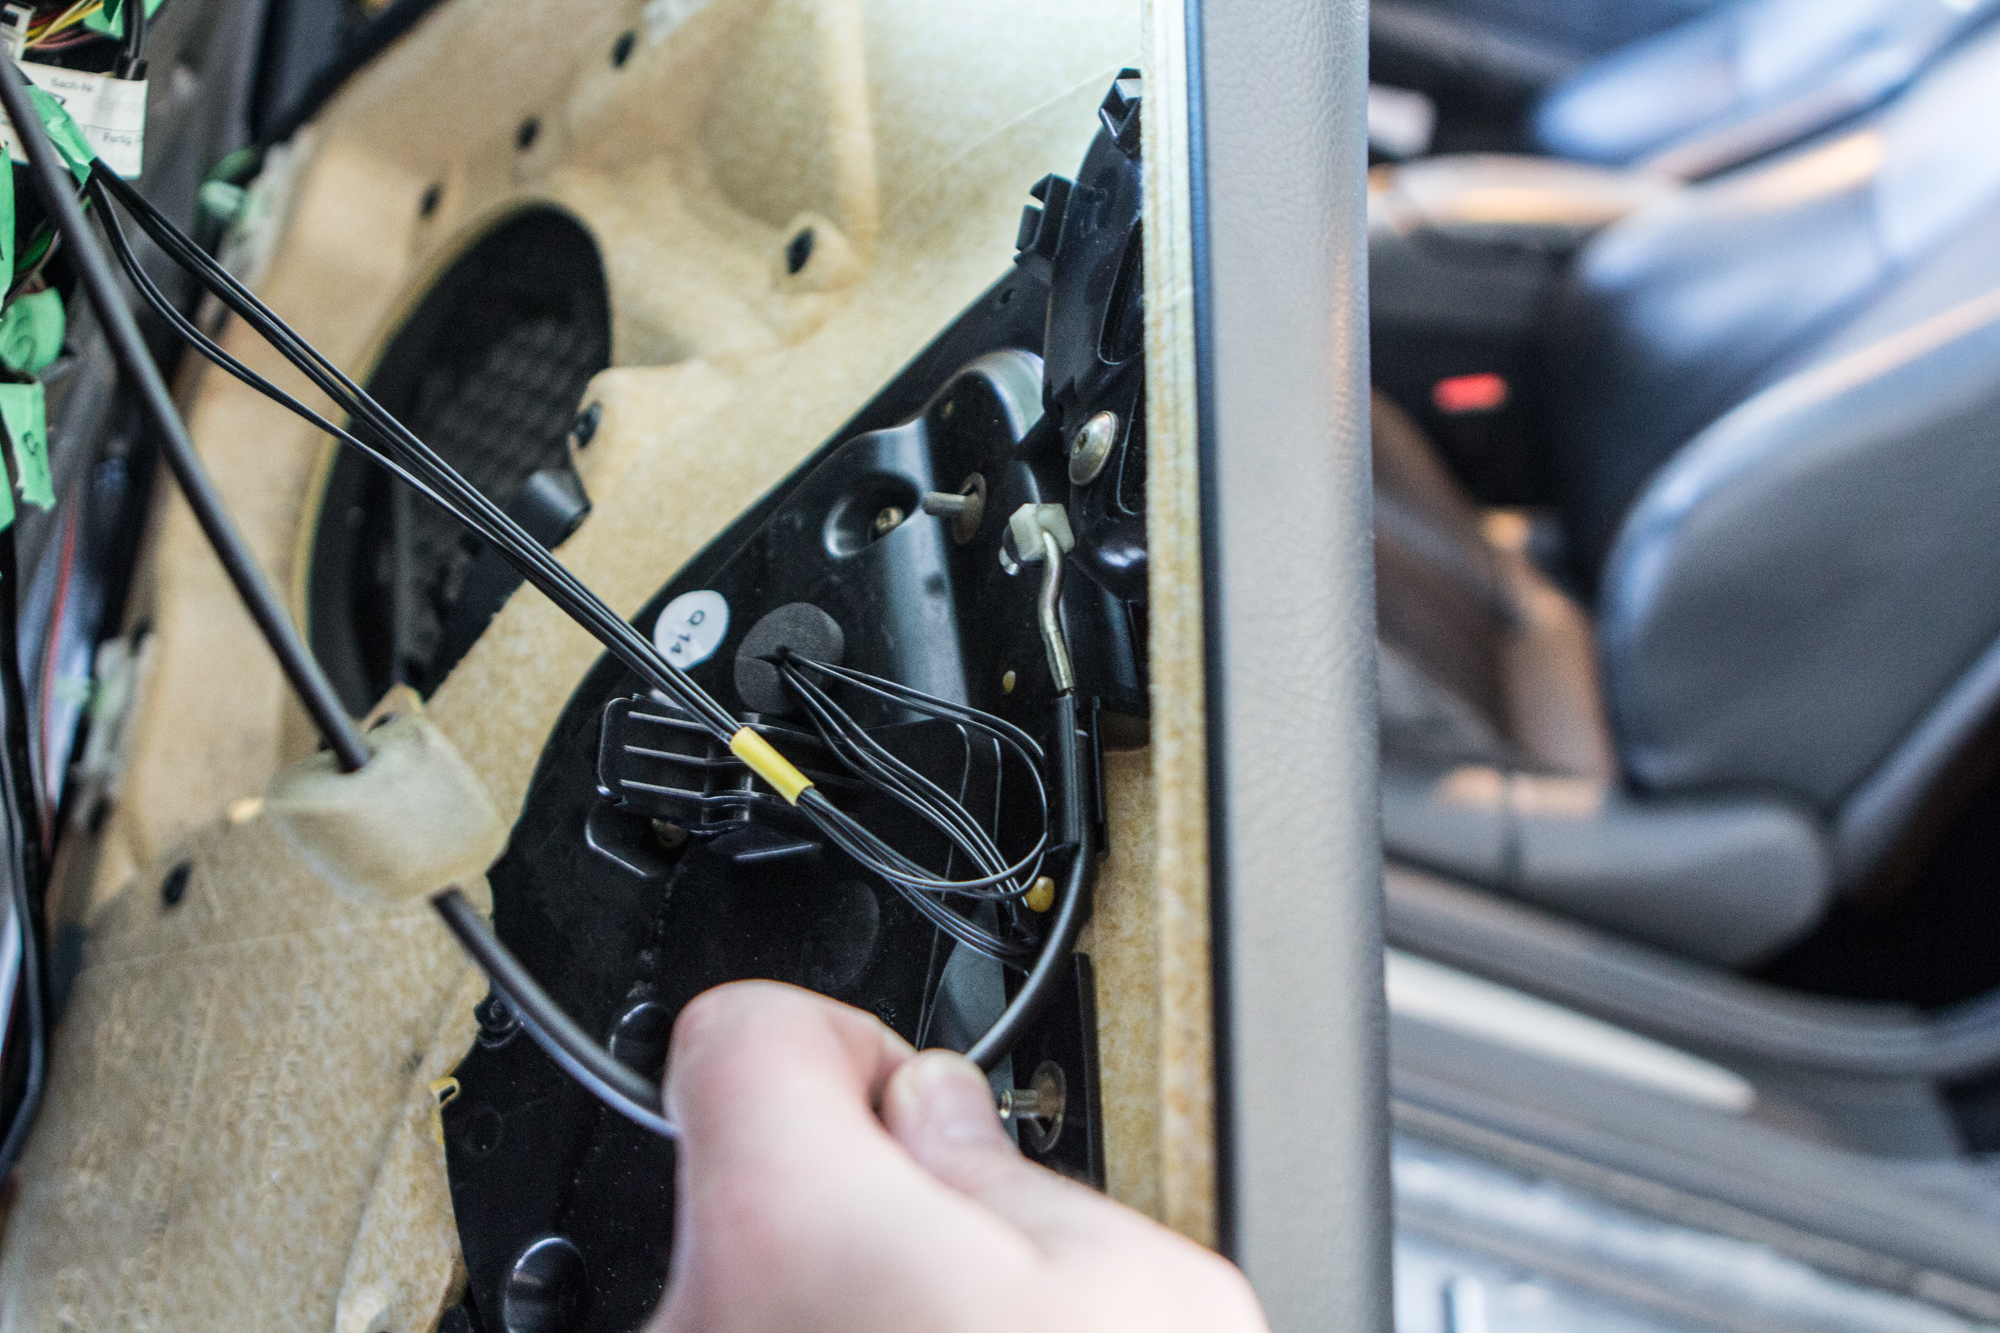
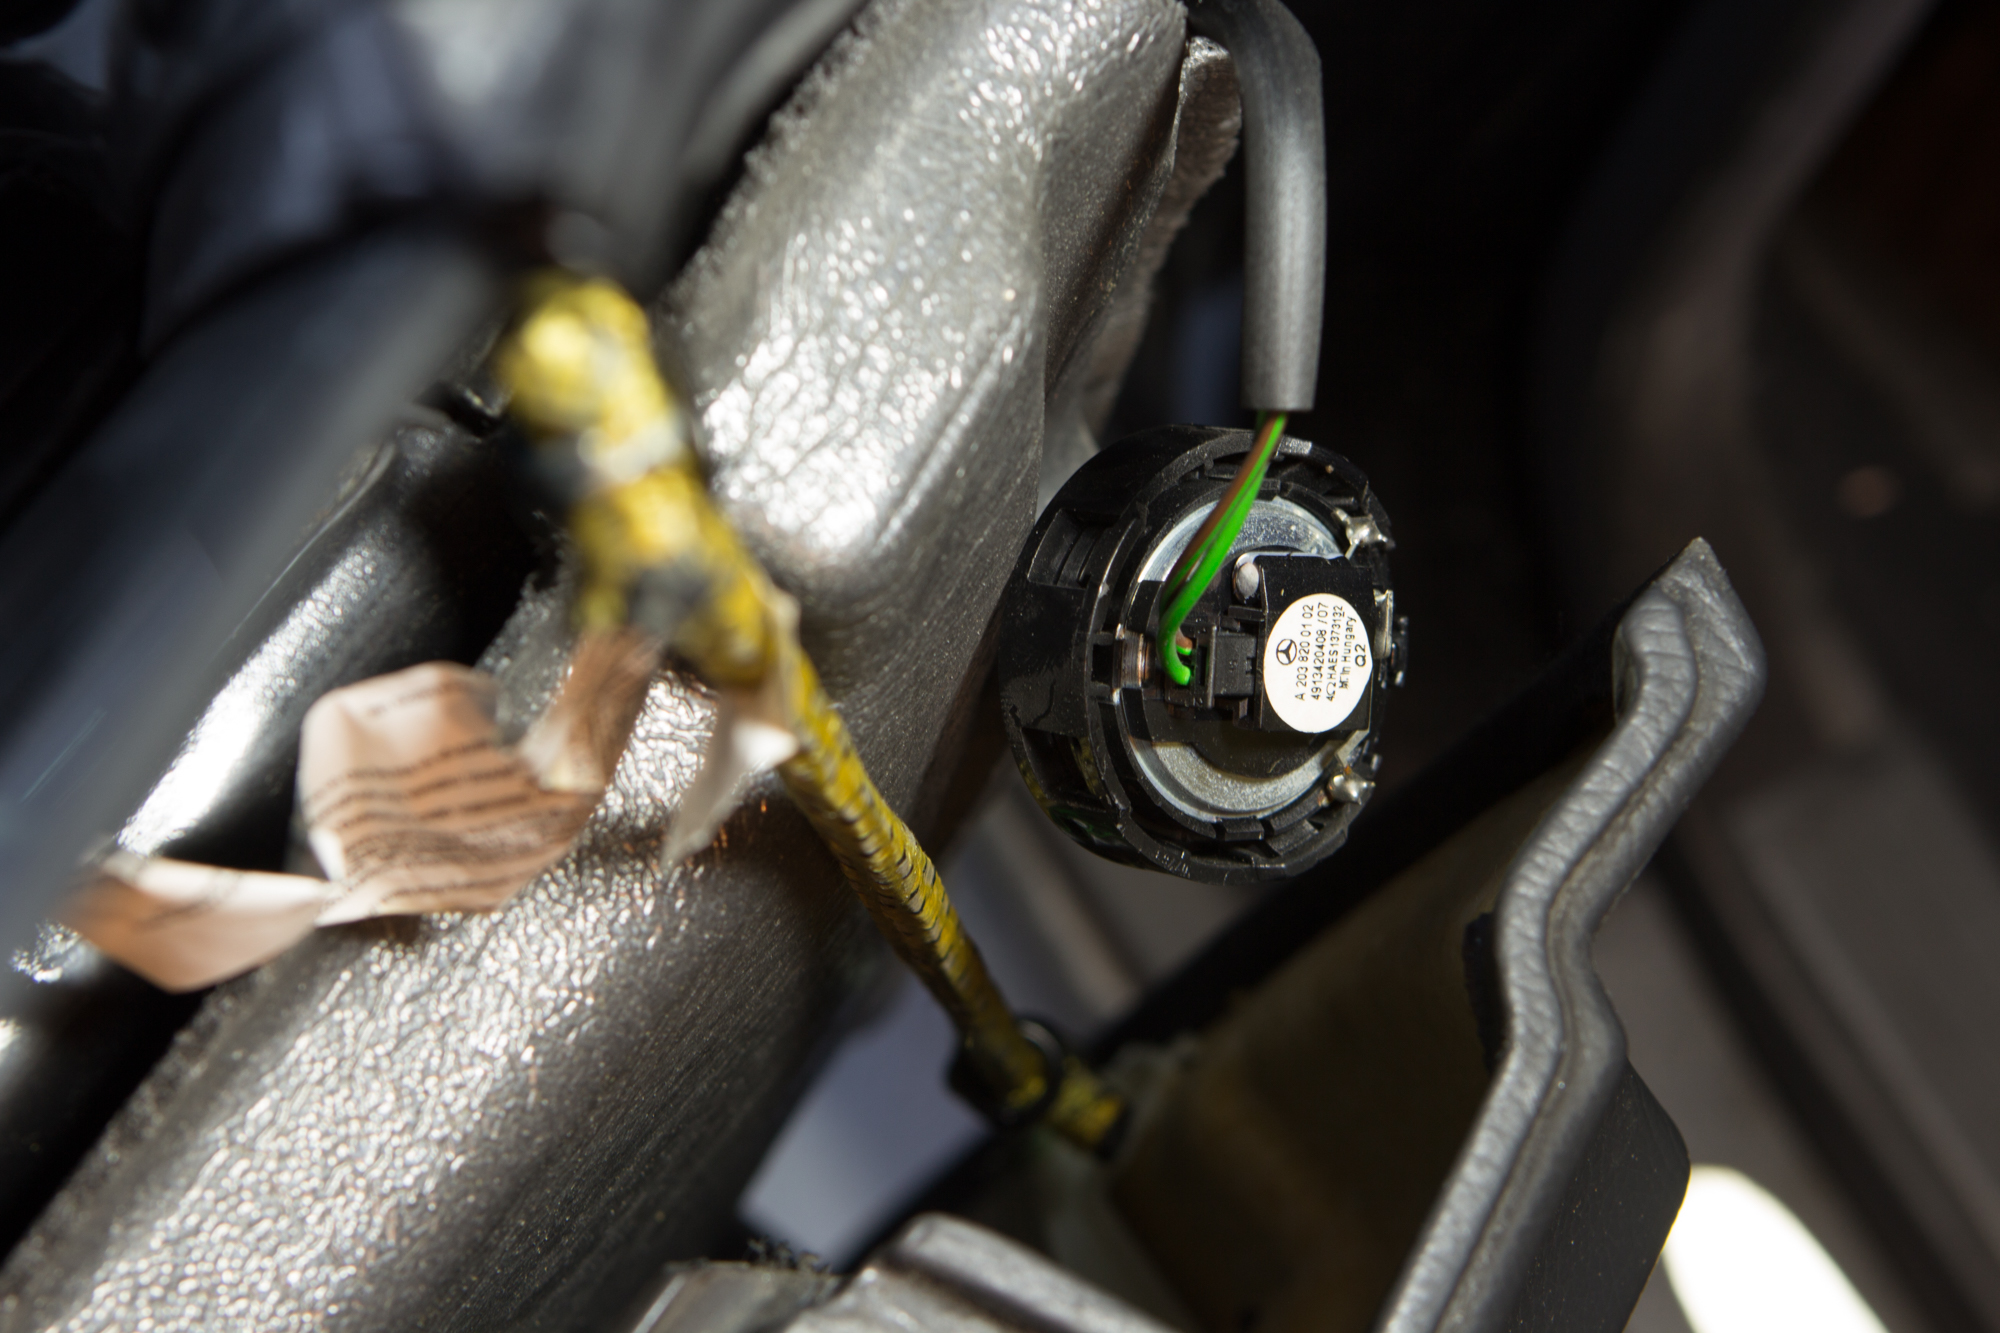
Before you completely remove the door, though, you’ll have to unplug some stuff from the module, which is behind this little flap in the insulation foam.
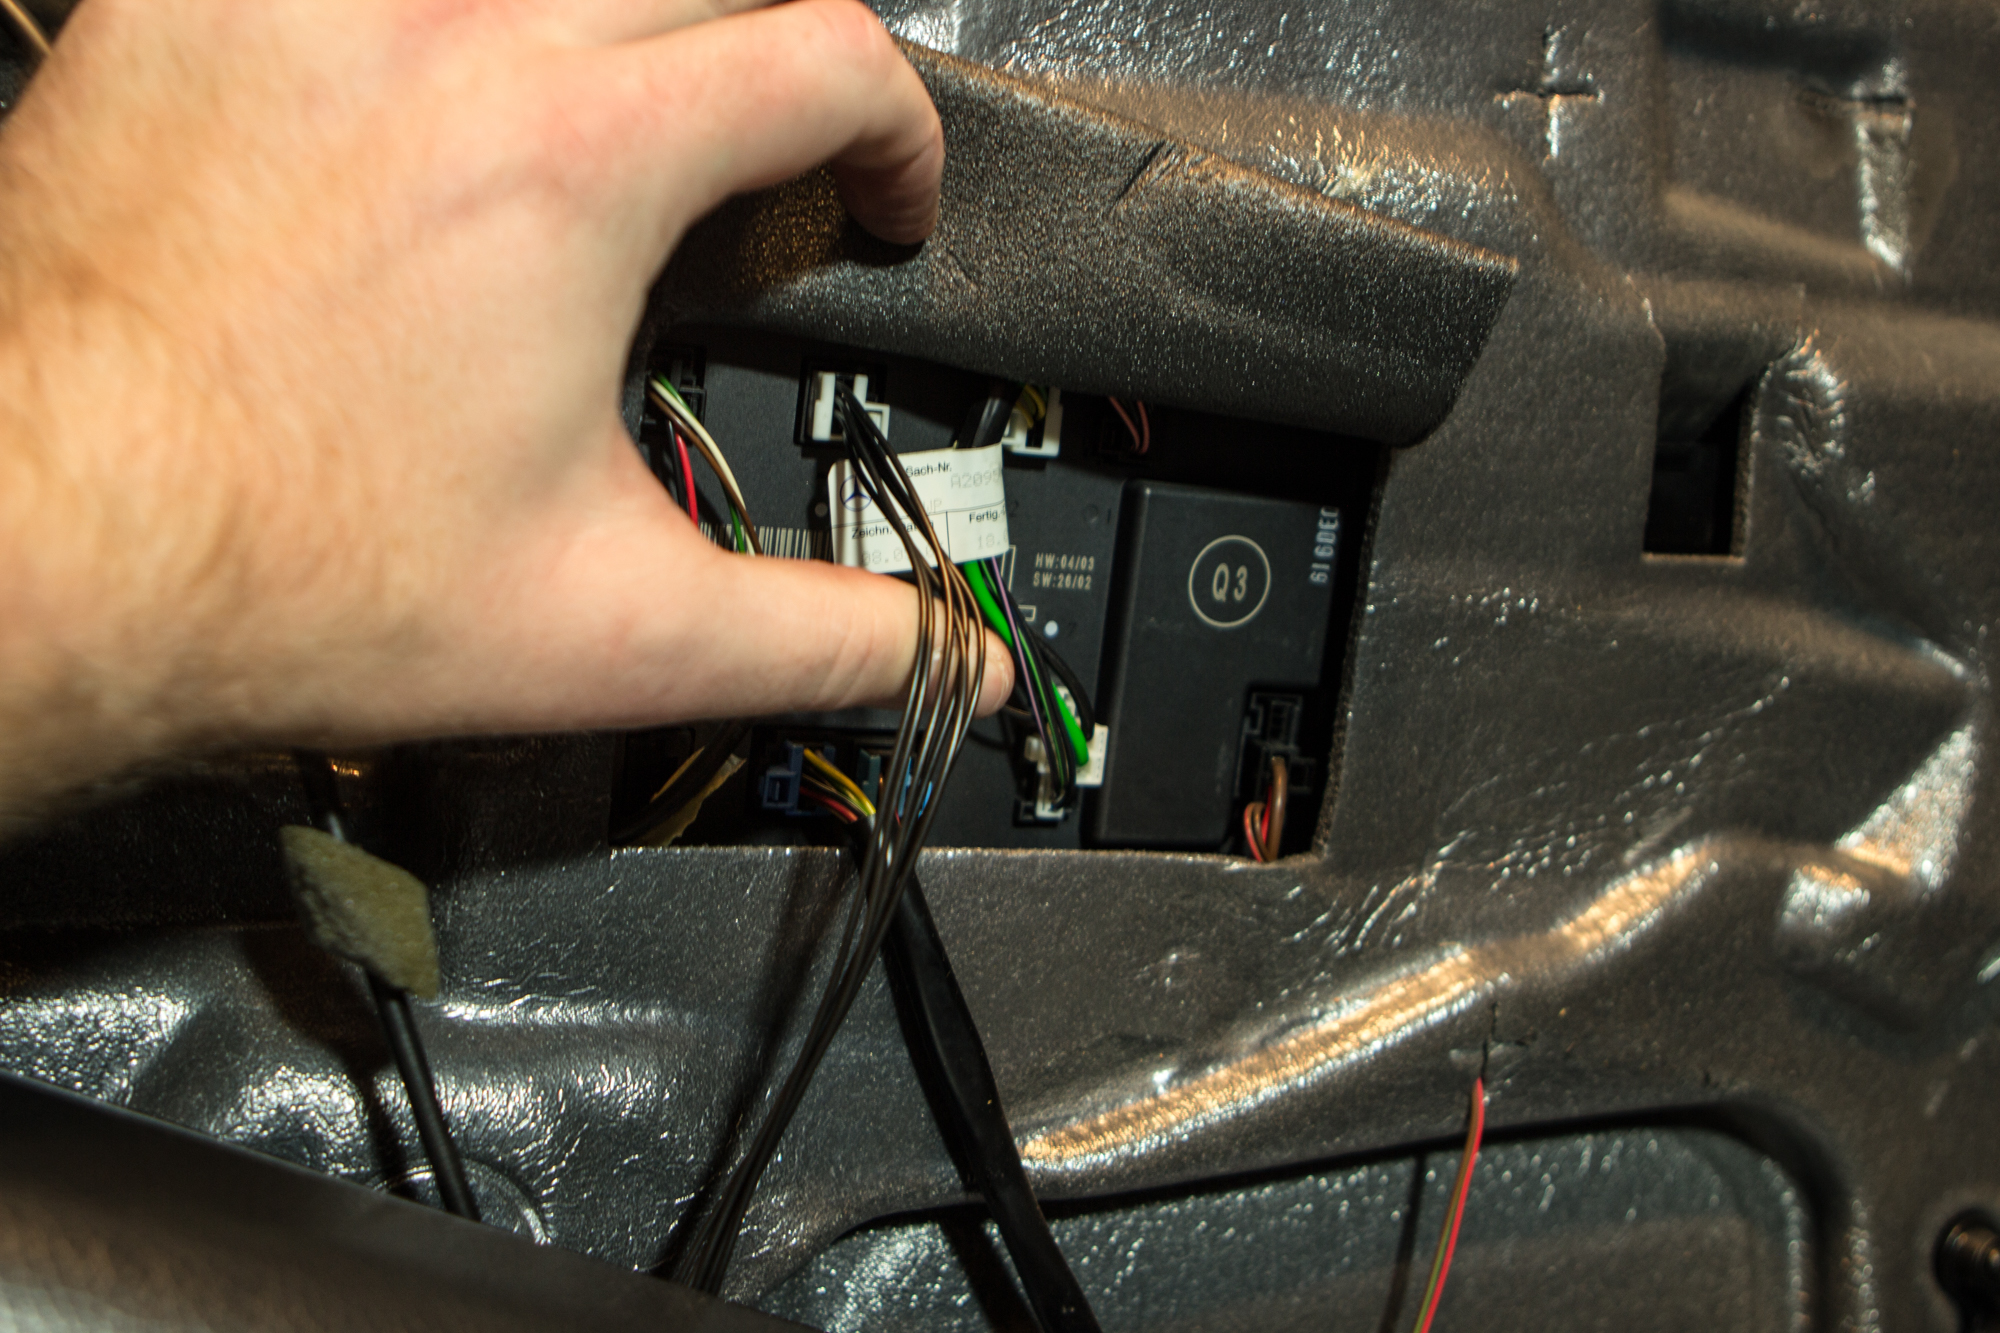
Small markings on the module show which terminals are numbered. Keep in mind, there are more terminals than plugs, so you should mark them.
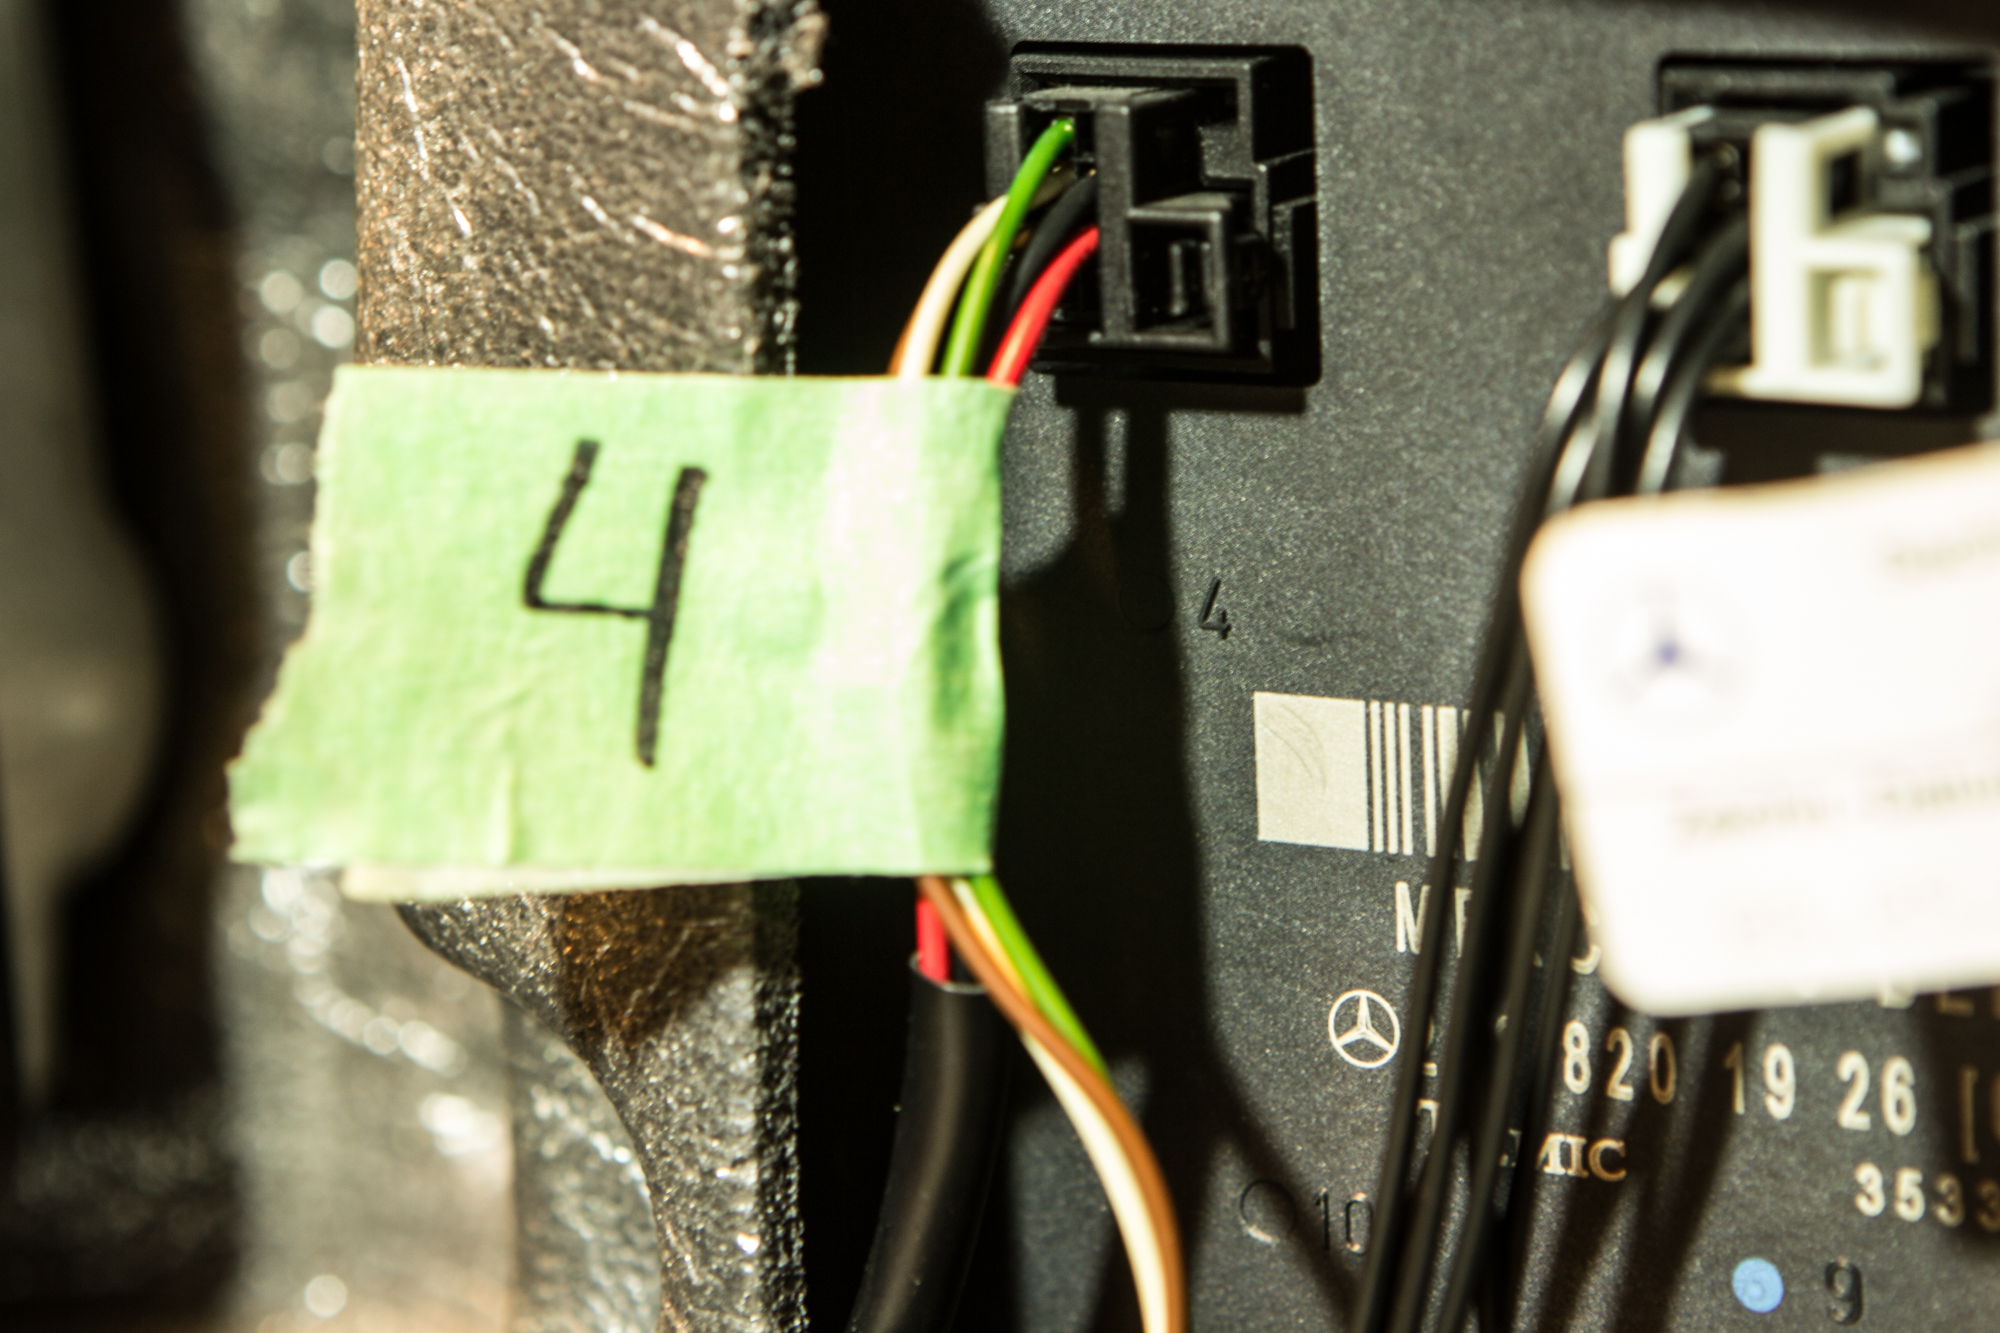
I used painter’s tape to mark all of the plugs for reinstallation, and then unplugged them.
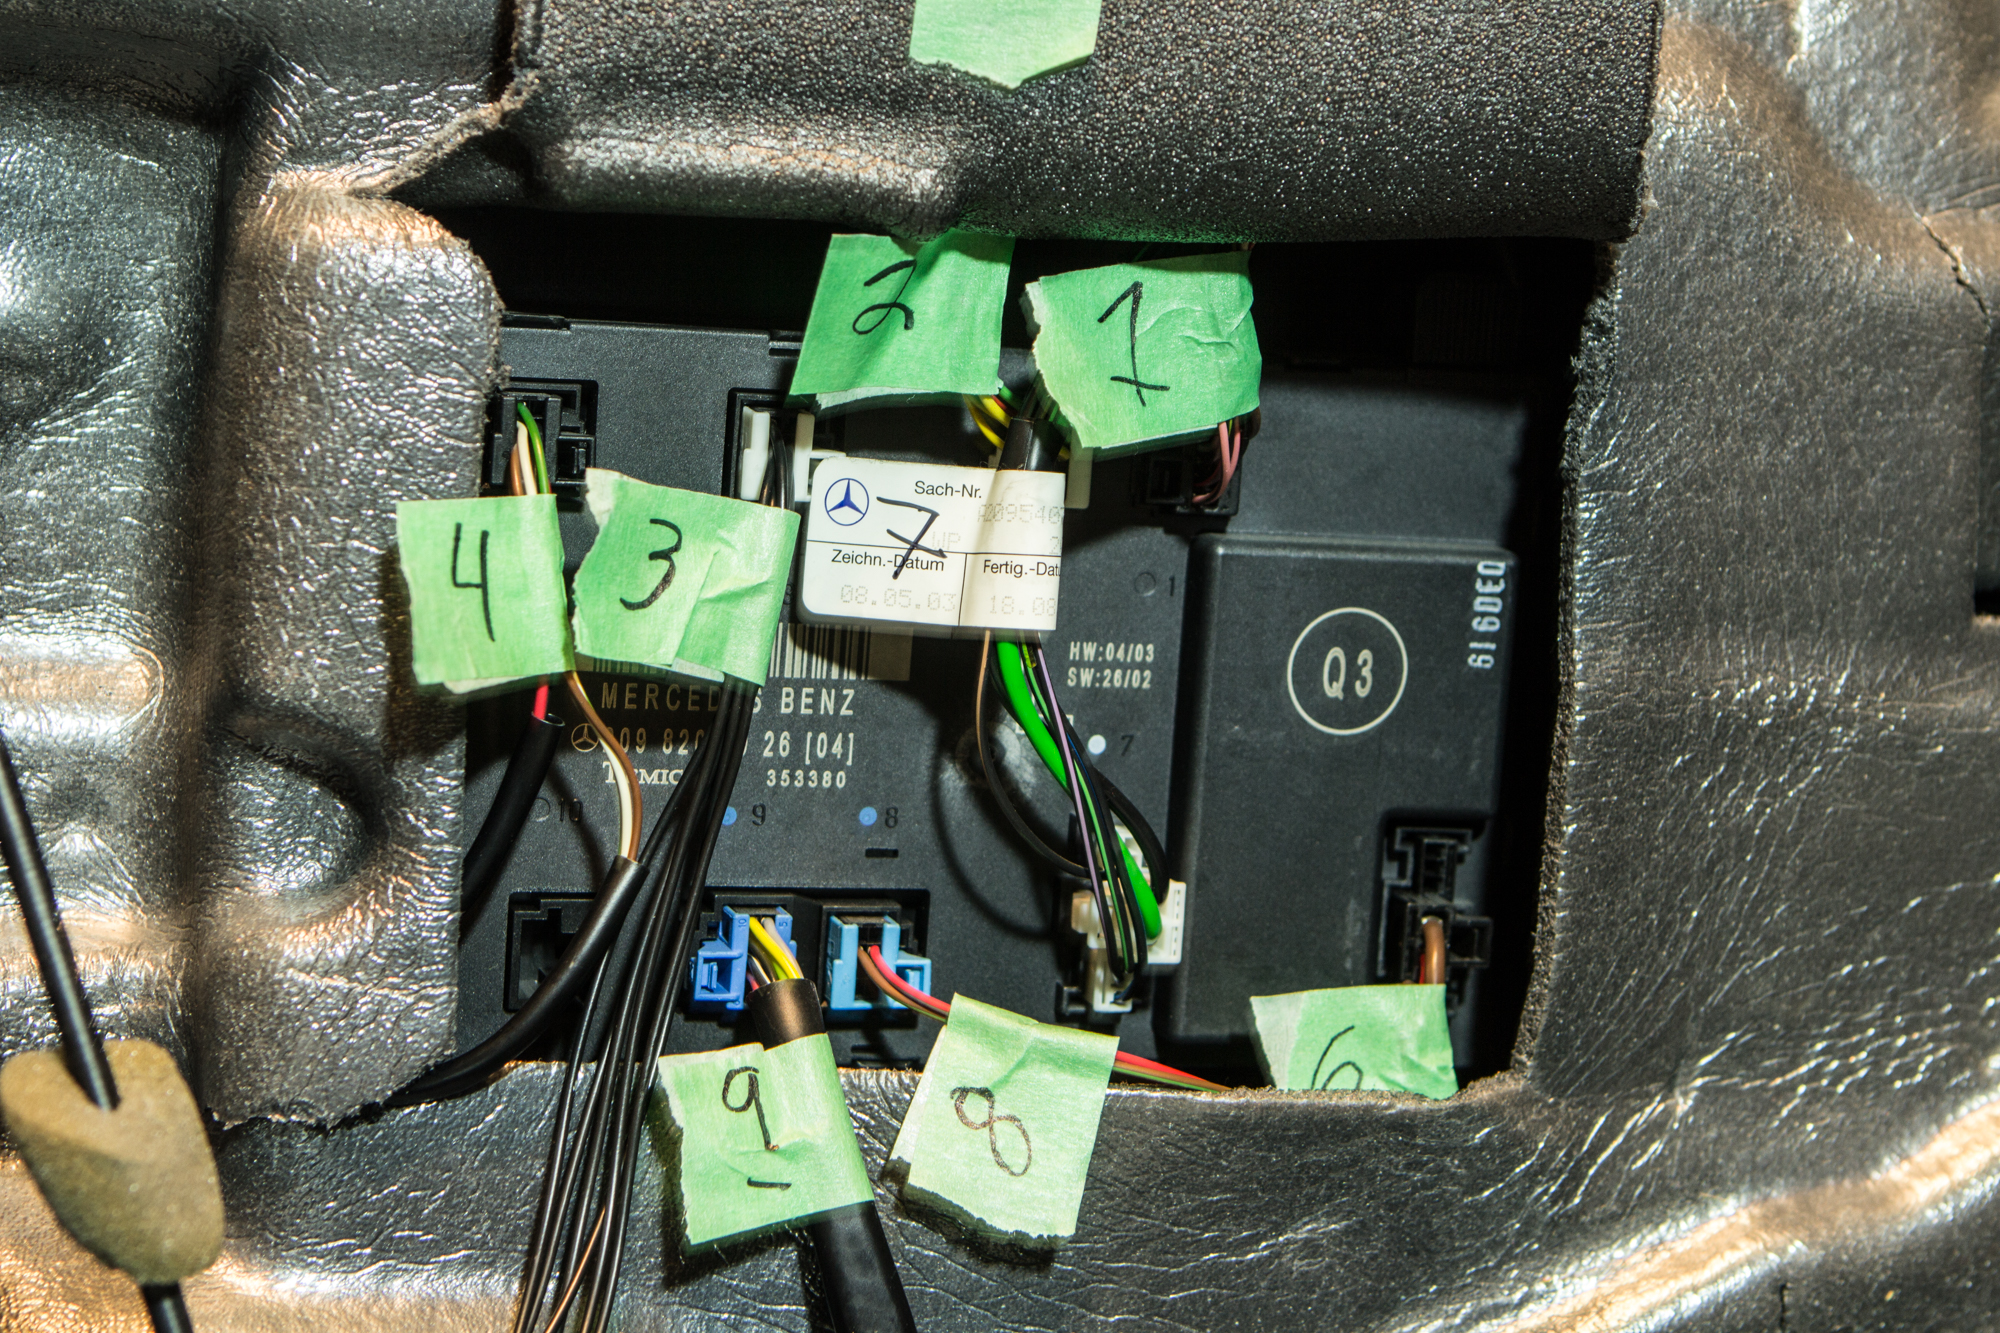
The module itself is removed by pinching two tabs at the top.
Assessing the Situation, and Saving a Few Hundred Dollars
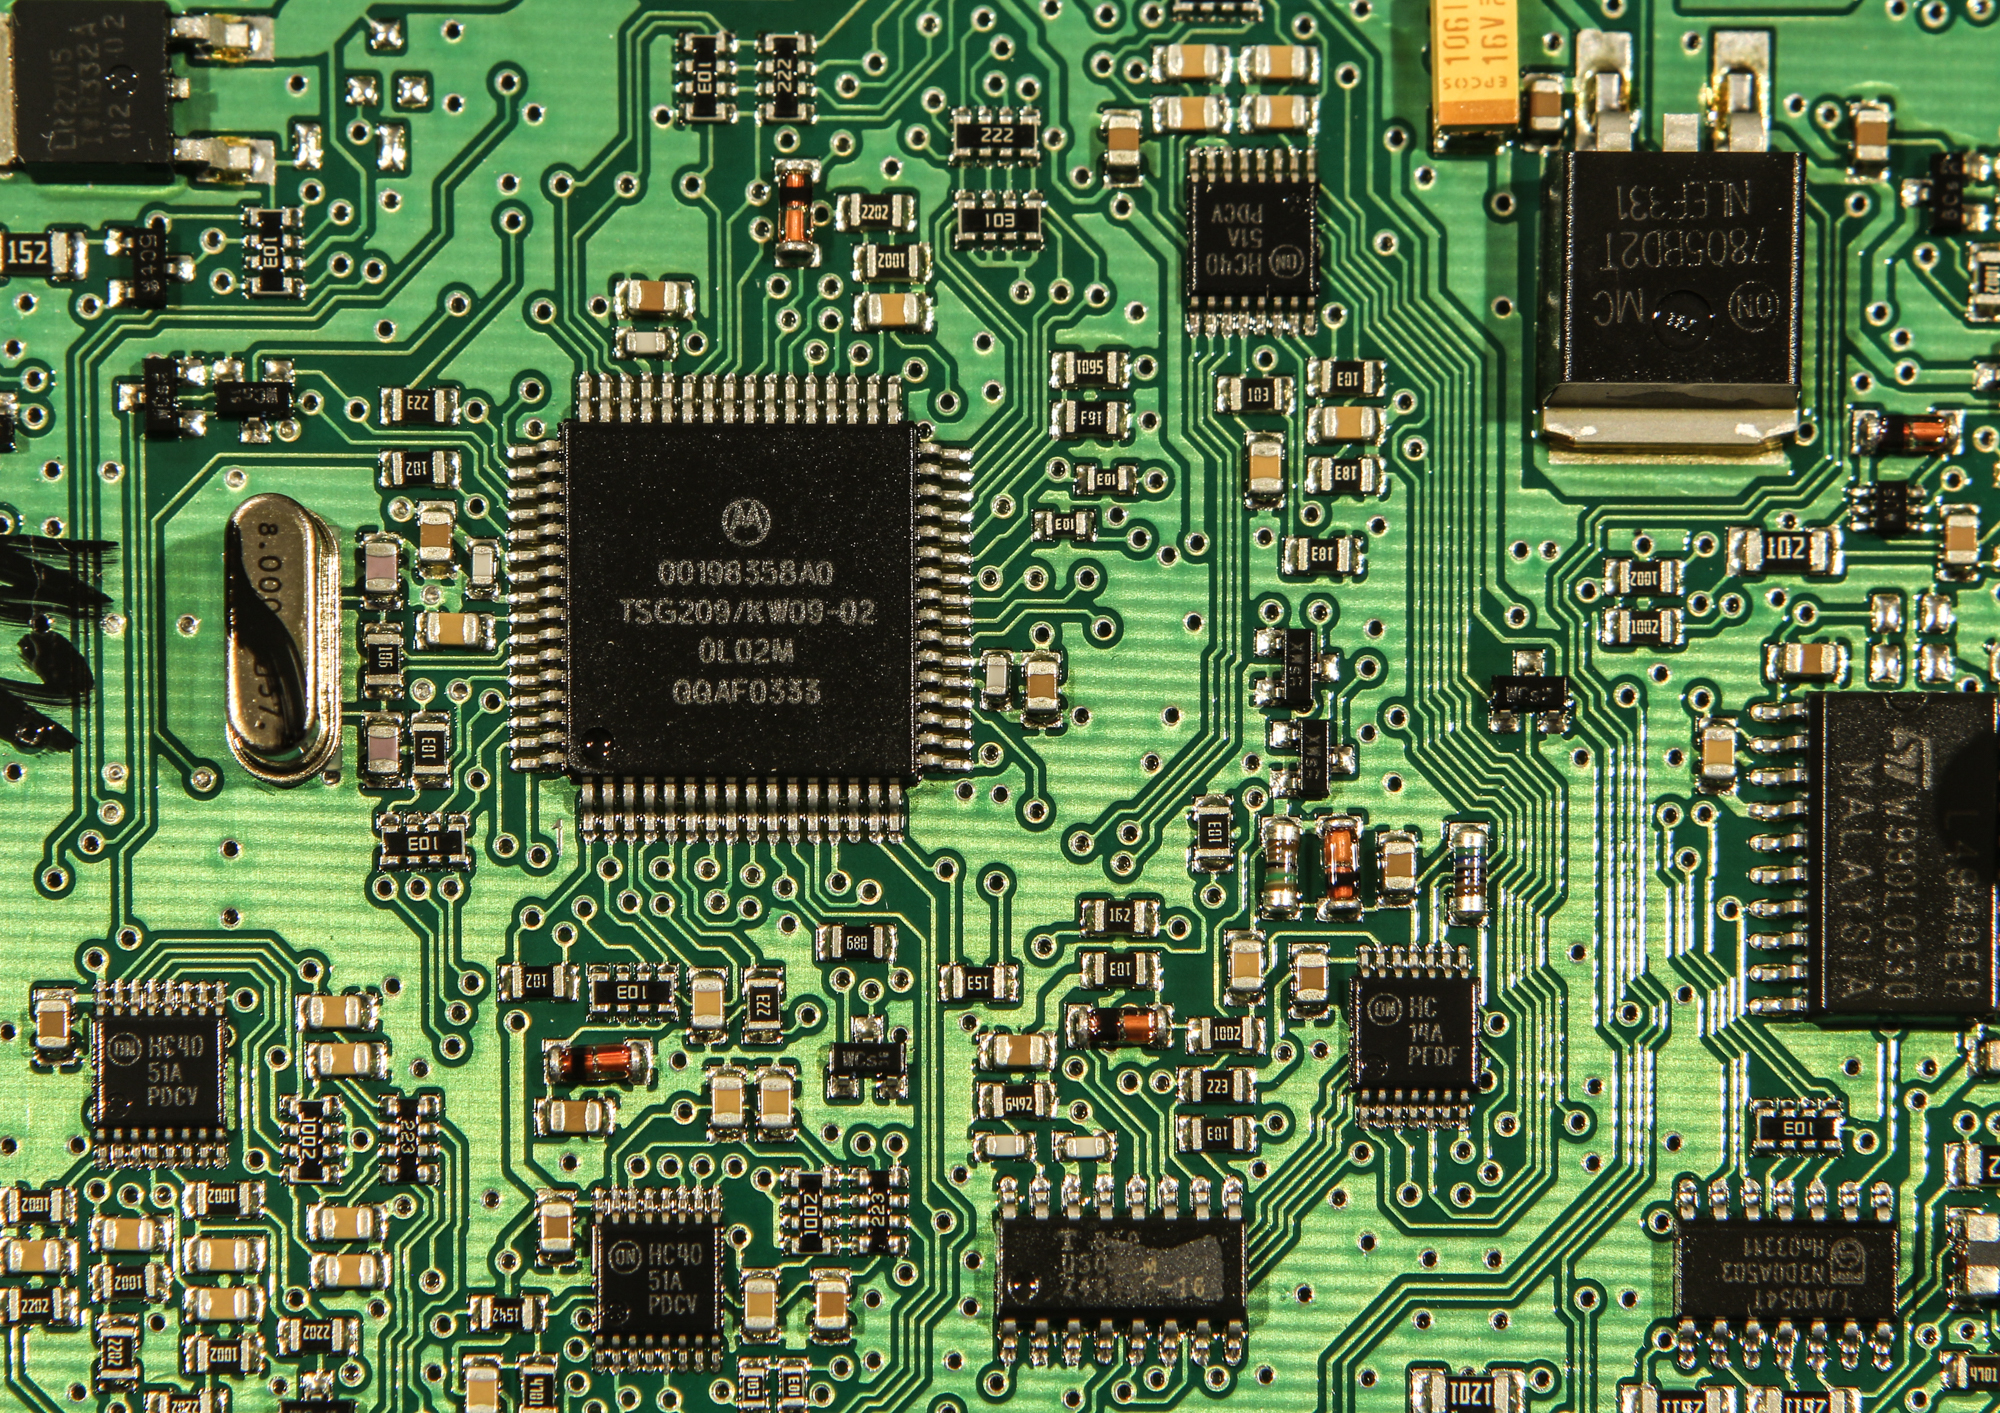
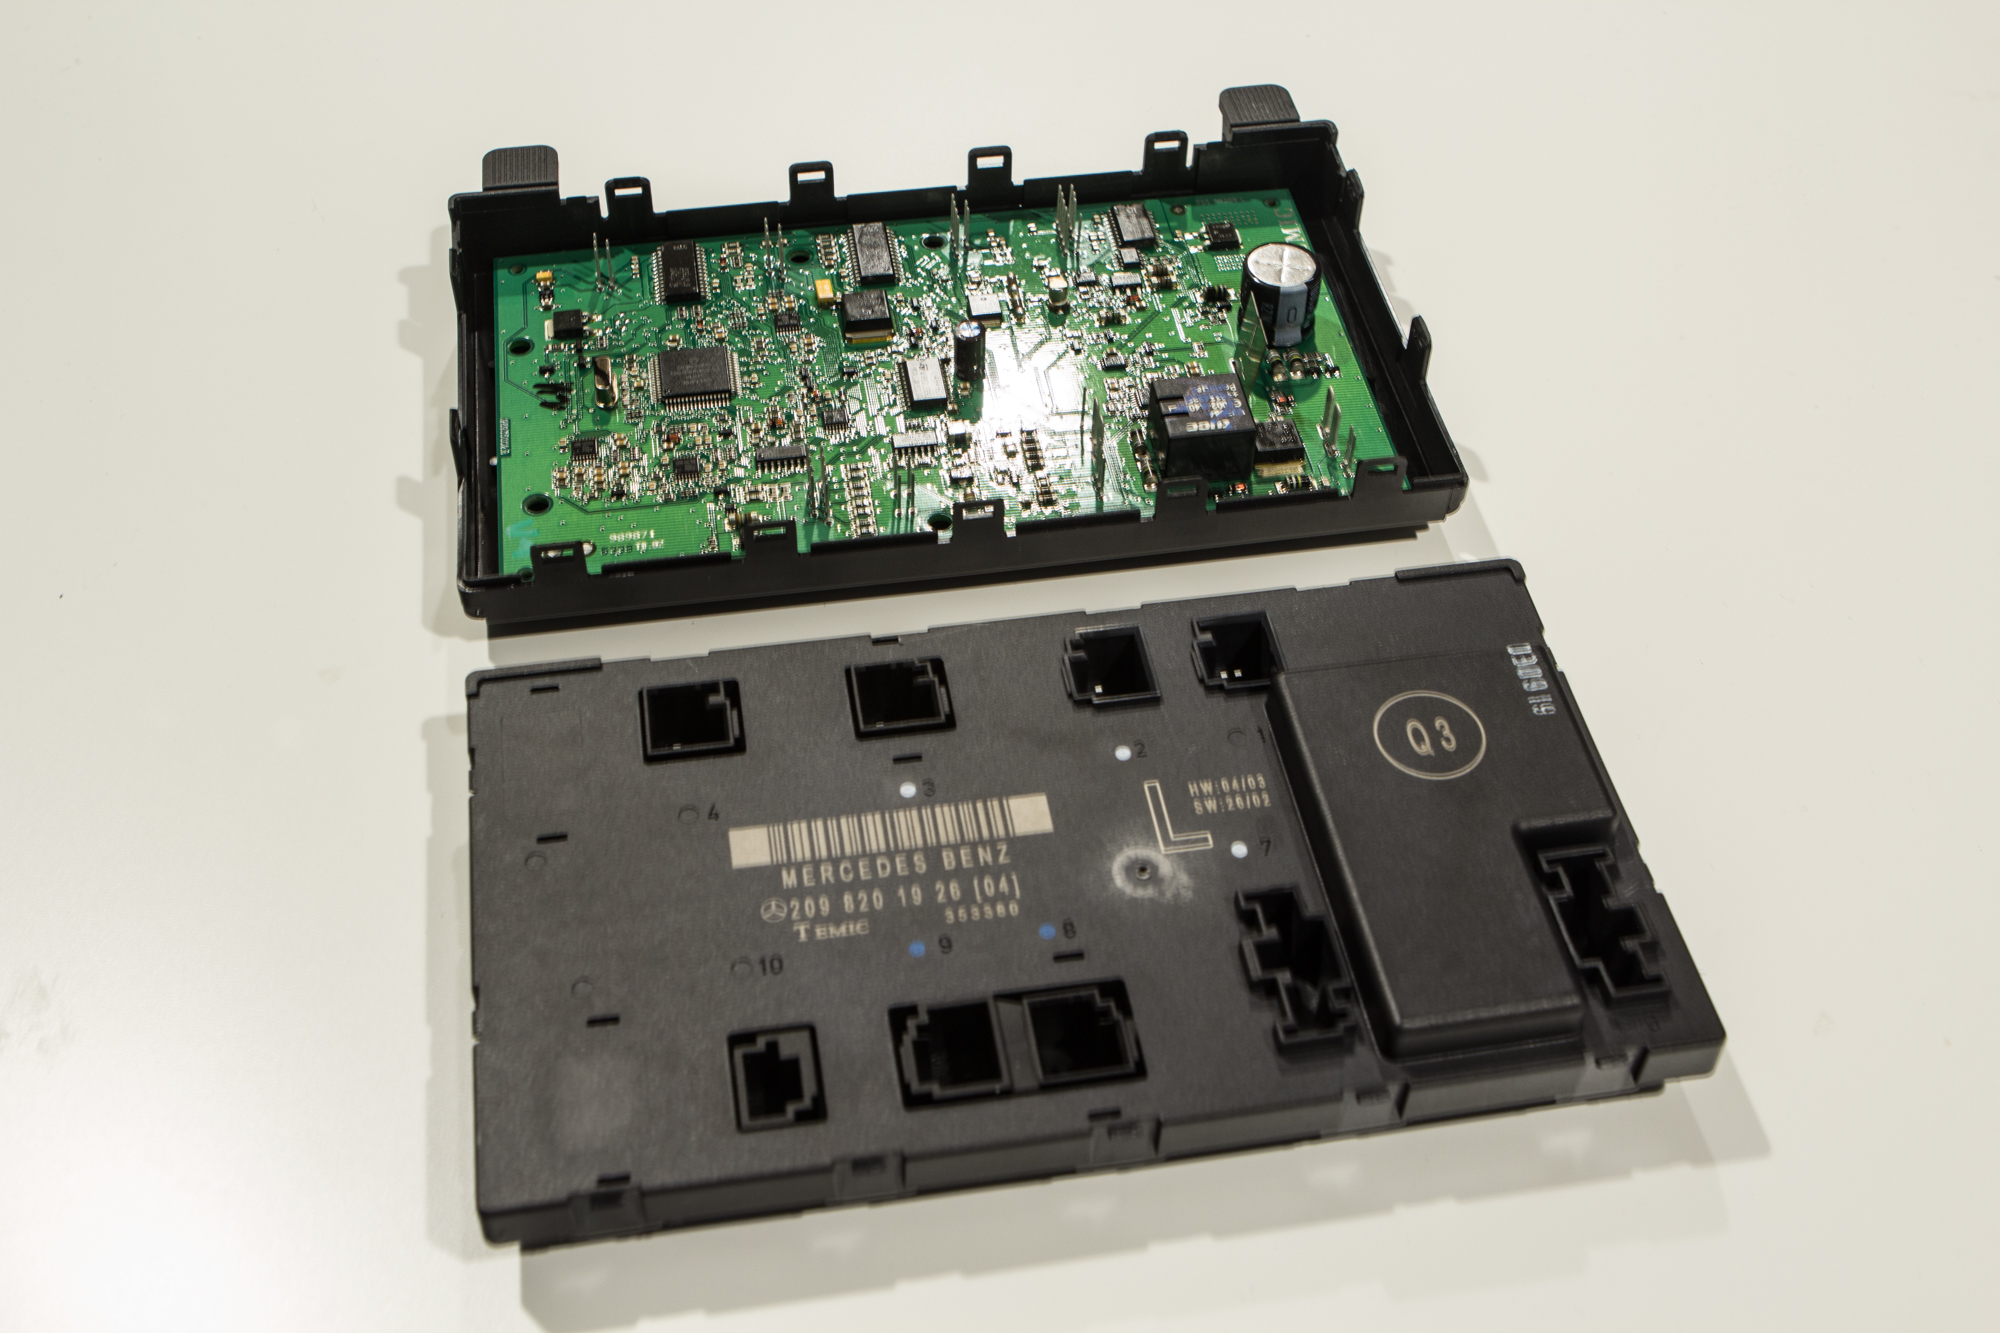
So the module is out, and if you ask anyone at Mercedes Benz if there are any internals that can be fixed, they will tell you the door control module is “unserviceable.” I know remanufactured units use the core of old units, so with my curiosity in full swing, I decided to open the unit up.
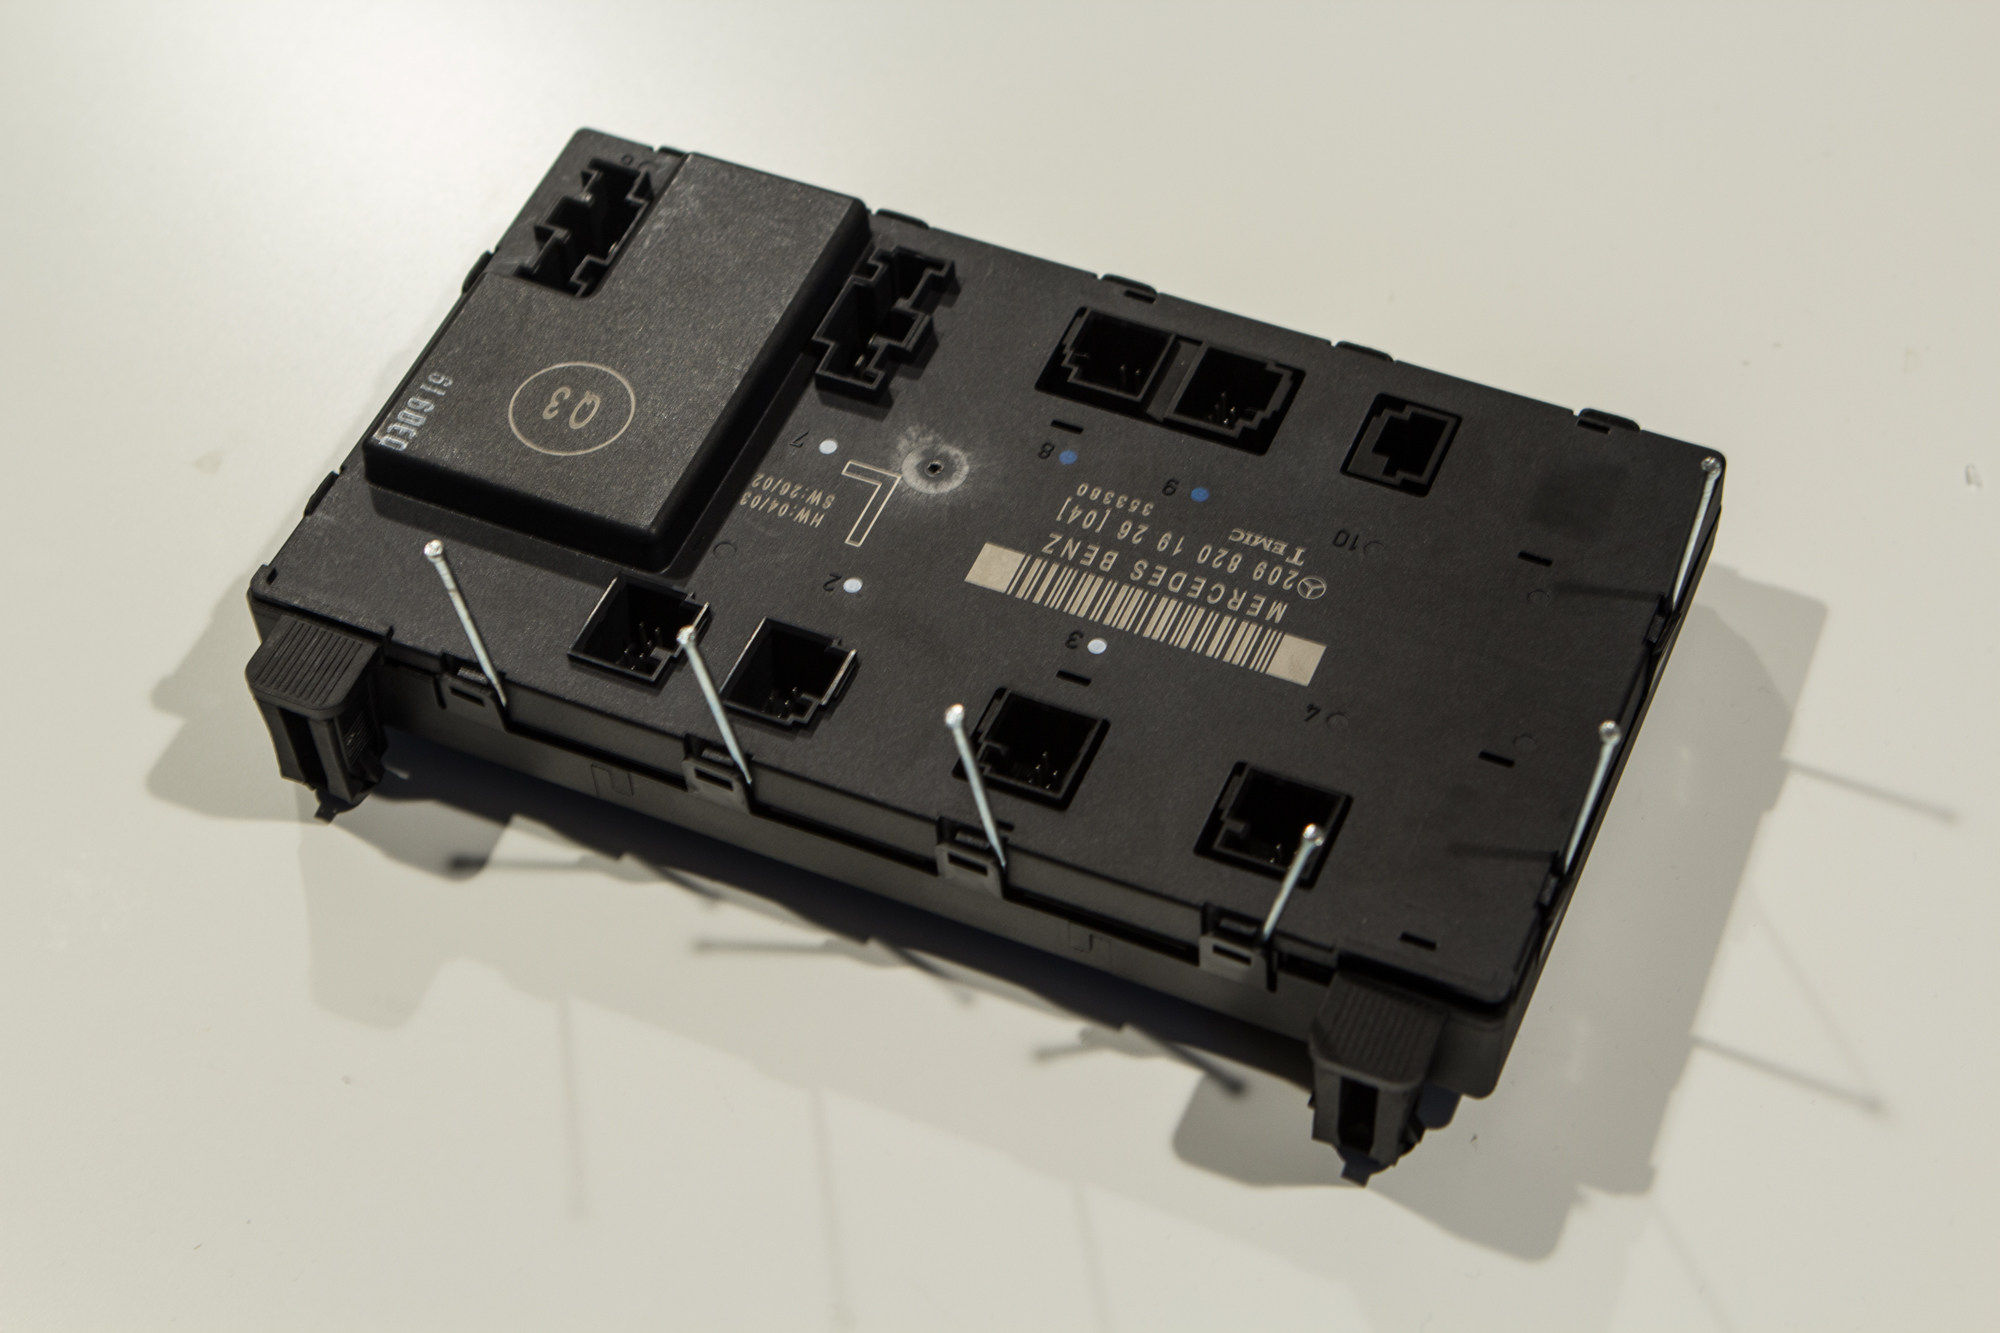
Using small nails, you can gently pry open the plastic tabs enough to get to the good bits. As you can see, apart from a few big processors, there aren’t any fuses or anything that would really be considered easy to fix. This module is pretty much junk.
On the bright side, you can save more than $700 by finding one on eBay. I saw prices ranging from $100 to $150 for used OEM units. It makes sense to buy one at those prices, so I jumped on one that matched my door module part number. There are three part numbers that work for the CLK. Some of them are newer units that supersede old part numbers. Those numbers are:
209 820 01 26
superseded by
209 820 21 26
superseded by
209 820 19 26 – original for my car, and replaced with a unit of the same number
Mine came in the mail two days after I ordered it, and so I set back to work on putting the car back together.
Reinstalling Used Unit, and Attaching Door Card
With the new door control module ready to go, I snapped it back into the door, and started to reattach the plugs to their appropriate terminals, reversing the process by which I removed them. I also did the same for the window control panel and the courtesy light.
I removed the rubber window seal from the door card, and attached it directly to the door. This made alignment of the window seal much easier. The wide rubber part at the very edge of the door can be somewhat tricky because it needs to be tucked under a few other seals that are tough to move.
This also leaves the ability for the door to slide right into place via this little ridge without any rippling of the window seal.
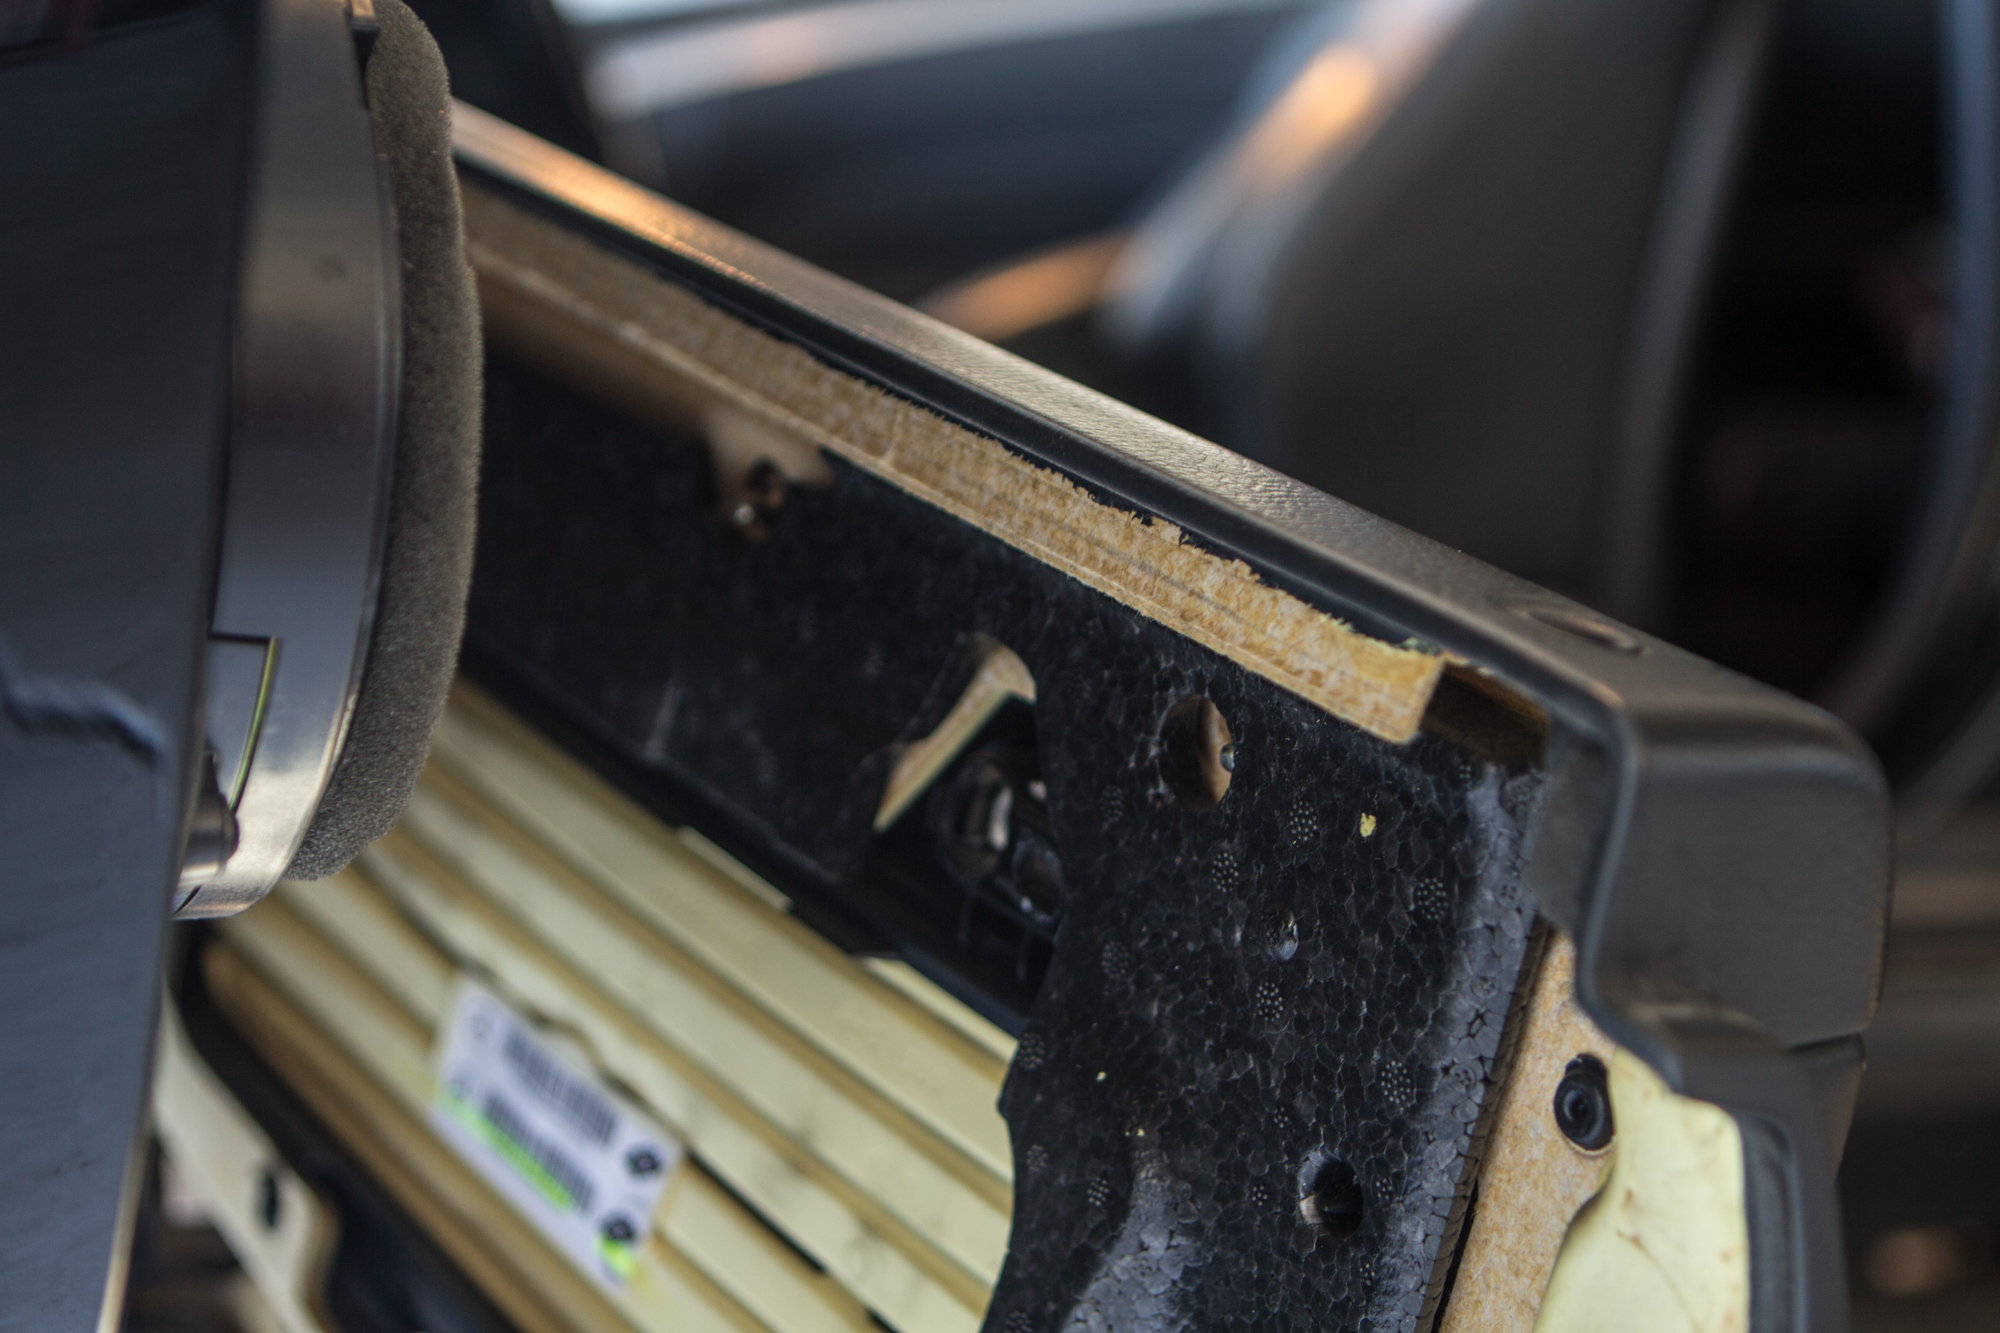
I rolled down the window all the way because I had to use quite a bit of downward force in order to get the lower panel clips aligned. After that, I checked about three to four times to make sure I had everything in place. Rigorous verification is just the nature of lining up those clips correctly.
You’ll be able to feel the door card slide into that top window seal, which does take a bit of effort, but once it’s in place, you can snap the door back together, put the tweeter cone back in, reattach the Torx fittings, and give yourself a pat on the back for saving a load of cash.
The best part? You don’t have to get this thing programmed, either. I had to reset my memory seats and mirrors, but that was it. It didn’t even have to re-learn the automatic windows.
You must be logged in to post a comment.