When you click on links to various merchants on this site and make a purchase, this can result in this site earning a commission. Affiliate programs and affiliations include, but are not limited to, the eBay Partner Network.
W204 Facelift Separating Head Unit from Hazard/Seat Heater Controls/Rear Sunshade
Hi all,
I recently had a dash cam installed by a professional. Unfortunately, he damaged the finish on the button that controls the left seat heater. I have purchased the control assembly (part number: A2049059601). Does anyone know how to separate the radio controls from the lower switchgear controls? I am wondering if there is a special method or tool required for its disassembly. Thanks!
I recently had a dash cam installed by a professional. Unfortunately, he damaged the finish on the button that controls the left seat heater. I have purchased the control assembly (part number: A2049059601). Does anyone know how to separate the radio controls from the lower switchgear controls? I am wondering if there is a special method or tool required for its disassembly. Thanks!
The button unit attaches to the underside of the radio with four T20 (?) screws.
Thanks for your guys' replies, I do appreciate them! I ended up disassembling the lower control unit because I only wanted to replace the switch and not the entire assembly with the bezel, since the one in my car is in pristine condition.
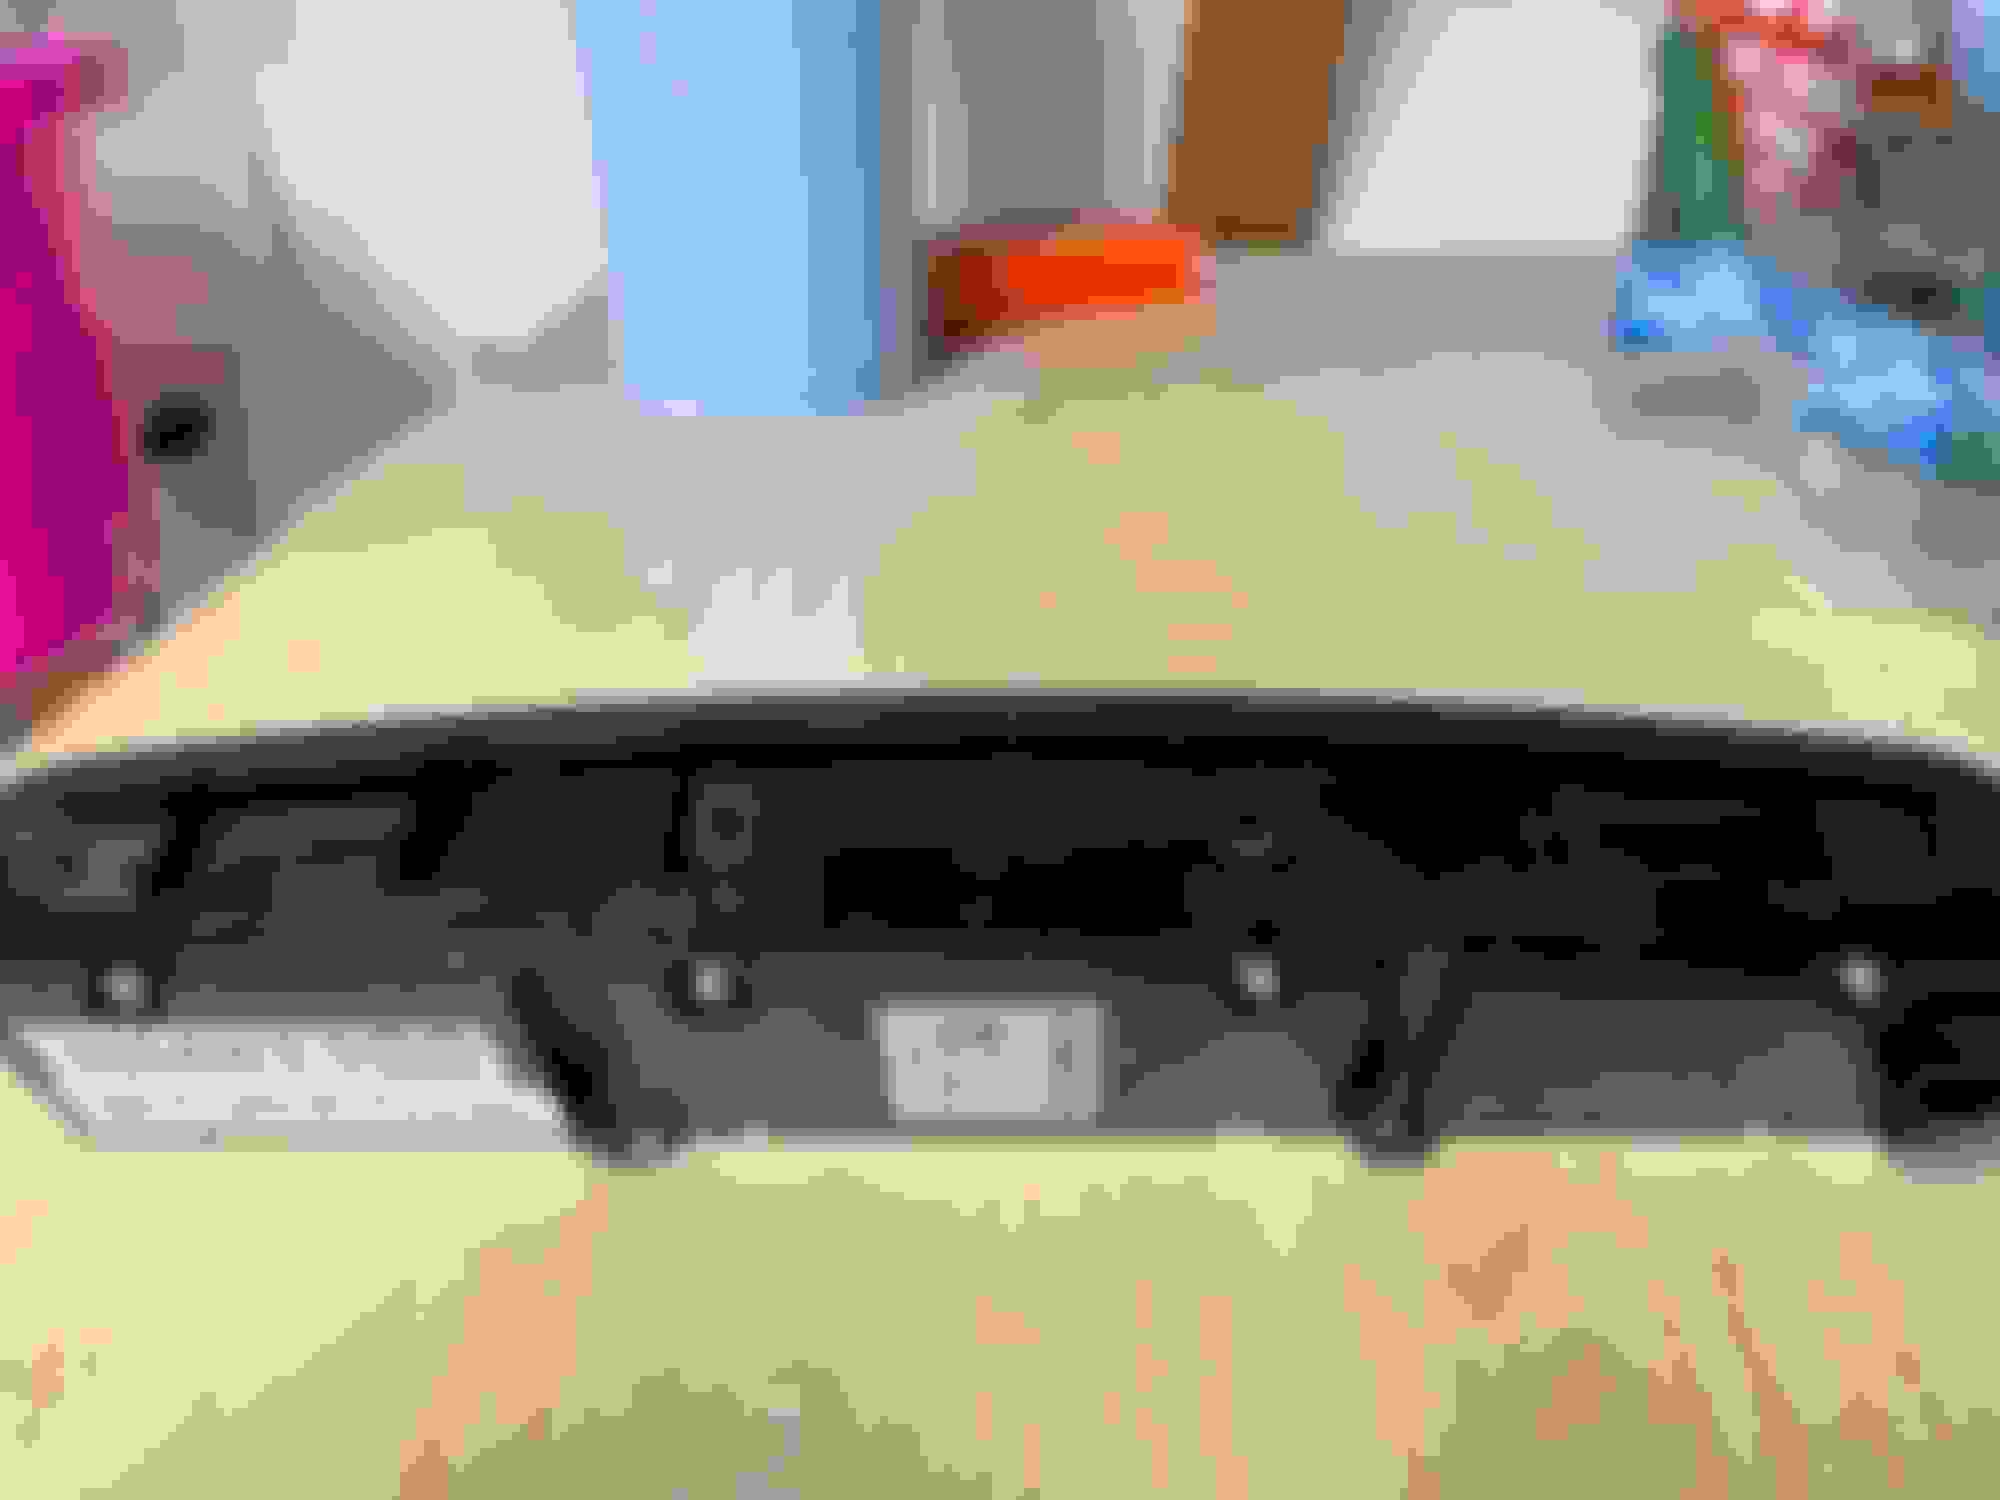
Remove 8 screws, I believe they are T10 but not sure, the markings on my tool were worn off.
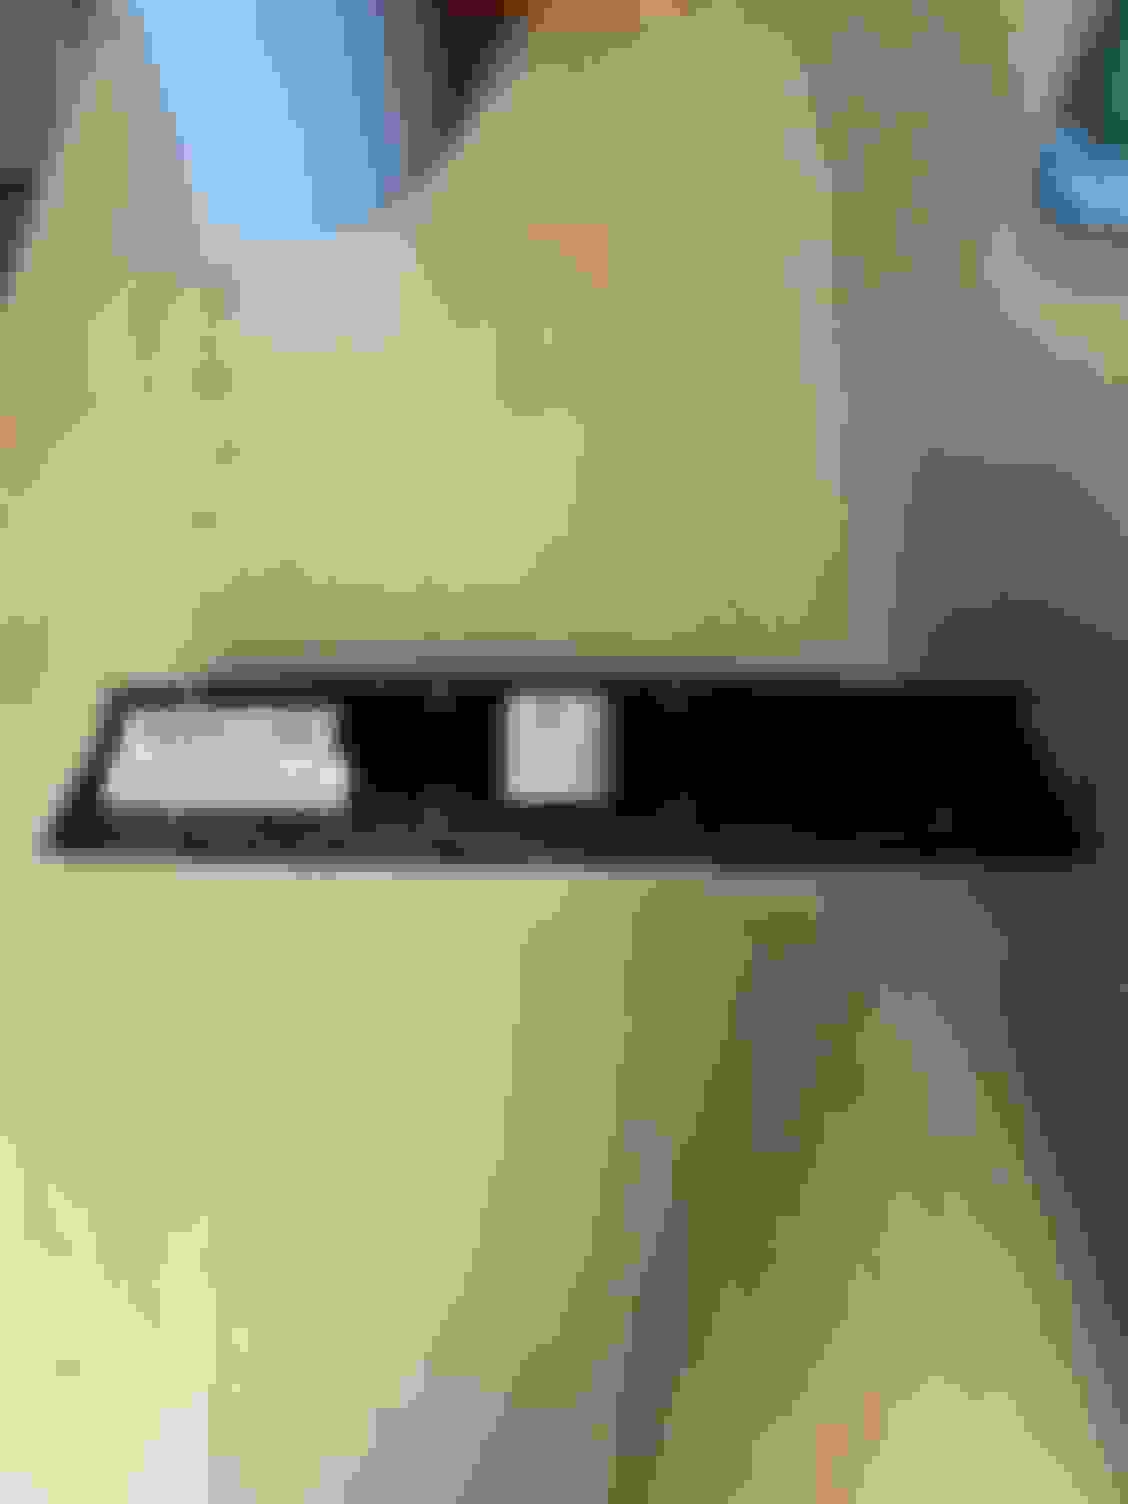
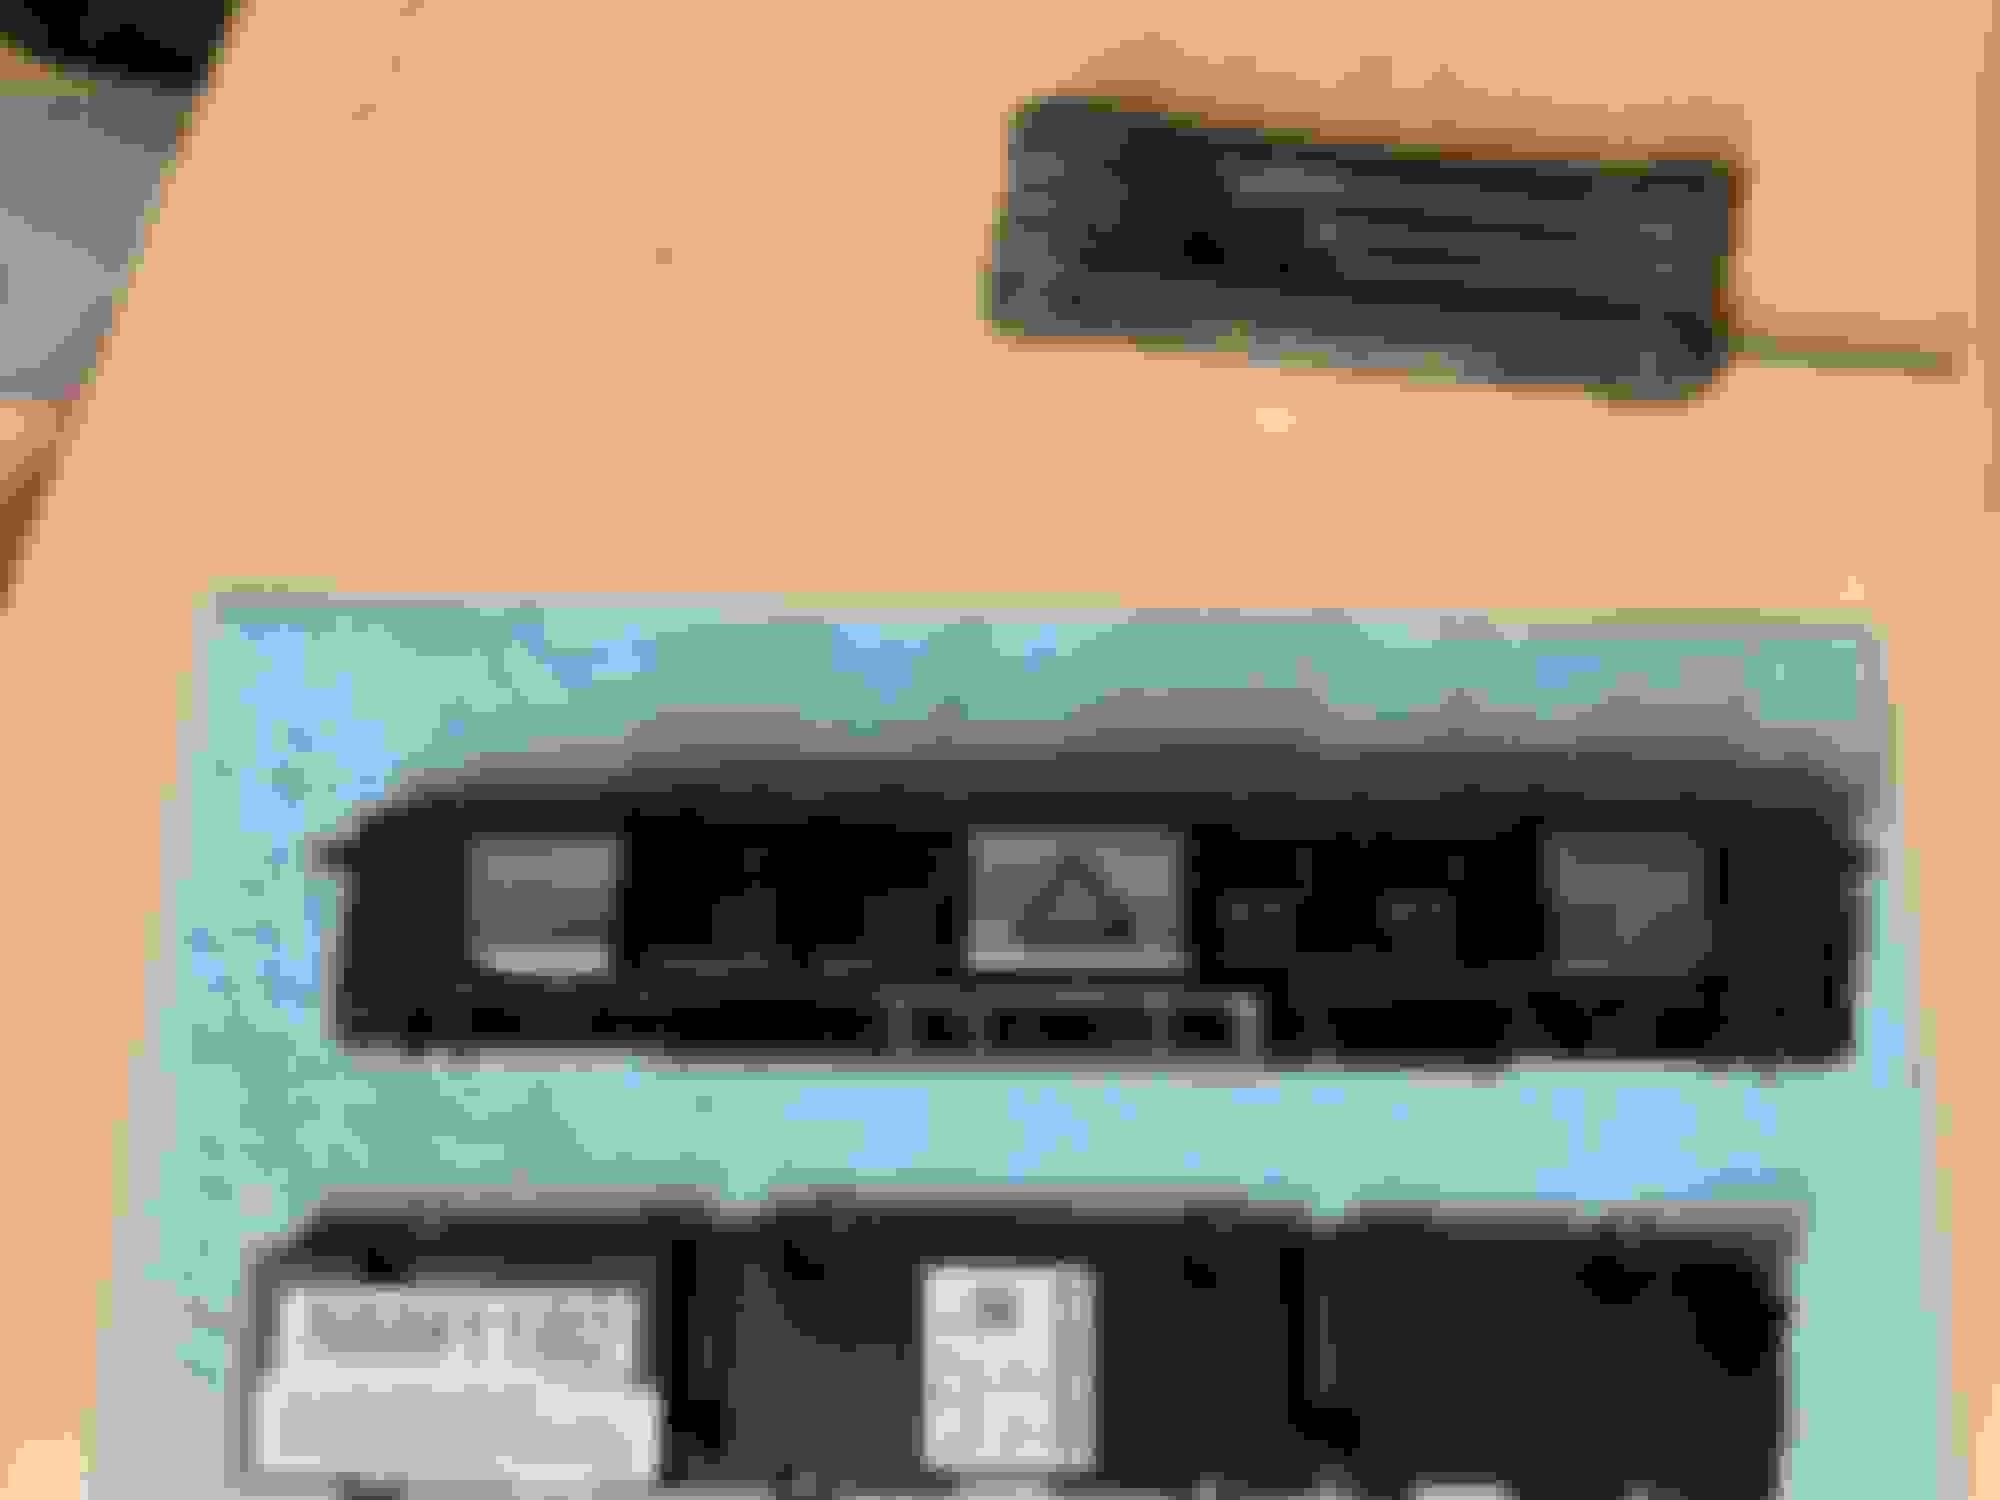
The cover off.
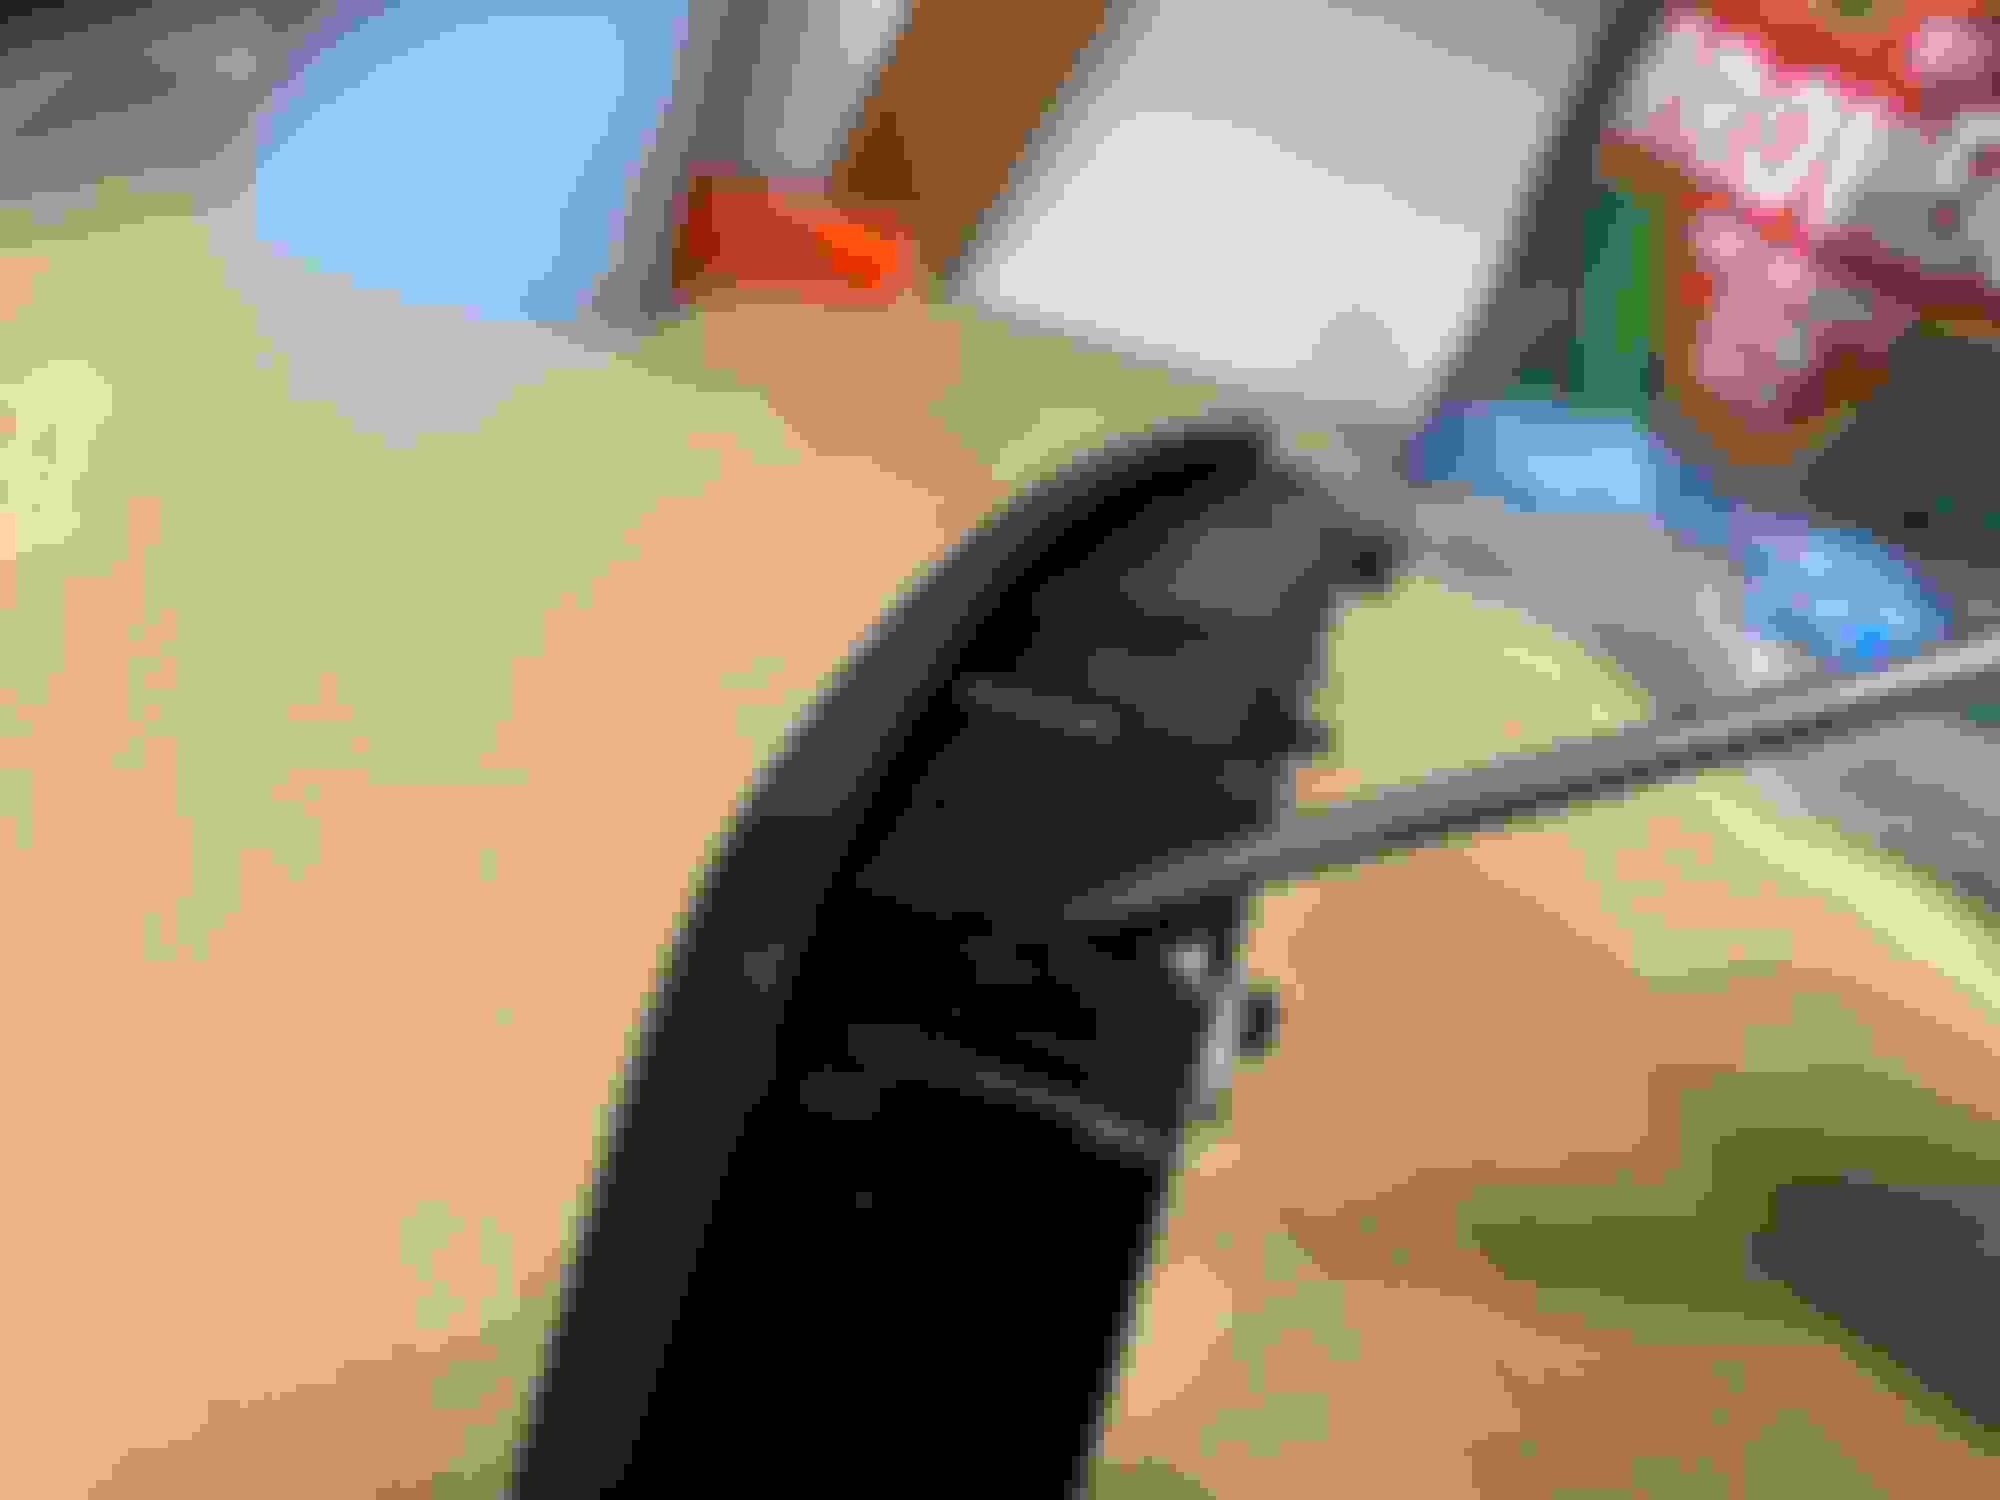
Here are pictures of the types of clips that hold the front and rear portions of the assembly together. I tried using the flathead pictured, but I found using my fingernails to be a much more effective and safe method. Start at one end and work lengthwise to the opposite side. Once you get the first two clips opposite from one another, the process to separate becomes extremely easy.
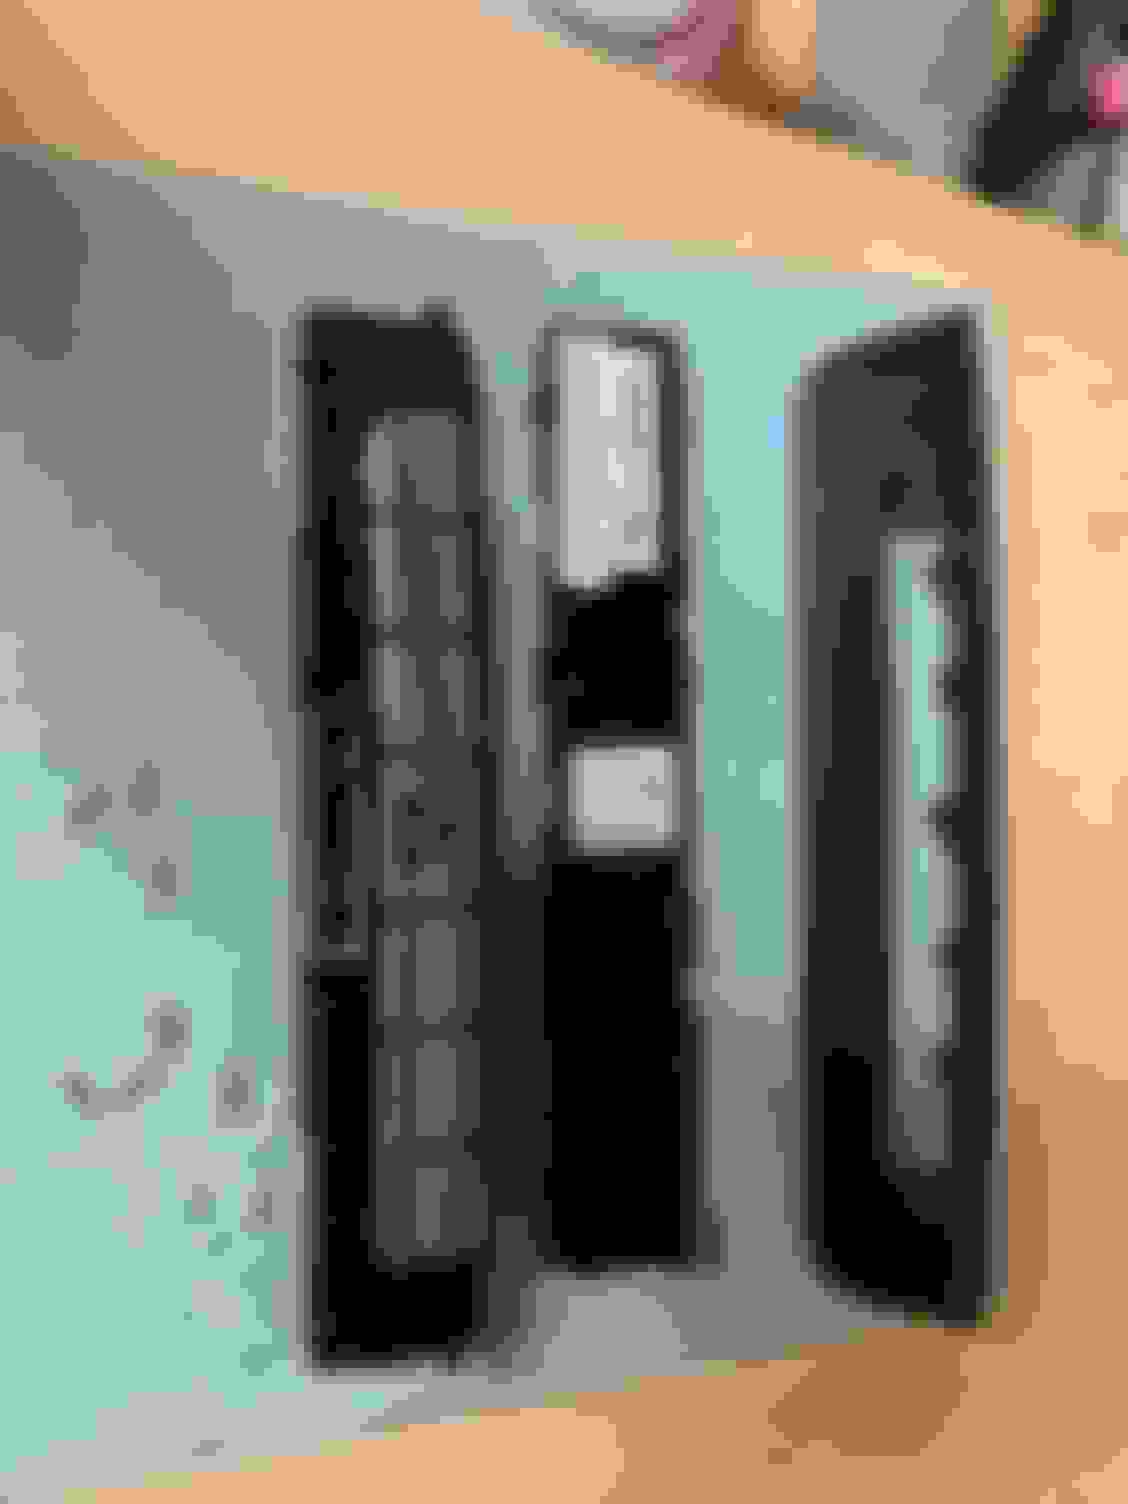
Here are the pieces apart.
At this point, you can remove the circuit board. First, I removed the blank switches by simply pulling them straight off. Keep track of the order and orientation that the switches come out, not only are they directional, but arranged next to each other in a specific way. This gave me access to push the circuit board out from its housing, which is a much better alternative than pulling on the board by its three-pronged connector.
Once the board is out, you will have access to the tabs that retain the functional switches. A note for replacement of the board, it will only fit one way. It will effortlessly fall into place. If it does not, the board is incorrectly oriented.
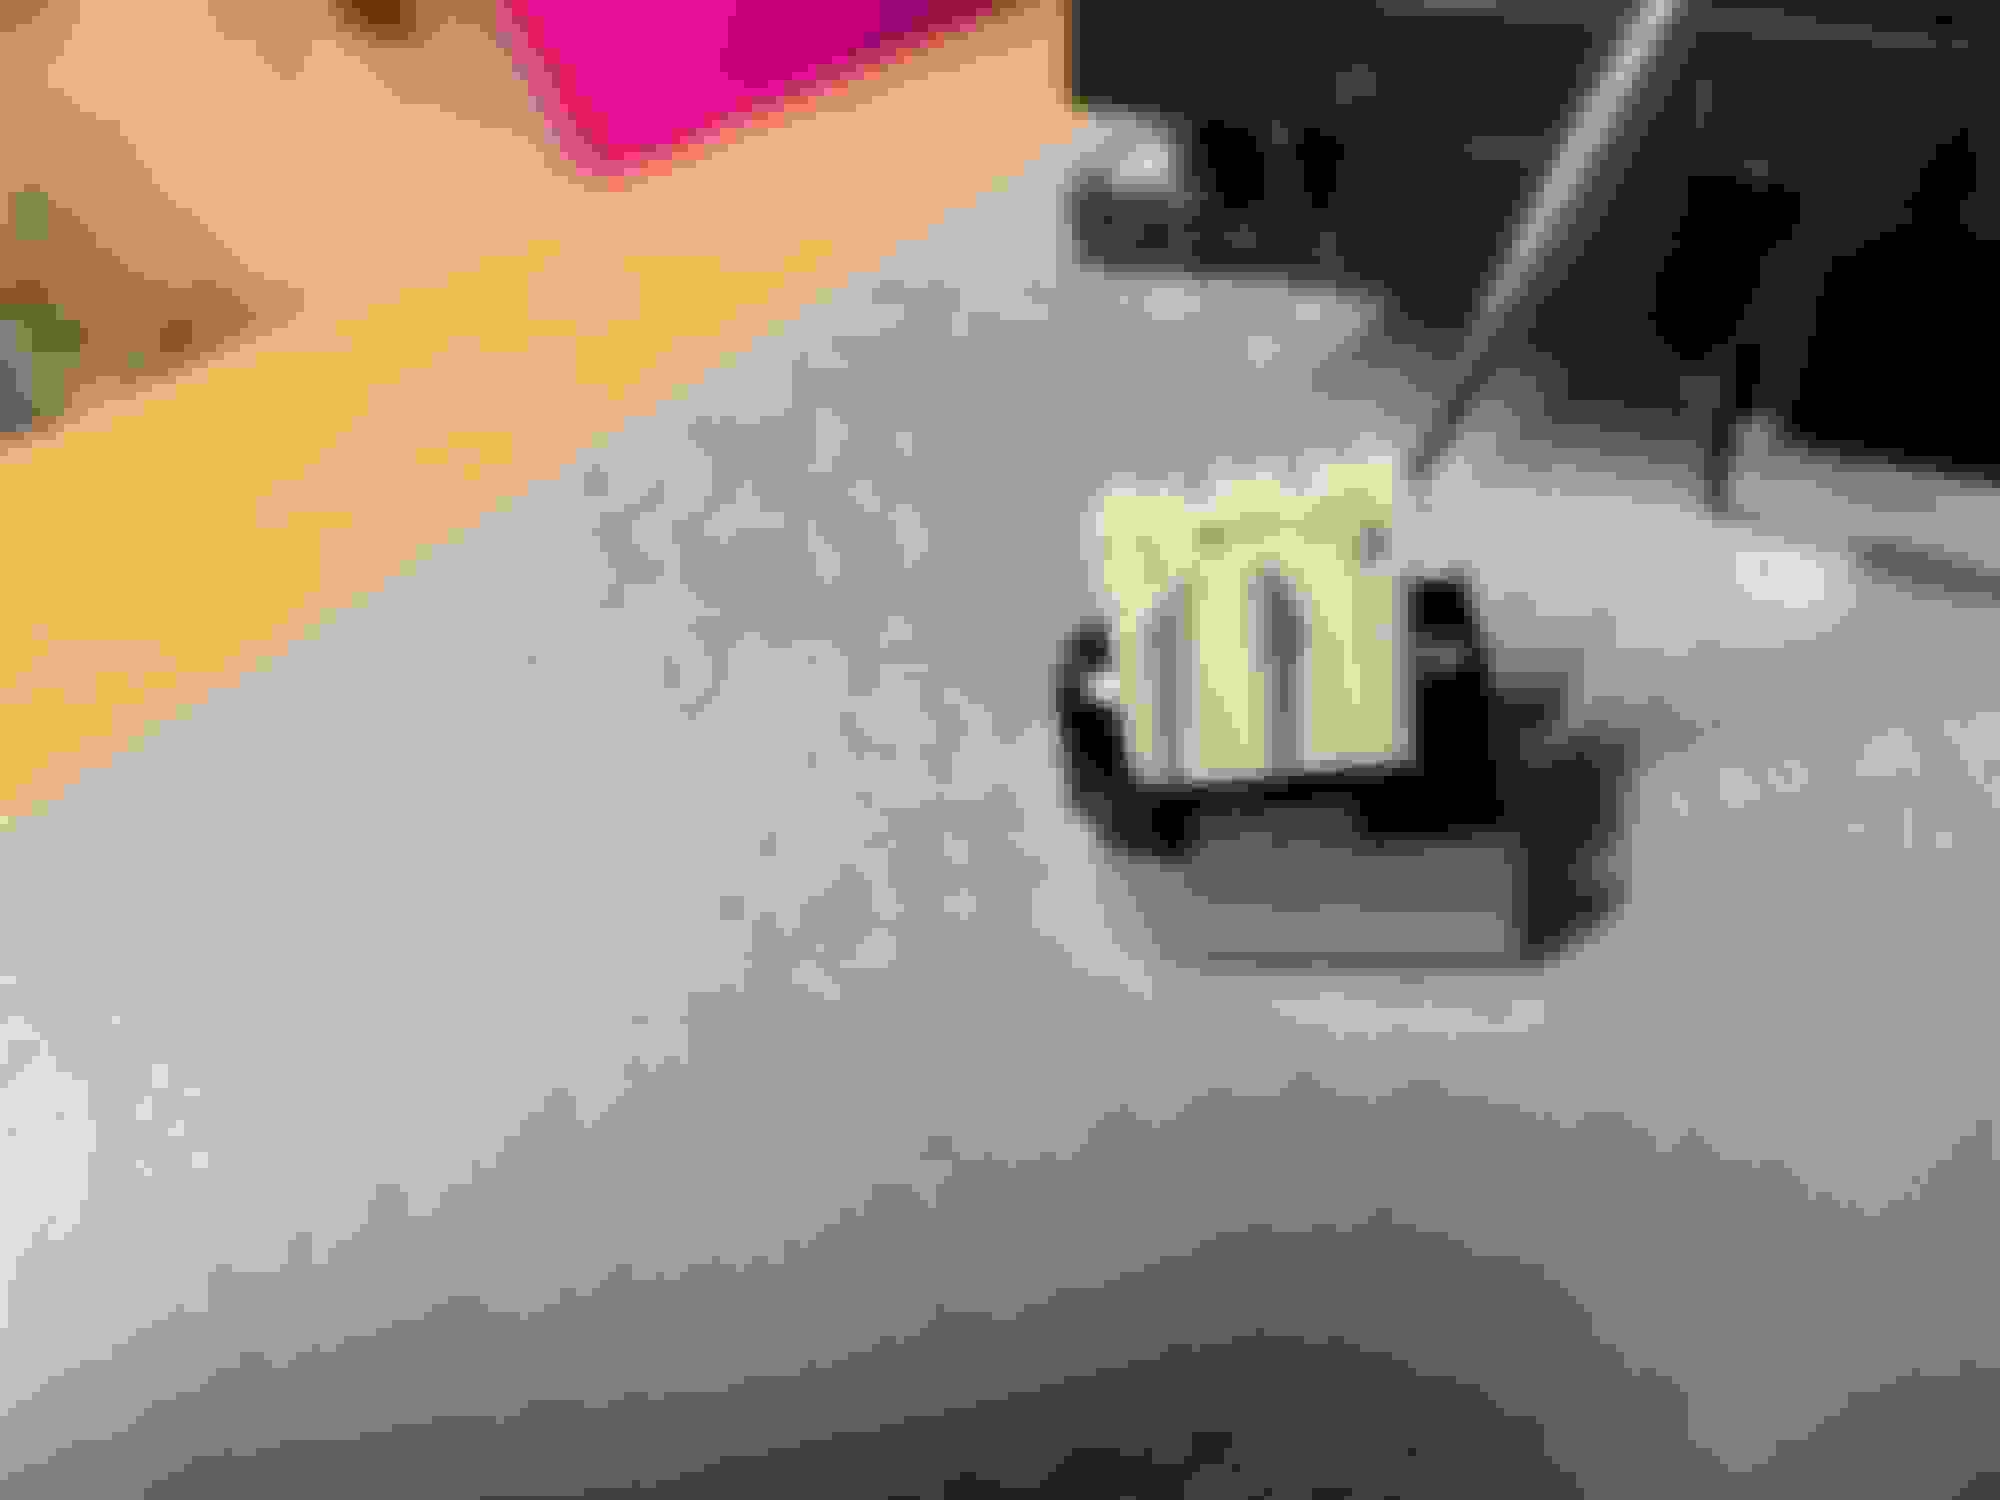
I used a flathead to gently release the white tabs, while gently applying pressure on the switch. With a balance of both, the switch should fall out of the front-facing part of the assembly. Make sure it doesn't fly off and hit the floor, potentially marring your switch.
Do not attempt to remove the outermost left/right switches by applying pressure against the white tab exposed. It will not work and you risk damaging your switch.
Here are a few more pictures. Blanks just slide off, helps to place them in order.
Refrain from prying, focus on releasing.
Reassembly is the exact opposite process. The torx screws should not be tightened much more once the head of the screw has seated against the plastic. I wouldn't recommended tightening much more than 10 degrees once seated.
I would recommended practicing the assembly and reassembly on the part you intend to source the switches from. This way, you know exactly what to expect when you go to disassemble the part you want to ultimately install on your car. After having practiced disassembly/reassembly on my donor unit, I noticed no changes in creakiness or tactility of switch actuation. As long as you proceed slowly and gently, there will be no evidence of work. I hope this may be useful to someone wanting to replace only one switch (especially if their bezel is in better condition than the donor part). The circuit boards should be interchangeable between any plastic housing from any facelift W204, regardless of options. Instead of finding the exact same lower control unit as came factory for your specific car, you can get creative by swapping parts selectively to achieve your goal.
Mercedes SLR McLaren 722 S Is Extremely Rare Example Modified by McLaren
Slideshow: A one-of-one U.S.-spec Mercedes-Benz SLR McLaren Roadster became even rarer after a factory-backed transformation at McLaren's headquarters.