When you click on links to various merchants on this site and make a purchase, this can result in this site earning a commission. Affiliate programs and affiliations include, but are not limited to, the eBay Partner Network.
Hello Benzdude. I have a 2017 c43 sedan with 360 camera. How easy was it to install the amg puddle logo? I read in other places that if i have the 360 camera, the passenger side will have to have trimming.
I love the lights BTW.
Hello Benzdude. I have a 2017 c43 sedan with 360 camera. How easy was it to install the amg puddle logo? I read in other places that if i have the 360 camera, the passenger side will have to have trimming.
I love the lights BTW.
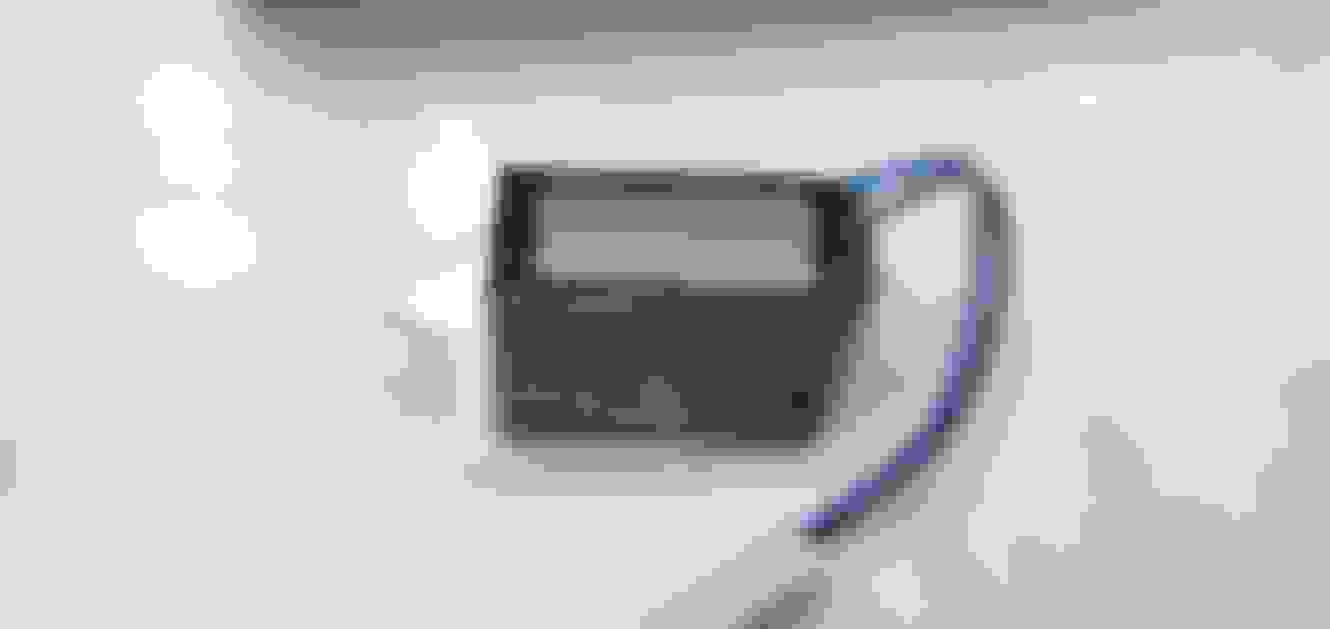
This should replace your existing puddle light. pop out, insert logo projector. I assume your puddle light and cameras are in separate spots on the mirror housing?
Sorry, I don't have surround view cameras, but i wish I did.
If you install your lights and get flickering you may need to add a resistor or get the dealer to perform a programming change via Xentry to circumvent the current limiter.
I just tested a 10 ohm 2% resistor and the flickering went away.
EDIT: When I added my aftermarket turn signals to the same + 12 volt circuit the flicker came back.
I had to use a single 15ohm 2% tolerance, 2 watt resistor to fix each side, instead of the 10ohm. (NTE Electronics 2W015)
�45 from Ali express app. Didn't show amg log in advert but vendor confirmed it has them. They are exactly the same as the ones above.
I have a 2019 c43 wagon with 360.
Install be Fing careful. There are many videos on the mirror housing so do a litte prep on YouTube. I just want to share my experience with the facelift and 360 camera as there is not much information.
Start drivers side easy boy just be patient and carful of Conections don't force anything clips holding the oem light in place can snap then it's new mirror housing for you or glue bodge job. Remove 360 cam 2x screws same as ones holding indicator light in the mirror cover. Then gently release near side clip on light Place finger under mirror press gently upwards on the light at same time as releasing the clip with flat head screwdriver. This will release the light then u need to wiggle it out, I turned the near side of tight towards the front of the car rotating it 90� then it came straight out.
(you may wish to Conect up before going further to test the light) Insert new light Fiddly but no force required it will rest nicely when aligned correctly clip near side clip to secure. Re install the 360 cam start with far screw 1st as it's at a angle you don't wanna fish arround for a rouge screw. Carefully clip everything back in place. (I did my Indicators at the same time tapping into the puddle light connection for the fancey dynamic unlock lights)
For the passage side this took a while and I started with this side, then when I Finnished I decided to post so sorry there is no before installation maybe someone can add a image of the before TRIMMING looks like.
Start the same remove Conections and 360 camera. This side is much tighter due to a plastic moulded bit on the bottom of the central mirror housing. The puddle light will come out without trimming but its tricky, I actually snapped the rear clip holding it in place by accident but this didn't matter as its so dam tight when u mannage to get the new light in its not going anywhere.
So once the oem light is out take a look at the area it was in, there is a triangle thin plastic mold tha has to be trimed almost a cm2, then some light shaving of the plastic area it attached to. I used some wire snips through the light hole to tackle the wedge then a file on the lip that is obviously in the way. Do little bit by bit trying to get the new light in every little bit u take of. Mine was so tight that once I got it to drop in its hole it would require the same amount of foced fiddling to remove as it did to install
Once done celebrate, test, re install 360 cam and clip it all back together.
In review no important parts were harmed in the instal like the 360 camera this was what I was most worried about. The job would be much easier if you know how to take the whole mirror housing apart but definitely not necessarily. I'm a normal person without much car knowledge probably why I didn't mind trimming bits of my AMG but it's only a wingmirror. Very happy with the results and worth the effort.
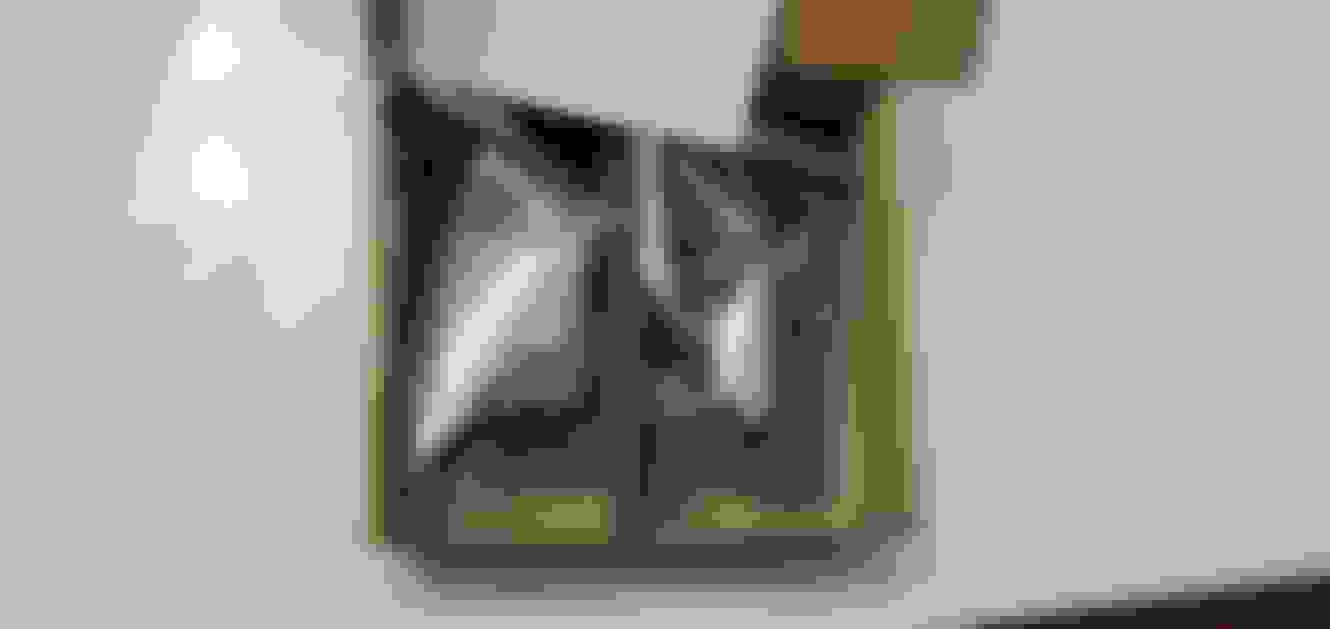
Size difference oem on the right Drivers side oem, no need to remove blue connector just work round it 360 camera that needs to be removed to get at puddle light behind. Drivers side again, but with terrible blue line to show roughly how much larger it is on the passengers side and where the wedge is aswell that needs to be trimmed.
I will take some pictures when I can, the only thing I had to do is add in a resistor which was very easy to solder, which you can get at advanced auto


 05-21-2020, 09:01 AM