When you click on links to various merchants on this site and make a purchase, this can result in this site earning a commission. Affiliate programs and affiliations include, but are not limited to, the eBay Partner Network.
That's really good pricing man. I paid $800USD for my plate alone. You guys are getting a great deal, especially considering that a trusted forum member will be supplying TBs that you can rely on to work properly. It's a shame that there isn't an easy bolt-on velocity stack solution just yet, but who knows, maybe BLK might have a guy that can hook some up
FML, all things considered for the entire project, I think I've spent more than it would have cost to have bought a brand new kit from Kleemann.
2012 P31 C63 Coupe Trackrat, 2019 GLE63S Coupe Beast
Nice work again Celica
After looking everywhere for an off-the-shelf bolt-on solution, I ordered a pair of Vibrant Bellmouth 3.5" inlet aluminum velocity stacks last week and they should get here by the weekend. What did you use to attach, JB Weld? I assume you had to use something viscous like that to fill in the slight gap between the 3.5" (89mm) ID inlet and the ~86mm OD of the TBs?
I think you may be able to create a bolt-on solution out of these by folding up some of the extra aluminum neck and creating a few tabs instead of cutting it all off to fit. Won't know until I get working with them.
You've got too much power already man!! Can I have a few horses please?
Originally Posted by BLKROKT
Nice work again Celica
After looking everywhere for an off-the-shelf bolt-on solution, I ordered a pair of Vibrant Bellmouth 3.5" inlet aluminum velocity stacks last week and they should get here by the weekend. What did you use to attach, JB Weld? I assume you had to use something viscous like that to fill in the slight gap between the 3.5" (89mm) ID inlet and the ~86mm OD of the TBs?
I think you may be able to create a bolt-on solution out of these by folding up some of the extra aluminum neck and creating a few tabs instead of cutting it all off to fit. Won't know until I get working with them.
Thanks man
Yeah I used unibond metal epoxy, so anything like that will work. When you make yours, they key will be to get it as shallow as mine in the pics. Use the stock TB as a benchmark to gauge your progress.
I did consider trying to make it bolt on...but alas, I wanted it back on the car asap etc. Good luck with your set up
Be careful when using the dremel too....the amount of times that I came close to needing new fingers.....
You've got too much power already man!! Can I have a few horses please?
Thanks man
Yeah I used unibond metal epoxy, so anything like that will work. When you make yours, they key will be to get it as shallow as mine in the pics. Use the stock TB as a benchmark to gauge your progress.
I did consider trying to make it bolt on...but alas, I wanted it back on the car asap etc. Good luck with your set up
Be careful when using the dremel too....the amount of times that I came close to needing new fingers.....
2012 P31 C63 Coupe Trackrat, 2019 GLE63S Coupe Beast
Got the Vibrant velocity stacks today. Really nice quality. The “3.5”” inlet is actually dead-on 82mm. The more that I look at this, the less I want to glue these on. I think I can get someone to cut down the velocity stack, and also cut 1/4” off the actual TB inlet, and then weld it together. I just don’t want to risk these getting loose or the engine eating chunks of JB Weld. Also I have a hunch that this new TB plate from Oli seats the TBs a bit higher in the clamshell. I think you could probably get the overall height even lower than OE which would make more space to the belly pan. In theory that should free up the intake and produce more power. What do you think.
Also I have a hunch that this new TB plate from Oli seats the TBs a bit higher in the clamshell.
This is true.
Originally Posted by BLKROKT
I think you could probably get the overall height even lower than OE which would make more space to the belly pan. In theory that should free up the intake and produce more power. What do you think.
No doubt this would work, i'm sure of it. It's a pity that this plate doesn't have the oem taper towards the inlet neck of the manifold, but then I guess this is just a copy of the Kleemann/Renntech housing I suppose. But yeah, if you cnc the mounting surface by 10mm, that will probably make a good difference. I wish I'd thought of that now tbh.
You really should make a log before you attempt the install btw. It'll be good for your own sanity as well as mine
2012 P31 C63 Coupe Trackrat, 2019 GLE63S Coupe Beast
Celica could you do me a favor and measure the height of your modified velocity stack from the top of the TB (the inlet surface)? I’d rather get this cut and welded up and all squared away before taking my car apart to minimize downtime. I’m pretty sure I’m going to have to take 1/4” from the TB inlet itself as well to get clearance. Thanks
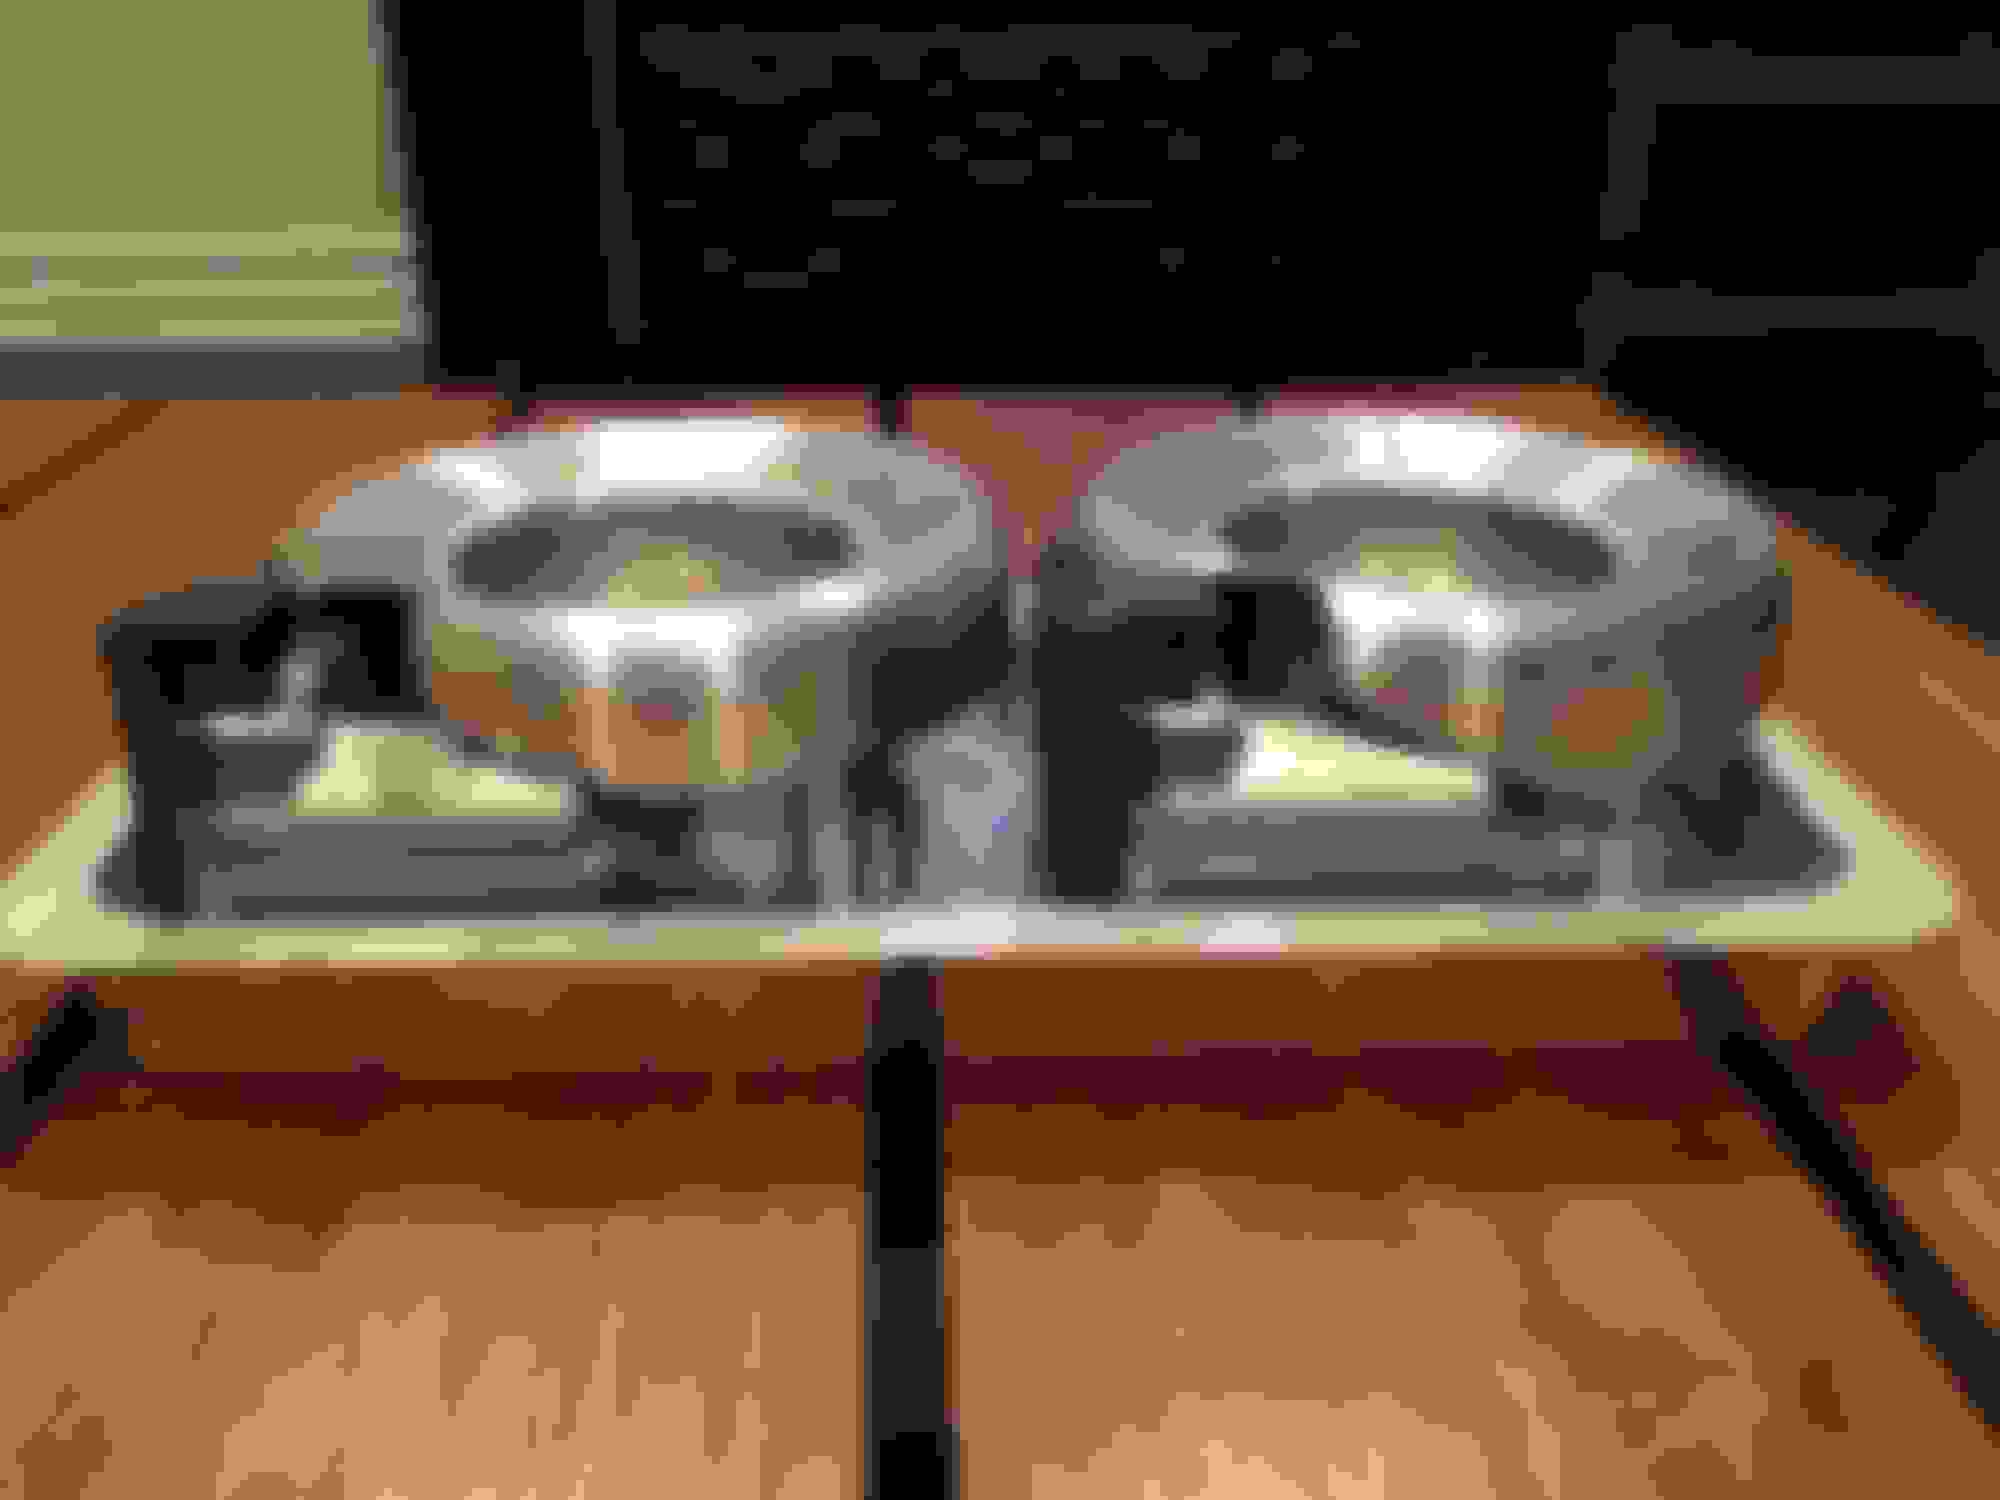
However....here are measurements of one of the stock units. This should help give you an idea of your dimensions, on the basis that the pic I posted above of my bigger unit has an overall height slightly shorter than the stock unit. I'm sure you'll work it out from studying the pics
(bear in mind, my tape measure is probably 1mm 'off' because it wasn't pressed super firm against the surface or the unit would have fell on it's side while my other hand took the shot)
2012 P31 C63 Coupe Trackrat, 2019 GLE63S Coupe Beast
Very helpful thanks! Time to start cutting stuff. If I can take the 1/2” lip off of the TB inlet, and then cut my stacks down as far as they go, I should come in at just under OE height.
I really wish I had thought of your idea of shortening the TB itself.....
My overall peak gains over stock (inc v-stacks) are15-20g/s .... if you can beat that with your shorter TB idea, I will paypal you $5 to reward your idea with a nice drink
2012 P31 C63 Coupe Trackrat, 2019 GLE63S Coupe Beast
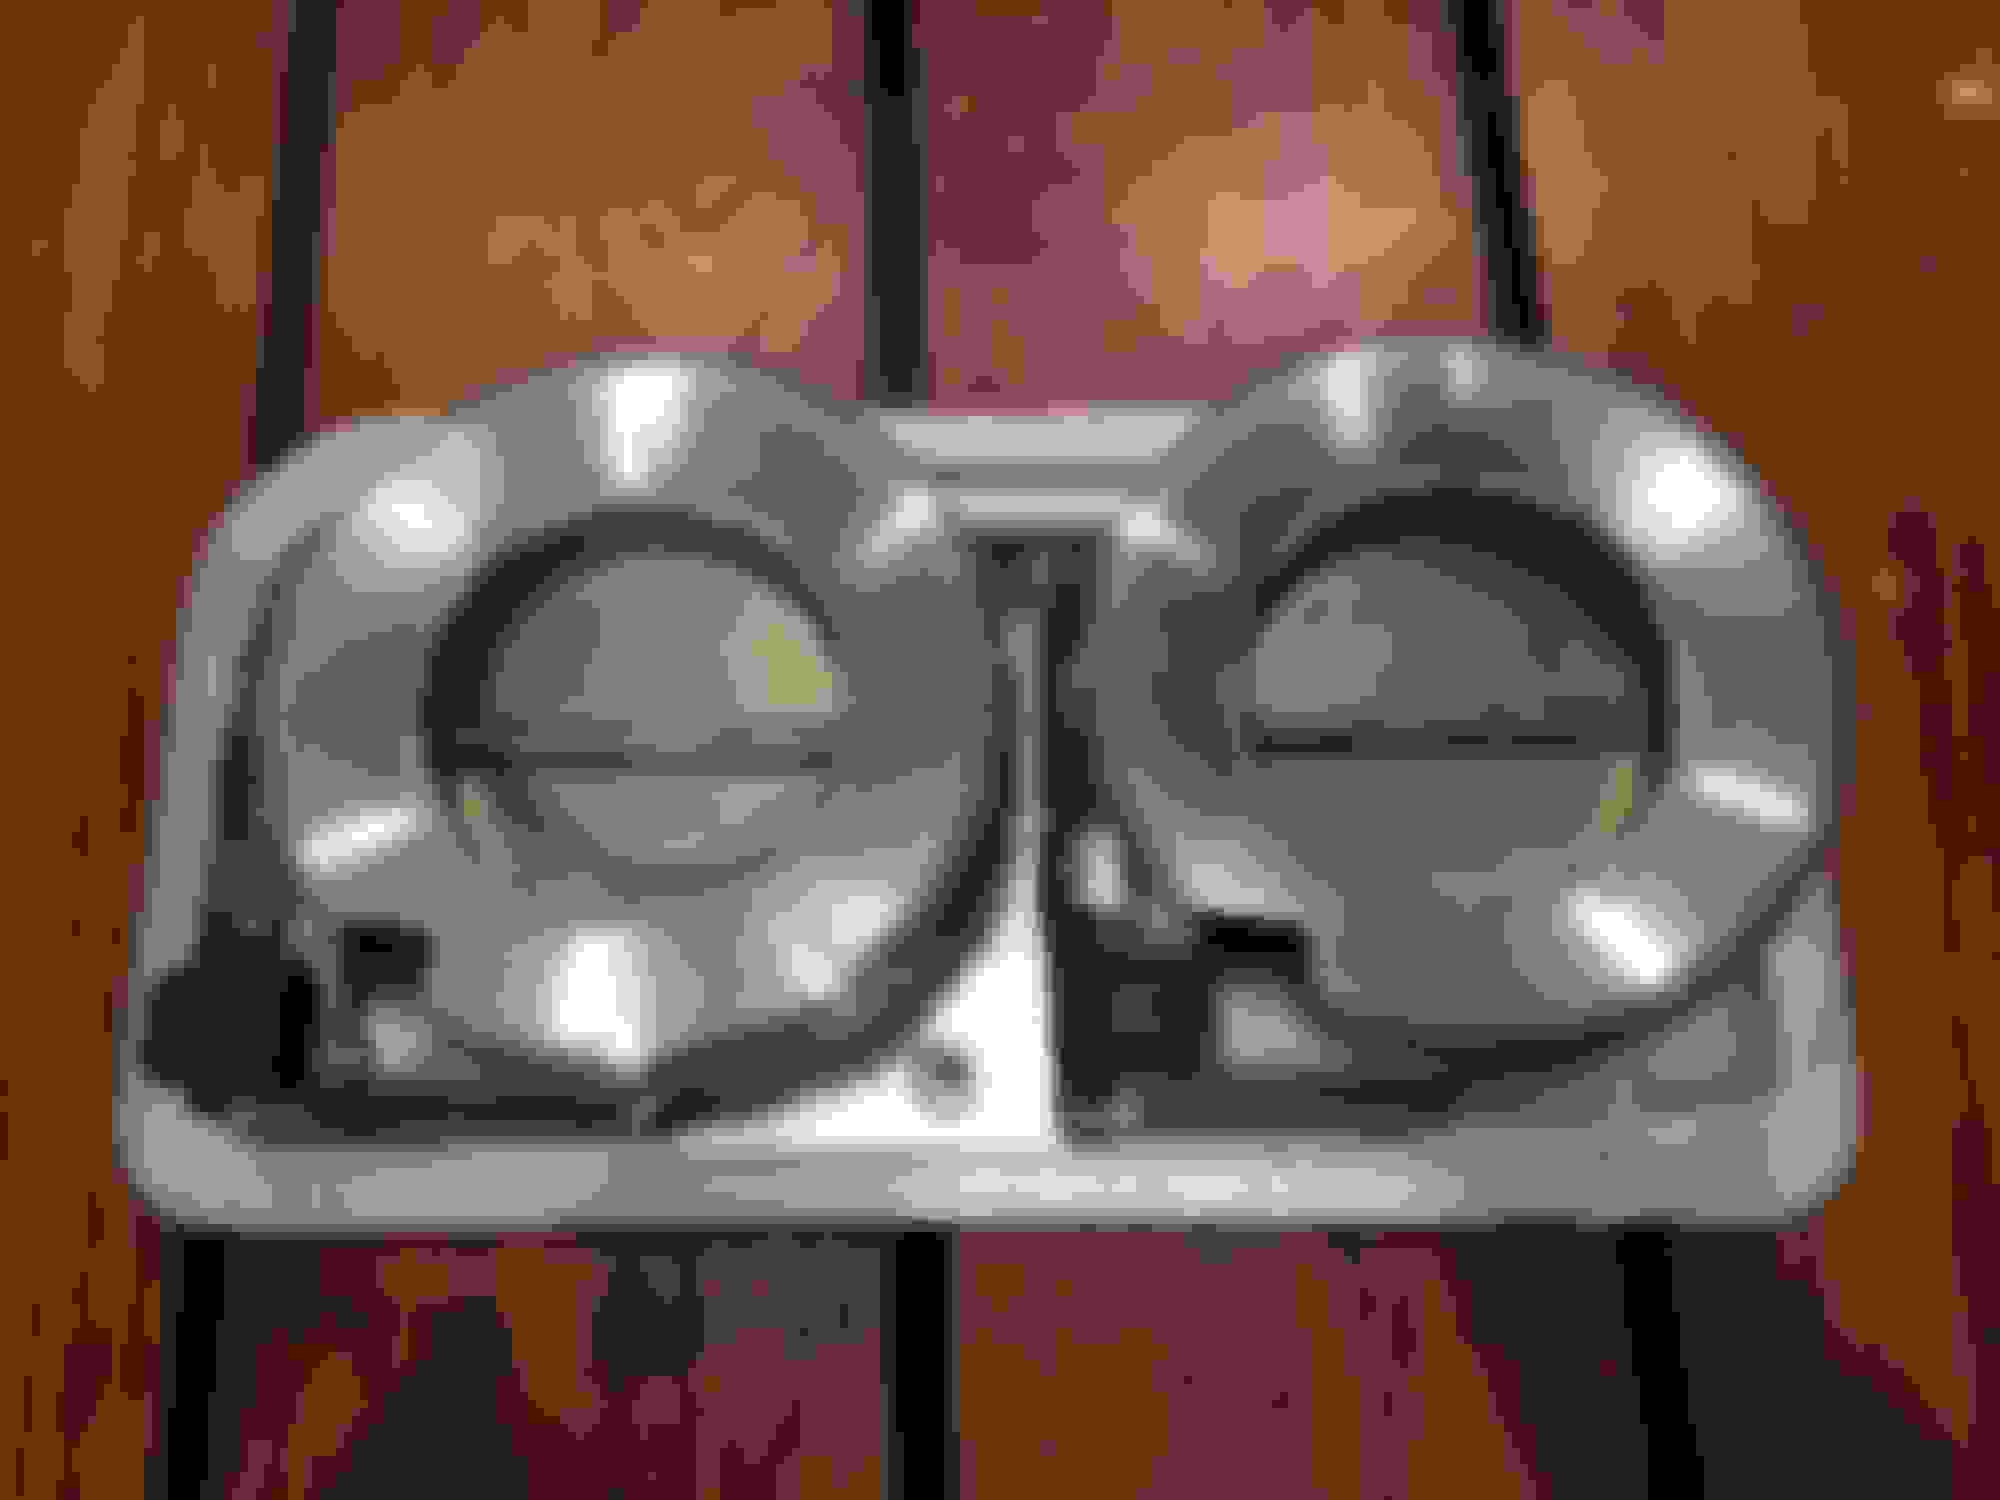
Made some progress. Had a buddy weld these up today and he did a great job (welding these thin spun aluminum stacks to the cast TBs is not at all easy). Just have to clean it up and smooth out the welds a bit, then it’ll be good to go. Total height is just under 2.5”.
2012 P31 C63 Coupe Trackrat, 2019 GLE63S Coupe Beast
By the way, I got a lead on a guy who will custom make spun aluminum velocity stacks to spec for about $300 for the pair. Maybe less if ordered in bulk. Would have been far less hassle than chopping up the Vibrant stacks (it turns out I had to get the 2.5” version to get the fit correct). If anyone’s interested the guys Instagram is properfabrications.
2012 P31 C63 Coupe Trackrat, 2019 GLE63S Coupe Beast
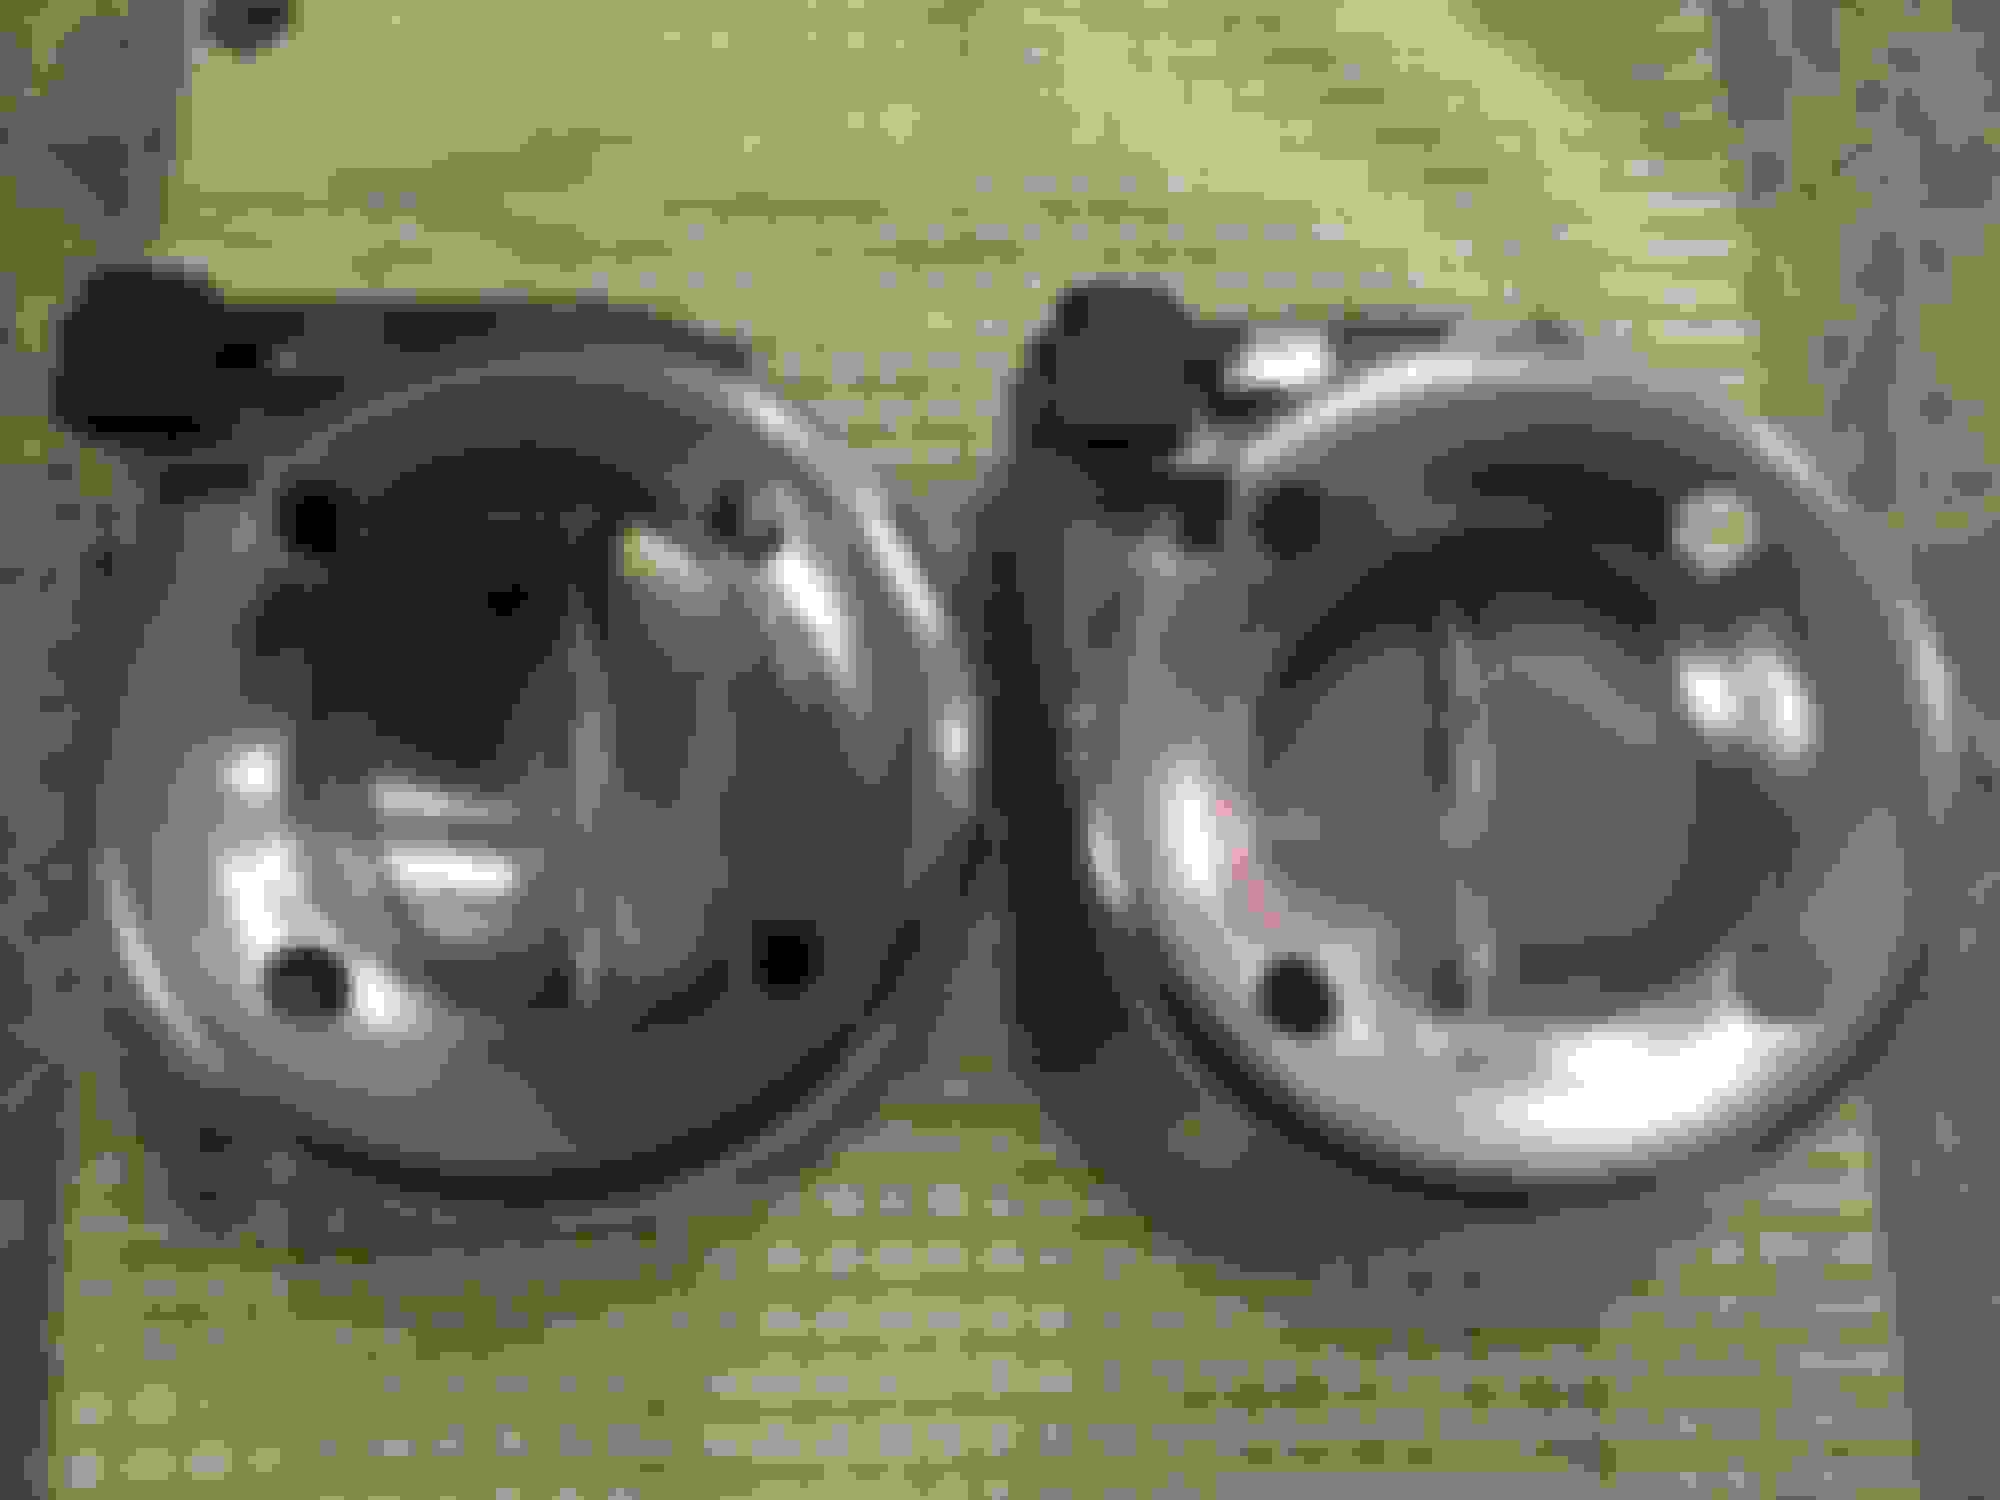
Slowly but surely making progress. These came out real nice. Have the new TB and plenum bolts in the mail. If the below freezing temps here ever let up, I should get these on in the next couple weeks. While I have the intake manifold off, I intend to take it completely apart to clean and port/polish where I can and paint it black.
2012 P31 C63 Coupe Trackrat, 2019 GLE63S Coupe Beast
Originally Posted by Celicasaur
That looks really nice man
What are you planning to port? I can't think of much that can be done in there....?
Thanks. Let’s hope they work after being submerged in water a dozen times each. Not thrilled about the bolt holes which were necessary. Maybe I’ll slap some duct tape on the back side of the stack to cover the holes.
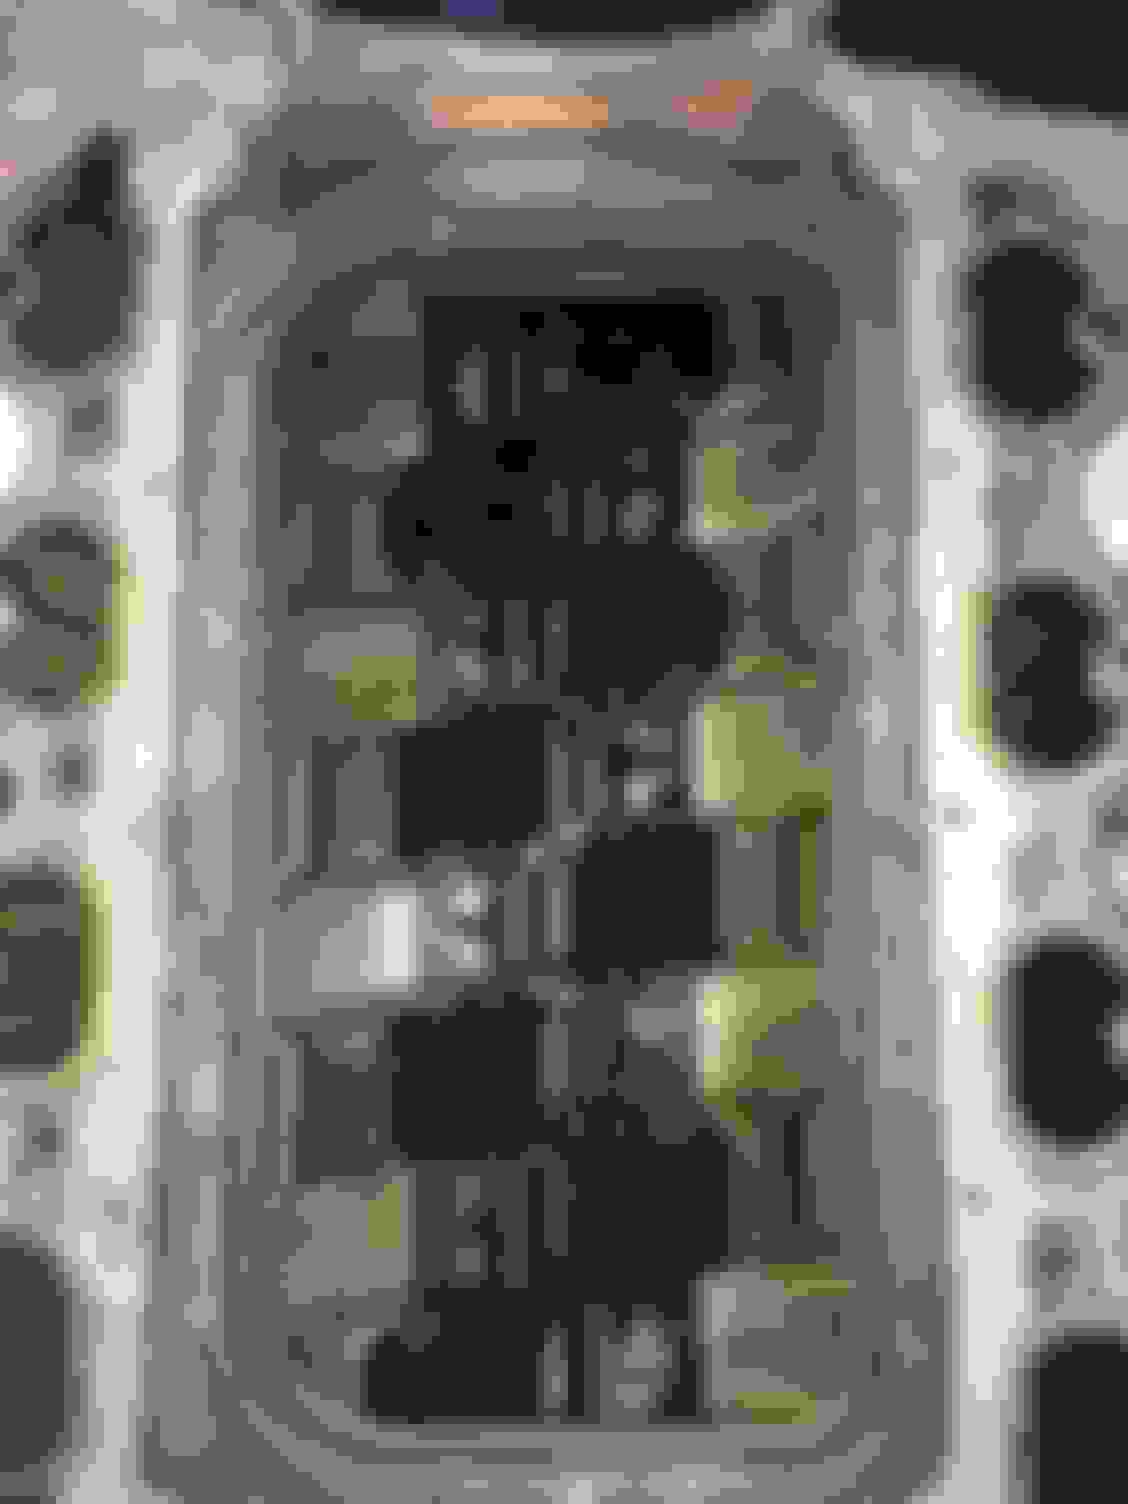
I don't know exactly. I was hoping to figure that out once I get it all apart. I’m sure the runners can be polished smooth at least.
Edit: Check out the pics in the R63 thread on GRM. He took it completely apart. I’m not sure I want to go that far as the runners look pretty optimized already, but I’d also like to get it all scrubbed clean. Breaking the factory seal and resealing with RTV doesn’t really sound like the best idea, but I’ll figure that out when I get it off the car. (https://grassrootsmotorsports.com/fo...110824/page49/)
I wouldn't worry about the holes tbh. The gains from the TBs are fairly minimal anyway. For some reason, i can't help but think they would gain way more if the angle was rotated away from the 'brick wall' of the bellypan.
And yeah, it's quite smooth and nicely done in there. Best best would be to clean all the grime n gunk that's no doubt built up over time and call it a day. If you're feeling experimental, buy two IAT sensors, some wire and make your own plug n play IAT relocation harness. I kind of want to....but I don't know if the air actually heats up that much (the differential from ambient to intake) from the time the air hits the grill, to the time it gets to the sensor and then through the manifold at witchcraft speeds, or if it actually stays at around the same temp and the IAT sensor simply reads higher because it's continuously heat-soeaked My M5 has an IAT relocation done - it's tuned aggressively as hell and performs flawlessly (touch wood )
TBH breaking the factory seal with RTV will be fine. I've done it on two manifolds and they're sealed up just fine.
I'm working on a little something for the intake manifold which i'm hoping to post results up about soon.
2012 P31 C63 Coupe Trackrat, 2019 GLE63S Coupe Beast
Originally Posted by Celicasaur
I wouldn't worry about the holes tbh. The gains from the TBs are fairly minimal anyway. For some reason, i can't help but think they would gain way more if the angle was rotated away from the 'brick wall' of the bellypan.
And yeah, it's quite smooth and nicely done in there. Best best would be to clean all the grime n gunk that's no doubt built up over time and call it a day. If you're feeling experimental, buy two IAT sensors, some wire and make your own plug n play IAT relocation harness. I kind of want to....but I don't know if the air actually heats up that much (the differential from ambient to intake) from the time the air hits the grill, to the time it gets to the sensor and then through the manifold at witchcraft speeds, or if it actually stays at around the same temp and the IAT sensor simply reads higher because it's continuously heat-soeaked My M5 has an IAT relocation done - it's tuned aggressively as hell and performs flawlessly (touch wood )
TBH breaking the factory seal with RTV will be fine. I've done it on two manifolds and they're sealed up just fine.
I'm working on a little something for the intake manifold which i'm hoping to post results up about soon.
Thanks. Yeah thought about angling the stacks towards the air inlet, but it was just too much hassle. You have to wonder what effect angling them has on the back one getting more flow. With them straight at least you can be sure that you're maximizing the total space/volume to the belly. IAT relocation was also on my list of little things to do, but I'm with you in that I don't believe that there is really that much difference except at lower speeds.
Did you break apart the intake completely to clean those two times? Did you use the dental floss method like the guy in the GRM thread, or is there a better way?
Looking forward to what you're doing for the intake. I'll be getting a new (bigger) aluminum Y-pipe made up once I get the old one out - it's been bothering me for awhile. Hopefully you give us a sneak peek of what you're doing before I get it all apart/together....
Ahhh yes, but the back one will get an even share of a lower overall potential volume, this is the crux of it. Almost makes me want to have just one big TB facing straight towards the Y-pipe, but then that would mean the flow into the runners isn't optimal. FFS we should just ask AMG for jobs. I'm sure us IT guys know more than these engineers
I didn't use dental floss. I read it this morning when you sent the link and I thought damn that must have taken forever. I used good ol' brake cleaner and a screwdriver to massage any particularly hard, burnt-on bits.
Oooooh I'd like to have a bigger Y-pipe please. I'll be a guinea pig too if you need one. I think the intake plot will be something I'll have done after the dyno of my current tuning, which I'm hoping to hit towards the end of this month or early Feb. And even then, knowing my luck, it'll fail epicly just like my airbox attempt
2012 P31 C63 Coupe Trackrat, 2019 GLE63S Coupe Beast
Well... what a pain in the d�ck that was. Actually went pretty well except for some last minute trimming of the velocity stacks and waiting for everything to dry after washing. Took about 90min to get everything off, then another 6 working on the guts and 3 to put it all back together. Didn’t break anything or lose any bolts into the intake/head (I taped everything off until I had to have access) although had a couple close calls. Starts and runs and sounds way meaner and lumpier than before. Got the car up to temp and shut it down to let all the RTV set. A few points:
- 4 intake manifold bolts were loose. Not quite able to turn by hand but came out with almost zero effort with a wrench.
- There is one hose on the back for the TB purge/idle line that will require you to break the crimped clamp. Have a small worm gear clamp ready to replace it for when you put everything back together.
- Intake was basically spotless as were the intake ports/valves, although 4 cylinders had fresh oil on the valves. Clean probably due to running a catch can for 3yrs plus a lot of WOT driving.
- 4 injector harness plugs were full of oil, probably related to the above.
- Tape over your intake ports to the head, then vacuum/clean the valley. I had tons of sand and grit in there, and a little will get into your intake ports when you lift off the manifold. Get out what you can, I couldn’t reach everything but it’s not catastrophic.
- Taking the intake manifold apart was a straightforward affair. I took lots of pictures to make sure I got it back together right.
- The new plate from Russian Oli fit perfectly. The new TBs with velocity stacks looked like it was going to be tight, but all back together they have almost 2” clearance to the belly pan. The purge/idle vacuum line to both TBs required some more trimming to the velocity stacks and was a bit long for this application. There’s not much you can do with it as it’s an inflexible line that can’t really be taken apart without breaking. I didn’t have any hose around, so I swiveled the hose combinations around with a lot of trial and error until I could get it close. The plugs really wedge in against the base plate and aren’t going anywhere. The hose is a real bear to get back into the rubber plug on the belly pan. Some lithium grease helped but not much.
- Celica wasn’t kidding about 9nm for all the bolts. I torqued them all at 12nm and felt one bolt just barely start to strip when I gave it a bit too much and stopped doing that. Use blue Loctite on EVERYTHING especially the TB bolts (should prob use red for those). Use RTV liberally on that belly pan. There’s a rubber gasket integrated into it, but mine had a couple of pinch points from the factory. I put a solid bead on the outside as well to be sure.
Reassembly was pretty easy. I duct taped all of the injector wires and other assorted things well out of the way and it dropped right in. New Brisk Racing spark plugs in (one step colder and gapped to 0.040). I installed new Bosch injectors - the old ones looked just ok and not too gnarly. I also installed Sikky phenolic gaskets which was the most time consuming bit as I had to make RTV-gasket-RTV-gasket-RTV-gasket-RTV sandwiches (light coat not bead) with the Sikkys in the middle and get it all together with the intake torqued down before dry. Getting the hoses and connectors back in was pretty easy with a bit of grease. I also added a Renntech intake which was a REALLY tight fit. Because of the Sikky sandwiches everything sits about 1/4” higher. It doesn’t sound like much but it makes a big difference. Also put some Loctite white pipe sealant on the fuel line for good measure. Did I mention that I used Loctite blue on every single bolt and white lithium grease on all hoses and orings.
Anyway I don’t have much for first impressions or testing as I’m letting the car sit at temp for the RTV to cure. Honestly I’m just thrilled it started up so easy with no bolts in the intake, intake manifold whistling, CEL or any other bad things. With that said I do have a louder version of what I thought was injector noise before, but now sounds like it’s coming from actually within the manifold. Don’t think it’s anything to worry about but will keep an eye on things.
Idle sounds meaner for sure and the engine doesn’t seem choked for air at all. Will prob take it for a spin later and report back - I have 3/4 tank of race gas and my track tune on....


 10-31-2017, 08:49 PM