When you click on links to various merchants on this site and make a purchase, this can result in this site earning a commission. Affiliate programs and affiliations include, but are not limited to, the eBay Partner Network.
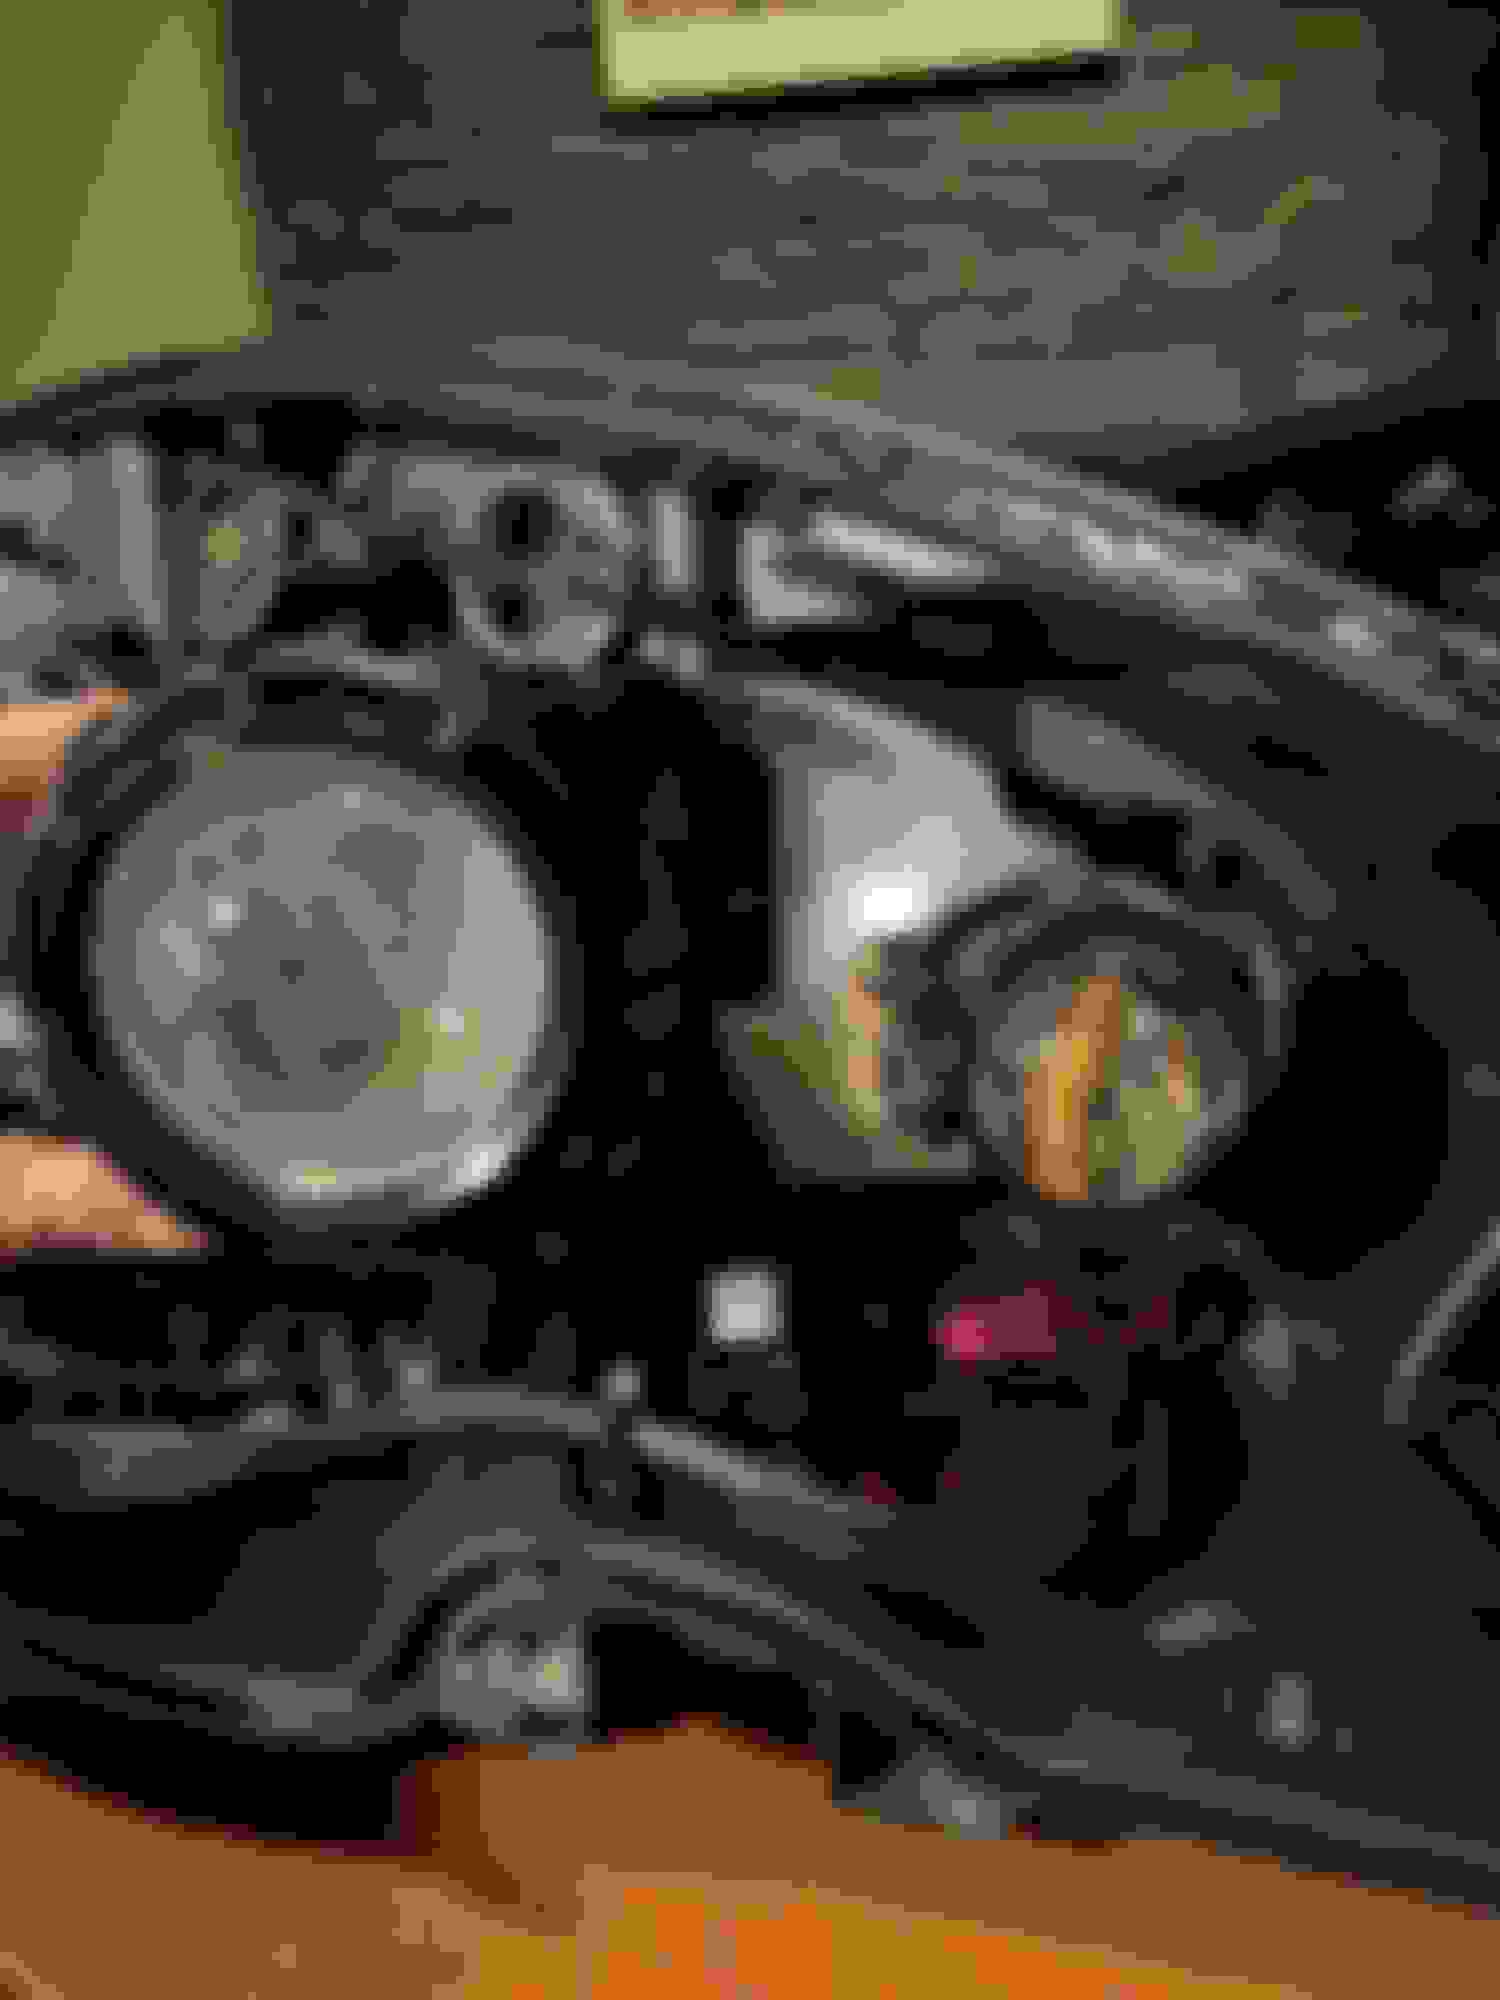
Currently in the process of replacing the projector lenses in my OEM headlights. Turns out these headlights come apart fairly easily, I was able to get them apart in about 10 minutes with a heat gun and some patience. The whole reason I originally took them apart was because of the hazy film and weird distortion right where the projector shines through the lense. I meant to just give everything a good clean, but I got bored and started looking at changing a few things cosmetically, and of course, also replacing the shockingly mediocre quality OEM projector glass lense for some better light output. The bulbs are old too, so those are also getting replaced.
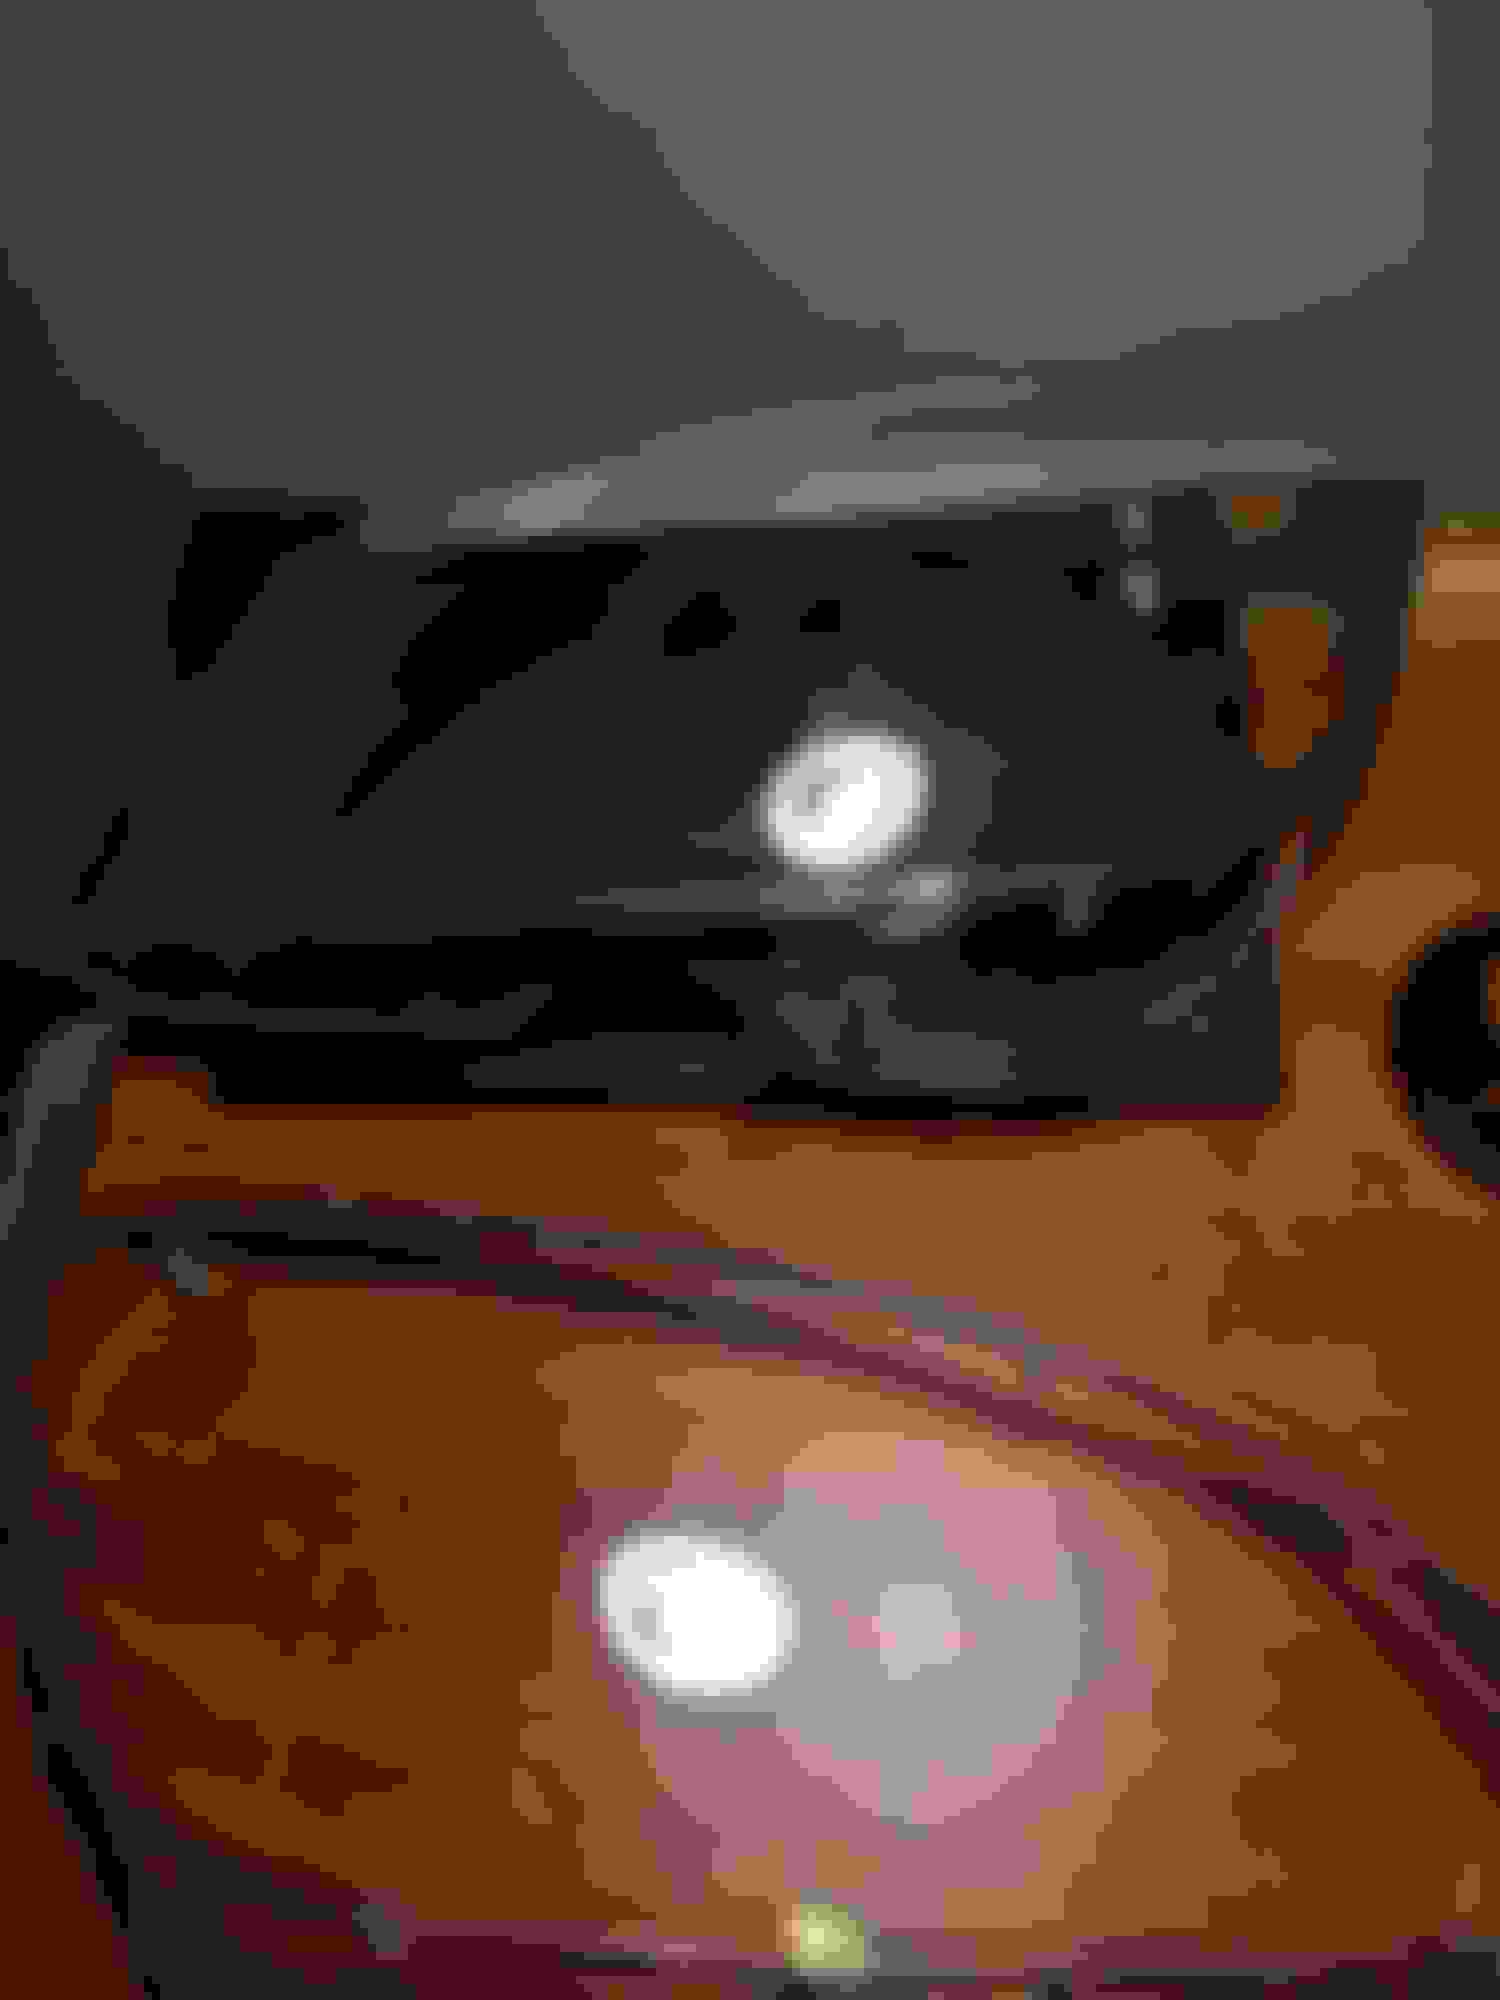
The reason I opened them in the first place..the bottom is cleaned, the top is how it was. I thought the lenses were partially damaged, but it all just wiped off with some very careful cleaning. The inside of the lenses are very scratch prone
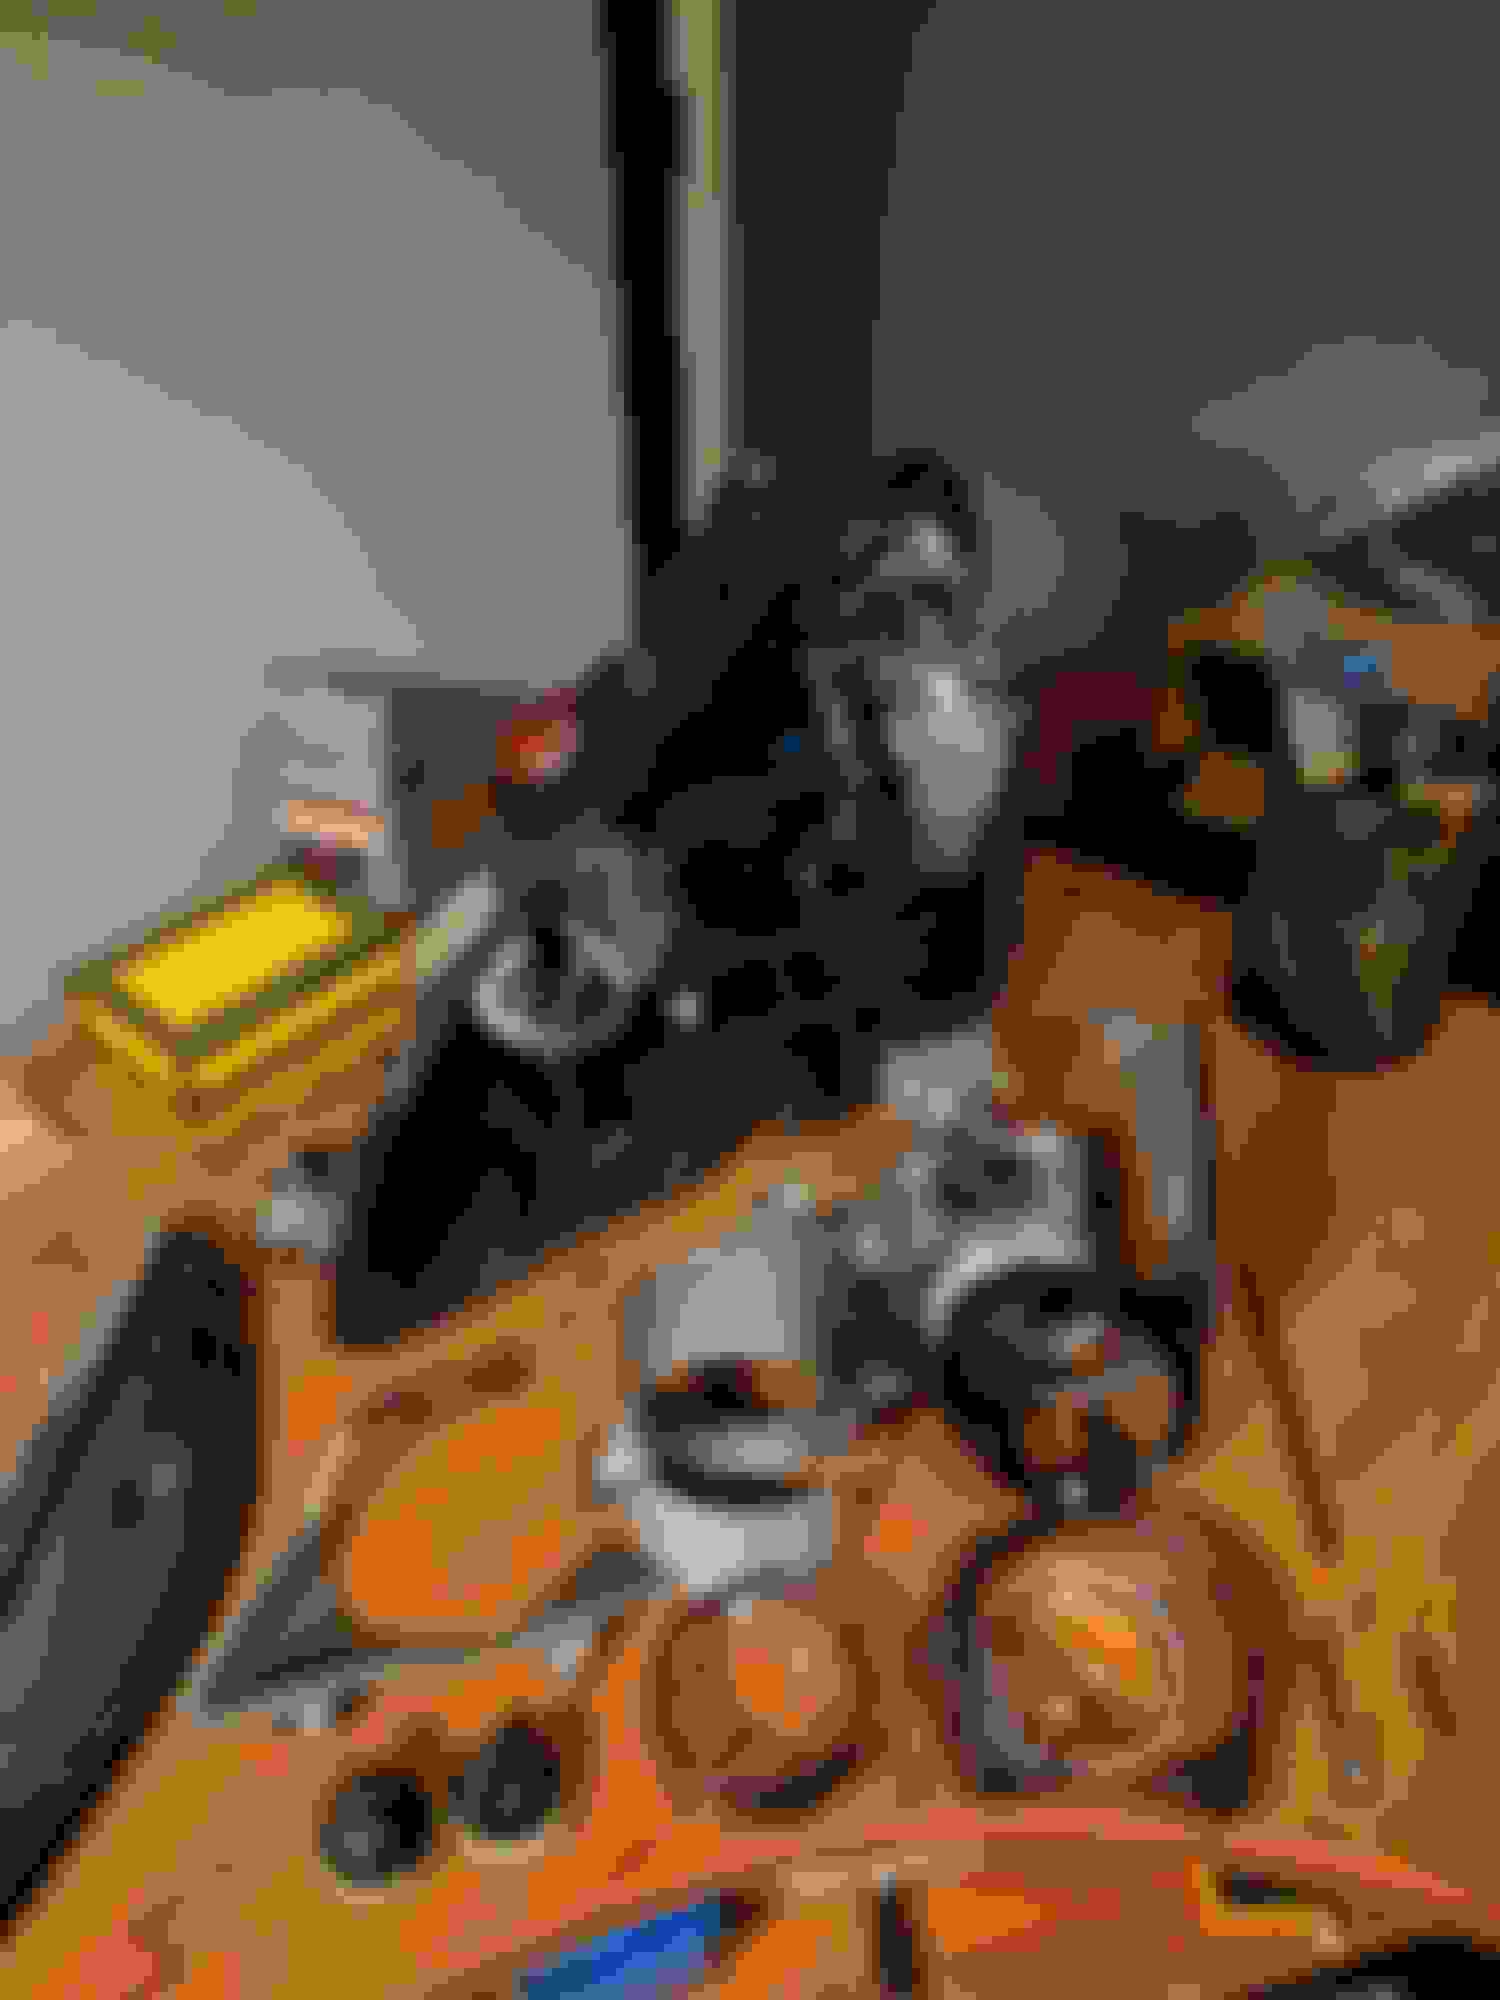
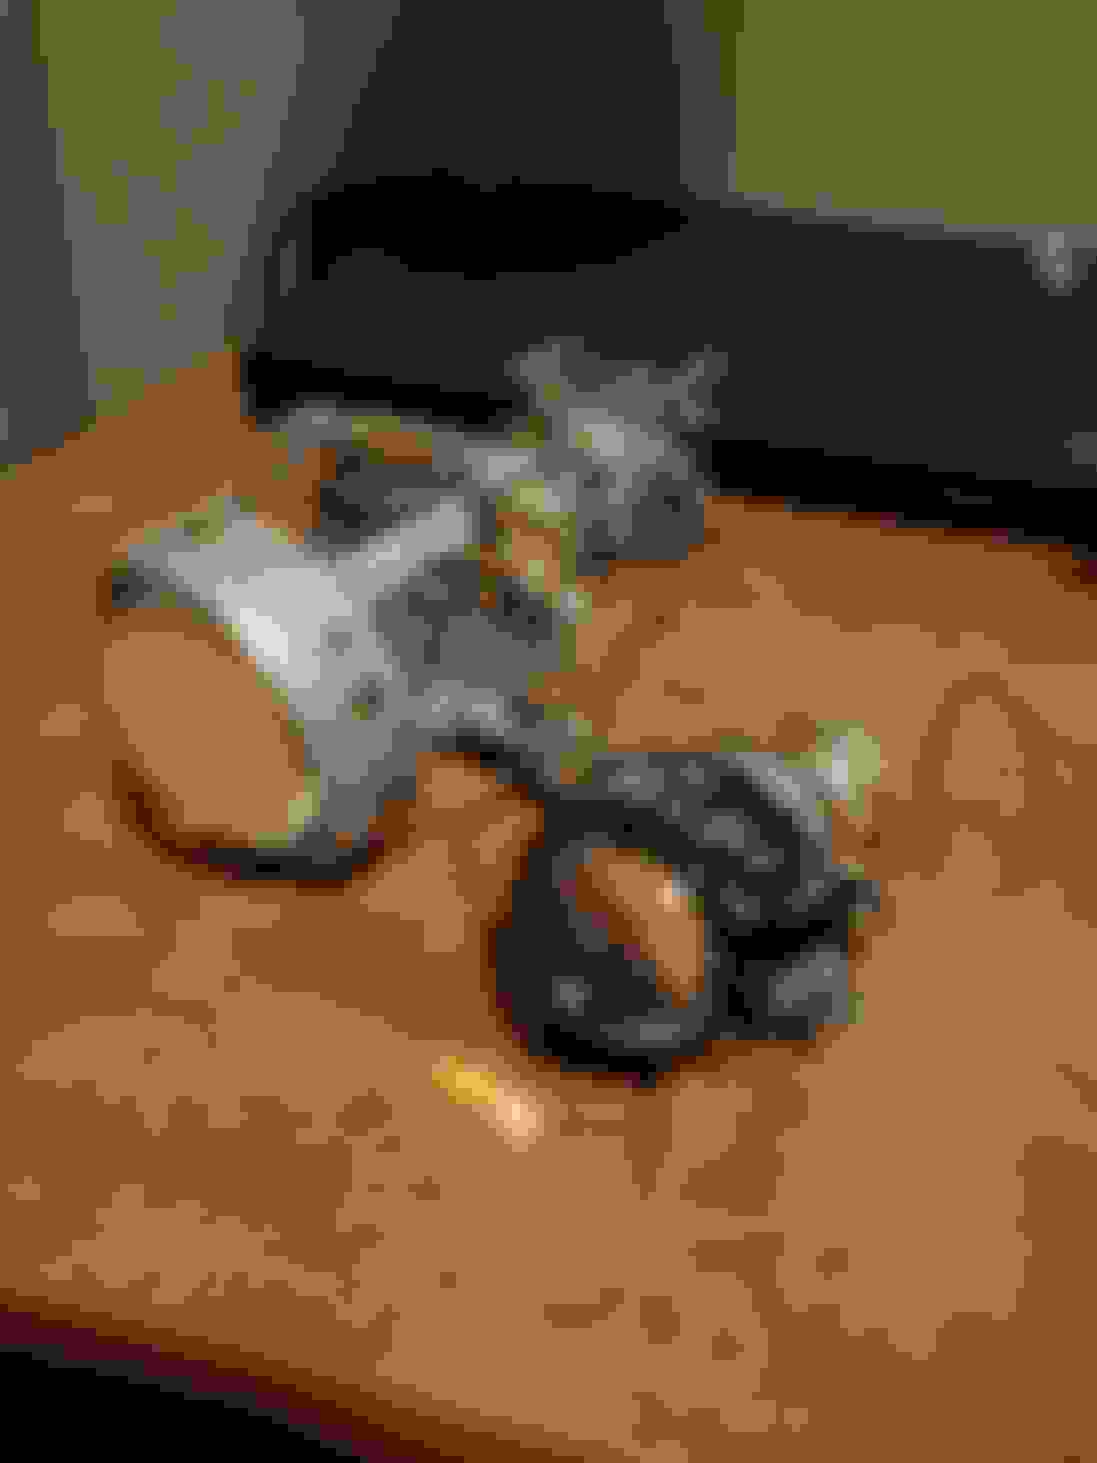
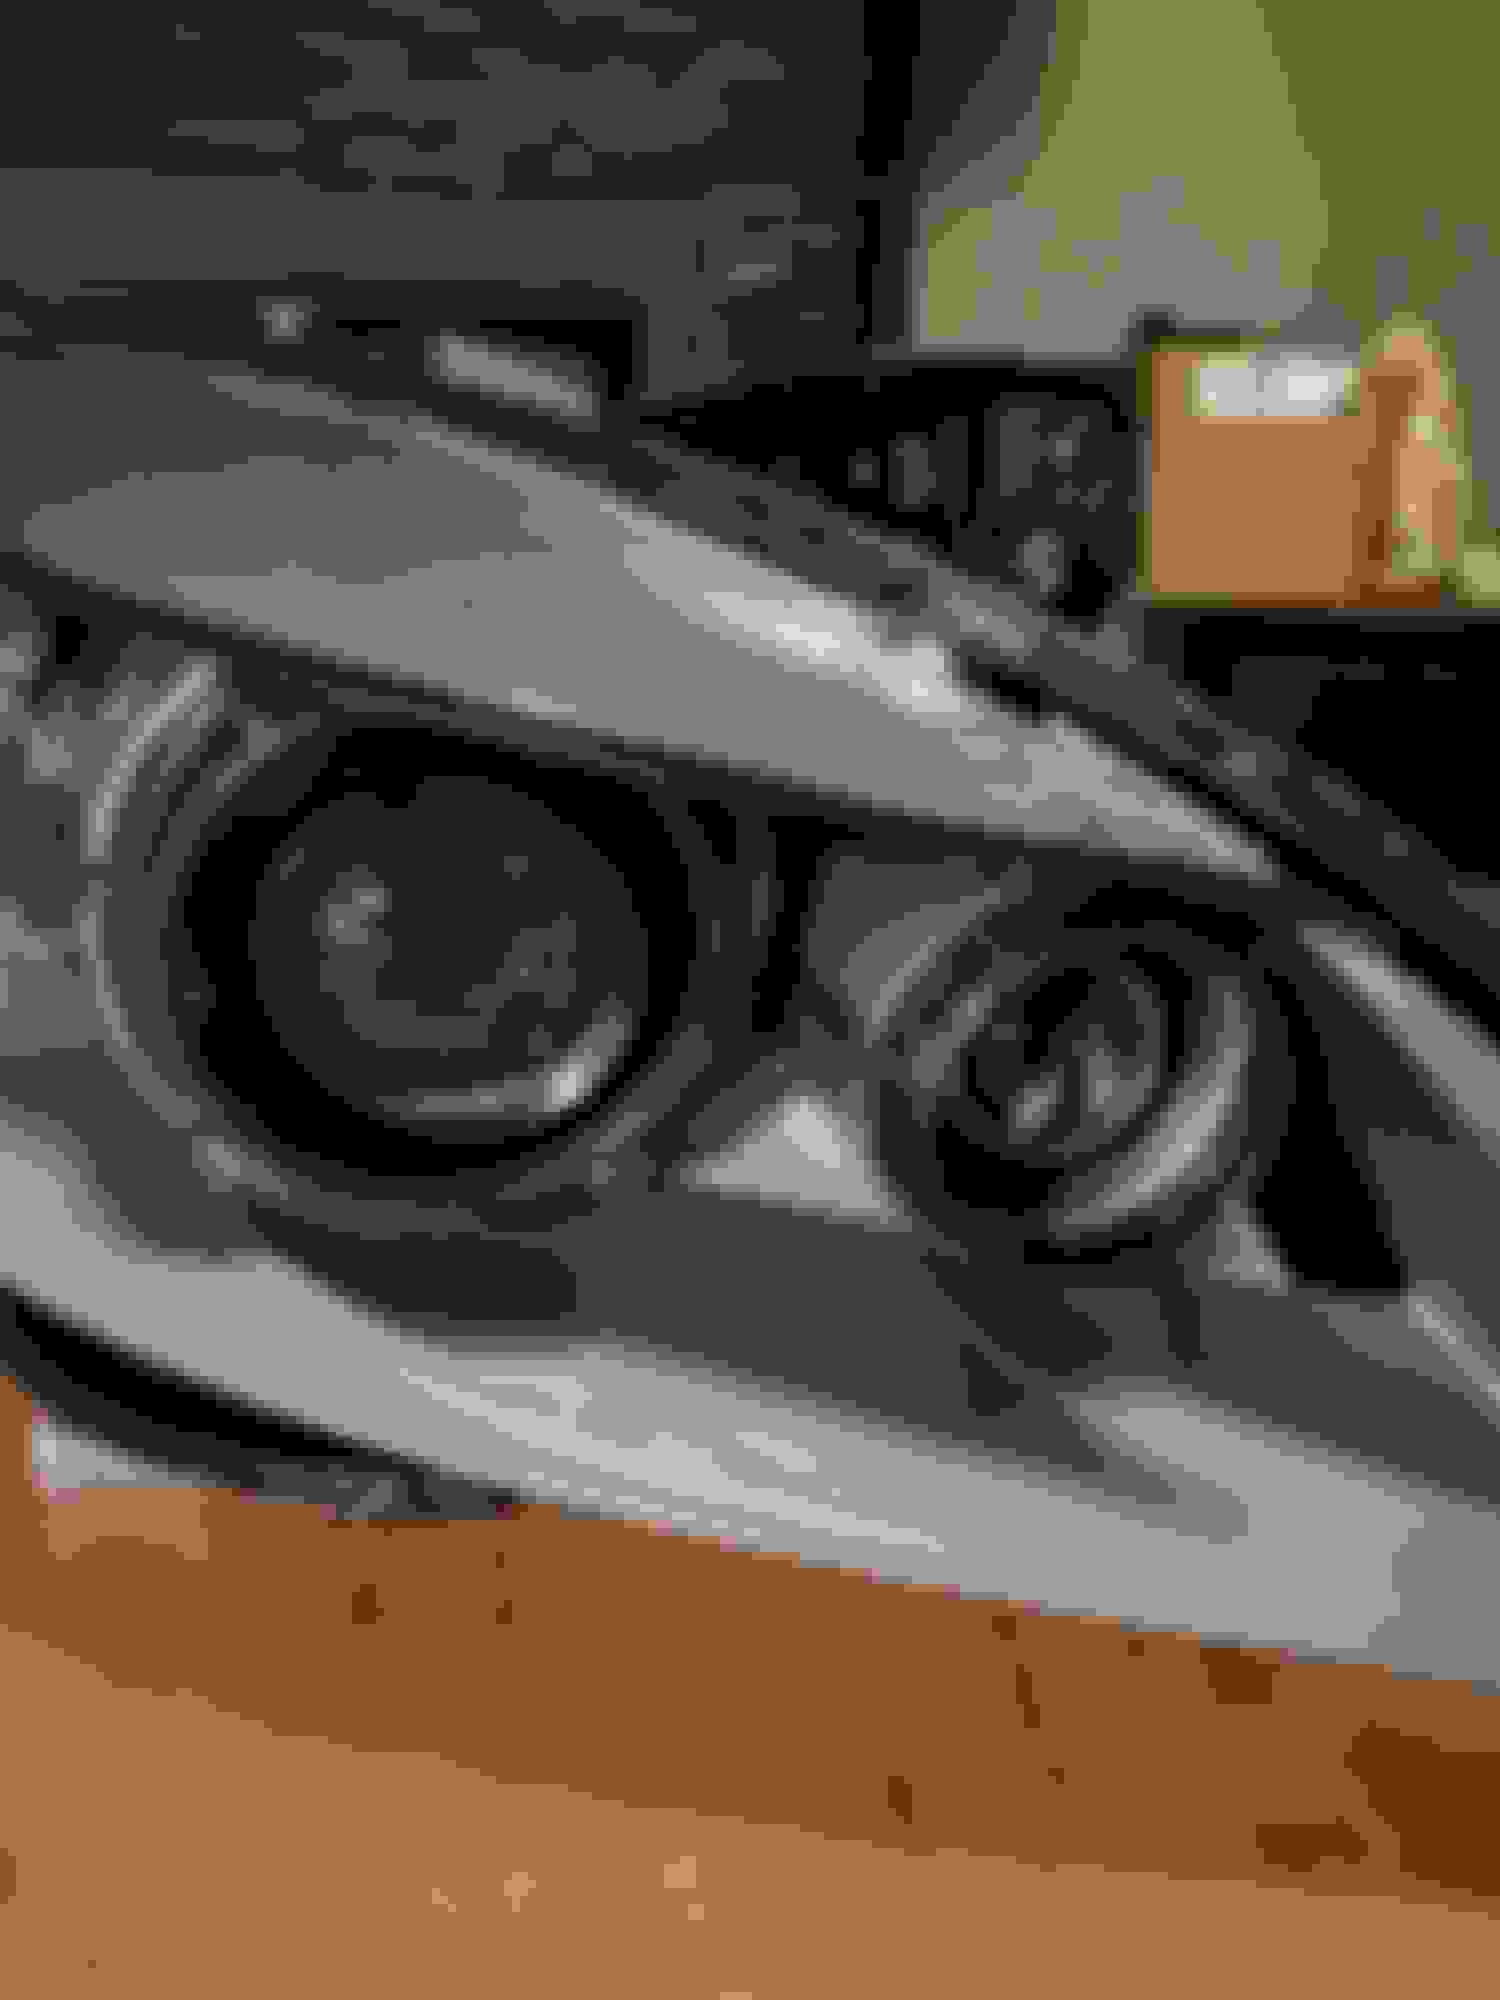
One headlights individual components spread out, sans the lense and the bottom bezel which is as large as the lense
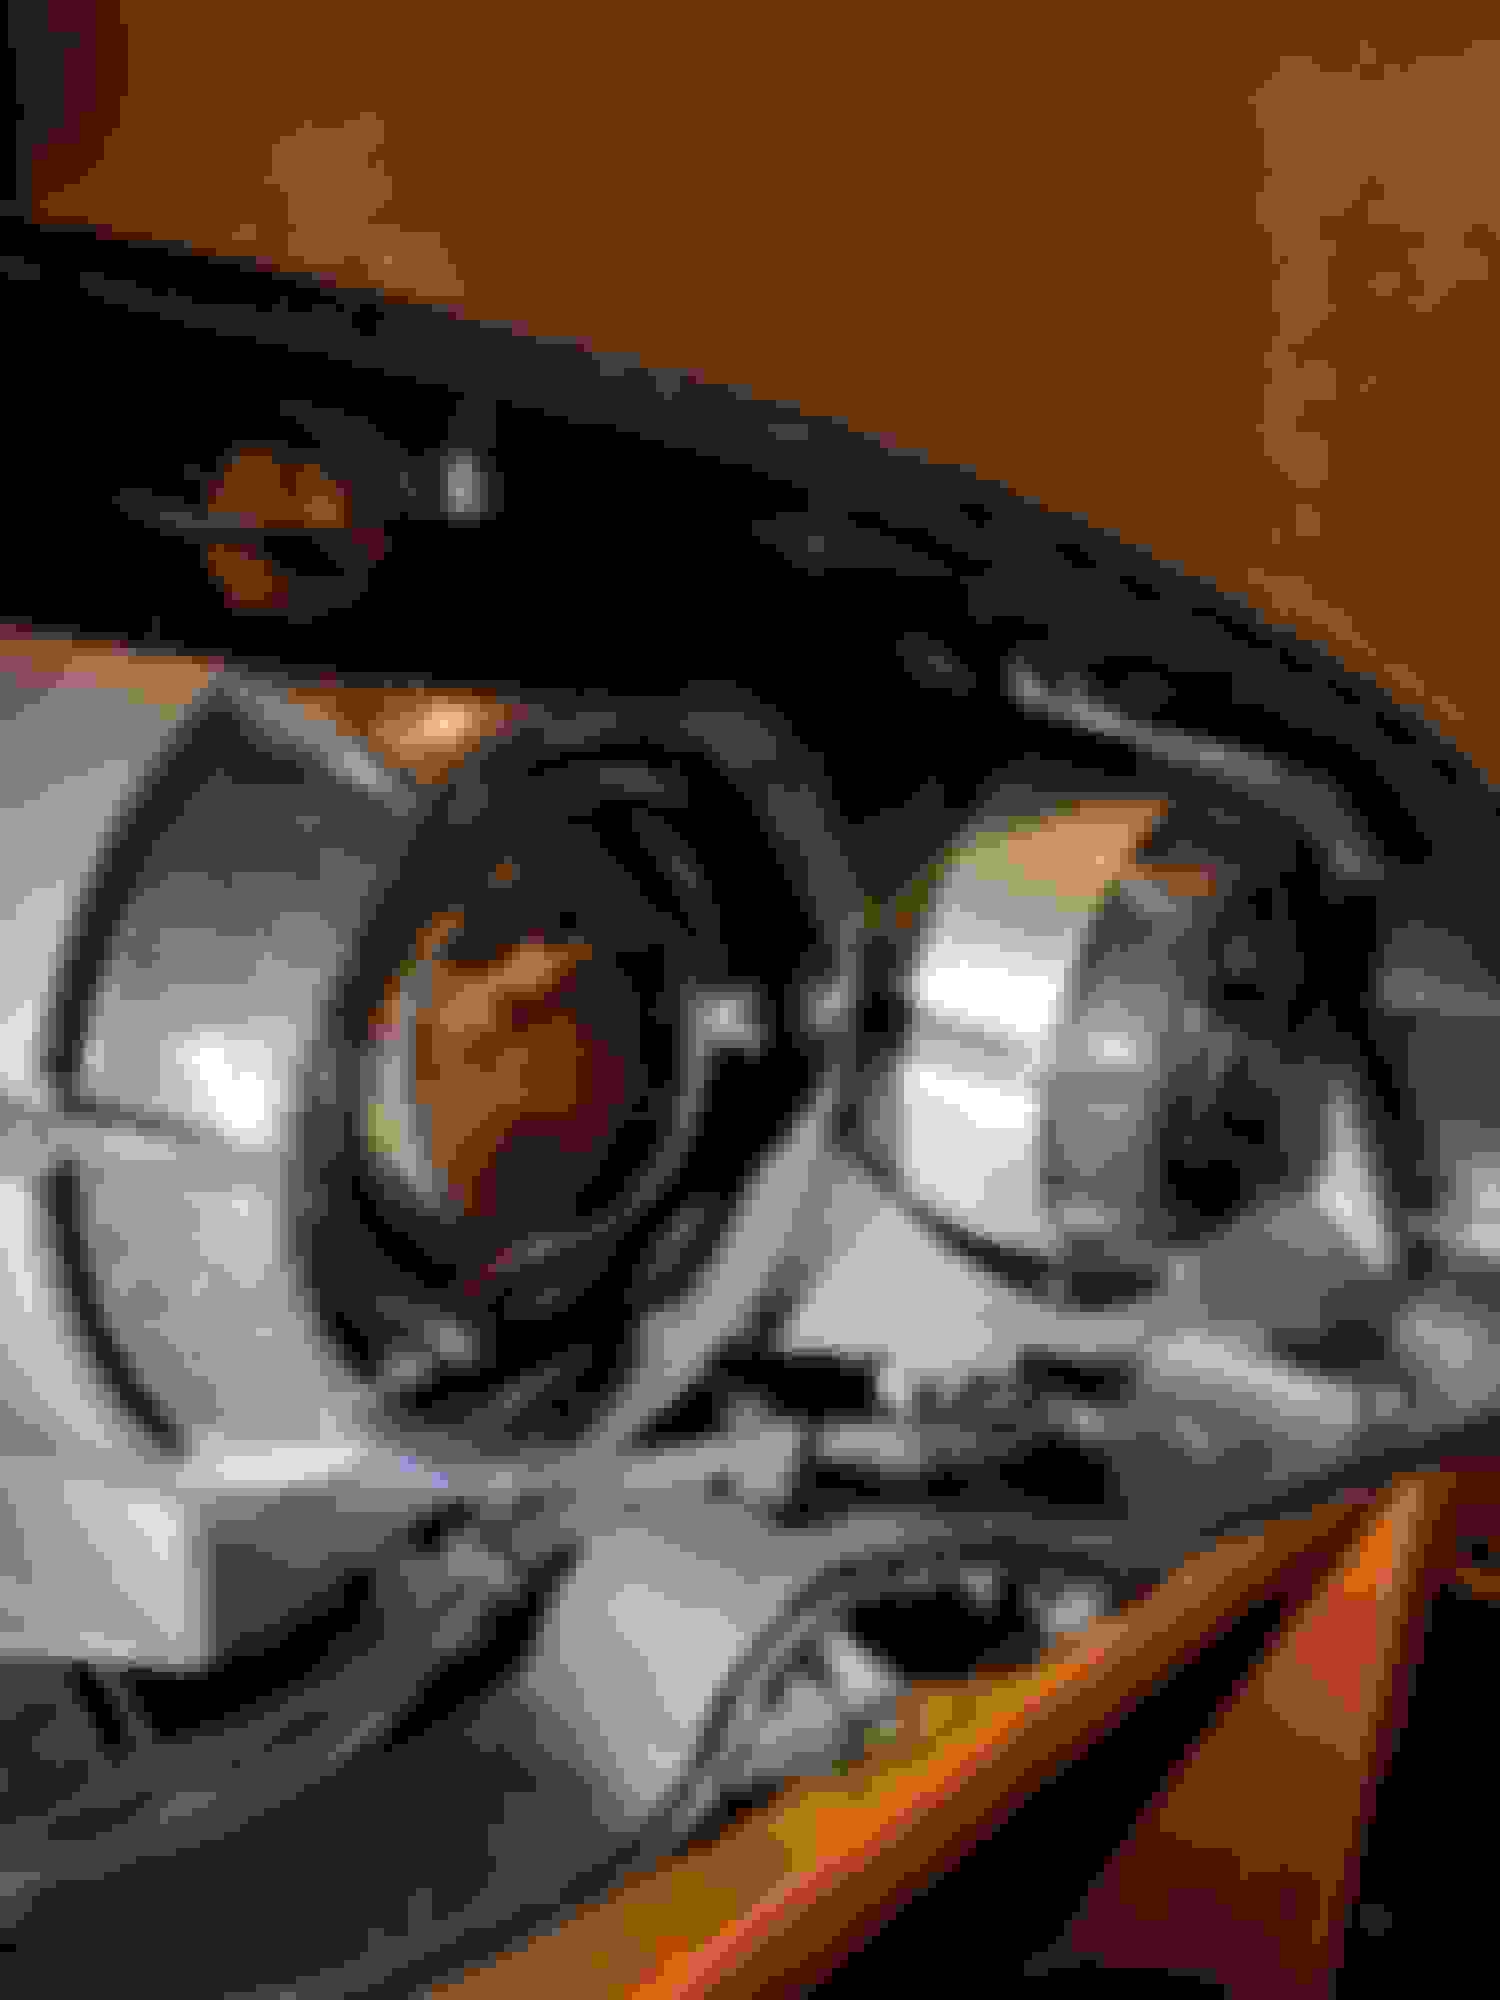
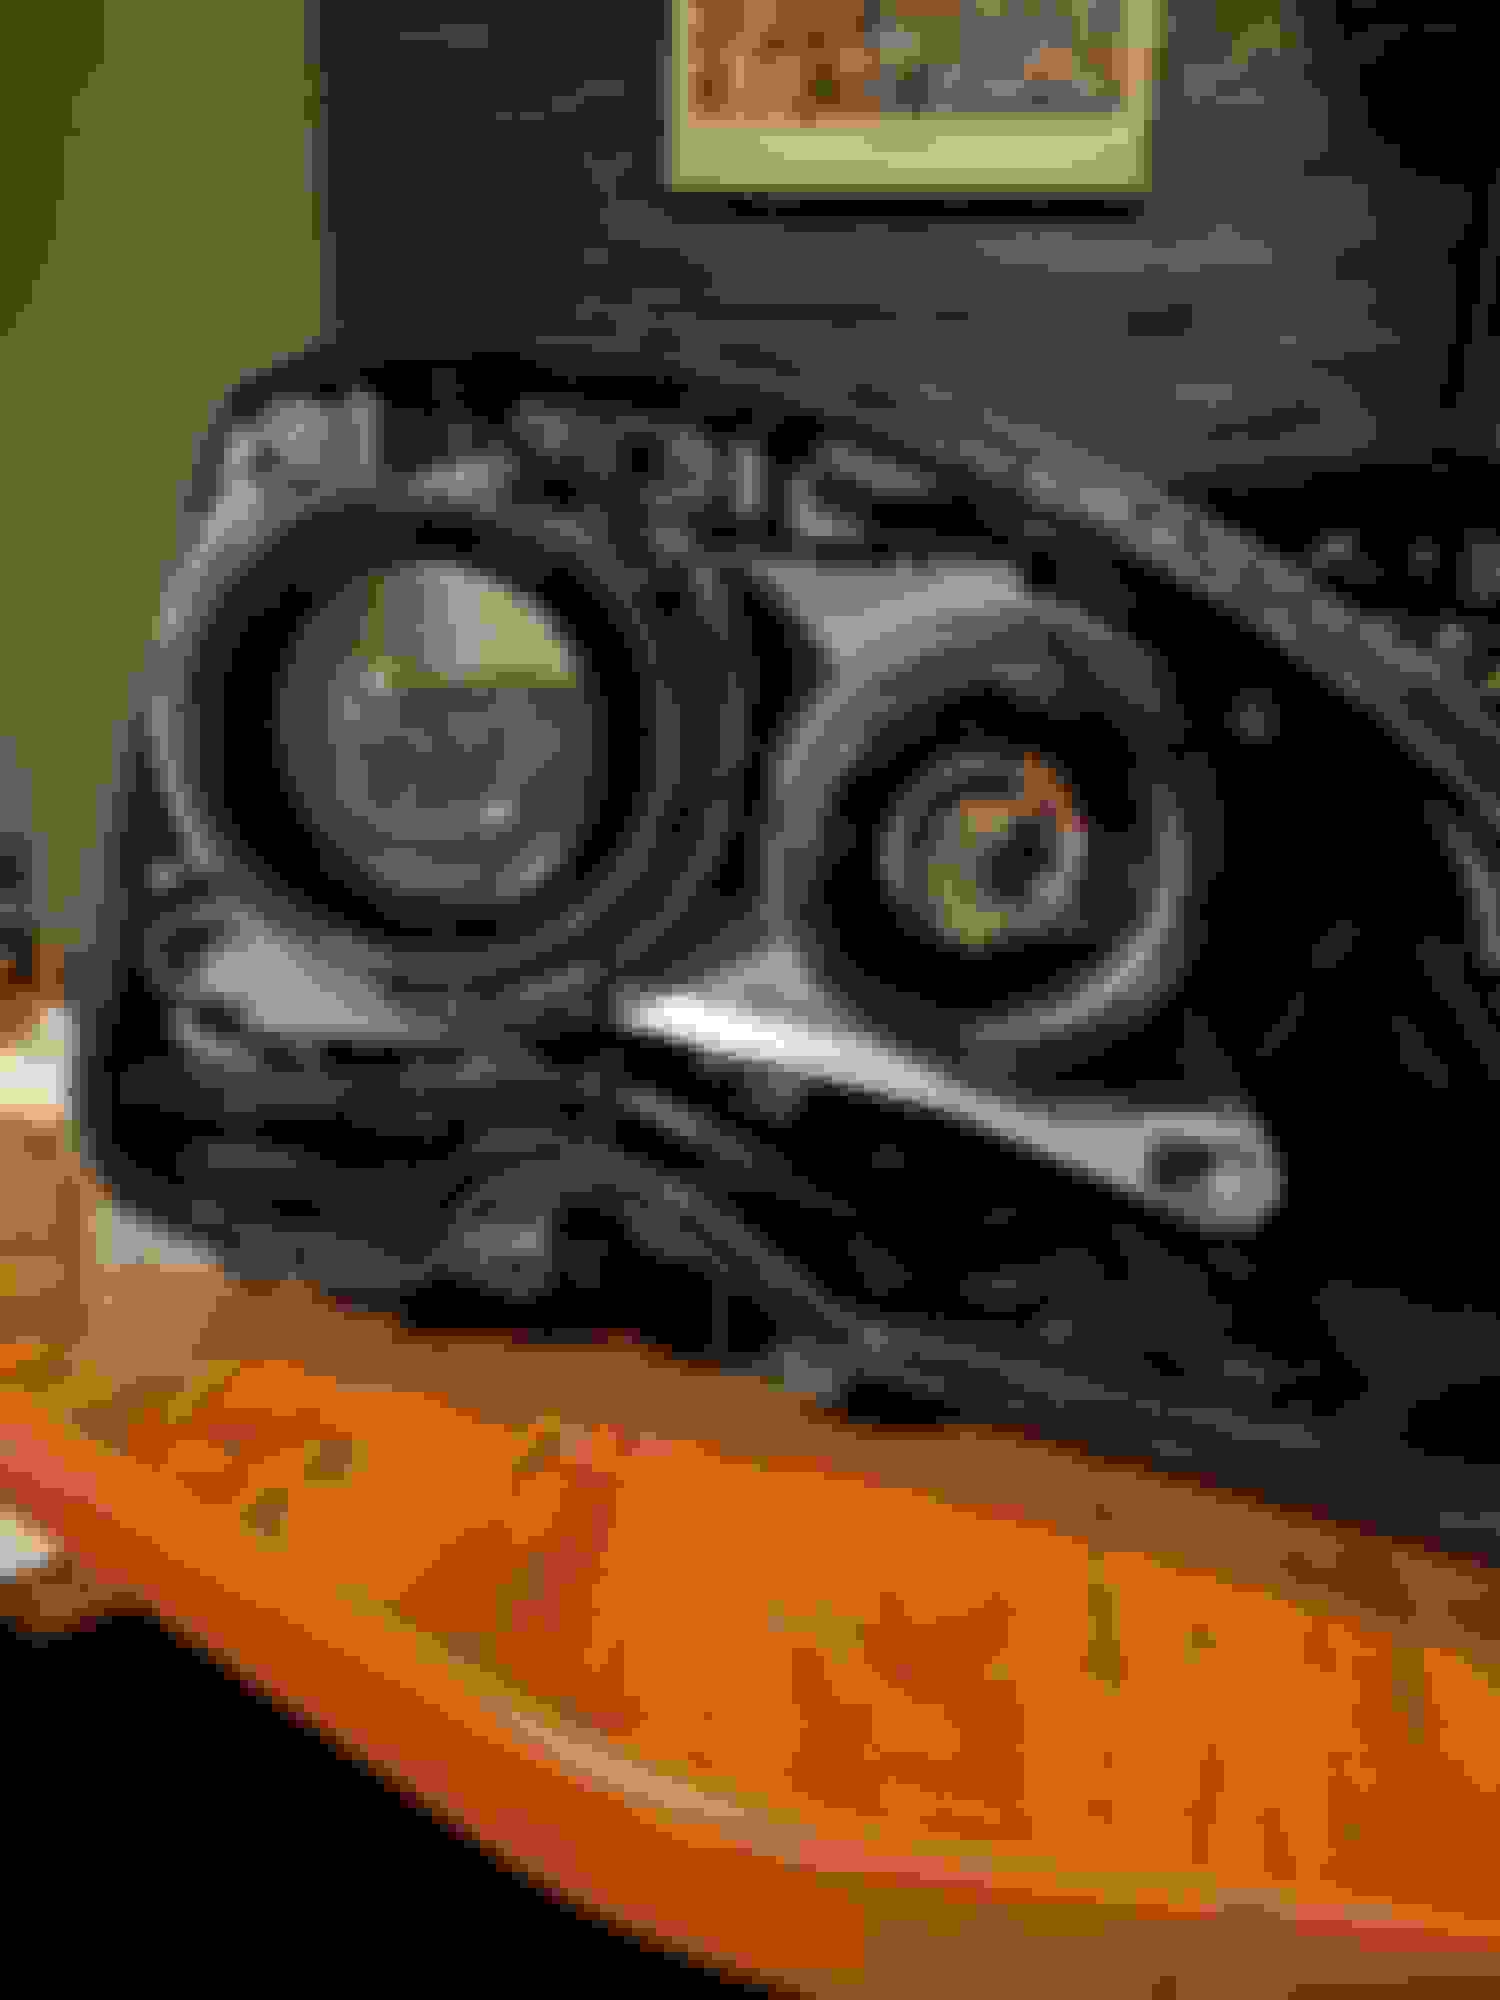
Here's the new projector lense in it's housing, looks a lot more clear. Can you spot any other changes?
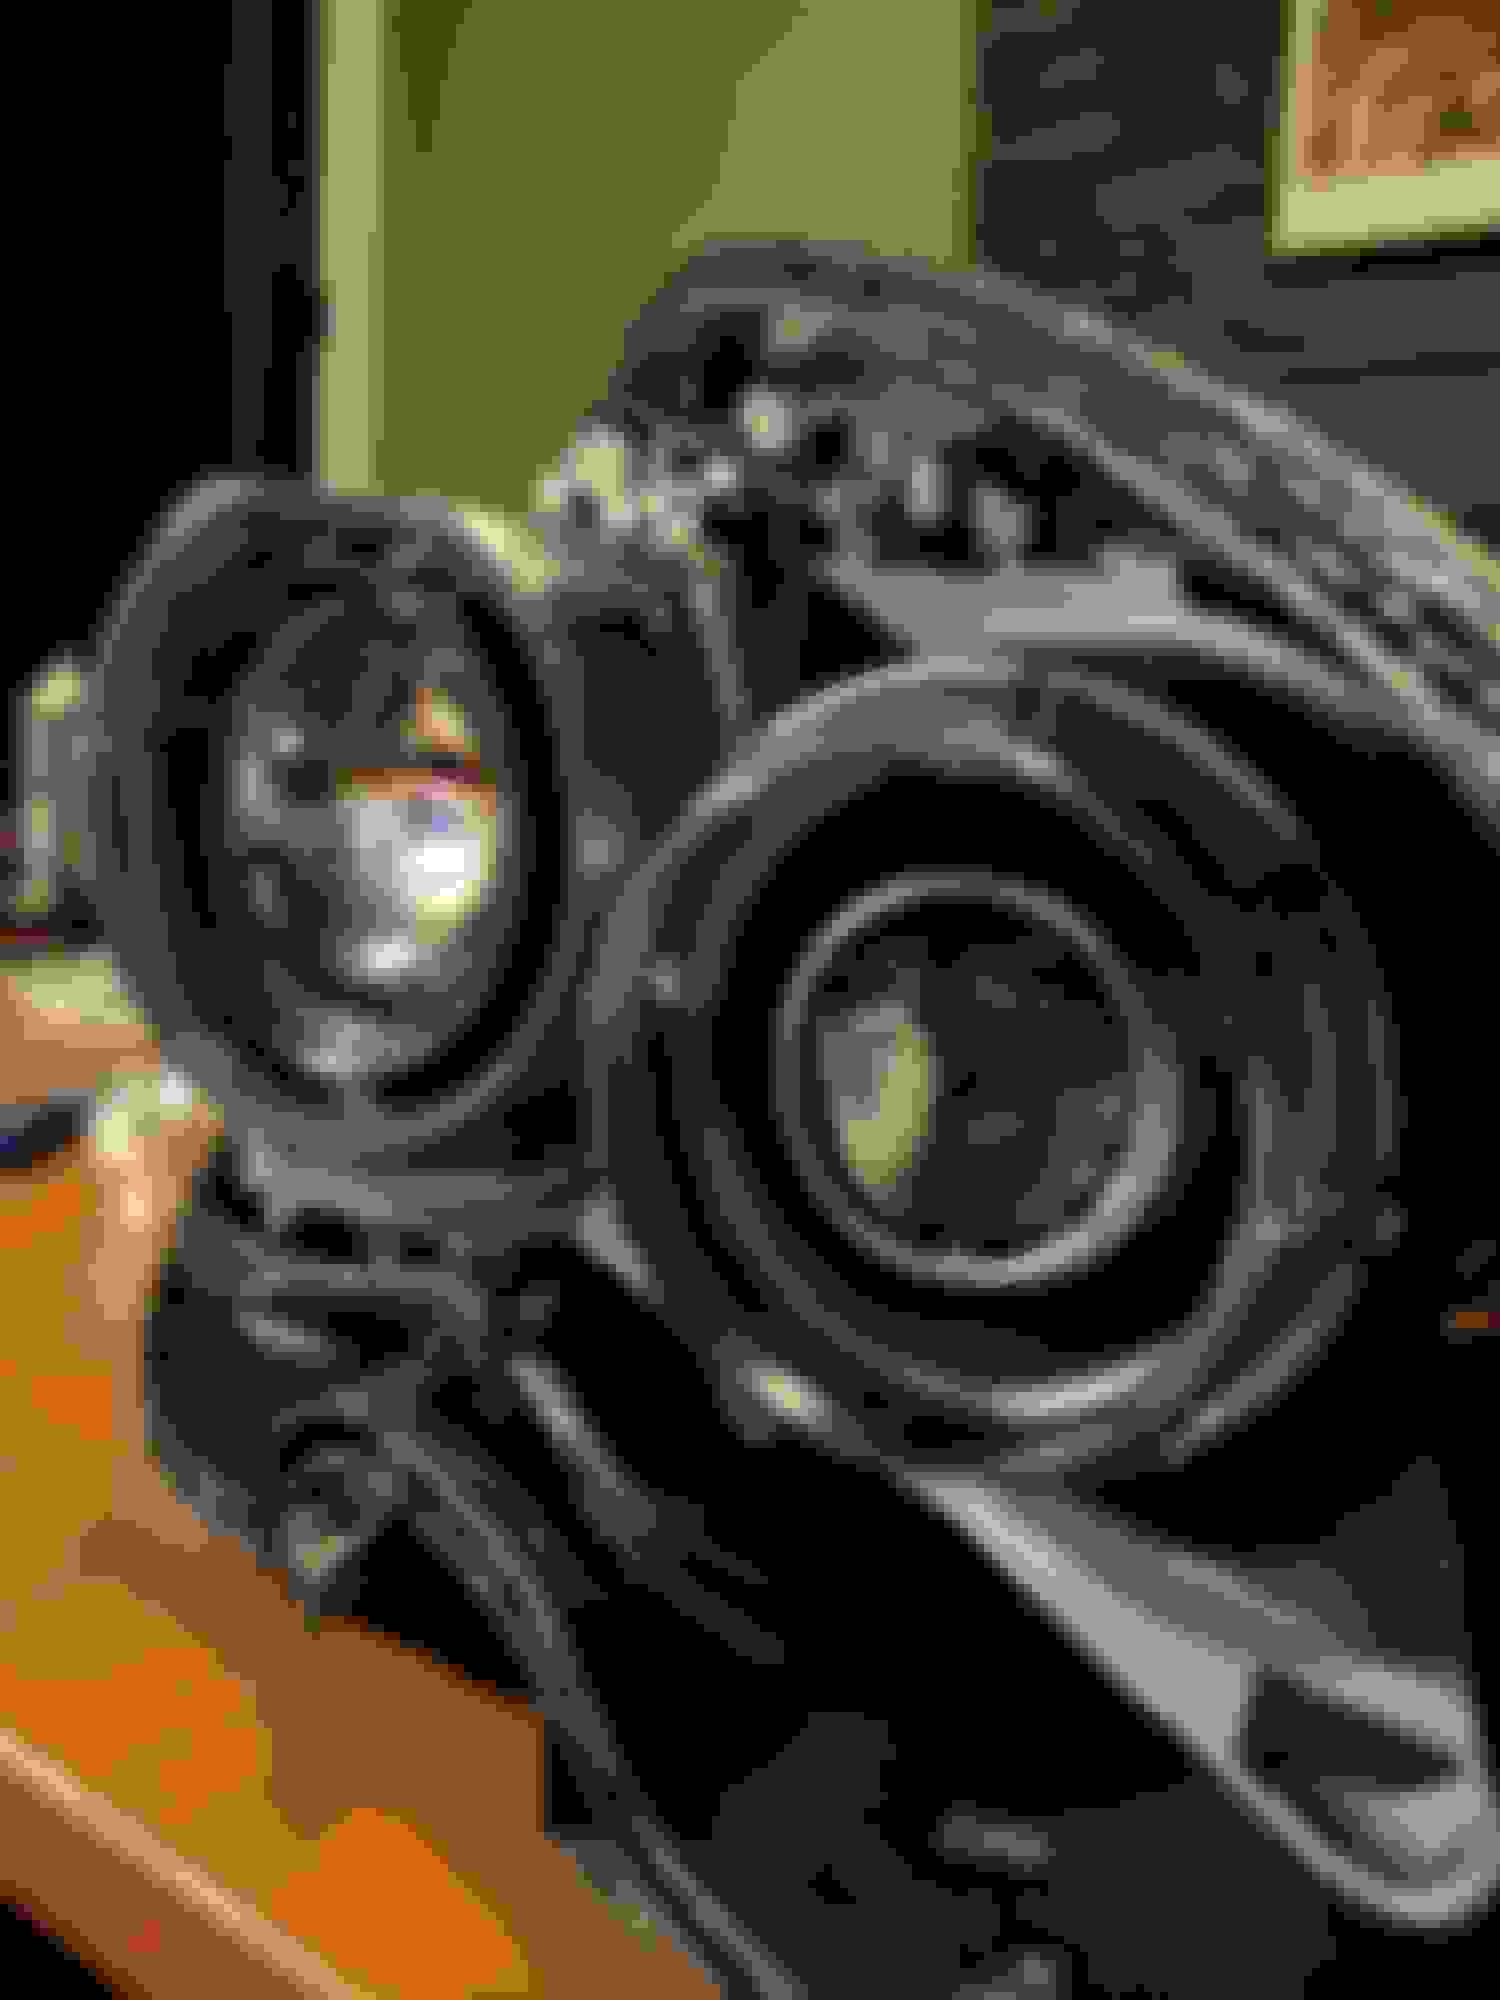
Old lense quality. Has a texture, and an ugly line through the center to blur the cutoff
New lense (ZKW-R), ordered online from prolightz. Entirely clear, no center line. Drop in replacement, no modifications to the projector were necessary
Just thought I'd share! Currently a work in progress, I'll post some more pictures of the completed headlights. I've made a few other changes too
fyi, the OEM projector is a Bosch/AL "e46" and is not THAT great to begin with...the clear lens WILL make a difference in how your cutoff appears on a wall but will NOT really give you better overall lighting performance. Also, have you looked inside the reflector bowl while the projectors were apart? the OEM projectors that we have are VERY susceptible to burning just above where the bulb enters the housing, this will decrease output IMMENSELY. While you are in there you would be very well served to just change out the projectors entirely. My suggestion would be to an Evox-r 2.0...The work required to get it mounted is minimal(simply enlarge the the new projectors mounting holes and it will bolt into the factory projector bracket) and the end result will blow you away.....i have retroed about 5 different projectors into my 63 in the last 4yrs and can say that the 2.0s are THE best ive ever used.
fyi, the OEM projector is a Bosch/AL "e46" and is not THAT great to begin with...the clear lens WILL make a difference in how your cutoff appears on a wall but will NOT really give you better overall lighting performance. Also, have you looked inside the reflector bowl while the projectors were apart? the OEM projectors that we have are VERY susceptible to burning just above where the bulb enters the housing, this will decrease output IMMENSELY. While you are in there you would be very well served to just change out the projectors entirely. My suggestion would be to an Evox-r 2.0...The work required to get it mounted is minimal(simply enlarge the the new projectors mounting holes and it will bolt into the factory projector bracket) and the end result will blow you away.....i have retroed about 5 different projectors into my 63 in the last 4yrs and can say that the 2.0s are THE best ive ever used.
The projector bowls are plastic in the pre-facelift models? I had this same exact issue in my E46 330i. I sent my headlights to Lightwerkz for them to swap in new projectors and lenses.
I wonder if the facelifted models have the same plastic bowls?
The projector bowls are plastic in the pre-facelift models? I had this same exact issue in my E46 330i. I sent my headlights to Lightwerkz for them to swap in new projectors and lenses.
I wonder if the facelifted models have the same plastic bowls?
ive bought 3 additional sets of our OEM headlights and all of them have had metal projector bowls....i wonder how you got a set of plastic???? (but i do know that they made plastic as i bought a pair of closeout e46s from TRS just to use for measuring/templating and they were plastic)
ive bought 3 additional sets of our OEM headlights and all of them have had metal projector bowls....i wonder how you got a set of plastic???? (but i do know that they made plastic as i bought a pair of closeout e46s from TRS just to use for measuring/templating and they were plastic)
I meant on my BMW E46 the early facelifted models had plastic projector bowls made by ZKW. Which were prone to melting and light would leak out the back into the housings. Afterwards, BMW switched to AL as the supplier who had metal bowls.
I meant on my BMW E46 the early facelifted models had plastic projector bowls made by ZKW. Which were prone to melting and light would leak out the back into the housings. Afterwards, BMW switched to AL as the supplier who had metal bowls.
Gotcha......the clear lens for them is still a ZKW Black Series
fyi, the OEM projector is a Bosch/AL "e46" and is not THAT great to begin with...the clear lens WILL make a difference in how your cutoff appears on a wall but will NOT really give you better overall lighting performance. Also, have you looked inside the reflector bowl while the projectors were apart? the OEM projectors that we have are VERY susceptible to burning just above where the bulb enters the housing, this will decrease output IMMENSELY. While you are in there you would be very well served to just change out the projectors entirely. My suggestion would be to an Evox-r 2.0...The work required to get it mounted is minimal(simply enlarge the the new projectors mounting holes and it will bolt into the factory projector bracket) and the end result will blow you away.....i have retroed about 5 different projectors into my 63 in the last 4yrs and can say that the 2.0s are THE best ive ever used.
Thanks for the tip about those alternative projectors! I might consider doing it next winter if I'm not pleased with the outcome of this ...that being said, I may do a few more modifications, that might be one of them.
As for the stock projectors, these are NOT plastic housings, they are metal, luckily. Also, I was under the impression that the stock projectors were of some "E55" variant
They are NOT e55....that's what I thought prior to opening mine up for the first time years ago...they are e46
Minor update, semi-preview of what they'll end up looking like. Lighting is bad unfortunately so the eyebrows don't look as dark as they should, but in the end I'm looking to keep the OEM look while modifying it to my liking. The headlights are not permanently back together, just reassembled to have a look at the progress so far, there's still some work to do. So far I've shown a few friends and they can barely tell the difference
Bit of an update here. Boredom got the best of me and I don't like the performance of those little reflector high beam spotlights, so I decided to change that.
Here's the part I didn't like, performance wasn't good with halogen or LED bulbs.
I found a suitable alternative that would fit in the housing, Morimoto Matchbox 2.0 projectors. The high/low bixenon feature is still installed in them in this picture, but for right now it's deleted
I had to take measurements and outline the shape of the original plastic reflector piece to make a custom bracket for the projector. Just to be clear this is the first time I've ever cut something out of 16 gauge thickness steel.. usually just drill holes or make straight line cuts on small projects. They're not pretty, but they serve their purpose. Luckily the morimoto projectors have threaded ends/bottoms with a nut, so all you really need to mount is a 22mm hole. In this picture the 22mm holes have not been drilled out yet, I needed a step drill bit. There's just a pilot hole in it's place
Attachment to the original bracket piece, it's all one assembly that moves with the auto level headlight system and I wanted to keep it that way. Two half inch nylon spacers were used for two out of three screws, they were not on a flat plane. Ignore the screw with all the washers.. I need to go to the hardware store and find a shorter screw. They're #6 sheet metal screws, or at least the threading on those worked here.
Full assembly out of the headlight, with the morimoto projector in place
Inserted into the headlight before putting the plastic covering back on
General mockup, I love the look already, but the small projector needs a custom shroud or all the light will bleed through when they're on.
What are you going to use to seal them back.
it got to be something with good sealing and bonding.
You don't need to add anything to seal them back up, just lightly press together, place in oven/use heat gun, install perimeter clips, allow to cool....DONE and water tight!!!
What are you going to use to seal them back.
it got to be something with good sealing and bonding.
Like jptaylor said, you don't need anything other than the butyl sealant that's on it already. ...Unless you're me and cleaned most of it out before finding that out. I bought new butyl sealant
Small update, I finished the brackets. This was a difficult type of steel to work with as a dremel rookie, and it doesn't look great, but I figured I could downsize it a lot because the steel is so rigid
Fwiw.....great work on the brackets. Quad projectors are quite a feat even for experienced retrofitters
Thanks! If it works out like I've planned it'll be pretty awesome in the end. So far the only other retrofits I've seen for the pre-facelift lights are LED halo lights and an LED projector in place of the high beam reflector - both of them from Scott Elliott on Youtube (he has some interesting/helpful videos on the w204). LED halos are not my cup of tea, but the LED projector kind of sold me on the idea of quad projectors.
Rough fitting of the finished bracket
and here's a quick assembly I did just to have a look so far. Definitely going to need a shroud in there ..and better lighting for pictures. Since taking this picture I've brought the projector forward about 5mm using the spacers/bulb adapters supplied with the projector package. I'll get some photos of that as soon as I decide on the final depth adjustment.
I've done dozens of retros into w204s over the years but now that the platform is 12yo a lot of that info has just been shuffled away. Good to see people working through it again.
2012 P31 C63 Coupe Trackrat, 2019 GLE63S Coupe Beast
Originally Posted by jptaylor
I've done dozens of retros into w204s over the years but now that the platform is 12yo a lot of that info has just been shuffled away. Good to see people working through it again.
Dozens +1....
JP is the man when it comes to this stuff. You wouldn�t believe the kind of drama that�s going on with mine. I would have NEVER figured them out without his help. A+ dude.
I've done dozens of retros into w204s over the years but now that the platform is 12yo a lot of that info has just been shuffled away. Good to see people working through it again.
What sort of retros have you done other than the ones you've mentioned? Any pictures? I'm seriously considering just pulling the trigger on those evox-r projectors but the amount of money I've spent on "cleaning out" these headlights so far is getting sort of out of hand I still need to buy my wavetrac LSD!
What sort of retros have you done other than the ones you've mentioned? Any pictures? I'm seriously considering just pulling the trigger on those evox-r projectors but the amount of money I've spent on "cleaning out" these headlights so far is getting sort of out of hand I still need to buy my wavetrac LSD!
JP helped me tremendously with these. I could not have done it without him!
Quick update again, more details once everything's set in stone. They're almost finished, I found an appropriate shroud for the the new projector and they're both almost fully assembled, they just need to be fully sealed back up after some fine tuning. I may have to purchase different D1S bulbs for the original projectors, the car seems to be somewhat unhappy with the Morimoto bulbs. One has trouble igniting occasionally. It may be because my car battery is cold/low, even with a trickle charger on. I'll only know after the seasons first full cold start.
Another thing I've had to do is swap the Morimoto XB35 ballasts for Acme SpeedyStart ballasts - For high beams, the XB35s take too long to reach full light output - the only downfall of those ballasts. The speedystarts are much more suitable in this case.
I debadged the trunk and decided to relocate the AMG logo
Somewhat better lighting. My shop has horrible lighting and it's been absolutely miserable outside so this probably gives you the best idea of what they look like in decent light.
Heat test/test run of the high beams. Everything's good after having them running for over 30 min, no issues with heat. Not really surprising, the halogens they replace probably produced more heat in the first place. Obviously, the car isn't in one piece right now
I can't really move the car much right now but here's an idea of the light cutoff with the new lenses and bulbs. Nice colour effect, and the cutoff will be a lot sharper than stock.
High beam output. I wish I could lock the exposure on my phones camera, but wow, this blows away the LED high beams in my C250 - which says a lot because I've been very pleased with those.
Well the other day was the first cold start since november for the C63, so I took the opportunity to move it out last night to compare the new projector high beams to my C250s reflector high beams with LEDs in them, which I've been very happy with. The projectors simply put them to complete shame, I didn't expect such a difference. I wish I had a camera that could lock exposure so I could get some useful down the road shots, but this is the only photo that really shows a significant difference. Both cars have their high beams on.. (the C63 needs to have it's headlights fully aimed still)
My shop is adjacent to an empty farm field, I turned off the c250s lights and still the entire field was illuminated.
ok, you REALLY need to consider running dual lo/dual hi setup on your retrofit. ideally all 4 lo beams will be on ALL THE TIME. If you don't set it up like this you will be MISERABLE as soon as you start driving it as whenever you go to hi beam(or flash to pass) the "other" projector HID bulb/ballasts will have to light off and warm up before they are any good. If you run a true dual beam setup then your "other bulbs/ballasts" will already be 100% when you need hi beam for whatever as all that will occur will be the solenoids will activate to go hi beam. Also, the constant on/off/on/off/on/off the "other bulbs/ballasts" would be subjected to is NOT really that good on the ballasts and could very easily cause them to fail pretty quickly. The mid 2000s S-Class ran the quad setup with 4 lo beams on all the time from the factory so it is NOT like it would be a unicorn. The only change youd have to make would be splitting each side headlights lo/hi (+) feed so that it could trigger each ballast and solenoid. The easiest thing to do would be to run a dual output relay harness(1 output for each ballast) to each headlight and then use the factory lo beam wire in the OEM harness to trigger the relay to power up each ballast. Splitting the hi beam you dont need a relay as ALL it would be doing was triggering the hi beam solenoids on each projector......Just my $0.02, but i have been there, done that, and then REDONE it afterwards because it was horrible to live with in the real world........
 02-04-2018, 10:13 PM