When you click on links to various merchants on this site and make a purchase, this can result in this site earning a commission. Affiliate programs and affiliations include, but are not limited to, the eBay Partner Network.
DIY Replace rusted exhaust connectors without replacing original stainless pipes
Hello,
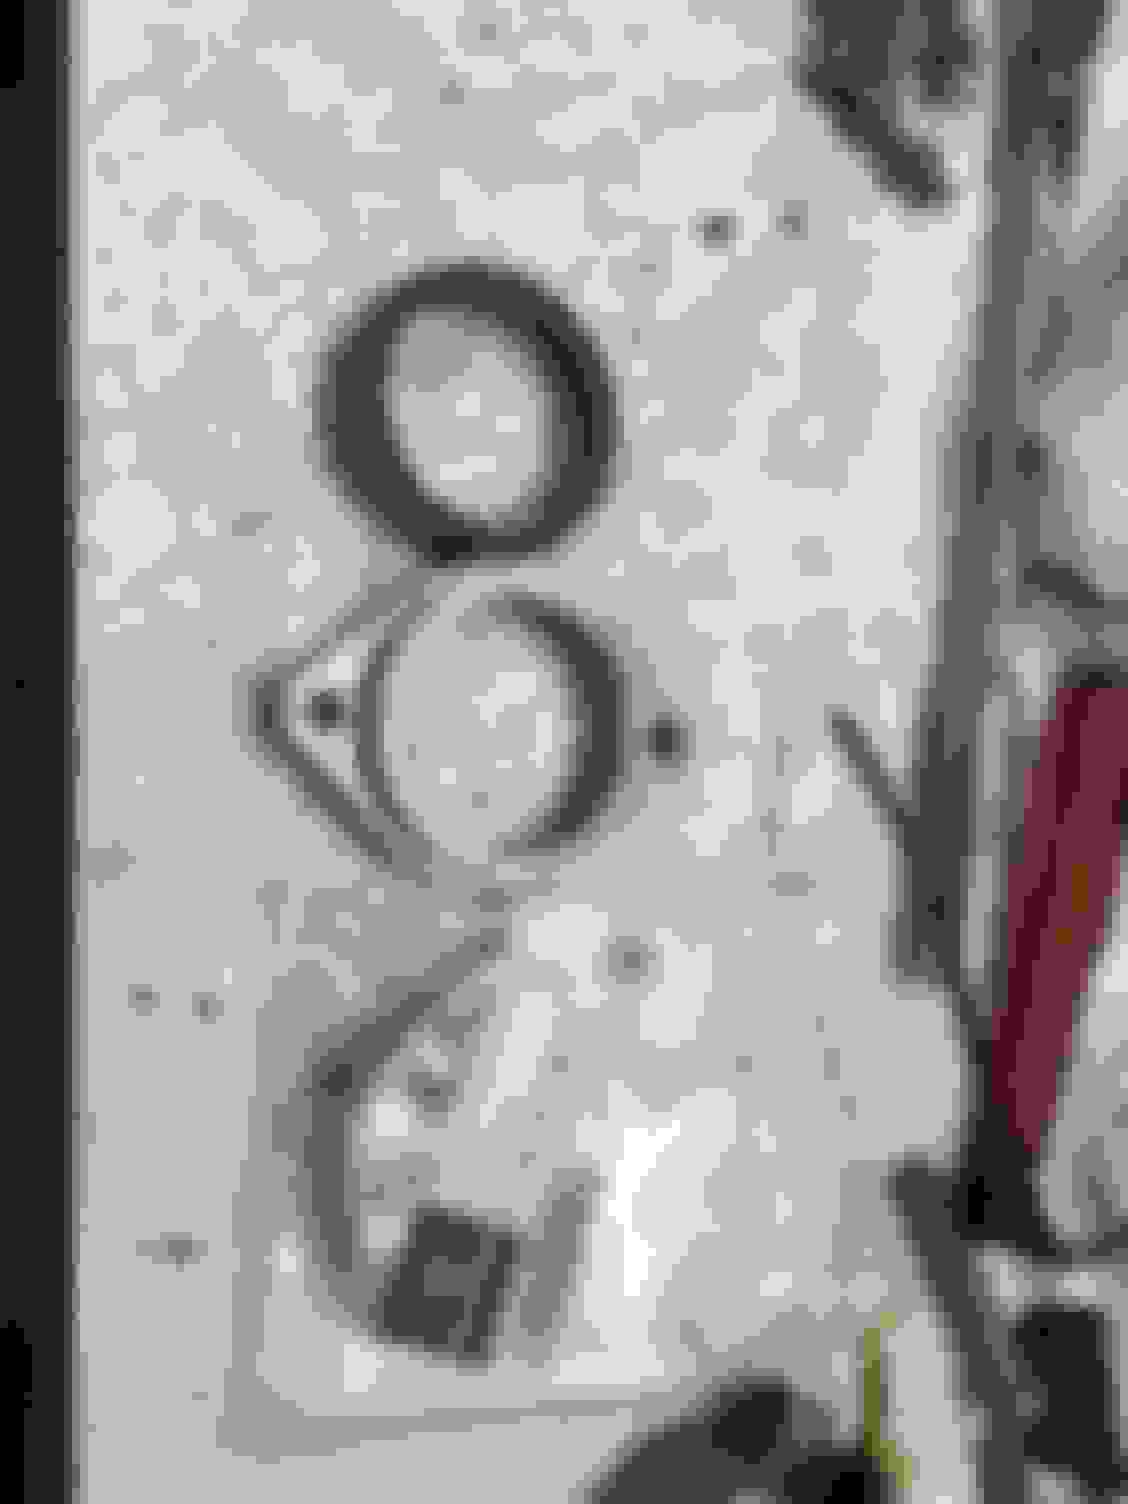
A while ago I posted a thread about my rusted exhaust connectors (pic 1).
The problem is that the exhaust pipes come with the brackets already inserted before forming. In other words you have to buy the entire system to replace the rusted connectors.
These rusted connectors are located right before the mid resonator. The left pipe connection is called fixed, the pipe ends are flared and there is a ring in between them. You have to cut off the 2 clamps at this connection, you will reuse the ring.
The right pipe connection is called slip fit and 2 clamps are wedging a graphite slip collar between the pipes.
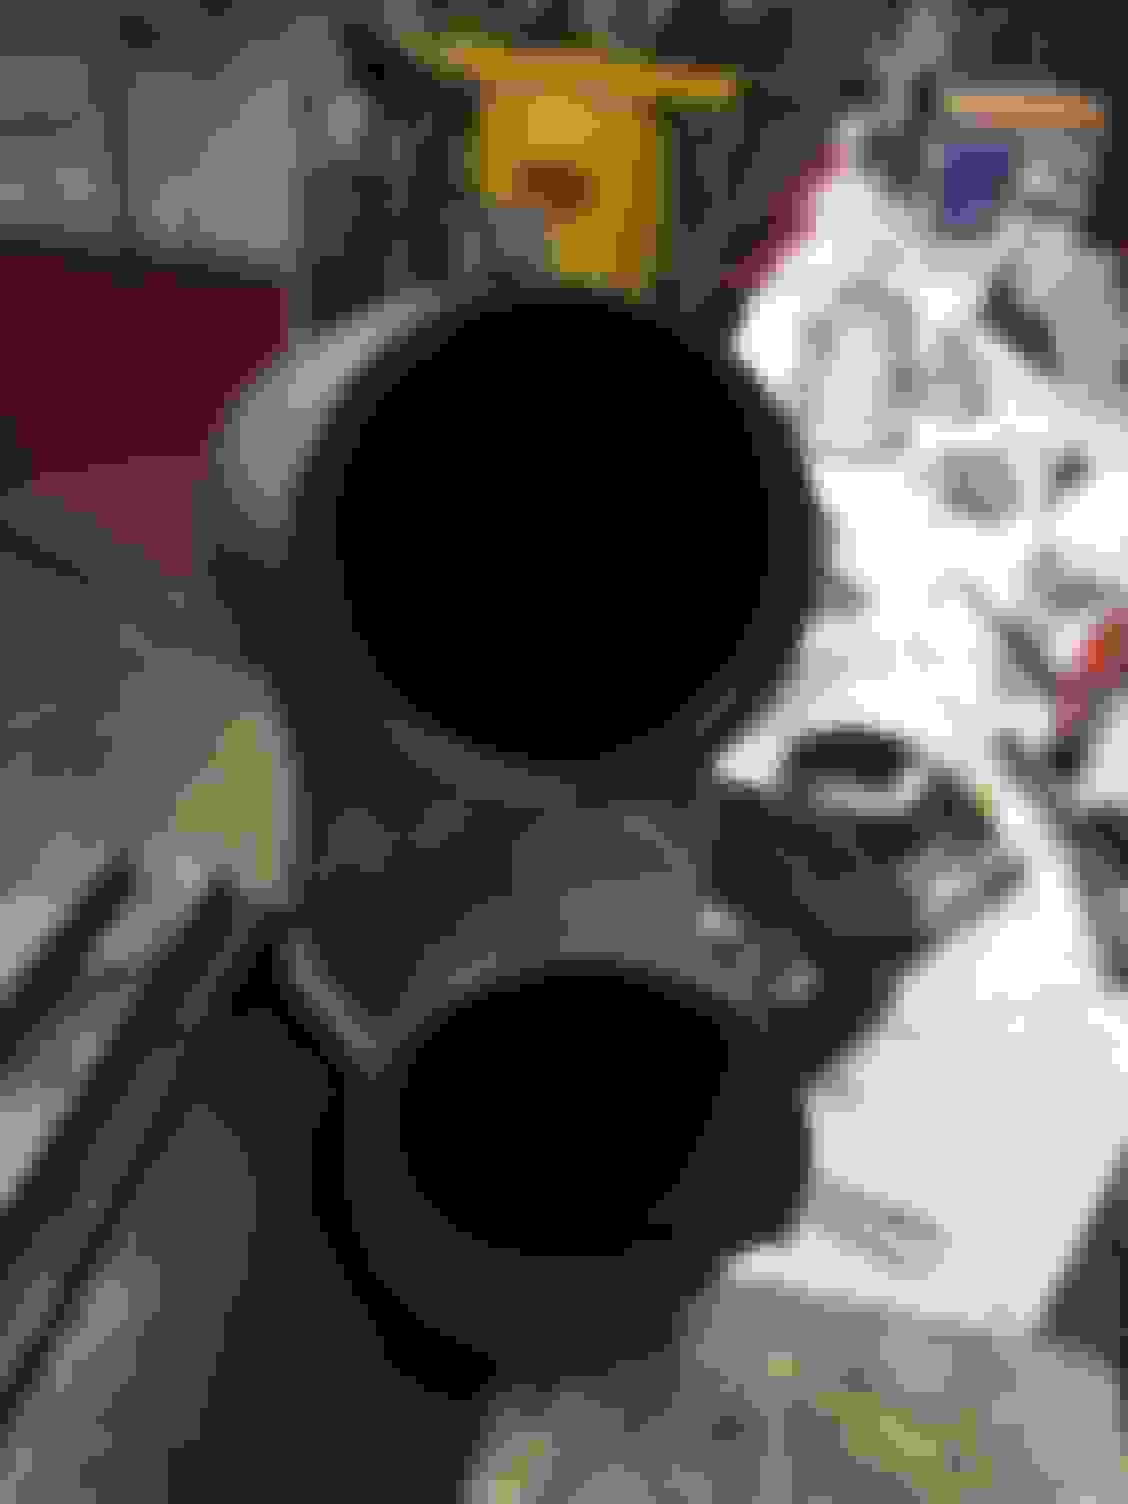
I bought from eBay a set of split clamps used for BMW muffler connection (pic 2). 2 of these clamps will go on the fixed connection.
And from the dealer an MB clamp A 126 492 08 45, a graphite sealing collar A 126 997 00 41 (pic 3). They will go on the slip fit connection together with another BMW clamp.
The slip fit will not come apart easy. I had to use the yellow torch for a while. After you remove the downstream exhaust clean it from the old slip ring (pic 4).
If you have been blessed with daughters and you don't have an assistant you will have to get creative, the exhaust is heavy and long. When I removed it it fell on the ground and chipped a piece of the right tube flare (visible in pic 8). I had 2 long zip ties at 2 locations. I slipped the exhaust through the loops and then I tightened them until the exhaust got into position (pics 5 and 6).
Slide the clamp and the graphite collar on the right upstream pipe (pic 7). Then tighten the BMW clamps with the reused ring on the left pipe.
Slide the graphite ring into the downstream pipe (pic 8) and tighten against the third BMW clamp (pic 9).
Put back any downstream rubber donuts or clamps that you had to remove.
Notes: 1. On the slip fit side the upstream pipe slides into the downstream about 2" and will allow you some mistakes, like my chipped flare. The fixed side will not. The 2 flared pipes meet against a slim ring.
2. The BMW clamps are slightly bigger than what is needed here but they worked and there are no leaks. As a backup I was prepared to get Nickson split clamps from Advance Auto even though they are very bulky.
A while ago I posted a thread about my rusted exhaust connectors (pic 1). I bought from eBay a set of split clamps used for BMW muffler connection (pic 2) And from the dealer an MB clamp A 126 492 08 45, a graphite sealing collar A 126 997 00 41 (pic 3) After you remove the downstream exhaust clean it from the old slip ring (pic 4) I slipped the exhaust through the loops and then I tightened them until the exhaust got into position (pics 5 and 6) Slide the clamp and the graphite collar on the right upstream pipe (pic 7) Slide the graphite ring into the downstream pipe (pic 8) and tighten against the third BMW clamp (pic 9).
 11-02-2018, 01:27 PM