When you click on links to various merchants on this site and make a purchase, this can result in this site earning a commission. Affiliate programs and affiliations include, but are not limited to, the eBay Partner Network.
New to the forums and thought that I would start a thread for the Car Audio Install I am currently doing. Car is a 2005 E320 CDI without BOSE.
Originally thought that this was going to be a lot easier but has proven to be a bit more complicated than I initially thought but not the worst car I have ever done. I was under the impression that the car being non BOSE would simply take a VW Wiring Harness and then be done but was incorrect. The car had optical connections behind the radio.
Factory Radio for Reference:
With this in mind there are two options. Either run this Wiring Harness Metra AX-MC90132 or run my own wires and bypass the factory amp. There was some confusion regarding the location of the factory amp but it was found to be in the trunk on the driver side. I decided to bypass the amp due to future upgrade plans
Radio of choice was the Kenwood DDX9705S. I didn't consider any other brand when making the purchase. Used to be a big Pioneer fan and don't like any of their newer stuff in comparison and Alpine I was never a fan of their GUI. I would have loved to have purchased the Kenwood DNX875S for the fact that it has built in Garmin Navigation but I couldn't justify the cost. I doubt there will be many situations when I need directions and don't have phone signal *Fingers Crossed*. Wireless Android Auto was a big sell for me and knowing the features from Waze were being integrated into Google Maps was a bonus as well.
Dash Kit was Metra 95-8718 and the Antenna Adapter I still have to figure out. The AM/FM Antenna plug is located at the factory amp/tuner. A extension is needed to run to the aftermarket radio from the trunk. The Antenna adapter that Metra suggests is the non amplified version and against my better judgment I trusted them and was incorrect. One other thing is that AM and FM are on two separate plugs. There never used to be an Antenna Adapter to account for this but Metra now makes one that will work with Amplified Antennas as well. Part number is as follows Metra EU56. I have the extension ran and need to obtain the Antenna Adapter and try it.
Steering Wheel Controls were retained using a Axxess ASWC-1. This was interesting part of the install as well. Not having fully opened up the car prior to the entire installation it was unknown where everything was exactly. The Wiring Diagram for the Steering wheel piece provided a reference for the plug and the wires needing to be accessed but the location of said plug was a mystery, was it located in the front behind the radio or at the tuner in back. It was at the tuner in the back.
Radio Removed:
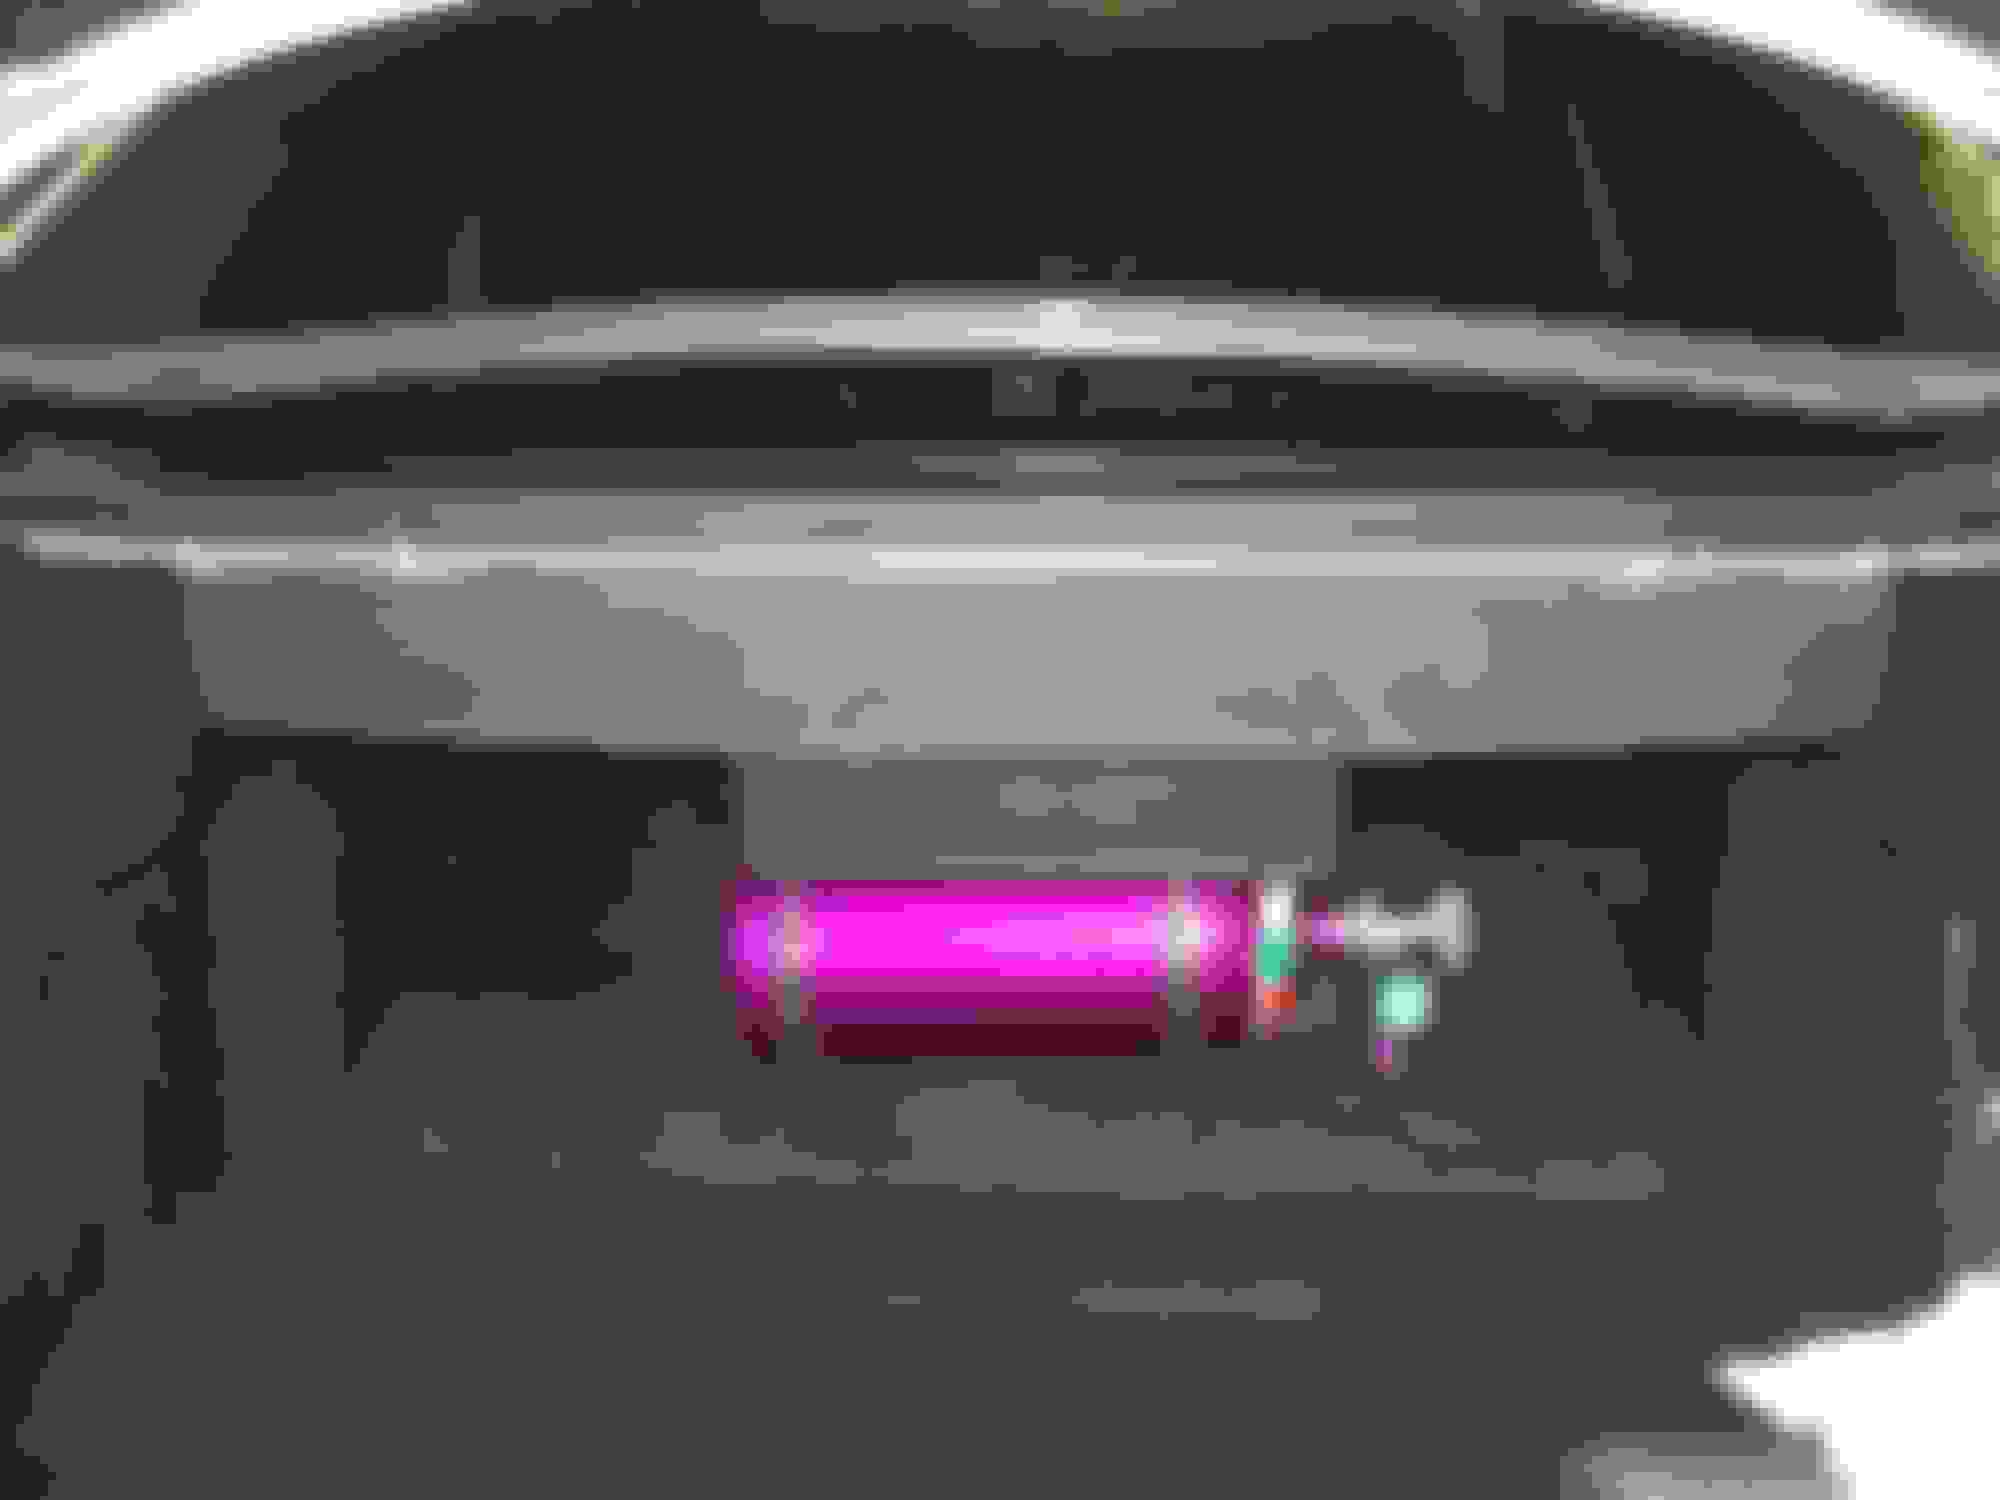
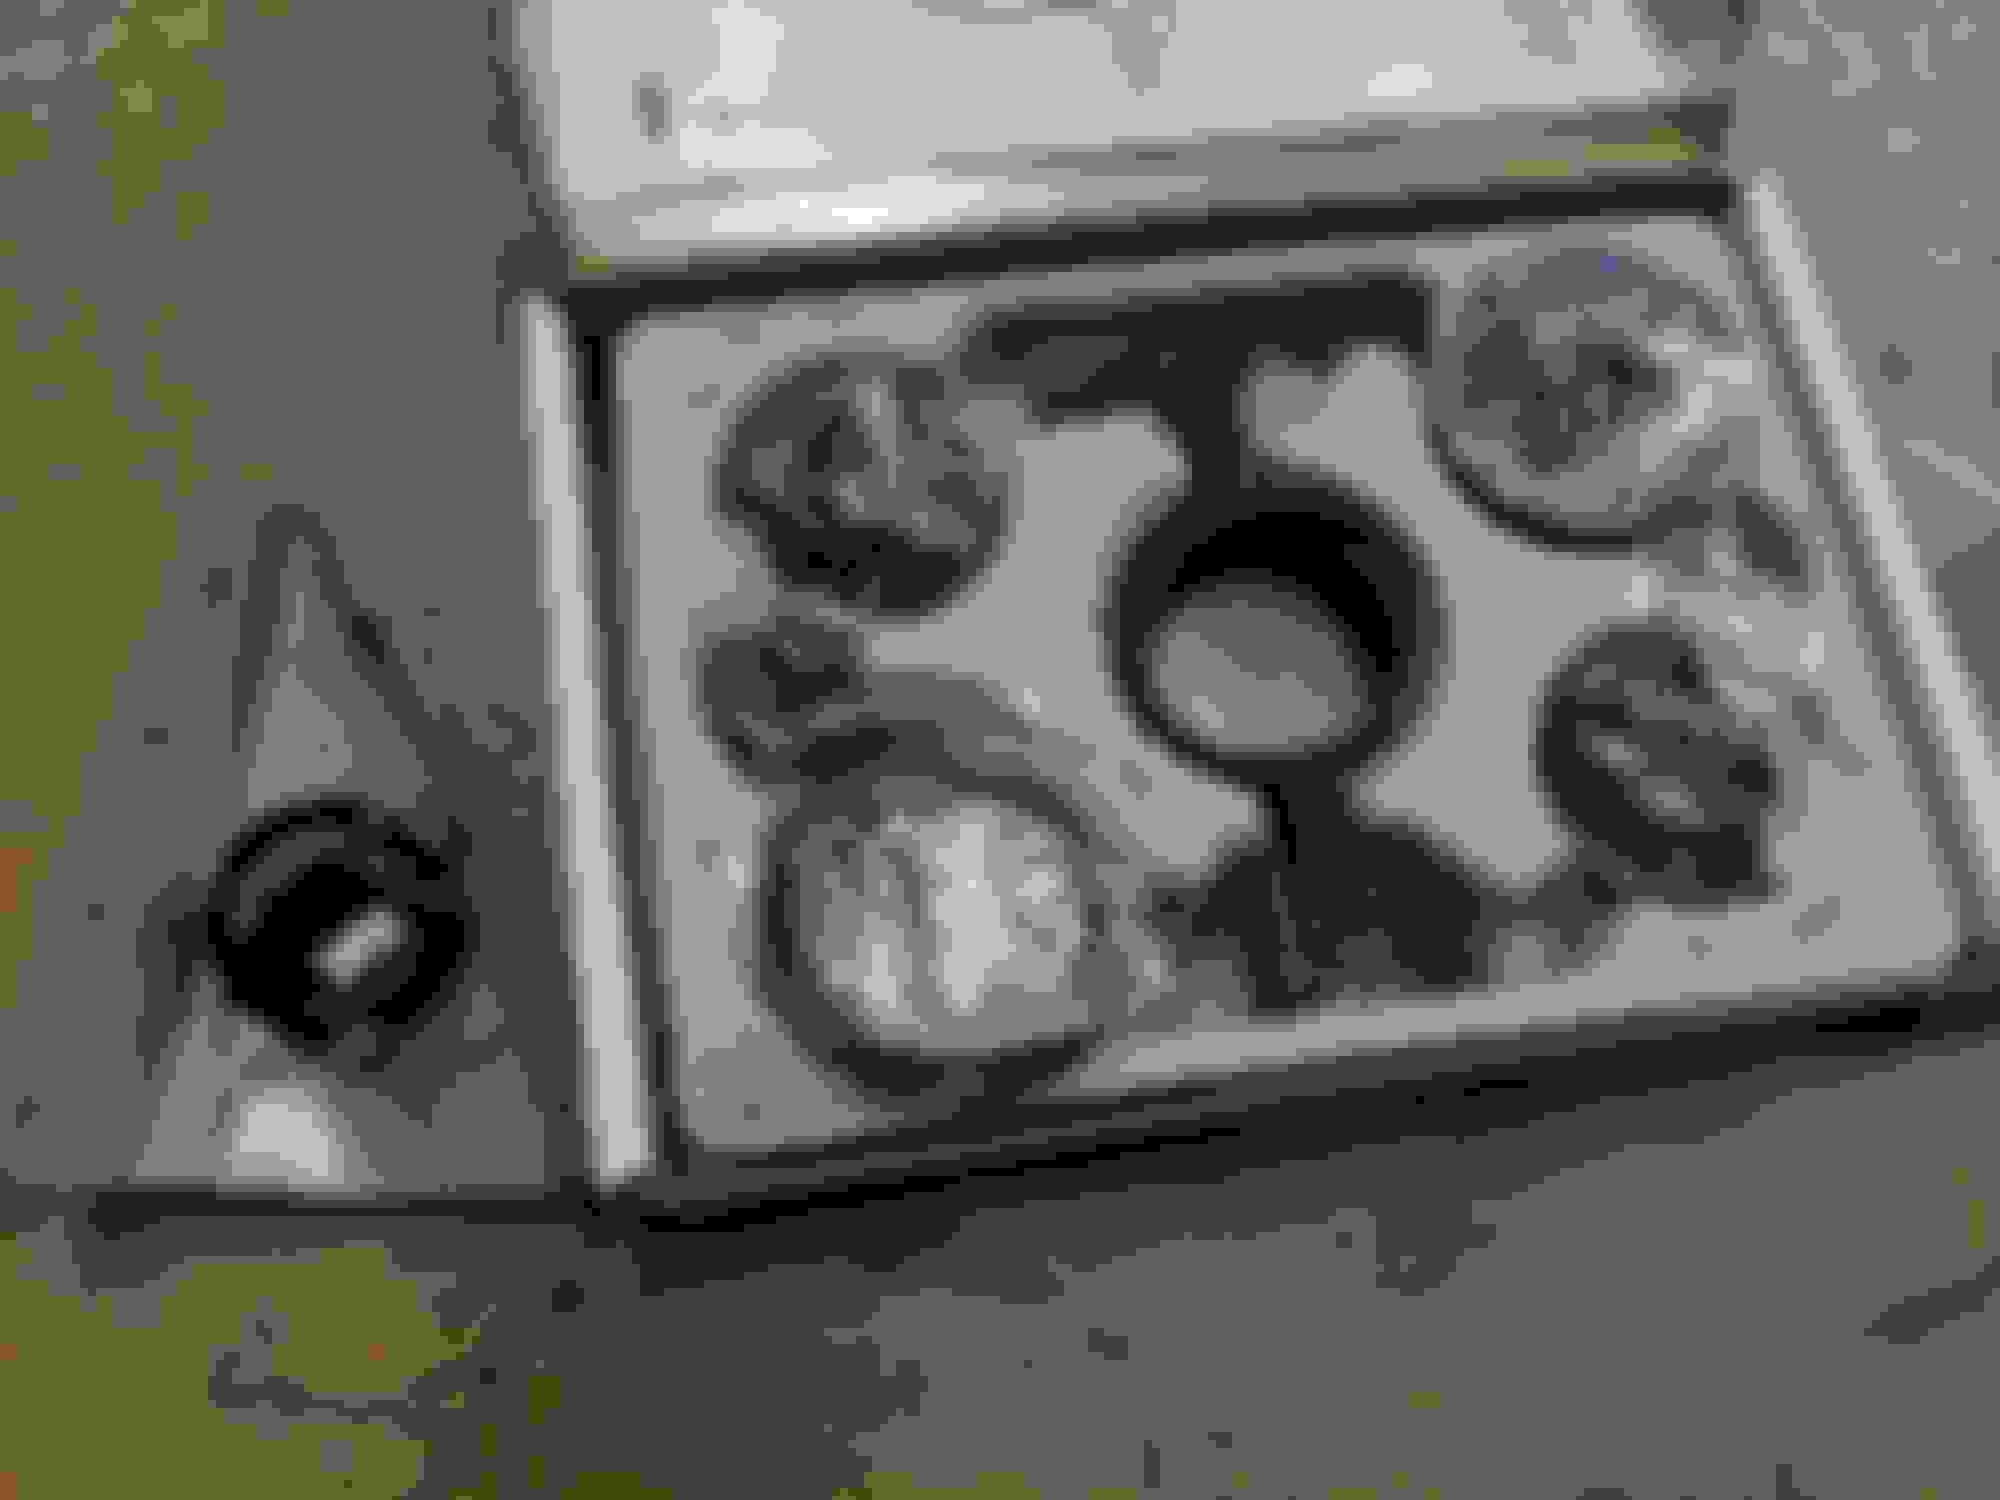
Trunk Disassembled
Close up of Mercedes wiring
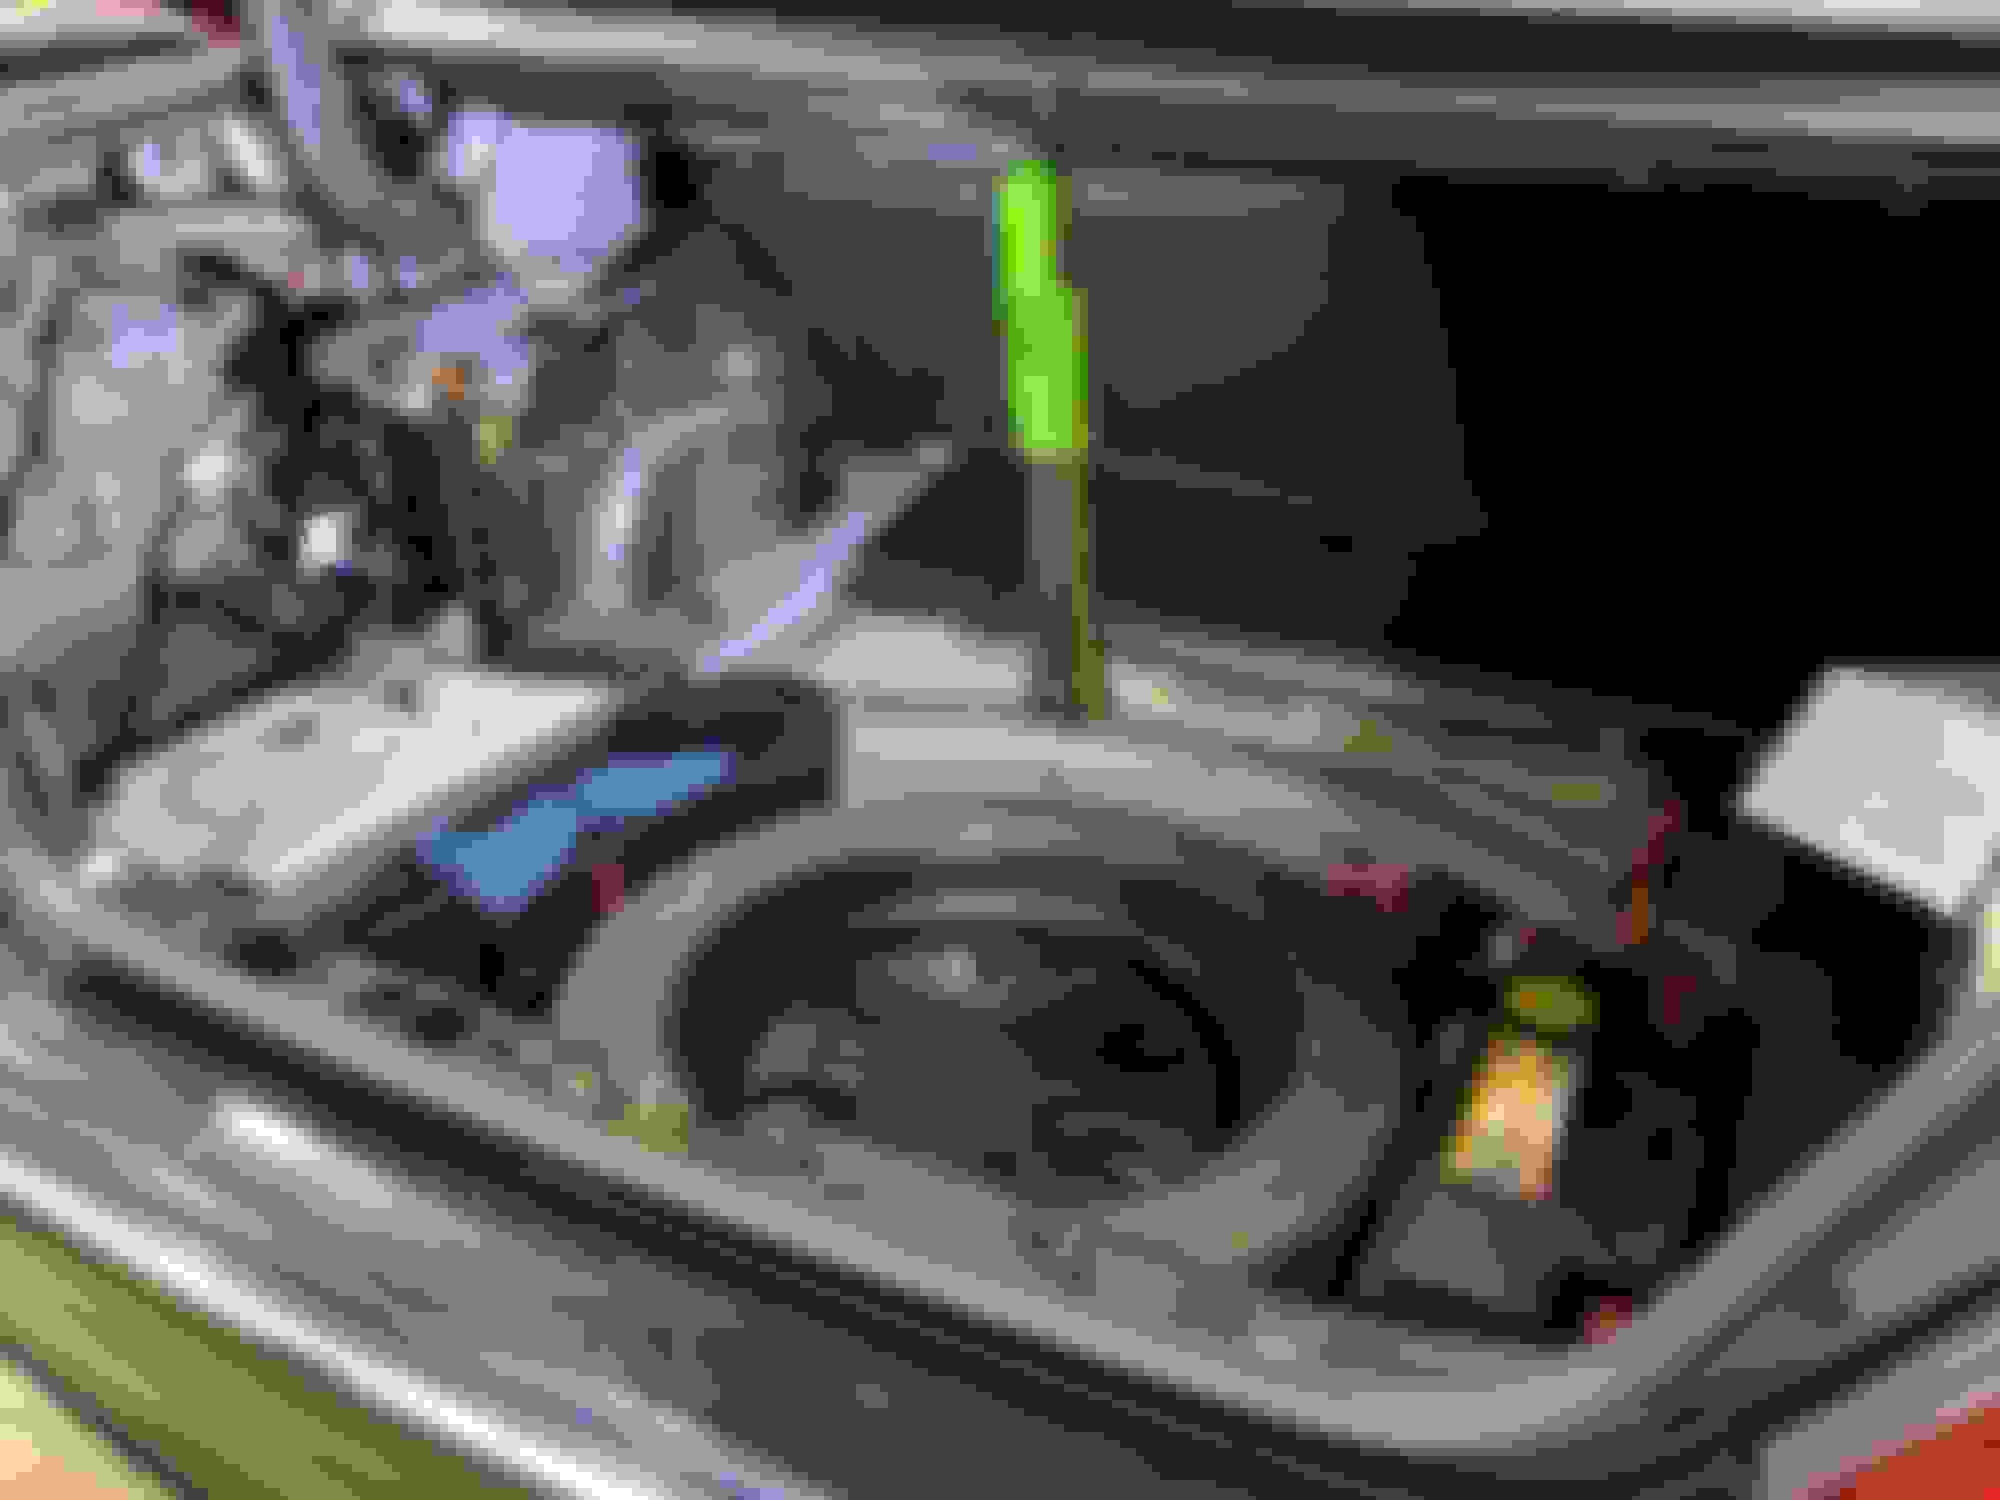
Factory Amp Removed
The disconnected plug shown below has all the wires that are necessary for all the speakers in the car. I didn't realize the car had a center channel either and that is the twisted pair of wires isolated from all the rest.
Dome Light was removed so that the Bluetooth mic could be installed. The location that I initially had thought was empty in the dome light assemble already had a mic of some sort in there. I am referring to the grille area closer to the passenger side. Having to put the mic some where while maintaining the clean look of the interior was a challenge but a unique solution came to mind that you will see further down.
Rear Seats removed to allow access to run wires from trunk to front of car. I ran 4 sets of wires for the factory amp bypass along with 6 Channel RCAs w/ remote turn on, and a pair of wires for the Canbus connections for the steering wheel controls.
This was my solution to the Bluetooth mic dilemma. I really didn't want for it to be seen. I also didn't want it too driver oriented so that I couldn't have a passenger use the mic lets say if i was talking to family. The center channel grille was deemed a perfect location after removing it. The GPS antenna was mounted here as well. GPS has clean line of sit of the sky through the windshield and is nicely hidden.
Factory wiring was cut and bullet connectors were used to allow for the car to go back to factory if need be.
I unfortunately don't have any photos of the finished job but I assure you everything is working and sounds amazing currently. I will grab some photos of the finished radio tomorrow and provide some additional information regarding the changes post install.
For the time being here is a small preview of what is to come in the next few days and I will make sure to do a better job of documenting the latest equipment to be installed.
Nice write-up. Looking forward to seeing your progress. I'm contemplating a similar install. Question: doe the audison tweeters fit behind the sail panels?
Nice write-up. Looking forward to seeing your progress. I'm contemplating a similar install. Question: doe the audison tweeters fit behind the sail panels?
From a depth standpoint there shouldn't be any issue. With regards to them fitting exactly where the factory ones are there may need to be some massaging. I don't foresee any major issues to be honest. The front door woofers and the sub are going to be the tricky parts of this install. If you are doing something similar and are intrepid enough Audison released a 2in tweeter in their Prima line which is supposedly something else. I wanted to try them but knew they wouldn't fit without custom sail panels.
From a depth standpoint there shouldn't be any issue. With regards to them fitting exactly where the factory ones are there may need to be some massaging. I don't foresee any major issues to be honest. The front door woofers and the sub are going to be the tricky parts of this install. If you are doing something similar and are intrepid enough Audison released a 2in tweeter in their Prima line which is supposedly something else. I wanted to try them but new they wouldn't fit without custom sail panels.
Thanks. Where are you going to mount the subs, on the rear deck? Or are you going to build a box? Also, not sure if you're on diymobileaudio, but there's a lot of useful information there. As to new tweeters, I'm considering going custom. I have a set of Dynaudio System242-gt components from a previous build that are sitting around, but the tweeter is WAY to big to fit behind the panel.
I have seen people cut the rear deck and this was a BIG no no in my book. It is a structural piece and I wasn't looking to do that. We have done several W211 Chassis cars for audio upgrades and the fact that the car is so well partitioned from the trunk becomes an issue when it comes to bass from our experience. I selected a Audison APS 10D for the fact of the size of the enclosure it takes and it being able to fire into the cabin similar to the factory sub. It will be suspended from the rear deck similar to this E55 with did circa when they first came out.
This was a 10w3 suspended from the rear deck and it housed the amplifier as well. My current dilemma is I know how i can easily mount the enclosure to the deck, but I would like a way to remove it as well. The amps will go where the factory amp is as I intend to use the factory wiring due to it size and just run wires for the tweeters.
I have a bad case of lurking on websites so I unfortunately have never posted on diymobileaudio but visit from time to time.
Car was with good company. 2018 Porsche Panamera in the background was getting a Radenso/ALP Radar Detector/Laser Jammer Combo.
Trunk torn apart again. Nothing really new to see here other than the RCAs and remote wire I had run during the radio install. Briefly looked over where the amplifiers could go. I purchased Audison's Amp stacking kit but then came to find out that it doesn't work for the two amps that I had chosen. Wish this was advertised but I will determine a way to use them and not let it go to waste.
Door Panel and Speaker removed to start test fitting the MASSIVE HERTZ ML 1800.3. I had taken the door panel off and done some initial measurements and decided to go a little crazy and do a 7in speaker versus the standard 6.5in. This turned into a BIG problem.
The door speakers in the W211 Chassis aim down for some odd reason into the footwell. I am unsure if this was a afterthought or Mercedes' created the door panel before determining speaker size and position. Because of this and the curvature of the window the ML 1800.3 wasn't going to fit easily. We routered some 3/4in thick spacers to see where we were stood and it wasn't looking good at this point. We could go one inch but it seemed as though there would still be clearance issues.
The factory wiring in the Benz is of a good size. I decided that for the ML 1800.3s that something a little more was necessary. New wires were ran into both front doors for the Woofers. I will be reusing the factory wiring for the the tweeters and the rear doors. The door boot in the Mercedes is pretty cool if i do say so myself. They have plastic chute that routes from the door to the boot allowing for wires to get in and out easily.
Driver underdash disassembled. Route wires for...
Audison DRC-MP. I think i will flush mount this into the Ashtray area. I use the area for my change and to throw my phone.
Car in pieces while running wires.
I called in a friend with a 3D CNC machine and we are going to make the front speakers adapters that way to mimic the factory door speakers. The door panel may need some slight trimming on the inside.
I showed you all what the equipment was but I never went over it.
Audison Voce AV 1.1 Tweeters
HERTZ ML 1800.3 7in Woofers in the front doors.
HERTZ MPX 165.3 Pro 6.5in Coaxial for the rear doors
Audison Prima APS 10 D for a rear deck mounted sub. Depth of the sub enclosure is roughly 5in which drove me to get this as i would like for the rear deck to still be useable
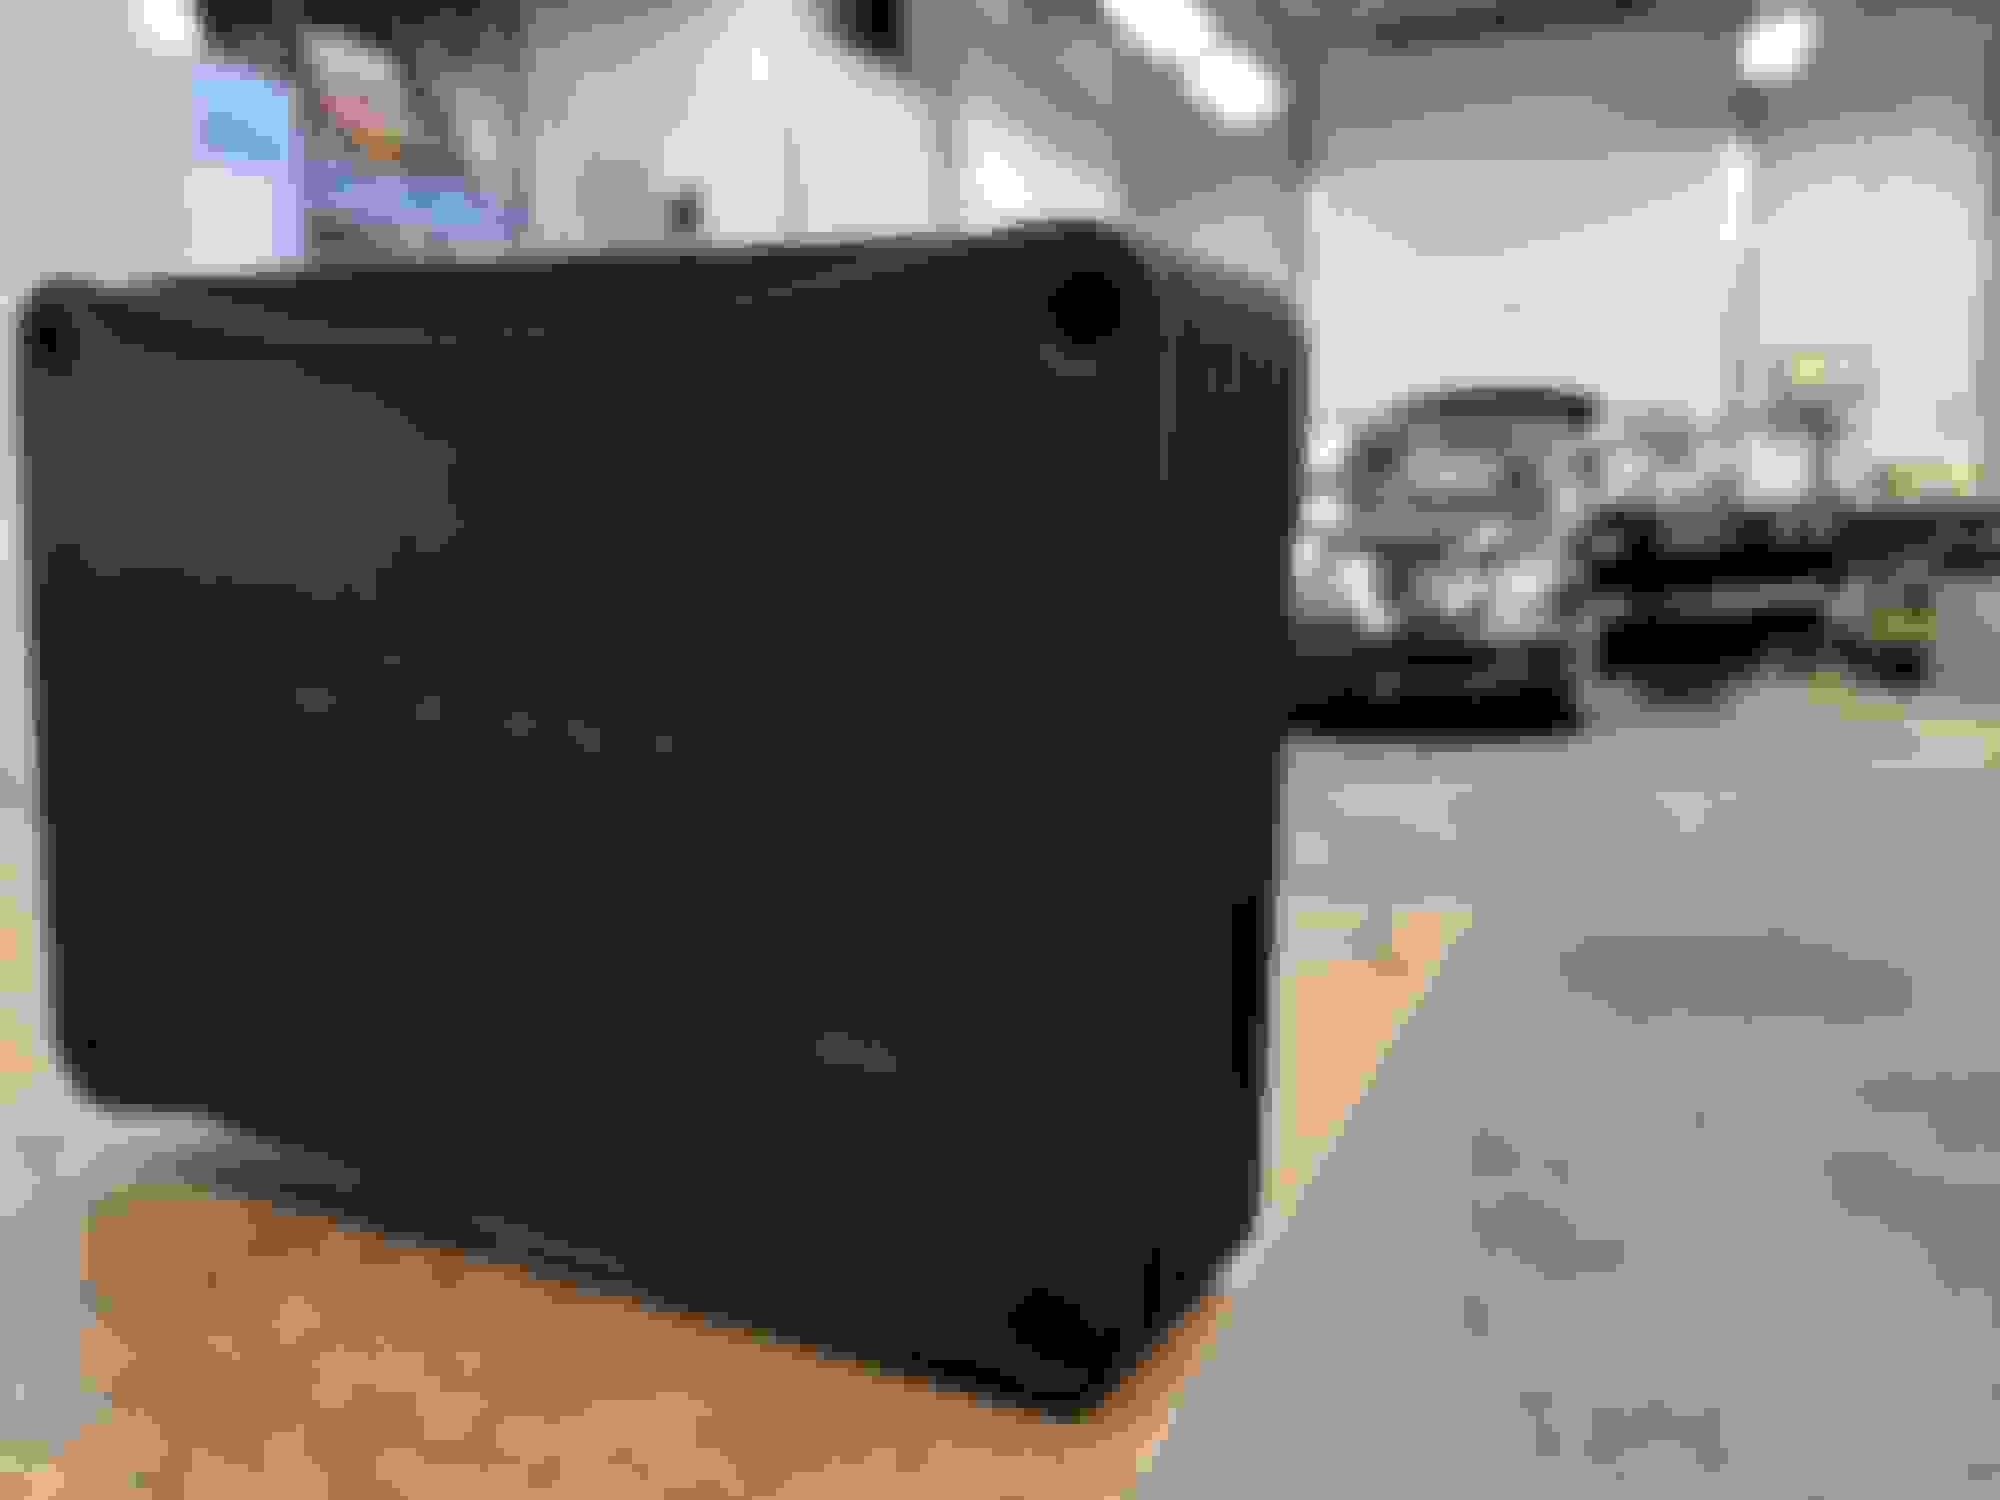
Audison AP F8.9 Bit 8 Channel amp with processing
Audison AP1 D Mono Sub Amp
DRC-MP Controller for everything
Everything is going to be ran Active and the Audison Amps provide processing as well which should prove for a great in car experience.
Ask and you shall receive. Was able to get a lot done today. Will let the pictures do the talking.
Thought I would be a little artsy with a photo. I LOVE the Audison Prima amps. I remember having held one many years ago when they first came out and just being astonished at the size. Power was meh from the multi channel amps but the form factory was insane.
Audison Voce AV 1.1 were the tweeter of choice. The shop truck was running a set of Voces and sounded amazing and my prior cars have had Focal systems in them. Loved my Focals and i wanted to try something new.
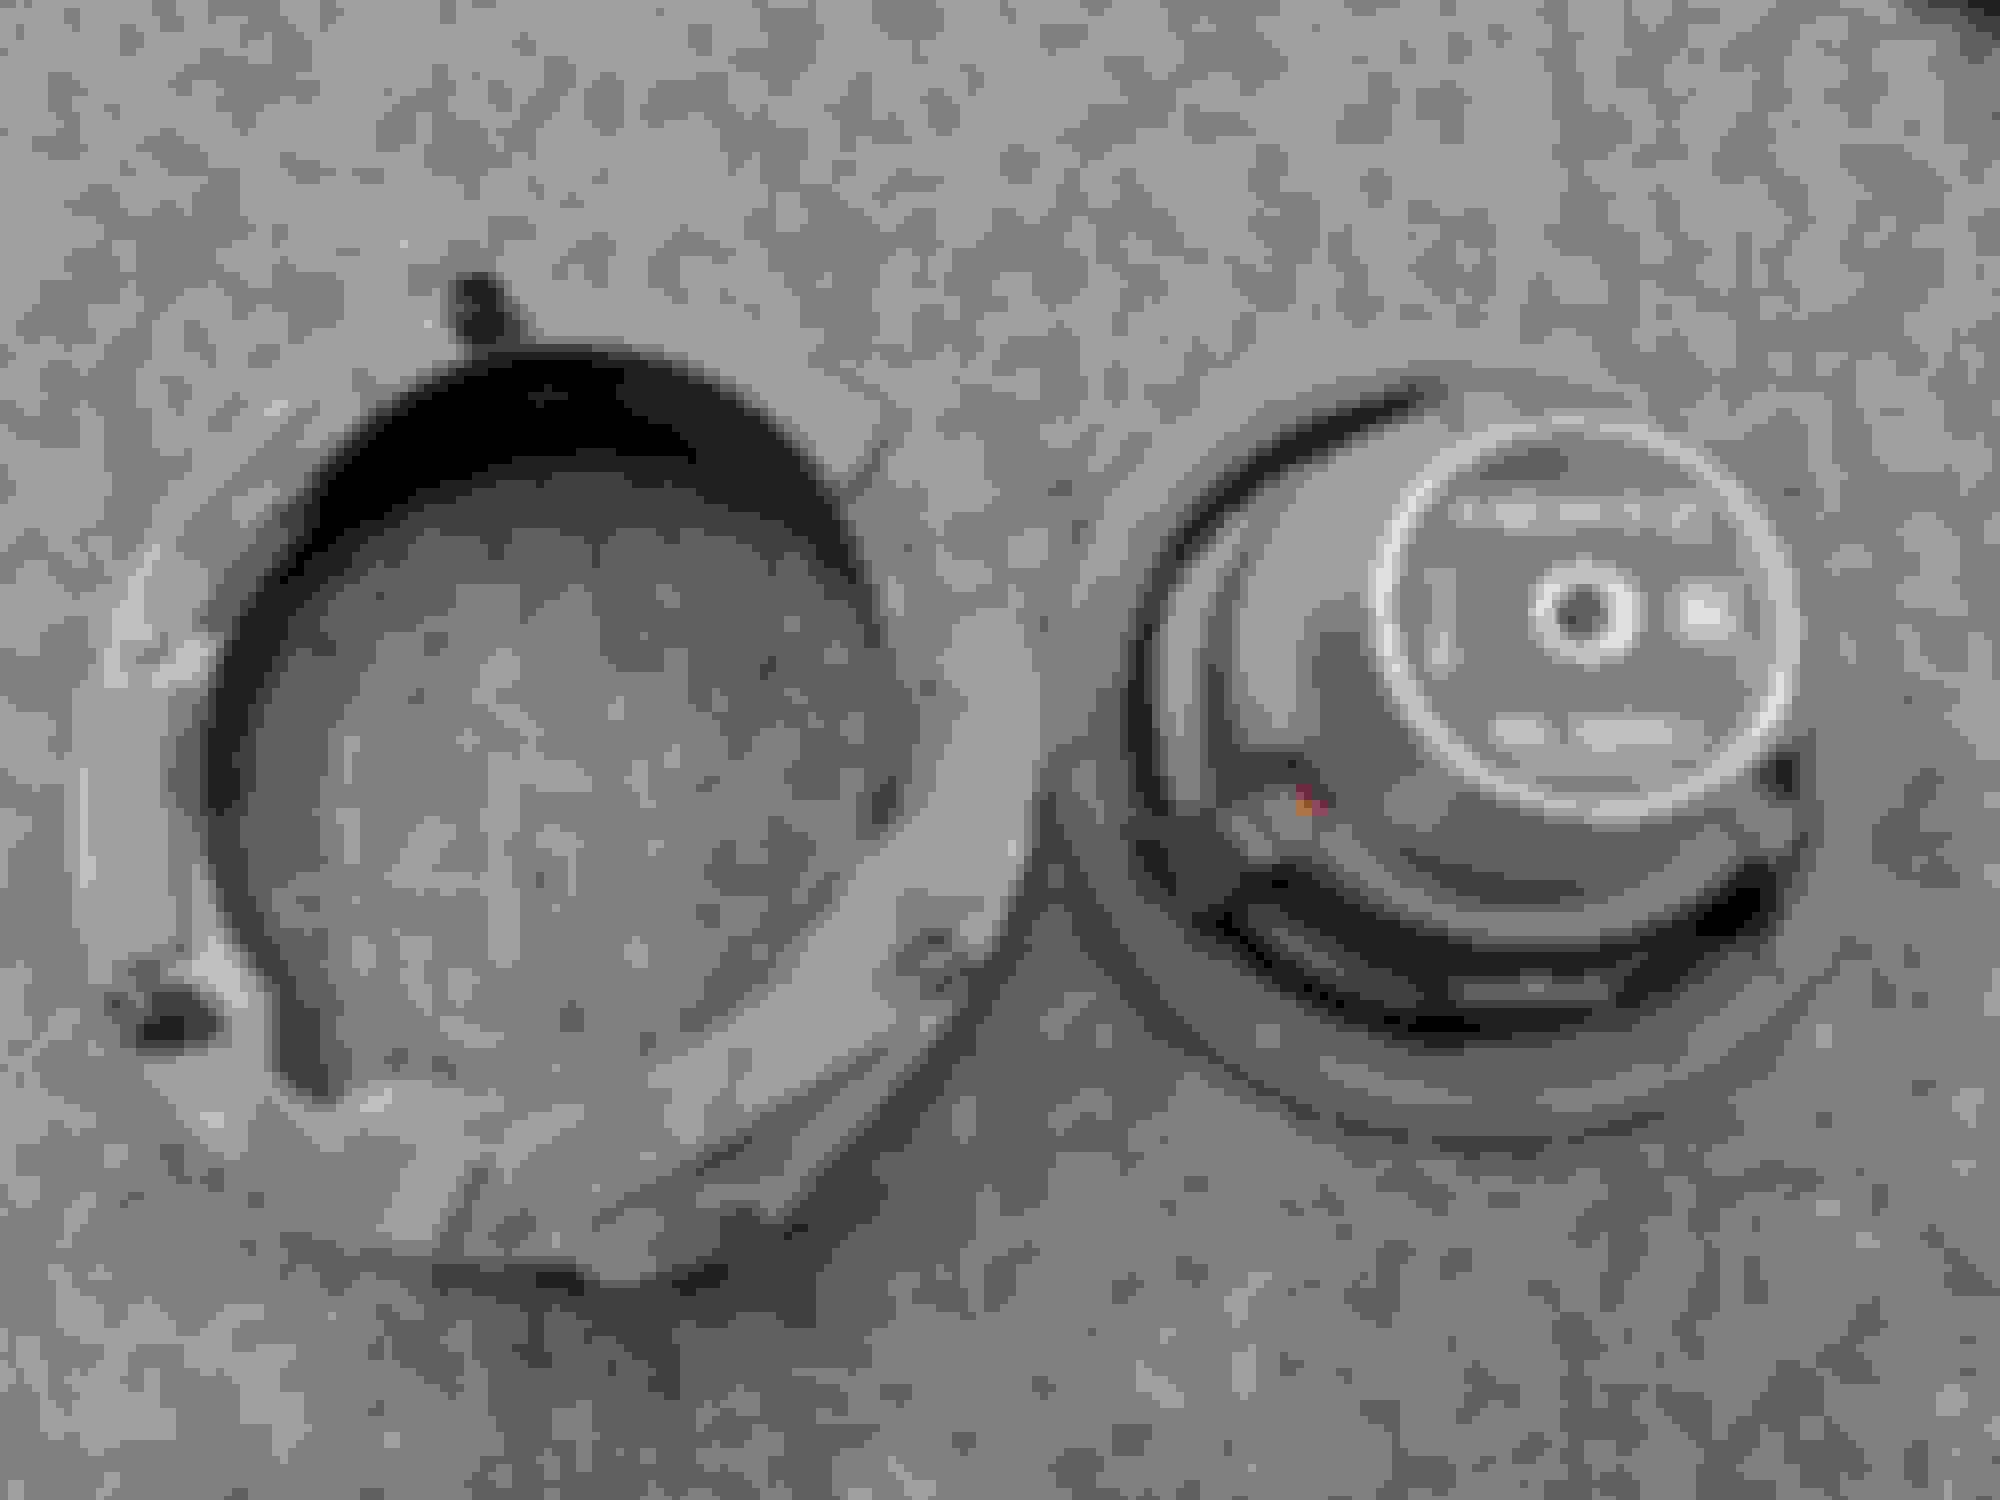
The factory tweeters have a HUGE chunk of foam behind them which has to be for sound dampening I would assume.
Factory tweeter with the foam removed. The tweeter is clipped in with with 3 plastic pegs so removal is easy
With the factory tweeter removed I needed to think of a solution to mount the speakers. It would have been great if the Voce Tweeter fit in the factory mount but this was a no go. A friend suggested that I remove the mounting clips from the factory tweeter mount and simply hot glue the tweeter in place. This is a typical practice but for some reason i didn't want to modify the sail panel. Over the years of installing I think i have grown accustomed to the having very minimally invasive installs. Sometime you just have to do something to get the job done but at times you can try and think of other solutions. Another issue with above mounting method was that the tweeter was still pushed out quite a good amount. I had totally forgotten about the foam at this point and was just thinking of the tweeter suspended from the sail panel and hitting the door. Then it hit me after looking at the panel. The tweeter mount was plastic rivoted in place. HMMMMMMM I took some snips and off it went. Now how was I going to mount the tweeter? I looked at the Audison mount and figured I could make it work but it was difficult. Then light a bolt of lightening it hit me. I was forgetting about the foam. Got the foam, placed the tweeter and veni vidi vici.
The tweeter fit snugly in the foam and it clipped right back onto the doors without issue. All the while it maintained the factory look. If I get rid of the car then I can very easily throw a Walmart special in with regards to speakers or glue the factory tweeter holder back in place and call it a day.
Before I start talking about the image below been having some issues when trying to upload stuff to the website. Some pictures come through fine in the first go and some don't. I am finding that I have to upload one at a time just in case I get a error on one of the photos and have to restart again. If I am doing something wrong would love to know.
Any who i wanted to take care of the rear doors today as well. We attempted using a Universal Bracket to the speaker but it was unfortunately not large enough to cover the factory speaker holes. Lets see unlike the front doors the rear speakers being used are 6.5in HERTZ MPX 165.3 so I shouldn't be running into the fitment issues as before. We could build a ring and call it a day but I took a slightly easier way out. I cannibalized the factory speaker. It will more likely than not not go back in the car and when placing the aftermarket speaker face to face with the factory one it was a perfect fit. With blade in hand i went to cutting.The surround is cutout first, and then the basket. With a little love with a air saw and a sander you get what you see to the left. Now with their being enough clearance to fit the speaker another idea was suggested to reuse the factory plug. Easy! The plug is incorporated into the speaker and wasn't affected when i cut into it. The terminals internally were a little far but I cut them down. With some soldering I had new speaker wires in place that allowed for a seamless connection from the factory plug to the aftermarket speaker. The speakers were sealed to the factory housing and ready to be installed.
Factory Speaker removed
Some sound deadening for good measure
Speaker mounted and reattached to the door
I took the trunk apart some more and after lengthy discussion I have settled on the placement of the amps. One of the great things about the Prima amps is there size. And since they are so small you can actually stack them as well. Unfortunately in my case I have one of their newer more powerful amplifiers and It is bigger than all the other amps in that line thus not allowing them to stack. I thought I may have been able to stack the amps and attached them to the factory bracket but there was absolutely no room to do this. A colleague suggested to install the amps on the opposite side of the wall that the factory amp was on. It would still be hidden by the carpet and out of sight out of mind. I wasn't keen on the idea, I know that the car is older and a few holes behind a panel are not going to say anything but it also seemed liked a pain in the butt should the amps ever have to be serviced or when i need to connect the laptop to them. I could put them next to the spare tire and battery but there wasn't much room to work with because of the battery and the spare tire kit. I put the cover piece for the spare tire back in and realized that I had a ton of room here for the amps to sit comfortable and to be out of the way. I have easy access to them and during our initial tuning session the amps will be easier to access. I will build a panel for the amps to sit on and i will better determine the wiring situation tomorrow. I don't for see any issues.
Just got images of the speaker adapters being built and I hope to pic them up tonight so i can test to see how they fit. If i can complete the front doors tomorrow I should be in good shape to get the amplifiers mounted and wired up so that the interior speakers are working. The sub box will be the next step after that.
Haven't forgotten about you folks. There have been some fitment issues that needed a lot of attention. After a bunch of hiccups I was able to get everything fired up. Everything sounds amazing. I need to button the car up tomorrow and i will then have additional photos. Need to determine what I am going to do about the sub as well. I am thinking of potentially cutting the rear deck but i am 50/50 currently
Hello all not much time tonight to go into detail so i will leave you with some finish photos inside of the car. Needed the car done for a trip tomorrow. Everything is back together and there are some small things that need to be buttoned up.Everything is good to go and the car is ready to be used tomorrow for a long road trip with the family.
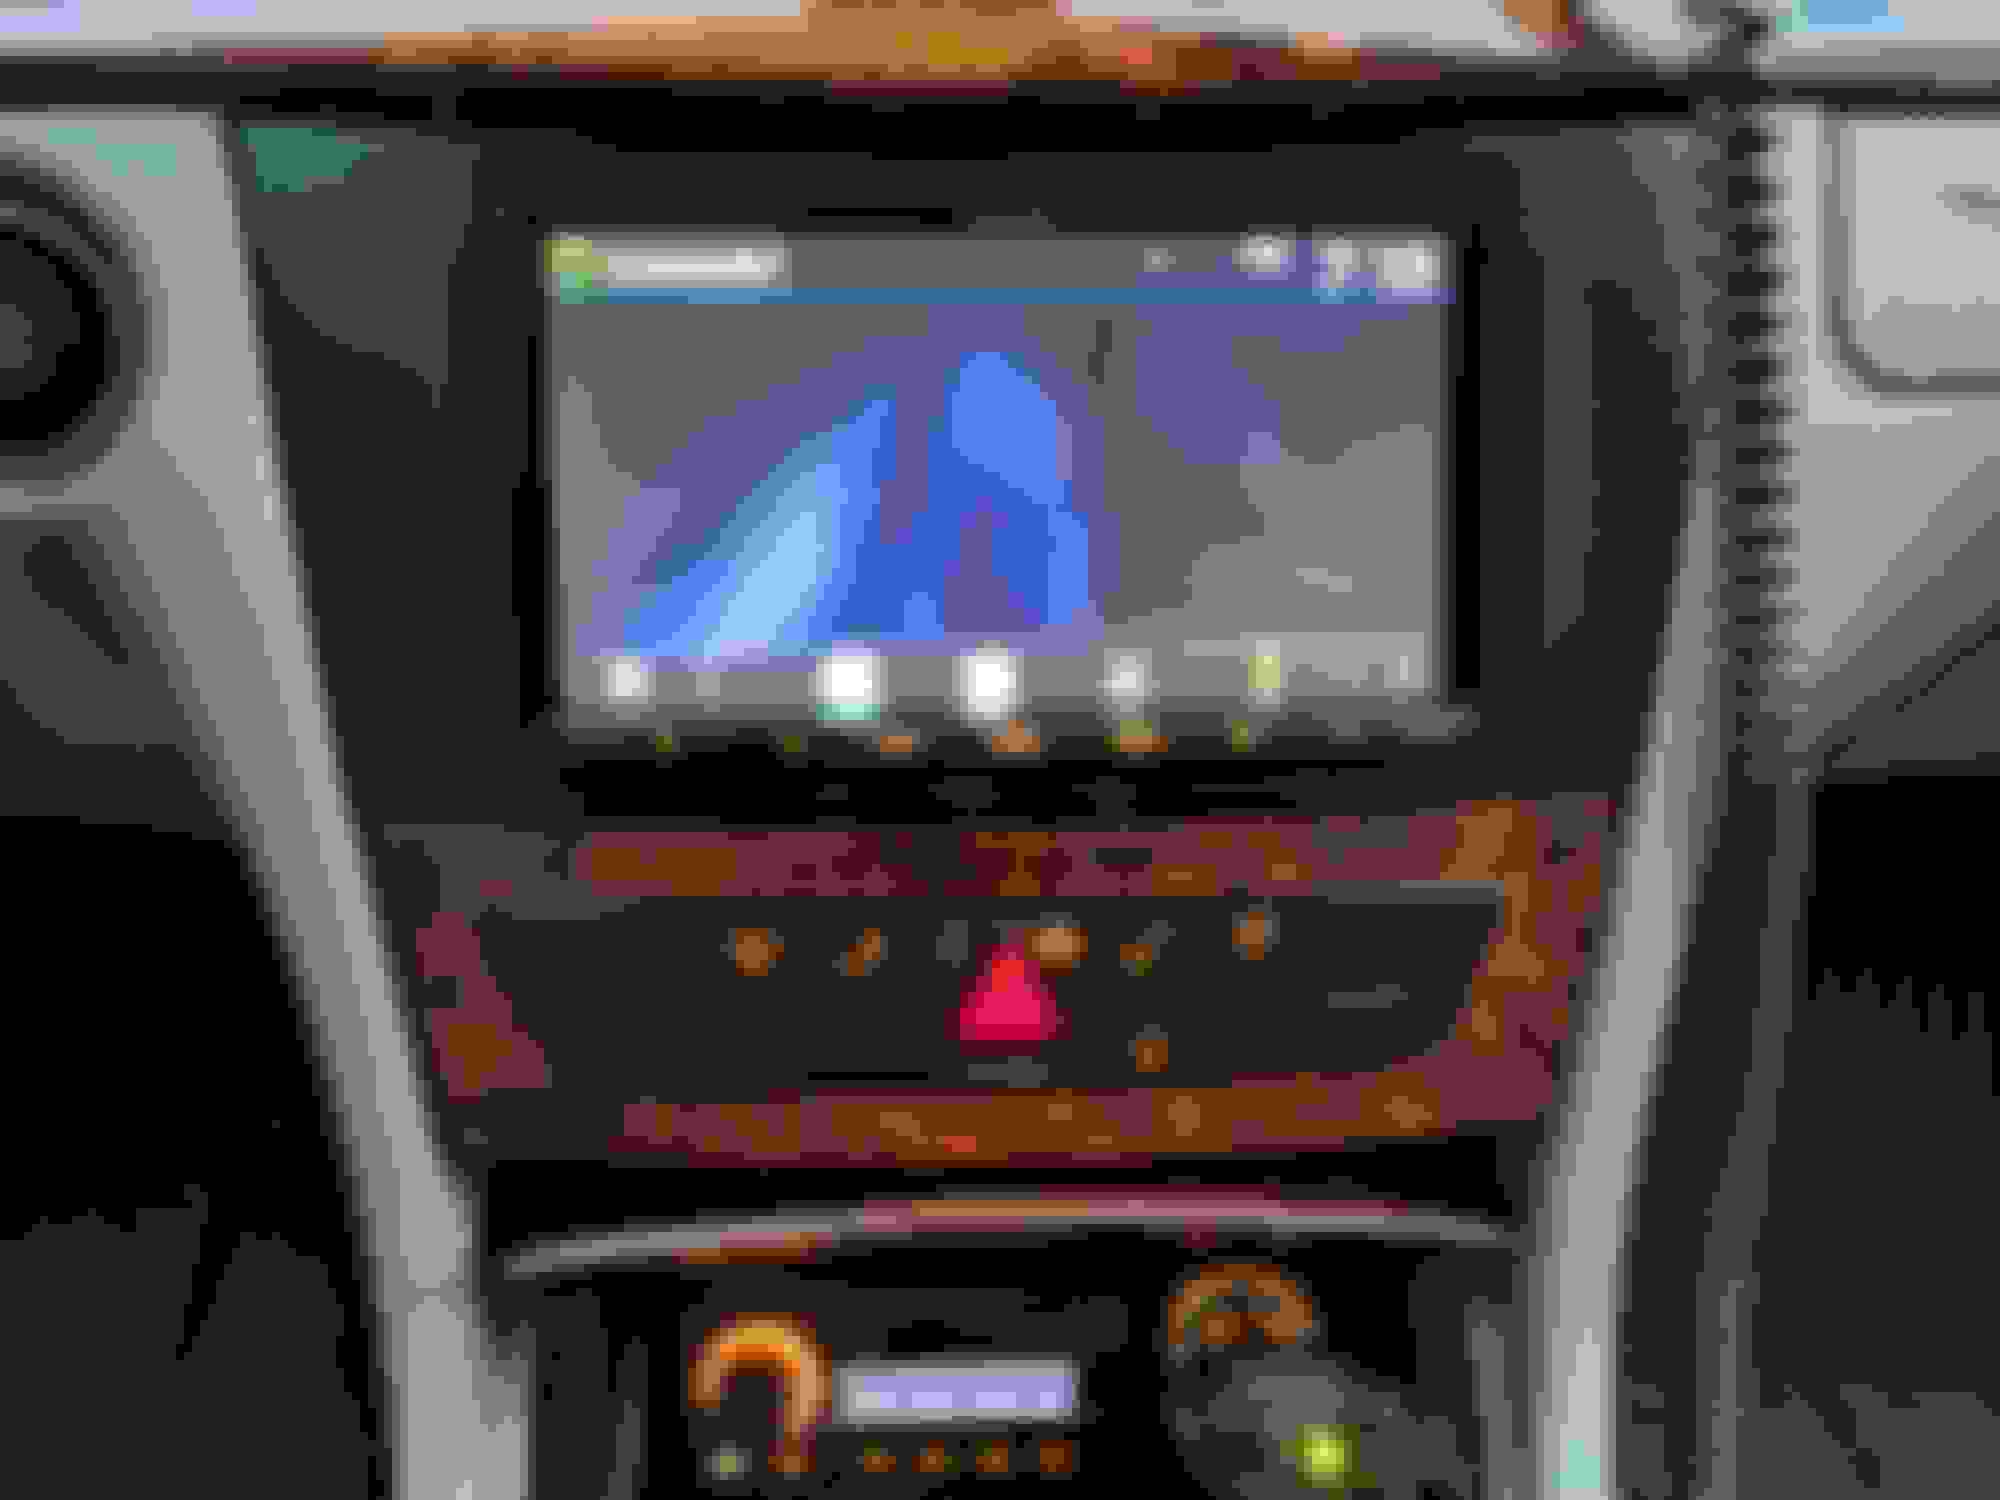
Close up of the Radio and DRC-MP Controller. I color matched the lighting color but can change it if need be, What do you guys think? I still have yet to use the DRC-MP the Prima Amps and their level of setup is crazy to me. It has been awhile since I installed consistently and i encountered a lot of small mistakes when configuring and installing the amp. When the sub is installed the DRC-MP will function as a sub controller since nothing is being done via the Kenwood other then sending signal.
All in All the car sounds AMAZING!!!!!!. I cannot tell you how well the staging is in the car without any sort of time alignment and beyond that it just takes whatever you throw at it. I would do a video but i don't believe it would do any justice. Will give you guys more details if not during my trip when i return.
Wanted to come back and offer some updates and go over some additional parts of the install that I didn't highlight before mainly the front speakers.
Previously I had shown the photo below and described the issues that we faced when trying to install the ML 1800.3. Due to its larger size it wasn't as straight forward as we initially thought.
This was the solution below. I had a friend of mine with access to a 3D CNC machine cut the speaker rings below. Due to material limitations it had to be cut in 3 pieces to replicate the angle of the factory speaker. The material used for the rings was extruded PVC. Never used it before and it was something new and interesting to work with. The base plate is all that is left of the factory speaker allowing for the the factory Mercedes mounting points to be retained and no additional unwanted holes in the car. This process was huge pain and i am glad that we didn't cut up both speakers before testing as we wanted to match the factory angle as best as possible. The factory speaker isn't slanting up nor down but more so on a diagonal slant to match the door panel. Having measured things 10 times inside and outside the car we were confident and put together the first one in the picture below. The driver side was done first for concern of the trunk button which gave me some issues. The same measuring process was repeated for the passenger side.
Never having worked with Extruded PVC the process of painting the speaker adapters was interesting as well. Car Audio 101 a lot of shops used to make speaker rings/adapters out of MDF. Just like any wood MDF absorbs water. To slow this process down it is common practice to paint the wood so that it doesn't swell. In this case that was really necessary but it was done as a precaution and as a cosmetic thing. The material is very porous and took a few thick layers of paint till we were satisfied.
Foam was added to the rear of the speaker along with the bottom of the now speaker adapter. I opted to not put sound deadening on the inner portion of the door for fear of it increasing the depth of the speaker and the speaker coming in contact with the door when playing. The majority of the sound deadening was done on the out skin of the front doors then.
Moment of truth both the tweeter and the woofer successfully fit the door panel. The door panel can be removed or reinstalled just like the factory intended it to. The grilles were obviously a fit but the larger concern was if the speakers would impact them while playing. There is a small ring on the speaker grilles which the factory speaker itself fits into. We cut this flush for additional clearance.
With all the door speakers tackled it was time for the amps. I will go over in a separate post a little later. I still need to tidy things up in there and get the subwoofer installed at this point.
I assume you are referring to the clock in cluster. No that works just fine. The only issue is when operating the steering wheel controls. They are now working 24/7 per say and not only when you have cluster Radio Mode or however you would like to refer to it. Minor inconvenience if there is something I have up on the cluster and I don't want it to change I switch songs from the radio then.
@Aali1011 I know this is an old thread, but I have a couple of questions for you. I just replaced my OEM radio and 6-disc CD changer in my 2005 E320 with an aftermarket unit. I was not as ambitious as you - I kept the factory amp and speakers. My main objective was to get some modern features (i.e. Apple CarPlay) versus improve the audio quality. I am not a music aficionado, but the new radio sounds fine to me.
Here are my two questions:
You mentioned in your write-up that you installed your bluetooth mic on the dash in the space on top of the air vents. Do you have a speaker in that space? If so, does it cause feedback when you use your phone feature? I have a speaker in that cavity so I am afraid that placing a mic so close to it would cause issues. Would love to hear your experience if you have the same set-up.
Did you have a CD changer in your OEM set-up? If so, did you remove it? If you removed it, does your CD door still work - meaning that the silver button on the door opens and closes it without the CD in it? I removed my CD changer because the aftermarket unit has one, so I planned to use the space as hidden storage. However, when I put the empty case back into the car, the door no longer opens. All of the buttons on the panel still work, but the silver button does not open the door. Can you share how you made the door work, assuming you had a CD changer and removed it?
Thanks!
Hey @oldsports sorry about the delay, My account here is registered to a old email address i mainly use for spam so I didn't see the notification immediately.
1. I had the center channel speaker but removed during my initial radio install. It couldn't be powered by the radio since it only has 4 Channels and with the Amplifiers same thing. Idk what factory sound system you have/had and how you integrated into it but that would kinda be the determining factor of if it is still working or not. If you hardwired like I did which I don't believe you did then its dead weight. If you used some sort of fiber optic system and it still works then no it wouldn't be advisable to put it up there cause there would be too much interference.
2. I had the factory CD Changer and it is still there and the button doesn't work like yours. I know it is doable to have it still work I never looked into it. I thought of doing a Tablet with a Single Din radio and i was going to hide the Radio in that location. I believe with my setup i left the optical cables unplugged to the changer and I felt that was the reason it didn't open but I am unsure.
I will be updating the radio to a newer model soon and if I get a chance I can look into that and anything else as well. I may change the dash kit for the newer one available from Metra but this is all price dependent.
@Aali1011 Thanks for the reply. You are correct - I kept the fiber optic system and I am using the factory speakers. Since you removed your center channel speaker, you would not have an interference issue with the microphone being located under the grill. Given my center channel still works, that location will not work for me.
If you ever figure out how to get the CD door to open I would love to hear about it because I want to use the empty space for storage. Since I was using the fiber optic system, I had to "close" the system after I removed the CD changer. This was accomplished by installing a fiber optic loop in place of the changer so that the fiber optic signal could continue to flow uninterrupted.
 03-18-2019, 10:16 PM