When you click on links to various merchants on this site and make a purchase, this can result in this site earning a commission. Affiliate programs and affiliations include, but are not limited to, the eBay Partner Network.
Center consul wood trim had a few clearcoat cracks in it so I decided to grind out the cracks, fill them with bondo, and prime it. When the primer dries I'll give it a light sand and another coat of primer and then it will be ready for paint.
Looks great. What type of finish will you choose for the wood trim on the console? I really like the diamond stitched leather accents. Keep at it...its starting to come together nicely.
I like your choice of piano black. I have it in my G but have a black designo interior. The limited contrast doesn't do much to bring out the elegance of the piano black. I think that with your lighter interior color it will be an outstanding contrast. Keep up the great work!
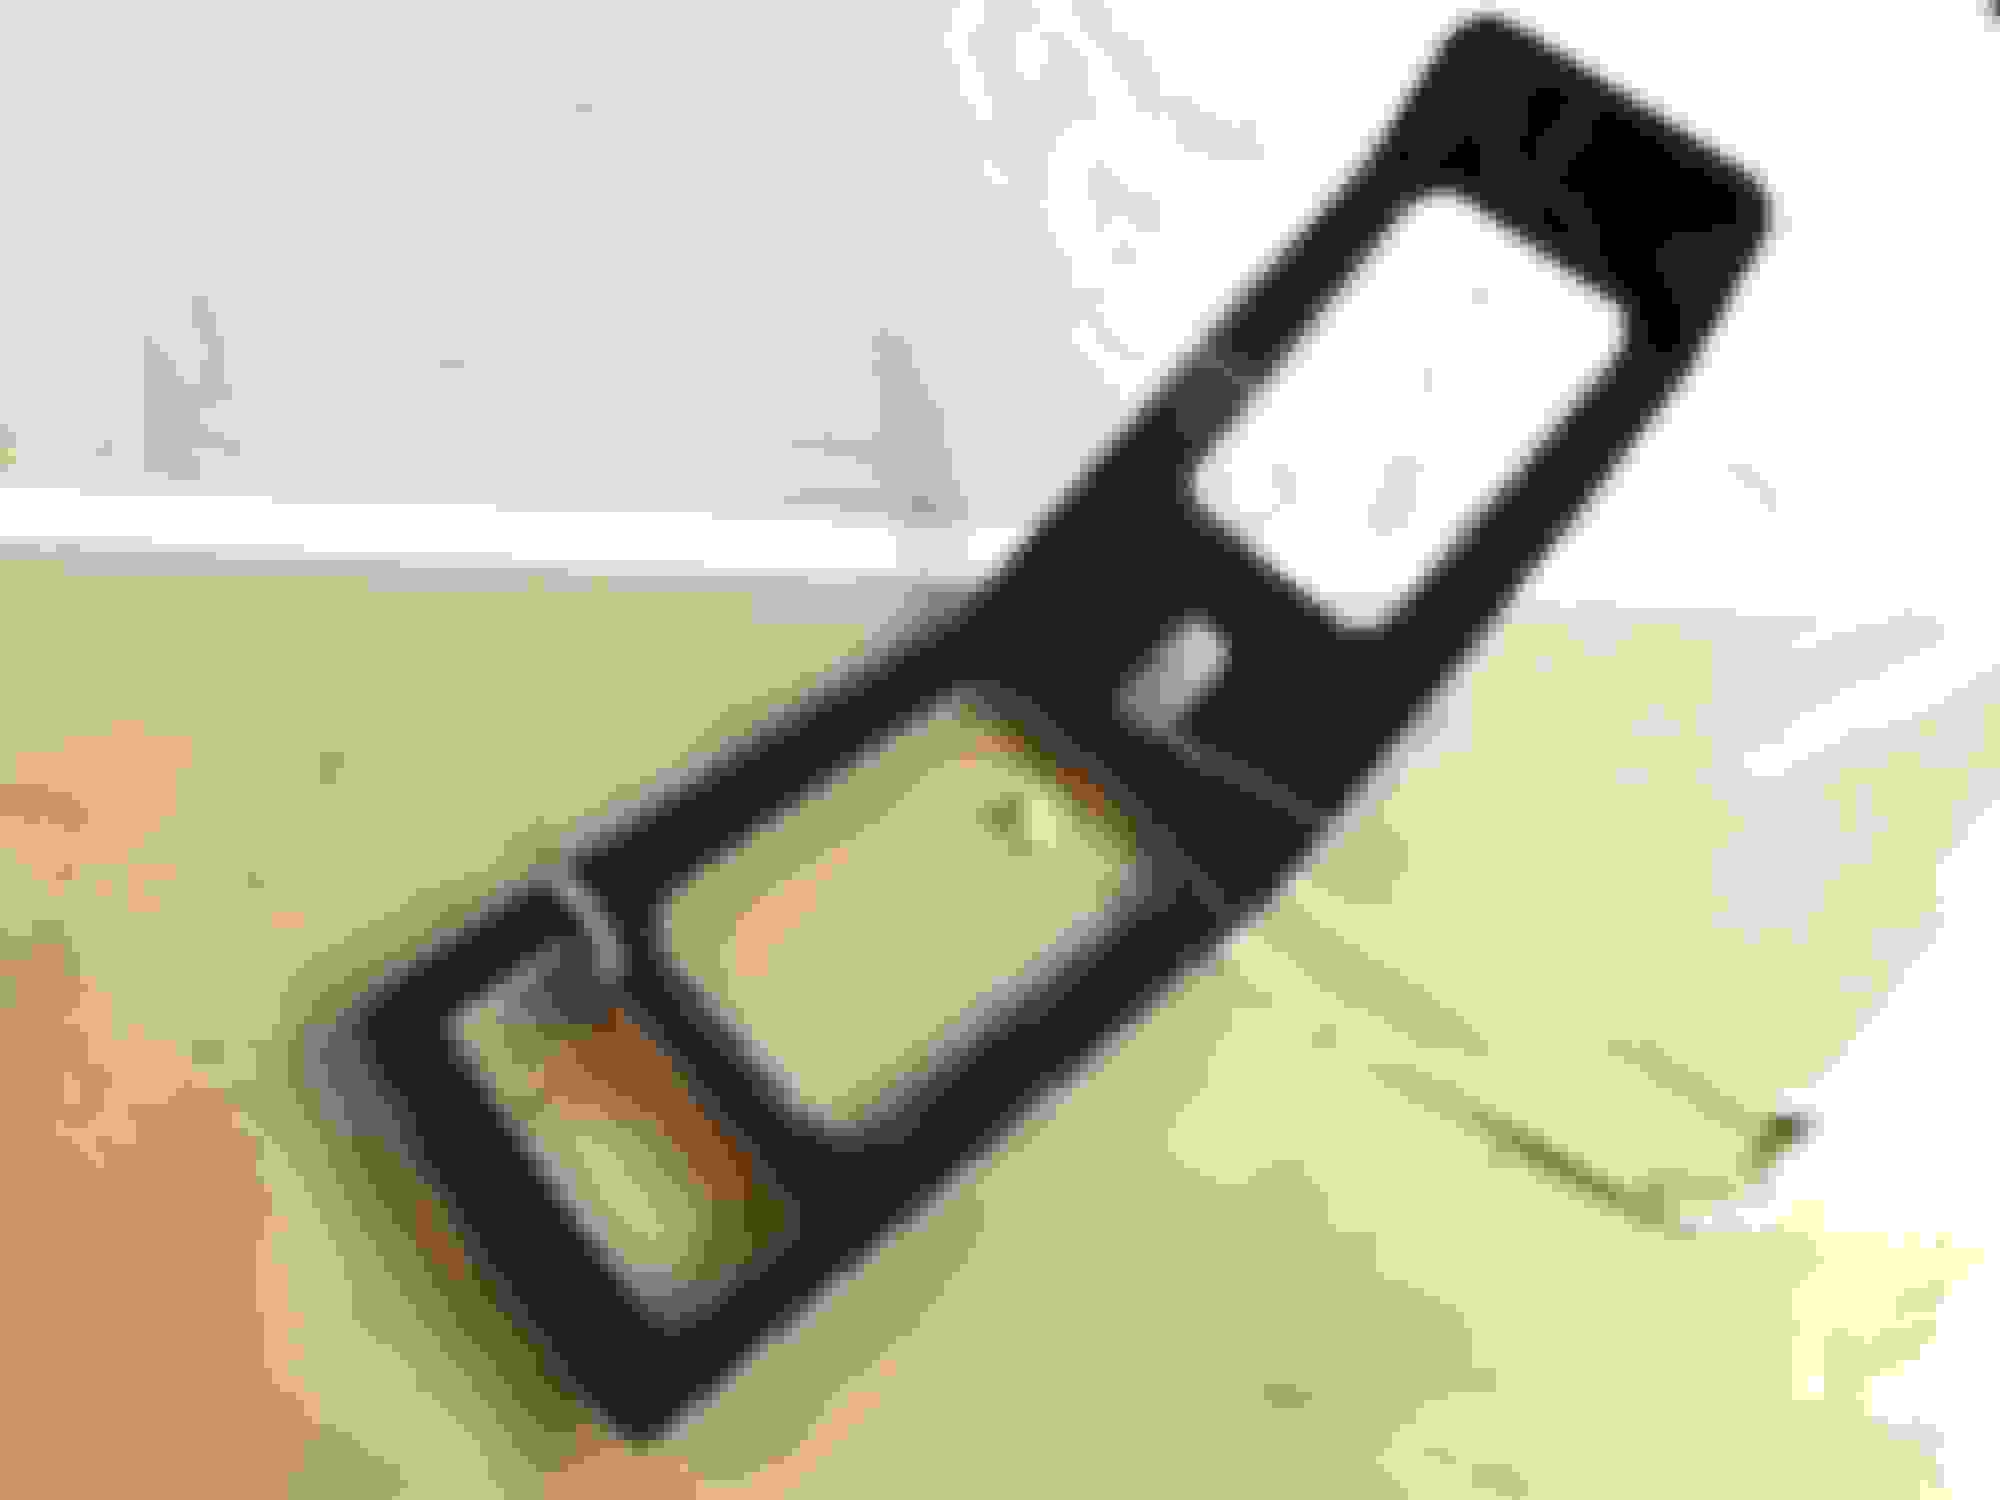
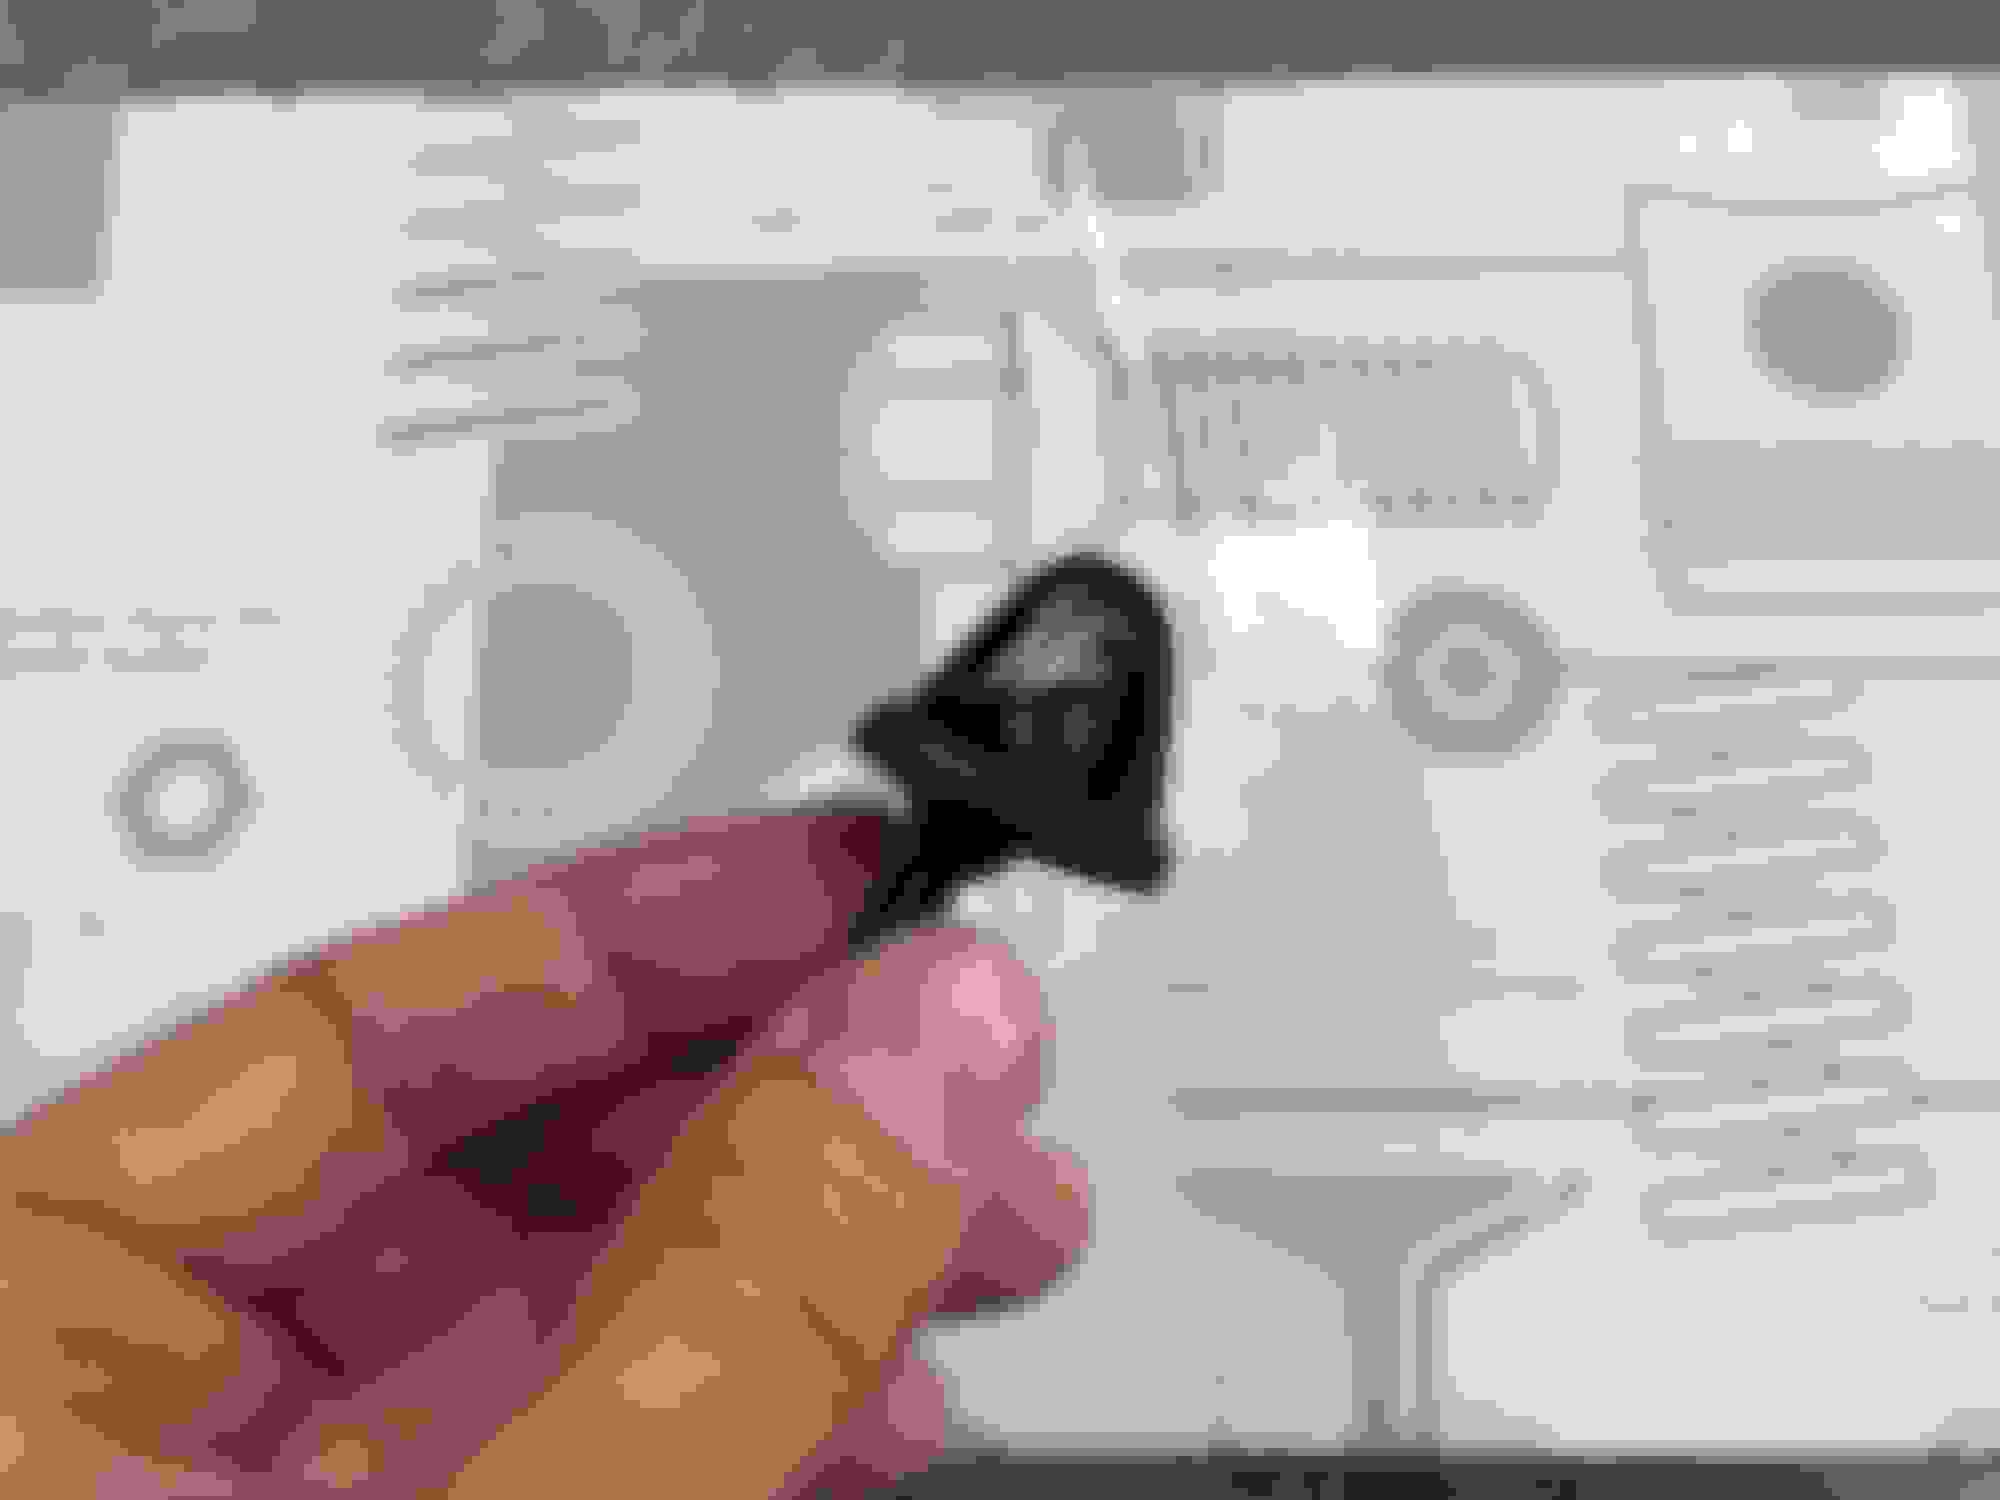
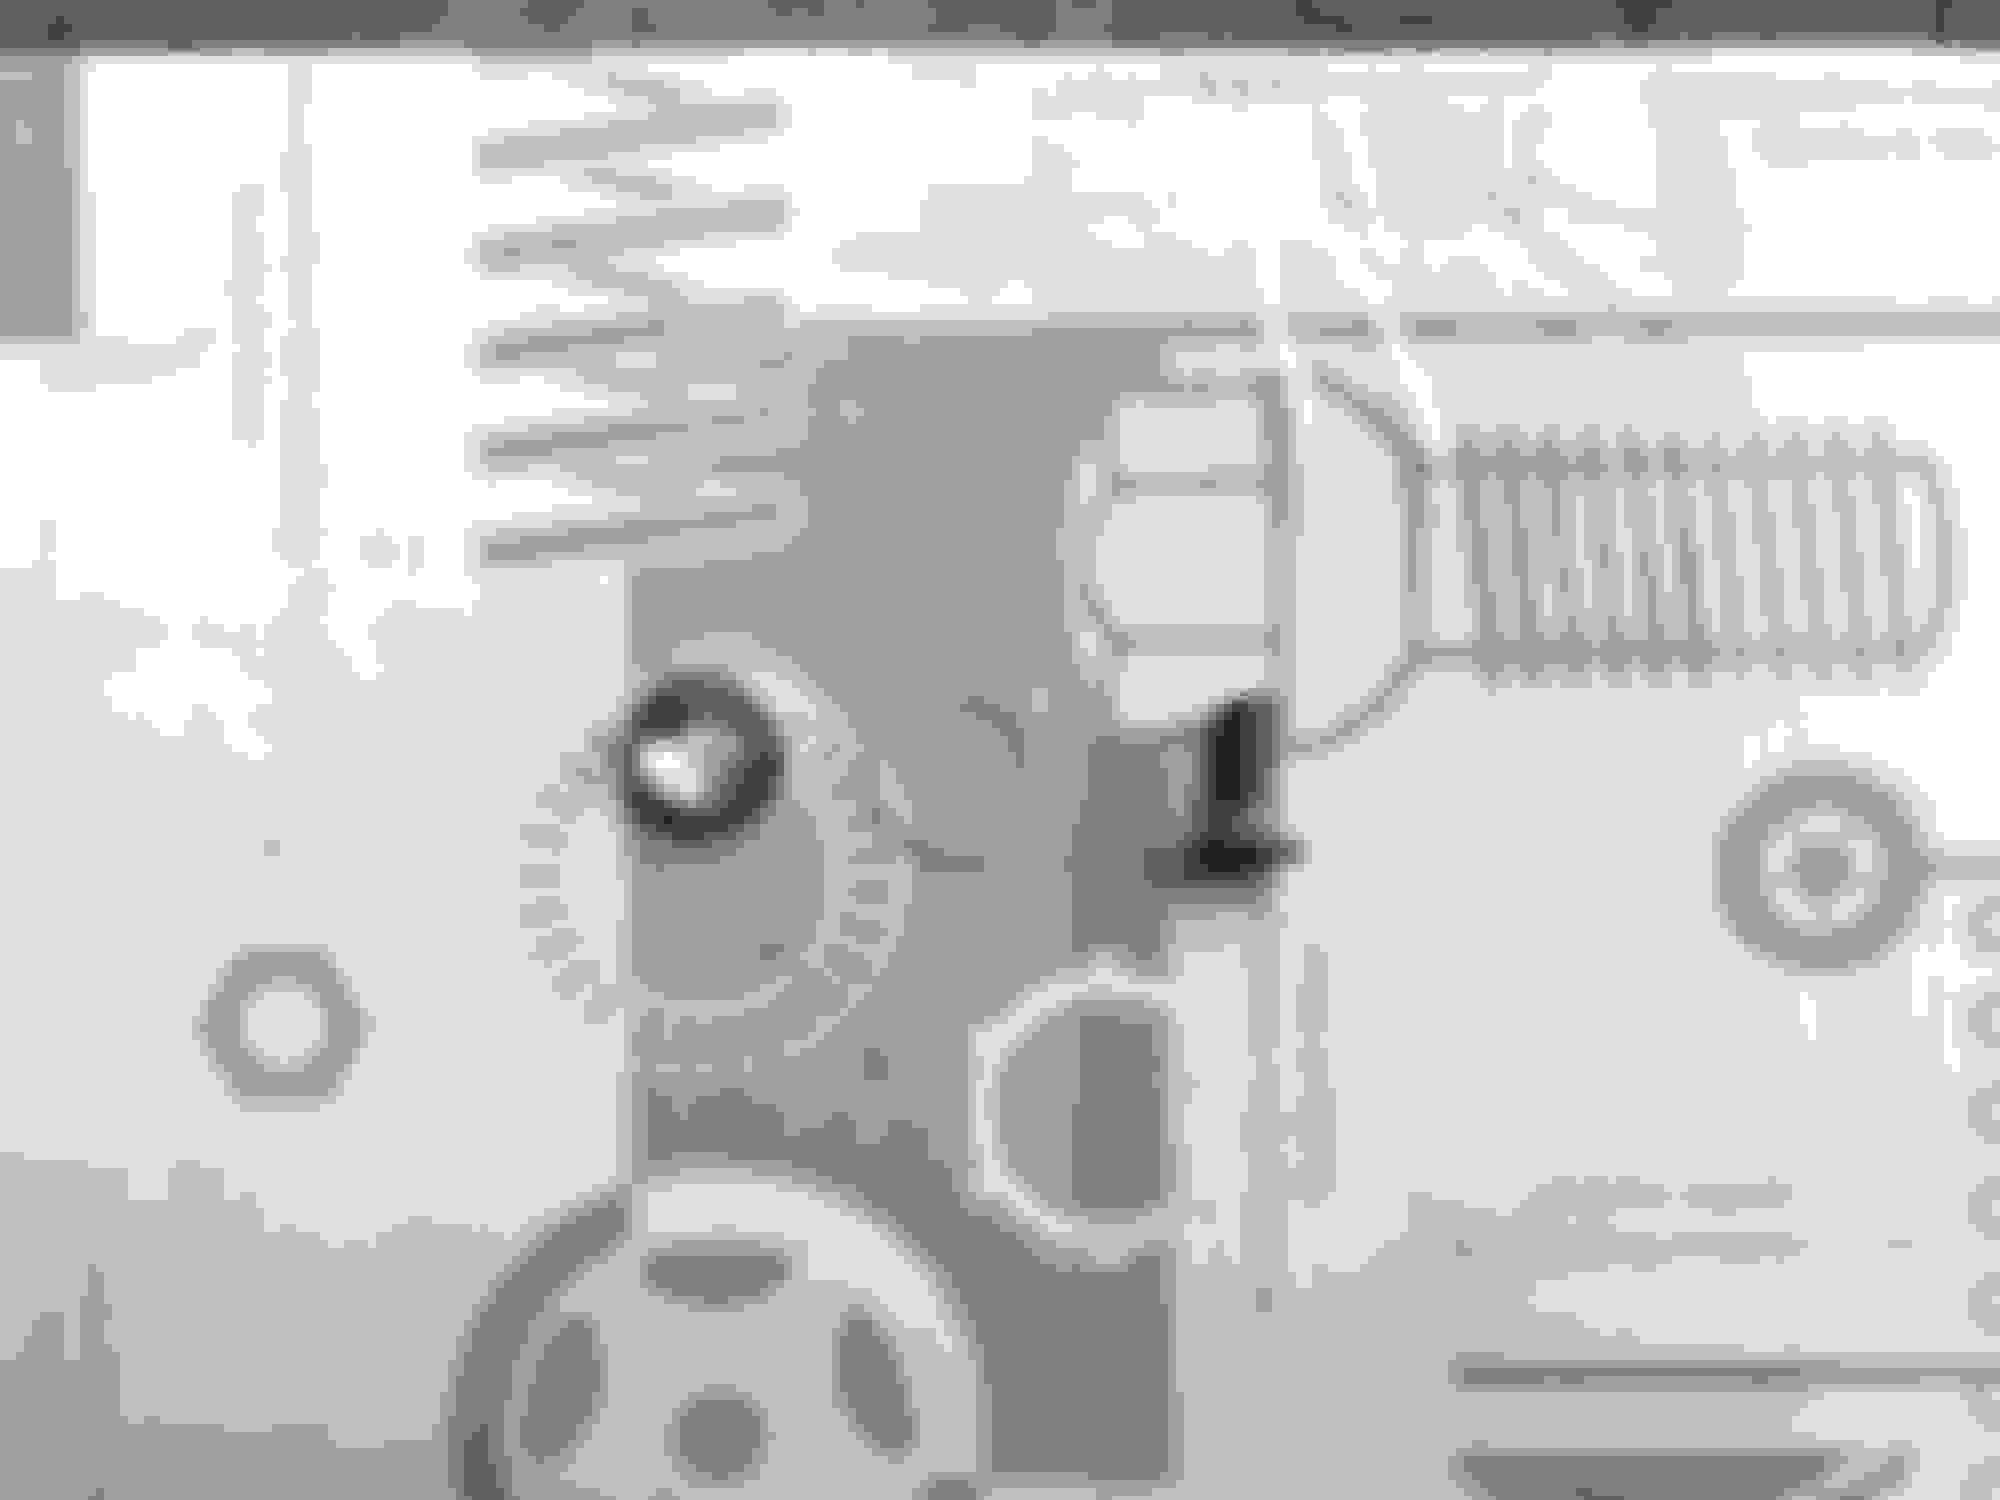
Even though I'm not gonna have distronic cruise control but since I have the AMG bumper I figured I would put in authentic distronic sensor. Purchase original sensor (new but with small cosmetic defect) and a new bracket. Third picture is what it should look like when assembled. Waiting for 3 clips that hold it to the bracket.
As some already know I am installing window switches from 2016 Mercedes S-class W222. And this is how I came up with integrating the new window switch into the original window switch trim / surround.
Basically I take the original window switch trim and I integrate the new window switch trim into it.
I am using 3M plastic 2 part glue to glue two pieces together and then with a little bit of bondo to smooth out the face, primer and paint.
The trim pieces will be painted im gloss black, but in the last photo I used some paint I already had mixed up to just give it a test coat to see any imperfections and how everything looks when it's glossy. Trim piece will get sanded and painted with black paint.
Last edited by Kobzarhomes; 01-18-2018 at 11:51 PM.
I am also going to be installing seat switches from 2016 E-Class W213. I am integrating W213 seat switch trim into my original G500 seat switch trim. Here are some pictures of how I did it.
Using 3M 2K panel adhesive.
Once everything dries, I will bondo the front to smooth it out, prime it and paint it gloss black.
Last edited by Kobzarhomes; 01-19-2018 at 11:37 PM.
Looks great! Looks like you will have her on the road by summer. Keep at it. Love the attention to detail. A very unique ride, indeed! How is the interior coming along?
Interior re-upholstery was done from scratch. I made templates for doors, trim panels, center console, dash, etc....
Waiting for the dash to be completed and I will start to re-assemble the interior. By summer it will be completed for sure.
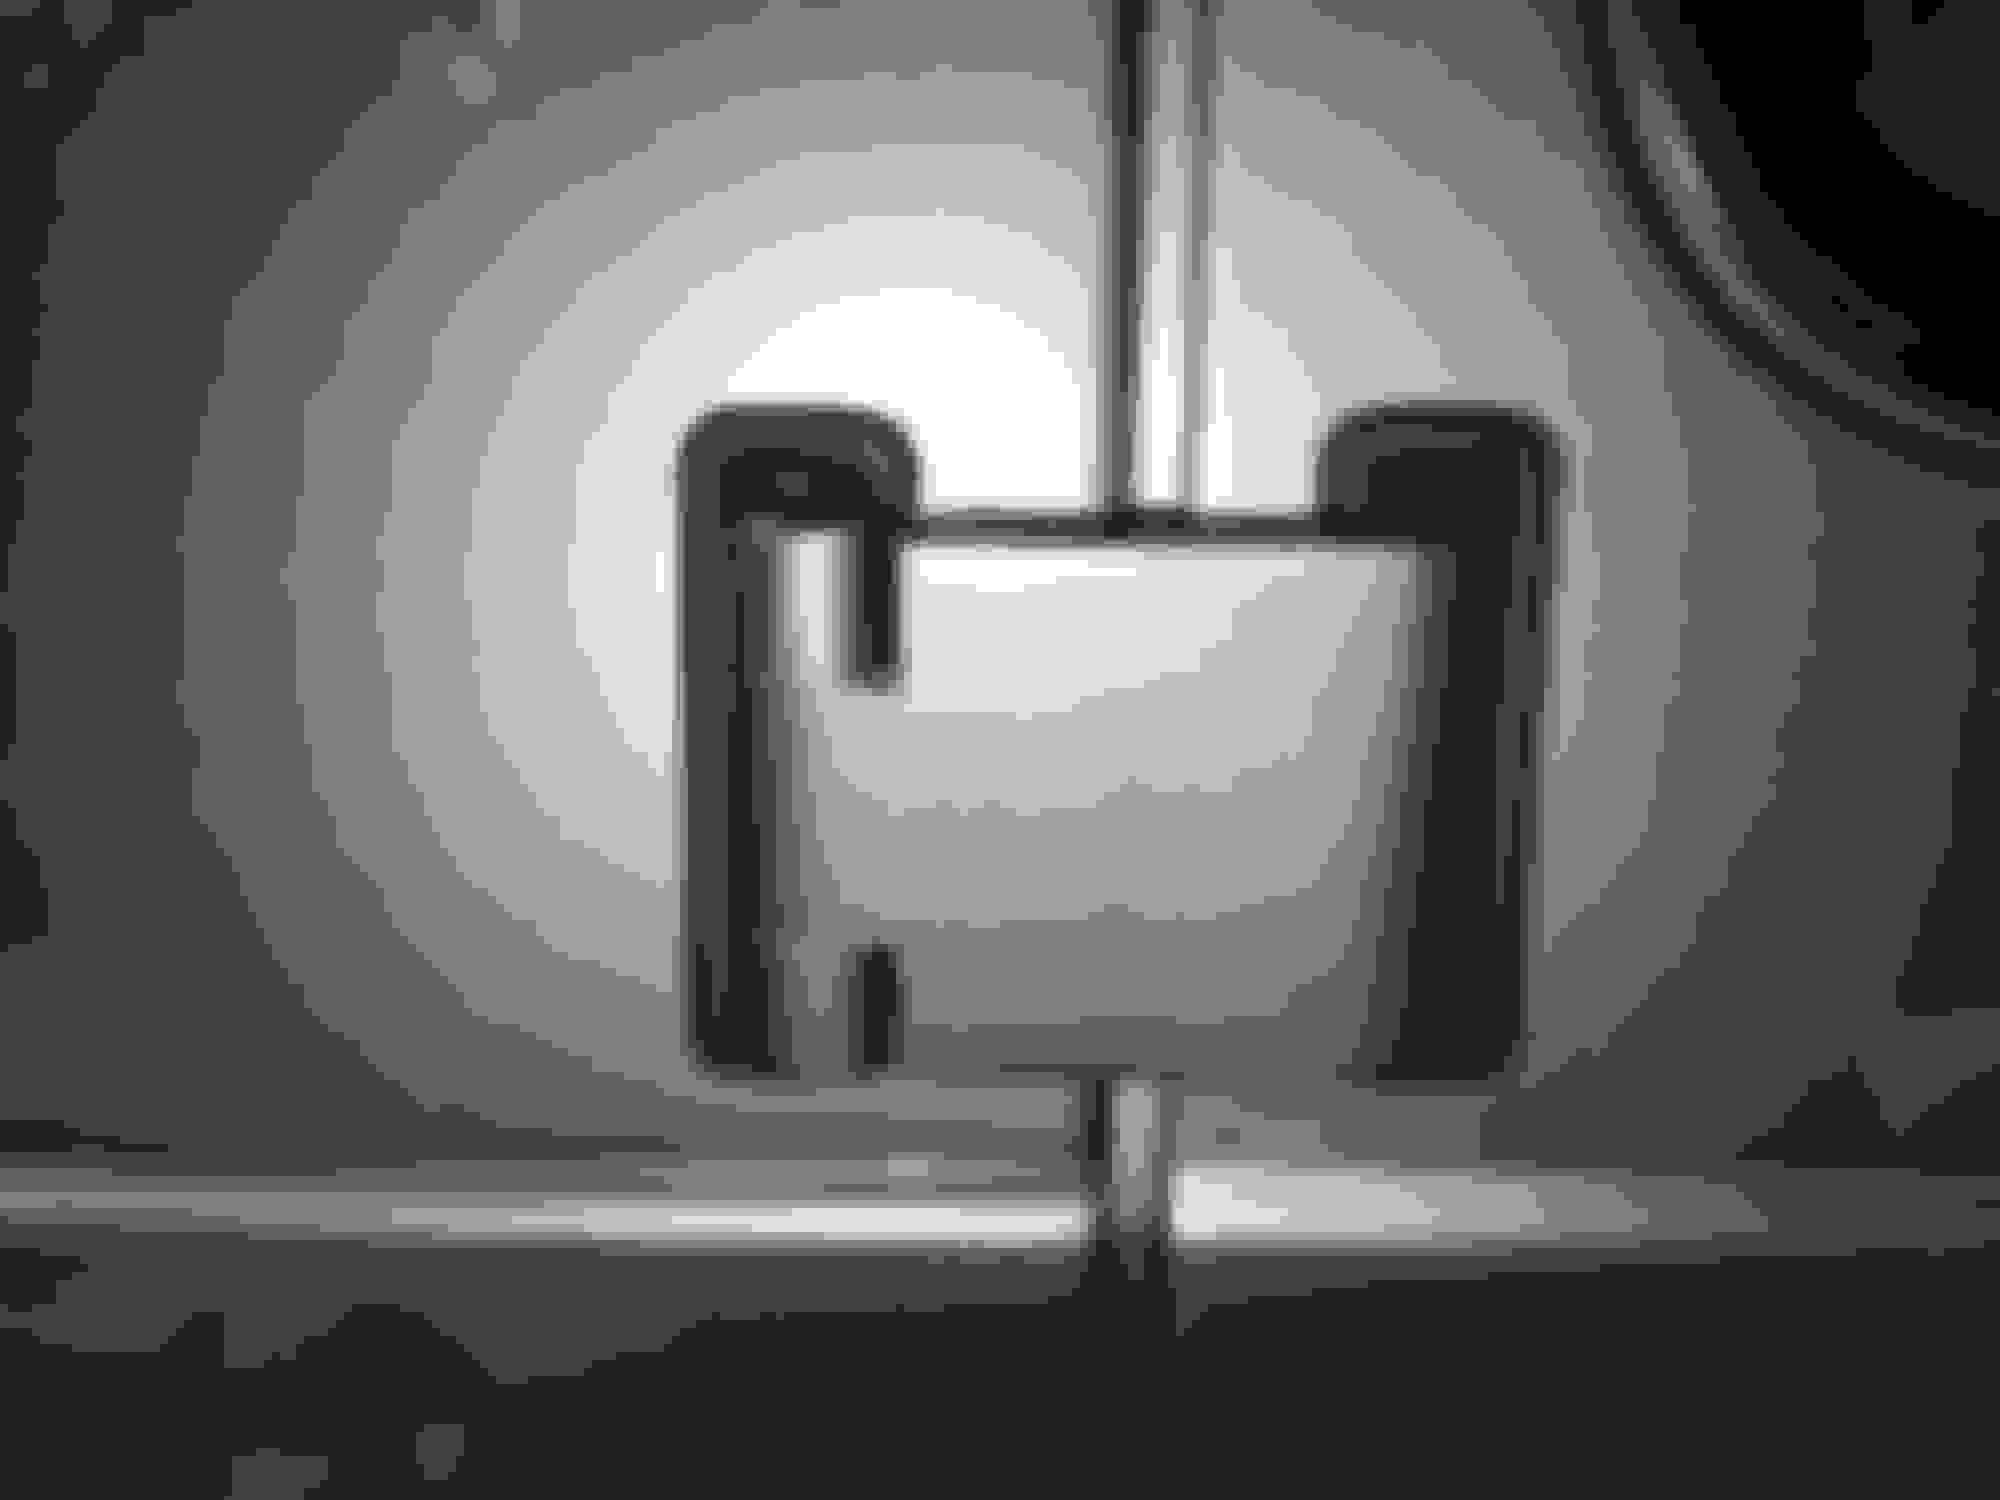
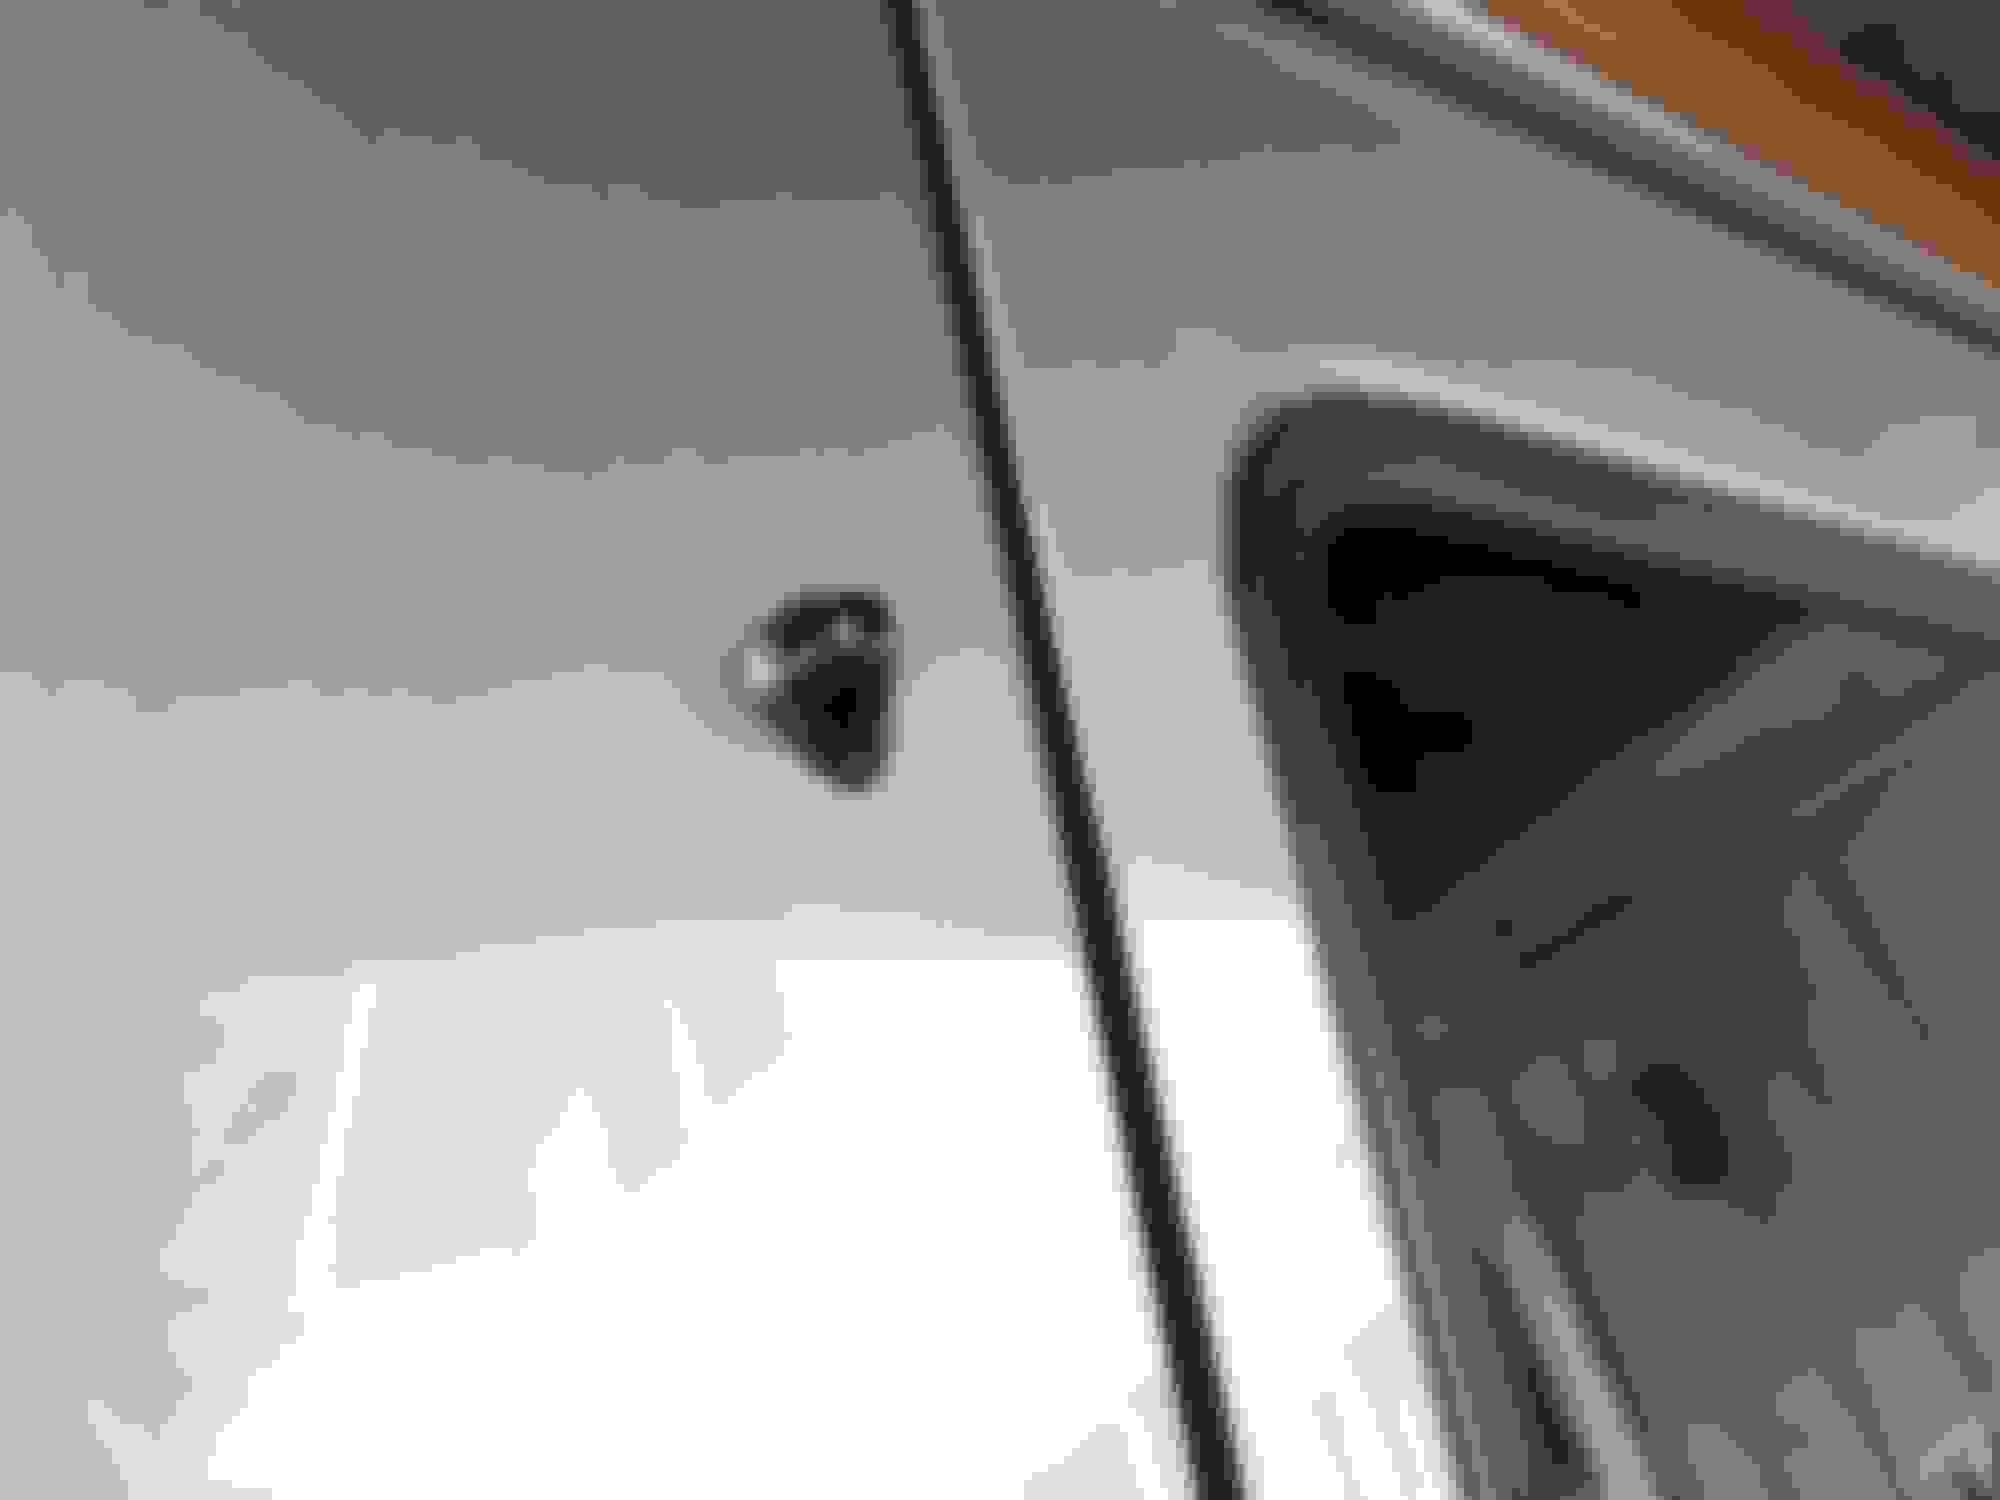
Pulled parking sensor and blind spot detector wiring into the cabin. I will wrap the wiring with some more tape once everything is plugged in into the devices and where it's supposed to be.
Last edited by Kobzarhomes; 02-05-2018 at 11:32 PM.
Hi there, you are the first brave person that I have found to remove the dash. I have some actuator flap issues that I need to address, pretty mechanically inclined but any general directions to go about removing the dash would be greatly appreciated!! Thanks and great job on your rebuild!
Very often in order to do some repairs under or behind the dash, will not require dash removal... Honestly, I would not do it unless YOU HAVE TO. Its not as simple as I originally though. The biggest headache was disconnecting vents that blow on the windshield. I realized that the top vent that blows on to the windshield was connected to the main vent thats behind the radio with a screw. So in order to remove the dash with all the vents together, you have to unscrew the steering column from its bracket, then detach the steering column bracket from the firewall, because the top vent goes under the steering column bracket and is held to the firewall using steering wheel column bracket bolts...
When I will be putting the dash back together, I will first install the windshield vents, re-attach the steering column bracket bracket back to the firewall and then install the dash. I don't see a need to use screws to hold vents together to each other.... thats the plan at least, we will see how it all goes when time comes ))
Being new to the forums I have only taken the time to go through your thread in full and man... I wonder how you still have the energy to post and reply to help others so again...THANK YOU!
I have an issue with the driver side stuck on blowing cold air, I have done the "flap reset" function and no luck. Through research I found out that the AC unit is almost, if not the same as the w203 and that another option is to clean out the Heater Duo Valve but after looking through the visibly accessible areas under the hood I was not able to locate it so I don't know if it may also be behind the dash. Not being able to locate on has made me jump to the conclusion that he next thing to look at is the actuator flaps...are those accessible without dash removal?
You might want to check the actuators that move the flaps (not sure if thats what you are referring to). You can see their locations on some of my photos, and I believe you are able to replace all of them (or most of them) without removing the dash. You would probably have to remove the radio, climate and ashtray, also the under dash covers and see if you can get to them. I never had to search for them like that, but I think its doable. I believe one of them forum members on here told me that he had a dealer replace all of his....

 01-08-2018, 09:45 PM