When you click on links to various merchants on this site and make a purchase, this can result in this site earning a commission. Affiliate programs and affiliations include, but are not limited to, the eBay Partner Network.
Starting this thread to document my projector retrofit with new Morimoto Mini D2S 5.0 projectors. This guide definitely applies to X164 and W164 xenon with adaptive headlights as well, as the projector bracket is the same. This may apply to other models and halogen projectors as well, as long as they use the Hella E55 projector. Any projector that uses the Morimoto Mini D2S mounting pattern should work, including the LED projectors, though I make no guarantees about the LED projectors fitting properly with the additional hardware involved in those.
You will need a Morimoto Mini D2S 5.0 projector or one with the same mounting pattern (prior versions of the Mini D2S, G5-R, some aftermarket LED projectors, etc). You will also need the Retro-Quik E55 bracket and some spacers. I used nylon spacers sourced from Home Depot.
I will start this off by saying that some grinding is involved, and that it would be far easier to retrofit an EvoX-R 2.0. That said, the amount of grinding needed is not large, and no modifications to the original bracket are necessary. The reason I stuck with the Mini D2S is that I preferred the wider light output over the super concentrated EvoX-R 2.0 light output that has no width. The main reason grinding is involved is because the distance from the mounting point to the lens is shorter on the Morimoto Mini D2S than the E55 projectors.
<- This video is a pretty good teardown of the projector headlight. However, I would not remove the large bracket as seen at about 0:50. Rather, I would recommend removing the turn signal reflector at the top of the housing first. It is possible to access all four screws holding the projector bracket as seen at 1:20 with the bracket still mounted. Using the space that was originally occupied by the turn signal reflector, you can rotate the projector around and remove the motor, position sensor, and wire cover. Basically anything involving the wires, which then gets it out into the open. From there, you can remove all the screws holding the projector to the housing as seen in the video. DO NOT UNSCREW THE RED CIRCULAR PCB. If you remove this, you will need to adjust it in the car until it is properly centered when on! It is extremely difficult to get the red PCB into the original position as it is not necessarily screwed in all the way. This does not apply to non-adaptive headlights. It is possible to bend the metal bracket just enough to remove the projector from the housing.
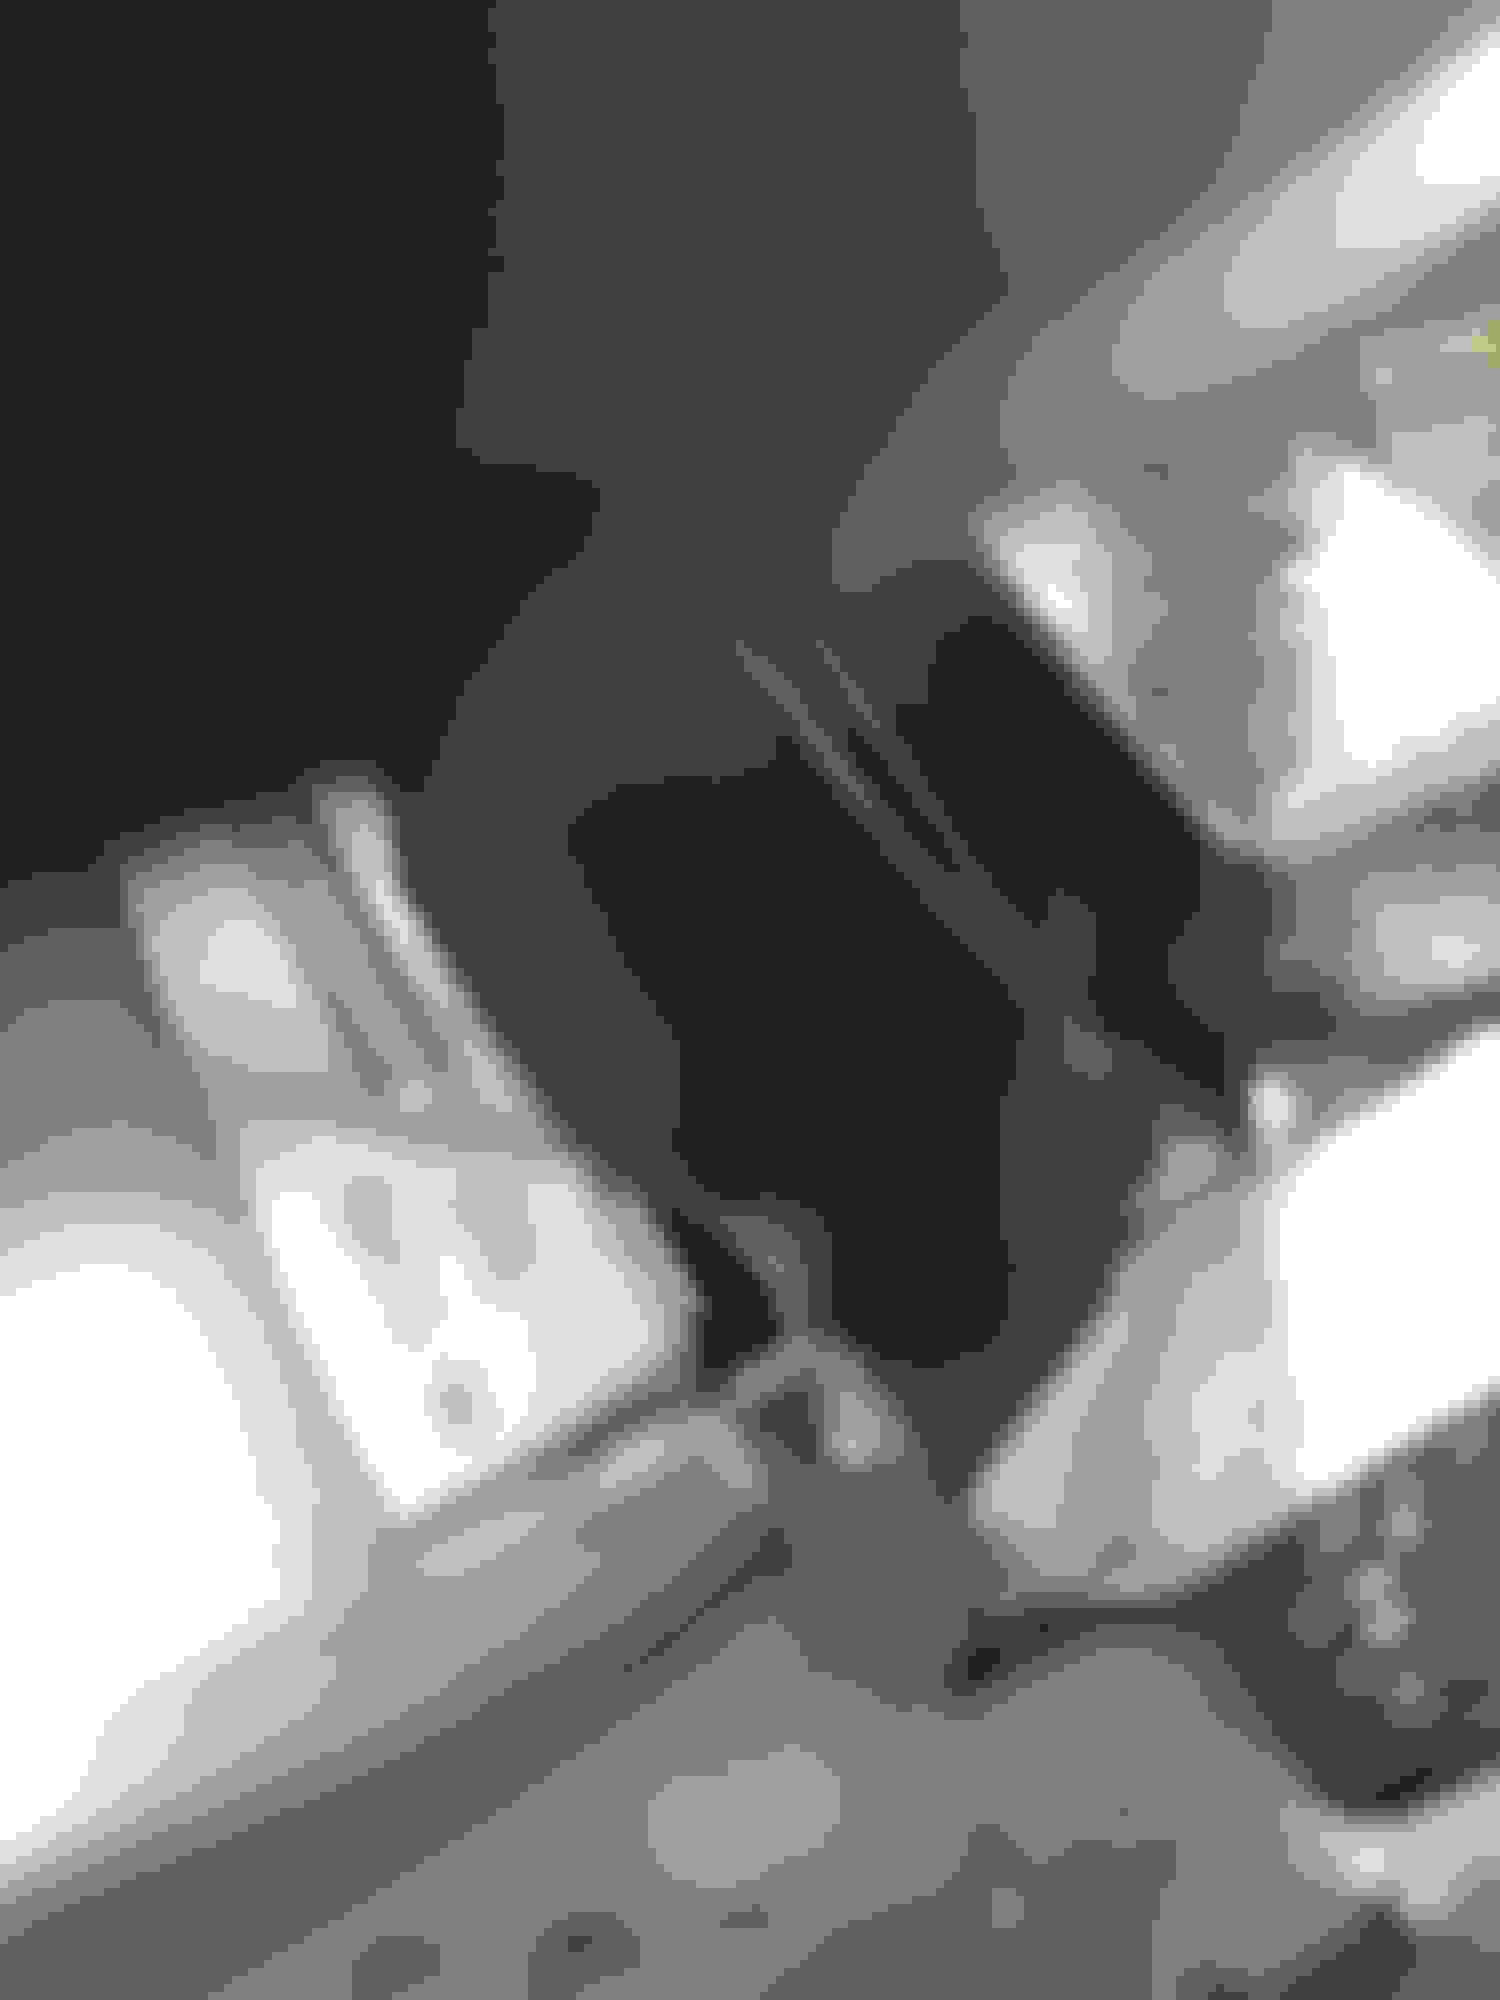
Here is how one of my original projectors look when removed. Note the brown spot at the top center of the projector. It is this area that is responsible for sending the light down the road.
Here is my first attempt at installation. In this case, I mounted the projector at the original mounting points, and it resulted in this. There was no room for the projector to turn.
To solve this, I had to move the projector to the front of the headlight bracket. In order to do that, I had to grind down the bottom corners of the projector. You will also need to cut the bottom part of the E55 Retro-quik adapter off, as it is slightly wider than the housing at the bottom. It is possible to do this with cutting pliers as it is just fiberglass. You can cut just below the bottom mounting bolt hole as shown:
Just the bottom corners of the projector need to be grinded down, and it will slot right in the front of the housing. This puts it at the perfect spot to match the original E55 lens location. It also does not interfere with anything.
Mount the original metal bracket to the Retro-Quick bracket. Also mount the top pivot bracket. You will need to use a spacer up here to get it in the correct position. I just cut up pieces of the Retro-Quick bracket that I cut off earlier and drilled holes through them. Use the screws supplied with the Retro-Quick brackets to secure the bottom two holes in the housing. A spacer will be needed at the top in order to secure it properly.
Fully mounted. Note the pieces of the bracket used at the top to space out the pivot bracket and the use of nylon spacers. I had to cut them to the proper length.
Completely assembled. Also used a headlight restoration kit to get the plastic lens clear again. I do like the blue tint in the projector lens.
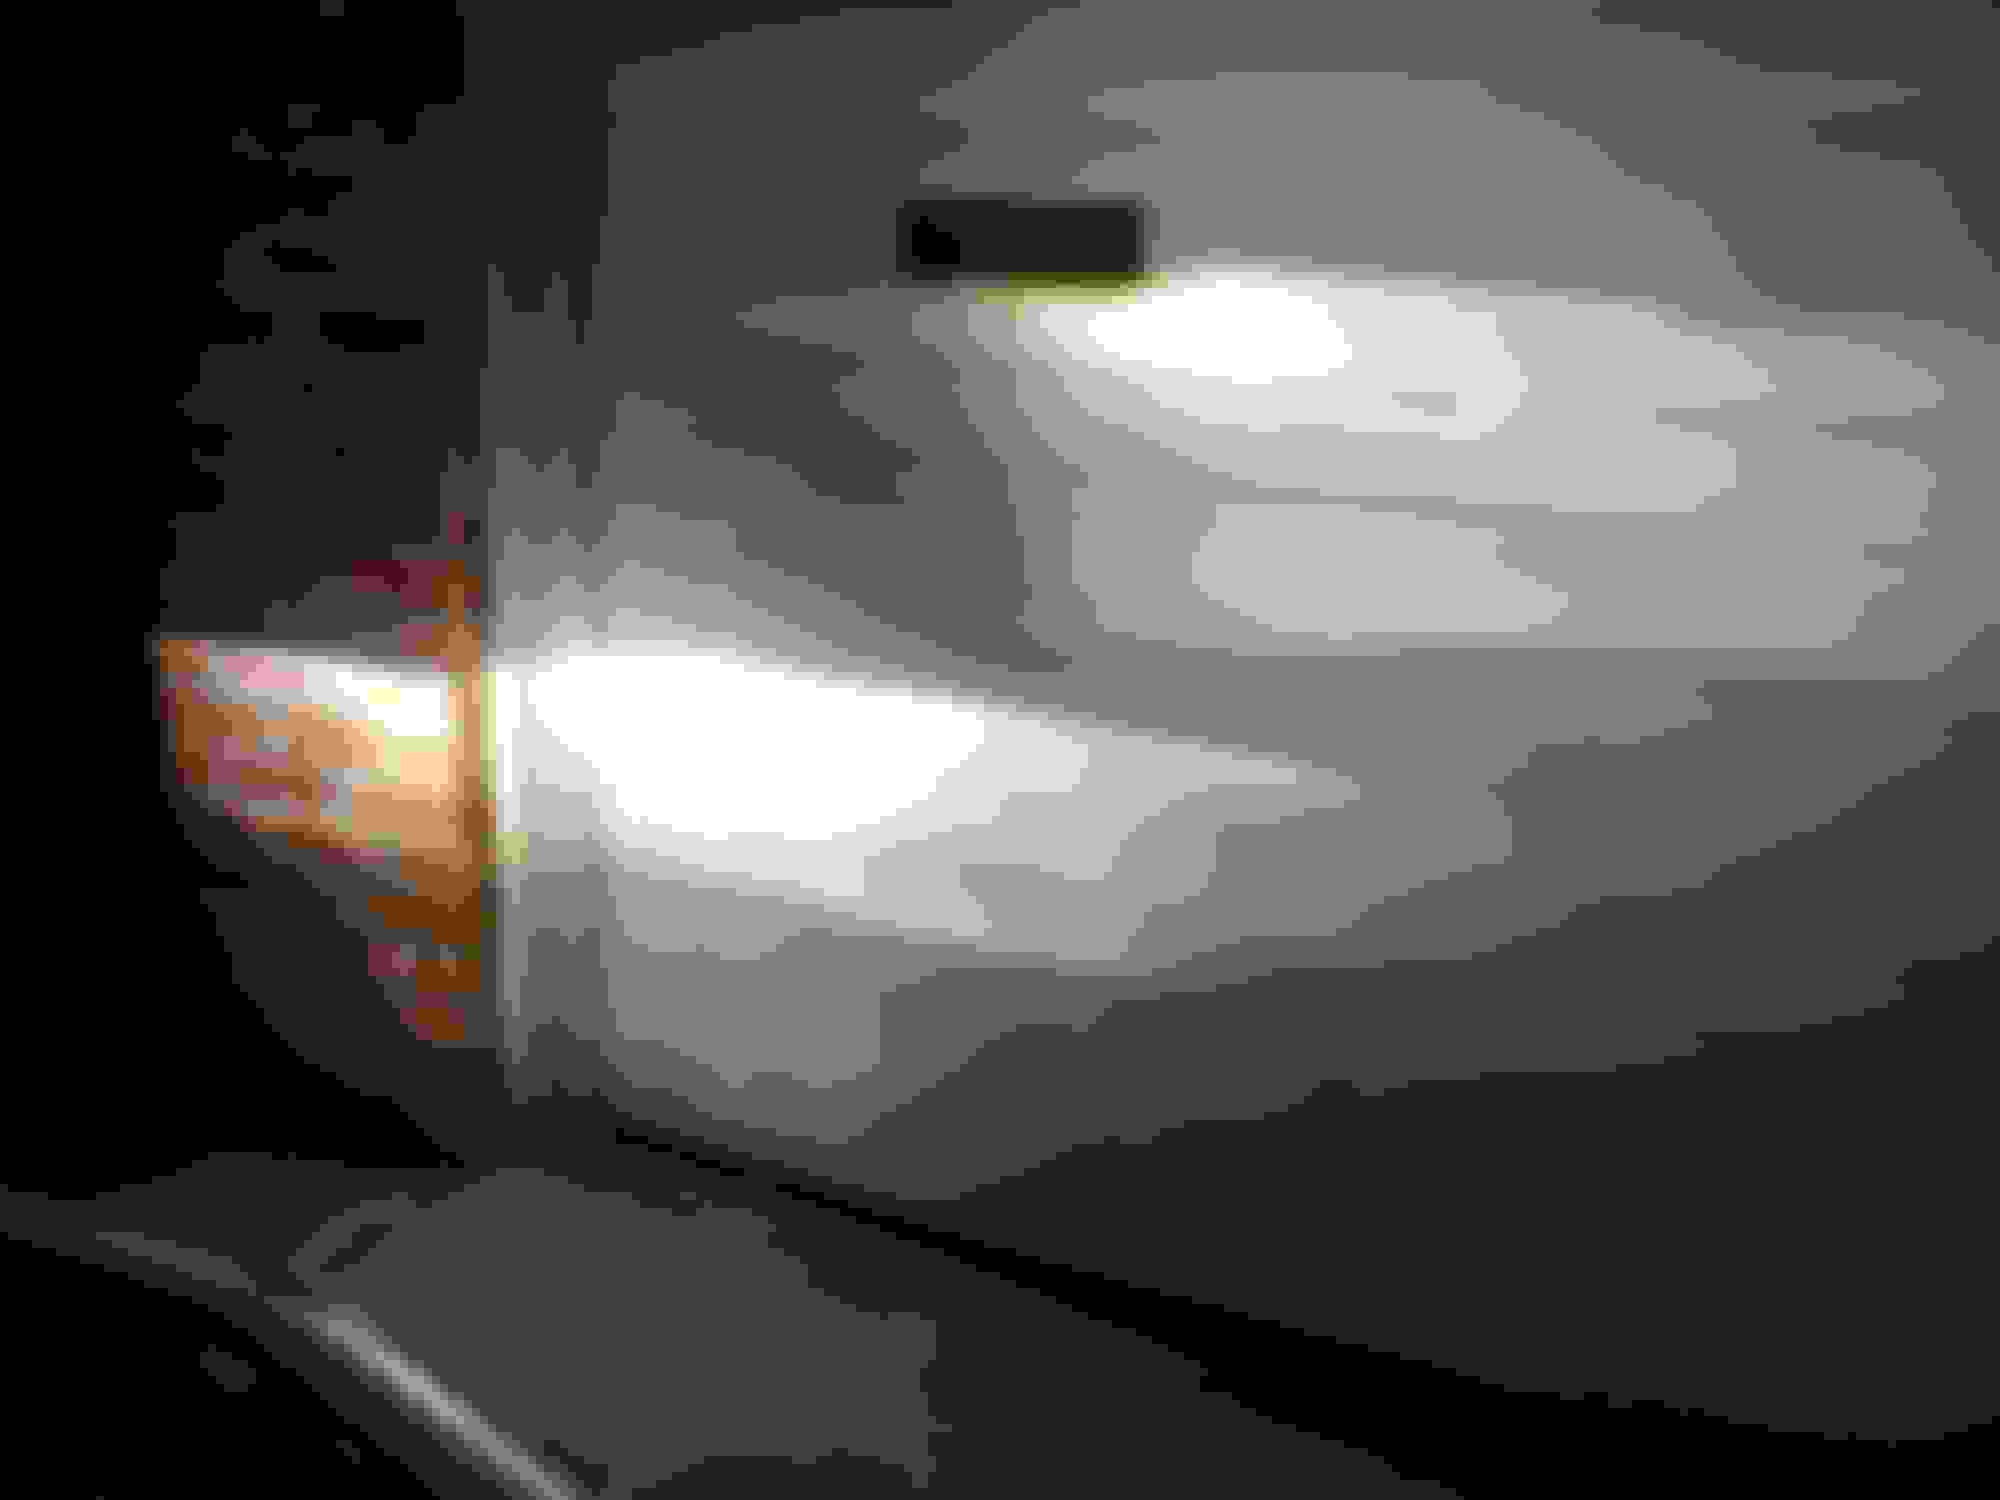
Obligatory output shot. The new one is on the bottom left, the old is the top right. The old projector was slightly cut off cause I had it inside the engine bay hooked up to the wires, so the left part of it was blocked off. It is enough to convey the difference in brightness. The hotspot is at least twice as bright, and the beam is much wider.
Let me know if you have any questions about the process. Took it for a drive this past weekend in the hills, and it is a literal night and day difference. Before I would feel the need to turn on the high beams all the time, now there is barely any need to turn them on. The only thing left is to fix the adaptive headlight system by doing the calibration.
Thanks for the info as I was just thinking to do this to my e55 with AFS and this is a great set of steps.
my biggest concern is the massive hotspot which Great for high beam bad for low/mix use. May still go this route when I open mine back up and see the bowls are in bad shape.
sharing other work on our LR3 I just did. Swapping in Sti lenses and using Osram CBB.
Stock vs stock lens and CBB Stock vs STI, CBB and spacers Stock vs STi, CBB, spacers, and modded shield
No problem. The light is actually fairly well distributed and way better than the other option, which is EvoX-R 2.0. That one is all hotspot and no width. I'll take a picture later of how it looks from the driver's seat.
This should work for any projector that uses the Mini D2S mounting pattern, including certain G5 variants and the M-LED, so you have a variety of options. IMO the king of width is the FX-R 3.0 with 50 watt HIDs; unfortunately it's hard to retrofit into most cars.
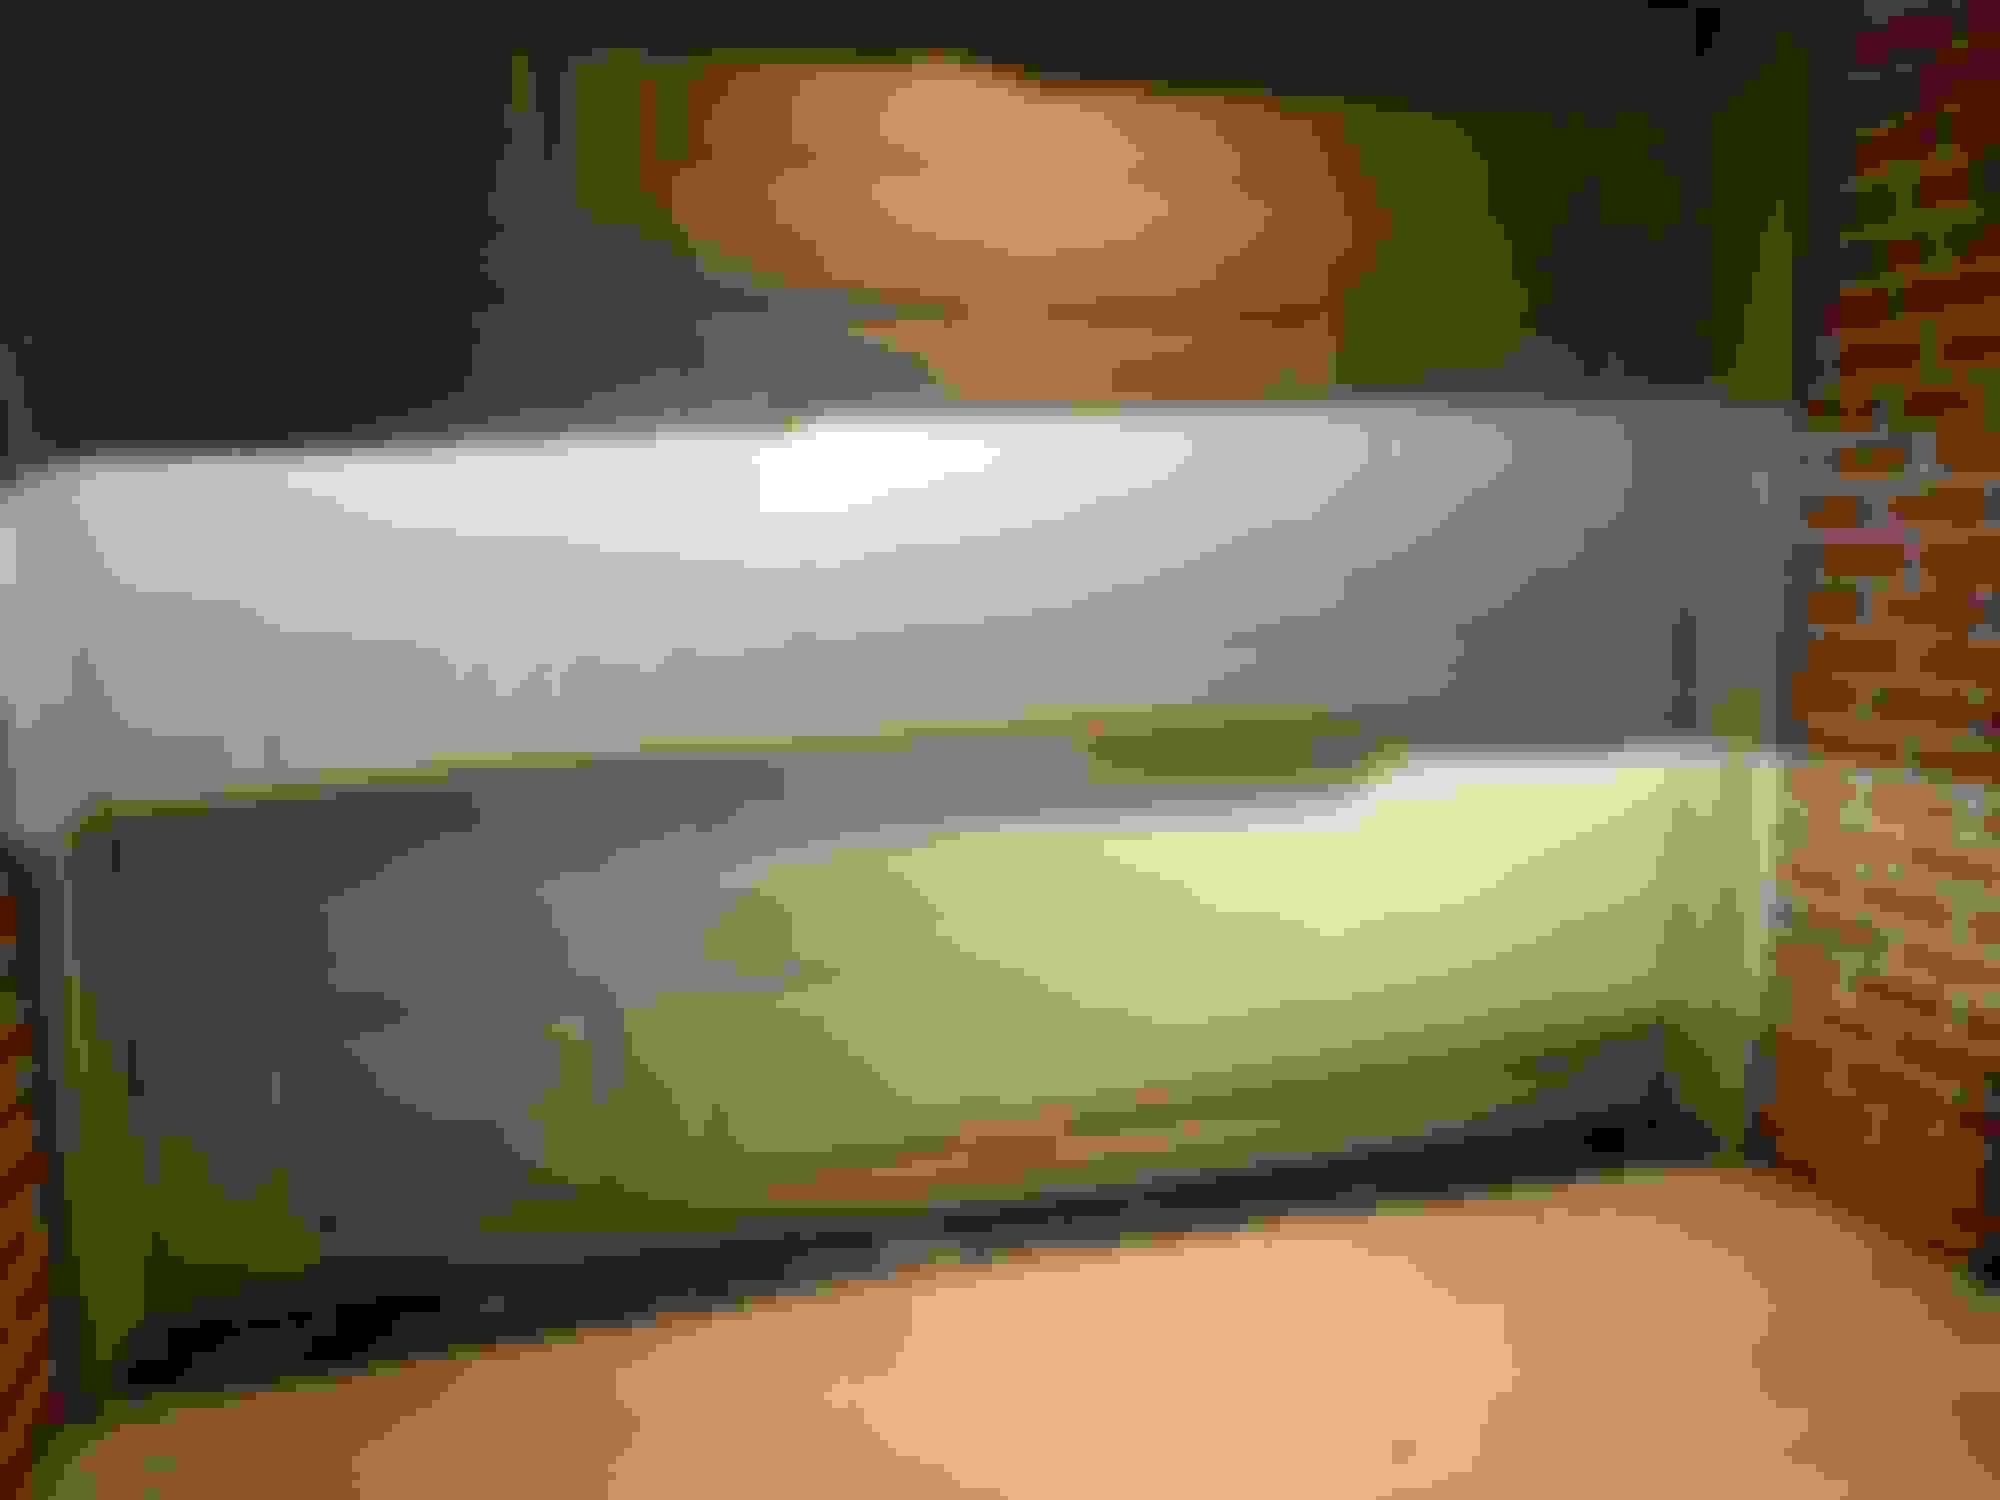
I tried to adjust the camera settings so that it approximates what I see with my own eyes. The left side was a bit brighter than what was captured in the camera.
Another thing is that the left/right headlamp adjustment is done by getting the red disc in precisely the correct position. There is no way to adjust left/right position in Star diagnostics.
Yes, the quick and easy replacement is the EvoX-R 2.0. I prefer having width over a super bright hotspot, so I went with the Mini D2S 5.0, which was only about $180 for the projectors and adapter bracket. I didn't want to spend $300+ for the LED projectors and have it not work. Lightwerkz and The Retrofit Source run sales almost every holiday.
Either way, you will not lose adaptive headlights. Just don't remove the circular PCB or you will have a difficult time aligning the headlights. If you do go the LED projector route, you will have to remove the HID ballast, ballast to ignitor/bulb wiring, seal off the ballast plug area, and splice into the low beam power.
Edit: Little bit of a projector comparison thread: https://www.tacomaworld.com/threads/...s-mled.621391/ The instant on and simplicity of the LED projectors would sway me towards them over the marginally worse output. Now, if a 55 watt direct replacement ballast were available, that would be a far brighter setup with the D2S 5.0.
I'm looking to do this retrofit (the rabbit hole of mods never ends...) so this is very good info, and thanks for writing up the guide. I'm looking at the available kits, and although LED is definitely attractive, I hesitate a bit as it looks harder to do and there are no guides on it that I can find, so not sure if I'd succeed or not.
For the D2S 5.0 kit, though, I'm looking at Lightwerkz, and they have the "Retro-Quik: Hella "E55" Bi-Xenon" kit. This is what I should get, right? I'm thinking the options "Mini D2S", "RQ Hardware: E55", no bulbs or ballasts (I'm assuming the Morimoto ballasts are not compatible? They do have a 50W though... but I will guess it won't fit into the headlight), and what are the high beam splitters for? I don't need those I guess, since the headlight already has the H7 high beam?
I believe the M-LED 2.0 should work as there looks to be enough clearance and it uses the same mount points as the D2S 5.0. I can't say 100% for certain though.
Yes, you want the E55 bracket. You do not need the ballast or ignitor as the original HID headlights used D2S bulbs and the stock components will work with any D2S projector. You will have to splice the wiring inside and remove the original ballast as I described above to use Morimoto ballasts and ignitors, but there is enough room in the headlights for them.
You do not need the splitter as the W251 HID option already comes with bi-xenon function. You just need to cut off the high beam solenoid plug on the original projector and replace it with the plug for the new projector, which should be included with the projector. In essence, our cars have two high beams: the H7 halogen and the bi-xenon function, both of which are on at the same time.
Got it. When you say I don't need the Morimoto ballasts - do I have the option of using them if I want to though? I.e., would it be worth it to get the 50W ballasts for extra brightness? Or it's going to be a huge mess to get them to mount inside the headlights? (as I suspect they don't just mount into the original mounting points of the Hella ballasts / connect up to whatever wiring is in there already?)
Got it. When you say I don't need the Morimoto ballasts - do I have the option of using them if I want to though? I.e., would it be worth it to get the 50W ballasts for extra brightness? Or it's going to be a huge mess to get them to mount inside the headlights? (as I suspect they don't just mount into the original mounting points of the Hella ballasts / connect up to whatever wiring is in there already?)
You can use Morimotos if you want to, but you'll need to replace ballast and ignitor. You will have to hack up the harness and come up with your own mounting. The Hella ballasts are mounted on the outside of the headlamp housing and connect through a proprietary plug.
About to order this kit to start the same retrofit. Do I need the lock rings or the demon eye bracket, whatever that is? Or just RQ103 and the 5.0s?
Lock rings are not needed. Demon eye brackets are for running a foreground limiter (less light on the ground directly in front of the car for better long distance vision) and to have a glow in the headlights during the day. I would not get that either.
Ok. I�m a little bit confused. You say to use the Retro-Quick screws to attach the bottom. They�re quite a bit larger than the hole, though. Did you drill it?
Also FWIW. After checking a thousand times, I decided I couldn�t cut the 5.0s deep enough to fit into the bracket, so as you see in the picture, I decided to chop off about 2mm of the �earlobe� type concoction in the OEM bracket. That helped a lot because there�s a plastic connector (for the magnet that operates the shade) that I thought would get in the way if I cut too deep (although I ended up disassembling the 5.0 unit itself to avoid scratching the lens by accident).
Have to get some nylon spacers now and figure out that screw bit in the previous post, and one light will be done!
[edit] i just forced the screw in with a good screw driver. it went in really tight, and i kinda burned myself as it came out (finger was holding the exit hole and it was REALLY hot, haha) but it fit.
Also found some metal spacers lying around which are exactly the same length as the bottom of the bracket so I�m feeling pretty good about this. Now just to space out the pivot bracket.
Btw, I didn�t write this above, but your instructions are AWESOME. Thank you for this, I would never have attempted this otherwise. �Easy retrofit� my ***, haha.
Last edited by Pseudo Nim; 05-14-2021 at 05:54 PM.
Also FWIW. After checking a thousand times, I decided I couldn�t cut the 5.0s deep enough to fit into the bracket, so as you see in the picture, I decided to chop off about 2mm of the �earlobe� type concoction in the OEM bracket. That helped a lot because there�s a plastic connector (for the magnet that operates the shade) that I thought would get in the way if I cut too deep (although I ended up disassembling the 5.0 unit itself to avoid scratching the lens by accident).
Have to get some nylon spacers now and figure out that screw bit in the previous post, and one light will be done!
[edit] i just forced the screw in with a good screw driver. it went in really tight, and i kinda burned myself as it came out (finger was holding the exit hole and it was REALLY hot, haha) but it fit.
Also found some metal spacers lying around which are exactly the same length as the bottom of the bracket so I�m feeling pretty good about this. Now just to space out the pivot bracket.
Btw, I didn�t write this above, but your instructions are AWESOME. Thank you for this, I would never have attempted this otherwise. �Easy retrofit� my ***, haha.
Glad it worked out for you and that my instructions helped.
Yeah, it took me two weekends to figure out how to make it work. At one point I considered returning them for the Evo X-r but I just didn't think I would be happy with the light distribution.
Honestly, the worst part wasn�t even the Dremeling or the fitting. It�s the goddamn insulation rot!!! It�s so bad I was barely able to keep up with heat shrinking and insulation tape. Fortunately the wiring itself seems to be decent quality (no wires snapped on me), but I had to tape up pretty much every single wire �
Here are my final cuts.
Assembled unit:
And of course, I couldn�t wait (and I also was somewhat apprehensive my re-wiring might blow something) so I just hooked up the light without assembling the lens and so on. It worked and it looked great!! So now will have to actually close the light up and do the other side.
- @Tsumi mentions you do not need to take off the red PCB; I will add to that to say you don't need to undo the bottom at all. There's just no reason to. You will slightly undo it to release the wire clip, but you put it right back on.
- Watch for the wire rot. I would expect most headlights of this generation are hideously rotting insulation at this point, so unless you want to start heatshrinking the entire harness, be VERY careful when you manipulate the wires, and have some 3M electric tape (don't do crappy knockoffs) to patch up the bits that will still fall off.
- Either be more aggressive on the Morimoto cutting, or you will need to slice off a bit of the plastic housing, maybe 1-2mm or so. Nothing major, and I don't think it impacts any functionality, but still.
- @Tsumi mentions using the remainder of the quick-fit adapter as a spacer. I found an M6 or an M8 nut worked just as well (forgot which exactly) - it's exactly the right thickness and the hole is exactly big enough that you can toss it upwards and it will let the bracket sit perfectly. Might be easier than drilling the quick-fit bracket.
- If you are replacing lenses, I recommend replacing the glue. I found using a flathead screwdriver and rolling it around in the seam worked well to collect it onto the screwdriver and pull the old Permaseal off. Then put new butyl on, heat and seal. Don't forget to test the headlight before you seal it! it'll SUCK to have to redo it.
- when you're doing the lights, do yourself a favour and replace ALL the bulbs. You will absolutely HATE yourself if you do everything and something burns out, because you will certainly break insulation when you re-manipulate the light. Just prevent the problem and do it right away. Also a good chance to put better bulbs if you're still on OEM.
I think that's about it. I haven't had a chance to test the lights in wet weather yet, so hopefully they're not going to leak. But overall once again, a huge thanks to @Tsumi and they certainly look a HELL of a lot better than before! I can finally drive at night without fear of hitting an 18-wheeler that I would otherwise never see! (or a house, or a planet, or other huge objects that most other cars can easily shine light on, but not this one!)
Before and after shots:
Last edited by Pseudo Nim; 05-25-2021 at 06:37 PM.
Hi guys,
A did the same rettrofit to my R-class and after the whole process and instalation of headlightst to the car the light is now set not tho the correct possition but on right of it. I tried to do the adjustment procedure with Star Diagnosys but nothing has changed. Does there any special proces or learning procedure to correct the position of the lights straigth or I have to open them again for manually correcting the step sensor on the botom side. Does anyone now something about this ?
Star cannot adjust the headlights. If you changed the position of that red disk, you will need to open it up and adjust it until the motor moves the headlight to the center position.
if the motor adjustment is properly centered, you will need to adjust the manual aim. On the side of the headlight are two tabs that cover hex screws. These are the manual up/down and left/right adjusters.
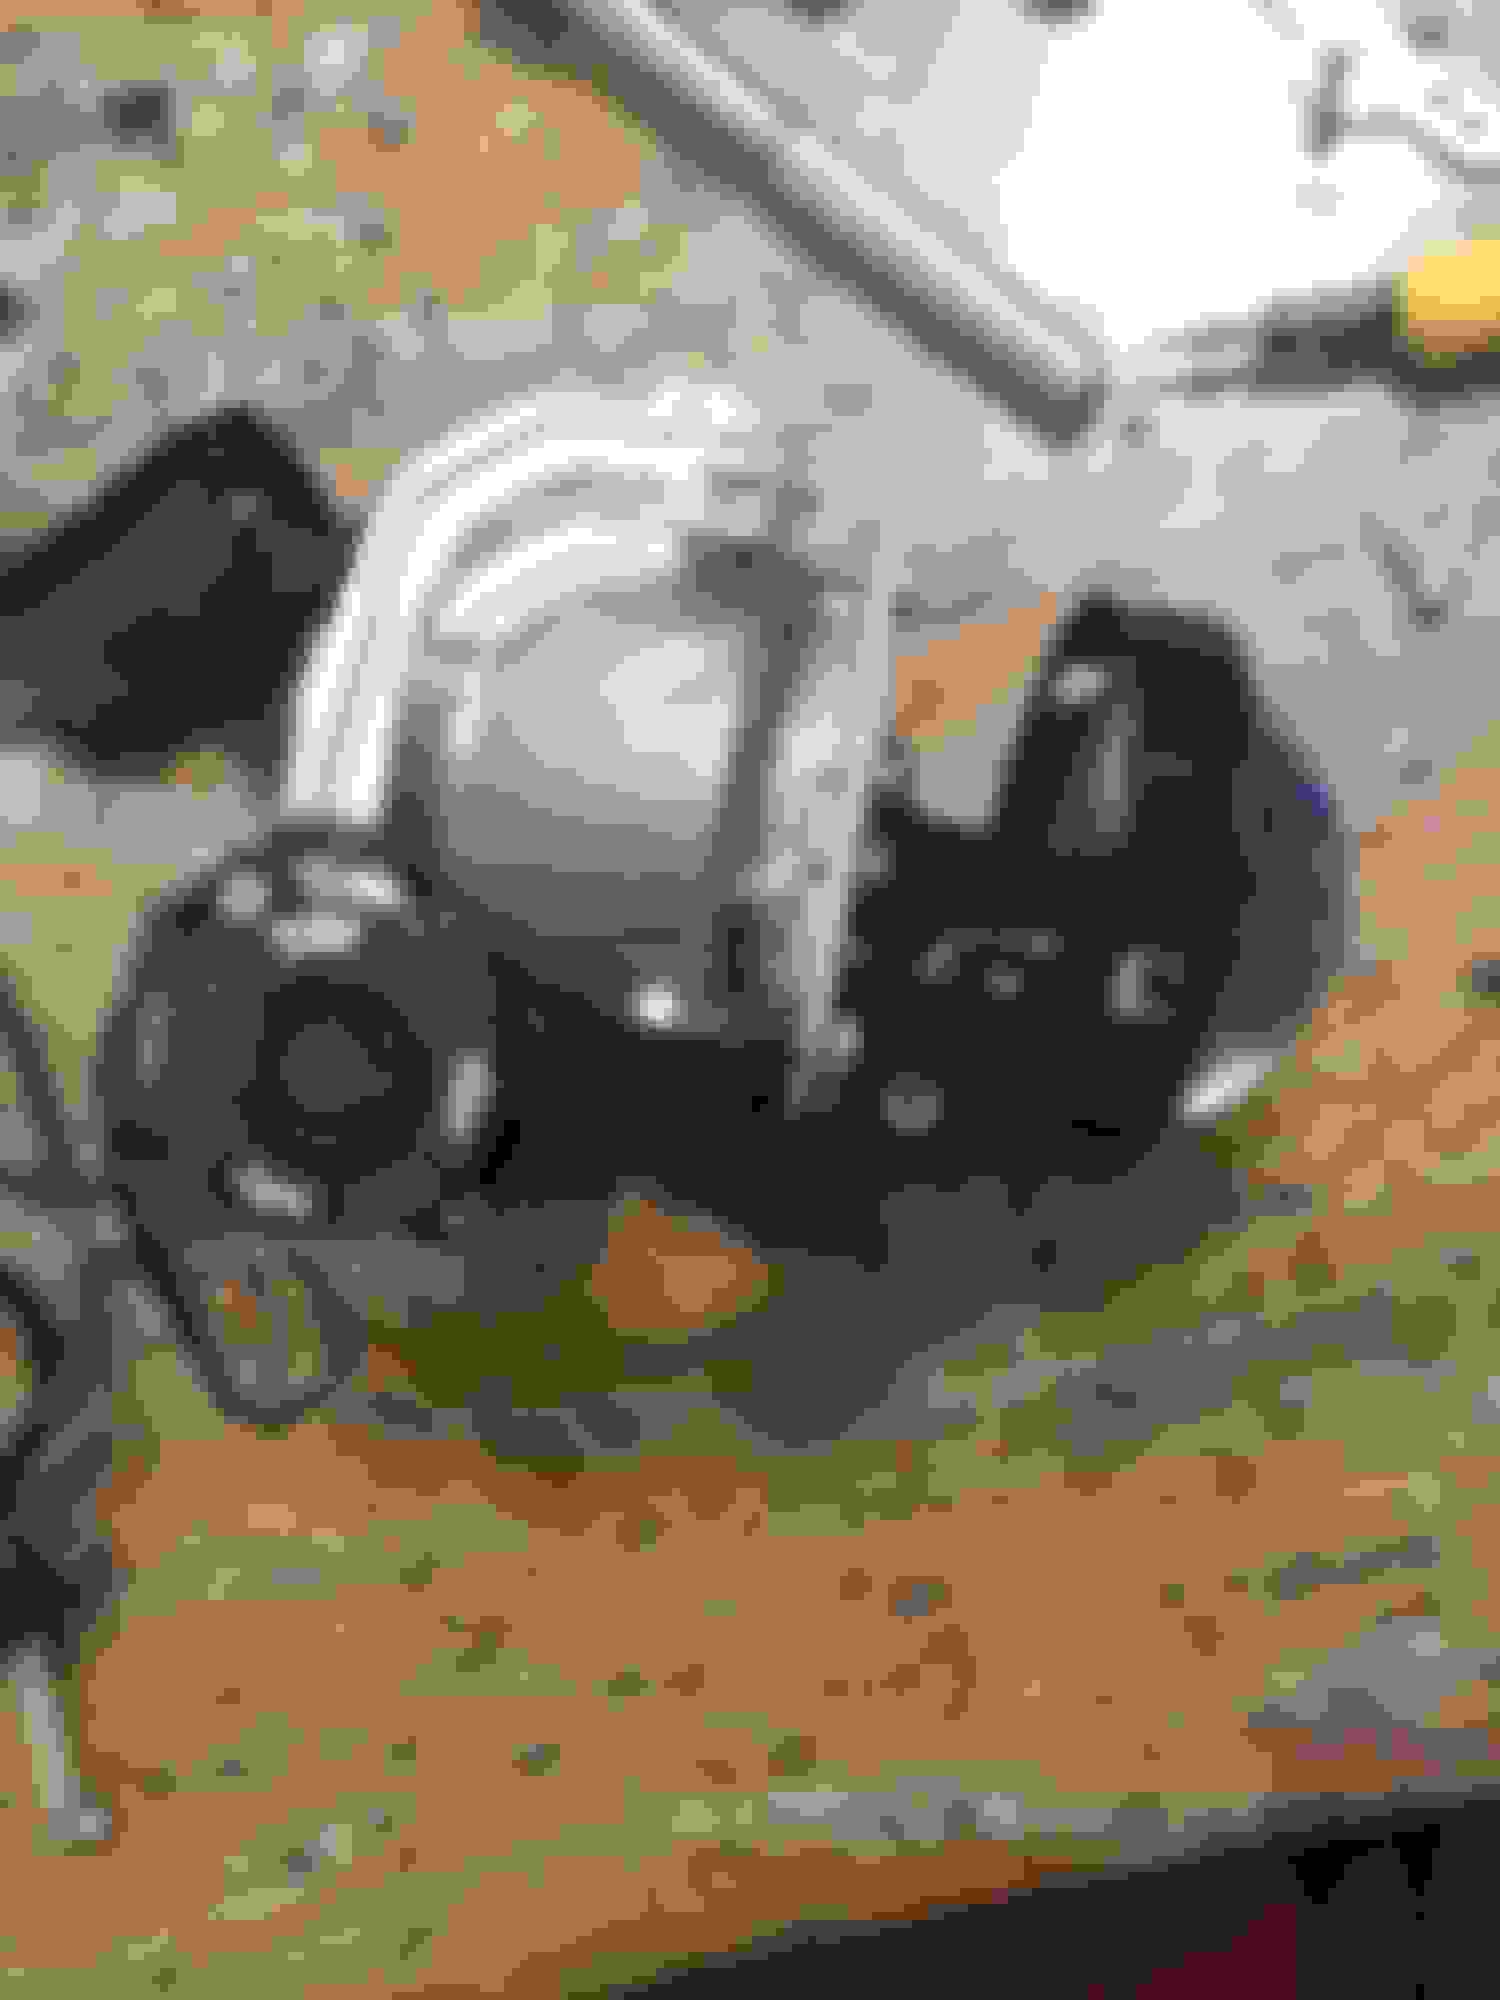
@Tsumi@Pseudo Nim Do you know where the w251 rotational screw is located? My RHS bixenon is stuck pointing out and I need to centre it.
Thanks
The adjustment screws are above/below each other. The top one is covered by a plastic cover but the bottom one is uncovered. I forget which one does what. I think you need a 4mm or 5mm hex key to adjust it.
The adjustment screws are above/below each other. The top one is covered by a plastic cover but the bottom one is uncovered. I forget which one does what. I think you need a 4mm or 5mm hex key to adjust it.
Just to avoid confusion, I think you are referring to the height adjustment, where as I am referring to the screw that i want to loosen that is for the active headlamps. I read elsewhere that it may allow me to centre horizontally the lamp as its locked to looking to the outside of the vehicle.
Just to avoid confusion, I think you are referring to the height adjustment, where as I am referring to the screw that i want to loosen that is for the active headlamps. I read elsewhere that it may allow me to centre horizontally the lamp as its locked to looking to the outside of the vehicle.
Kinda like this image.
That's the red PCB I mentioned not touching. It's on the the bottom of the projector frame. You loosen the center screw, turn the PCB, put it back in the car, turn on the headlights to see if it centers, and repeat until it does. This does involve opening up the headlight.
If you haven't touched any of the internals, the more likely reason for that happening is two (or more) of the wires' insulation have fallen off and are now shortcircuiting each other. In this case, you have to open up the headlight, find the shortcircuiting wires, and isolate them with electrical tape. In my (recent) experience, the insulation is going to fall off sooner or later so it will be better to just rewire the harness if you plan on keeping it long term.
Since you're opening it up, you might as well replace the projectors and maybe the headlight lens at the same time if they're fogged up. I just got a replacement set from Amazon for about $120. Beats having to polish the headlights every 6-12 months. I have also confirmed the NHK V LED projectors will fit with the E55 adapter I used with some shaving on the projector edges where the screw holes are if you want to swap to LED projectors. I'll probably do that when the ballasts fail.

 08-31-2020, 09:48 PM