When you click on links to various merchants on this site and make a purchase, this can result in this site earning a commission. Affiliate programs and affiliations include, but are not limited to, the eBay Partner Network.
2004 S600, 1998 M3, 1974 2002 Touring, 2006 Cayman S
Originally Posted by wallyp
One thing to remember for certain - get the reversing ratcheting wrenches, not the ones that you turn over! Until you have done it, its hard to imagine the frustration of realizing that you have trapped your wrench on a bolt that is out too far to get the wrench off, so you can't turn it over to reverse it so you can screw the bolt back in to get the wrench off!
Very good call! I ordered the wrong ones and quickly cancelled the order from amazon.
I ordered wrenches that look like this: https://mbworld.org/forums/s-class-w...ml#post6412465 and a set of metric flex-head reversible wrenches. Between all of these I'm hoping to get this banjo bolt off soon.
while in there, ordered new reservoir to pump hose, but it's a special order item from Germany so it'll be about 2 weeks. before I can finish the ABC system up.
2004 S600, 1998 M3, 1974 2002 Touring, 2006 Cayman S
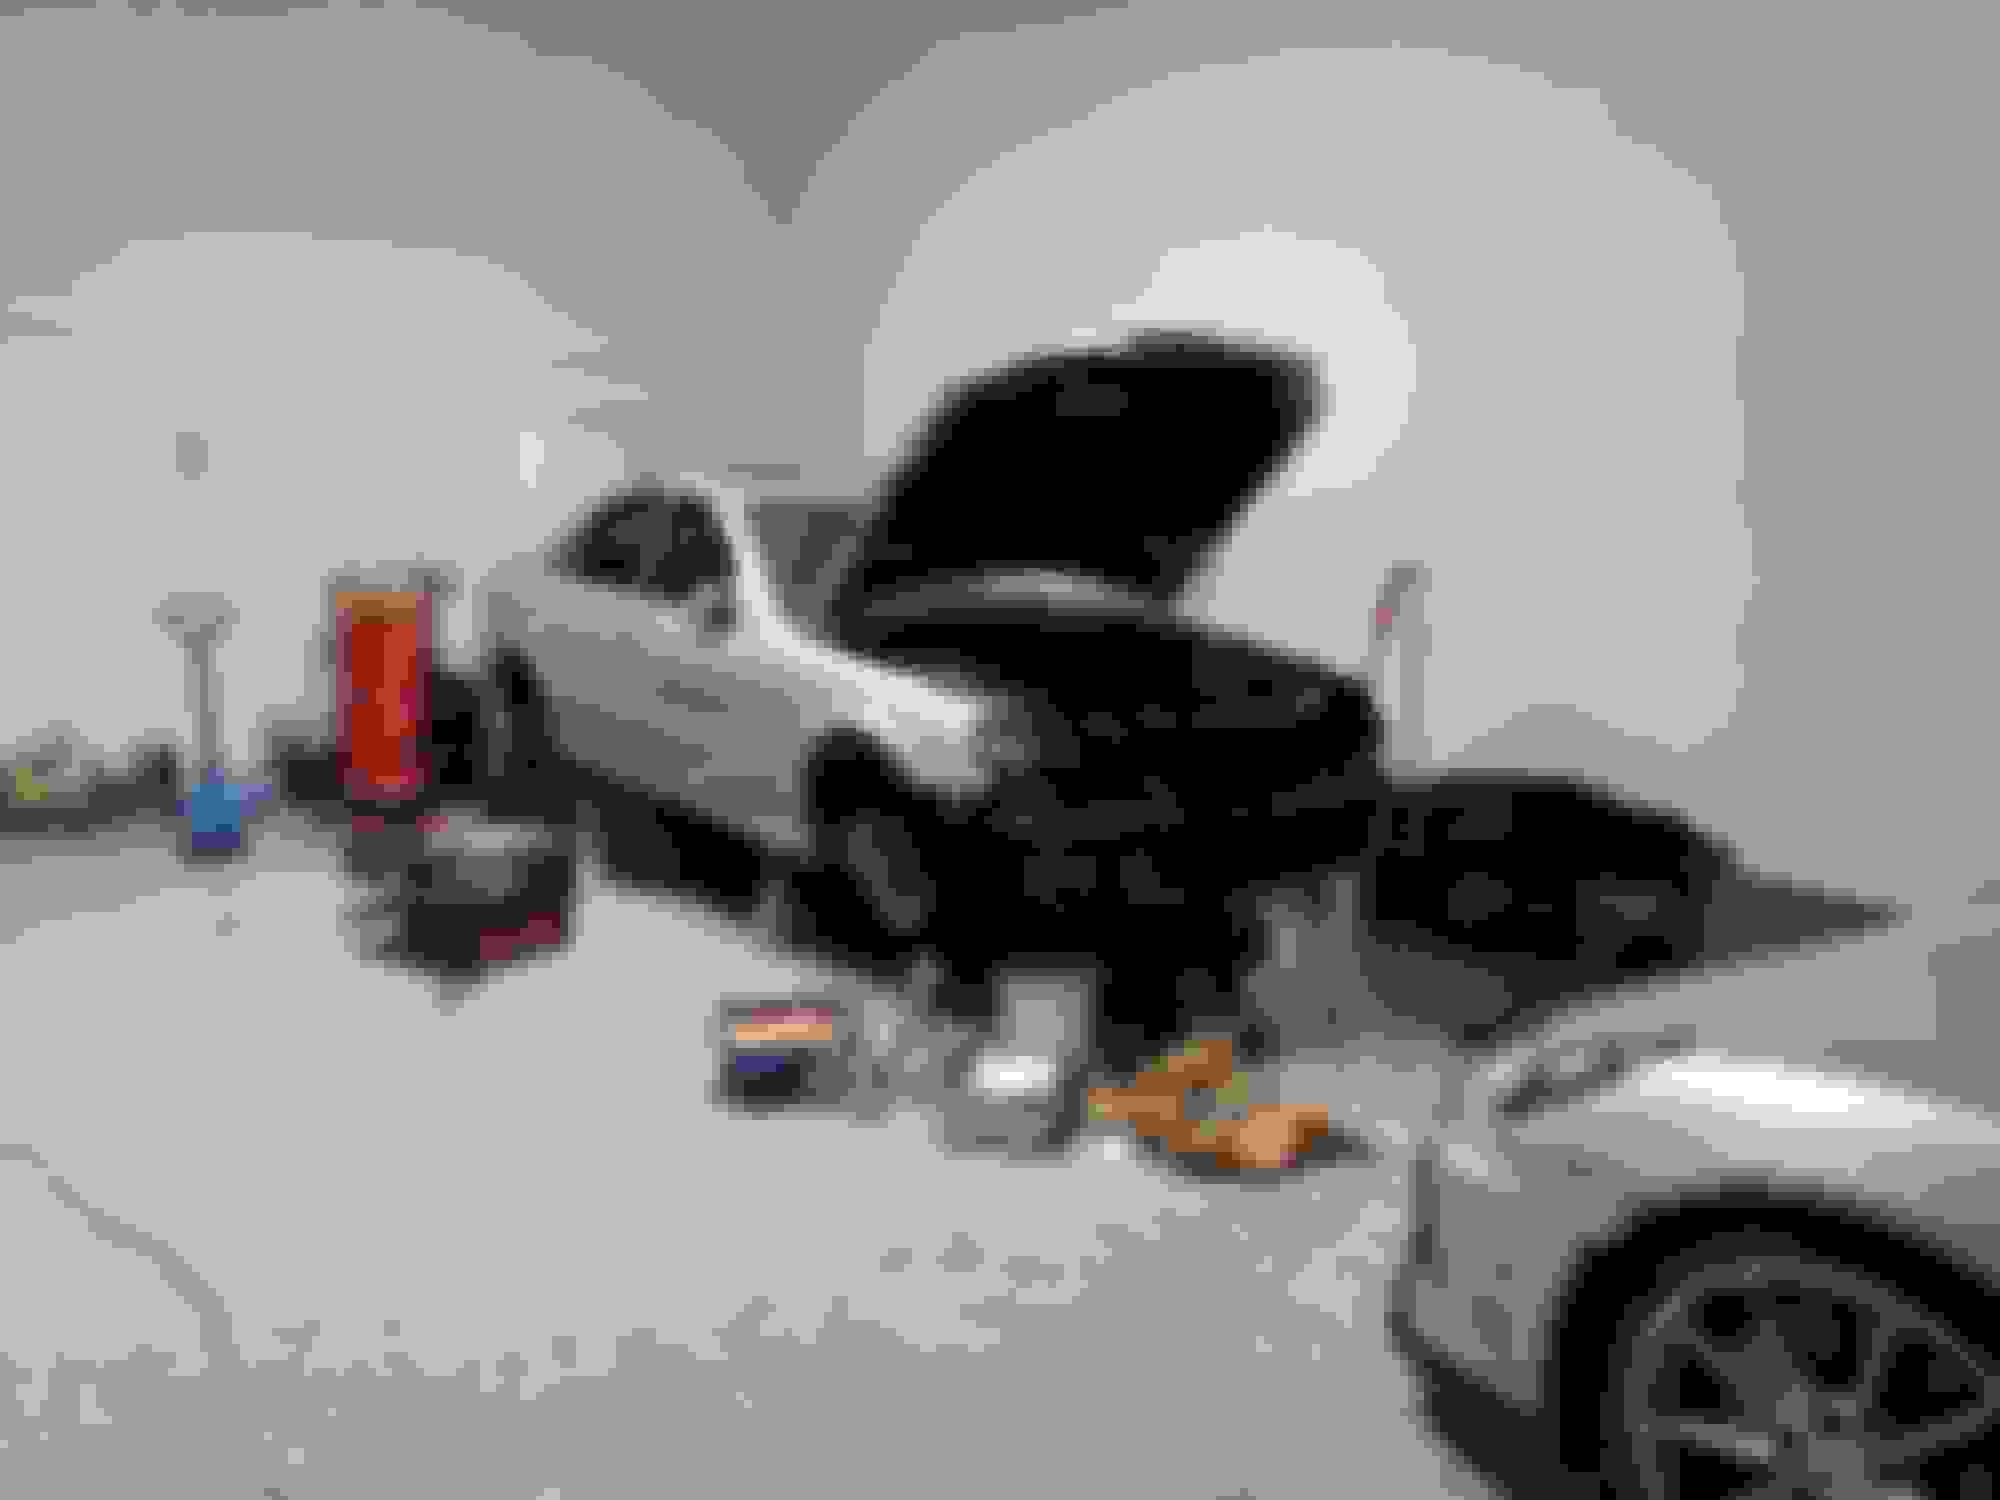
Wasn't able to replace the ABC line so car is inoperable right now. I've run out of time and need to tow the thing to my new workshop (moving)
Suspension is sagging badly so hoping I can still roll the car out of the garage and get it onto a flatbed.
Any experience in rolling the car or getting it on a flatbed with ABC suspension sagging? Hoping it'll be straight forward and no drama or damage from getting it towed.
Looking forward to doing more videos featuring the w220.
Wasn't able to get enough leverage on the ABC banjo bolt to loosen it. Radiator will have to come out so might as well replace it. Been busy with the moving into my new condo so haven't had much time to wrench.
2004 S600, 1998 M3, 1974 2002 Touring, 2006 Cayman S
Originally Posted by tusabes
That wRehouse is awesome how much is the rent ?
Mate are you going to get a lift to do repairs ?
About $3,000 per month all in (+utilities, insurance, etc). Splitting it 50/50 with someone and a 3rd person will likely join as well. Alternative was getting way too big of a house in order to have enough garage and driveway space for my cars.
Intention is to get lifts for both storage and doing work.
2004 S600, 1998 M3, 1974 2002 Touring, 2006 Cayman S
Update:
Rear ABC valve is now rebuilt
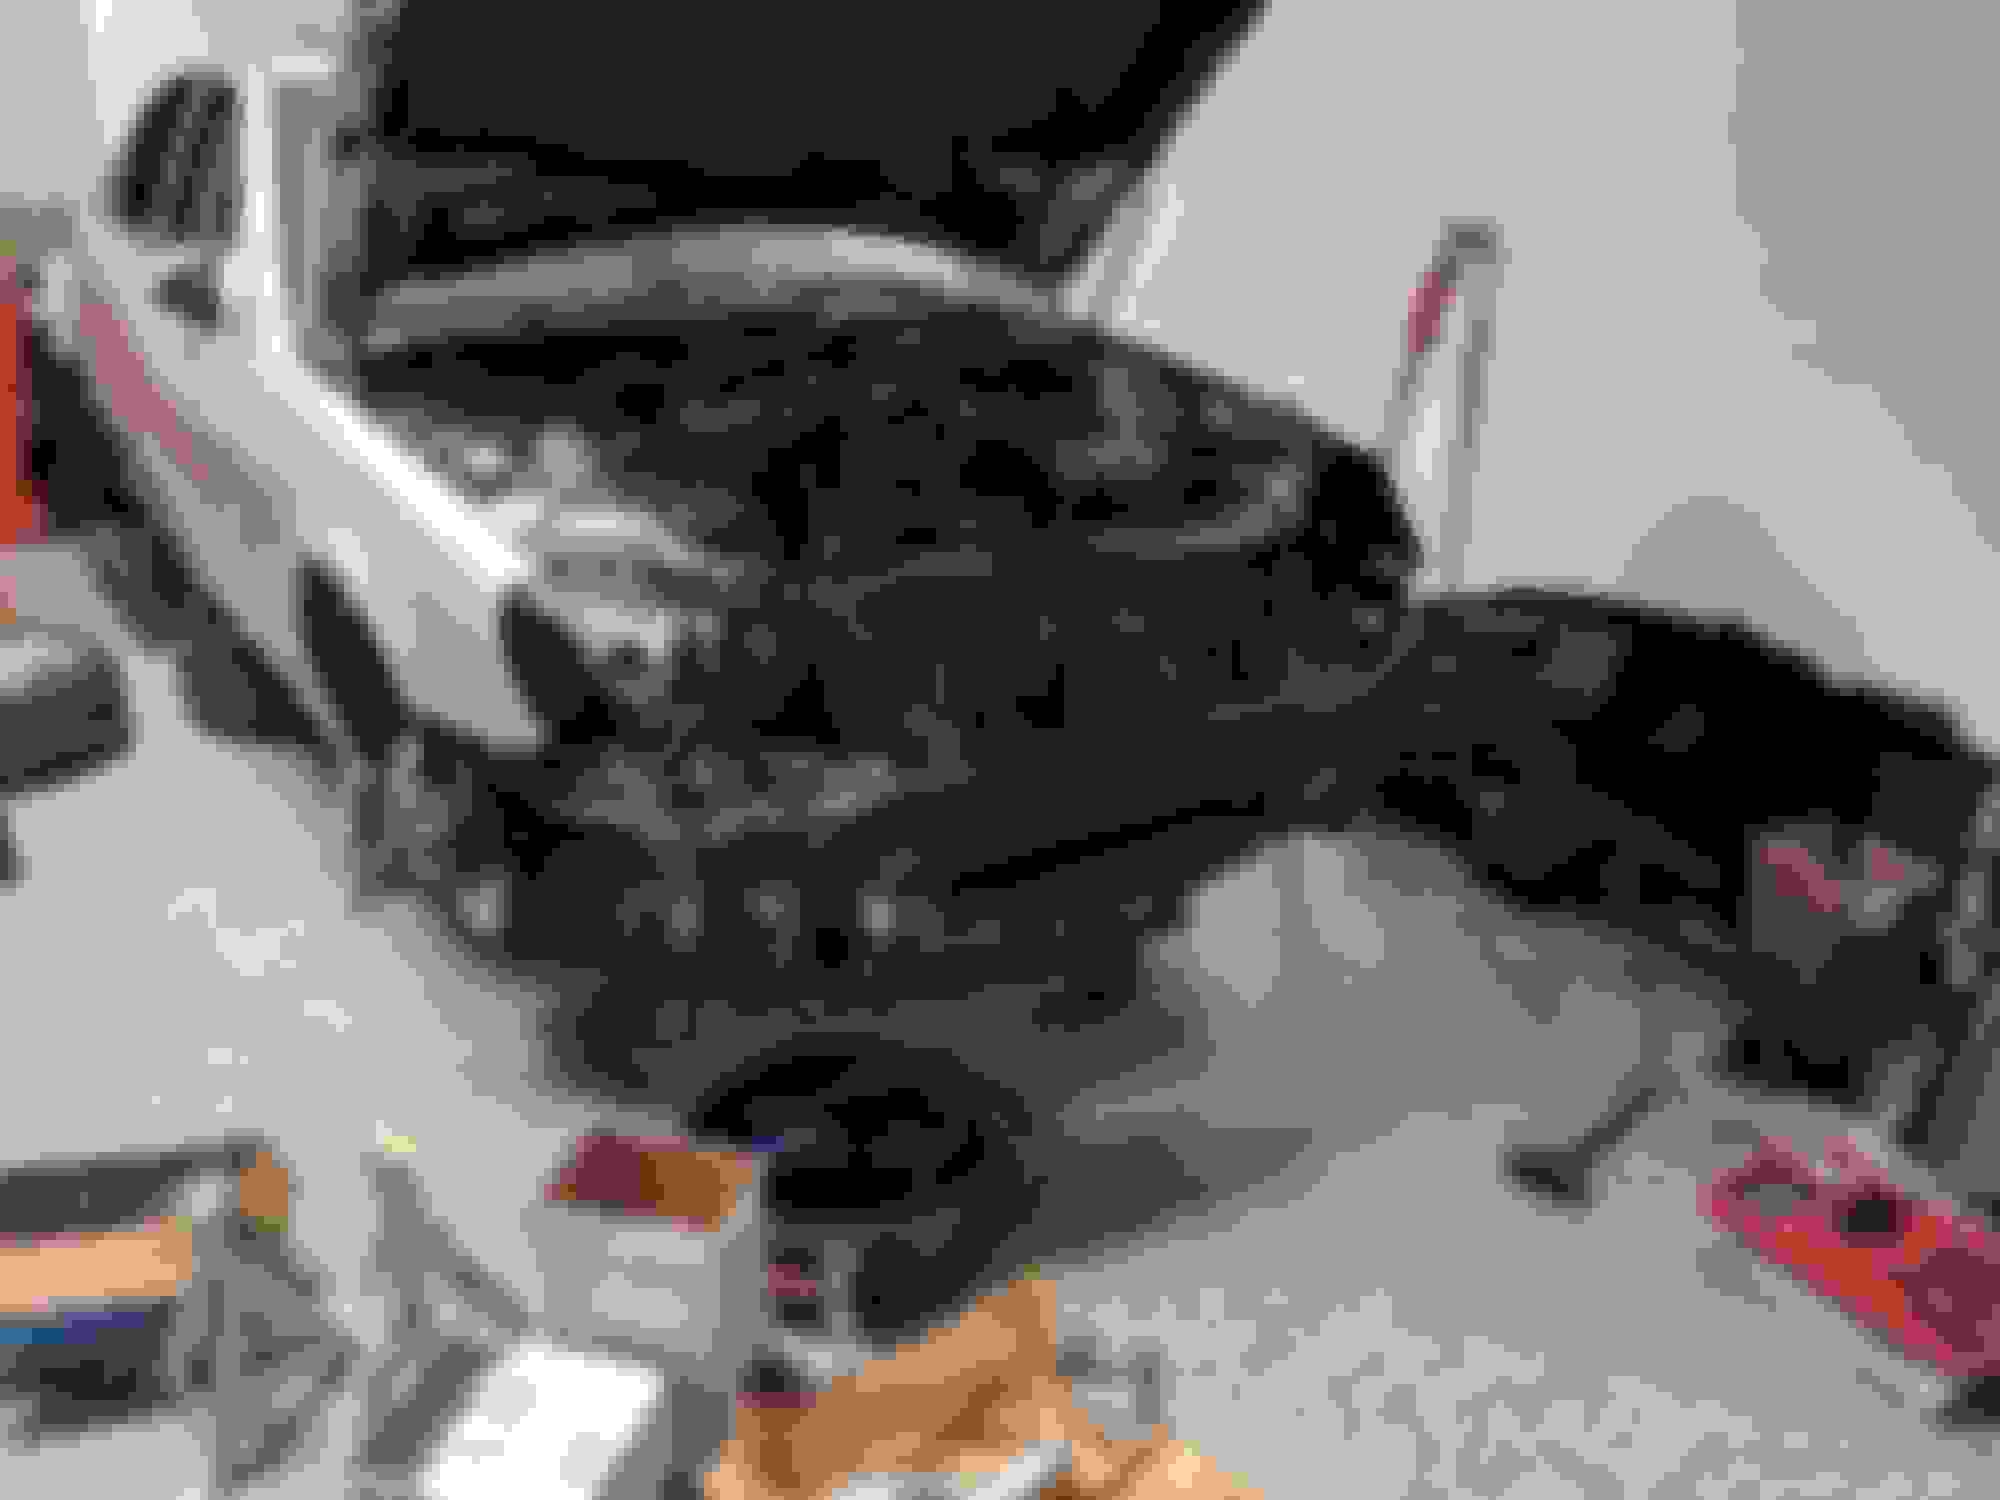
Was finally able to get the ABC pump banjo bolt off after removing the radiator to get more leverage. Radiator was a tight fit upward. Might have been raised to drop it through the bottom (new radiator going in too). Those bolts on the lower part of the radiator holding the AC lines I think I they were impossible to get a visual on. I had to do them blind and by feel.
While in there decided to also remove the ABC pump and ordered a rebuilt one from eBay (only non-OE part in my restoration; will I regret that?). All rubber hoses in the engine bay are being replaced at this point.
Discovered the water pump requires harmonic balancer be removed so I should have read up more on that first. I find it crazy it's just 1 bolt blocked by the balancer. What was Mercedes thinking? Removal tool on order.
Belt pulleys looked okay and easy to replace down the line.
Decided to also tackle the engine mounts and turbo diverter valve after reading about Nick's sub-frame removal trick: https://mbworld.org/forums/m275-v12-bi-turbo-platform/642164-divertor-valves-m275.html
While the subframe is out, anything else I should replace down there? The front ABC line that is on the inside of the front section will be replaced (shares same banjo bolt as the U line).
All new nitrogen accumulators (4) are going in too.
I've noticed there is a lot of oil residue under the car and transmission. Hoping it was just the badly leaking valve covers since spark plugs were soaking in oil when I did the valve covers. Are there other potential sources of oil leaks that would soak the transmission bell housing area? Do the turbo oil lines tend to leak?
Will share some pictures soon. I can see the light at the end of the tunnel on this project so I'm excited. Suspension will likely need a refresh but I think it can wait unless the oil leak rotted out the bushings on the control arms.
Yes the rad pack is designed to come out from underneath. It can be very frustrating to get it out from the top (as you have found).
Absolutely do the engine mounts + gearbox mount whilst you are there.
The Turbo oil drains do like to leak, as does the O ring on the Oil cooler thermostat (LHS near the turbo).
I would change the oil drain seals, as well as the coolant o ring seals on the turbo's whilst you have access. My LHS turbo drain seal leaks slightly and makes a big mess under the engine.
2004 S600, 1998 M3, 1974 2002 Touring, 2006 Cayman S
Originally Posted by alexanderfoti
Well done, lots of work there.
Yes the rad pack is designed to come out from underneath. It can be very frustrating to get it out from the top (as you have found).
Absolutely do the engine mounts + gearbox mount whilst you are there.
The Turbo oil drains do like to leak, as does the O ring on the Oil cooler thermostat (LHS near the turbo).
I would change the oil drain seals, as well as the coolant o ring seals on the turbo's whilst you have access. My LHS turbo drain seal leaks slightly and makes a big mess under the engine.
Are these doable with the turbos still on the car?
I found the turbo coolant connections (O-rings) to be unreliable, but the oil connections (flat gaskets) were good.
The turbo pipes were a difficult and painful job.
If you're going to take the front subframe out (much easier than the rear subframe, incidentally!) then it's definitely worth replacing the diverter valves. The rubber bellows always perish and crack eventually, and driving with a failed divertor valve is pretty painful and frustrating.
While you have access down there, I would loosely wrap aluminium foil heatshields around any of the ABC hoses in the engine compartment.
Good work BTW.
Nick
Last edited by Welwynnick; 06-01-2018 at 11:50 AM.
While in there decided to also remove the ABC pump and ordered a rebuilt one from eBay (only non-OE part in my restoration; will I regret that?). All rubber hoses in the engine bay are being replaced at this point.
Discovered the water pump requires harmonic balancer be removed so I should have read up more on that first. I find it crazy it's just 1 bolt blocked by the balancer. What was Mercedes thinking? Removal tool on order.
i havent been on here in a long time !! feels good to be back and see threads like this. the water pump indeed is a little bit more of a pain because of that one bolt behind harmonic balancer. i have a water pump diy on the m275 v12 here https://mbworld.org/forums/s-class-w...-pictures.html .
also to answer your question about the ABC pump thats the only non oem part as well that i ordered . used factory water pump and radiator but rebuilt pump from ebay. to be honest with you pumps been on for about 1.5 to 2 years now with zero issues. main thing is when you install the pump ...either hand crank the abc pump pulley to draw in some fluid or if vehicle is all assembled put fresh fluid in reservoir and introduce shop air into the reservoir. dont need too much air. once pump picks up fluid then car will raise. goodluck !!!
2004 S600, 1998 M3, 1974 2002 Touring, 2006 Cayman S
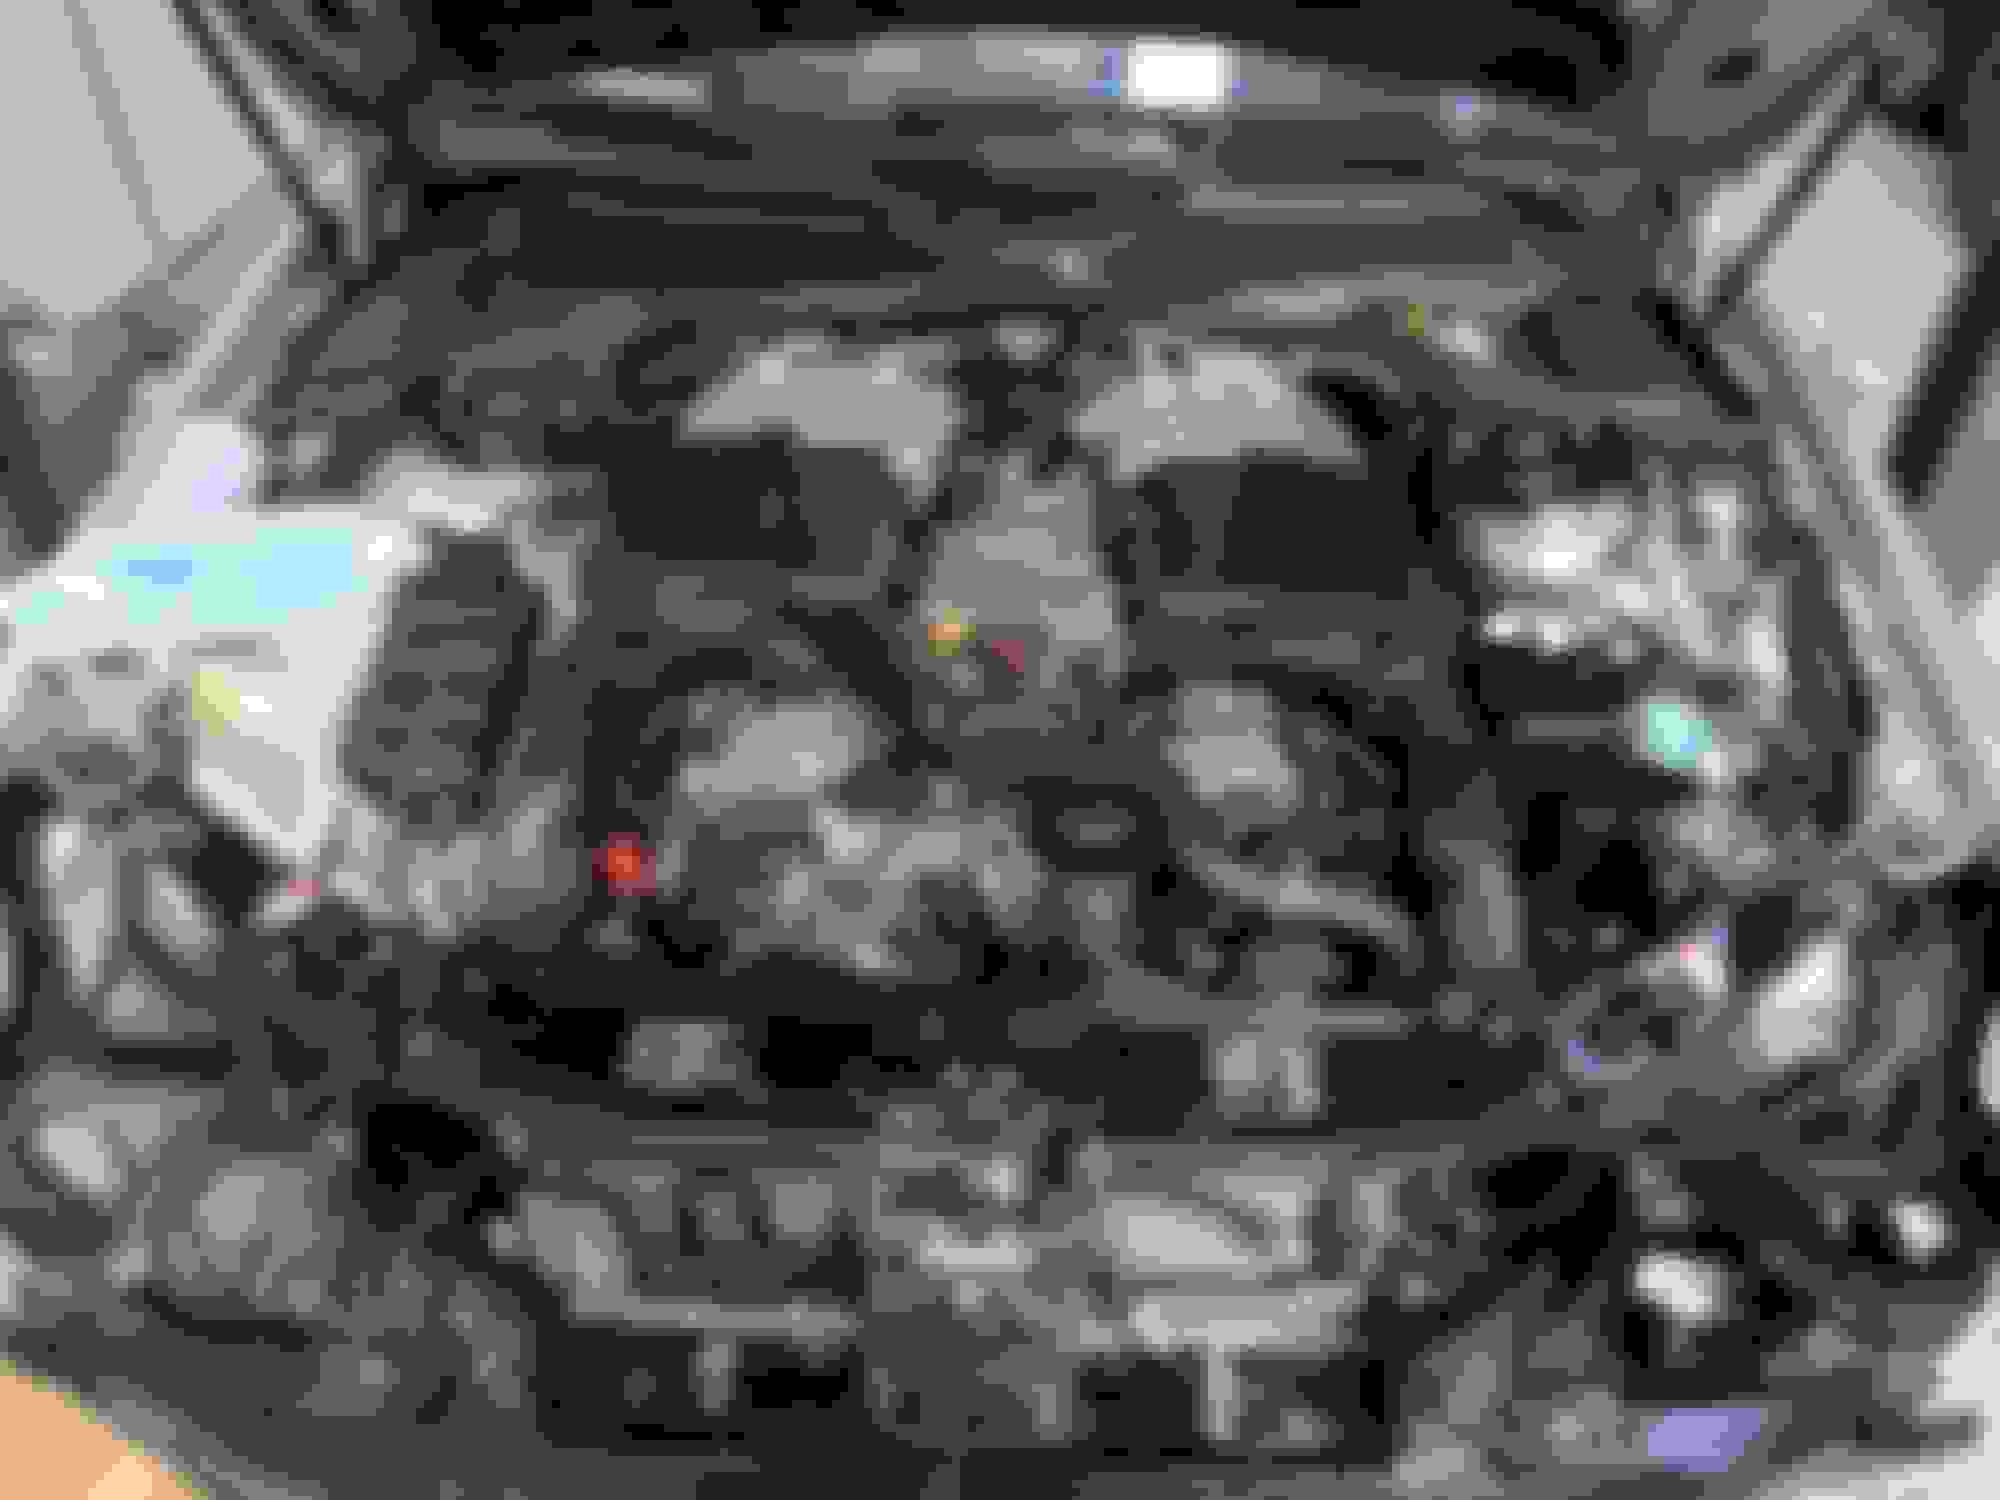
Sharing some pictures:
My crank pulley tool doesn't seem to work on the M275 engine so I'm a bit upset. If it were maybe 2mm smaller in diameter, it would have fit
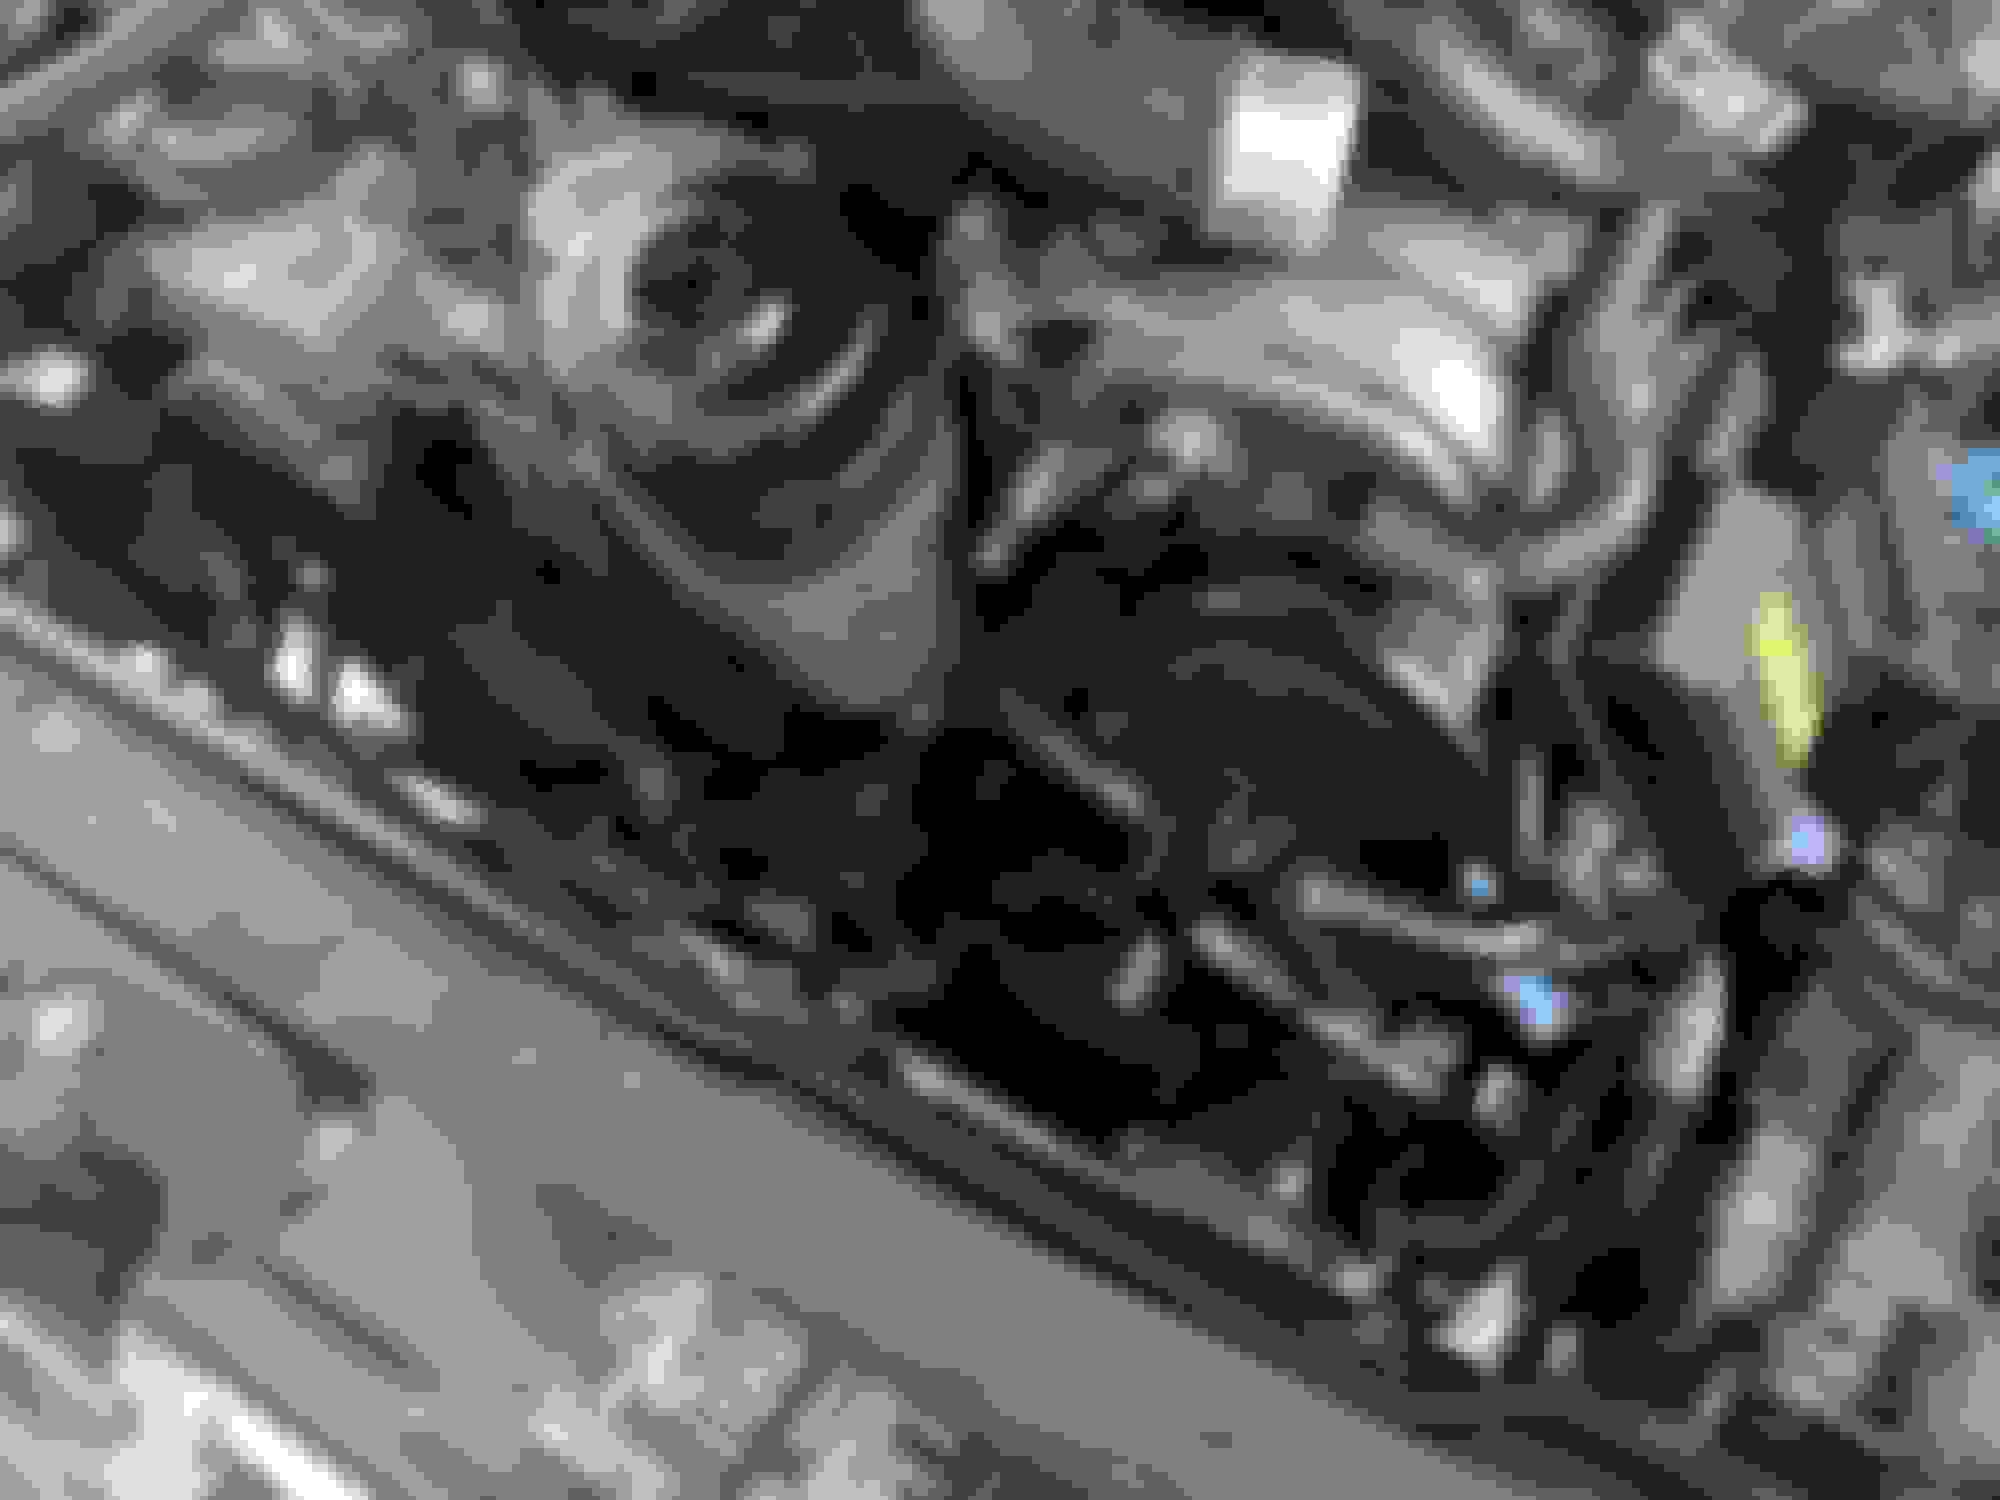
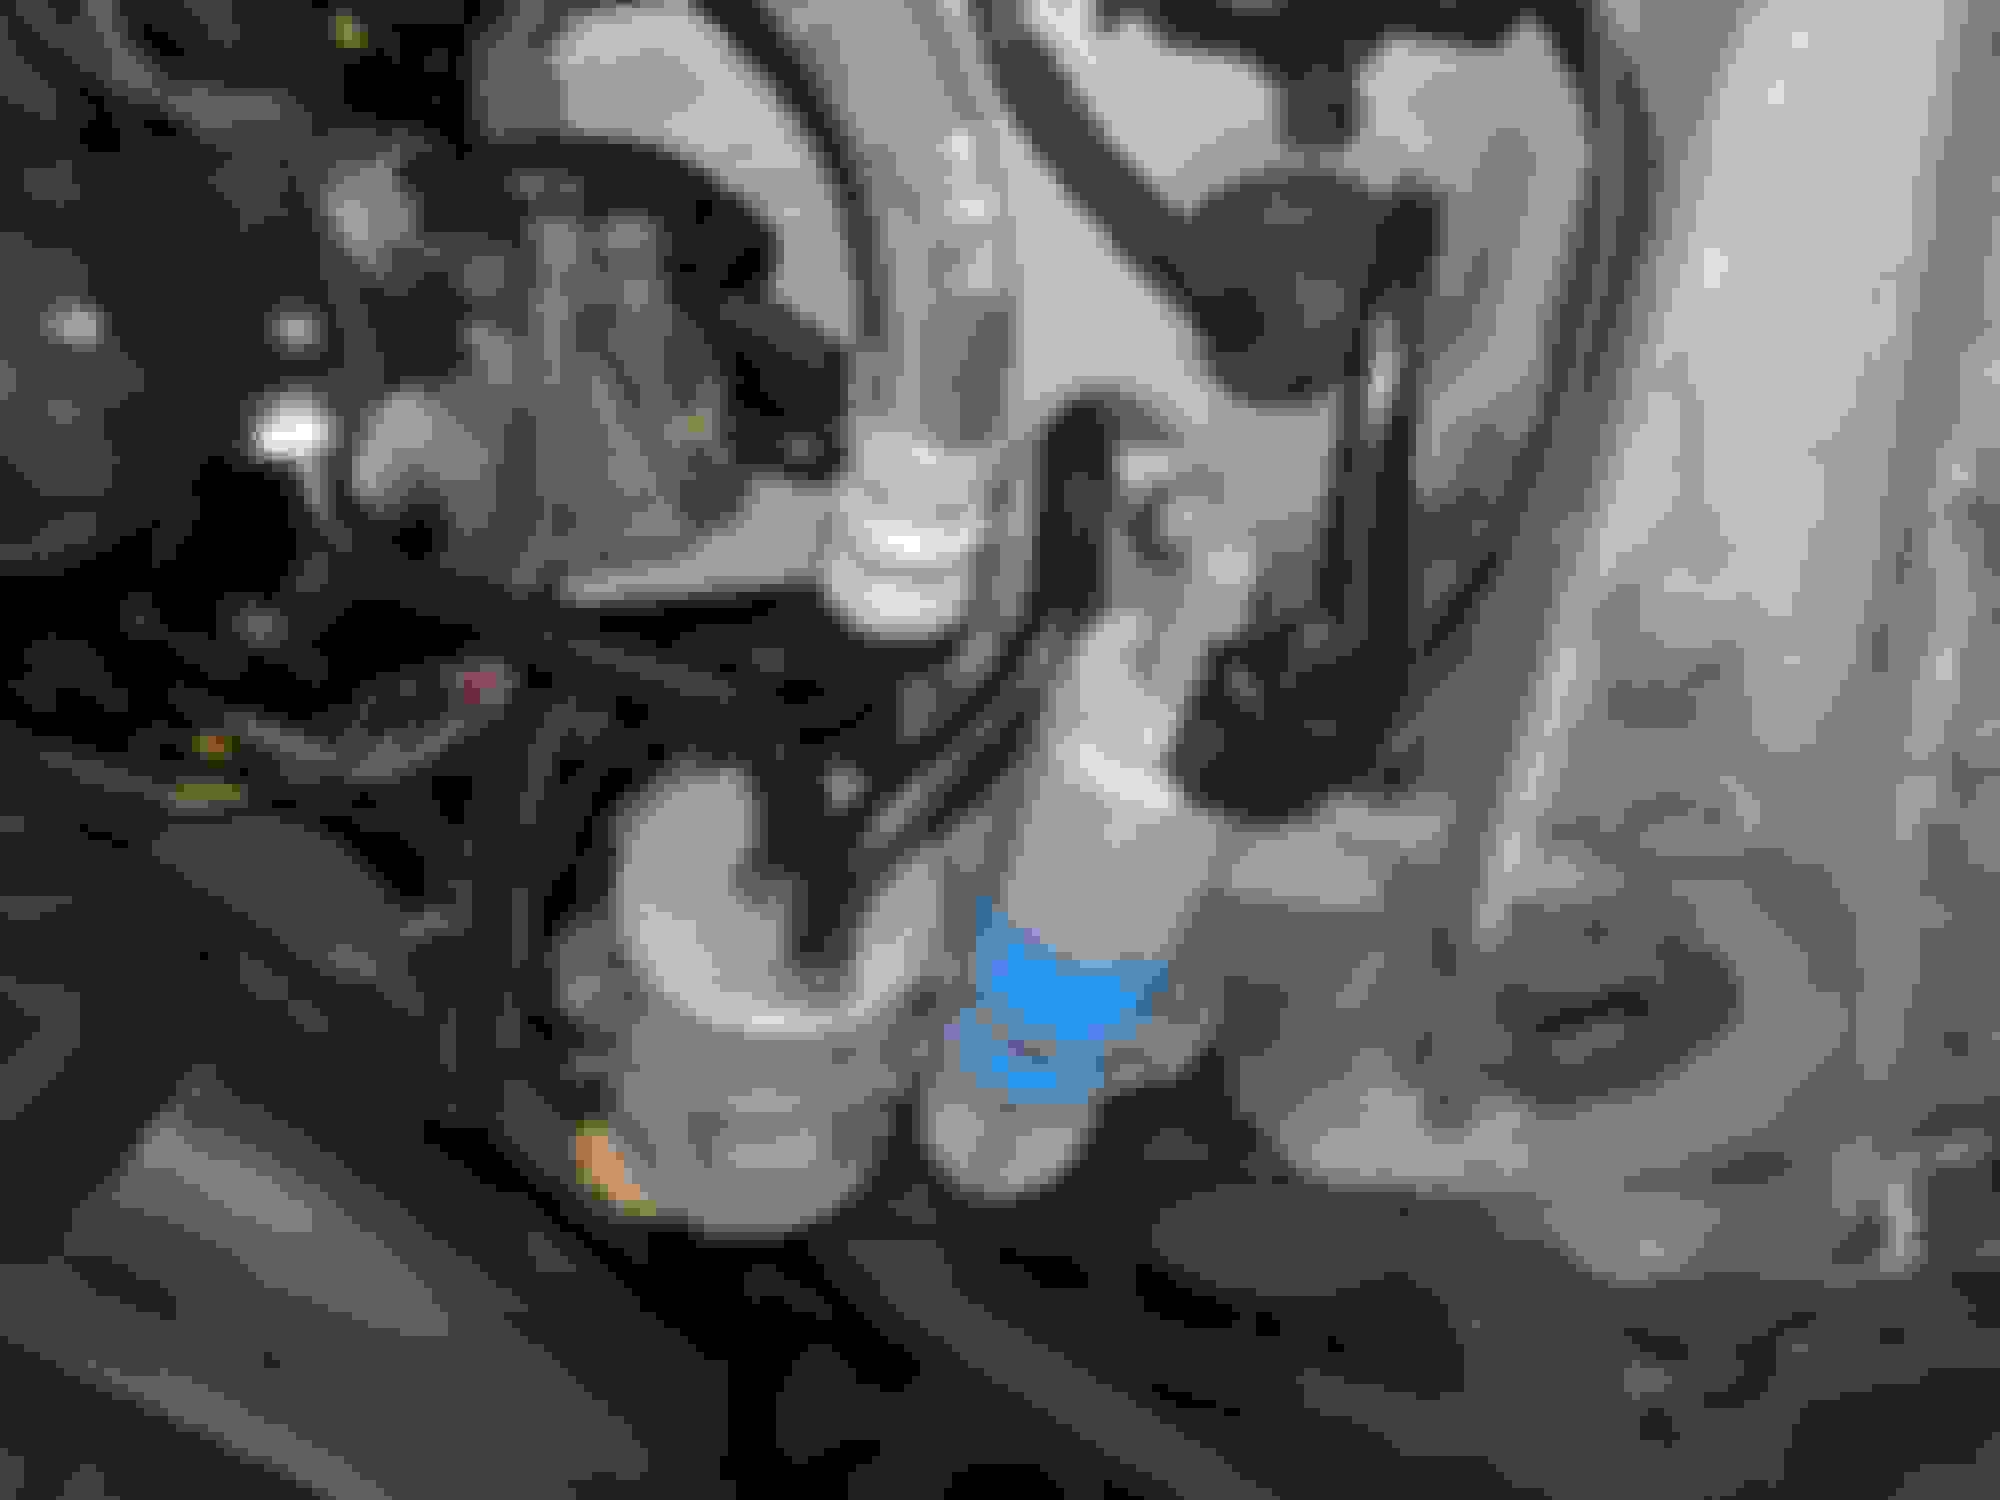
These bolts on the front of the radiator were awful to take out. I had to do them blind and by touch. Hoping this picture will help others who need to remove the radiator:
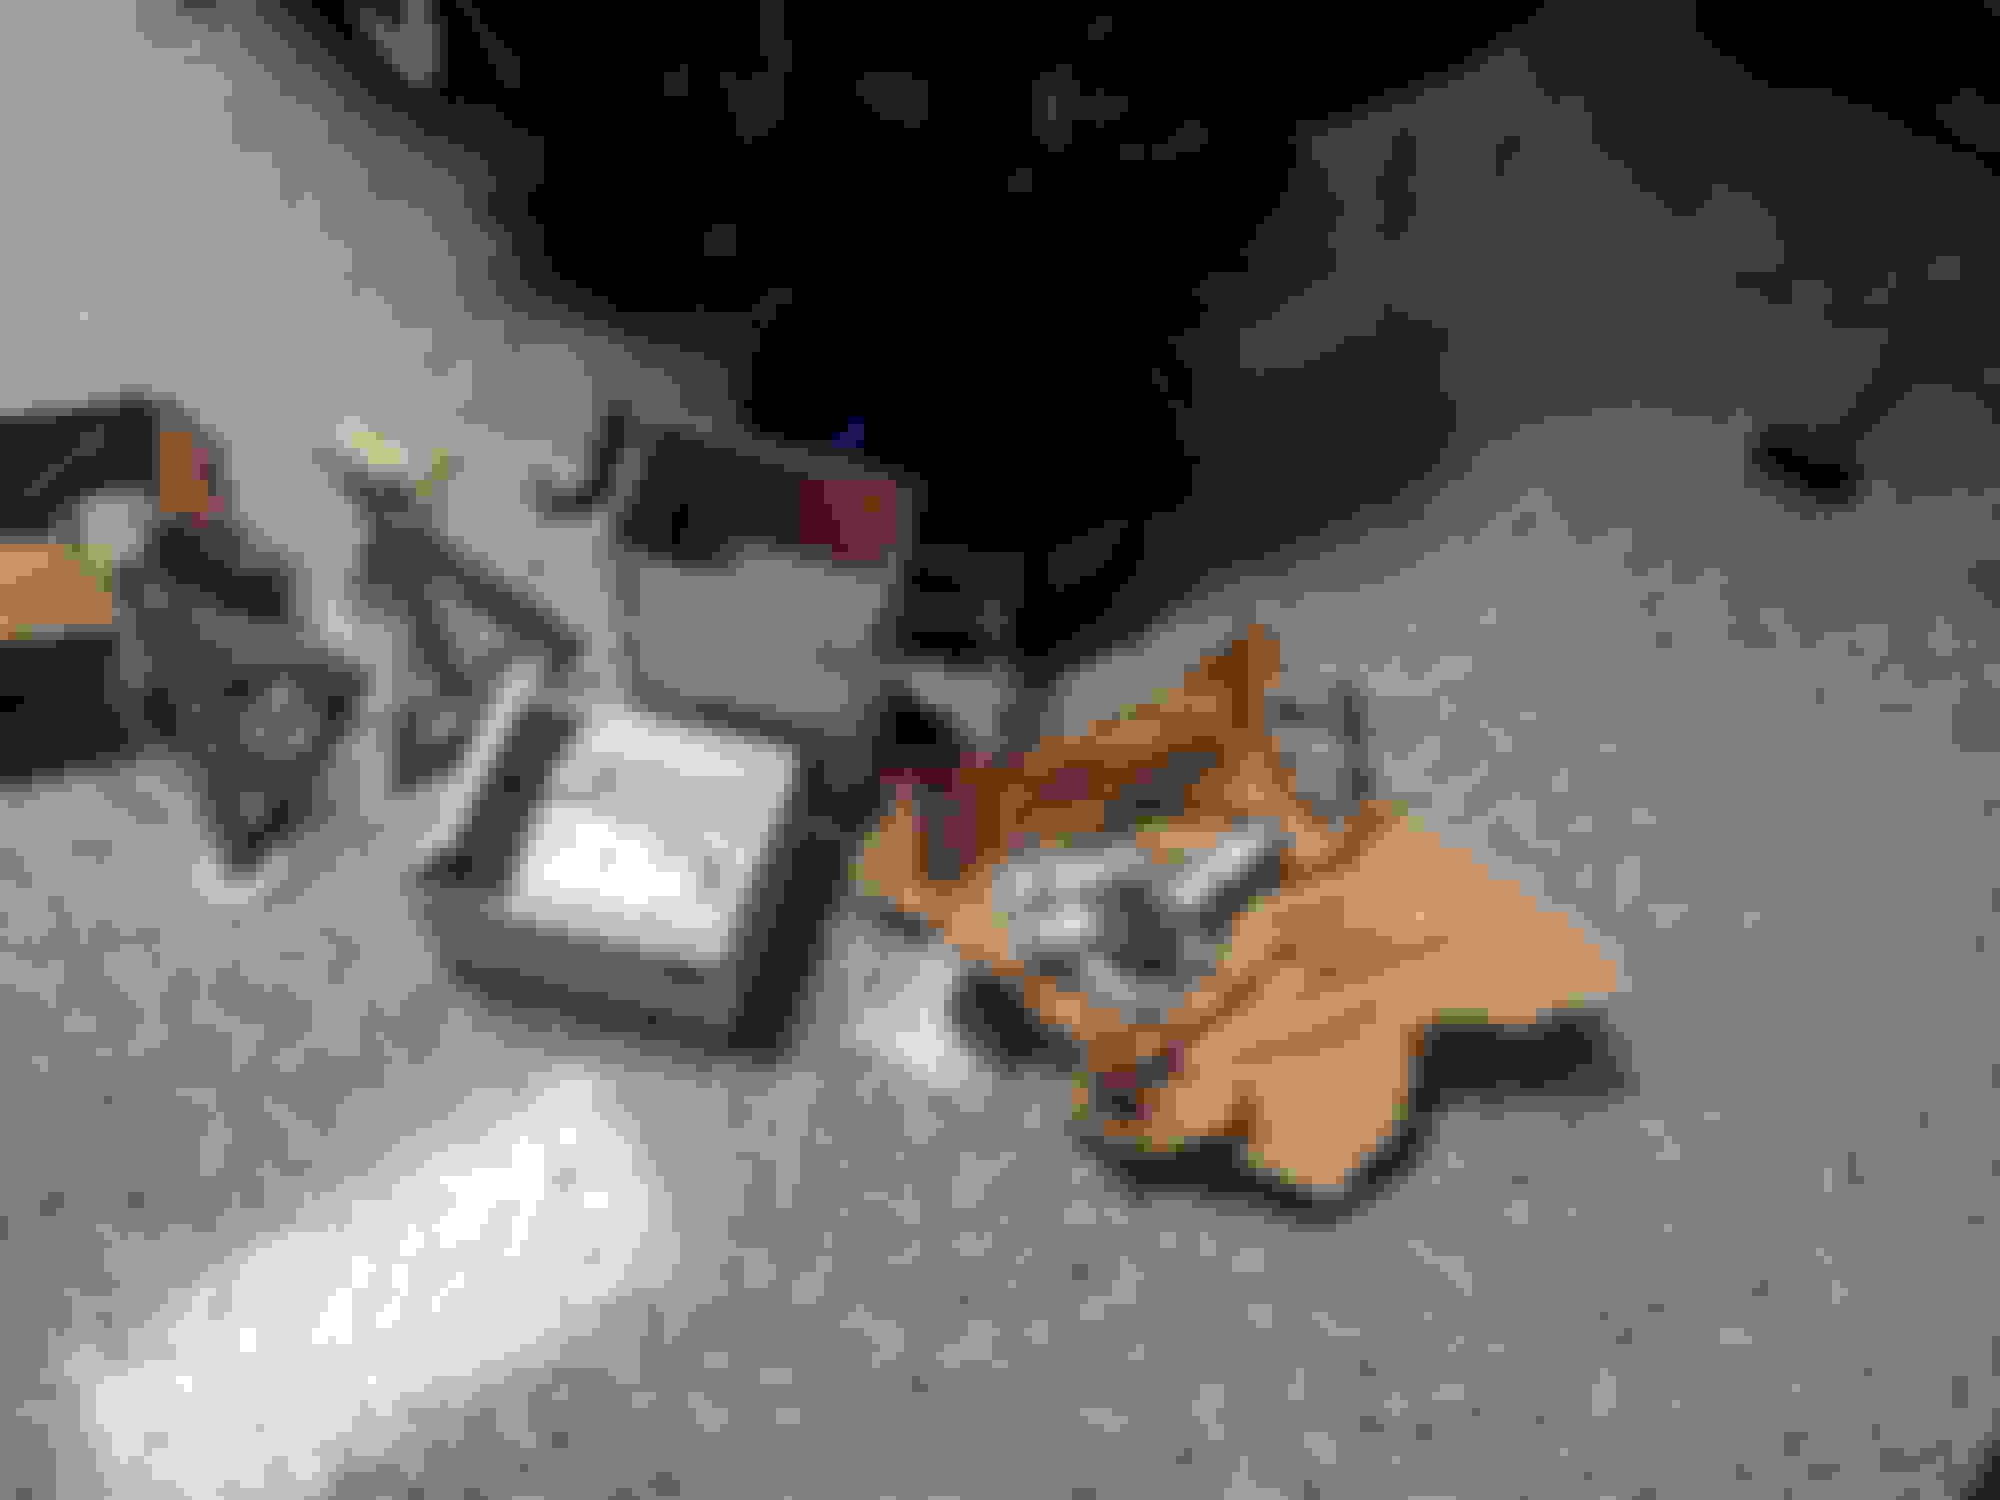
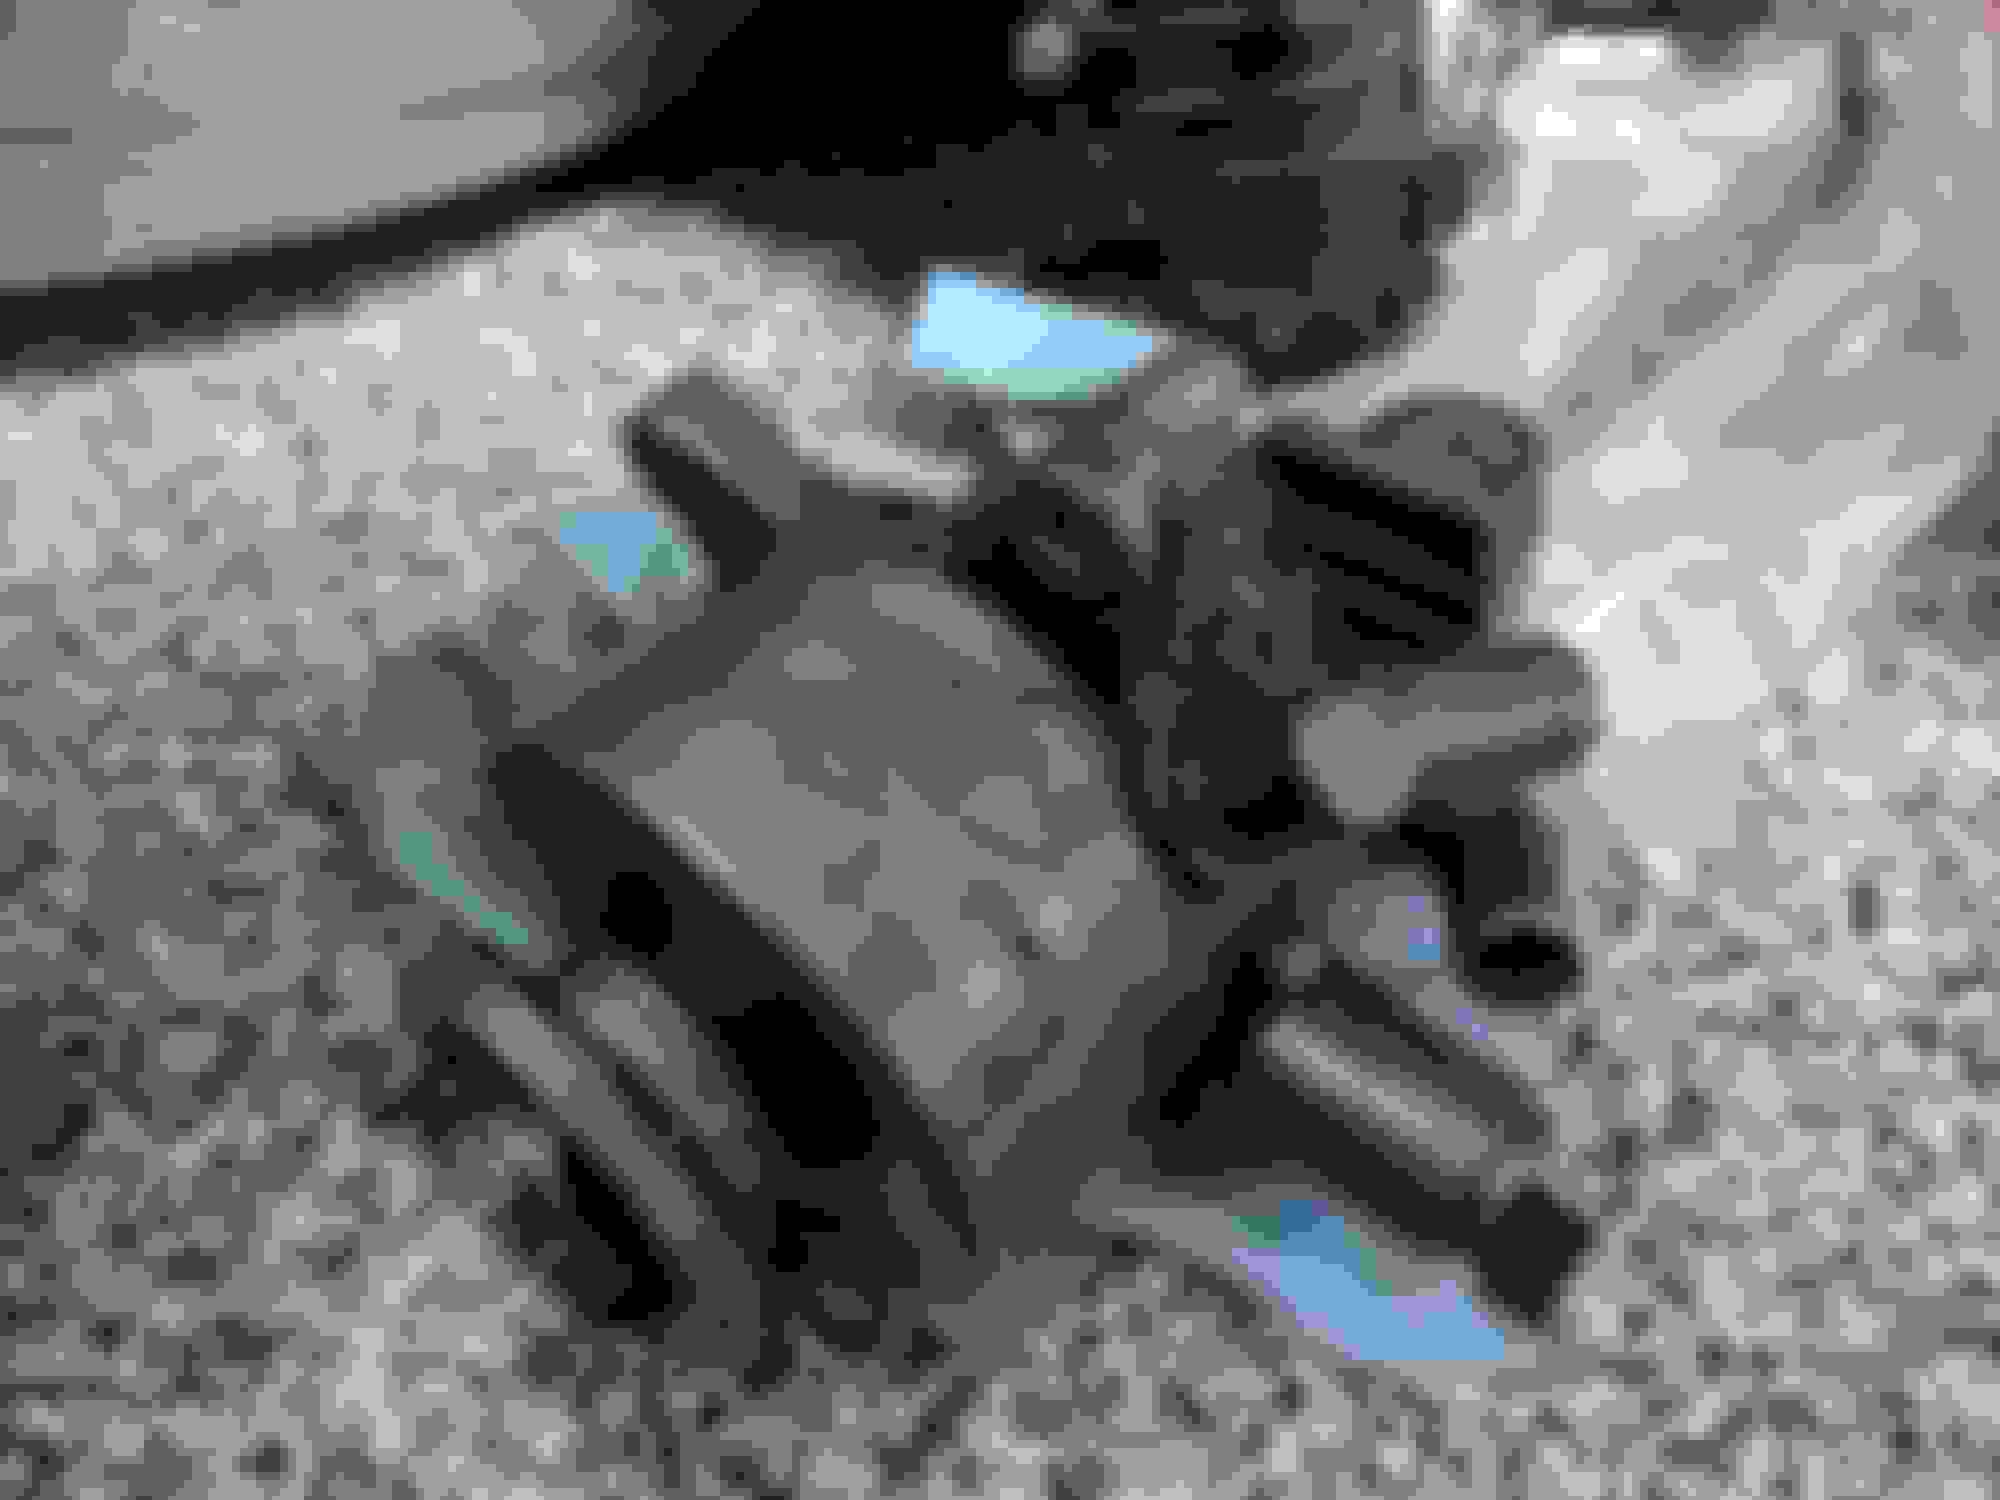
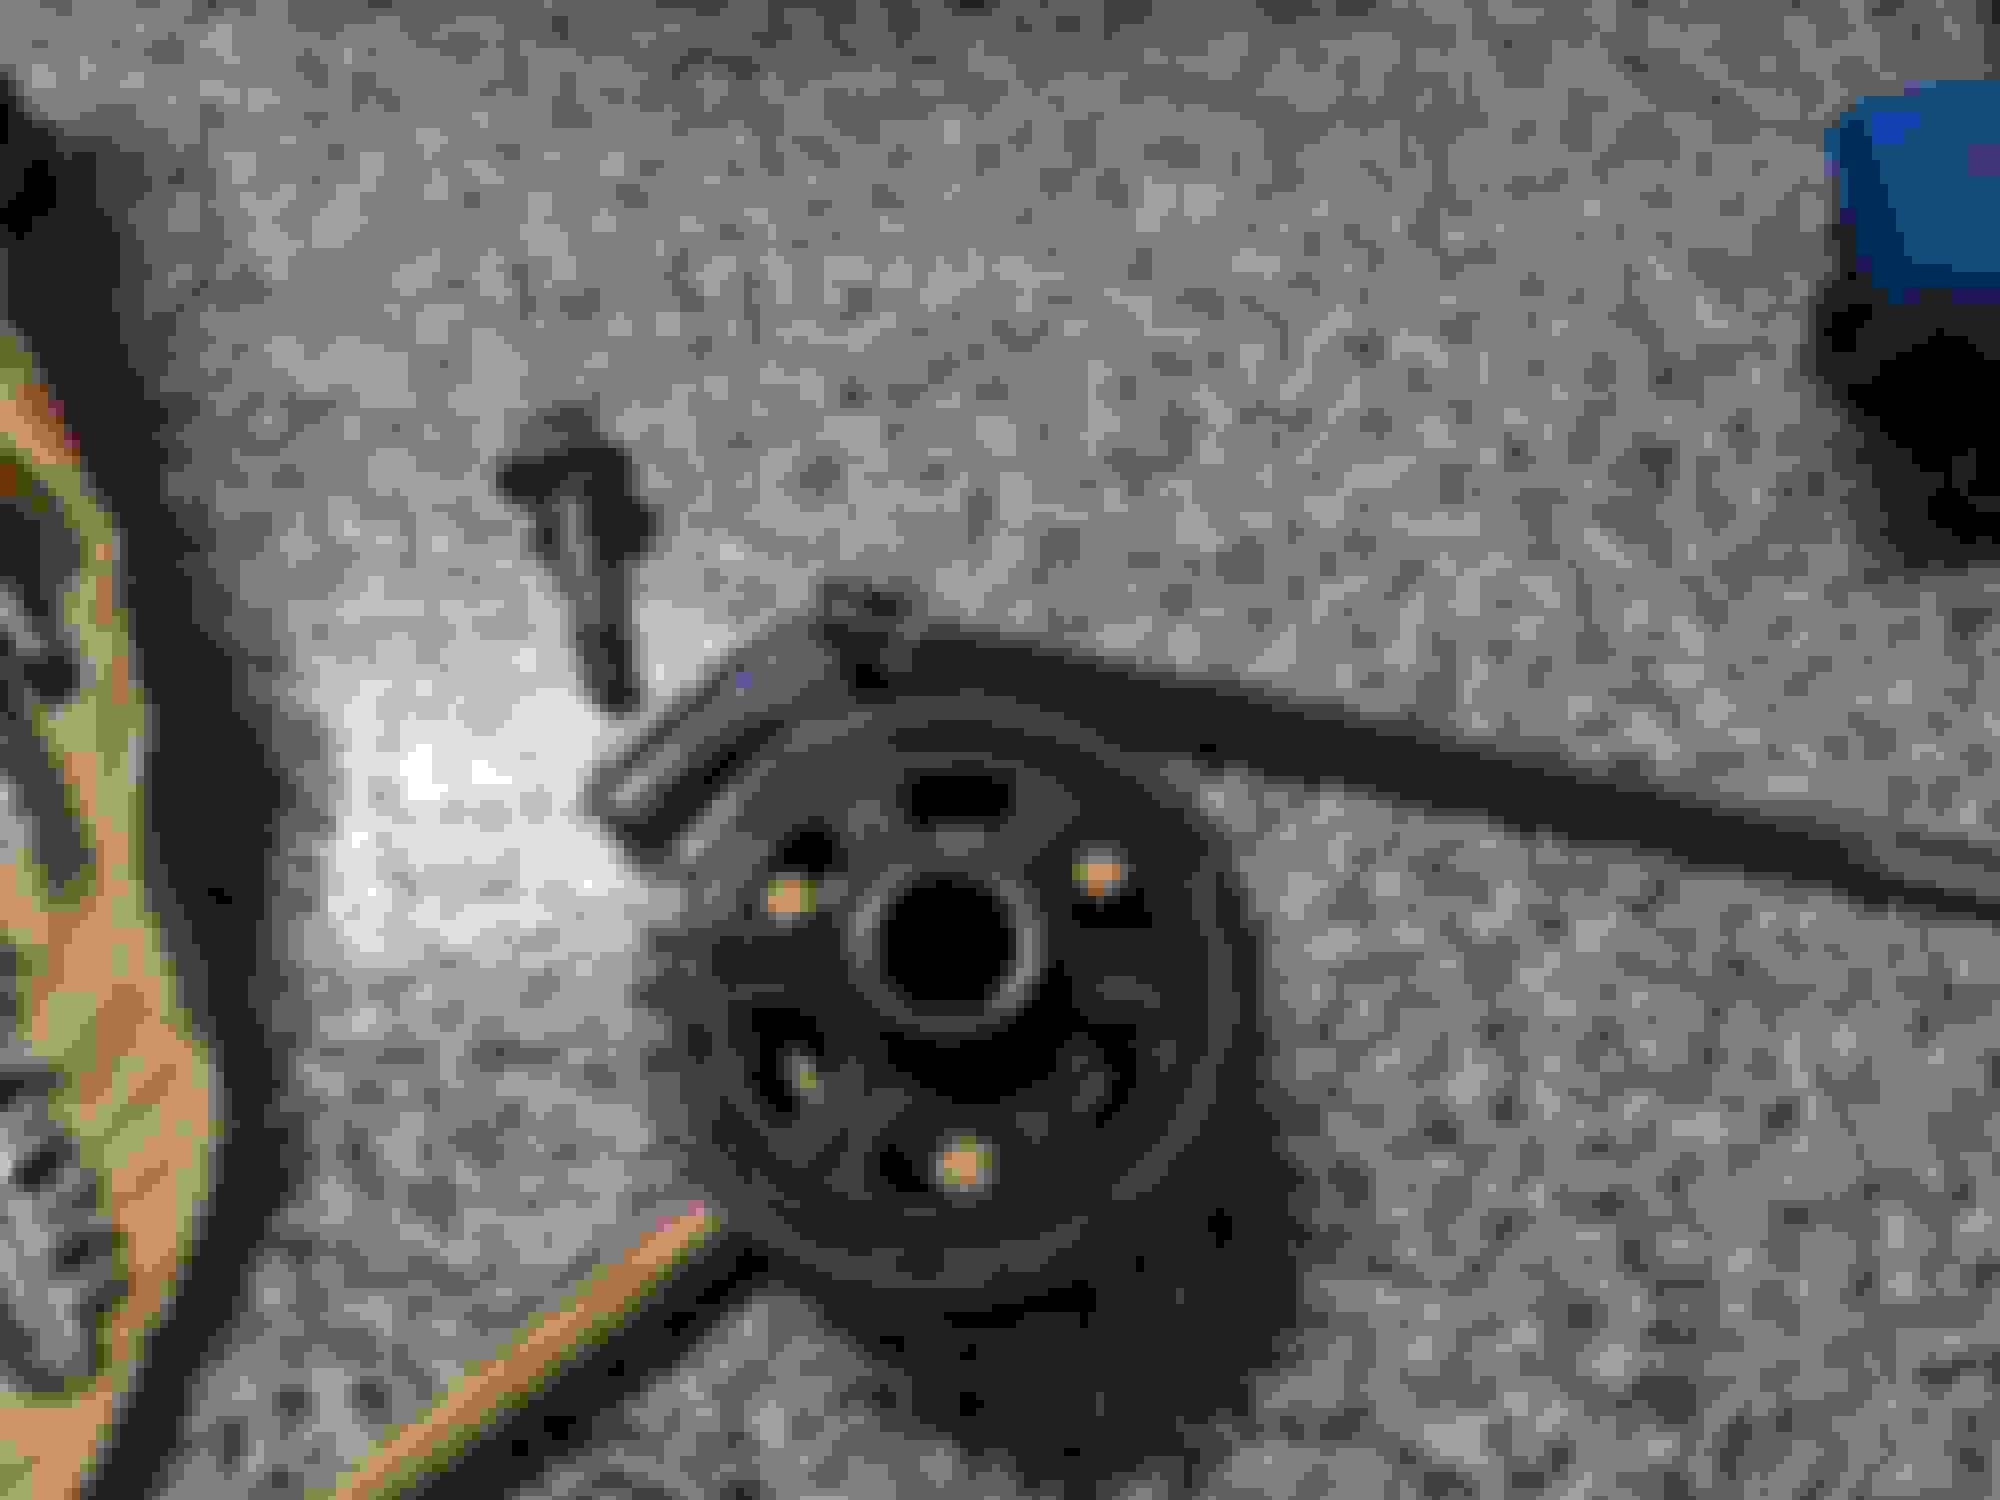
For those removing the ABC pump, there are a total of 3 bolts holding it on. Two are accessible from the front and third is on the back of the pump (see bolt attached):
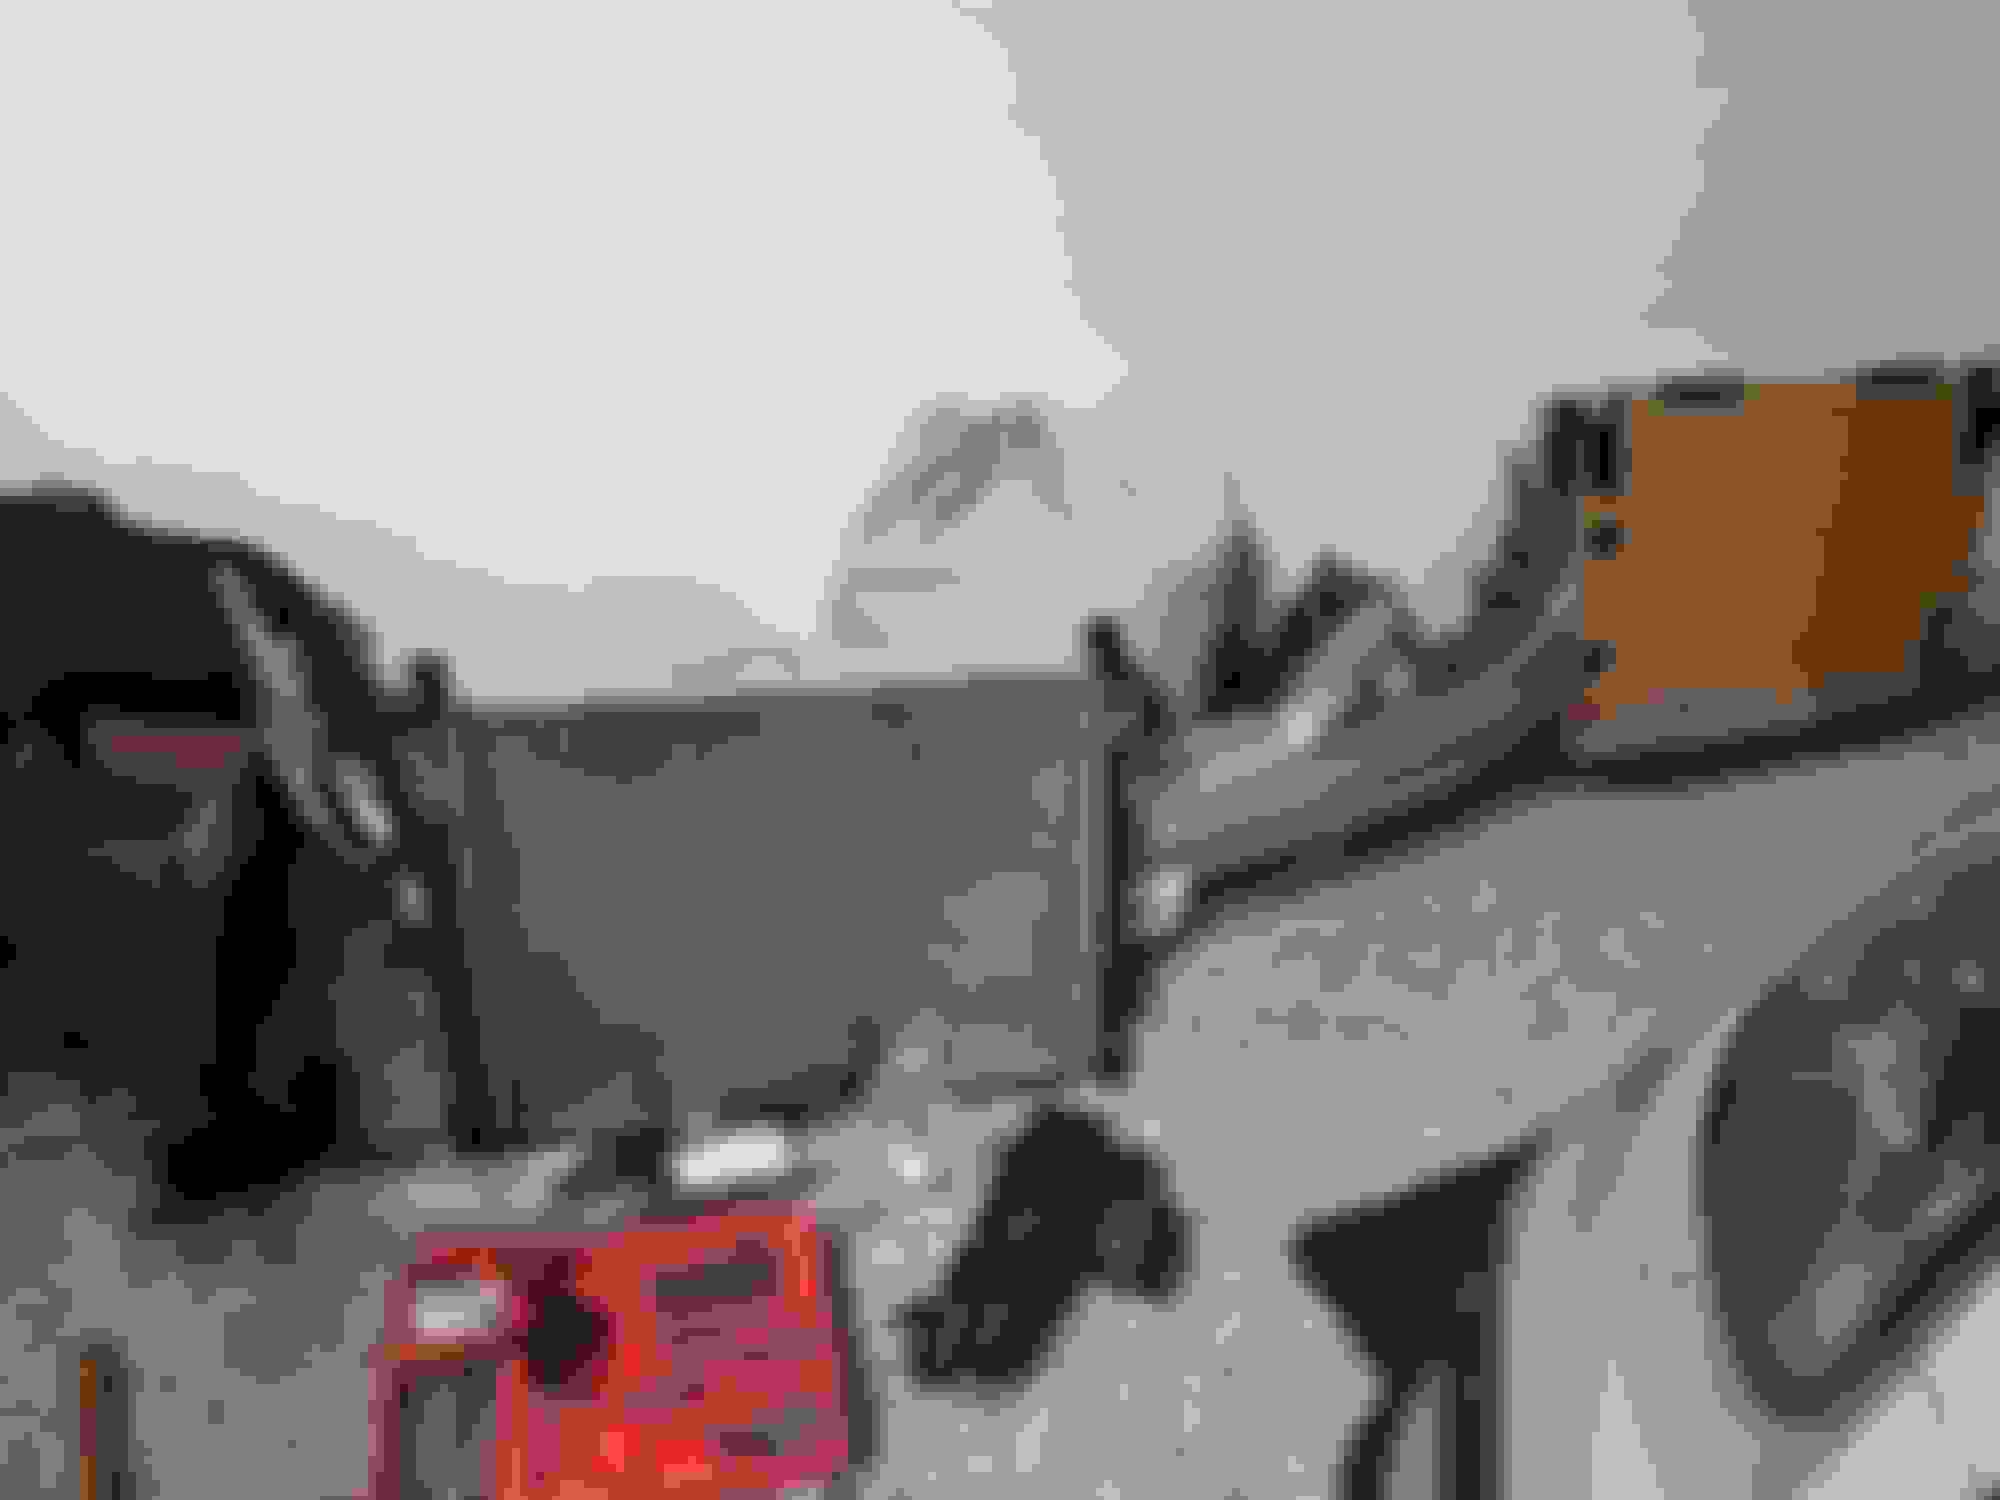
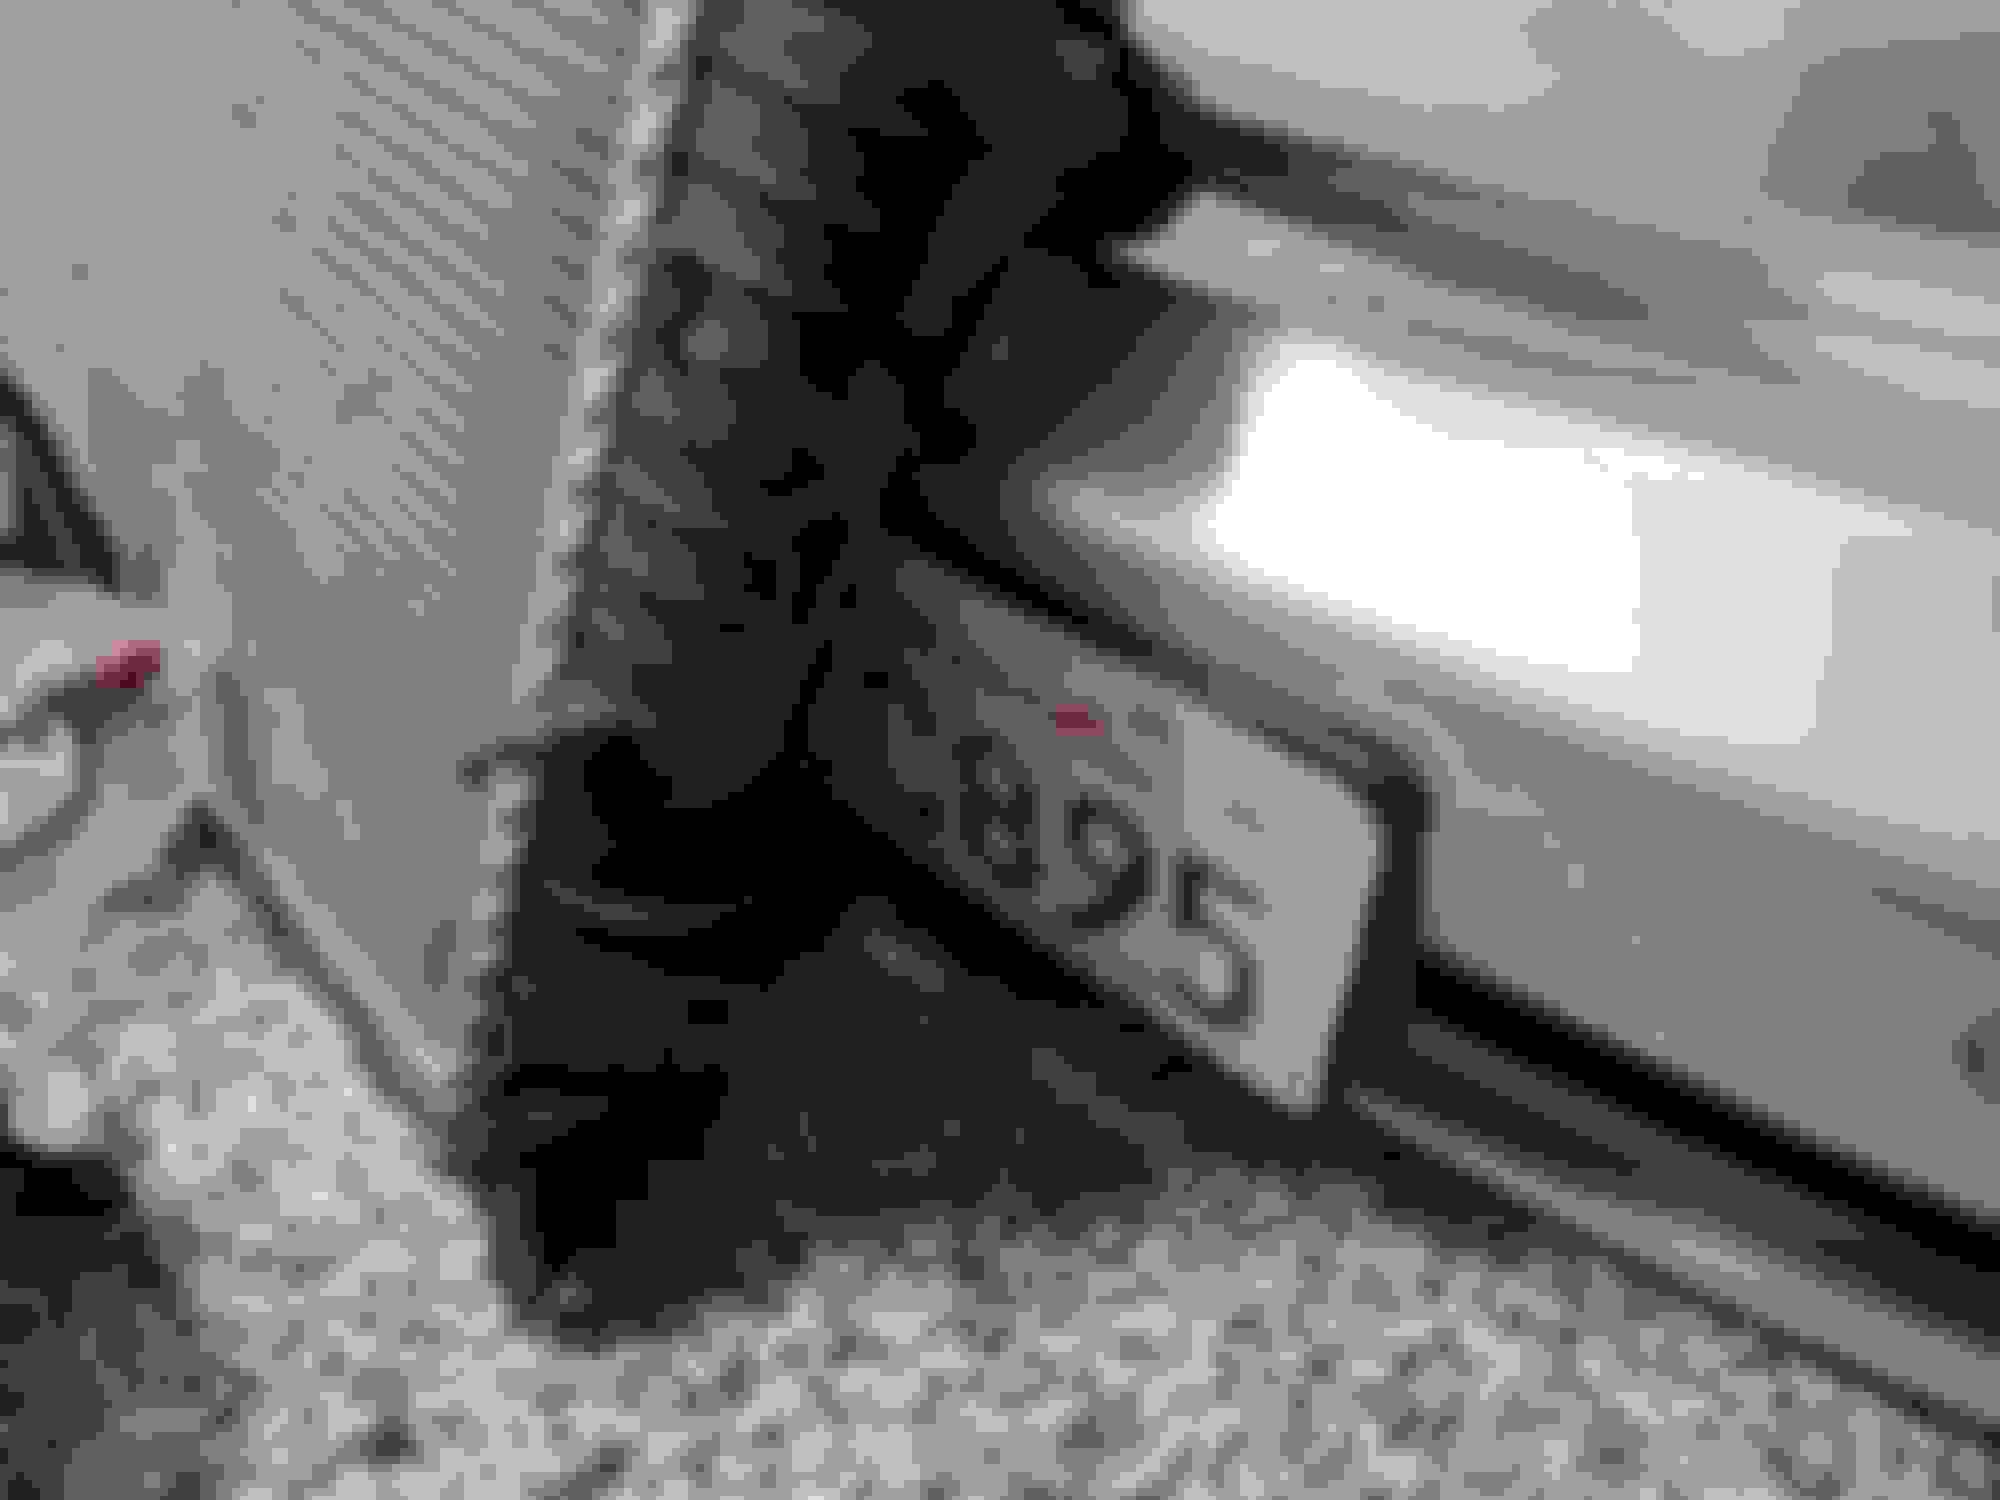
Looks like prior front end damage was fairly minor since they didn't even replace the front cross member; just the bumper cover:
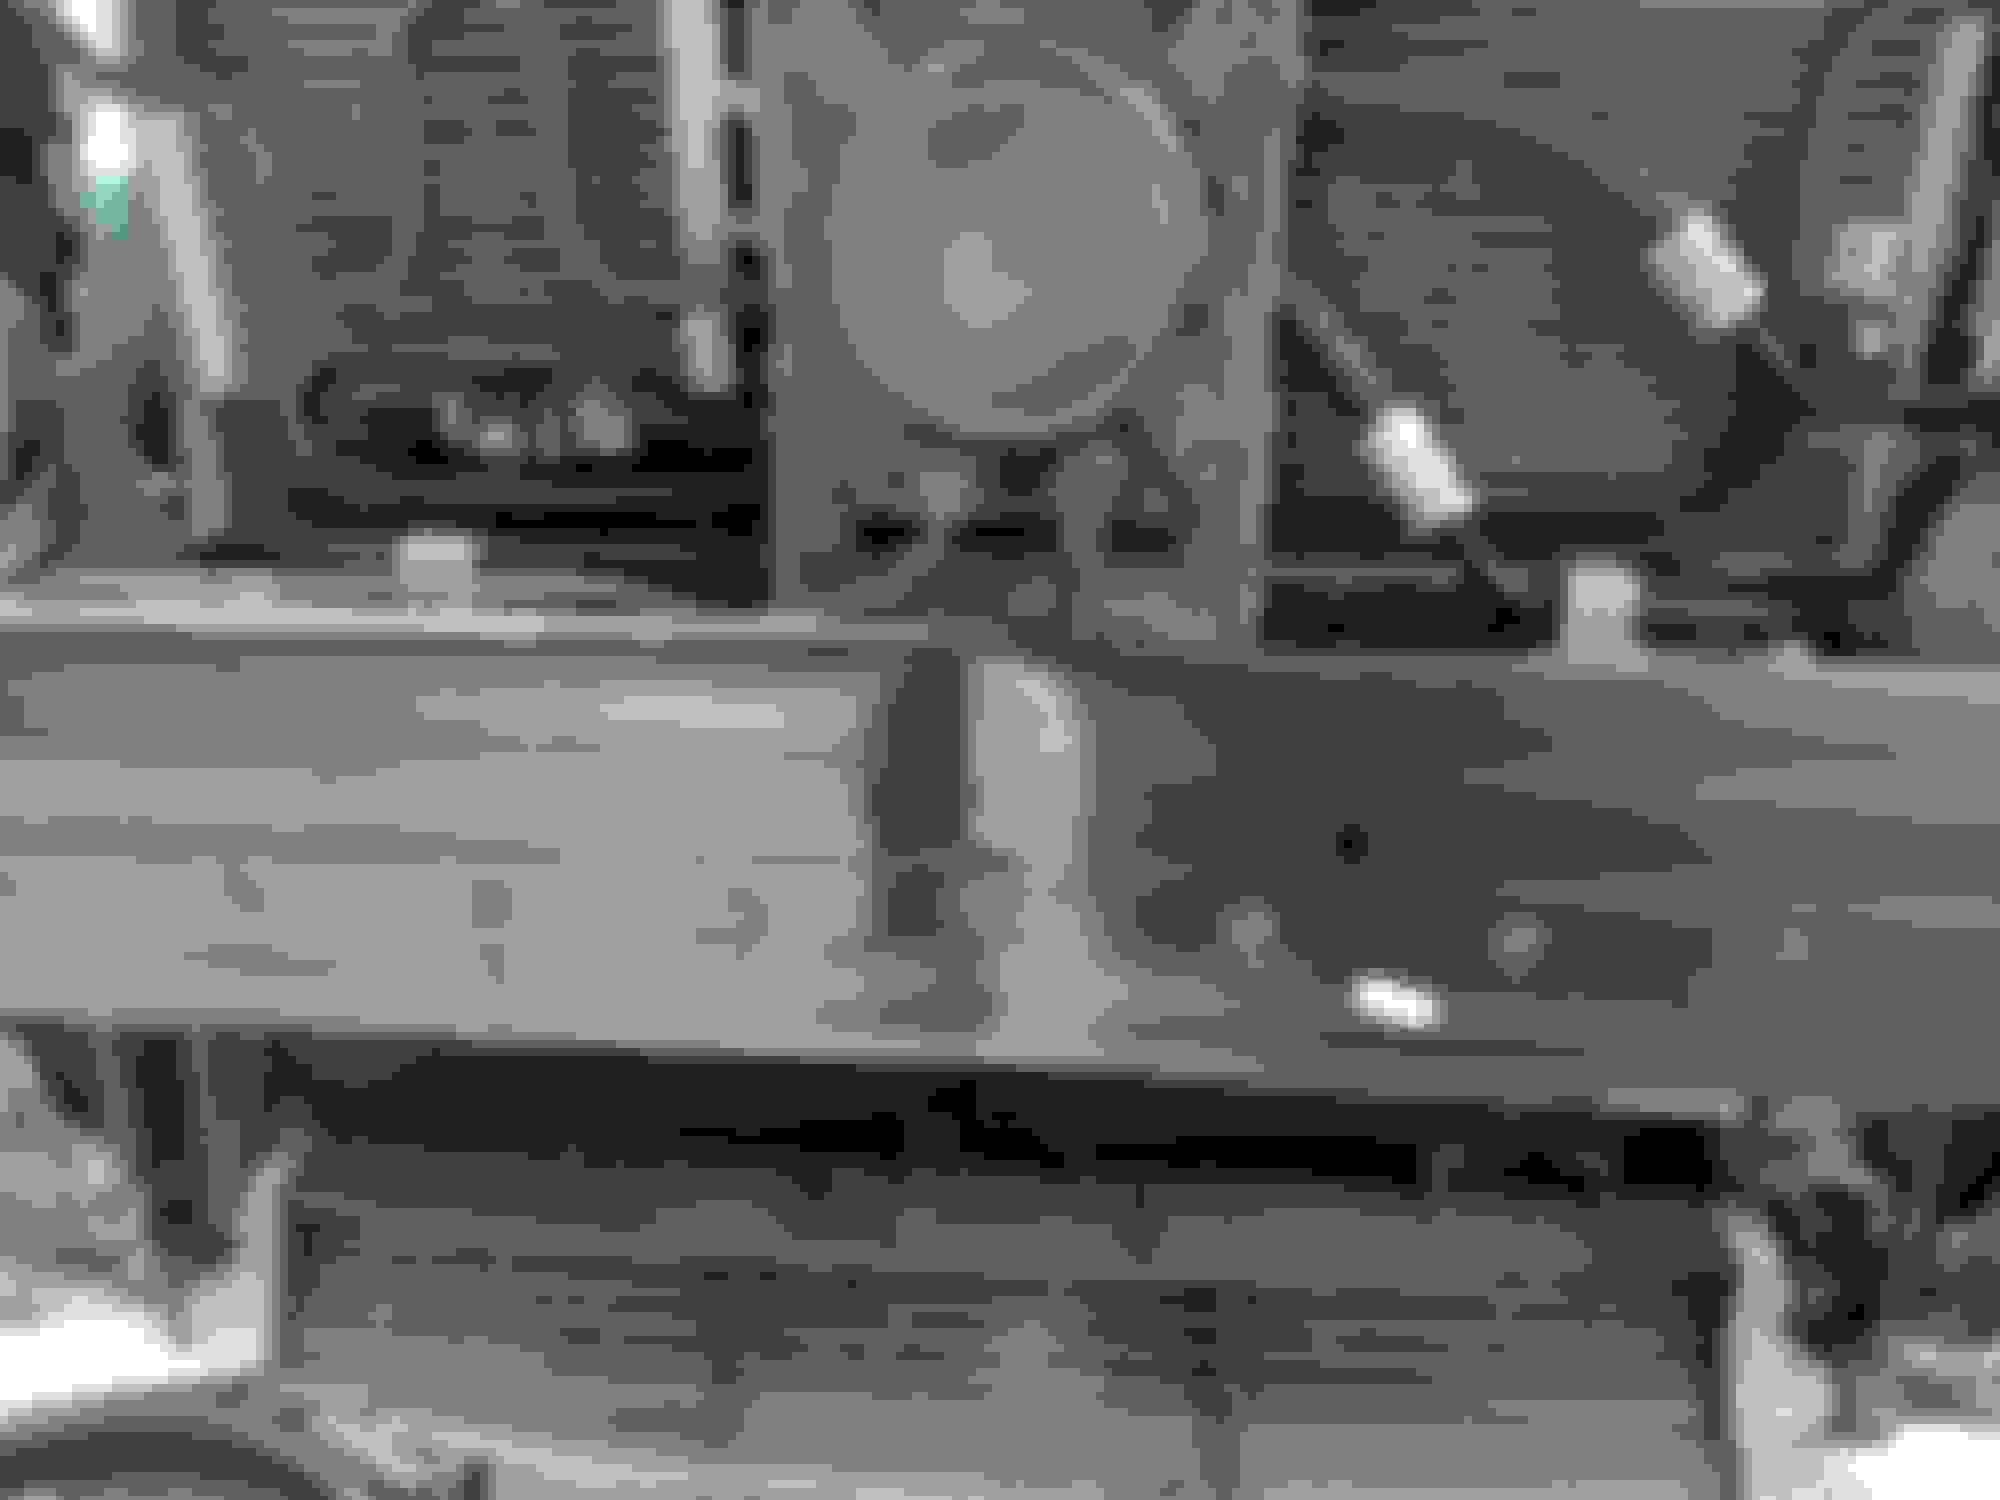
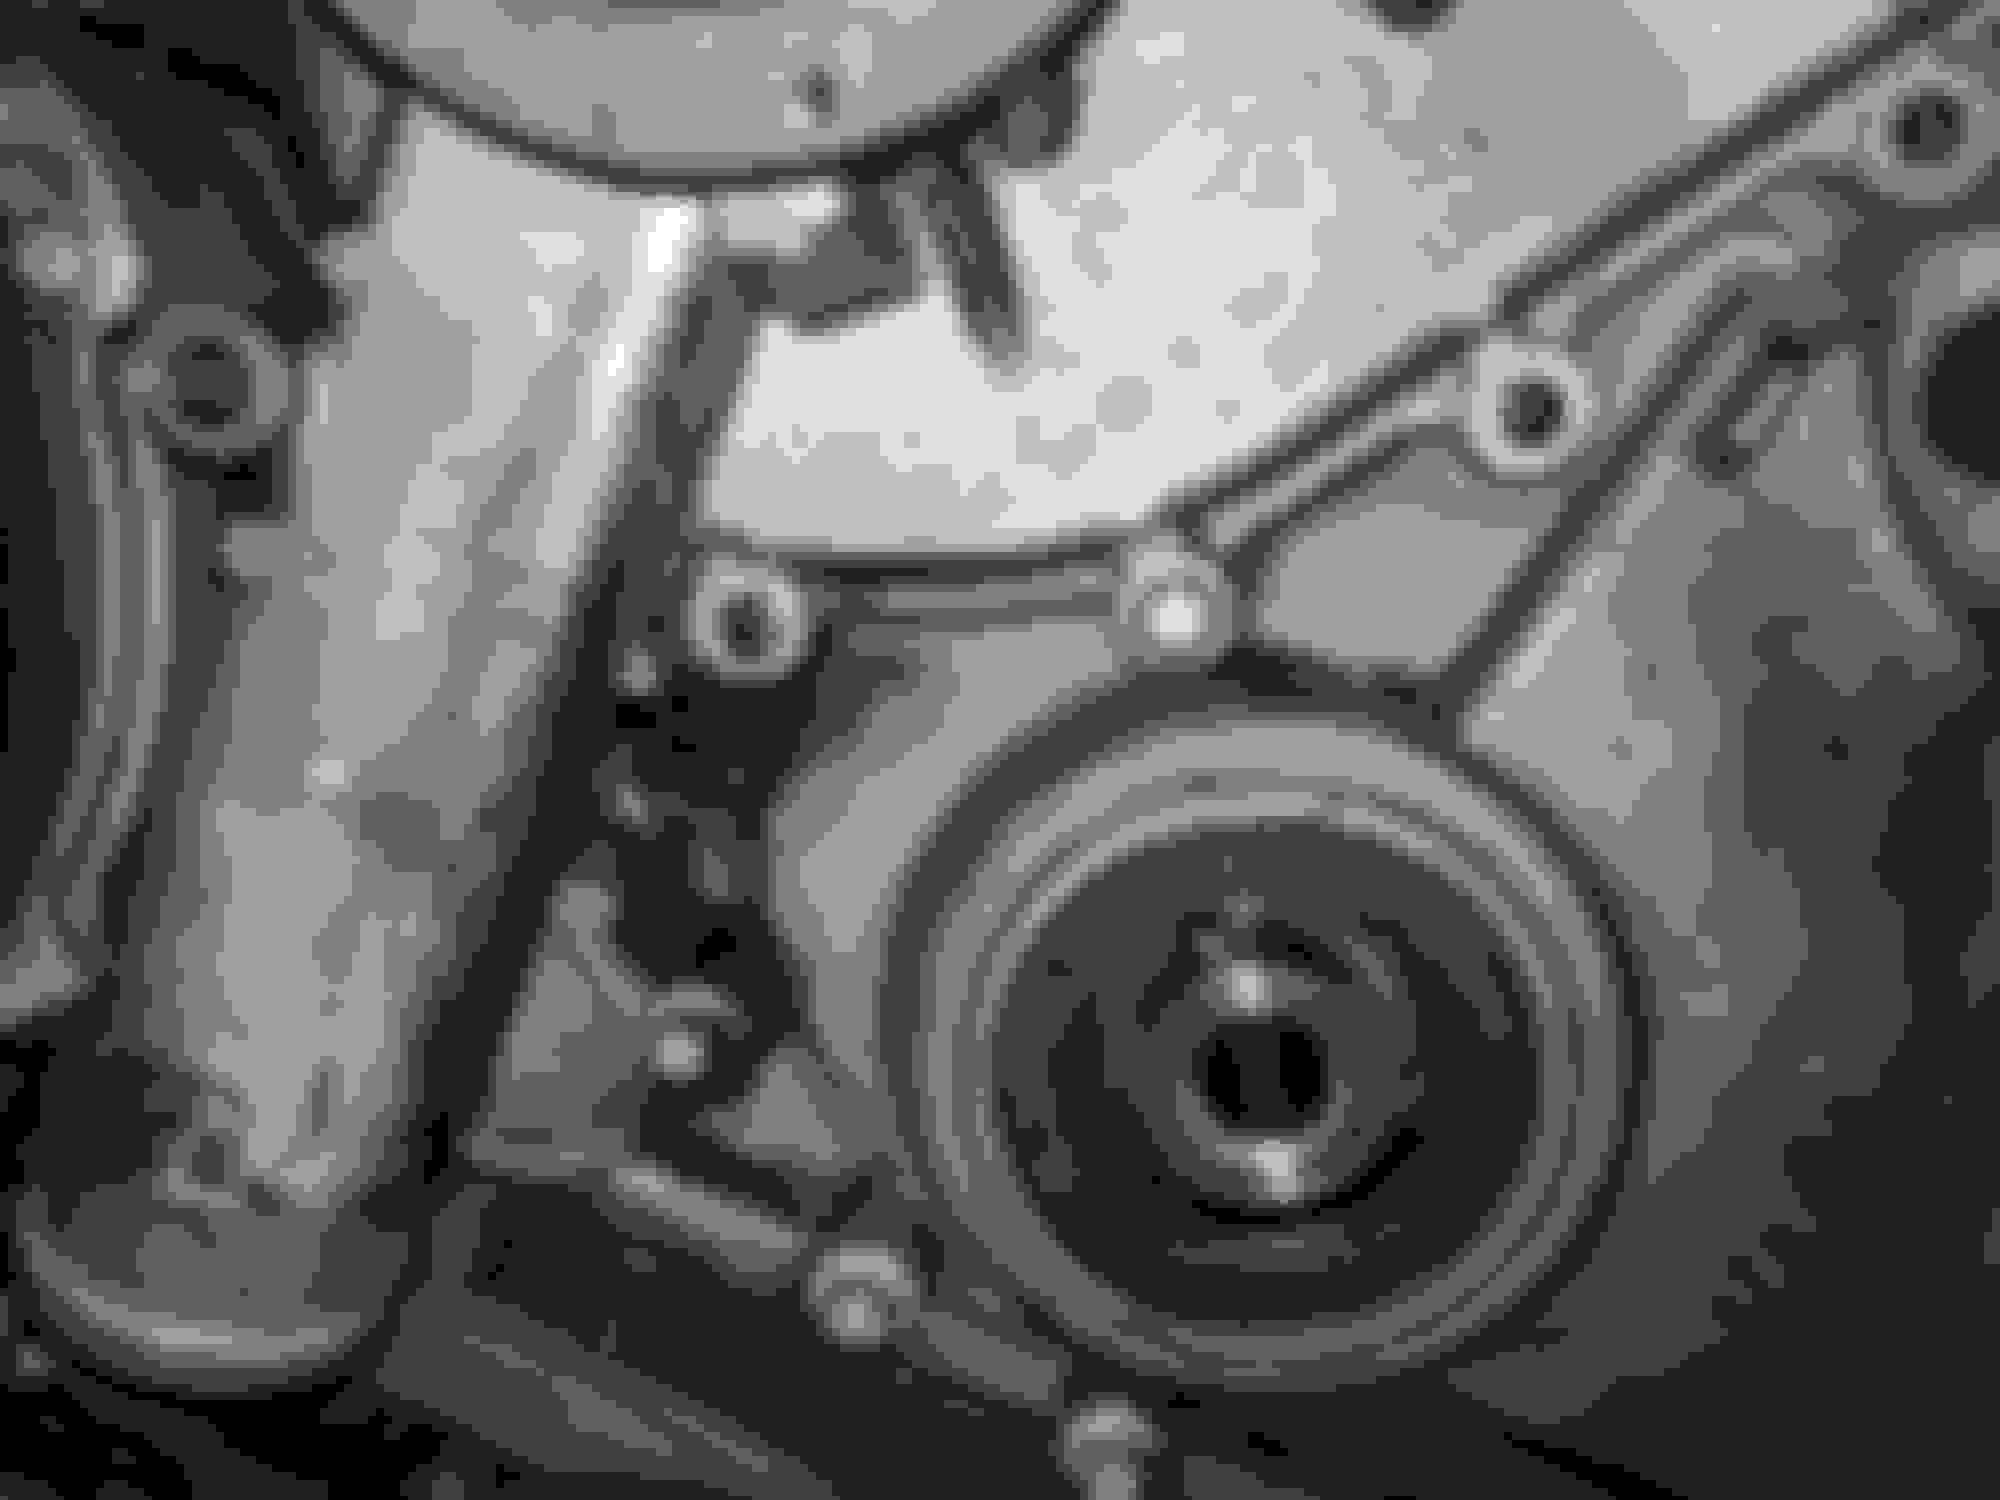
Shot of the rear ABC valve and fuel filter:
Last edited by roberttran; 06-04-2018 at 10:43 PM.
2004 S600, 1998 M3, 1974 2002 Touring, 2006 Cayman S
I am overseas for a month due to work so I won't be able to continue until July. I'm hoping to be done in August so I can do a nice long road trip in it and make room for my next project.
Ordered more parts to finish up the ABC system and motor mounts.
My current tally is about $6,800 in parts to date. Major remaining parts needed would be bumper and any suspension parts that need a refresh.
2004 S600, 1998 M3, 1974 2002 Touring, 2006 Cayman S
Progress after a few weeks of road blocks
Finally got the crank bolt off so I was able to remove the water pump finally. Needed to use a jack to raise/bend the breaker bar about 15 degrees before I heard a pop. Bolt still needed a few degrees to push from the jack before it was loose enough to use the breaker bar by hand.
Passenger side turbo diverter valve replaced and drive side removed but it's a tight fit to get the new bolts in.
Fuel filter was very easy with the right hose clamp tools to remove and reinstall them.
Next is dropping the engine / front axle carrier. My engine support wasn't wide enough so I just ordered a shop crane to suspend the engine while I drop everything under it. Should arrive in about a week.
2004 S600, 1998 M3, 1974 2002 Touring, 2006 Cayman S
Originally Posted by Welwynnick
That looks like a nice car. I'd be quite pleased with myself if I had bought that, problems or no problems. There are lots of resources to help out, and not as much to worry about as you might think.
For ABC problems I'd recommend starting with some reading:
Keep the battery charged, keep all the drains clear, fit the right spark plugs, check the ABC oil level regularly, inspect all the ABC hoses every year, and of course stay on top of ALL the fluids & filters.
Nick
When you dropped the engine carrier to do the ABC lines, did you also disconnect the steering coupler? I can't seem to figure out how to get to the steering coupler and the carrier doesn't seem to want to drop much. I've removed the 4 bolts for the carrier, the 2 bolts for the engine mounts, and a few random brackets for ABC and PS lines.
2004 S600, 1998 M3, 1974 2002 Touring, 2006 Cayman S
Also wanted to share that my warehouse is starting to come together. Been delayed in making progress on the W220 with travel and other stuff, but hoping to make major progress over the 3 day weekend :-)
When you dropped the engine carrier to do the ABC lines, did you also disconnect the steering coupler? I can't seem to figure out how to get to the steering coupler and the carrier doesn't seem to want to drop much. I've removed the 4 bolts for the carrier, the 2 bolts for the engine mounts, and a few random brackets for ABC and PS lines.
To replace the engine mounts you need to drop the whole subframe, but for other things it's usually OK to just pivot it - hinged at the rear and drop at the front.
To do that, you remove the front subframe mounting bolts and just loosen the rear ones - they will act as a hinge, and will allow plenty of tilting angle.
By a happy coincidence, the steering column universal joint happens to lie on the "hinge axis" formed by the two rear subframe bolts. That joint allows considerable articulation, so there's no need to disconnect the steering column. The flexible hydraulic hoses also allow the rack to tilt (at least on RHD cars it does). If you're nervous about doing any damage, you could always disconnect the steering coupling (undo a single M8 1/2" head pinch bolt), but if you do that, ALWAYS disconnect the lower coupling and never the upper coupling, which is very difficult to get back in afterwards.
When you lower the subframe, remember a few things:
First remove the two screws on either side that retain the plastic side cover panels that bridge the gap between the subframe and the chassis rail.
Once you start lowering the subframe, get a torch and disconnect the p-clamp that holds the PAS return hose to the bottom of the subframe.
Also disconnect the wiring to the steering rack and the ABC pressure relief / sensor. Apart from the steering, they're the ONLY things that complicate subframe removal.
The subframe is much lighter than the brakes and suspension, so the latter push the TCA's down, which push the subframe up. So to lower the subframe, raise the suspension knuckles.
Also wanted to share that my warehouse is starting to come together. Been delayed in making progress on the W220 with travel and other stuff, but hoping to make major progress over the 3 day weekend :-)
Nice workshop; I'm suitably jealous. I shan't feel too sorry for you when you attempt all these difficult things!
A few years ago once I realised how hard it was keeping any V12TT on the road, I bought a 4 post lift and squeezed it into my garage. I could do with more height like yours though!
2004 S600, 1998 M3, 1974 2002 Touring, 2006 Cayman S
Originally Posted by Welwynnick
To replace the engine mounts you need to drop the whole subframe, but for other things it's usually OK to just pivot it - hinged at the rear and drop at the front.
To do that, you remove the front subframe mounting bolts and just loosen the rear ones - they will act as a hinge, and will allow plenty of tilting angle.
By a happy coincidence, the steering column universal joint happens to lie on the "hinge axis" formed by the two rear subframe bolts. That joint allows considerable articulation, so there's no need to disconnect the steering column. The flexible hydraulic hoses also allow the rack to tilt (at least on RHD cars it does). If you're nervous about doing any damage, you could always disconnect the steering coupling (undo a single M8 1/2" head pinch bolt), but if you do that, ALWAYS disconnect the lower coupling and never the upper coupling, which is very difficult to get back in afterwards.
When you lower the subframe, remember a few things:
First remove the two screws on either side that retain the plastic side cover panels that bridge the gap between the subframe and the chassis rail.
Once you start lowering the subframe, get a torch and disconnect the p-clamp that holds the PAS return hose to the bottom of the subframe.
Also disconnect the wiring to the steering rack and the ABC pressure relief / sensor. Apart from the steering, they're the ONLY things that complicate subframe removal.
The subframe is much lighter than the brakes and suspension, so the latter push the TCA's down, which push the subframe up. So to lower the subframe, raise the suspension knuckles.
Hope that helps,
Nick
Thank you!
It ended up being some ABC line brackets rubbing against the sides of the carrier. After loosening the brackets, it came right down.
Major progress today. ABC lines are in, engine mounts replaced, engine carrier is back in, and re-manufactured ABC pump installed.
At this point, it's just starting to put everything back together. My guess is maybe 2 days more of work before I can fire it up to do validation testing on all of my work over the last few months.
All of the control arms are original and look (no visible play at least) so they will be replaced when the shock mounts go. Shock mounts look worn and may only have 10k miles of life left before I'd want the shocks replaced.
2004 S600, 1998 M3, 1974 2002 Touring, 2006 Cayman S
Most mechanical components are back together!
Car fired right up after 3 seconds of cranking (to prime the fuel pump) and wow does it idle smooth!
Only issue is that I wasn't able to prime the ABC pump properly. Tried to massage the hose when I filled the reservoir and tried to turn the pump by hand a lot. Ran the engine for about 6 seconds and shut it off when I didn't see any air or fluid come out of the return hose of the ABC system. I only had a hand pump and was able to get about 1 PSI of pressure in the resevoir, but that didn't work either. Ran the engine for another 6 seconds. Checked the fluid level and no change. Have read in other threads that I'll need about 5 PSI. I have an air compressor, but didn't have any adapters that work right now and will need a second hand to try again.
Hopefully these pumps are somewhat resilient and the two attempts haven't damaged it in any way.
Other outstanding things in the engine bay:
- Need to fill and bleed the intercooler circuit. Can't seem to get much water in the system through the filler
- The pulley bolt holes on the timing case / cylinder block did not look to be in good condition. At some point, someone over torqued those bolts and partially stripped the holes. The pulley seem to hold stable for now, but I'm going to go back in there to drill them out and install helicoils
The IC system must be vac filled, and then must have 10+ : of fluid bled through the bleeder ports. It will be impossible to fill it it any other way (trust me!)
You will also need to pressurise the ABC Reservoir as you say before you can prime it.
 03-29-2018, 01:00 PM