When you click on links to various merchants on this site and make a purchase, this can result in this site earning a commission. Affiliate programs and affiliations include, but are not limited to, the eBay Partner Network.
Hey guys i have changed oil, air filters, and lastly spark plugs on my 08 s550 now i have to tackle the motor mounts and tranny mount which are collapsed, I need help finding out how many motor mounts i need to order and info for the tranny mount as well if you can please.
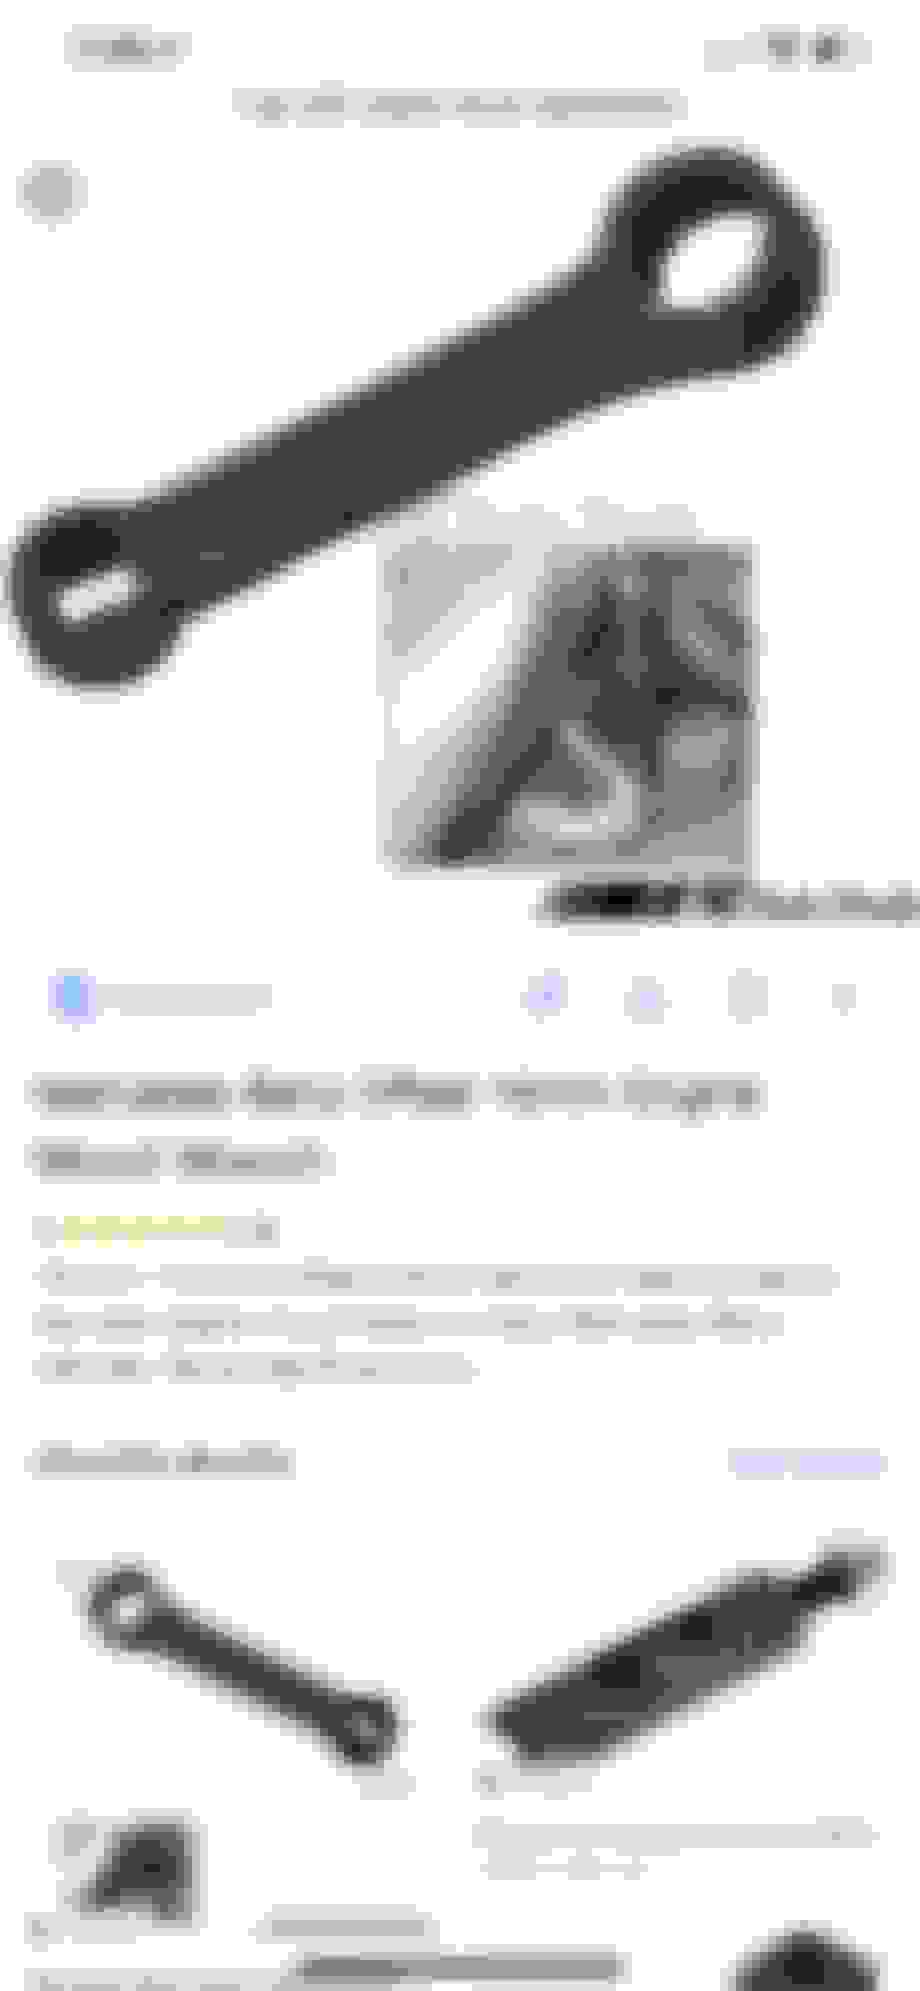
As far as I know from lurking this forum there�s two engine mounts and a transmission mount. The transmission mount is apparently dead simple to do and a really cheap fix. I had mine done at the dealer for about $190 or so. The engine mounts are apparently a very hard task if you don�t have the correct tool. I need to do mine eventually as I have a slight vibration at idle, but it hasn�t been enough for me to bother yet. Here�s a screen shot of the tool, there are others too and I�m sure many more people on the forum are more familiar with it than me. But, I thought I�d chip in my 0.02�. The engine mounts vary from like $65 a piece on eBay to $165~ for the pair on FCP Euro and the transmount with a lifetime warranty.
Konigstiger, Do you have access to posting the .pdf for instruction for changing the front engine mounts? Your .pdf for the rear is very helpful. Many thanks, Charles in Dallas.
2 engine mounts. Most people in the MB and BMW community would get Lemforder parts as an trusted alternative to MB OEM. When my w211 E500 needed engine mount, my Inde drop the mid section of the exhaust.
2 engine mounts. Most people in the MB and BMW community would get Lemforder parts as an trusted alternative to MB OEM. When my w211 E500 needed engine mount, my Inde drop the mid section of the exhaust.
I found some instructions online via a website called, "mercedesmedic.com"
They point out the 16mm tool is a must so I ordered it on Amazon.
Front mounts - They also point out that the factory says drop the exhaust out of the way but an alternative method is to removing the alternator and a/c compressor. They don't have to have cables and lines disconnected, just moved out of the way.
Obviously a floor jack and a nice thick, wide block of wood on a floor jack is necessary to lift the engine under the pan a few inches to slide the mounts out.
Yes, the rear mount looks like a quick, easy job.
I ordered my parts on MBOnlineParts. The rear mount was $58.50 and the fronts are $145.50 each.
Changing the rear or tranny mount is a walk in the park.
Drop the cover panel using 8mm socket and the mount and crossmember are exposed.
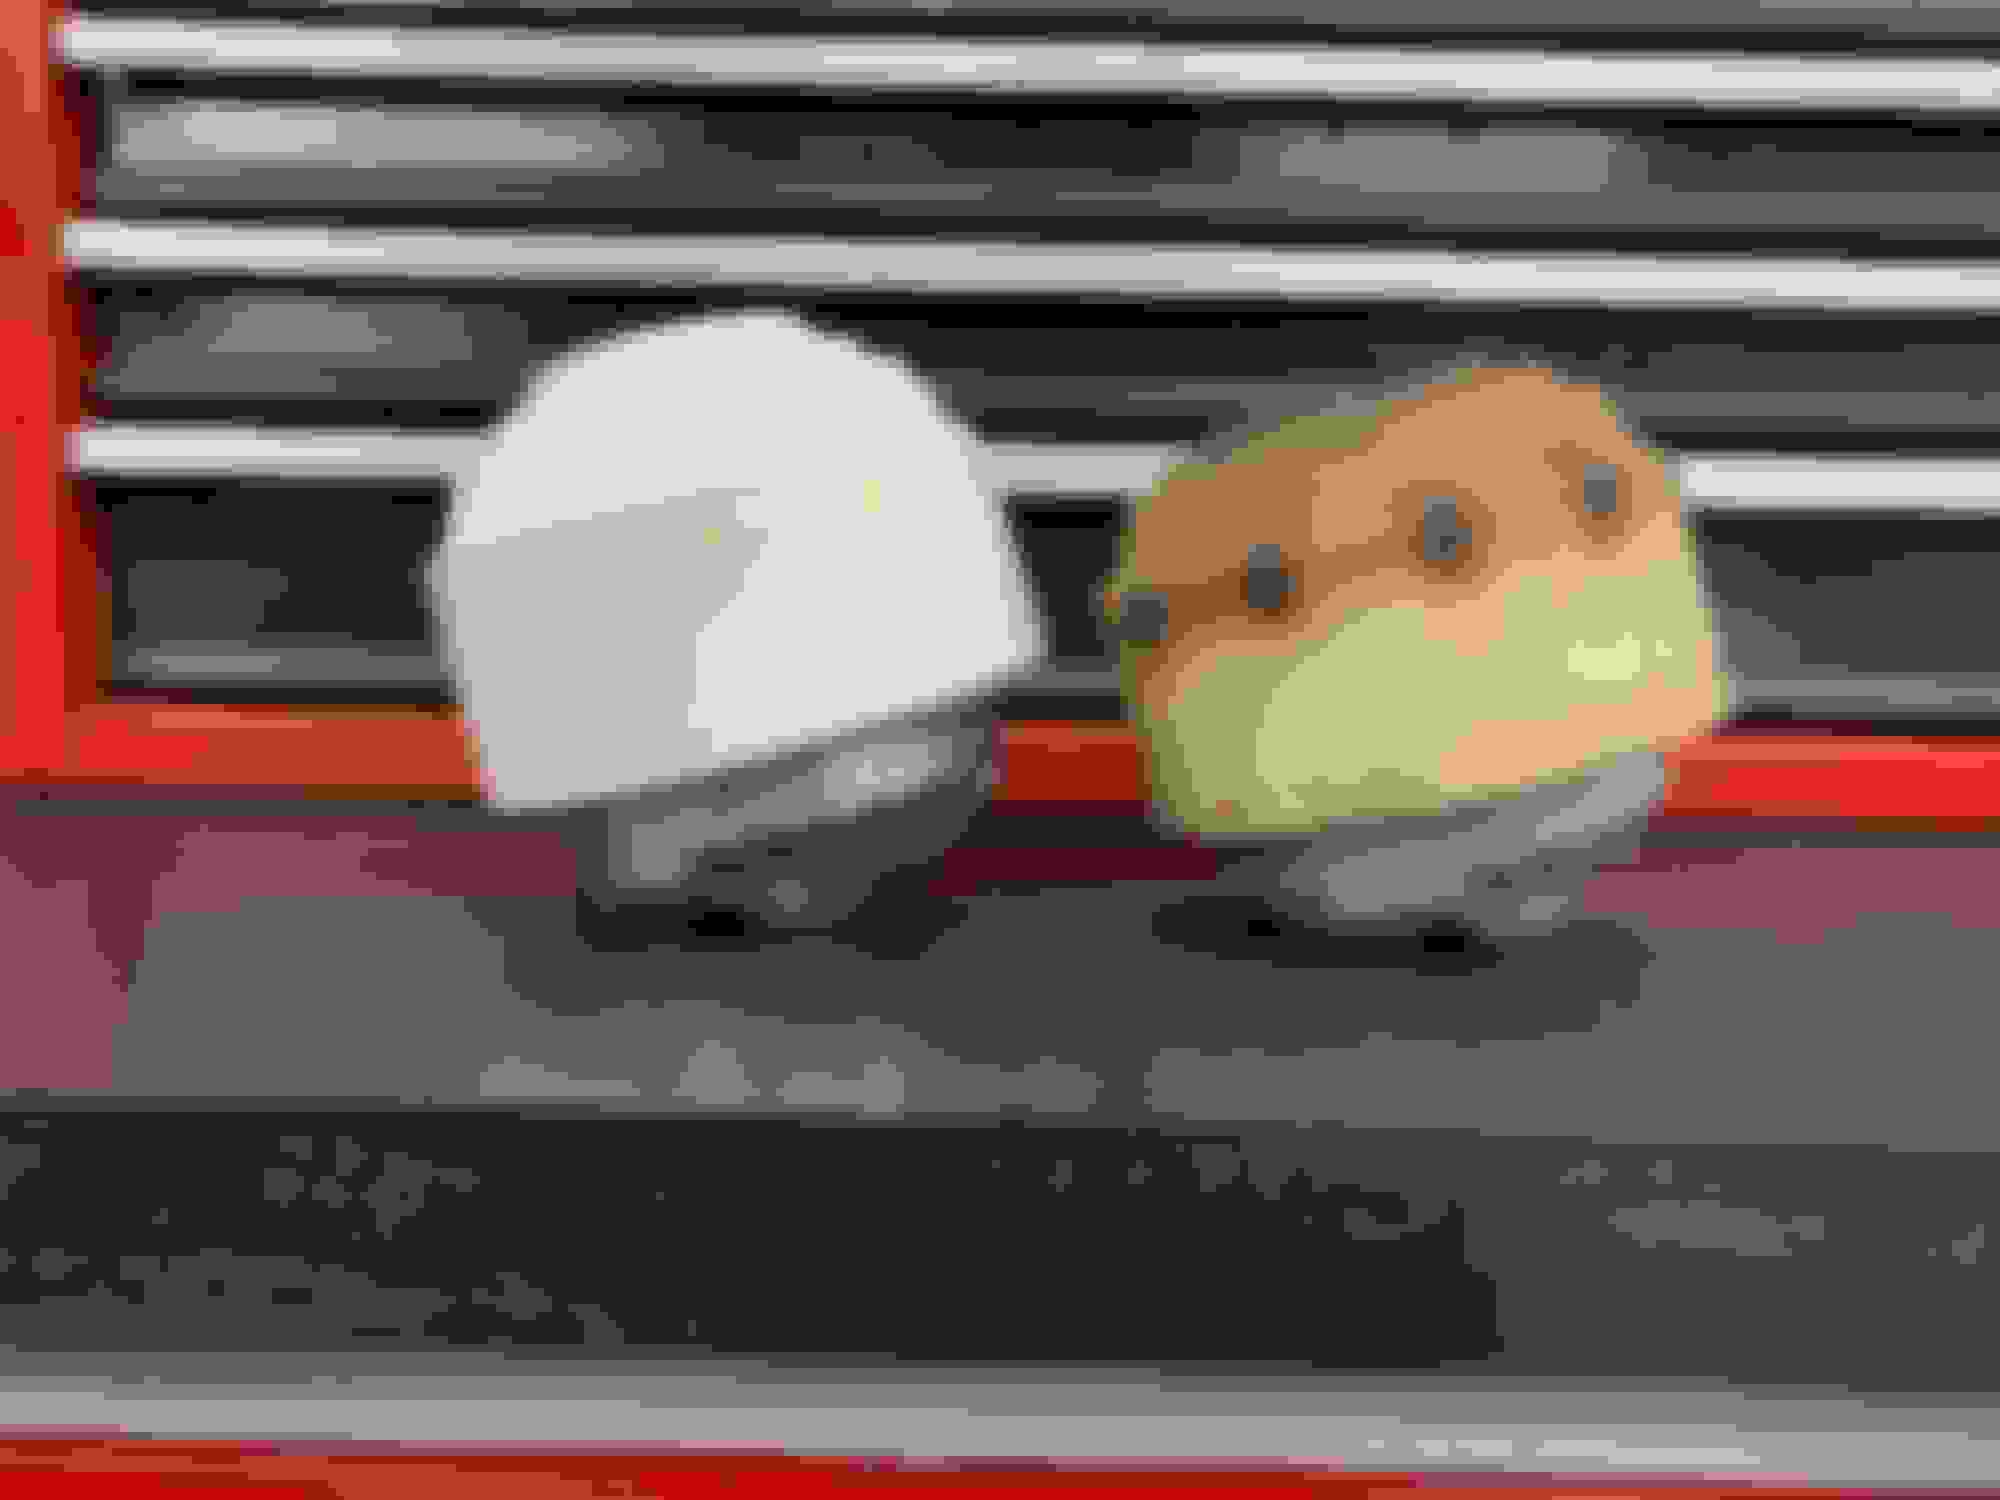
My mount didn�t look too bad, I just went off a recommendation from a local shop telling me it was low. I took a before and an after photo, as well as profile of both side by side on the bench. The old one did feel a little more flexible than the new one and I�m sure I have improved the car.
The same shop also recommended the two engine mounts be changed. I doubt they are awful, however, they are now 10 years old and I bought new ones so I�ll get after those now. See photos. Original mount New mount New on left
OK, as my previous reply noted, I installed the tranny mount rather quickly. So I thought I�d work on the front mounts. According to the MB manual, one needs to drop the exhaust to achieve this install. An online mechanic website suggestion was removing the drive belt, unbolt alternator to get passenger side mount out and unbolt a/c compressor to get driver side mount out. Well, I replaced both mounts without the extra work of either method. I�ll explain:
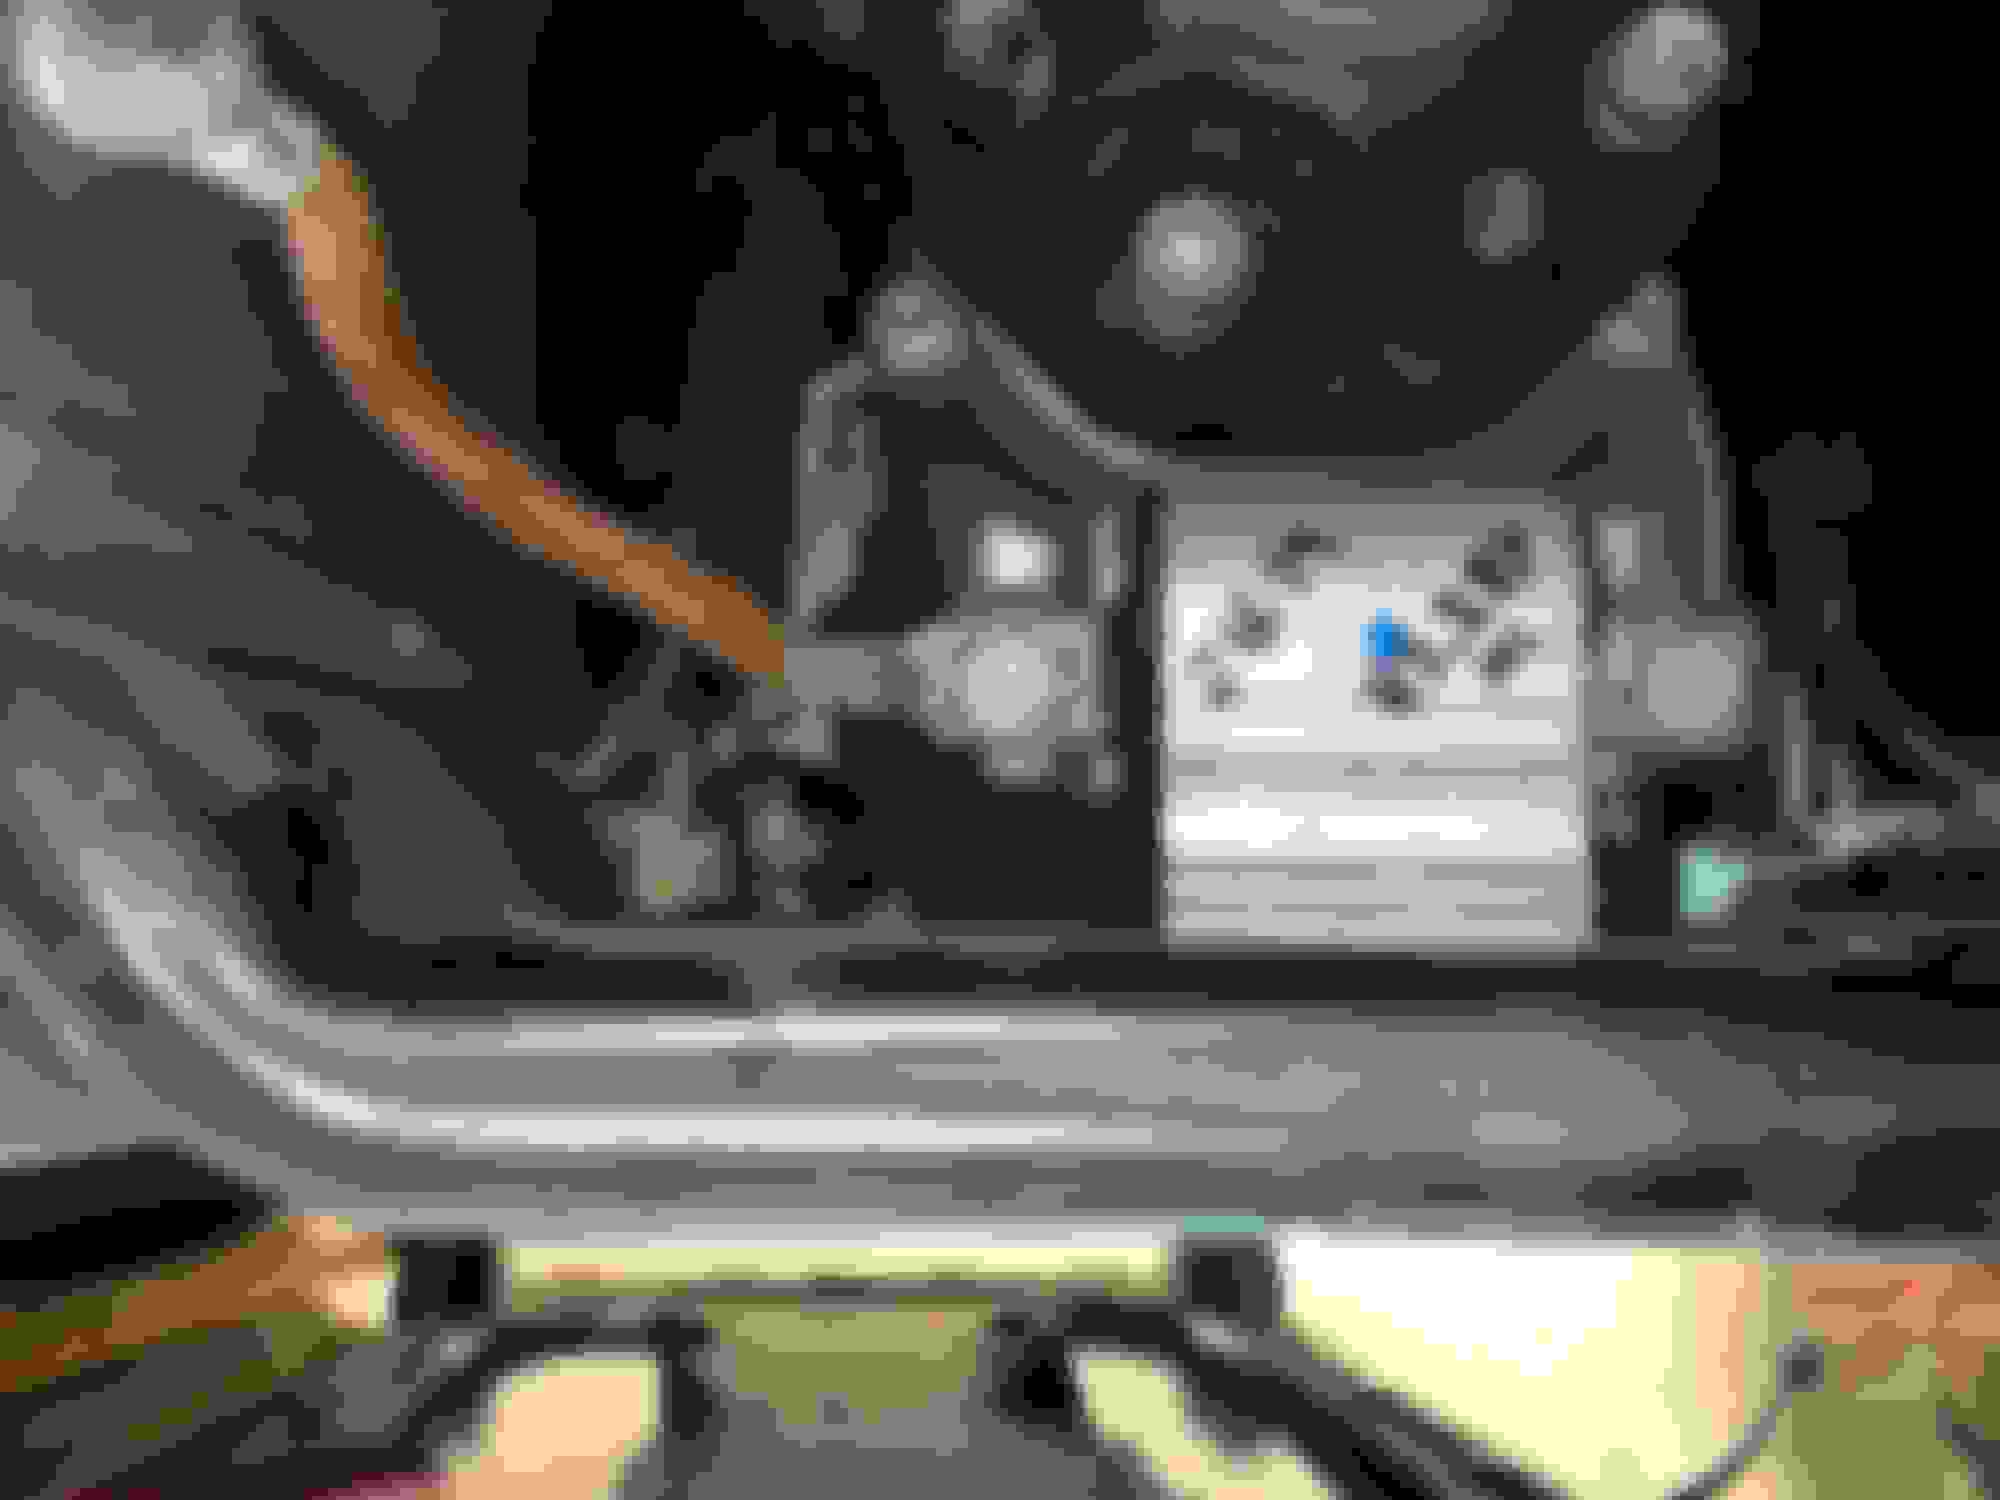
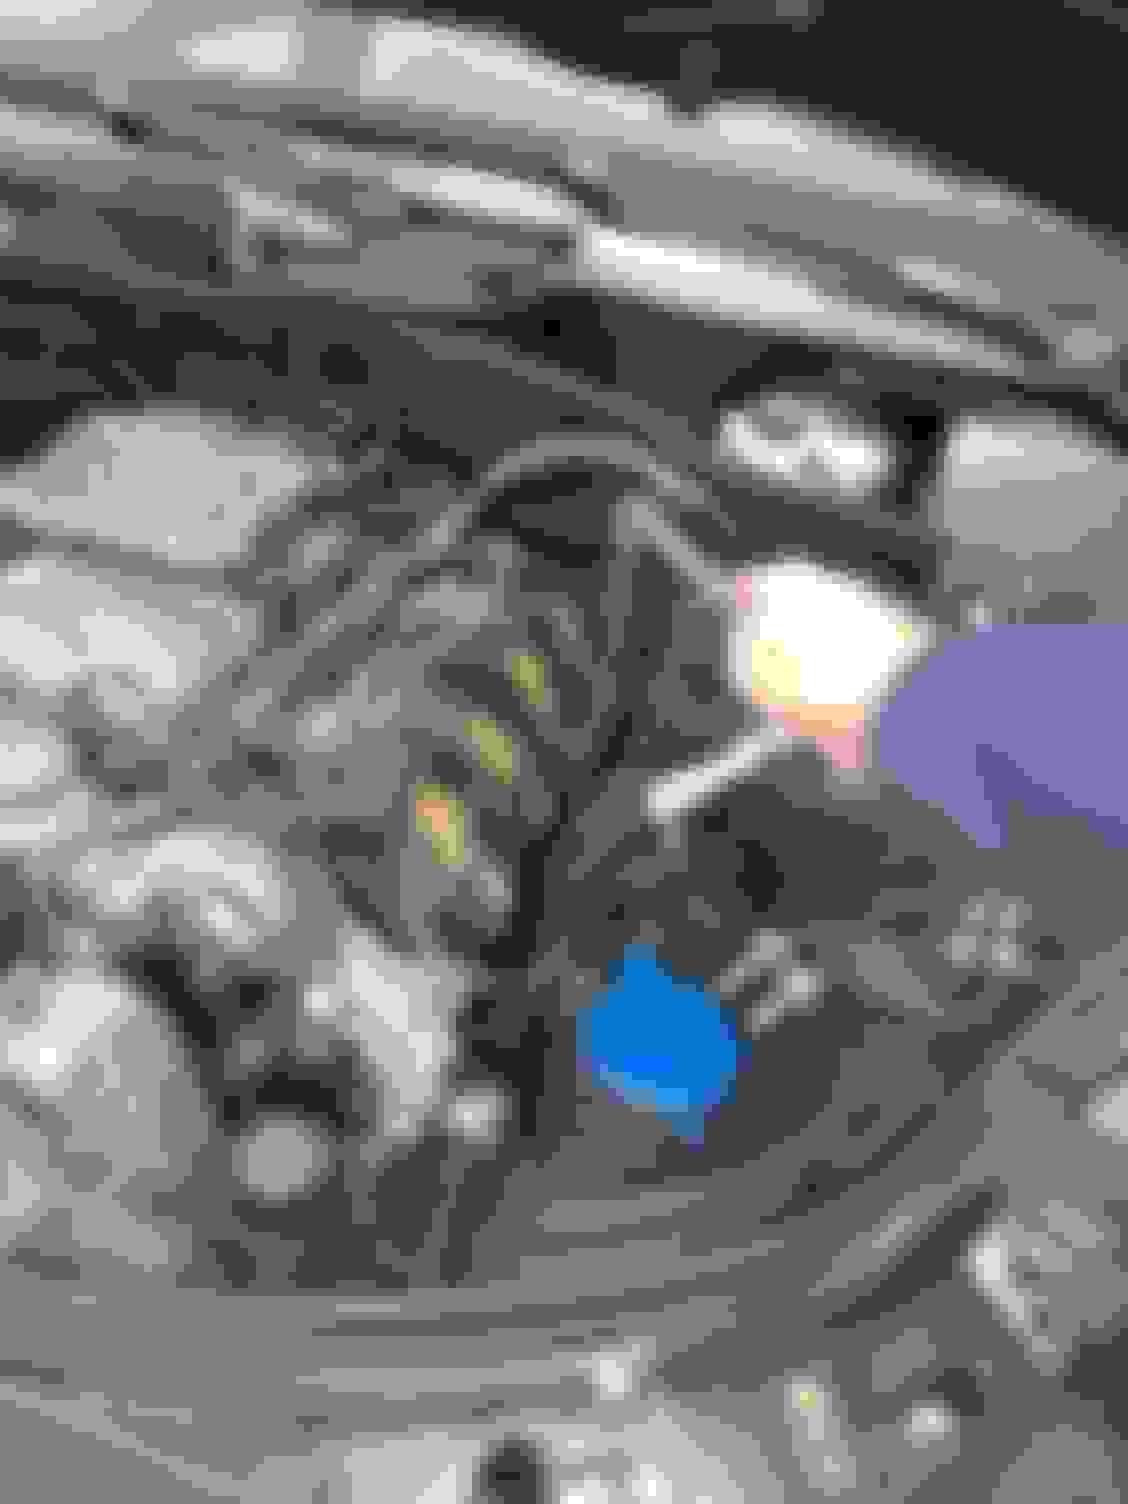
First, the specialized tool to remove the 16mm top mount bolts is a must (mentioned earlier in thread). Next, remove the engine covers and fresh air intake tubes.
Car must be on lift or front wheels on ramps. I used stacks of 2x10s I have. Remove the bottom side covers held on by 8mm self tapping bolts.
Use the special tool to remove the top mount bolts. A couple photos below show this in action.
Now remove the lower mount bolts, 13mm.
To remove the passenger side engine mount, we�re going to take it out rearward and below. This requires dropping the sway bar - remove the four bolts holding the sway bar to the frame and lower the bar (careful, on the driver�s side, the bar can pull on a small hose near the air shock). Now lift the engine a few inches to give the mount space - I used a floor jack with a large wood block under the oil pan. The mount will now have room to come out.
But on the driver�s side, the steering assembly is in the way. I lifted the engine a couple more inches watching for stressing hoses, harness, etc. and saw none. Now, with the floor jack, twist the jack to the passenger side to move the engine toward the passenger side. This will give you room to reach between the engine and the frame in front of the steering rack to remove the heat shields and the rubberlike white cover. Then remove the mount through the same opening. There is a photo below showing mount hanging in hole for explantion photo reasons.
I used compressed air to clean the grit out of the lower mount locations.
Replacement of the mounts is reverse of procedure. I found getting the mounts in position is easy. There is a key on the top of the mounts which needs to be exposed in the white covers, and further lines up with the engine�s bracket notch. Place the metal heat shields on mount ready for bolting. Clean up the upper bolt threads and get them started. I struggled and had to hold the mount to get bolt started but used patience. Almost snug them up, then go underneath and with your hand rotate the mount back and forth to ensure the tab on the mount is indeed in the slot on the engine bracket.
Lower engine slowly trying to center the position, but leave engine hanging a 1/4� or more to help line up lower mount holes so you can start those bolts. Almost cinch up lower bolts, then lower engine completely. It is now time to tighten upper and lower mount bolts.
Reinstall sway bar and install underside covers, and engine covers, etc.
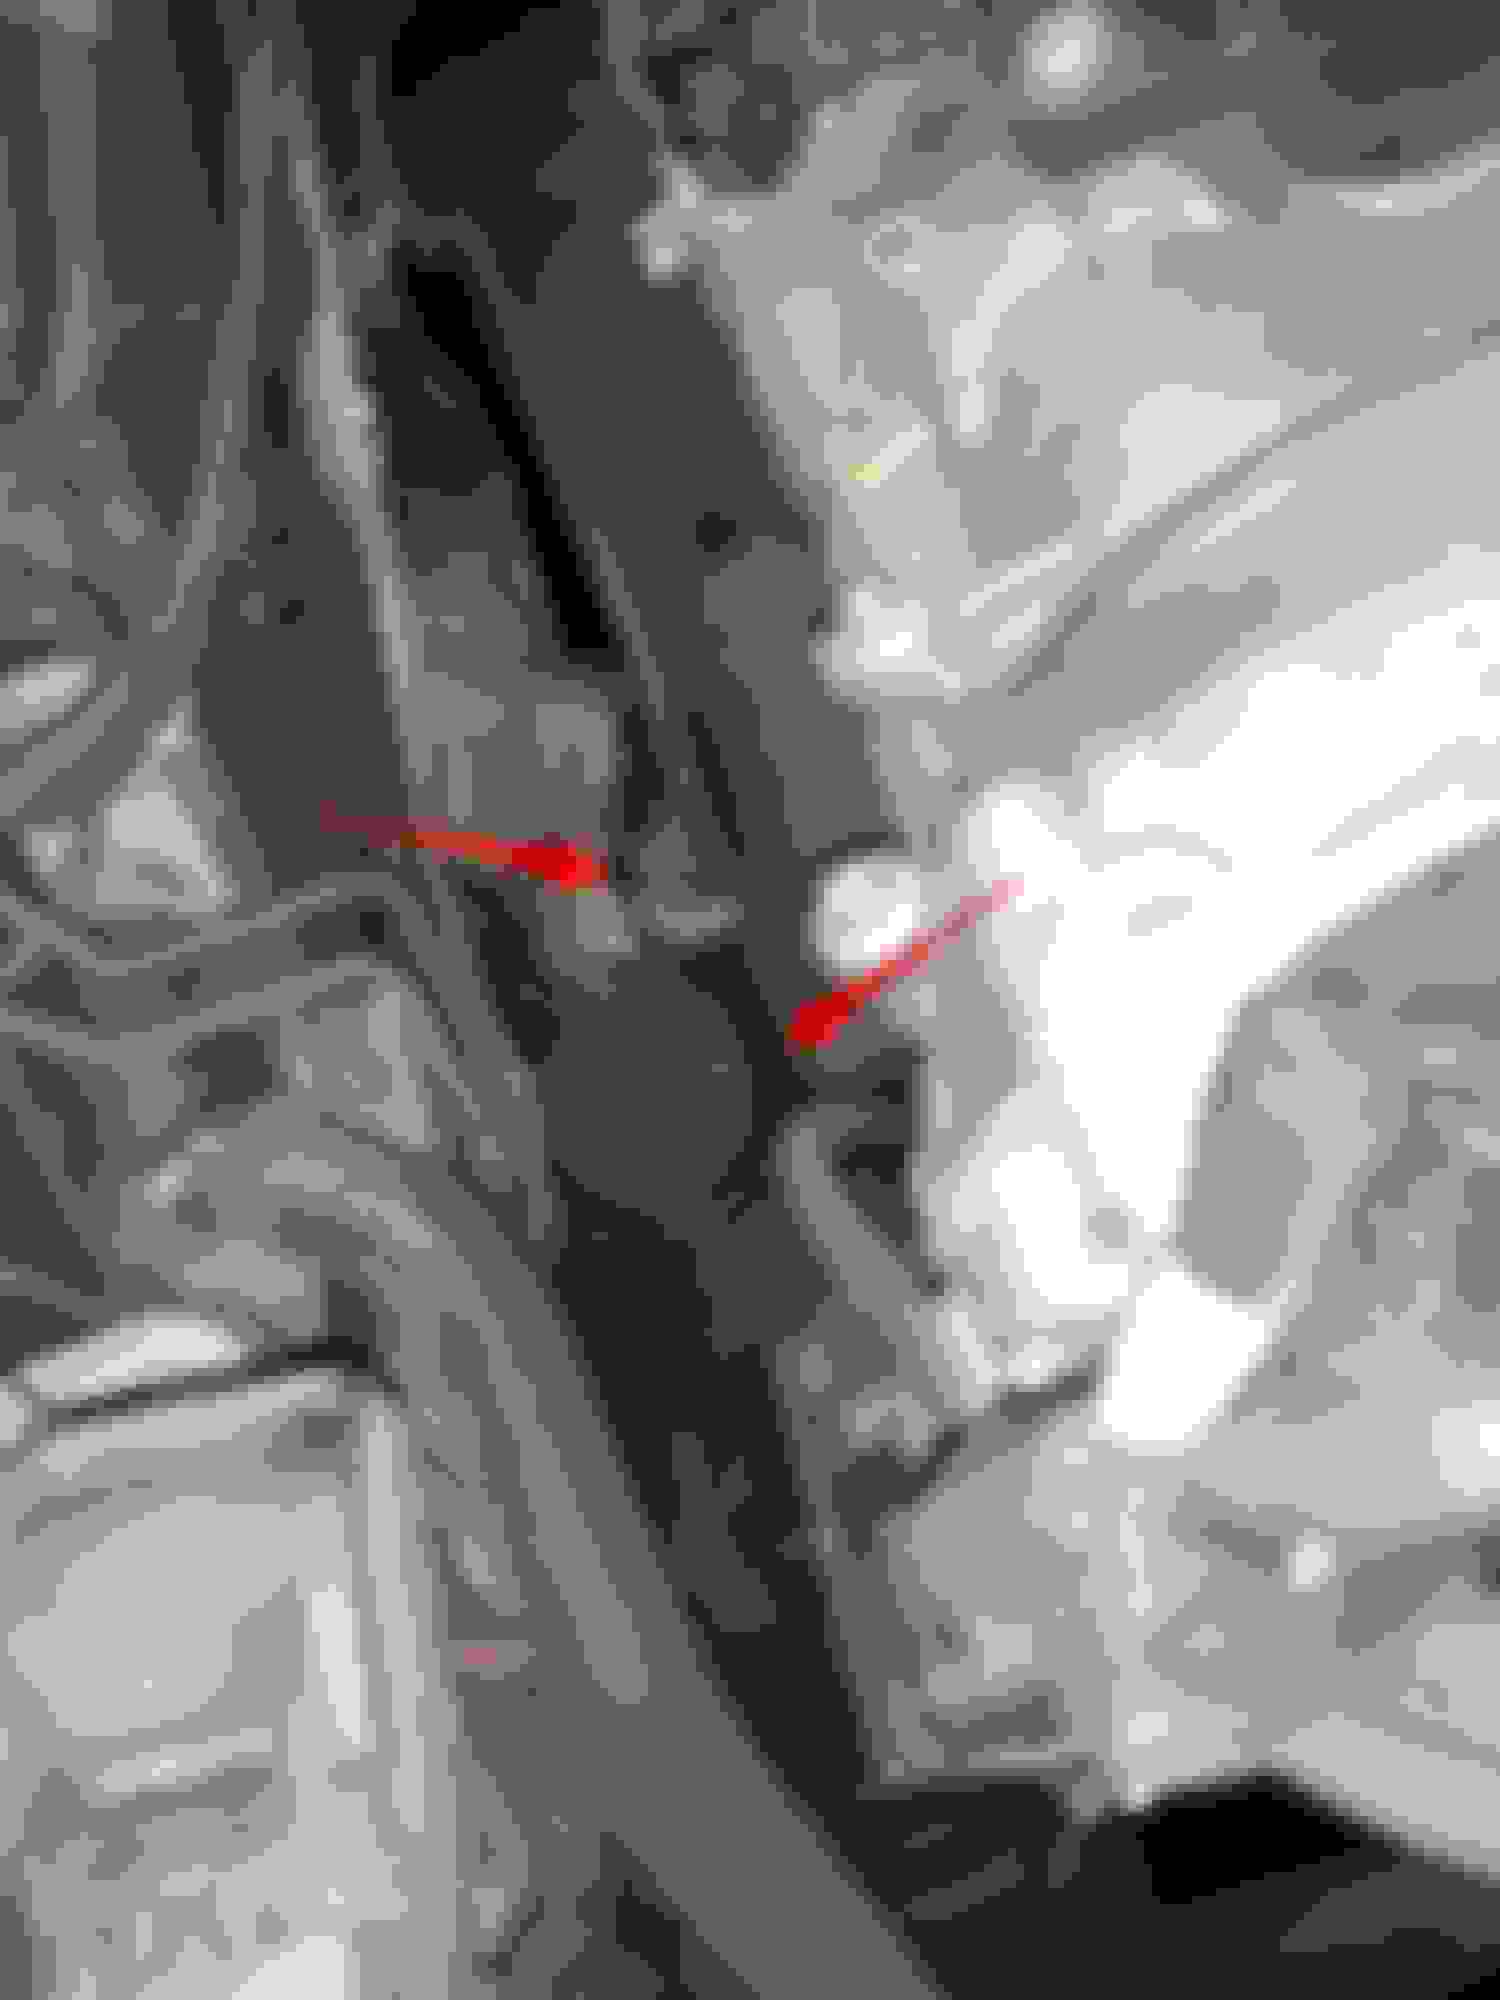
Driver�s side top bolt, black is specialized 16mm tool. Closer shot of driverks side tool in action Using extension and small breakover bar to slowly work top bolt out. Room for 2/3 turn, lift, go back to original position and 2/3 turn, reapeat often. Passenger side tool in action. Passenger side out, arrows point to notch in engine bracket and the frame lower mount area before cleaning. Sneaking driver�s side mount out, forward of steering rack, lifted engine shifted toward passenger side a few inches. Block of wood is on jack. New on left with white covers on. New on left. Passenger side new mount sitting in place without heat shield Passenger side with heat shield in place.
 11-09-2018, 08:19 PM